


Today, I’m going to show you how to crochet a ruffle onto a (nearly) finished amigurumi.
For those of you who are participating in the slug-a-long, you’ll find that this is exactly how you attach the slug’s foot!
Step 1: Attach a new length of yarn
For attaching a ruffle to an almost-finished piece, you’re going to start with an amigurumi that has been crocheted through the back loop only.
To form the new ruffle, we need to attach a new piece of yarn to begin crocheting with.
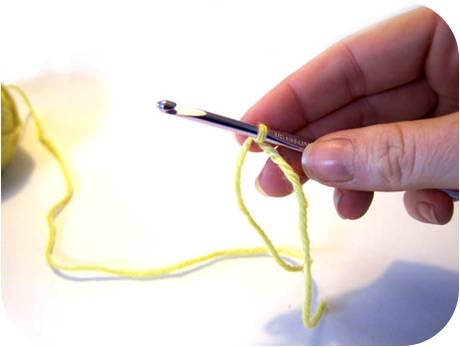
To begin, make a slip knot on your hook with the new length of yarn.
Next, single crochet into a stitch on your amigurumi. Specifically, insert your hook through the front loop of a stitch (the ridge that is visible on the piece), wrap the yarn around the hook and pull through one loop, wrap again and pull through both loops.
Ta da!
This post has more info about starting a new yarn color this way.
Step 2: Crochet the foundation round
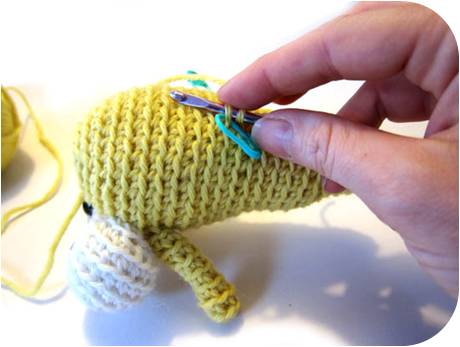
Now that you’ve attached the first stitch, you’ll crochet around, forming the base of your ruffle.

Which stitches you select is up to you. To form an evenly-shaped ruffle, you may want to use locking stitch markers to plan the shape before crocheting.
Once you have finished the foundation round, look at your piece. Does the round look even when your amigurumi is sitting?
If so, you’re ready to keep going! If not, this is a good time to unravel and repeat this step, as the ruffle is built on the stitches you form in this round.
Step 3: Ruffle!
Once your foundation is set, start ruffling! To make a ruffle, you’ll increase around the first round you make (typically increasing in every stitch). For more ‘ruffle’, increase more stitches and for a less pronounced ruffle, increase with less frequency.
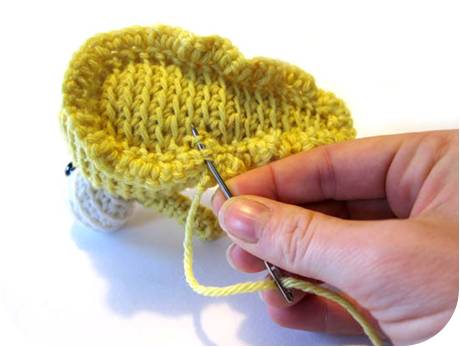
Fasten off, either when the instructions tell you to or when you’re ruffle is how you like it! Weave in ends.
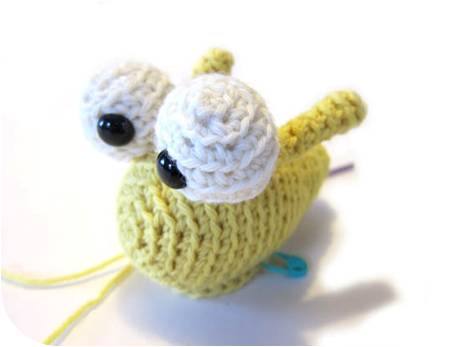
And you’re done!
Don’t you feel like everything needs a ruffle, now?
Want a little tip? This is a great way to add extras to your amigurumi. You use the same technique to add a dress or skirt! Just crochet that foundation row right under the arms (for a dress) or around the waist (for a skirt). Easy peasy!

Here are handy links to all the posts about crocheting more advanced shapes. . .
- How to Work the Bottom Side of a Foundation Chain
- How to Crochet an Oval
- How to Stitch One Row Below
- How to Crochet an Underbite
- How to Crochet Scallops
- How to Crochet a Pocket Mouth
- How to Crochet Two Rounds Together that Are Separated by a Foundation Chain
- How to Add a Ruffle to Amigurumi
- How to Crochet a Donut Shape
- How to Crochet the Mane on a Lion
Return to the main table of contents for Let’s Learn to Crochet Amigurumi.
Move on to the posts about troubleshooting common problems.
Happy stitching!


Pingback: The Crochet Link Love of the Week! — Crochet Concupiscence