4 easy tips for crocheting a giant amigurumi!

4 Tips for Crocheting Giant Amigurumi - from Shiny Happy World

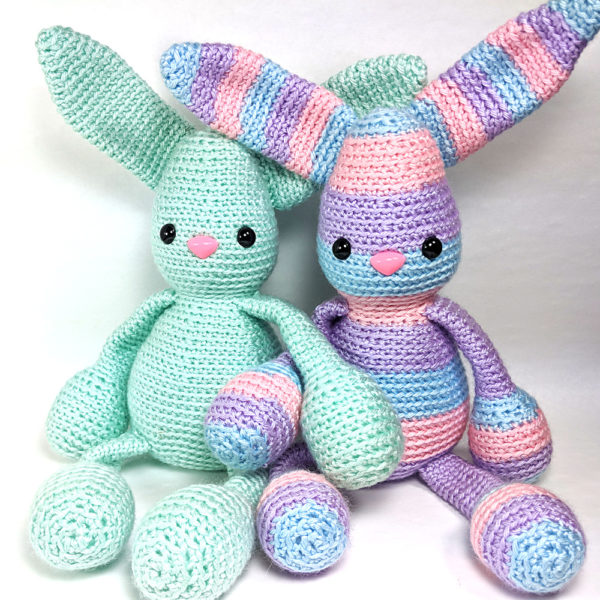
It’s easy to crochet a giant amigurumi by using a thicker yarn and a larger hook! The result is a super-large animal, with the same amount of crochet work!

Want to give it a try? Here are some tips.

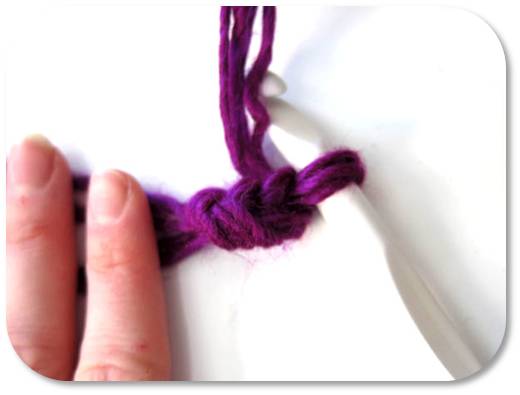
Use multiple strands if a thicker yarn isn’t available

Super-bulky yarns can be pricey and have a limited selection of colors. So, if you can’t get the super-bulky yarn you’re looking for, try holding multiple strands of yarn together!

Crocheting a giant slug

Check out my blog post on how to work with two yarns at once for some tips on handling the yarn.

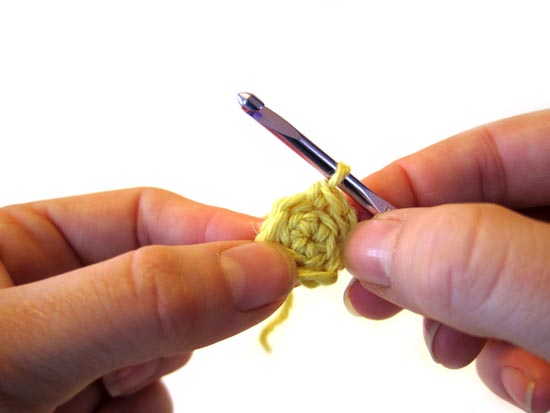
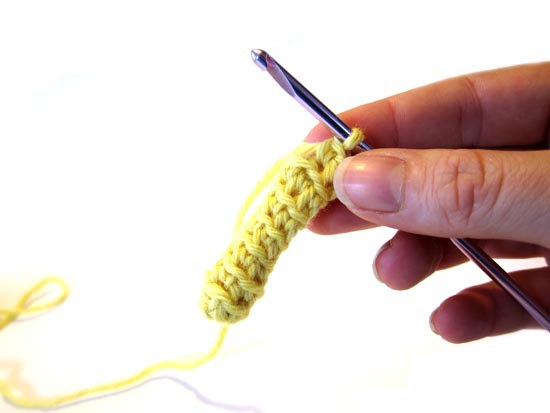
Don’t be afraid to experiment with hook sizes

The same rules apply with giant amigurumi as small ones: you want a nice fabric without holes showing through.

using a big crochet hook

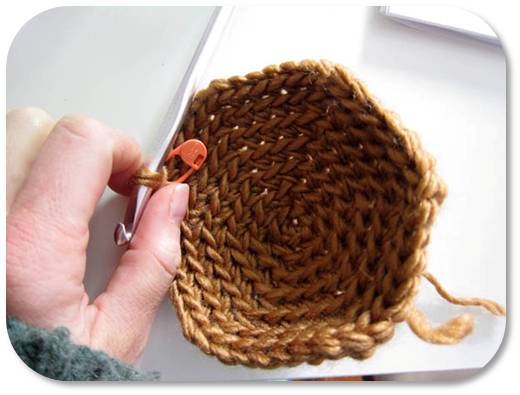
It may feel funny using a giant hook, so just make sure you’re getting an even tension, and find the size that works! I like to start with a hook one size smaller than what the yarn band recommends, and then go up or down from there if needed.

Take breaks

Crocheting with very thick yarn can be hard on your wrists. Take more breaks than you usually do and give these wrist exercises a try.

Know that you may have to fudge attaching instructions a bit

You’ll be able to follow the crochet directions exactly, and get a giant amigurumi stuffed animal!

But. . . if your pattern specifies exact rounds (or suggestions) for attaching, you might need to take a little creative license.

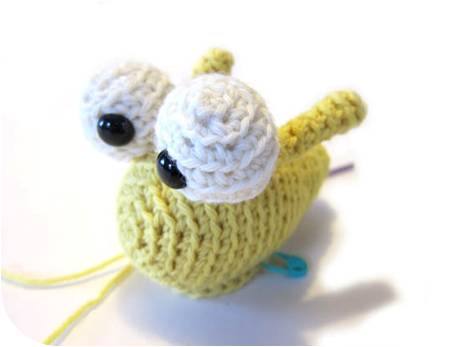
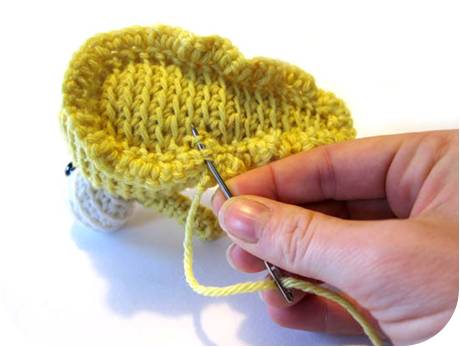
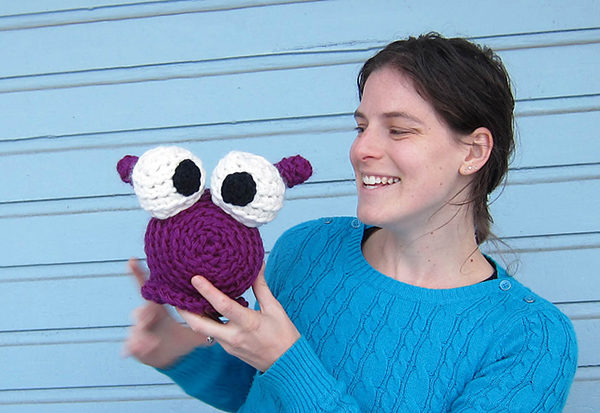
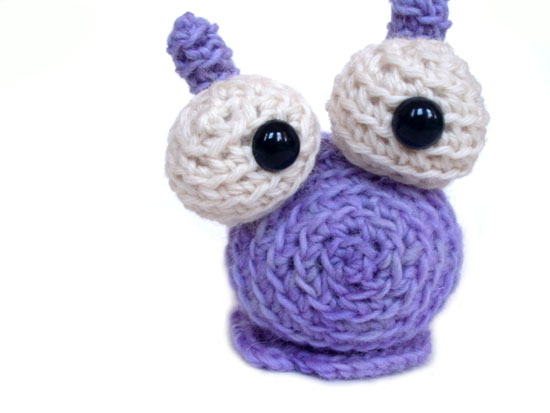
For example, in crocheting my giant slug, the pattern recommends attaching the eyes to two rounds. Works great for a tiny slug… but it would have made this giant slug’s eyeballs look squashed. So I took some liberties, and attached them how they would look best (to 3 rounds, if you’re curious!)

Don’t be afraid… feel liberated!

Want more info?

Planet June has a great post with LOTS of nerdy detail about scaling crochet patterns – from itty bitty all the way up to giant amigurumi. Read it here.

You should always have fun crocheting… but especially for a jumbo project like this! Go stash-busting and throw together crazy colors. Make a giant animal! Have a blast!

Here are handy links to all the posts about crocheting stuffed animals in different sizes. . .
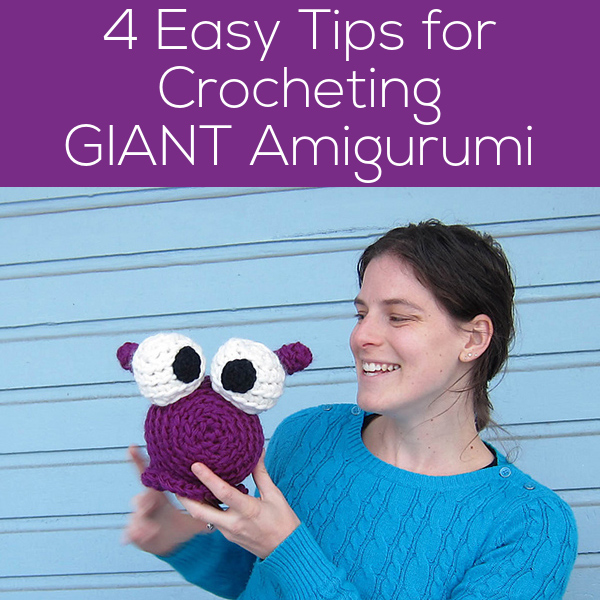
Return to the main table of contents for Let’s Learn to Crochet Amigurumi.

Move on to the lessons for crocheting more advanced shapes.

Happy stitching!

How to crochet a ruffle on a completed amigurumi

Today, I’m going to show you how to crochet a ruffle onto a (nearly) finished amigurumi.

For those of you who are participating in the slug-a-long, you’ll find that this is exactly how you attach the slug’s foot!

(Get the slug pattern here.)

Step 1: Attach a new length of yarn

For attaching a ruffle to an almost-finished piece, you’re going to start with an amigurumi that has been crocheted through the back loop only.

To form the new ruffle, we need to attach a new piece of yarn to begin crocheting with.

attaching a new piece of yarn to a crocheted piece

To begin, make a slip knot on your hook with the new length of yarn.

how to crochet a ruffle on a piece

Next, single crochet into a stitch on your amigurumi. Specifically, insert your hook through the front loop of a stitch (the ridge that is visible on the piece), wrap the yarn around the hook and pull through one loop, wrap again and pull through both loops.

Ta da!

This post has more info about starting a new yarn color this way.

Step 2: Crochet the foundation round

Now that you’ve attached the first stitch, you’ll crochet around, forming the base of your ruffle.

adding a ruffle to an amigurumi

Which stitches you select is up to you. To form an evenly-shaped ruffle, you may want to use locking stitch markers to plan the shape before crocheting.

Once you have finished the foundation round, look at your piece. Does the round look even when your amigurumi is sitting?

Attaching a ruffle

If so, you’re ready to keep going! If not, this is a good time to unravel and repeat this step, as the ruffle is built on the stitches you form in this round.

Step 3: Ruffle!

Once your foundation is set, start ruffling! To make a ruffle, you’ll increase around the first round you make (typically increasing in every stitch). For more ‘ruffle’, increase more stitches and for a less pronounced ruffle, increase with less frequency.

foot4

Fasten off, either when the instructions tell you to or when you’re ruffle is how you like it! Weave in ends.

And you’re done!

Don’t you feel like everything needs a ruffle, now?

Want a little tip? This is a great way to add extras to your amigurumi. You use the same technique to add a dress or skirt! Just crochet that foundation row right under the arms (for a dress) or around the waist (for a skirt). Easy peasy!

Here are handy links to all the posts about crocheting more advanced shapes. . .

Return to the main table of contents for Let’s Learn to Crochet Amigurumi.

Move on to the posts about troubleshooting common problems.

Happy stitching!

How to Crochet Skinny Parts Like Legs and Antennae

How to crochet skinny parts like legs and antennae - showing a crocheted purple slug with antennae as an example

Do you need to crochet skinny parts for things like antennae and legs? If there’s one part of an amigurumi pattern that can make people feel cranky, that’s it. They’re tiny and sometimes they wind up inside out! Eep!

Today, I’ll show you how to make sure you’re crocheting right-side out and how to count the rounds without a stitch marker.

Crocheting skinny parts right-side out

When you’re crocheting a large piece, it actually doesn’t matter which side is out. If it’s wrong-side out, you just turn it around once you’re done. No biggie. (Read am I crocheting inside-out for more details)

However, the antennae of the slug (and legs of the ladybug and mosquito and fly) are so small, it’s important to crochet with the right-side out.

Let’s say your piece looks like this after round 2:

crocheting a small piece in the round

You can tell it’s inside-out because the pretty ridges (from the front loops) aren’t showing up on the outside. All you need to do is turn it right-side out!

Turning antennae right-side out

Ta da!

crocheting a small piece in the round

Now, keep your piece like this, and continue crocheting. It’ll be right-side out when you’re done!

slug antennae 4

Did you forget and now you have a long, inside-out tube? No worries! Thread the tail from starting your crochet onto a tapestry needle, poke it into your tube from the bottom and pull it out the top, then pull on the tail to turn your tube right side out. Easy peasy.

How to count rounds without a stitch marker

For parts as skinny as an antennae or a leg, you can crochet without a stitch marker! (shocking, I know!)

Here’s a little video to help you out: (to see full-screen, click play, then click the box in the lower right-hand corner)


Happy crocheting!

Hopefully, these two tips will have you crocheting skinny parts with ease!

Here are handy links to all the crochet troubleshooting posts. . .

Return to the main table of contents for Let’s Learn to Crochet Amigurumi.

Happy stitching!

How to count stitches in your first round of amigurumi

Crochet a long Slug amigurumi freshstitches

We’re right in the middle of the slug-a-long, so you can guess what I’m crocheting… a slug!

Actually, I’m making two. I’m making a yellow one, like the slug pictured in the pattern and I’m also making a giant slug:

Crocheting a giant slug

Yarn: Vickie Howell Sheep(ish) in Magenta, 4 strands held together
Hook: size N
So much fun!

How to count the stitches in the first round

For those of you who are crocheting-a-long (or slugging-a-long?) with me, I’ve made a video to show you how to count the stitches in your first round.

In my opinion, counting the stitches in the first round is the trickiest, because there’s a weird little extra bit hanging around from your initial chain two. If you accidentally crochet into that weird bit, you’re count for the second round will be off, too!

So, have a peek at the video!

To view the video in full-screen, click play, then click on the rectangle in the bottom right-hand corner!

Of course, this tip will help you out with any amigurumi you’re crocheting… hope you’ll find it useful!

Are you working on a fun slug?

I can’t tell you how excited I am about my giant slug… it’s going to be so big!

That’s what I’ve been up to this week… how about you? I hope you have an awesome Wednesday, and get some great knitting/crocheting done this week!

If you want to check out more Work-In-Progress posts, please check out Tami’s Ami’s Blog, who’s been organizing a great WIP Wednesday blog theme! And, don’t forget to come back for FO (Finished Object) Friday!

5 ways to modify an amigurumi pattern

It’s really fun to modify an amigurumi pattern!

You can make the same pattern a hundred times and have a hundred different critters that all look different from each other.

Of course, you can follow the pattern exactly. There’s no shame in doing this! Use the recommended yarn, recommended hook size and follow the instructions to the letter. That way you’ll get exactly what you see on the pattern cover.

But try these fun ideas to modify an amigurumi pattern. . .

1. Change the color.

Pick any color you like! And remember – it doesn’t have to be realistic. It’s especially fun to pick seasonal colors to make a holiday version of a pattern you already have.

Take a look at this fun Valentine’s Day owl made with the Nelson the Owl pattern.

modify an amigurumi pattern by changing the color - pink and red owl for Valentine's Day - crocheted with the Nelson the Owl amigurumi pattern

Or how about this adorable red, white and blue version of Roosevelt the Monster?

modify an amigurumi pattern by changing the color - cute red, white and blue monster crocheted with the Roosevelt the Monster pattern

The easiest way to modify an amigurumi pattern is to change the color.

2. Make a giant amigurumi

To make a super-big amigurumi, pick a thick yarn and use a larger size hook. Then, follow the pattern!

I adore this giant slug that Stacey made!

modify an amigurumi pattern by changing the size - giant slug crocheted with the Hannah the Slug pattern

If you can’t find a thick yarn, hold two strands of yarn together. It’ll be double the thickness of the original!

Don’t know what size hook to use? Don’t fret. Check the yarn label for hook recommendations, or (if you don’t have a label) guess and try a swatch. As long as your fabric doesn’t have holes, it’s a fine hook!

Stacey has more tips for crocheting a giant amigurumi here.

3. Make a teeny-tiny amigurumi

Instead of going big… go small!

modify an amigurumi pattern by changing the size - small green crab ornament made with the Tipper the Tiny Crab pattern

Alyssa made Tipper the Tiny Crab extra tiny by using super thing yarn.

I like using a fingering weight yarn (i.e. sock yarn) and a size C hook… but I’ve seen others go even smaller! Try crochet thread and a steel crochet hook for a super-tiny guy!

Update: If you want more info about modifying an amigurumi pattern by changing the size, Planet June has a great post here. She actually created a conversion table showing what kind of increase or decrease to expect with which yarn sizes!

4. Add stripes or a gradient

It’s easy to add stripes to your amigurumi… just change yarn colors every few rounds. This is a fabulous way to use up all those little odds-and-ends of yarn!

Modify an amigurumi pattern by adding stripes - solid and striped bunnies crocheted with the Ringo Rabbit pattern

I used several different colors to make a striped Easter bunny version of the Ringo Rabbit pattern.

This post shows how to get a clean color change, and this one shows a way to change colors that minimizes the jog you get with that change.

Even easier… use a self-striping or gradient yarn, like the one I used for this Cooper Cat.

striped brown cat made with the Cooper Cat crochet pattern

5. Add some glitz

Maybe your amigurumi just wants a little pizazz!

modify an amigurumi pattern by adding beads - beaded orange crab made with the Tipper the Tiny Crab pattern

You can add some beads (there’s a tutorial here showing how to crochet with beads), or pick a yarn that already has beads or sequins added in. Fun!

Whatever method you choose to modify an amigurumi pattern – change is good! It’s like getting a whole new pattern!

Happy stitching!

Join the slug-a-long!

Crochet a long Slug amigurumi freshstitches

I know you’ve been gearing up for the next crochet-a-long! This one’s a… slug-a-long!

That’s right! This month, we’re crocheting Hannah the Slug. She’s a great pattern for those of you who have conquered your first amigurumi, and are looking for a fun project where you’ll learn something new, but isn’t too difficult.

Isn’t she cute?

amigurumi crochet slug

And of course… Hannah looks great in any color. And, since she only uses 35 yards of yarn, this is a great project for using up a little bit of leftover yarn from your stash!

Ready to join in? Grab the pattern and get started crocheting with us!


Join the CAL!

Joining in the CAL is easy! Get yourself a copy of the the pattern, grab your materials and read all the slug-a-long posts here to get all of the helpful crochet/amigurumi tips that will guide you along the way!

If you’d like, you can even stick this adorable badge on your blog (right click and save, then link the photo to this post!) to let folks know you’re joining in:

slug-a-long badge

Are you in?

It’s going to be a blast… and I really hope you join us! Go ahead and leave me a comment… and tell me about your slug-a-long plans!