![]()
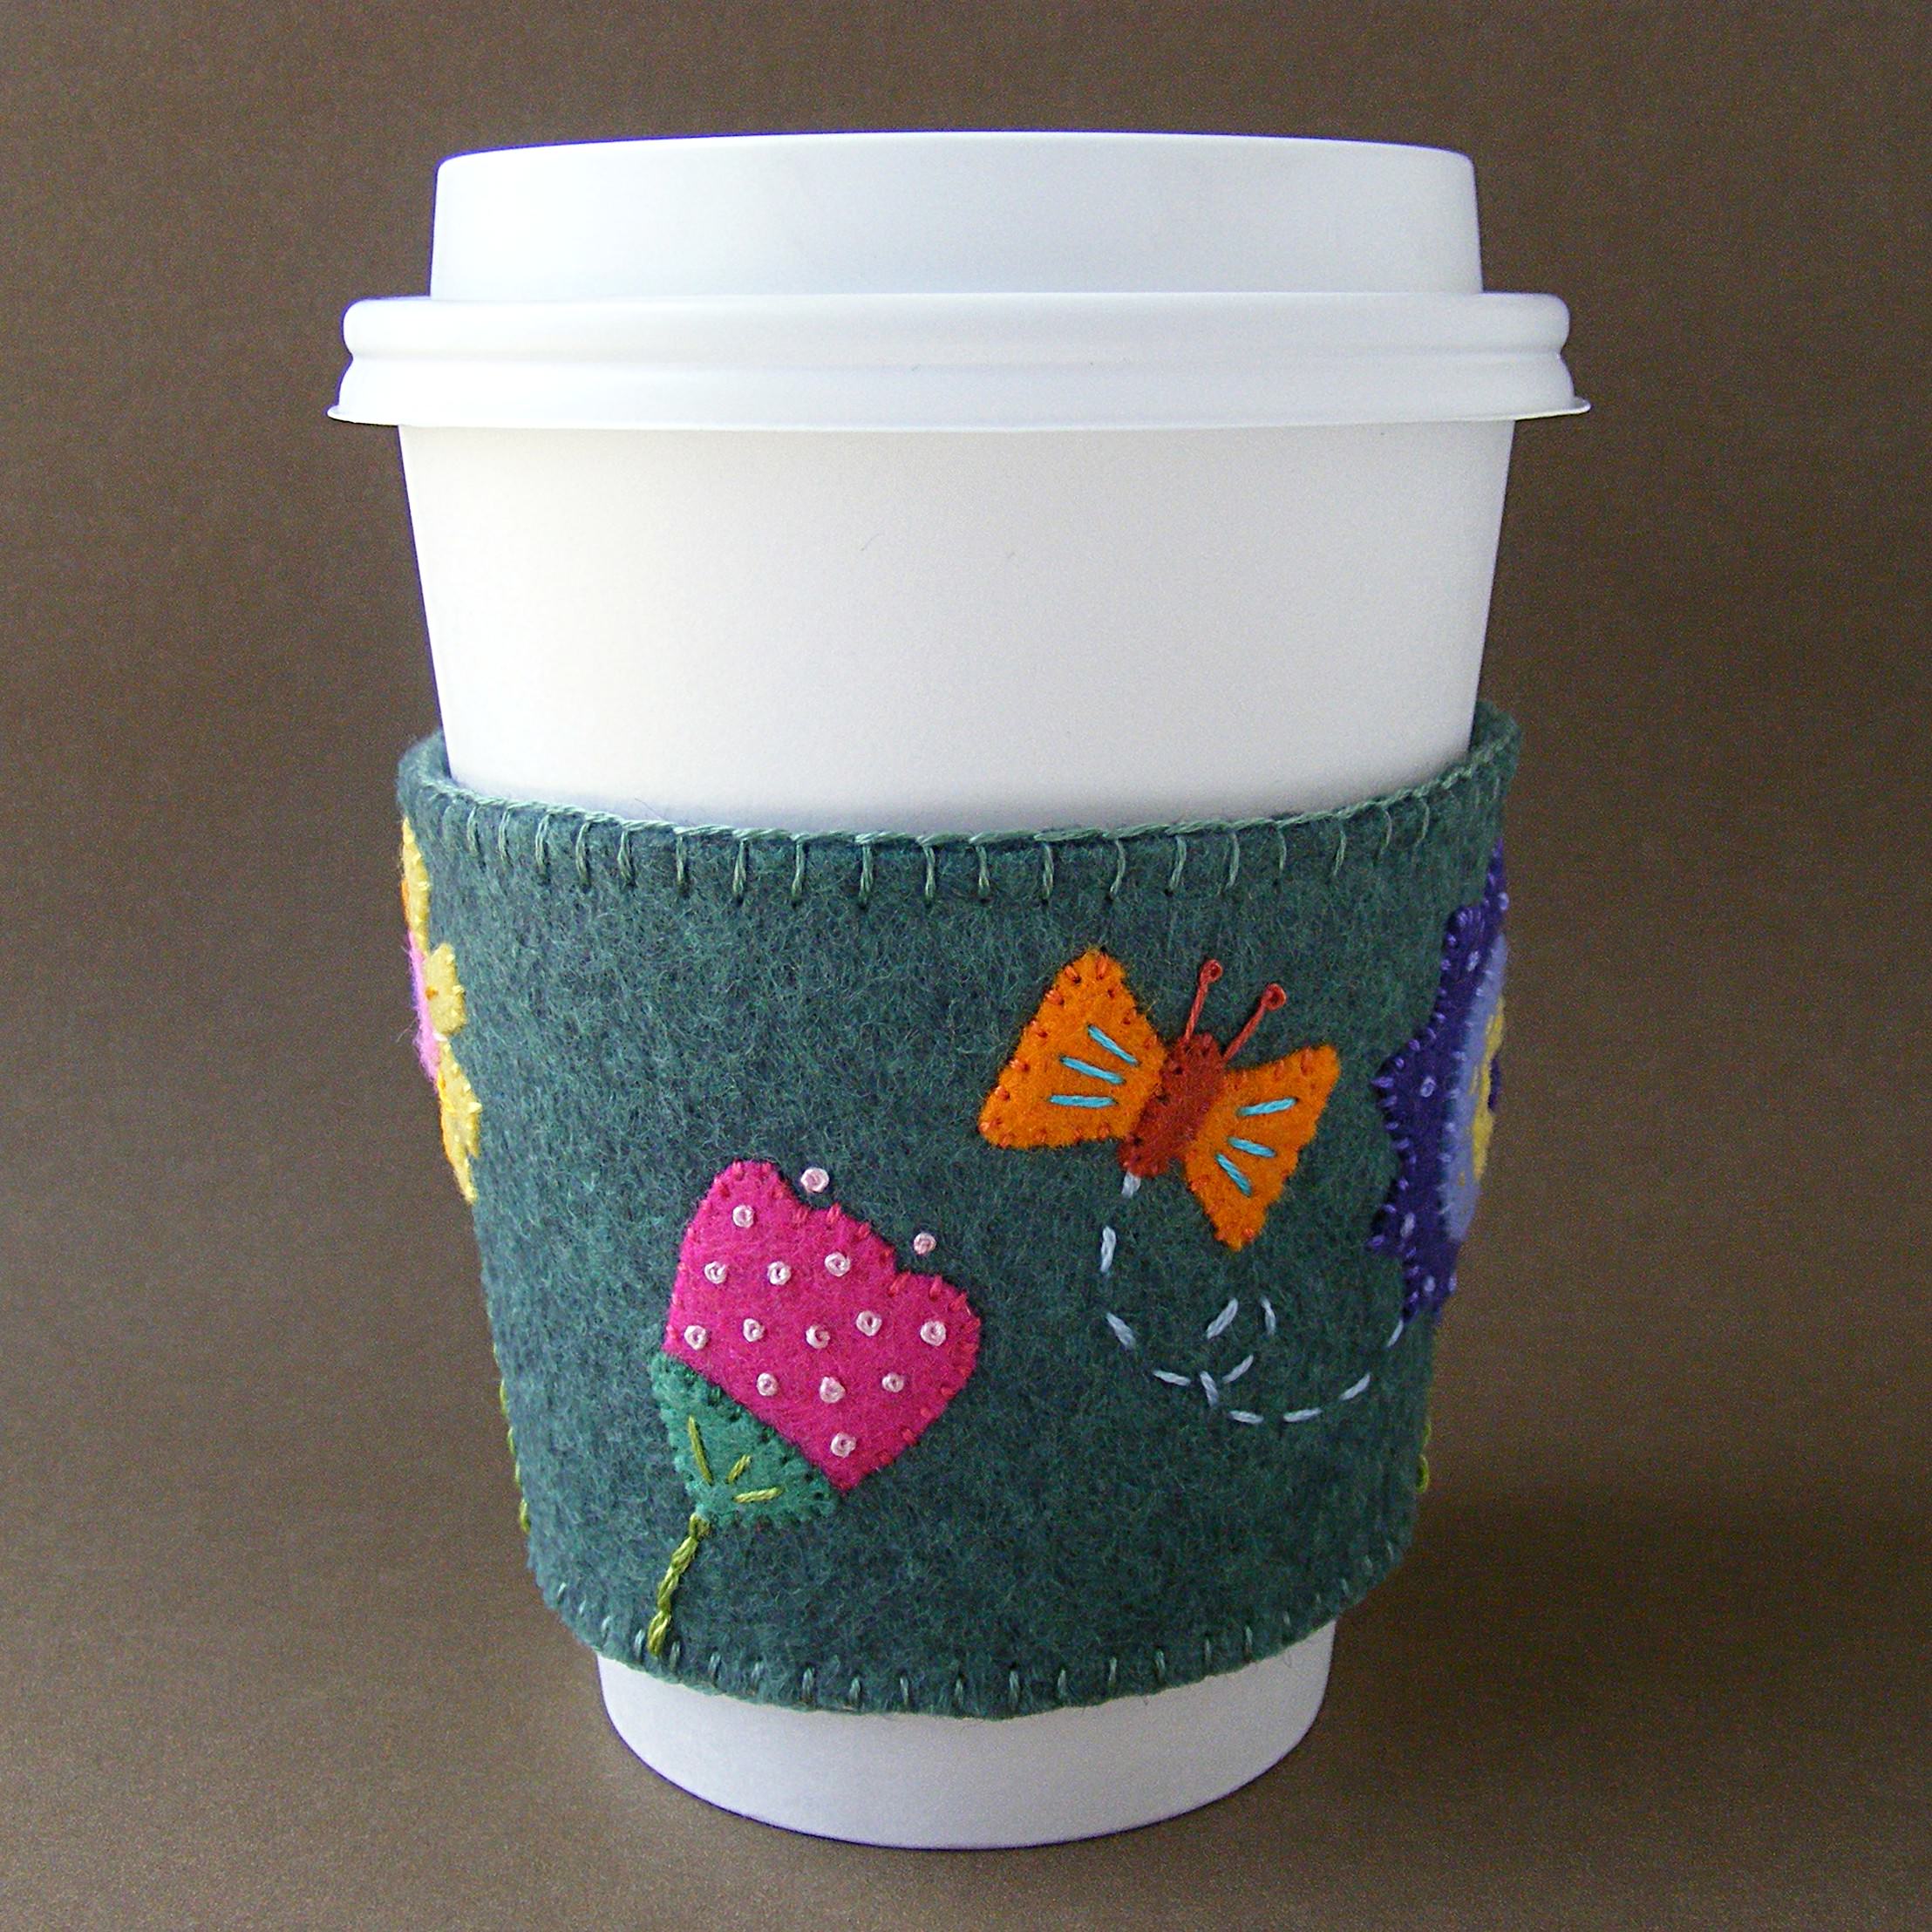
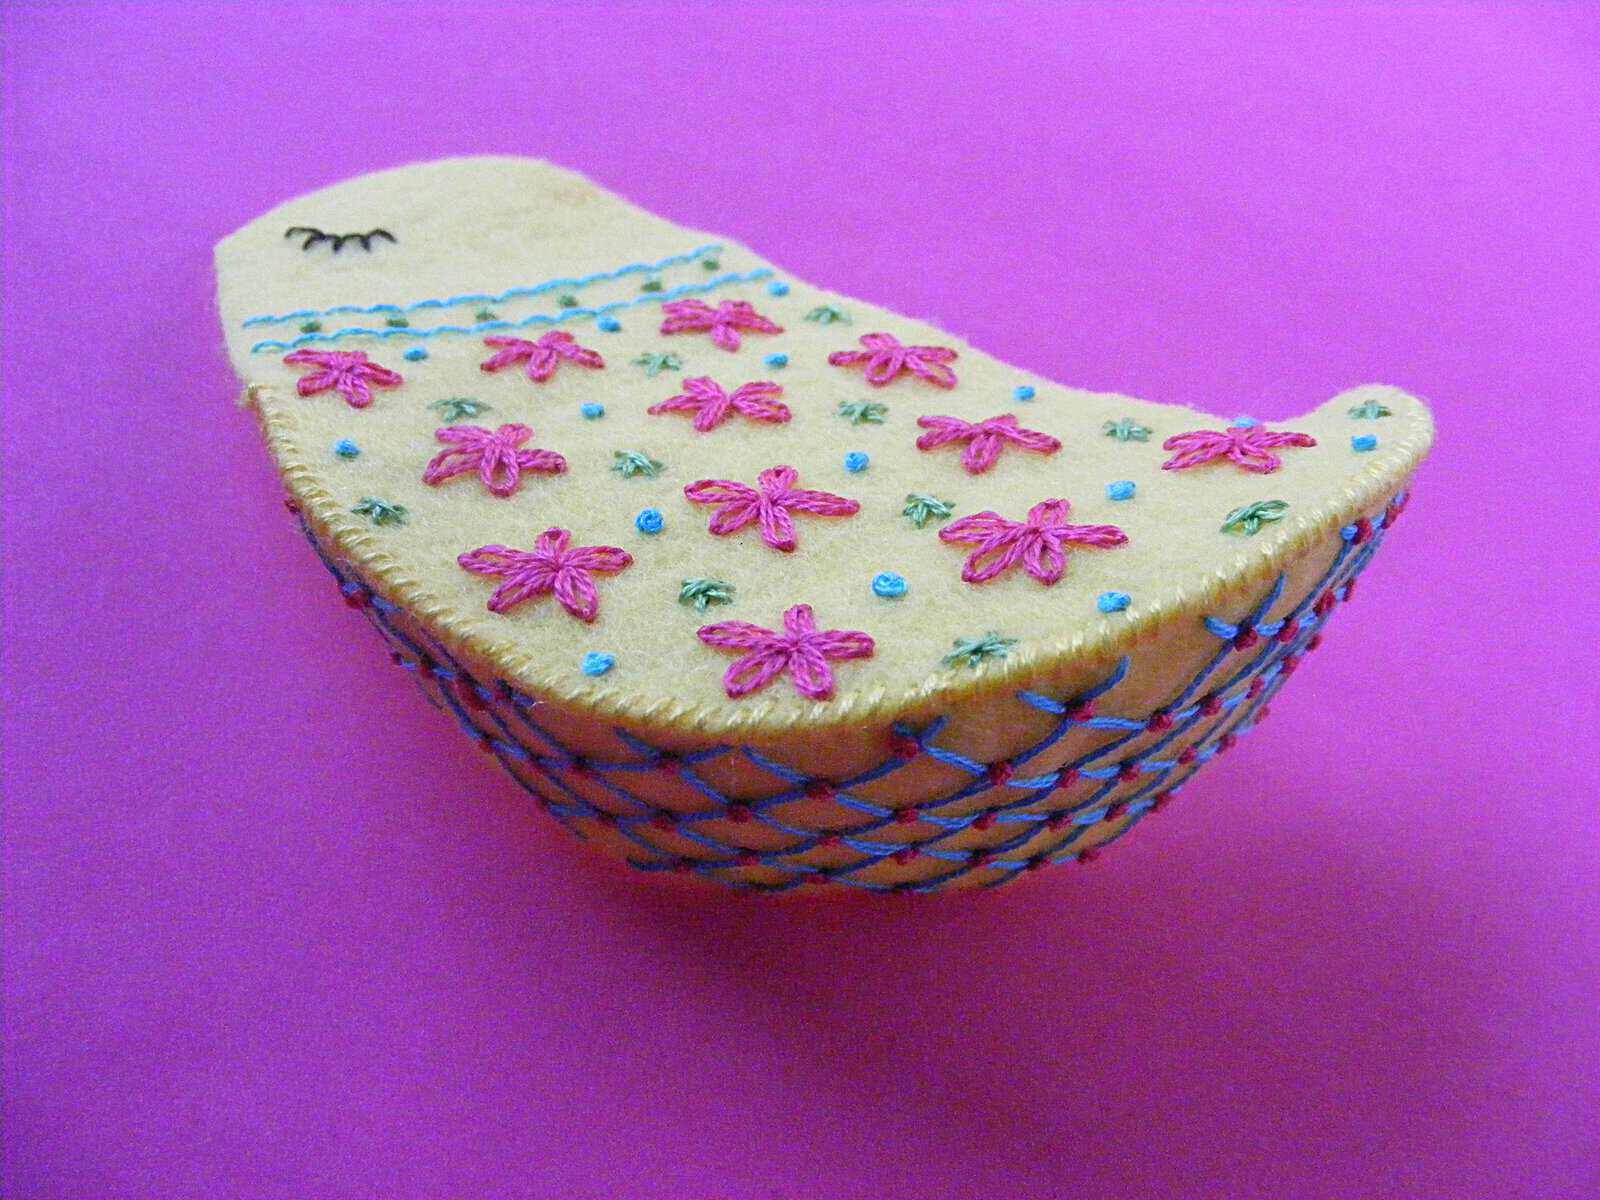
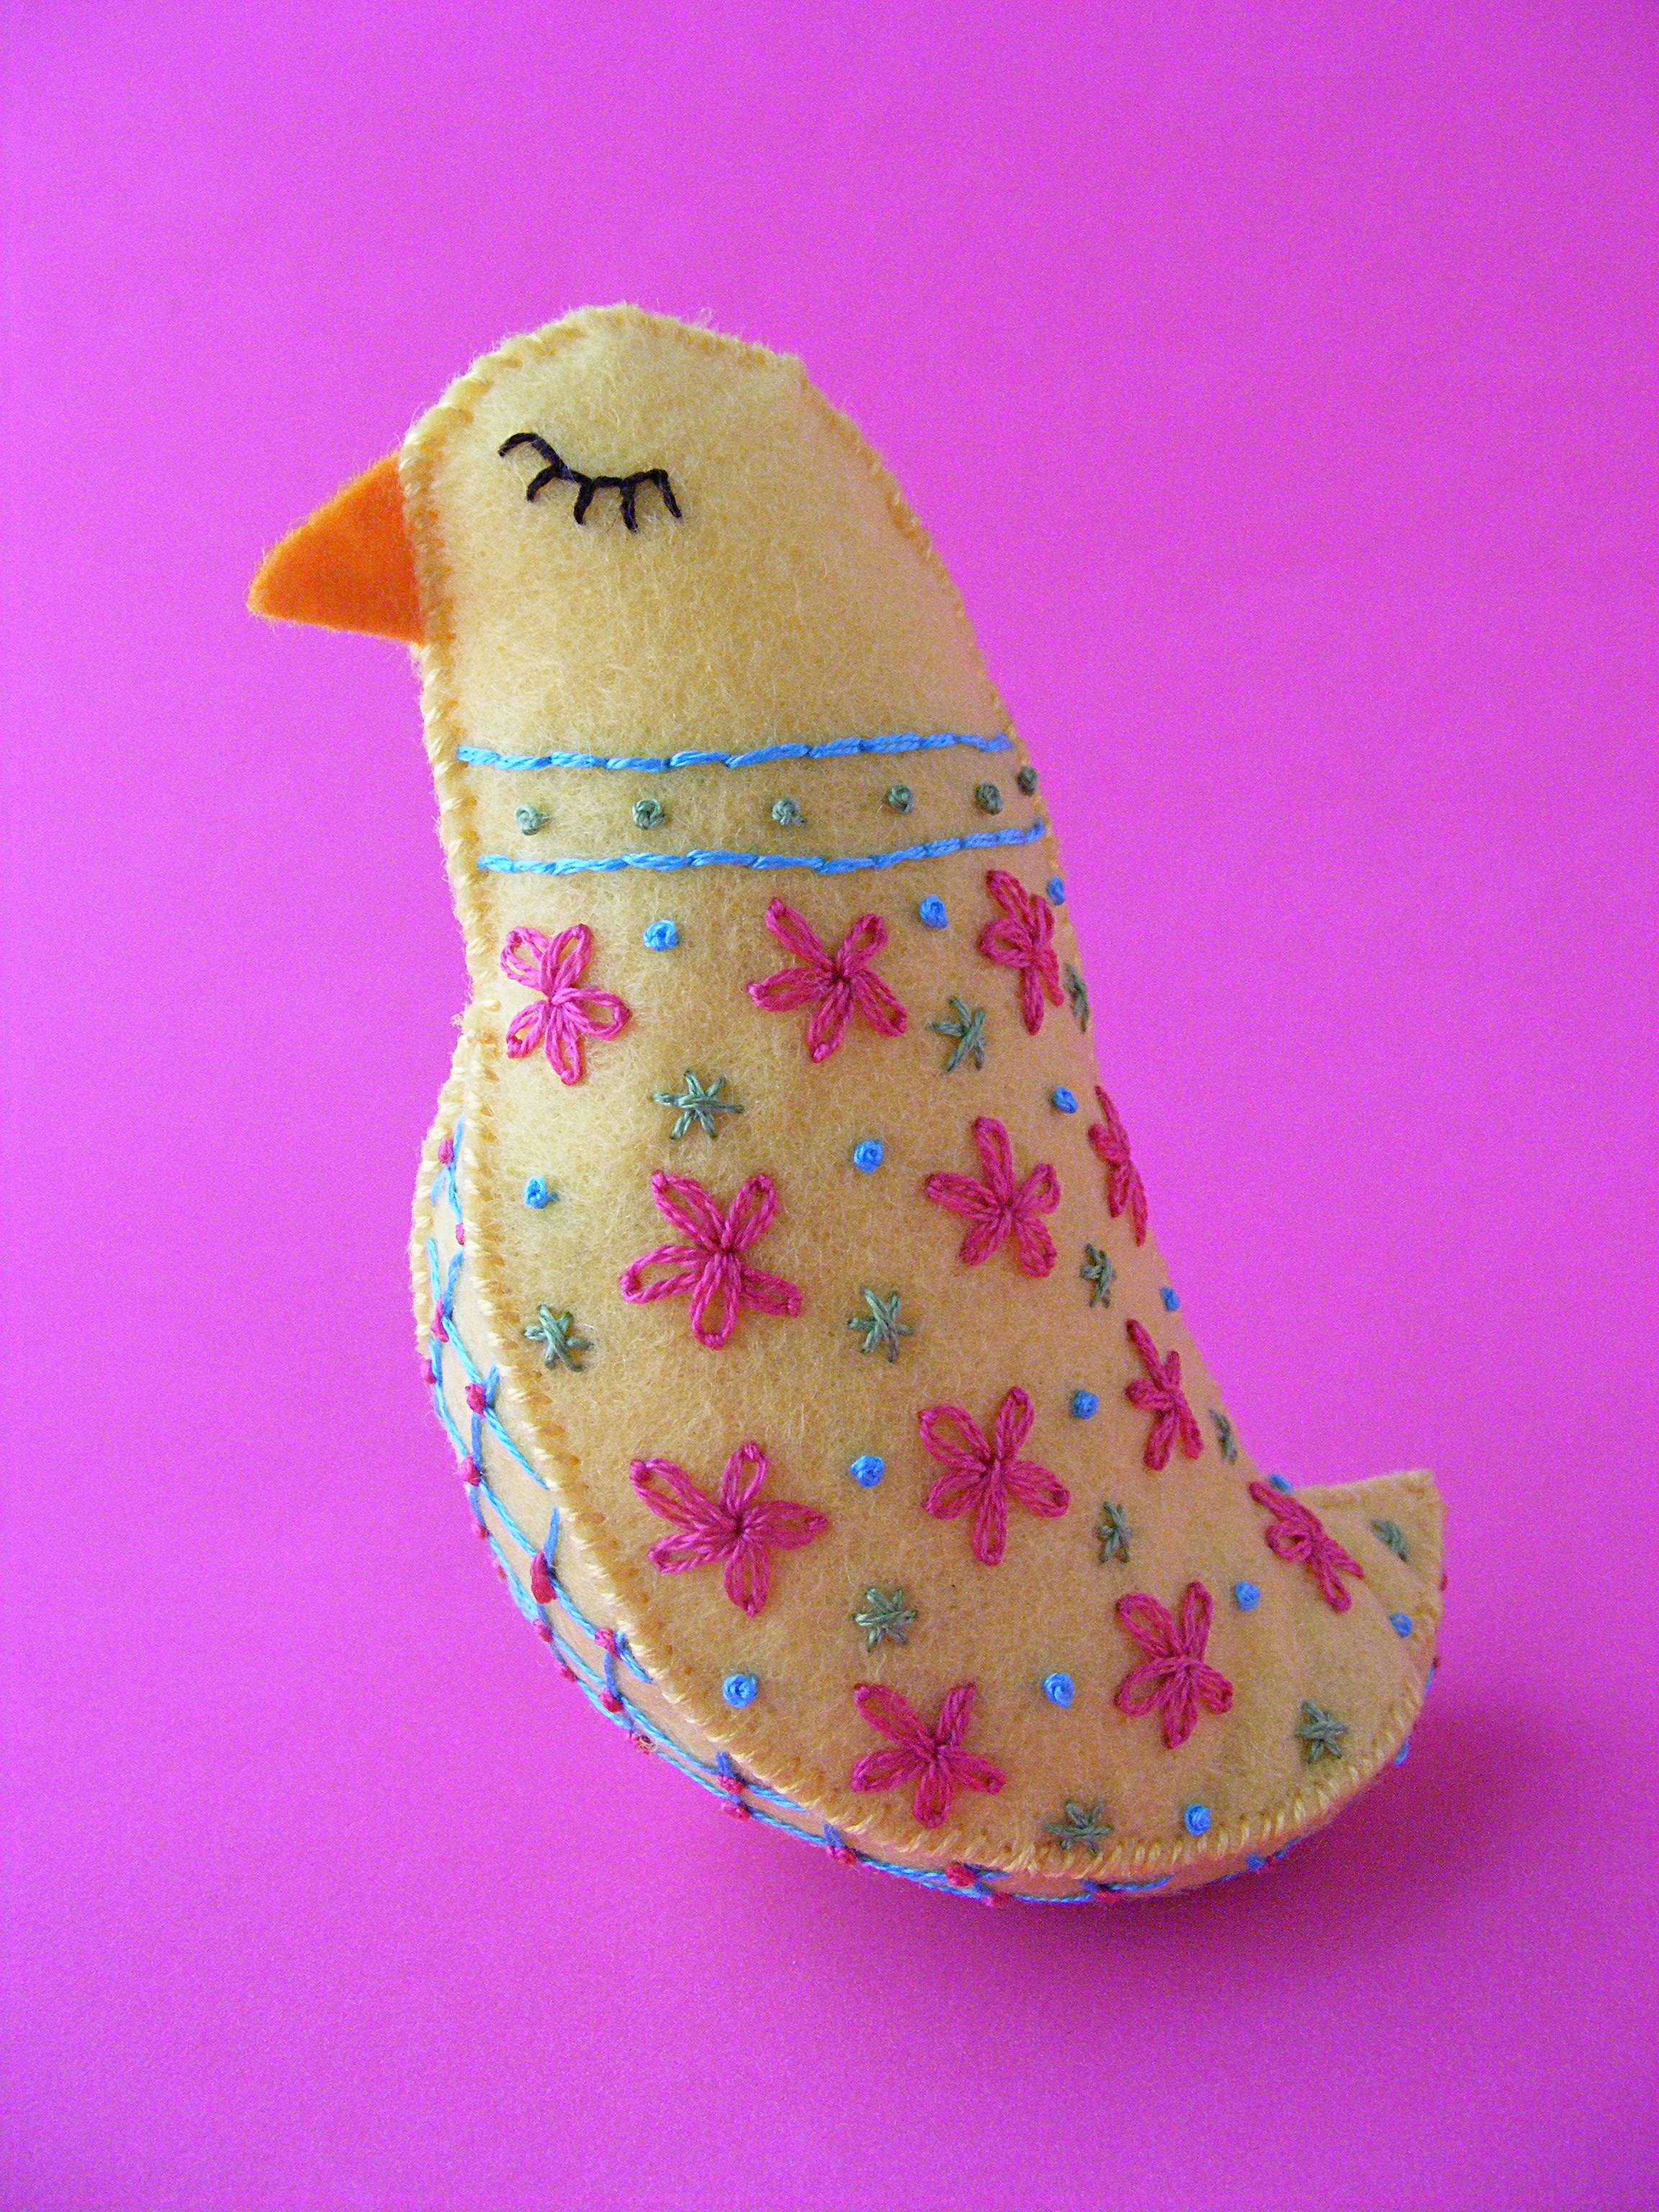
Brighten up your world a bit with Petal – a free felt bird pattern.
Isn’t she pretty?
She looks complicated – but she’s really not hard to make. It’s all hand embroidery and hand sewing, so it’s not fast. But this is a project that takes more patience than skill. Expect to spend a couple of evenings on her. Or him. I guess in real life it’s the boy birds who are all fancy – but I thought the finished one looked like a gentle girl named Petal. 🙂
It uses just a few of the most basic embroidery stitches and simple whipstitch to put all the pieces together.
This project uses one half sheet of lovely wool felt (I used banana cream) plus a tiny scrap of contrasting color for the beak (I used mac & cheese) and some colorful embroidery thread. I also use The Magical Embroidery Stuff to mark all that pretty embroidery. It makes things sooooooo easy!
Ready to make her? Here’s how!
Step 1
Download the pattern pieces and print or trace it onto a sheet of Sulky Sticky Fabri-solvy.
You can print all the pieces needed for two birds on a single page, so that’s how it’s laid out. Save the other pieces to make a matching bird for a lucky friend. 🙂
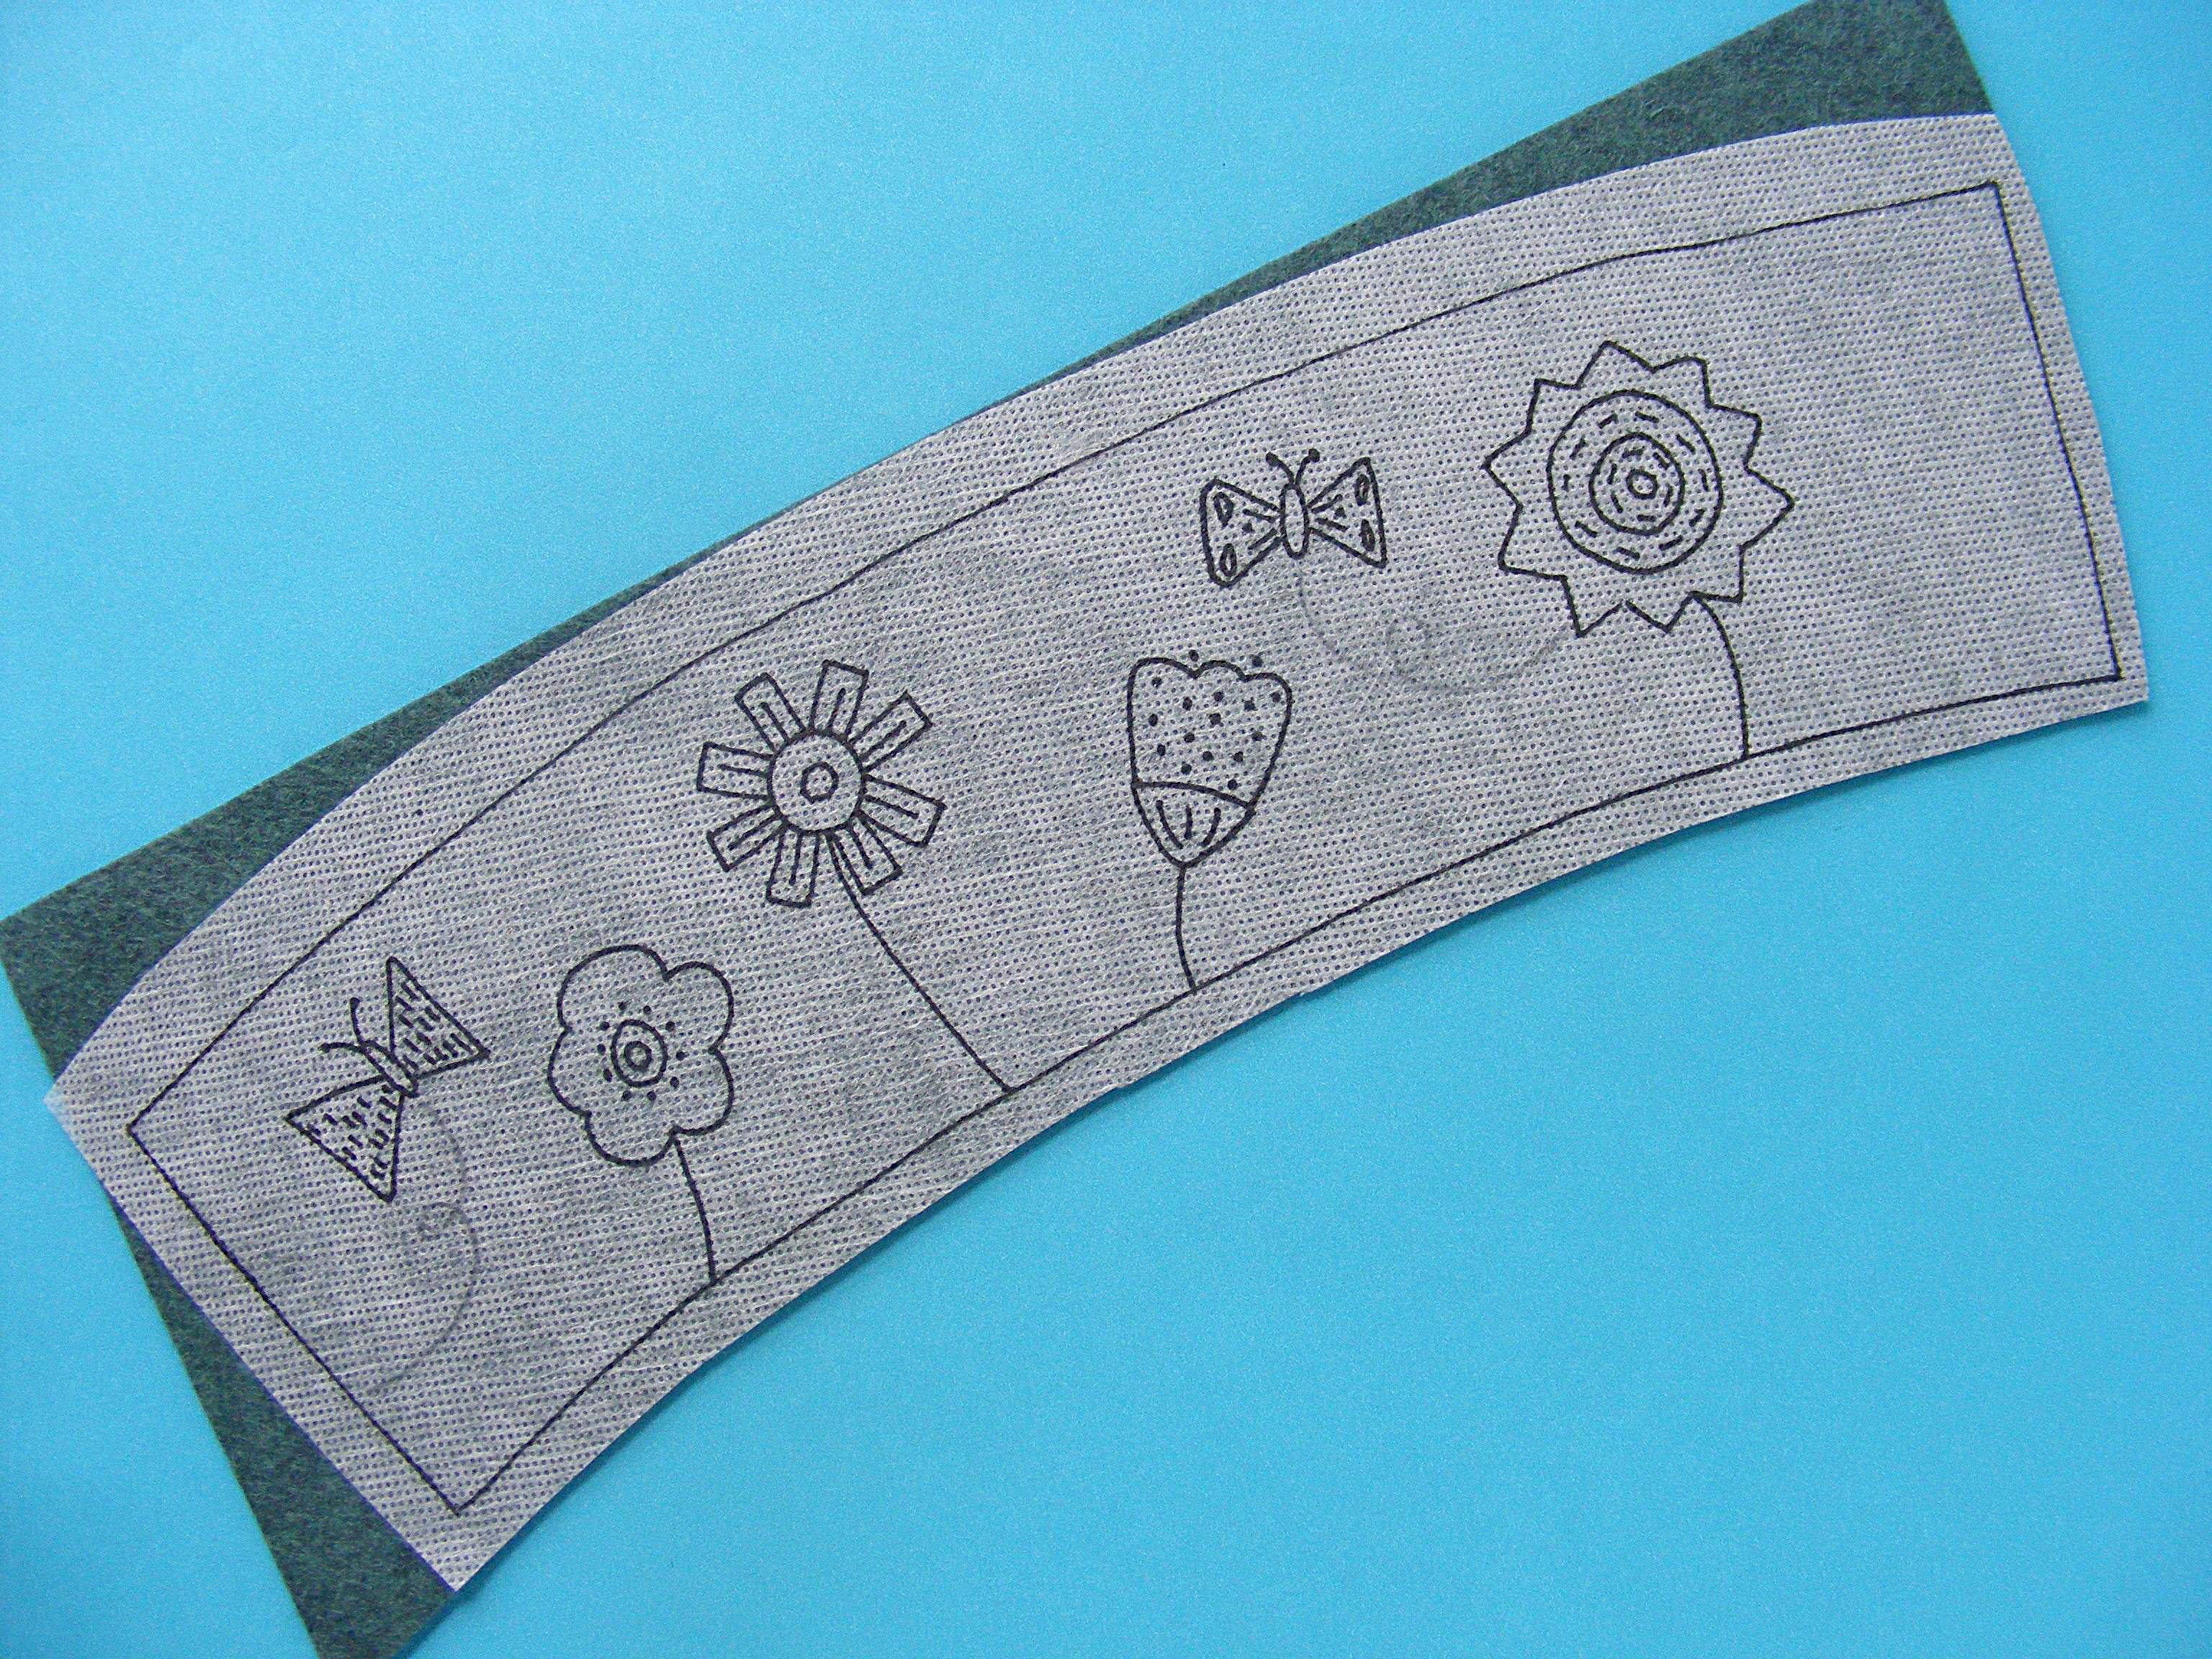
Step 2
Roughly cut out the pattern pieces and stick them to the felt.
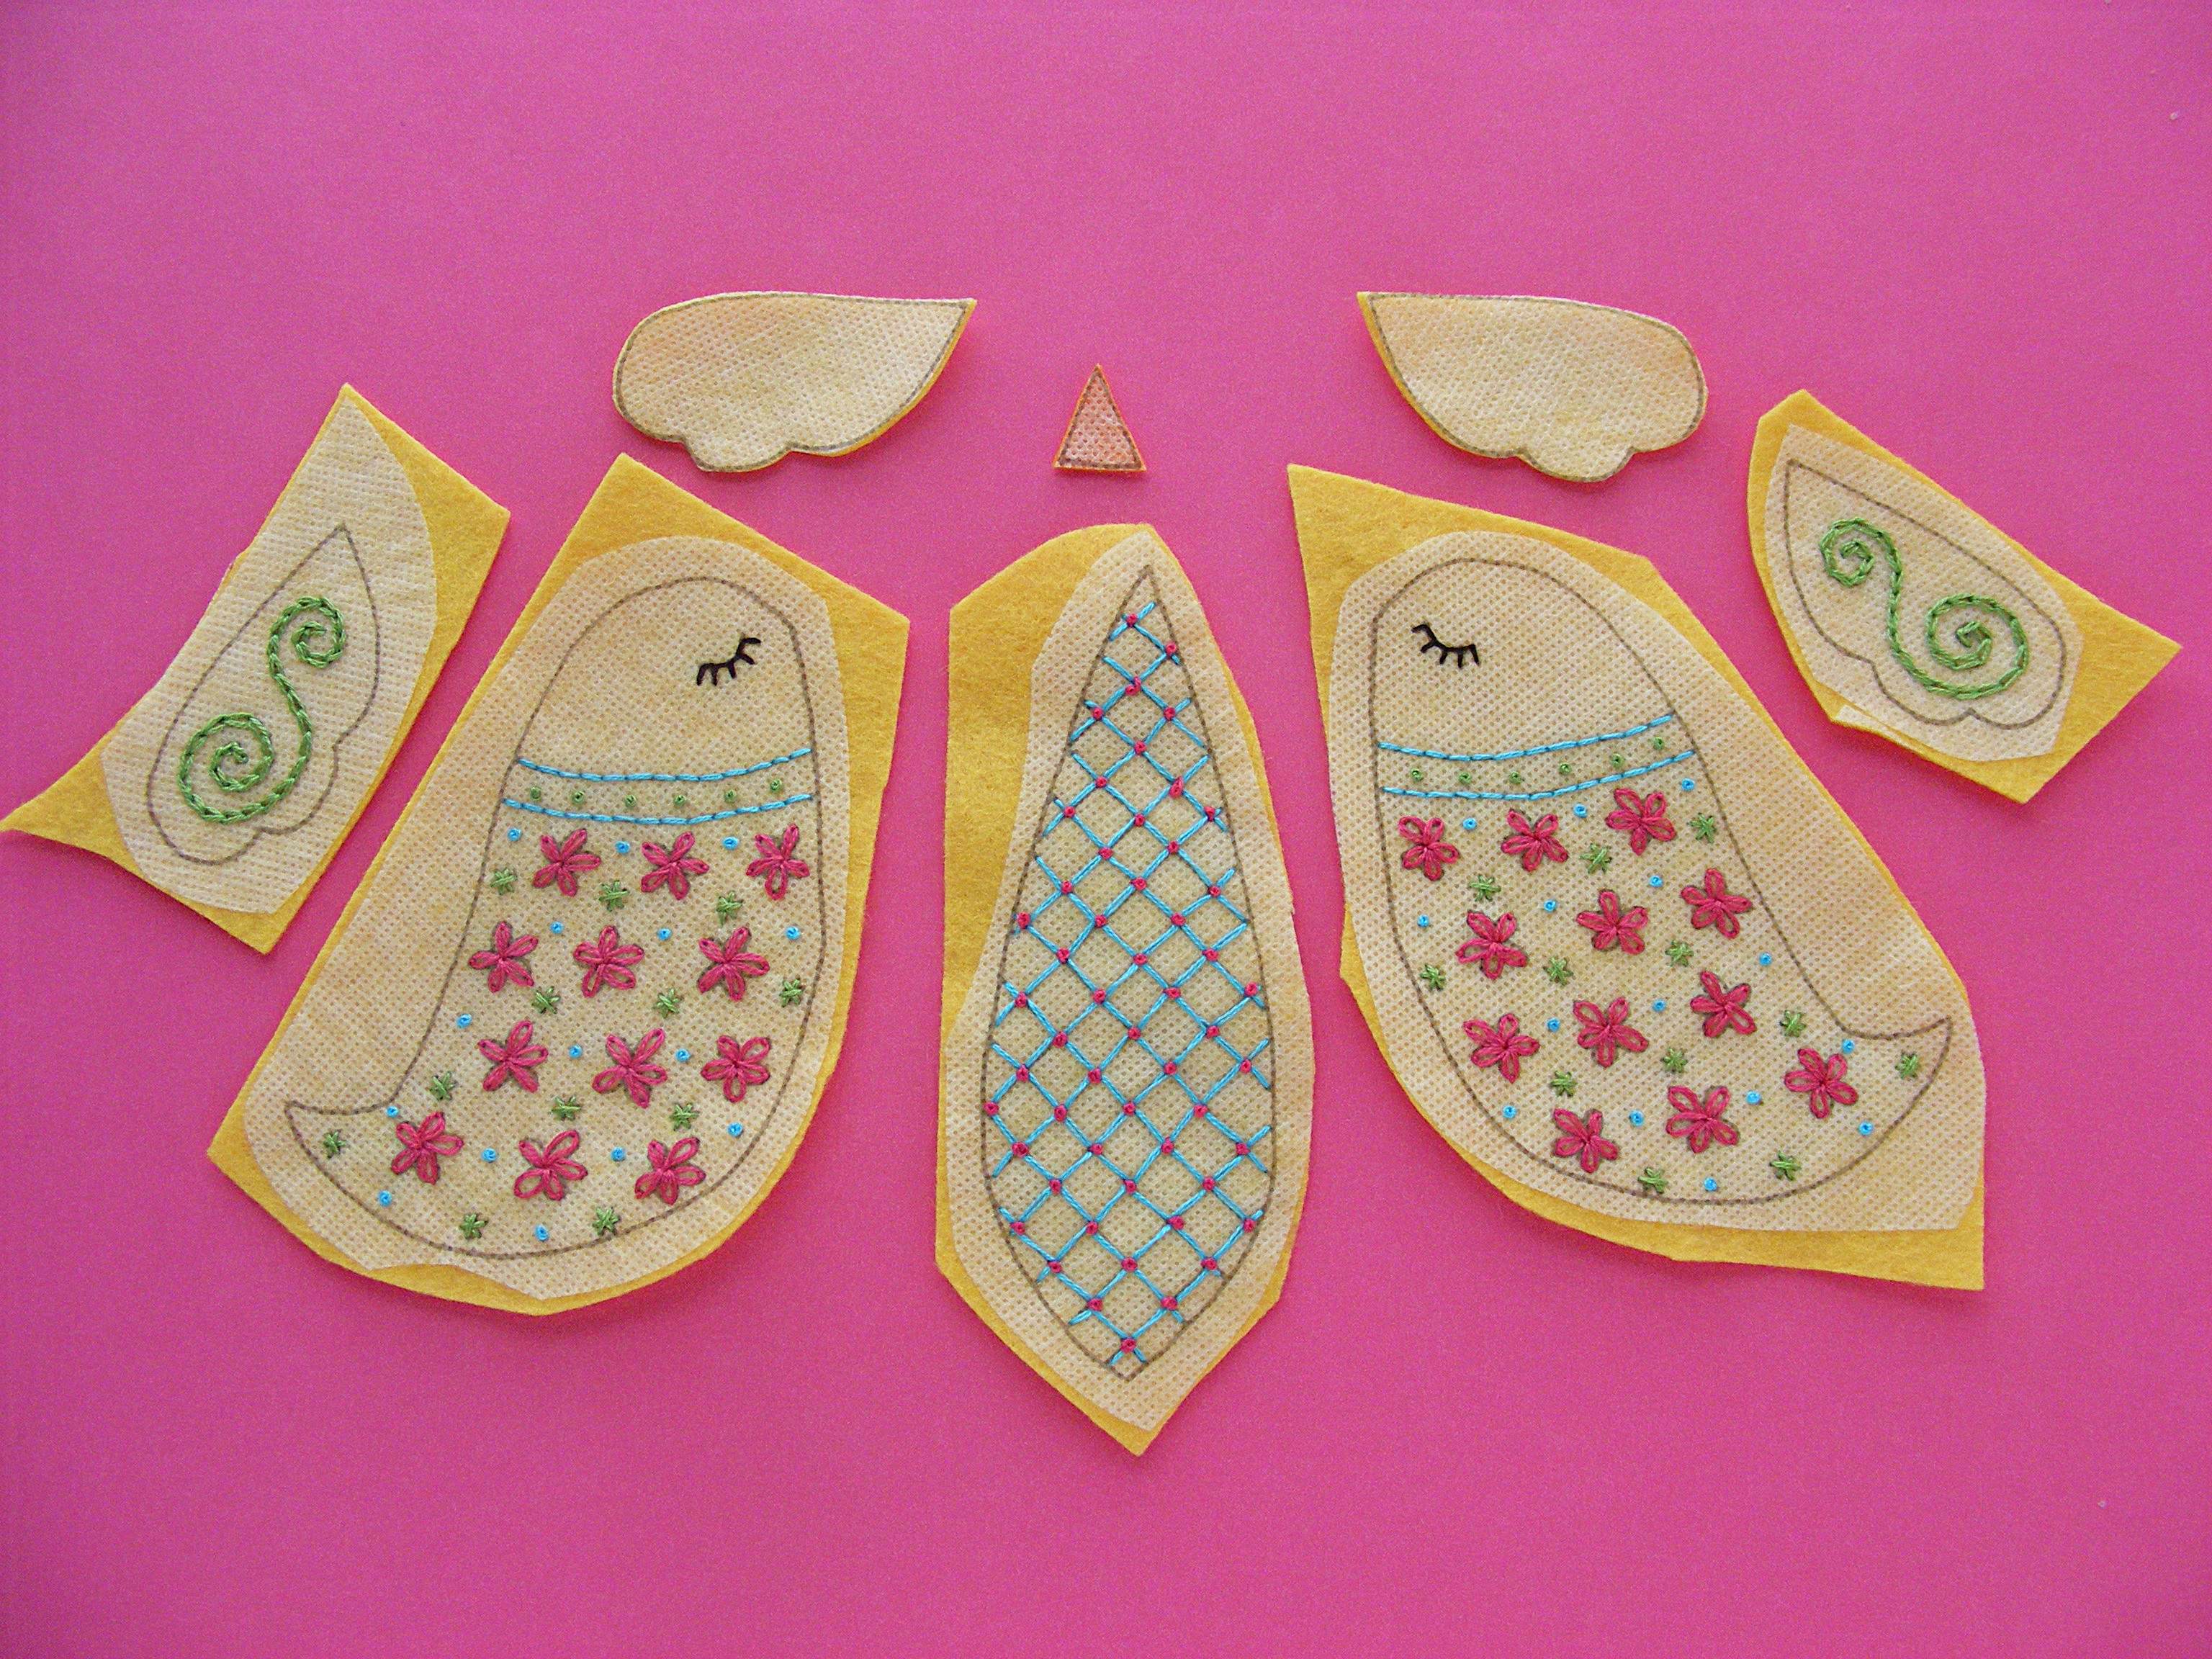
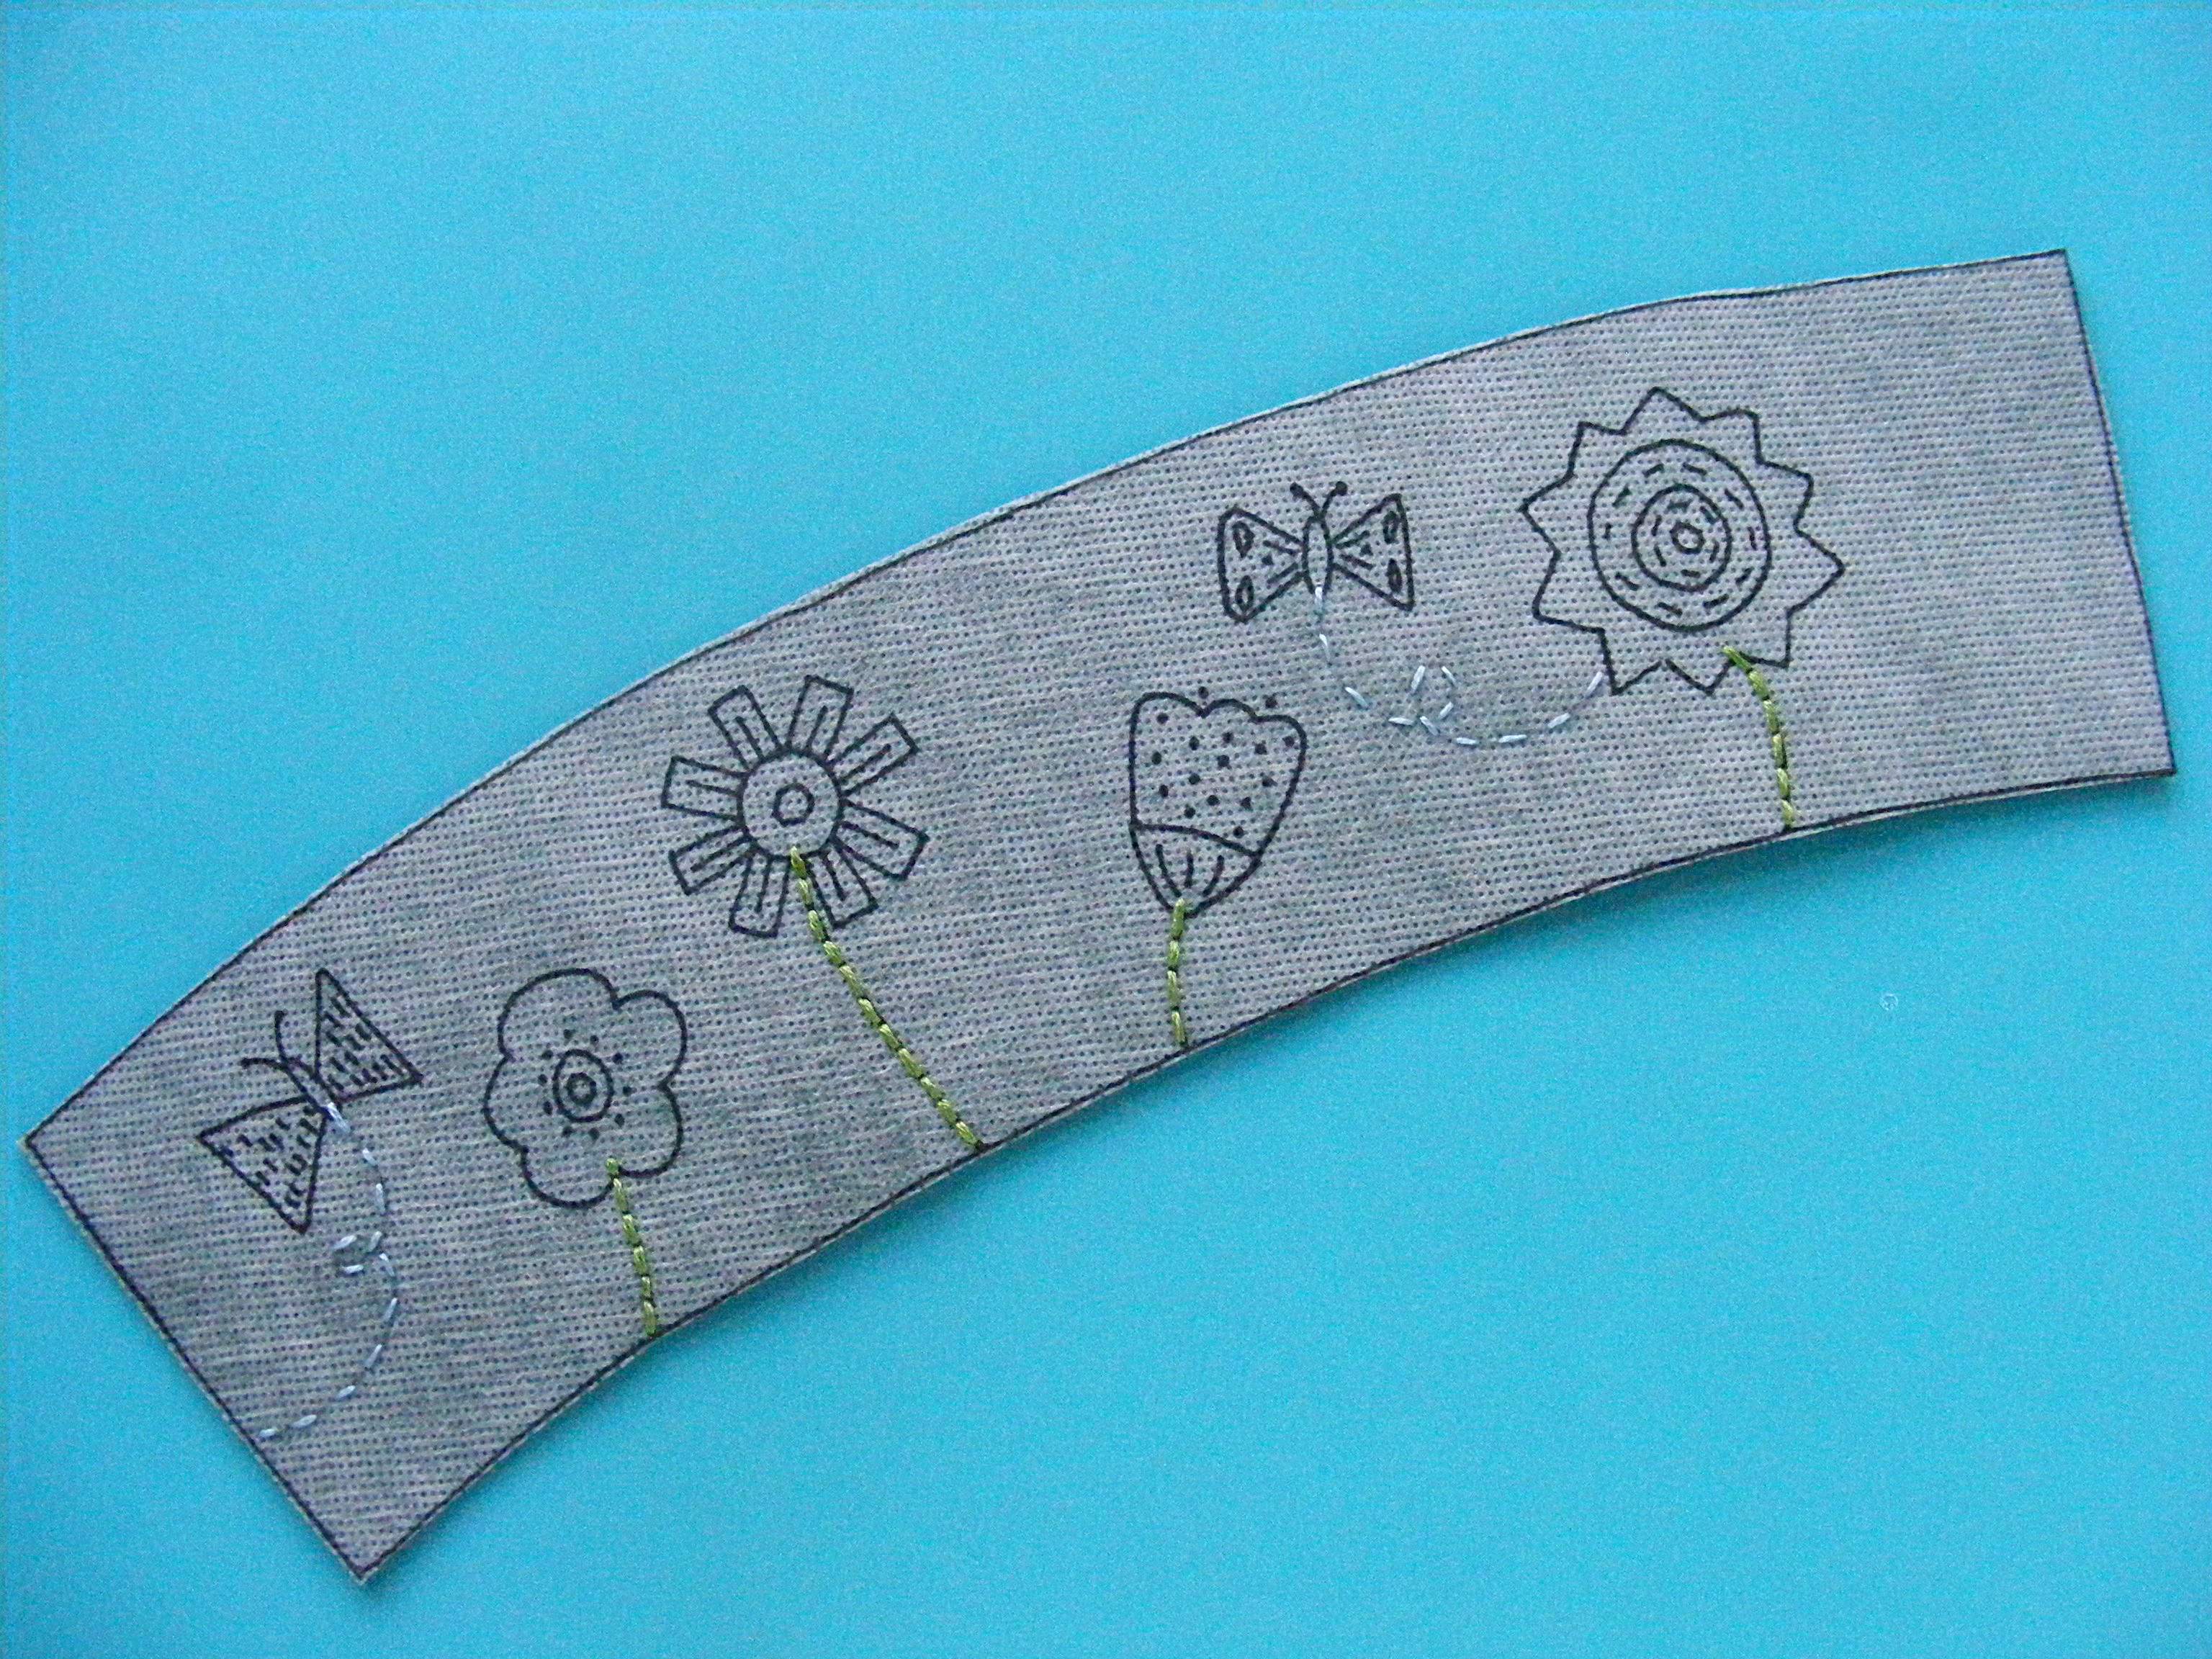
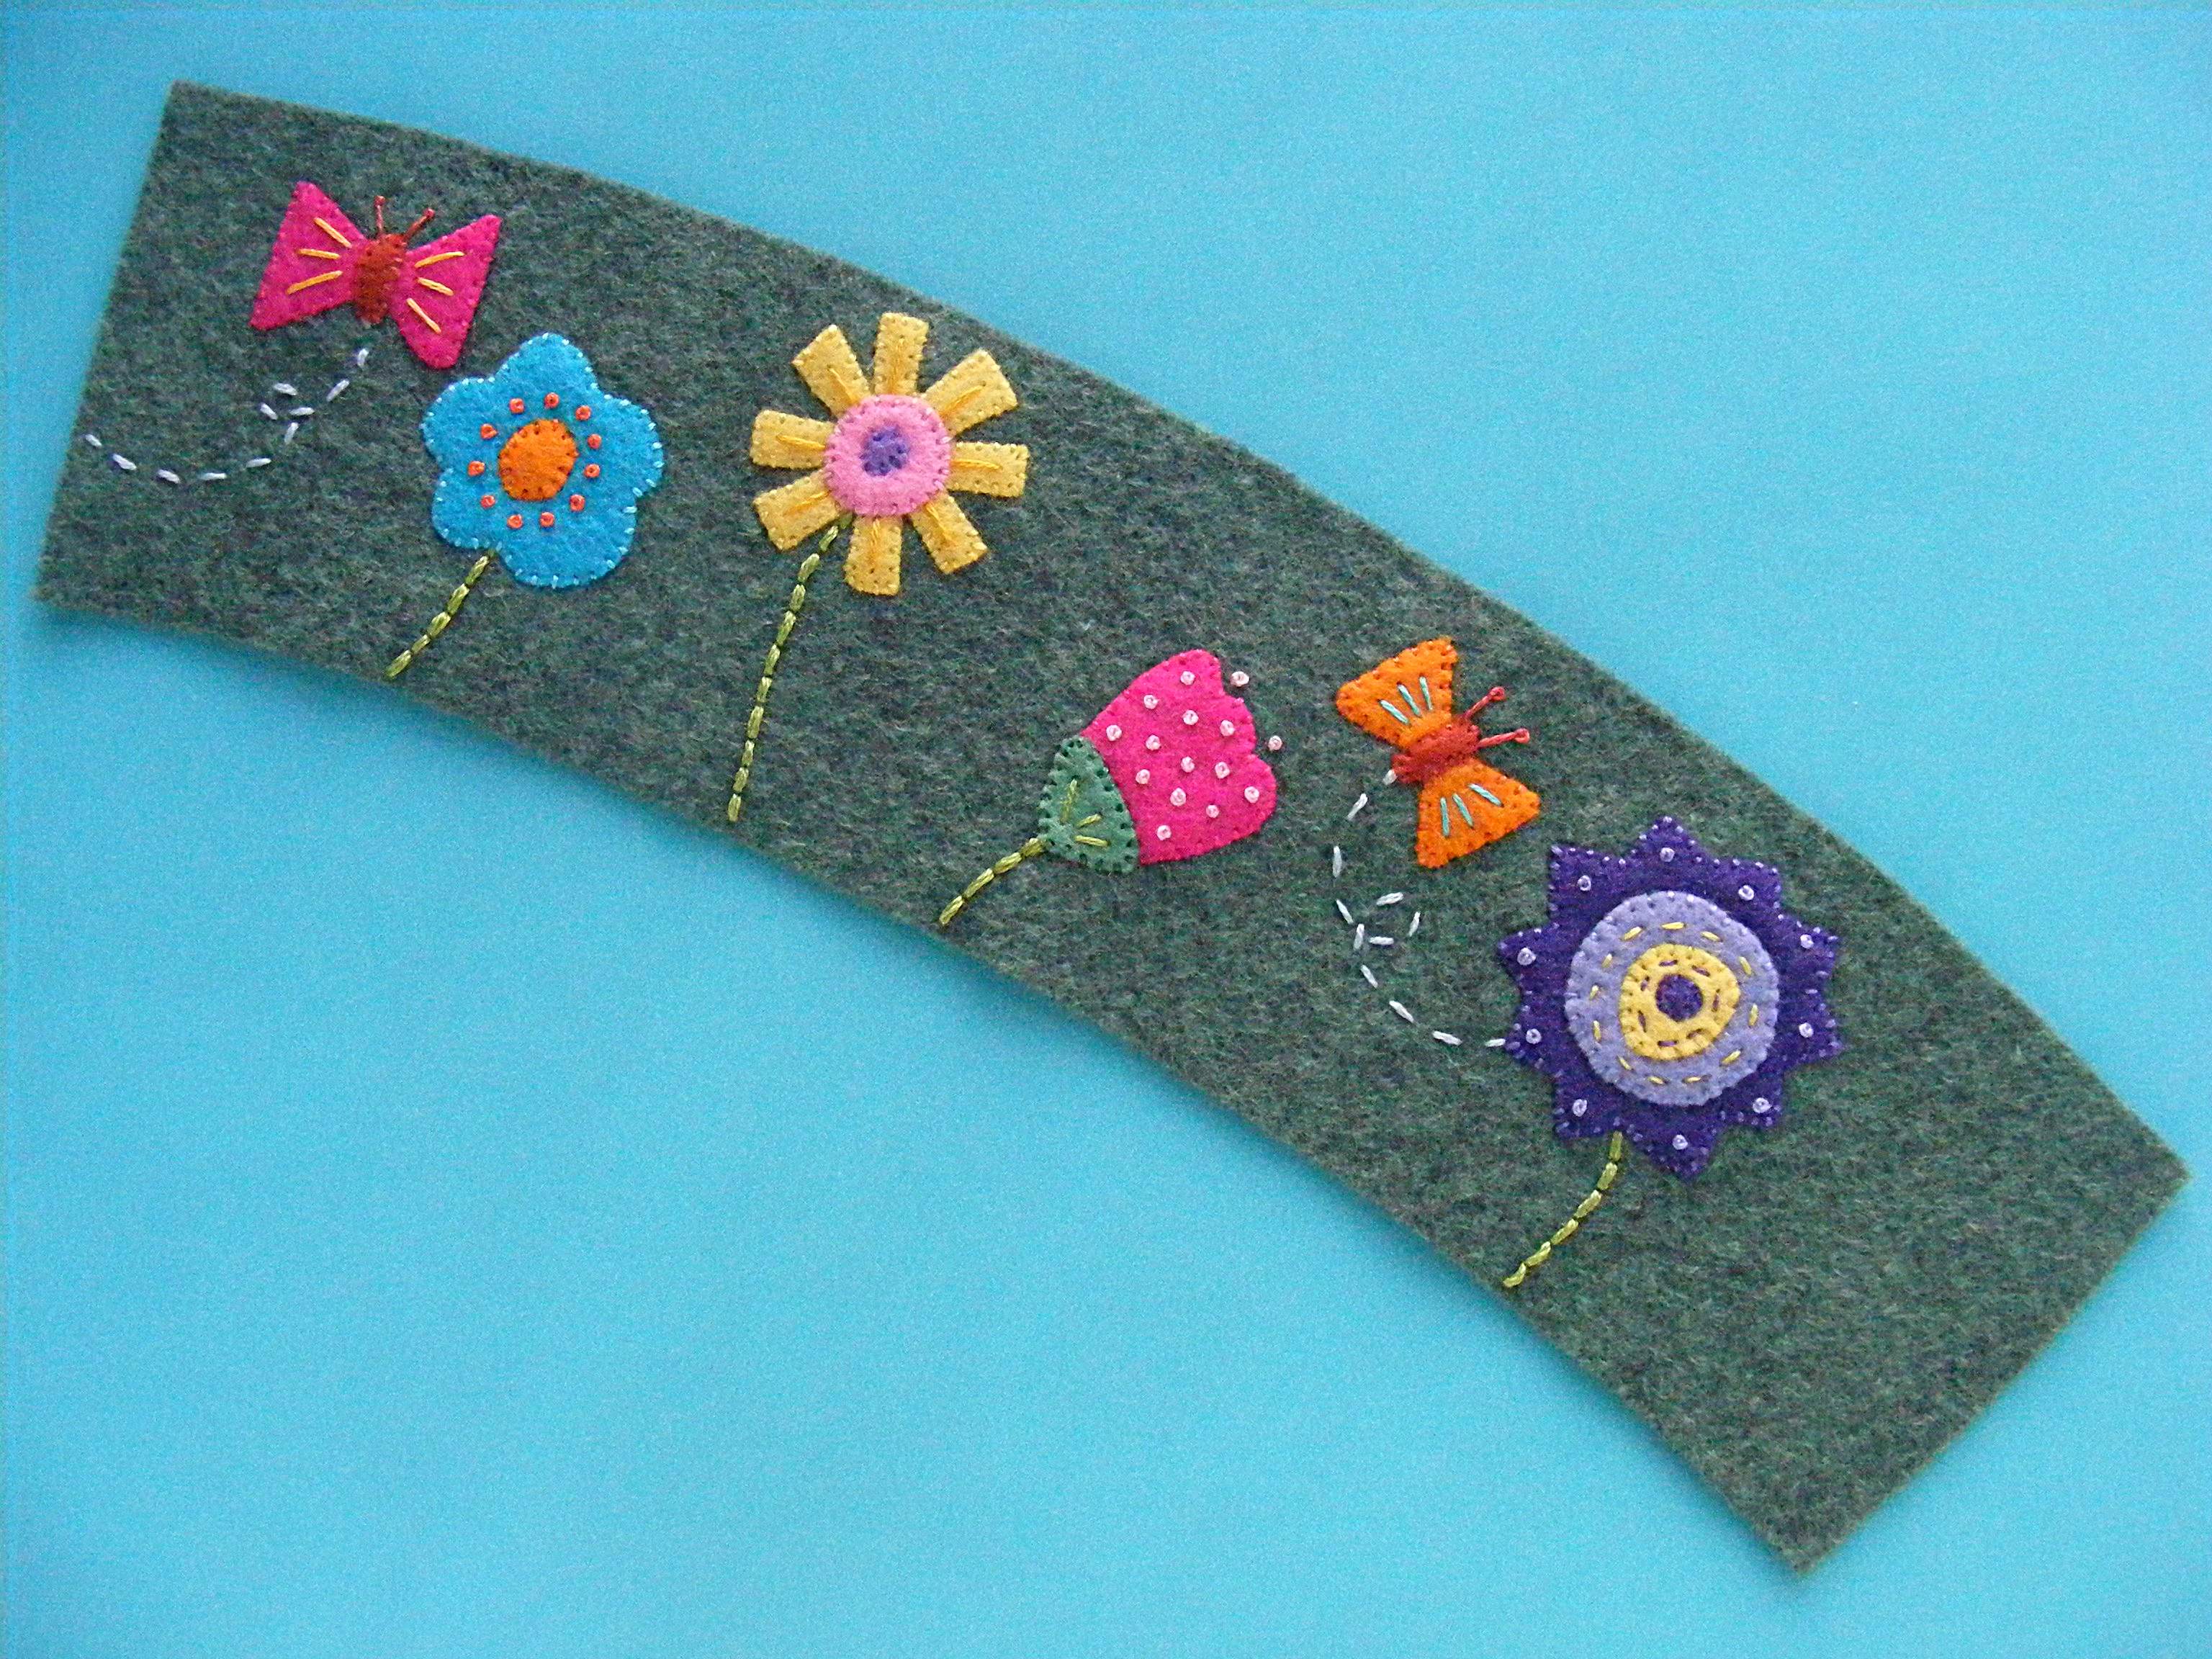
Embroider right through the stabilizer. I used 2 strands of embroidery thread for all stitching. These are the stitches and thread colors I used – but you can use any colors you like! (The links all go to video tutorials showing how to do the stitches.)
- Eyes - backstitch with DMC #3371
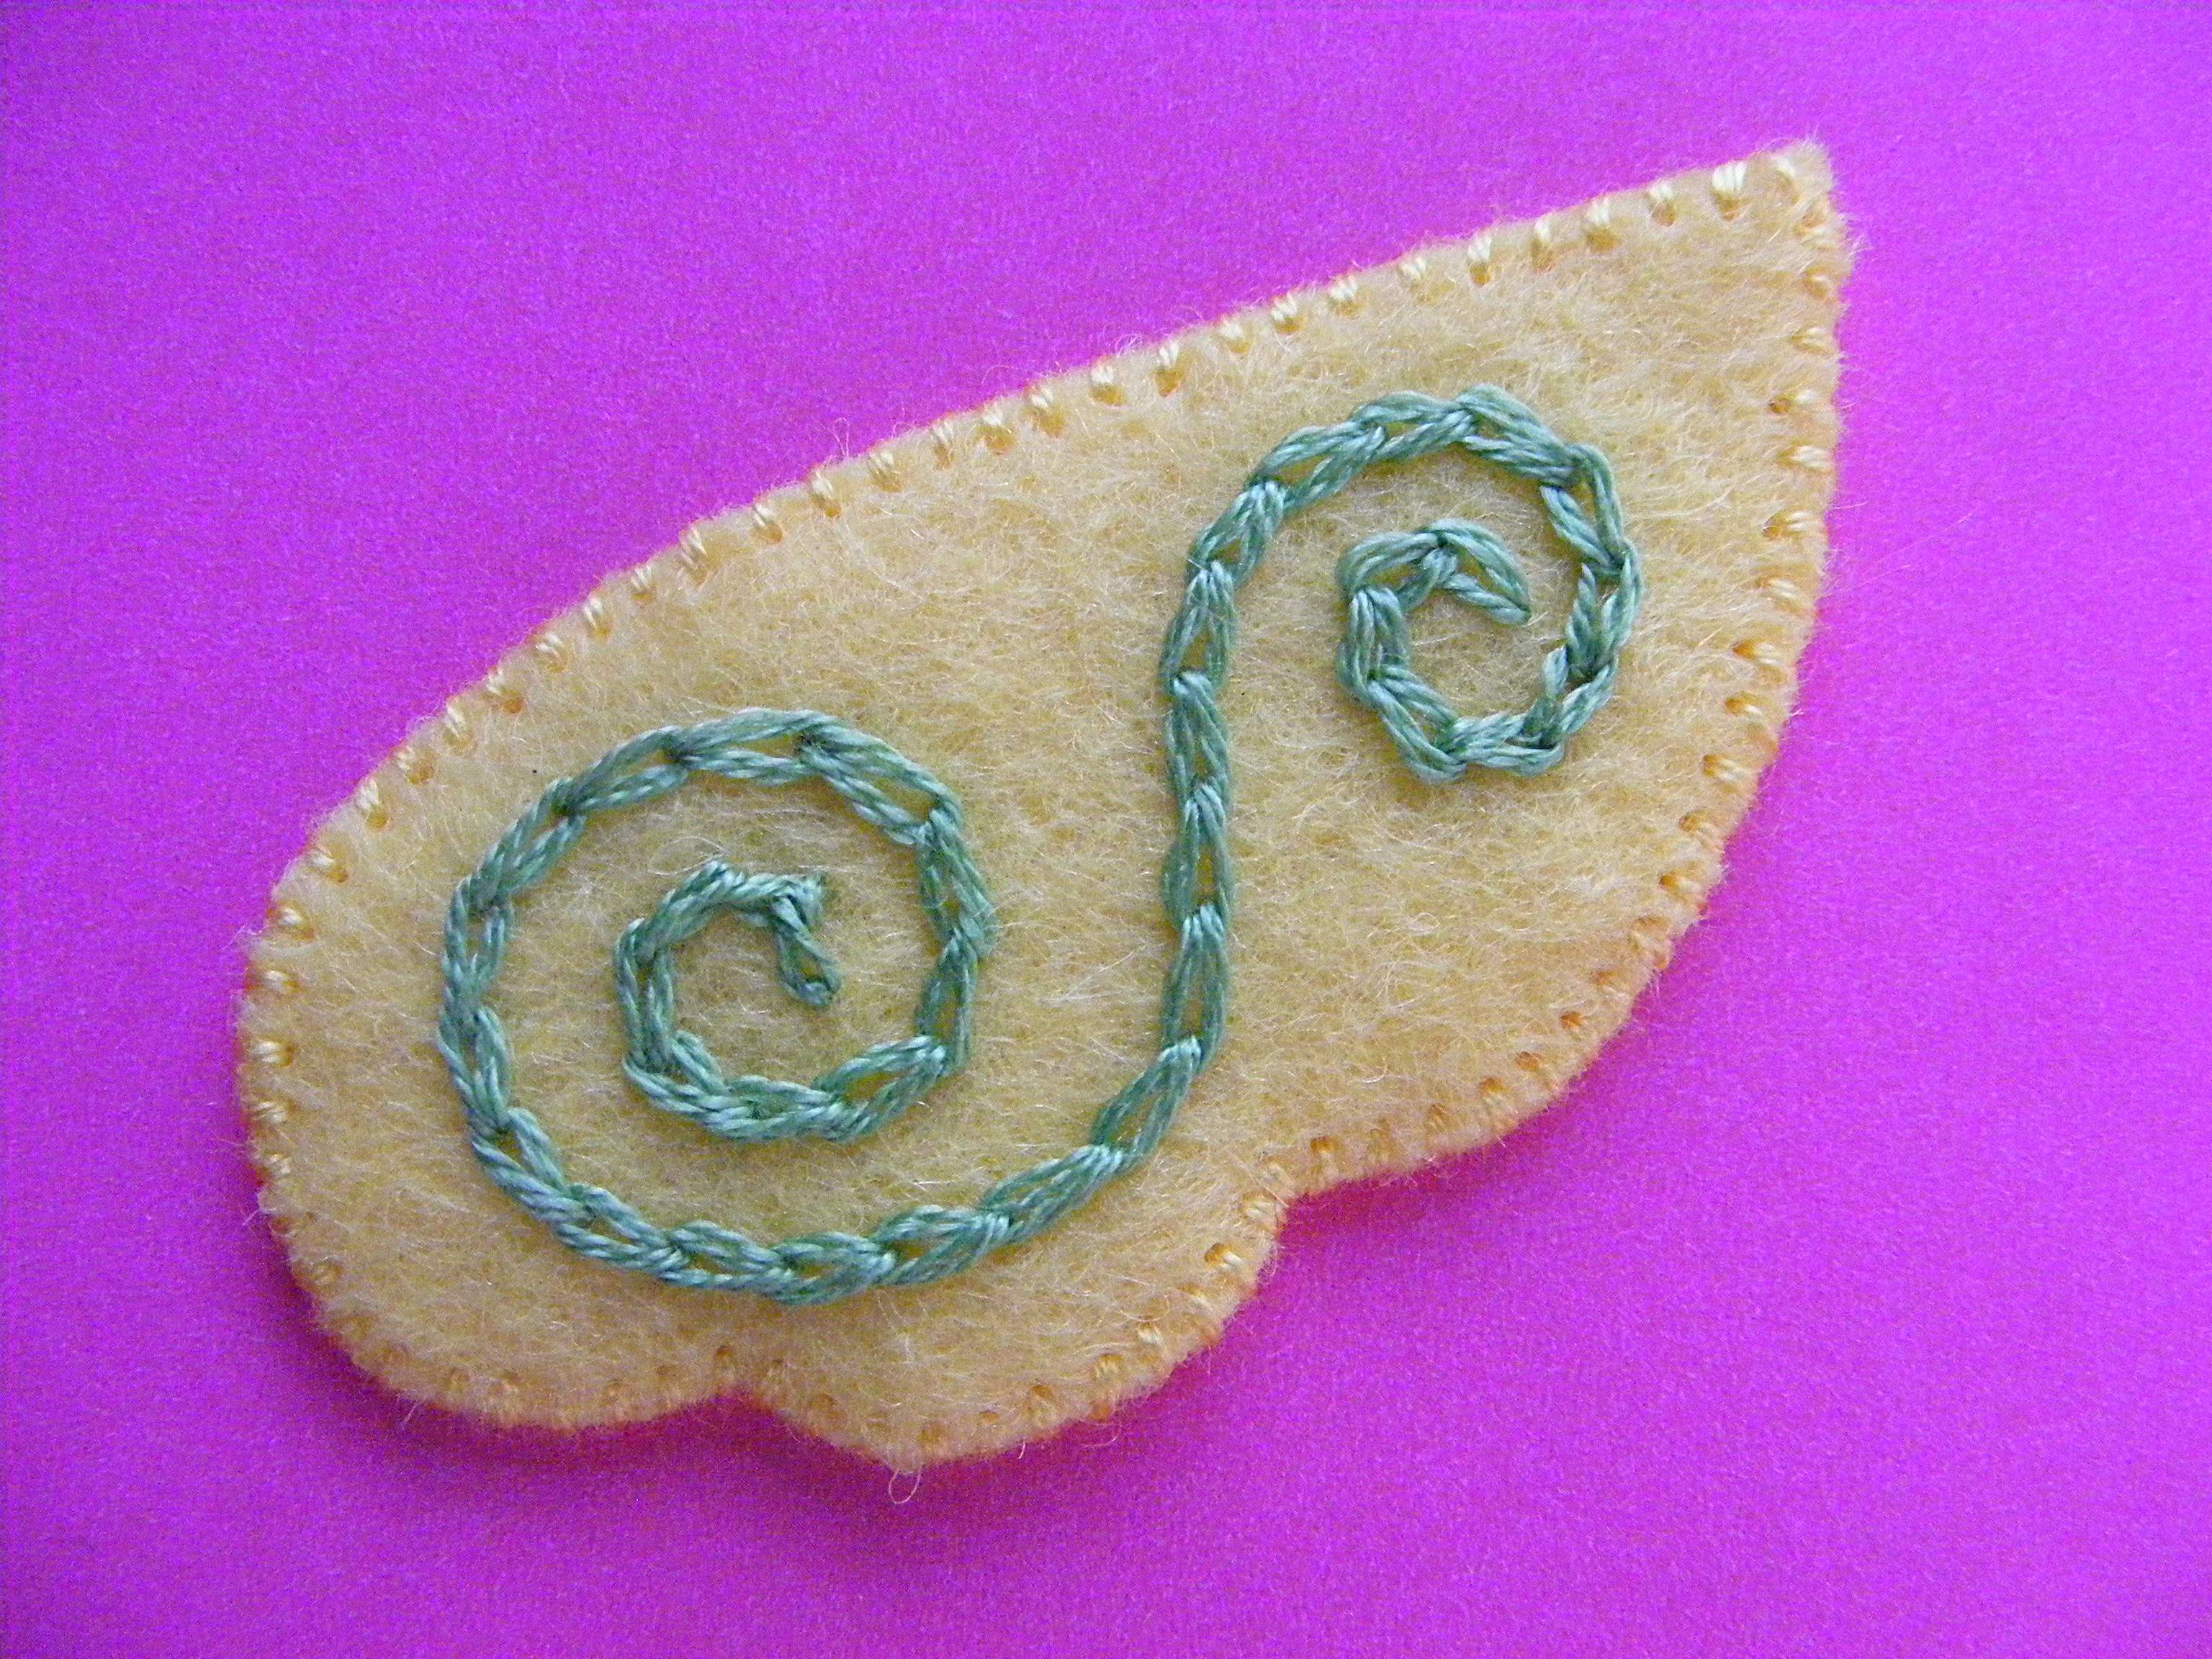
- Wings - chain stitch with DMC #703
- Belly - backstitch with DMC #3846, French knots with DMC #601
- Neck - backstitch with DMC # 3846, French knots with DMC #703
- Body - lazy daisy with DMC #601, stars with DMC #703, and French knots with DMC #3846
Step 3
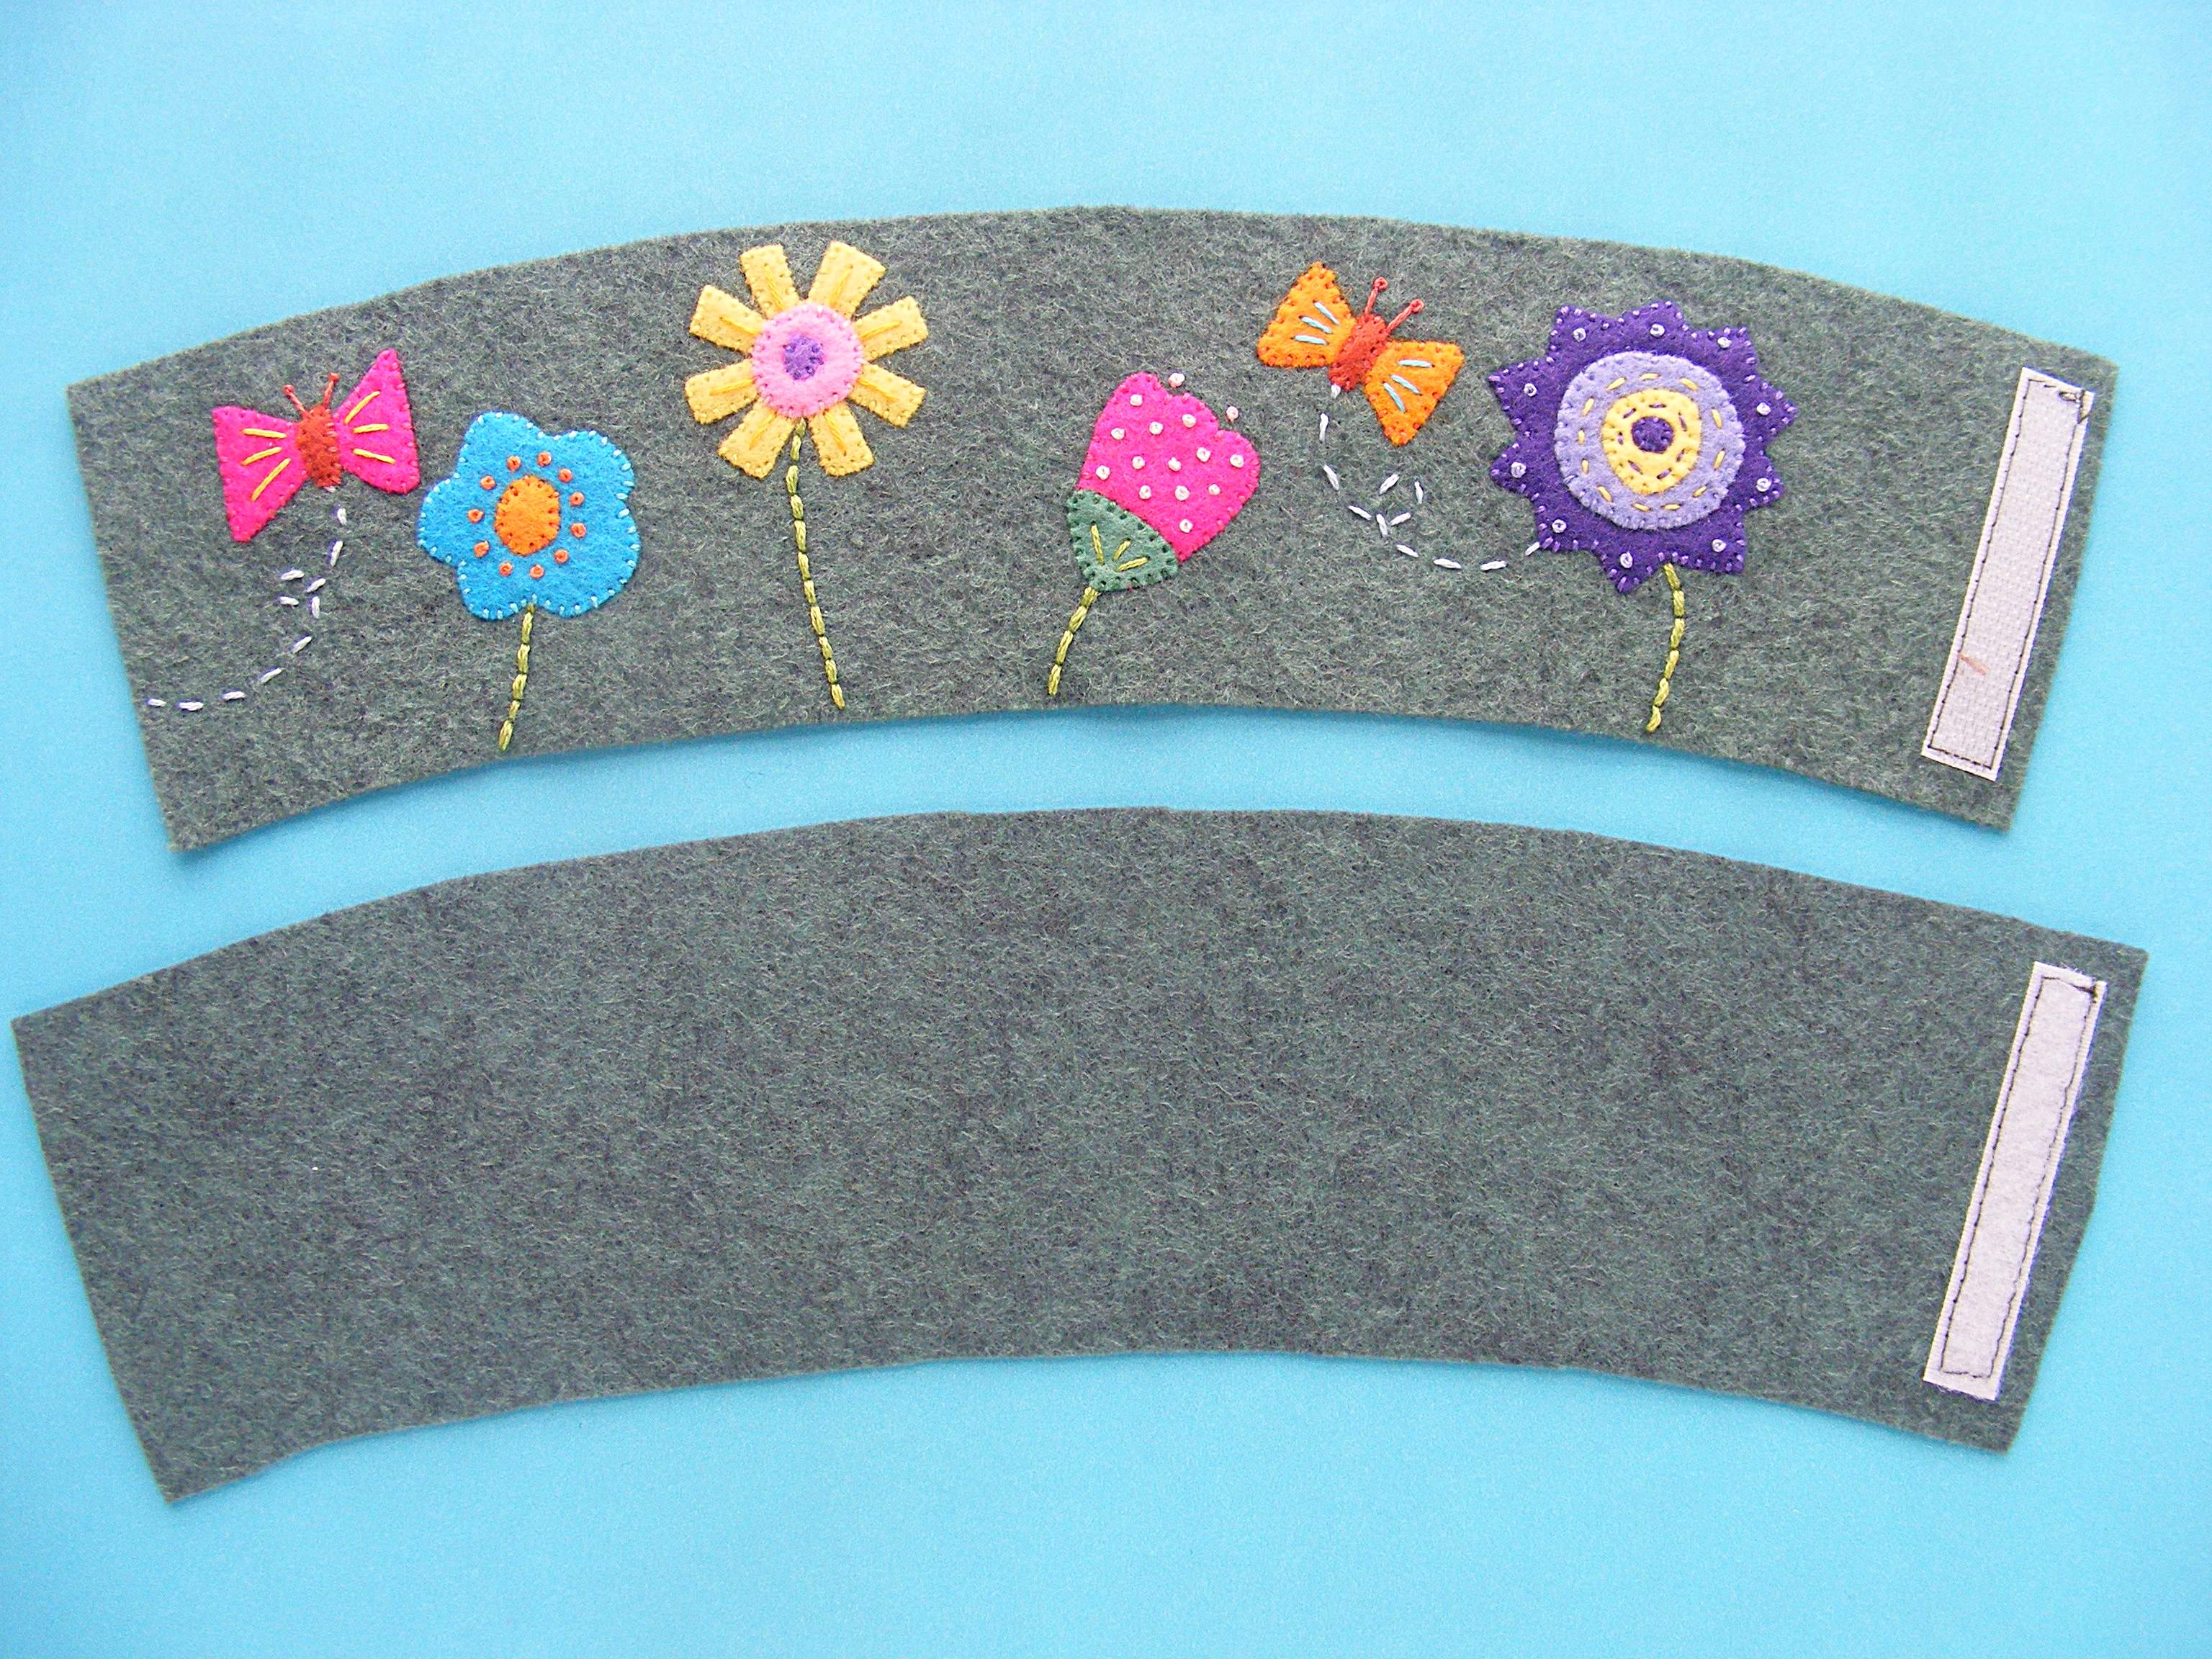
Cut out all the pieces.
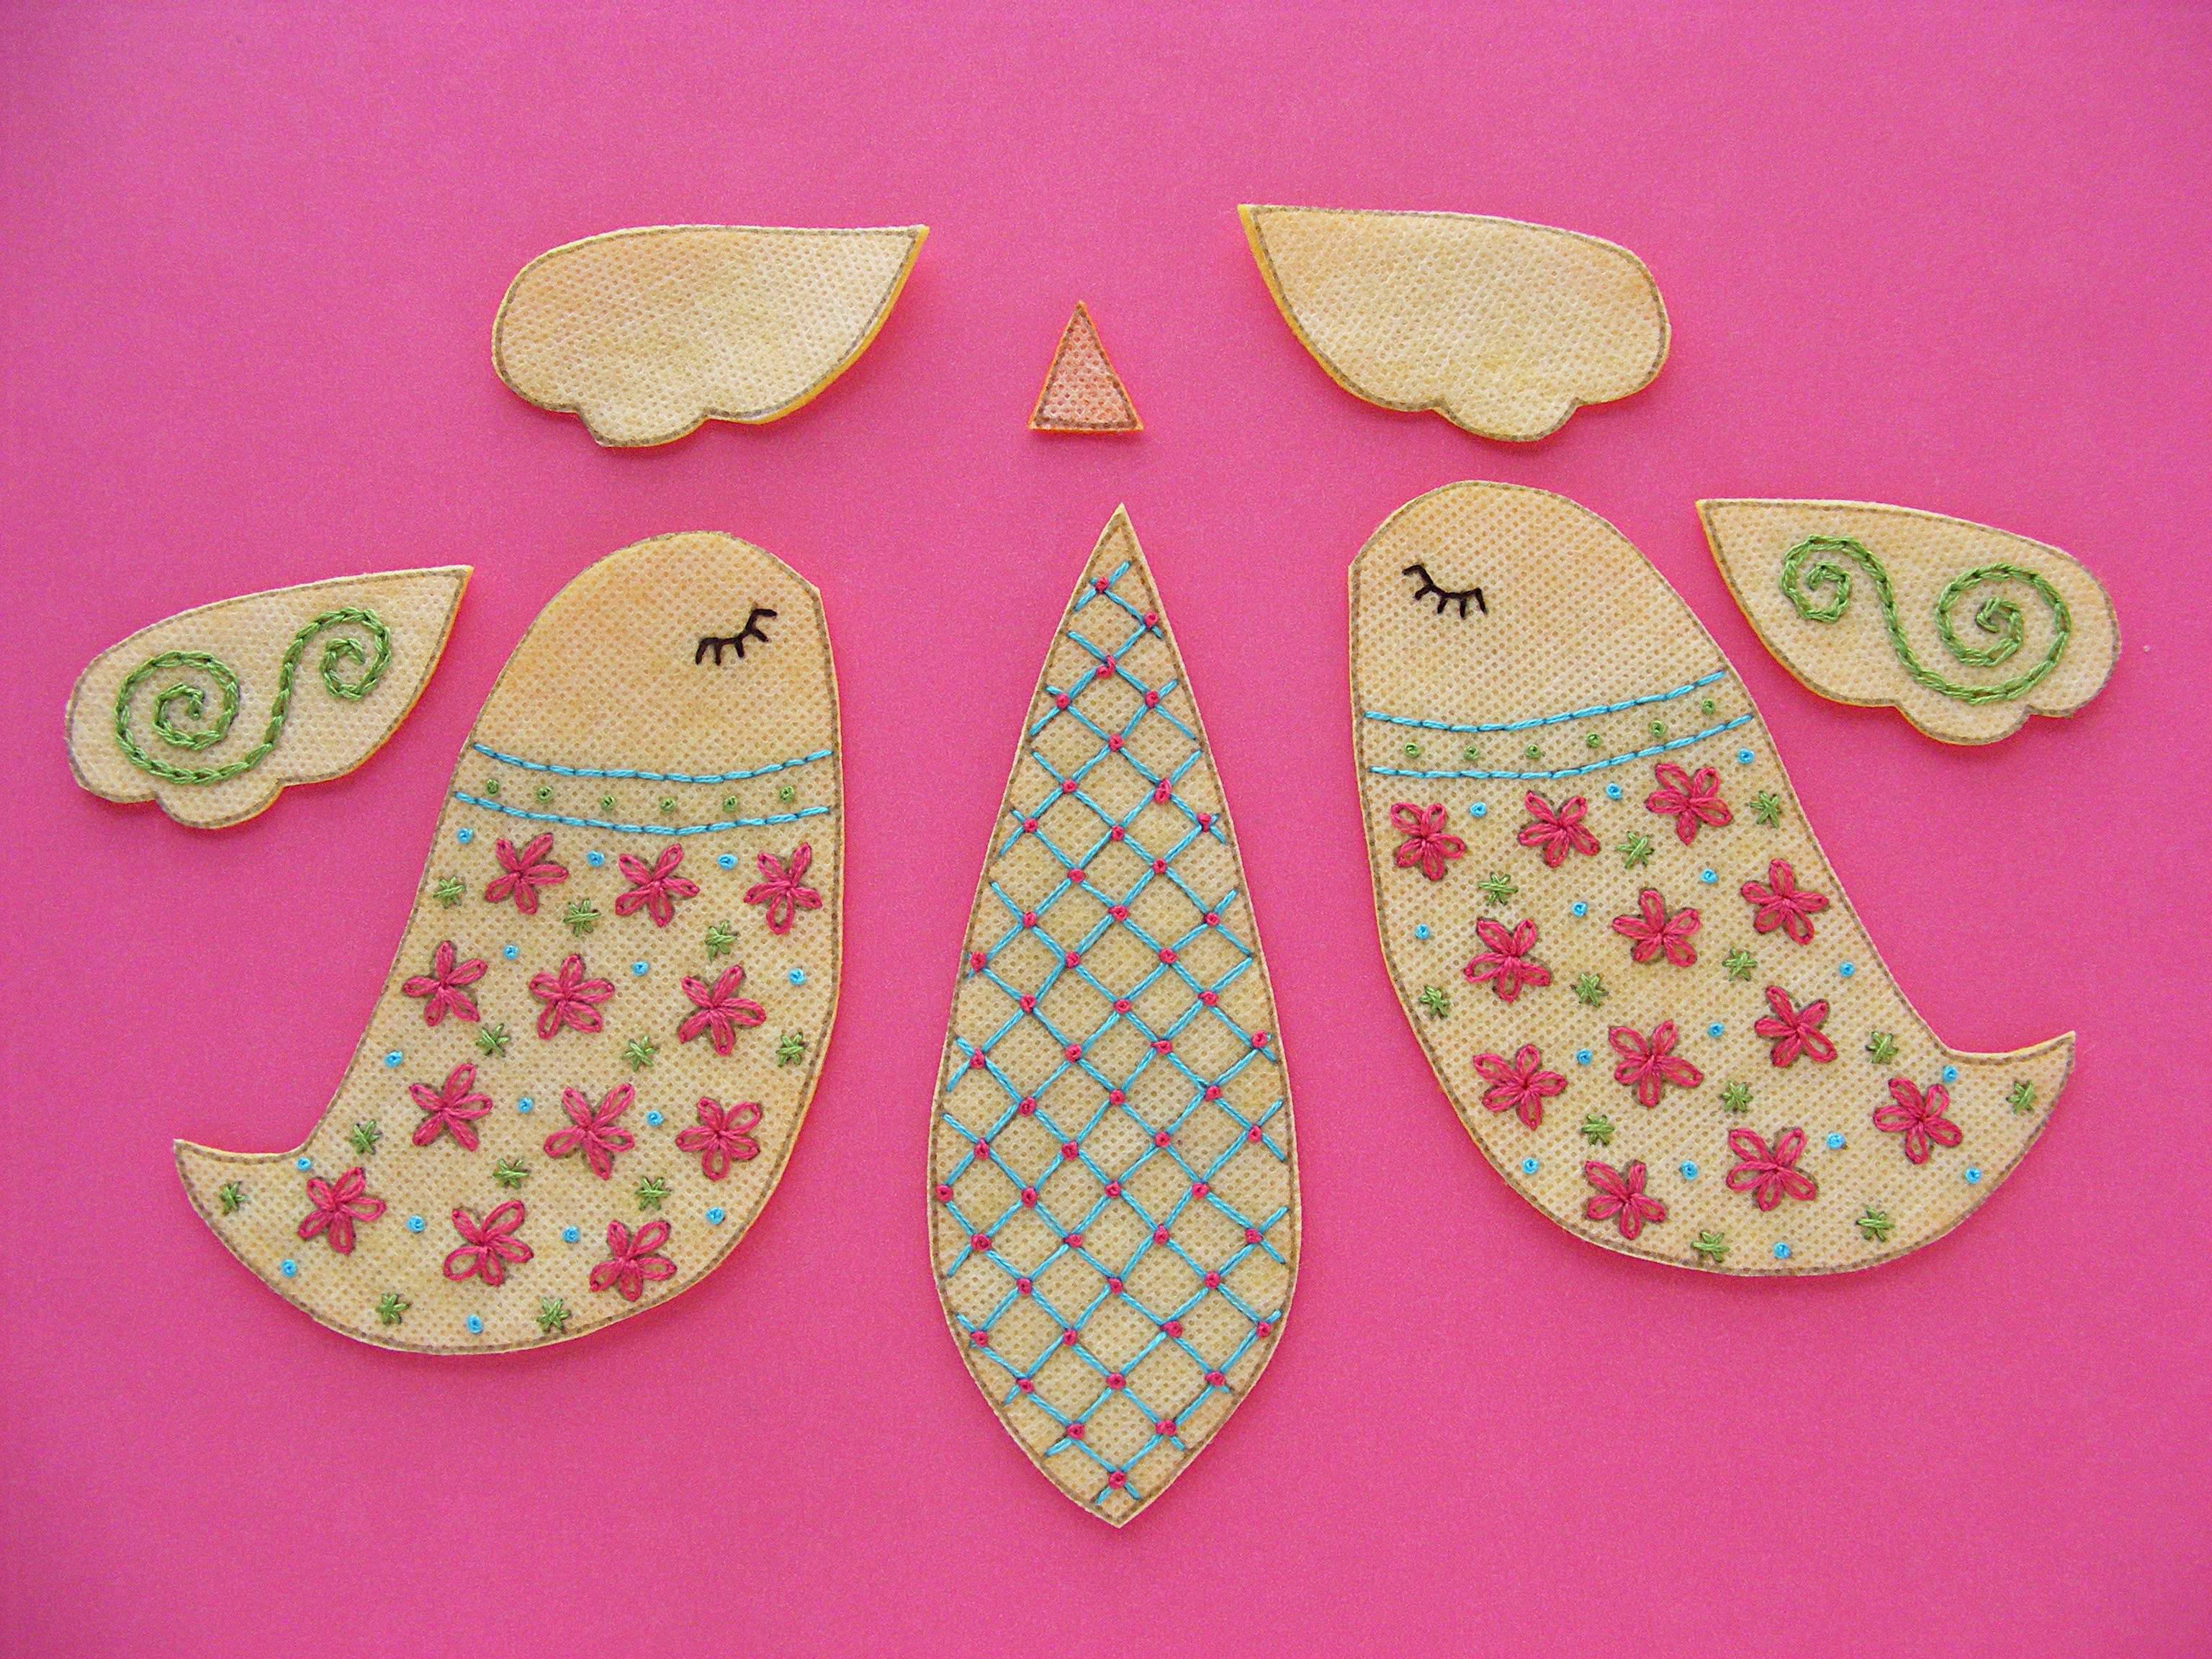
Cut them right on the solid lines – no need to add seam allowance.
Step 4
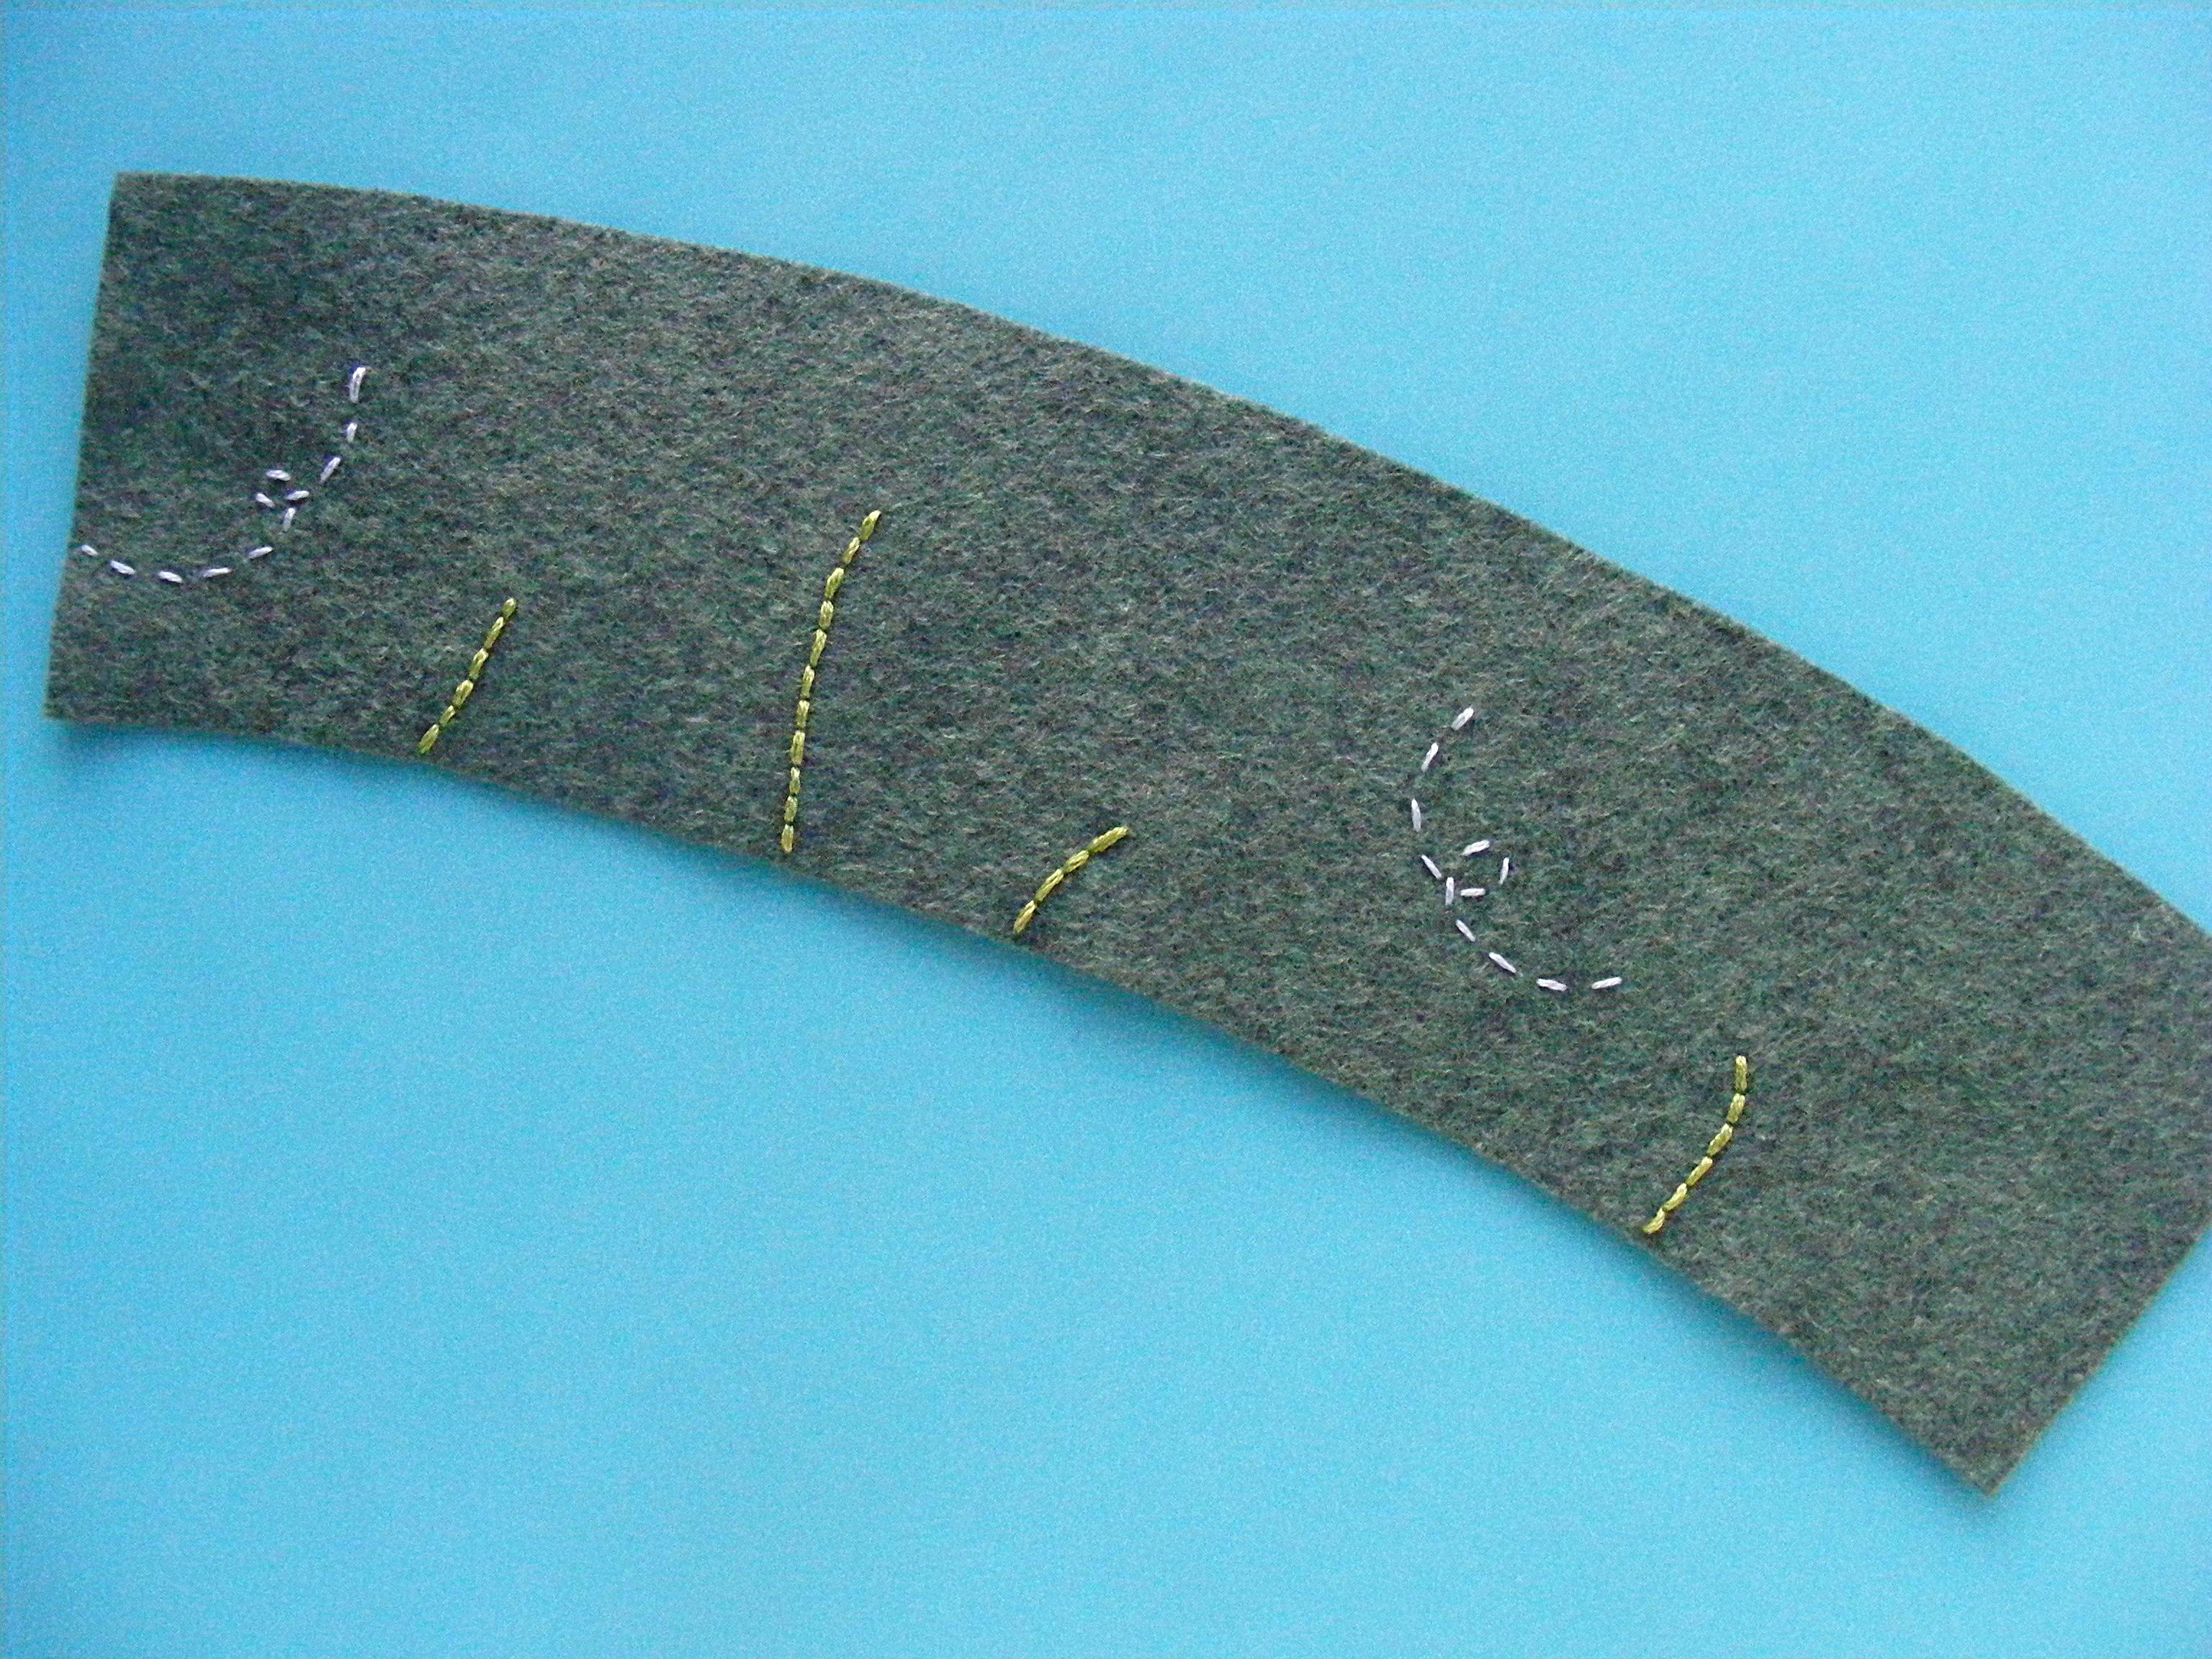
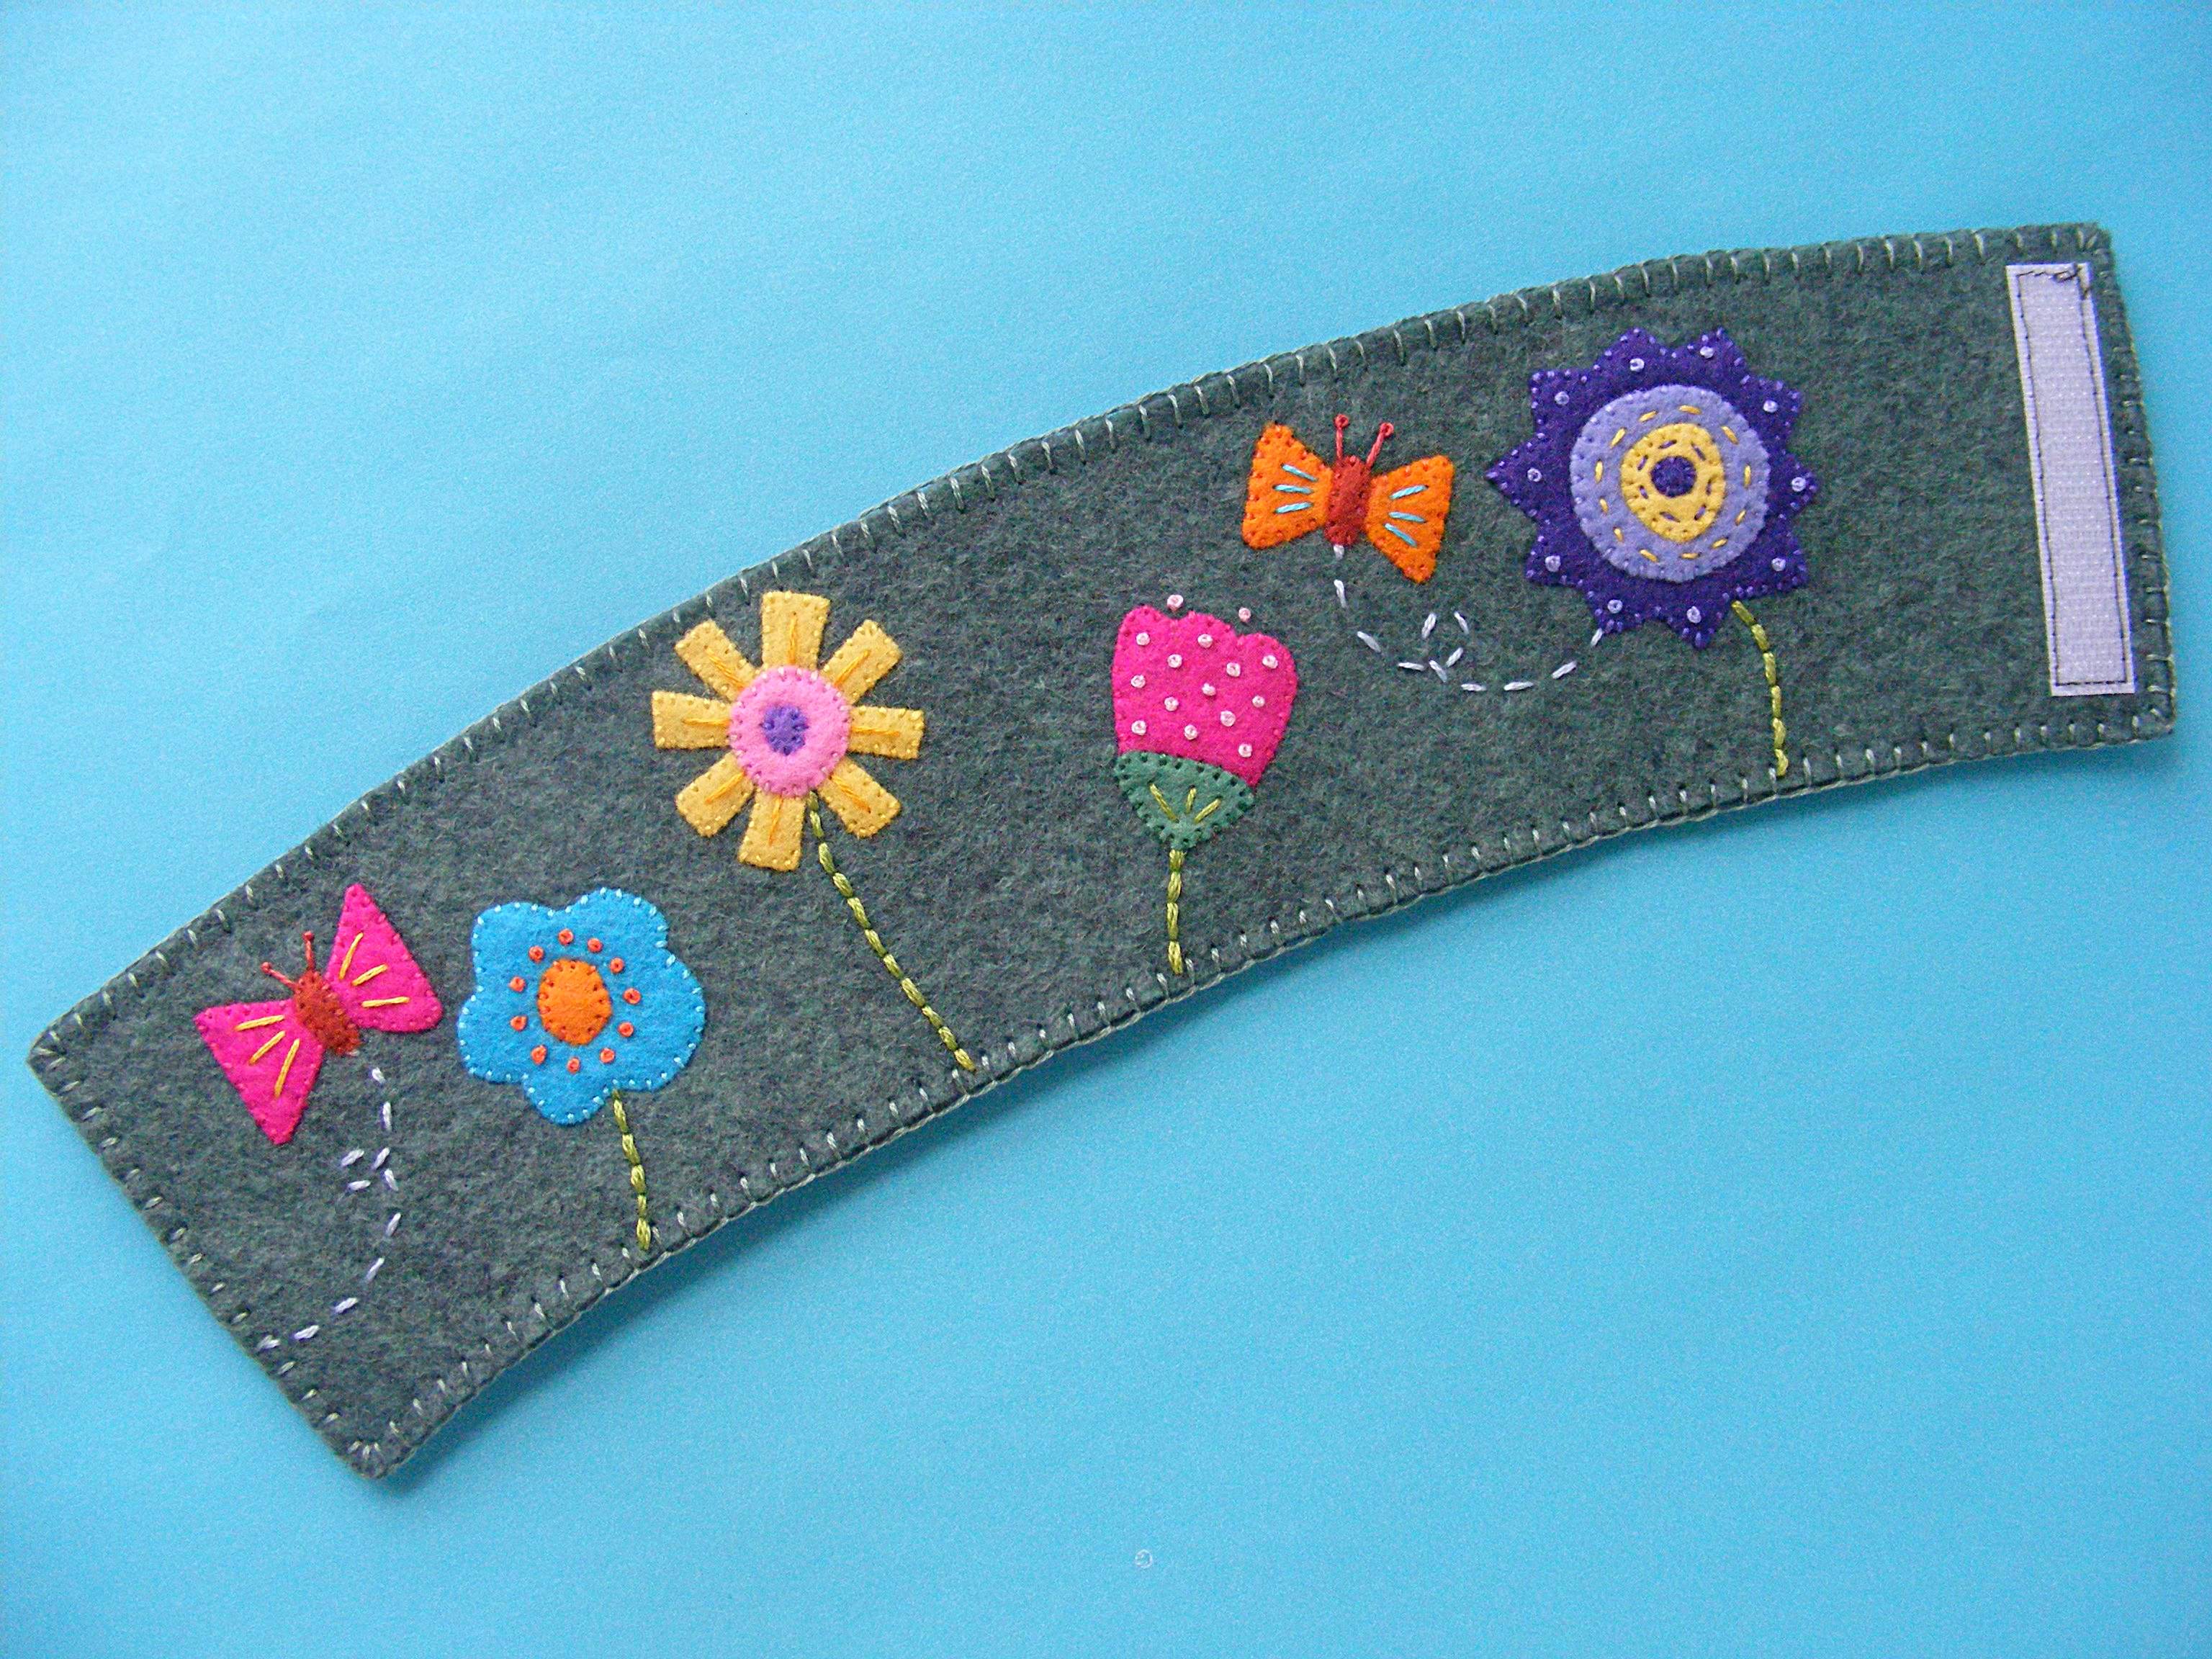
Soak off the stabilizer in cold water. Let it soak for at least 15 minutes (I often leave mine soaking for an hour or more) then rinse it off under cold running water. Use a sprayer to remove any stubborn bits, but do not rub the felt.
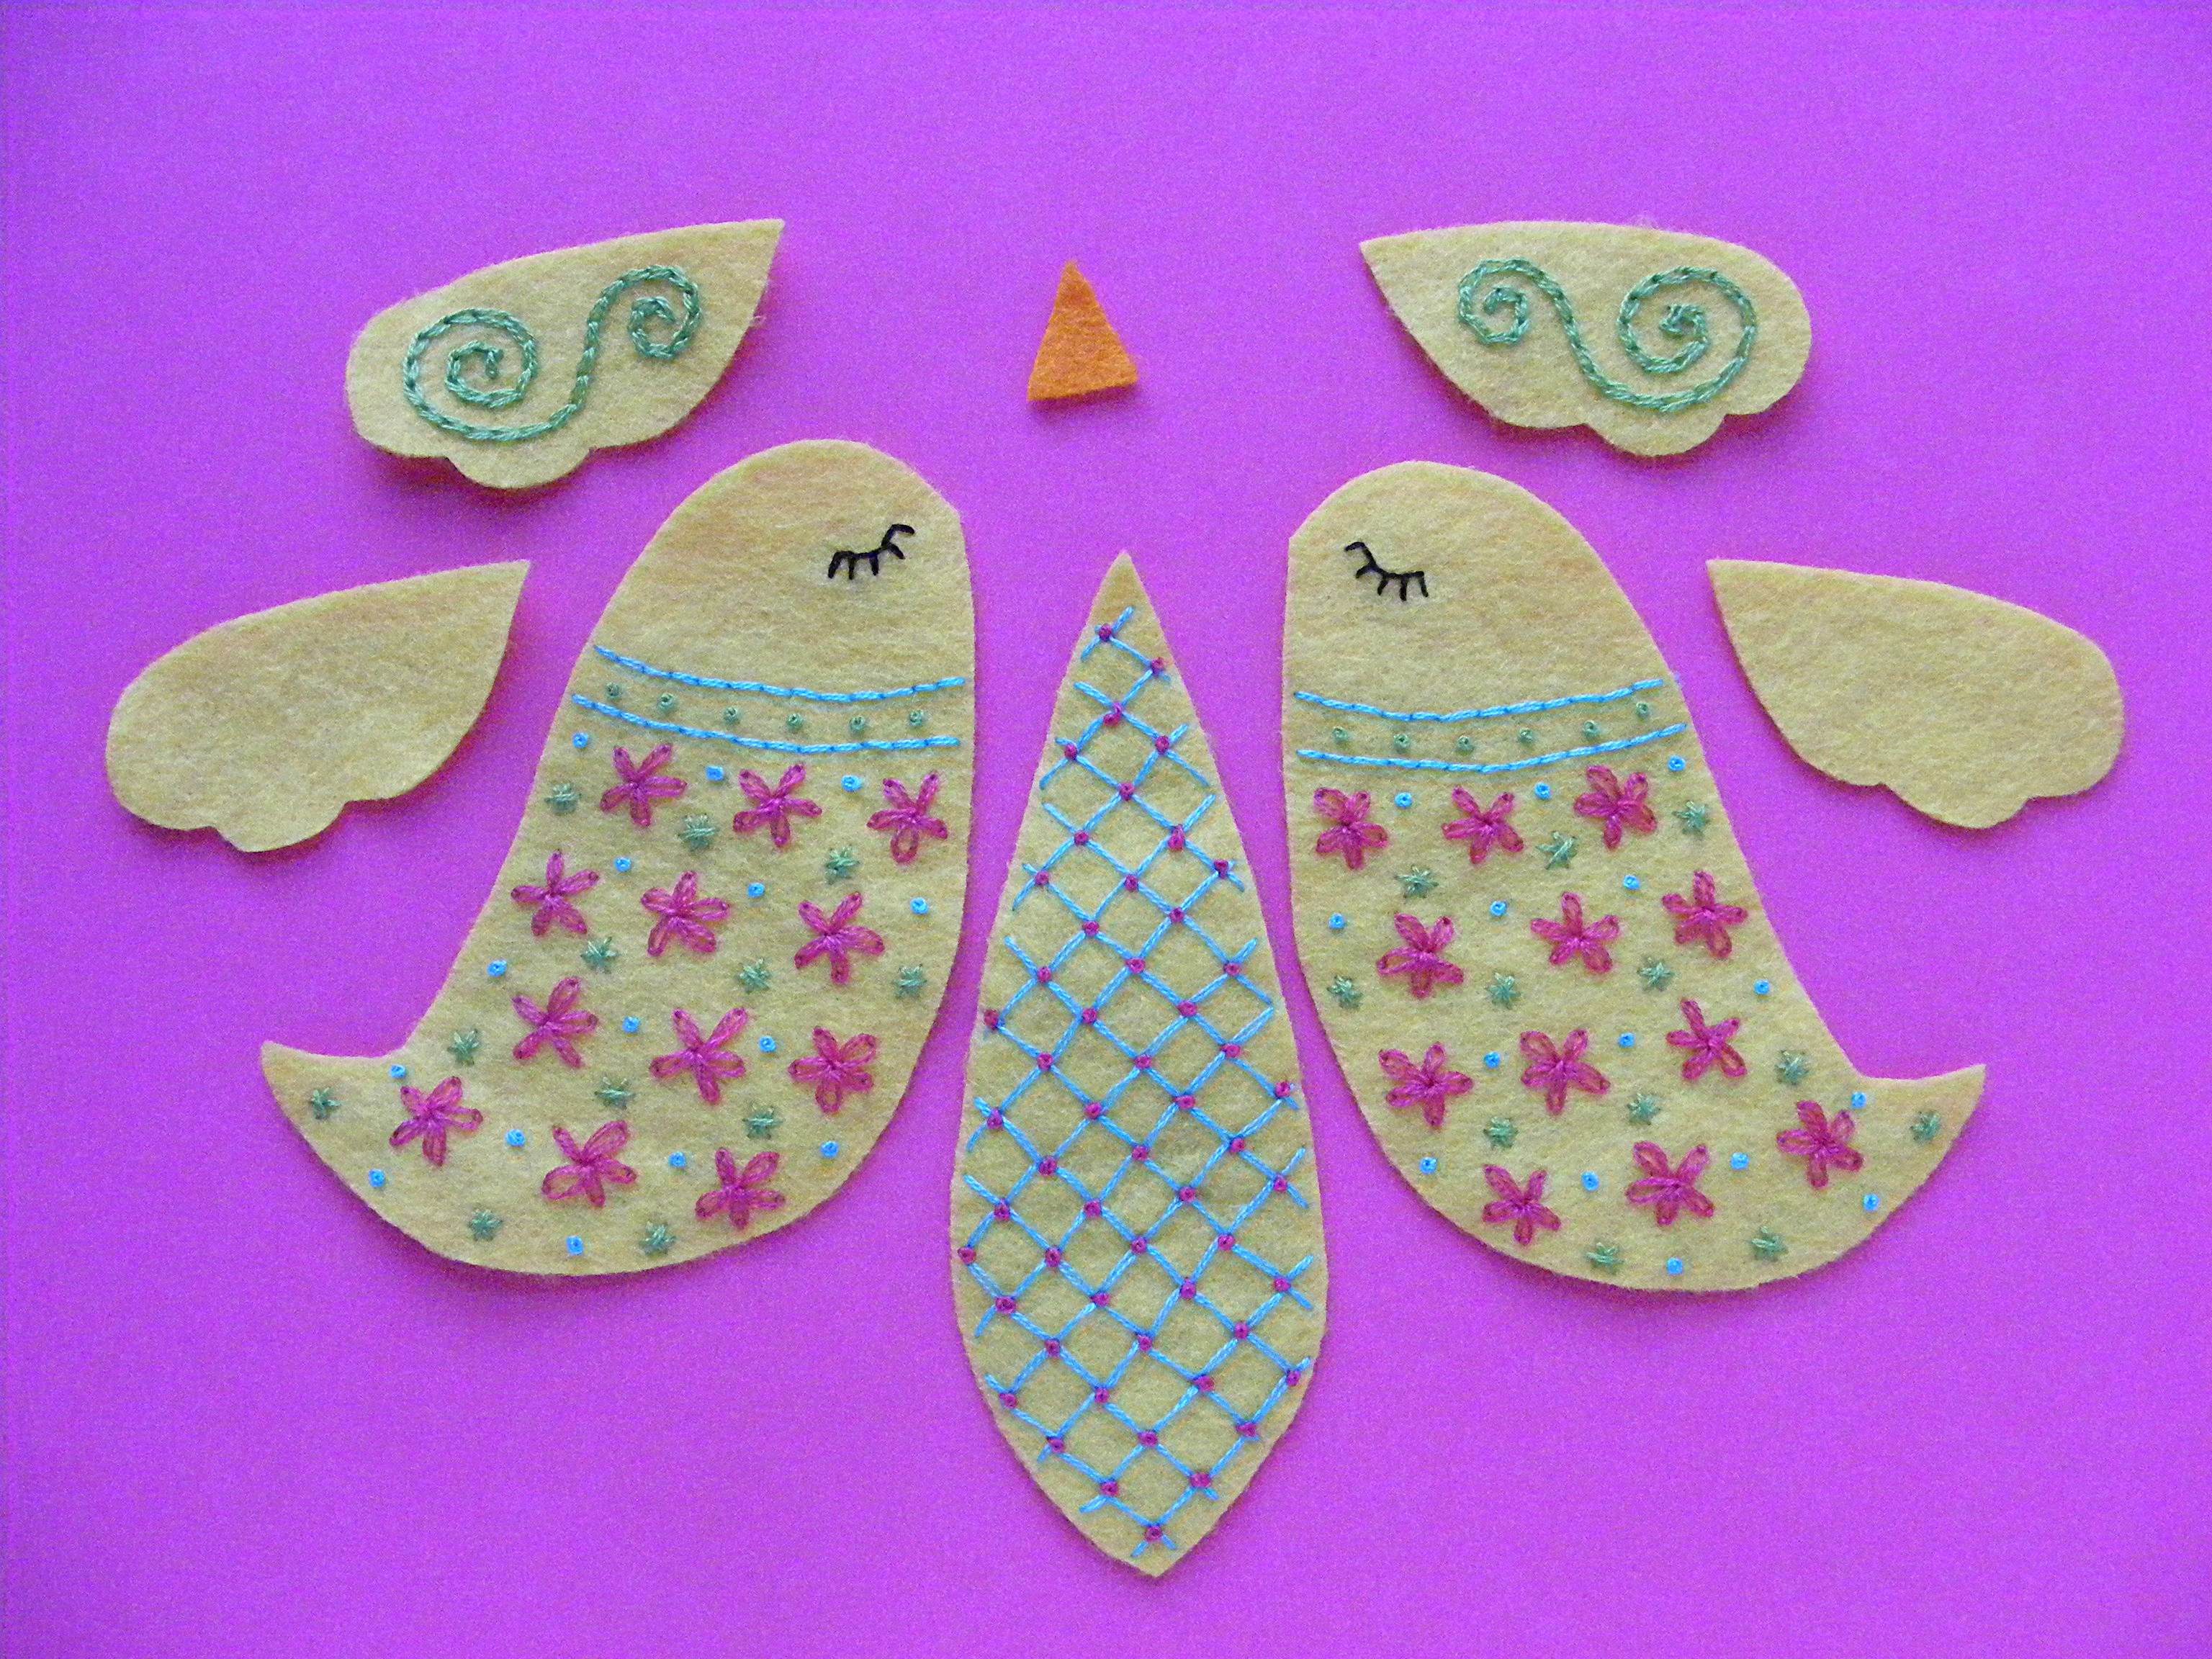
Lay the pieces flat on a towel to dry. Do not wring, twist or even smoosh them. Just let them dry flat.
Step 5
Time to start putting it all together! Use 2 strands of matching embroidery thread to whipstitch all the pieces together.
Sew one embroidered wing to one “naked” wing, all the way around the edge. Repeat for the second wing.
Step 6
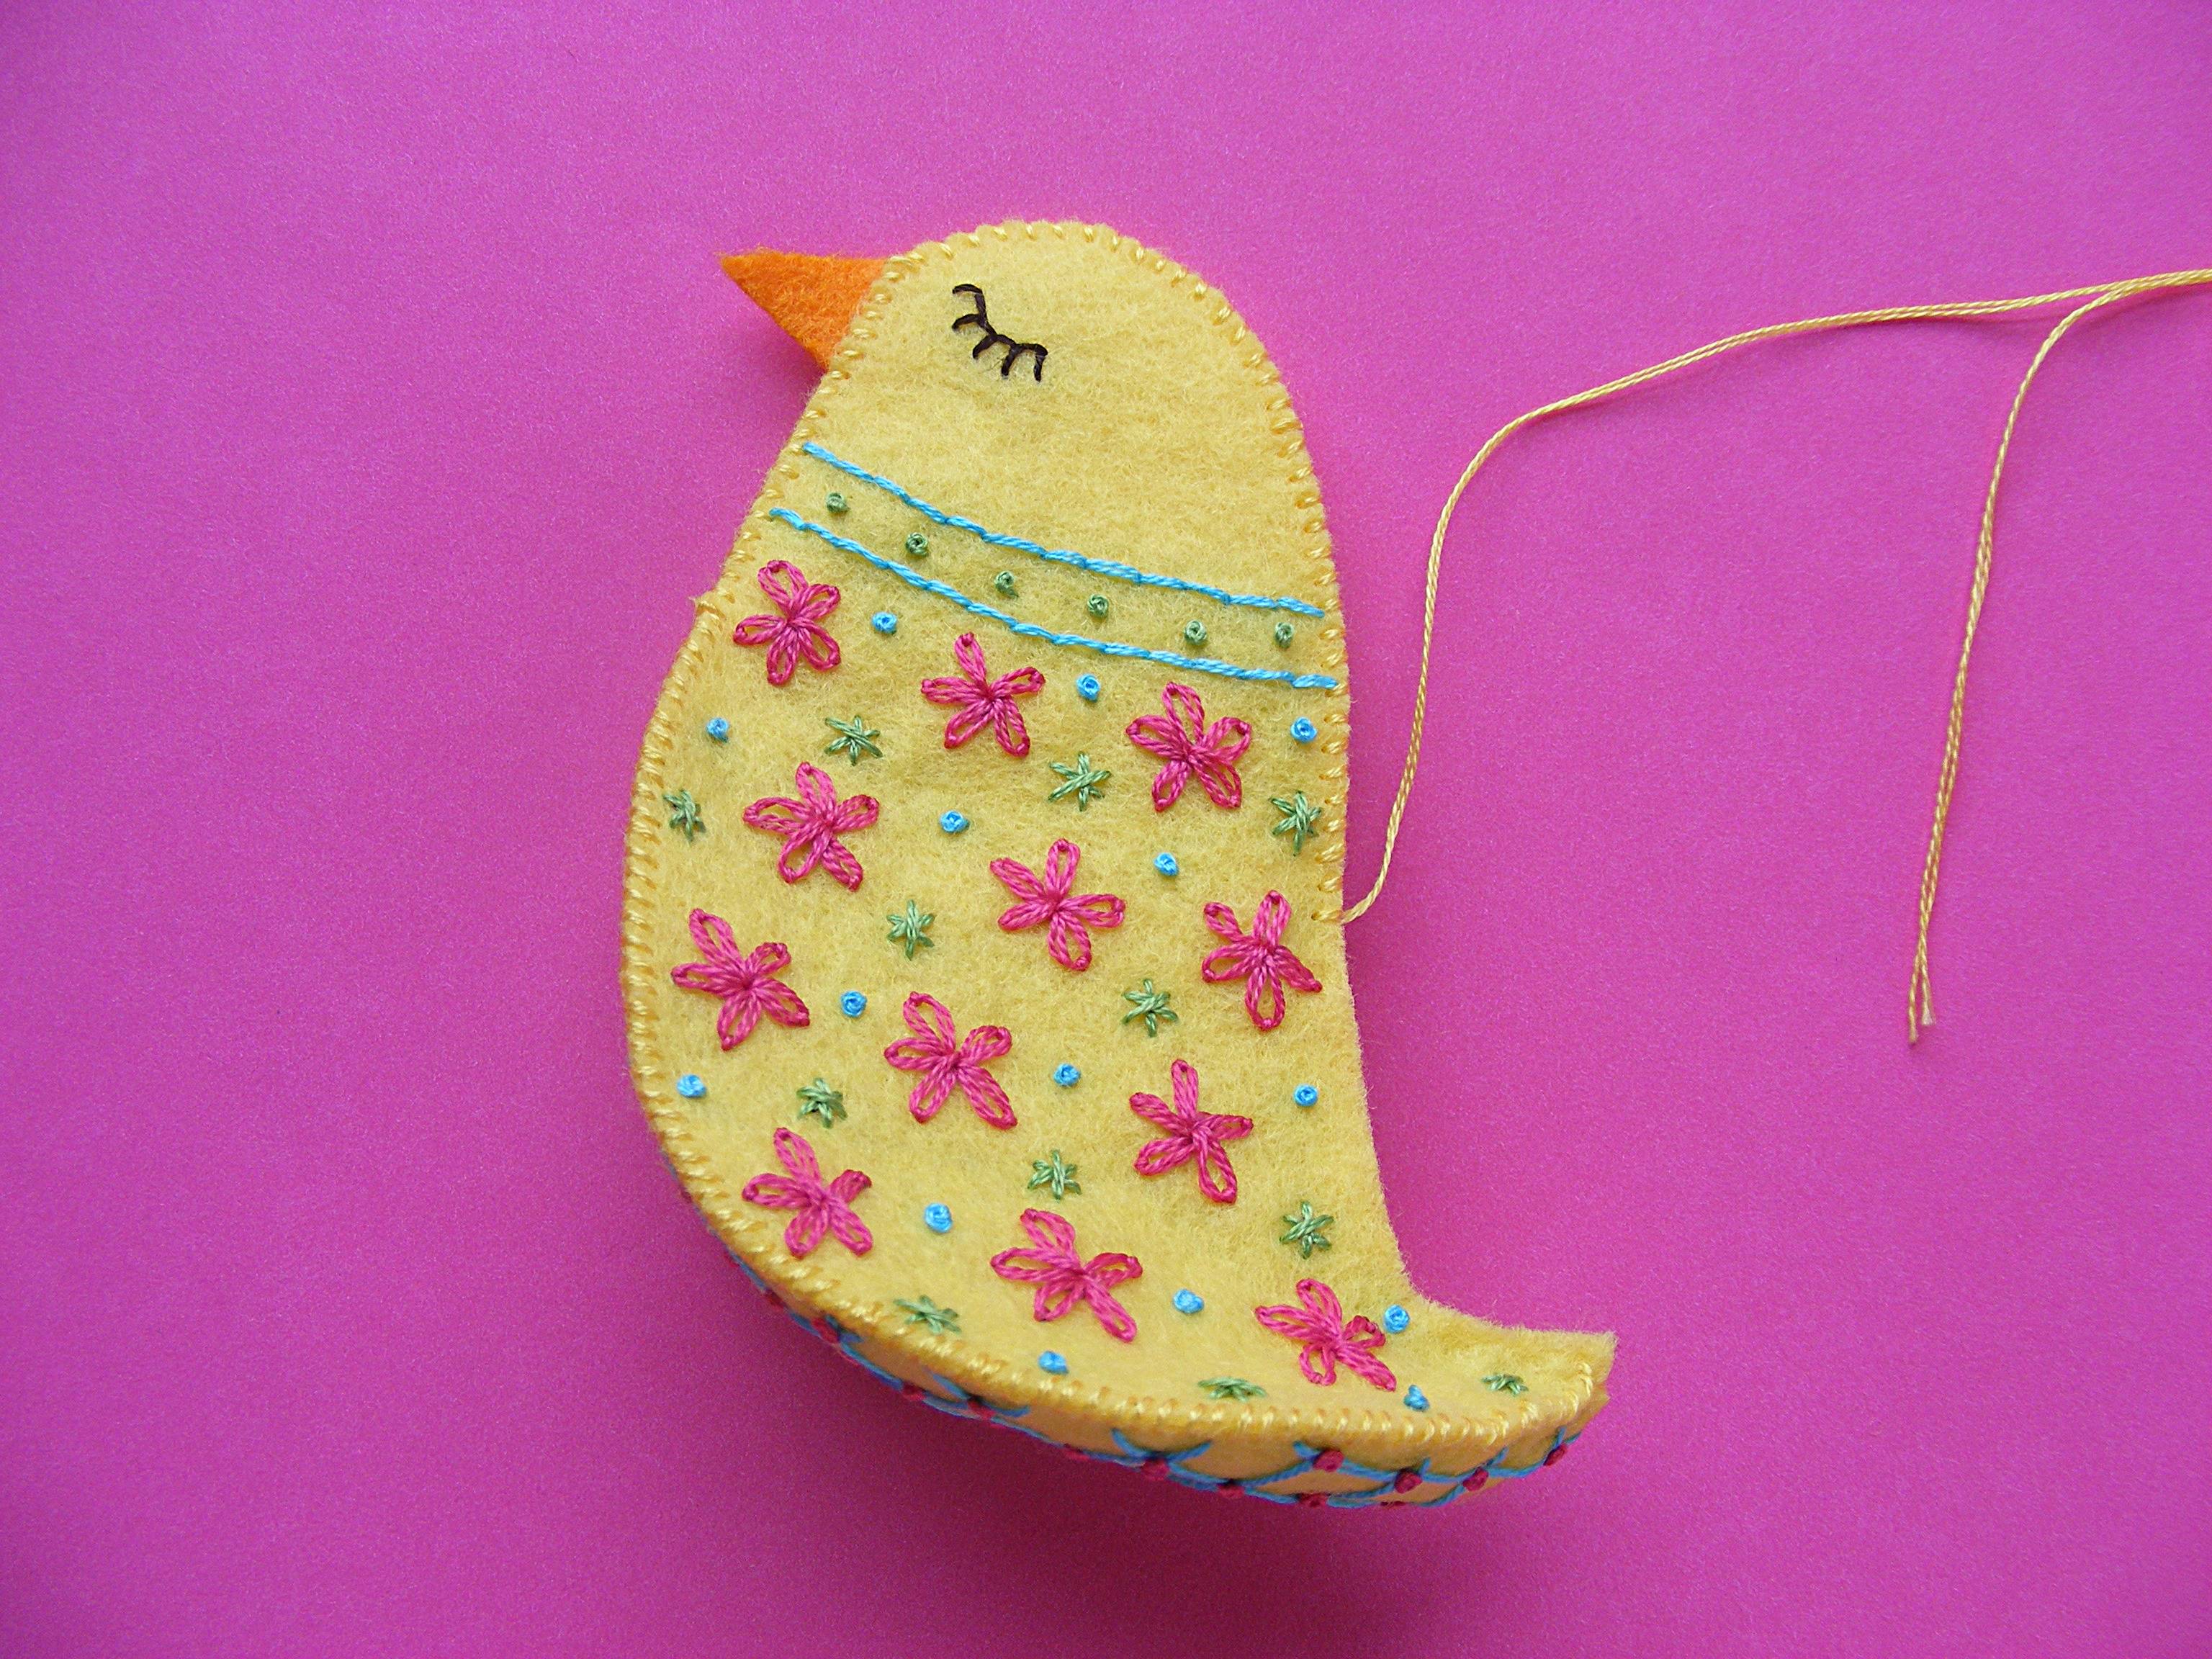
Sew the belly to one side of the bird.
Start sewing at the tail of the bird, matching it to the wider end of the belly piece, and sew all the way to the top of the belly piece.
Step 7
Sew the other side of the belly to the other body piece. Start again down at the tail and sew all the way up to the top, but this time keep going past the belly, sewing the two sides of the face together.
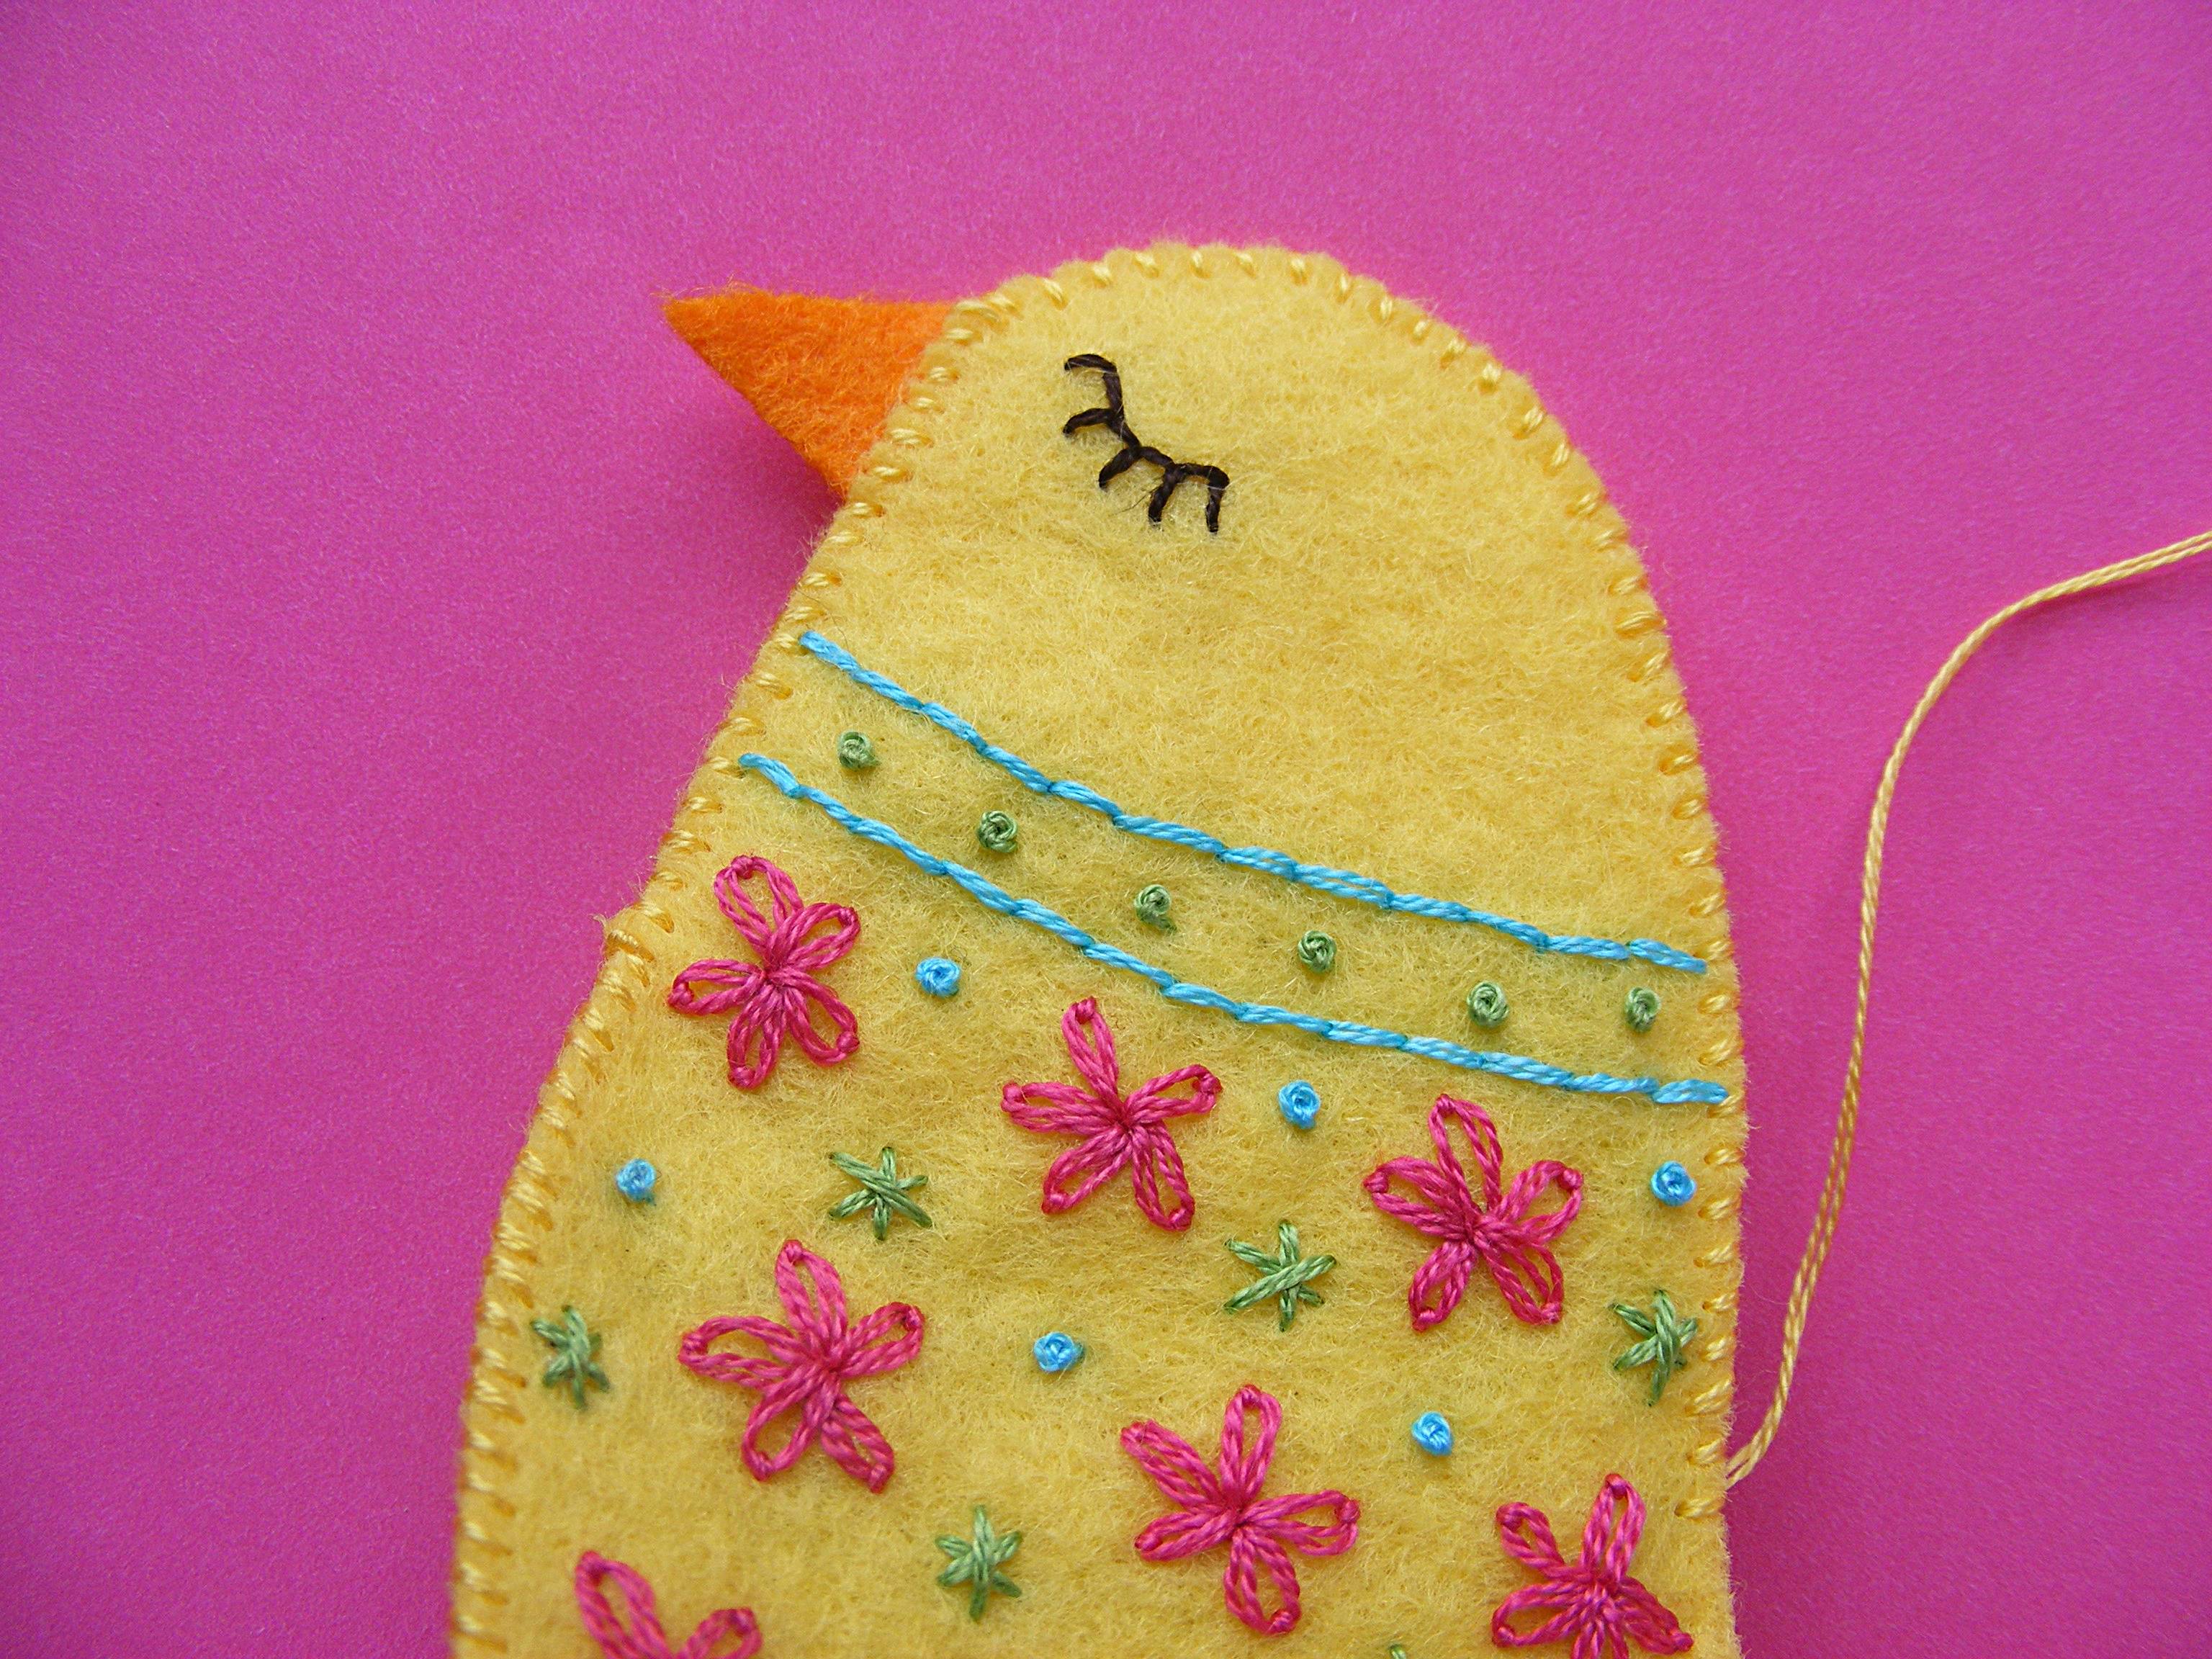
Slip the beak between the layers of the face and keep stitching. Instead of whipstitching up and over the edges of the felt, stitch through the beak.
Step 8
Continue sewing up over the top of the head and down the back.
Stop when there are a few inches left open, but leave your thread tail hanging.
Step 9
Start adding small bits of stuffing to the head and working your way down the body.
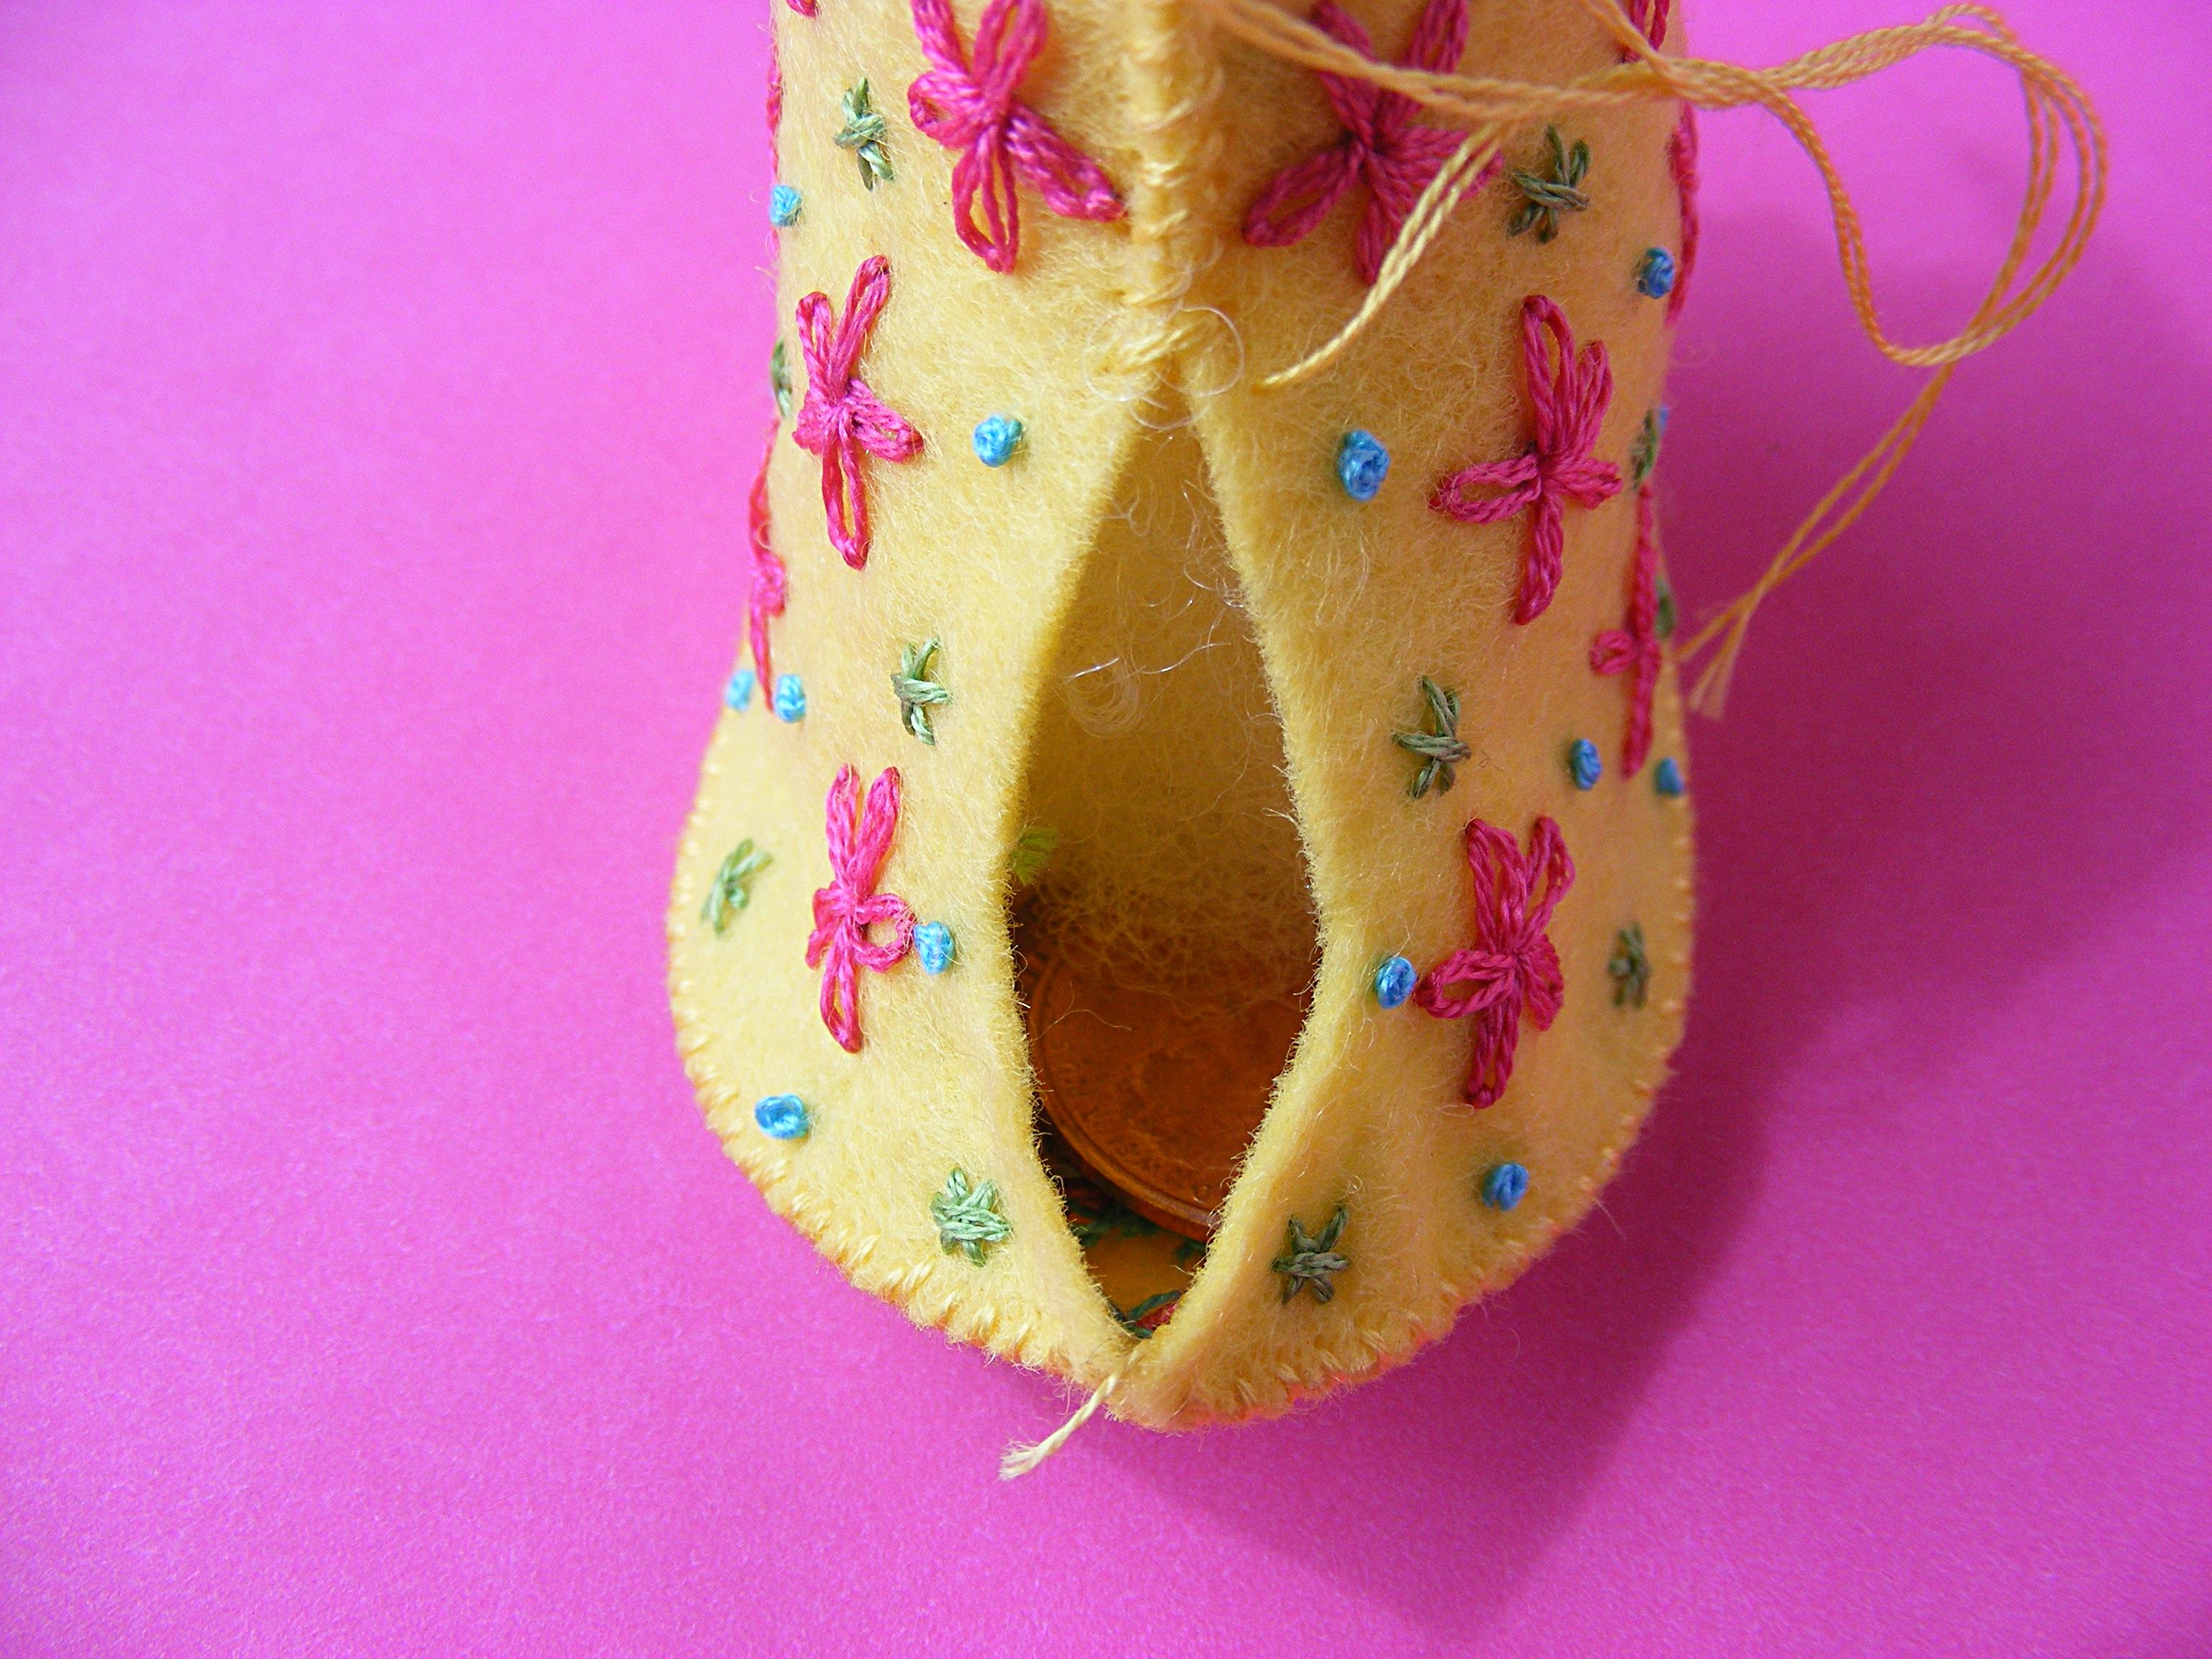
When you get to the tail, slip in a couple of pennies or other weights to keep her from tipping forward. I used two American pennies in mine. If you want her standing up even straighter (like Flora) use three pennies.
Step 10
 Add a bit more stuffing to the tail and finish sewing her up.
Step 11
Pin the wings in place, one on each side of the body.
Use the flowers as a guide to line them up exactly. Thread a long needle with a long piece of thread. Start sewing underneath one wing, near the top, leaving about 6 inches of thread hanging. Sew through the body and out the other side, through the opposing wing. Take a small stitch back into the wing, through the body and out through the first wing. Stitch back and forth like this a few times to secure the wings. Don’t pull the thread too tight or you’ll distort the shape of her body. Knot your thread underneath one wing and bury the tails.
There’s a video showing how to do this here - just leave off the buttons.
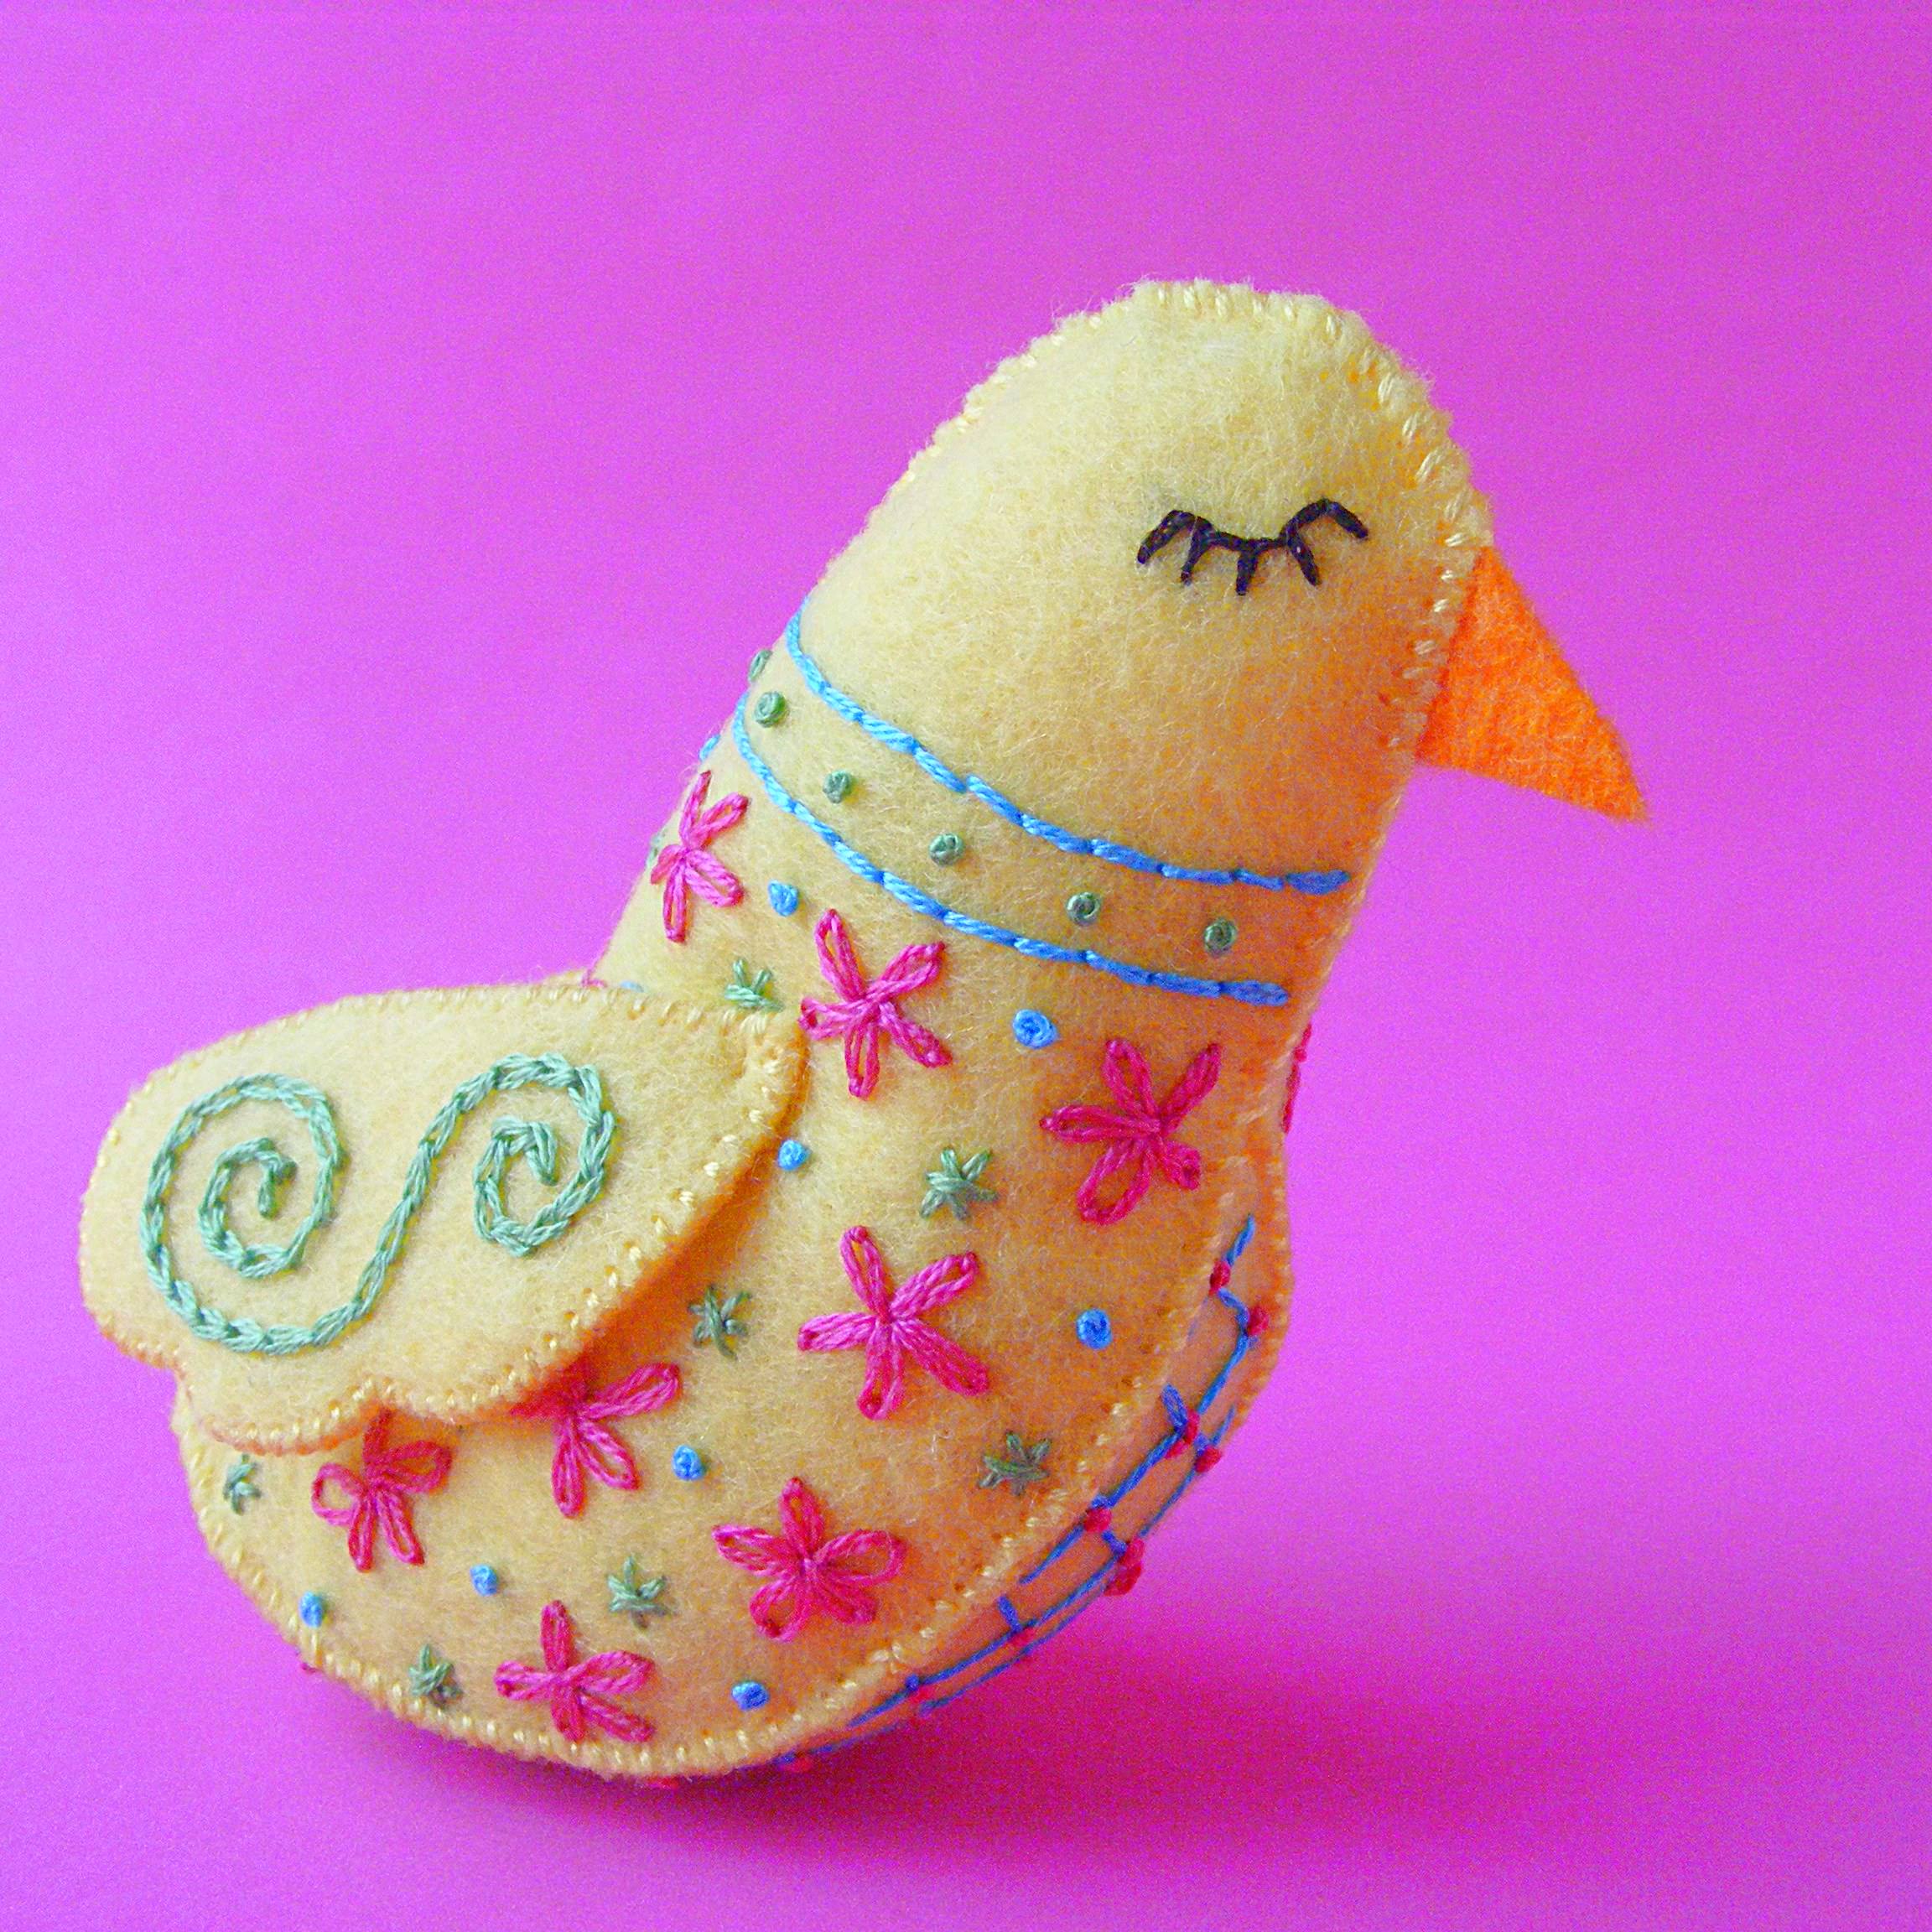
Finished!
No make another in a different color. 🙂
Happy stitching!
If you like this free pattern, sign up for my weekly newsletter so you never miss a new one!
Best,
Wendi
![]()
PS – Do you like birds? Me too! Here are just a few of my other bird patterns!
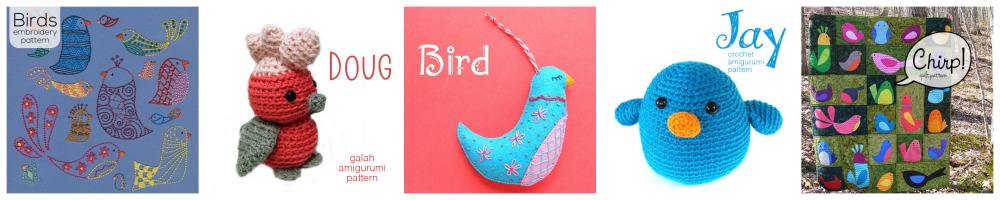
You can find all of them (and lots more, too!) here.