This makes sense for when you have a piece of fabric that you might get from the store that has selvedge edges. But what if you are using scrap fabric – like you are cutting up an old shirt or pair of pants to make bean bags? Do you need to make sure that your fabric is true?
Ooooh – good question! It’s really a judgement call and depends on what you’re making.
A good guideline is to ask yourself if the finished thing you’re making is going to hang – on the wall, in a window, on your body, etc. If it’s going to hang, you usually want to make sure you’re working on the straight grain. As it hangs, it stretches, and if it’s not cut on the straight grain it will stretch unevenly. Have you ever had a T-shirt that got all twisty over time? Where the side seams stopped running straight up the sides and instead kind of spiraled around your body? That means the grain was messed up. It can happen with pants too. So annoying!
For stuff that won’t hang it’s not as important. So for most softies and beanbags, most patches for scrap quilts, etc. just cut out your pieces to maximize the fabric you have, or to get the pattern to run in the direction you want.
For really precise pieced quilts (like super-fancy stars and things like that) the pattern will often include cutting instructions and a good pattern will let you know if the direction of the grain is important.
I love skirts made out of T-shirt fabric. How can you go wrong with soft, stretchy knit? They’re easy to make, easy to wear, and easy to fancy-up a bit.
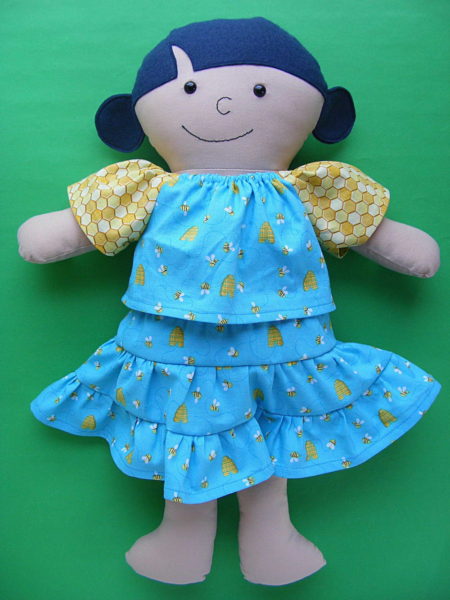
Over the next few weeks I’ll be sharing a few tutorials for dressing up the hem of this plain skirt. I’m starting with the easiest method this week – using some of the scraps from your T-shirt fabric to add a bit of ruffle to the hem.
I added just one demure little ruffle to the hem of this skirt for me. Jo wanted two rows on her skirt.
This is SO easy – and a great way to use up those last few scraps from turning a T-shirt into a skirt. Here’s the video showing how.
I didn’t try using zippers for a LONG time because I thought they’d be too hard. Looking back, it’s astonishing to me how many things I avoided because I thought they’d be too hard. Seriously – how long did I think I could make clothing without using any closures? And then when I did venture into closures – I tried sew-on snaps (Yuck! What a pain!) and velcro. Velcro! Anyway – when I finally learned out how to sew in a zipper I couldn’t believe how easy it was. It’s three straight lines and some work with a seam ripper. Don’t believe me? Watch the video. You’ll be putting zippers into everything you sew.
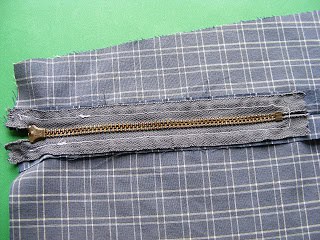
I never pulled back in the video to give you a shot of the finished zipper, with all the loose threads cleaned up and the tape pulled off the back. (Yes, tape. Watch the video and you’ll see.) Here’s the front. . .
Back when I first started sewing, I did everything possible to avoid buttons.
Or zippers.
One of the notions I turned to was snaps. My first experience was bad – I tried using those sew-on snaps, thinking they’d be the easiest option. But I hated sewing them on and I found it really hard to held them in place while I sewed.
My life changed when I discovered regular snaps. A neat professional finish with just a hammer? I had NO IDEA you could do this from home! Why was nobody shouting this from the rooftops? Snaps are really easy to use and look terrific. Here’s how. . .
Give them a try!
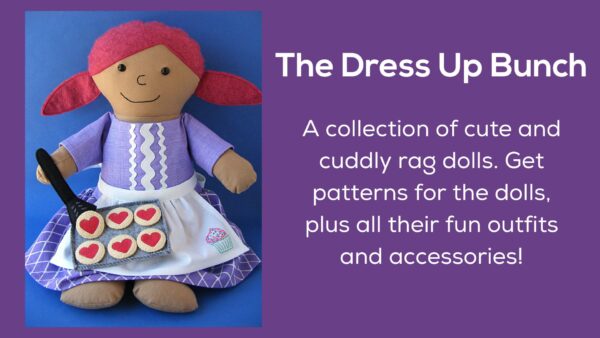
That tiny little shirt you see up top is one of the shirts for the Dress Up Bunch dolls. All the dolls have the same basic body pattern – which means they can all share clothes. Fun!
Update! The pretty colored snaps I used to carry are no longer available in shops. 🙁 The good news is that you can now choose individual colors and buy direct from the manufacturer. The best size for Dress Up Bunch doll clothes is size 14.
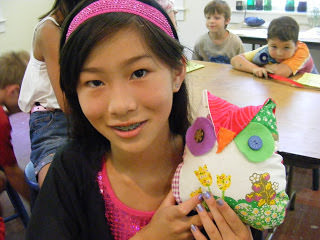
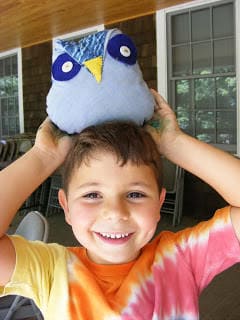
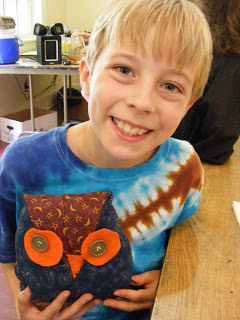
Last week I sewed owls with 20 kids in the Harry Potter Camp I taught, and it reminded me to write up a post with some tips on sewing with kids. I’ve taught a LOT of kids sewing classes, and I’ve learned a lot over the years. So here are my top 10 tips for sewing with kids, in no particular order.
1. Let them choose the fabric. Nothing gets them more excited to start the project than to get to choose their own fabric. Nothing. And this is your first chance to let go of what YOU think the finished project should look like. They are guaranteed not to choose the fabrics you would have chosen. And that’s okay.
2. Prepare easy-to-trace pattern pieces by cutting them out of cereal boxes or manila folders. Punch holes where they need to transfer markings (like for placement of eyes). Let the kids trace around the pattern pieces directly onto the fabric and THEN cut things out. It’s much easier for them to cut smoothly on a drawn line than to cut around a pattern piece pinned to fabric. Also – help them place the pattern piece efficiently on the fabric – otherwise you’ll end up with small holes cut exactly out of the middle of large pieces of fabric.
3. Draw the stitching lines on the fabric for kids. Whether sewing by hand or on the machine, it’s almost impossible for them to follow an imaginary line. And when they’re sewing on the machine, every instinct is telling them to keep an eye on the needle – not on the ruler engraved into the throat plate. If you draw the lines for them they can watch the needle AND guide the line right into it.
4. Don’t force them to use the machine if they’re scared of it. On less complicated pieces I’ll let them push the foot pedal while I steer. After a few tries with that they’re usually ready to sit at the machine themselves. If you do this you need to be very clear with them that when you say STOP they need to immediately take their foot all the way off the pedal. Immediately! Look them in the eye and make sure they understand.
5. If they are hand-sewing, try letting them use hand-quilting thread instead of all-purpose. It doesn’t tangle as easily and it’s easier for them to thread a needle with the stiffer thread. I don’t tie the thread onto the needles and there’s usually a lot of re-threading until they get the hang of how to pull it through without pulling the needle off the thread.
6. Give them specific guidance. For example, when stuffing softies they’ll be amazed at how much stuffing it takes. Look at the softie, see where the empty spots are, and tell them to add more stuffing here and here. Or tell them to add 6 more big handfuls and then bring it back to you.
7. For repetitive tasks, give them a mantra to repeat. When I show kids how to whipstitch a stuffing opening closed, I’ll show them that it’s like a little mouth and they need to poke the needle “up through the bottom lip, up through the top lip, and pull, up through the bottom lip, up through the top lip, and pull.” Encourage them to say the steps out loud while they do it. Your class will be full of muttering kids, but for repeating multi-step processes, there’s nothing like it for helping them remember what to do and keeping them focused.
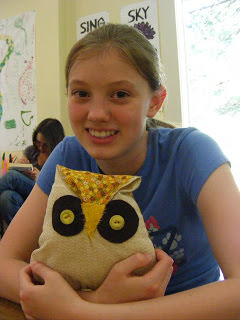
8. Let them do it themselves. Their stitches will be crooked and their buttons will be loose and you’ll be astounded at the snarls of thread that can result – but they will be SO PROUD! The more they do themselves (and the more pride they feel) the more they’ll want to do it again. And the more they do it, the better they’ll get and all those beginner mistakes will start to disappear.
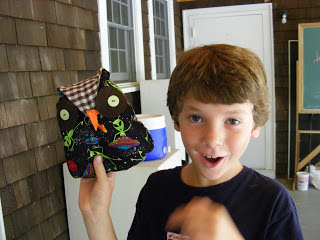
9. Let go of your own ideas of what the finished project should look like and follow their lead. One kid in the Harry Potter Camp added a cape to his owl – which means that lots of kids wanted to add capes. So I showed them how to add capes. One very young child brought me a long, scraggly scrap of fabric that he wanted to attach as a cape. It was easily three times as long as the owl. Just as I was opening my mouth to suggest trimming it shorter, he started to tell me how great this super-long piece of fabric was because now it was a cape that the owl could use to whip around and knock down his enemies. In my eyes it looked awful – like he had just grabbed the first scrap that he came to. But he had a vision and he was so happy to have that vision realized.
10. Have fun! When you’re sewing with kids, choose projects that are easy and simple – with not too many steps or pattern pieces. Happily, those are usually also the patterns that have lots of room for playing around with them.
This one’s on the longish side, but I show you pretty much everything you need to know about using elastic in a casing.
We start with what kind of elastic to use (did you know there were different kinds?), some tips on pre-stretching and measuring, how to measure for and sew the casing, how to thread the elastic through the casing and sew it up. I even show you a little trick I use to help kids put on handmade clothes (with no tags) the right way!
Update – after making this video I discovered a new tool for threading elastic through a casing. It’s called an elastic bodkin and it’s pretty much the best thing ever. This is the one I use. They’re super cheap and they make that step of the process a million times easier. I wish I had known about this tool twenty years ago!
Want to practice your new elastic skills? Try this free simple skirt pattern. It has instructions for sizes to fit everyone from dolls to grown-ups.
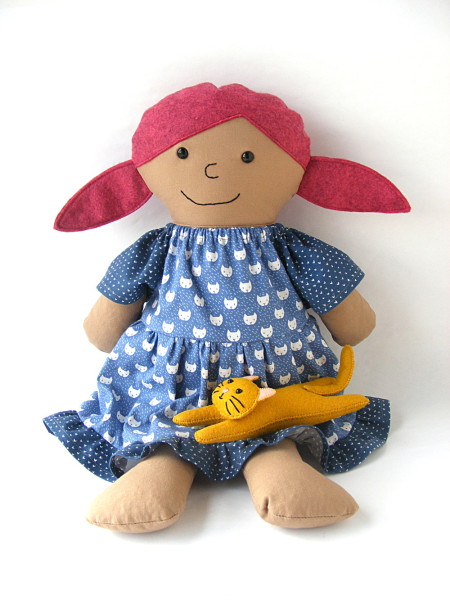
That’s the Cat’s Meow pattern, but there are several others with a similar neck finish. Those gathers means there’s elastic in a casing around the neck – which means no fasteners for little hands to wrestle with!
Okay – here’s the scoop on how to gather! The video shows two methods – the traditional way (terrific for short pieces) and an easy way to gather fabric (especially good for long pieces).
Let’s talk about the “old-fashioned” way.
In a nutshell, you sew two rows of basting stitches, then draw up the bobbin threads, gathering the fabric as you go.
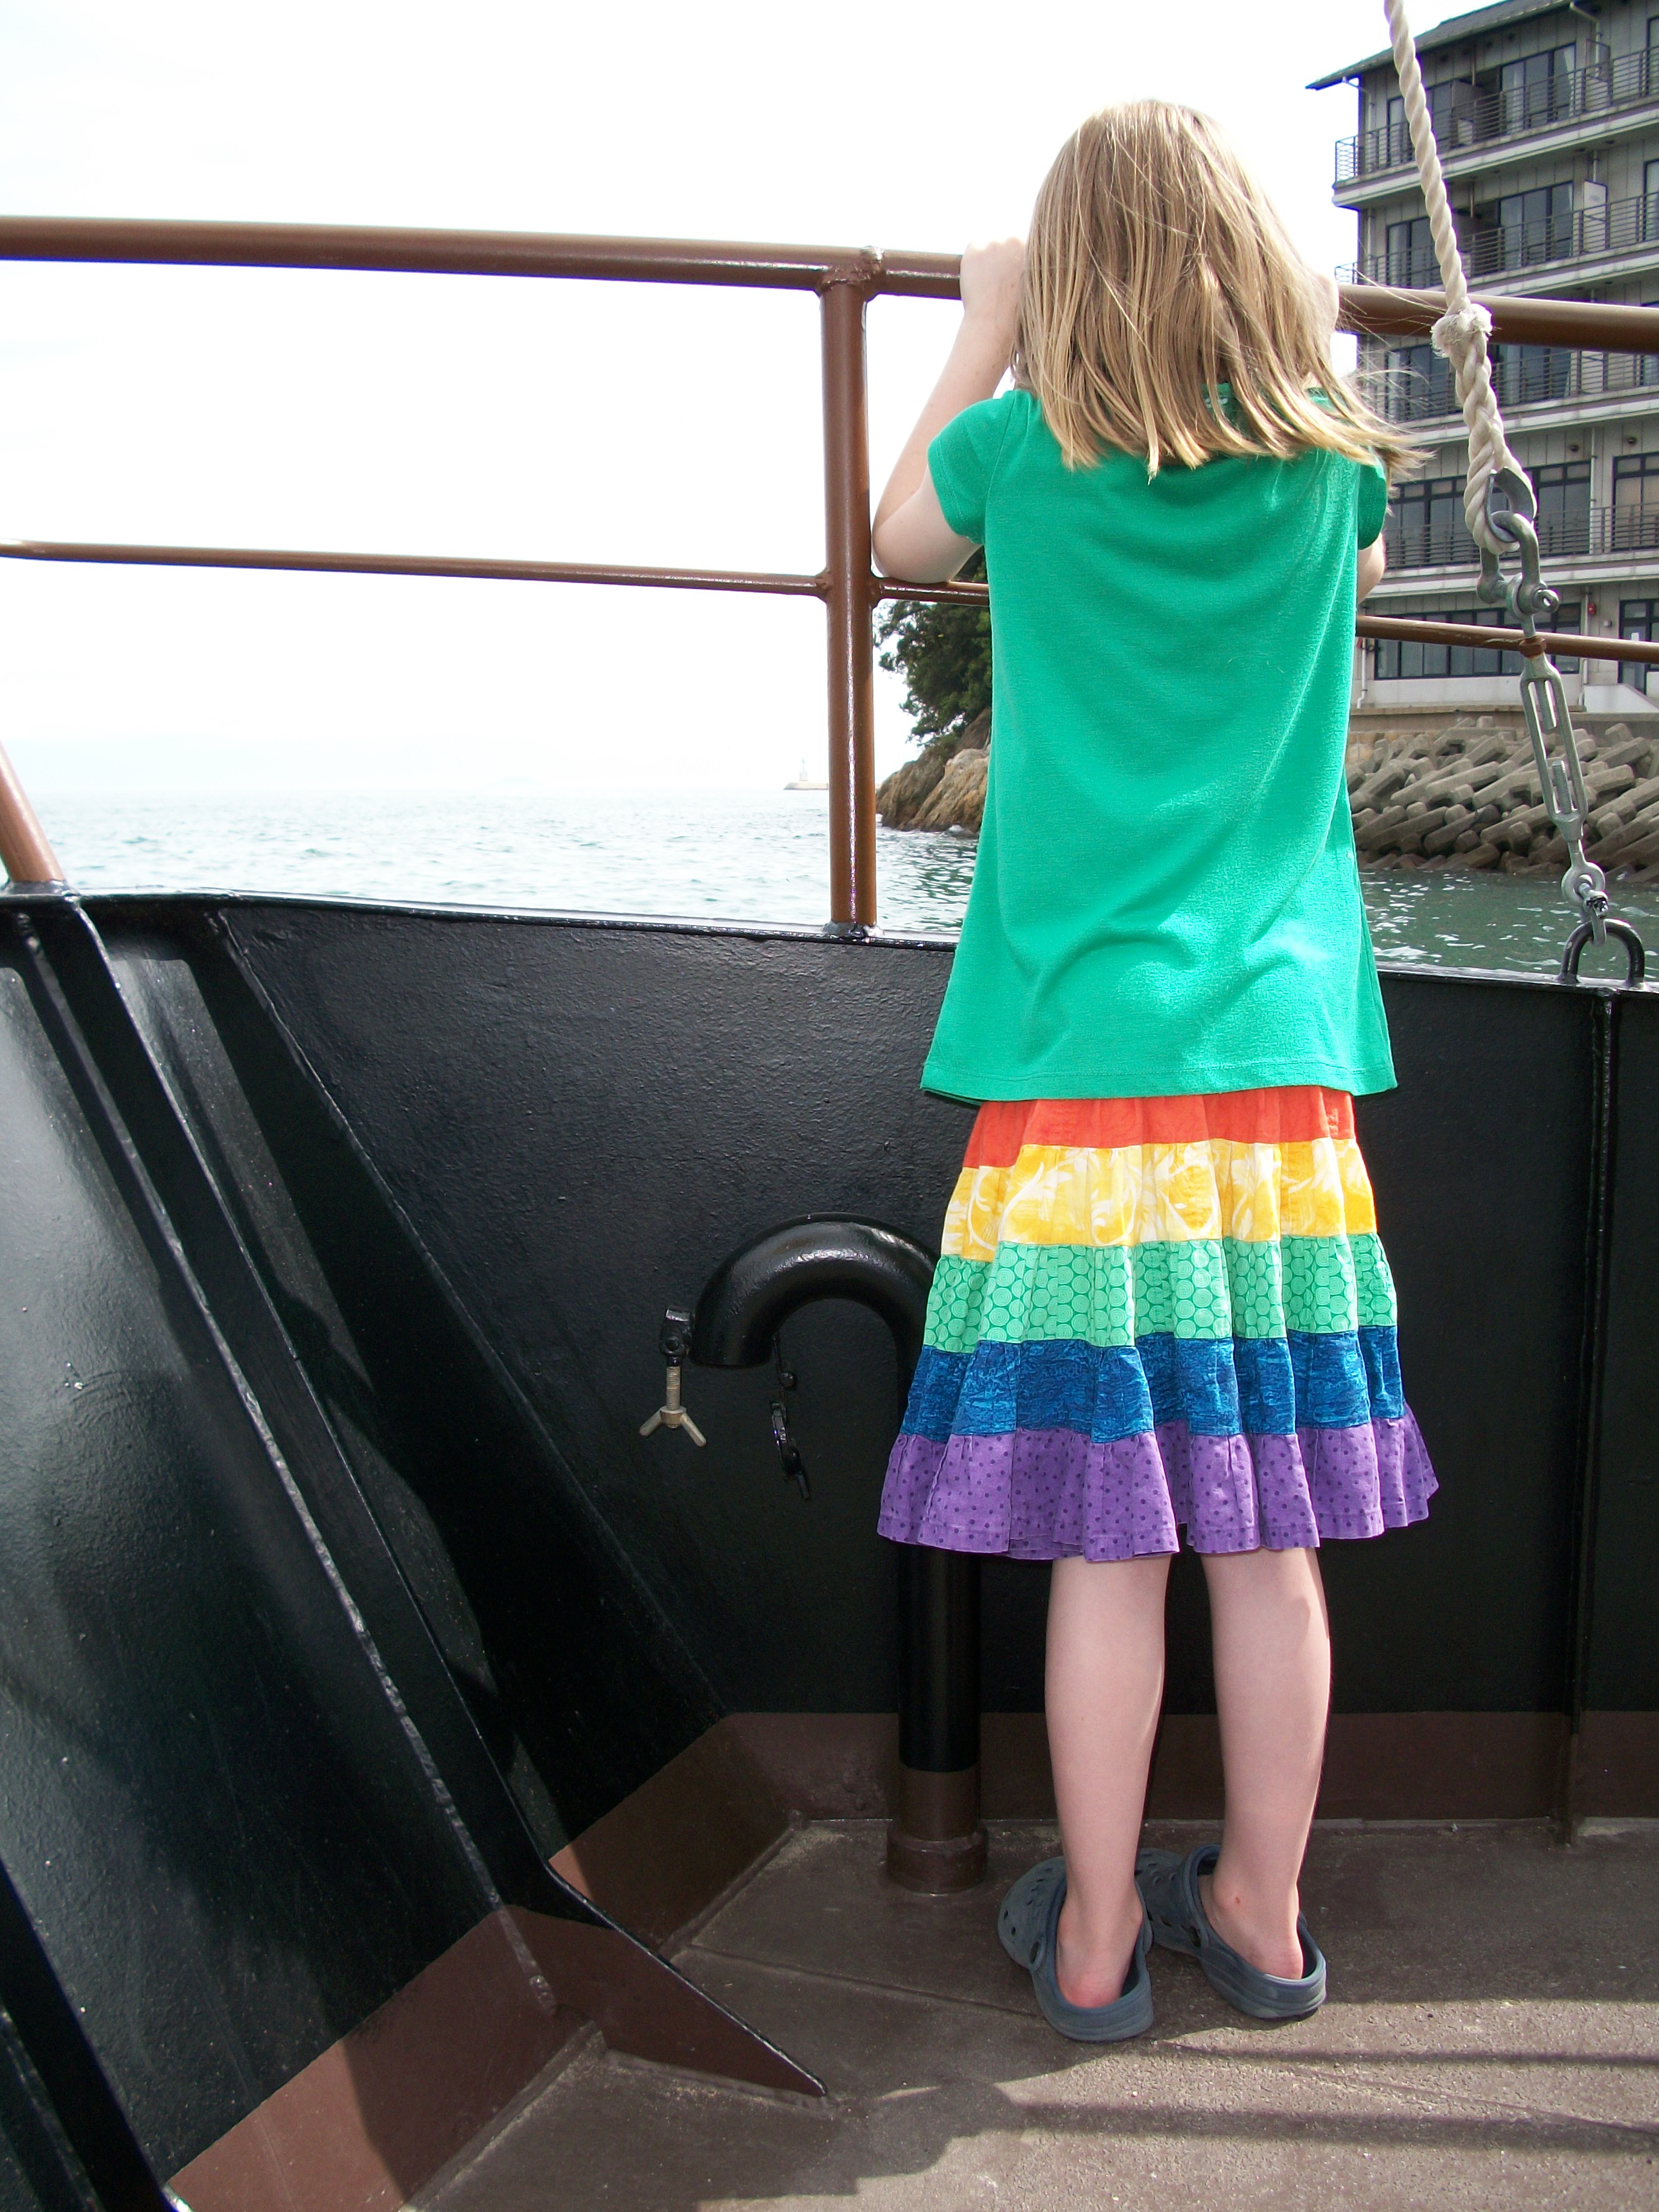
One the plus side – it’s easy to get the gathered fabric exactly the width you want it to be. On the minus side – it’s a huge, HUGE pain in the patootie to gather up fabric longer than a couple of feet. Which means that when I made this skirt. . .
. . . it took a long time and a lot of swear words. (But Jo loved it so much that it was totally worth it! She wore it for YEARS and when she couldn’t wear it anymore she passed it on to a smaller friend who also wore it for YEARS.)
The second method I show is an easy way to gather fabric – especially if you’re working with really long pieces. This method uses a magical gathering foot that probably doesn’t come with your machine. On the plus side – it’s super easy. On the minus side – you have to pay for the special foot (though it’s not too expensive) and in order to figure out what setting to use to get it gathered the amount you want – you have to do math.
That’s right – math.
I didn’t go over this in the video because I was afraid if I started tossing out numbers and percentage calculations I would sound like the teacher in Charlie Brown. So I’m doing it here in writing so you can actually look at the formulas and say, “Hey – that’s really not bad at all!”
Here goes. In the video I show you how to do a sample gather on a 10 inch strip of fabric. With my machine set at 2.5 (regular sewing stitch length), the finished, gathered strip ended up 9.5 inches long. 9.5 divided by 10 is .95 – so that means the finished gathered strip was 95% of the starting length. (See why I use a 10 inch strip? I didn’t even have to use my calculator for that!)
When I sewed a 10 inch strip using a stitch length of 6 (the longest setting on my machine) the finished length was 8 inches. 8 divided by 10 is .8, so that means the finished gathered strip was 80% of the starting length.
I forgot to show this in the video, but you can also adjust the amount of gathering by adjusting the tension. Less tension = more gathers. So if I need more than 80% gathering, and I can’t make my stitches longer than 6, I start adjusting the tension. With a stitch length of 6, and tension at 2 (I usually sew at 4), then the finished strip is 6.5 inches – or 65% of the starting length.
Now here’s where it gets fun. Say I’m making an apron. The width of the skirt panel is 23 inches. I want to fit it into a 15″ section of the waistband. Where the heck do I set my stitch length and tension to gather the top of the skirt?
Easy peasy.
Take your desired (gathered) width and divide it by the current (ungathered) width. That will give you the % change you need. So 15″ divided by 23″ equals .65 or 65%. Hey! That’s exactly what I got when I set my stitch length at 6 and my tension at 2!
See how that works?
I tested out lots of strips of regular woven cotton fabric at various length and tension settings and wrote it all down. That’s a fabric I use a lot and it gives me a good starting point whenever I do this – so I don’t have to start from scratch with all of that trial and error. I look up what I did to get the % change I want for whatever project I’m working on. I test it once with the actual fabric I’ll be using, and then I make a small adjustment if I need to. I hardly ever have to make a change if I’m using another woven cotton, but if I’m switching to something a lot heavier or lighter (like a corduroy or a chiffon) I will almost always need to adjust.
Does this seem like a lot of work? Let’s look back at that rainbow skirt, shall we? Each strip was 1 1/2 times longer than the one above it. If I made it for her today the red strip would be 30″. The orange strip would be 45″. The yellow strip would be 68″. The green strip would be 102″. The blue strip would be 153″. And the purple strip would be 230.” That’s over 19 FEET LONG! Now imagine pulling up those bobbin threads for 19 feet – keeping all your gathers even – and without breaking the thread. The trial and error involved in making that chart doesn’t look too bad now, does it? And think of it this way – make the chart once and use it over and over again for as long as you have your machine.
You’ll run into both terms in different patterns so I thought it would be good to talk about the “official” difference between them. In a nutshell – any stitching done on the top of the fabric (that is – not on a seam that will be hidden) is topstitching.
Edgestitching is just topstitching that runs really close to the edge of the project.
In the video I show you some tips and tricks for doing them both, including examples for three different ways you’ll use them.
How to topstitch double-fold tape in place (like binding the edge of a quilt, or the pocket on this free tote bag pattern)
How to topstitch a seam allowance (used mostly in sportswear)
One thing that helps me get a nice straight topstitch is my clear presser foot. I made sure to point it out at the beginning of the video, but when I did the editing I realized that it’s hard to see the “clearness” of the foot, so here’s a still photo.
That clear part right around where the needle goes in is invaluable for letting me see exactly how close to the edge I’m stitching. If your machine has a solid metal foot, buying a clear foot is almost always an option. It won’t be very expensive and it will be VERY useful. I’m always a fan of seeing what I’m doing. 🙂
The outline stitching I do around all my applique blocks is also a kind of topstitching. On my current machine I have a foot that’s entirely made of clear plastic called (naturally) a clear applique foot. It’s marvelous!
Here are links to all my posts about outline stitching.
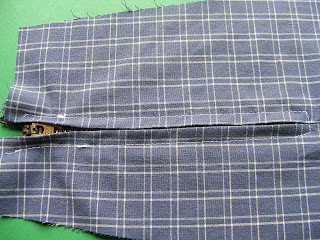
There are a few different ways to work with zippers – this is one of the easiest.
Zippers aren’t hard at all, but they have a reputation for being tricky so I’m going to ease you into it.
This is NOT the technique you’d use for most garment sewing – that’s “hiding” a zipper behind a seam and you can find that video here.
This video is sewing a visible zipper and it’s great for craft applications like pouches, bags, pillows, etc. And, like I said, it’s easy peasy. So find your zipper foot and sew along!
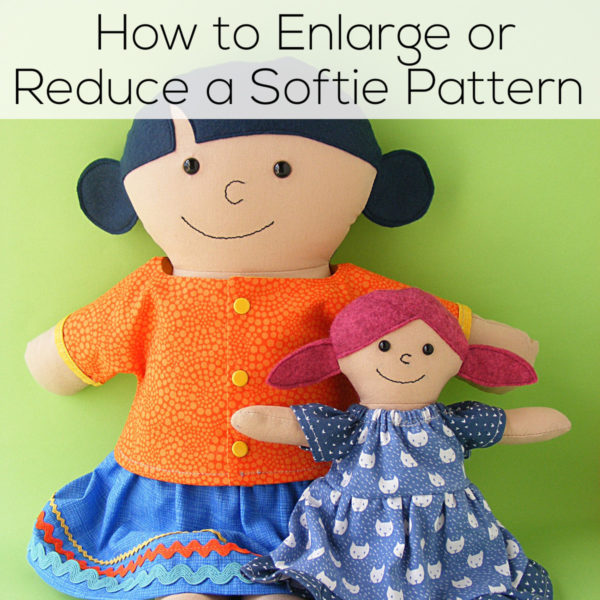
L.A.C.E over at My Glass House had a great question that I wanted to answer here for everyone. She’s making a bunch of Bartholomew Bunnies and she’s thinking of making a really big version of the bunny next. She asked if I had ever made one.
No, I haven’t. But I have enlarged and reduced other patterns and there IS a trick to it.
The first thing you need to do is mark off the seam allowance. When you enlarge the rest of the pattern you do not want to also enlarge the seam allowance. So – on almost all of my pattern the seam allowance is 1/4 inch. Use a ruler or a seam gauge and measure in 1/4 inch all the way around all the pattern pieces. Draw in all those seam allowance lines. Basically, what you’re doing is drawing the stitching lines in. (On many of my patterns those stitching lines are already drawn. It’s the dashed line.)
Now you can enlarge or reduce to your heart’s content. Make a ginormous bunny or a teeny tiny bear. You can either scan your marked-up pieces into your computer and enlarge and reduce in your favorite photo editing software, or you can take it to a copy shop and do it on a photocopy machine. Enlarge or reduce all the pieces by the same percent.
Next you need to add the seam allowance back on to your pattern pieces. Go all the way around the edge of each piece with a ruler or hem gauge making little marks at 1/4 inch, then connect all those little dots. Cut out your pattern pieces and sew!
One thing to be aware of – you may need to tweak the pattern a bit after enlarging or reducing. Proportions that seem just fine in the original model can look weirdly off – especially after enlarging. And those weird proportions can look even weirder after stuffing. For really simple blobby shapes like my bunny and bear you should be fine. But you might run into problems with something like a rag doll where the skinniness of the neck, or example, might be thrown off when you scale up or down. So if you’re working with a more complicated pattern – especially one with skinny parts and wide parts – you might want to make a sample up in a muslin (or other cheap fabric) first so you can check for problems. Draw on any details instead of stitching them, and be sure to stuff it too! Stuffing changes all the proportions.
You don’t want to do what I did here. I know better, but I did it anyway. I designed a pirate doll. I did all the time-consuming applique and hand stitching on his face and his outfit. It was looking good the whole way – until I stuffed him. Suddenly his head looked really tall and skinny (it looked even worse in person) and he was just. . . weird. Grrr!!! When in doubt, always make a muslin.