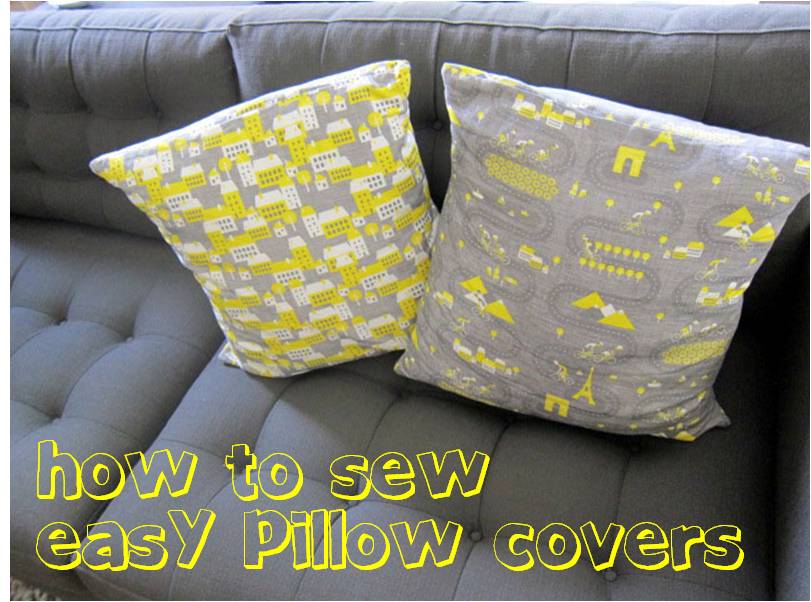
Today, I’ll show you the super-easy pillow covers I made!
This isn’t a full step-by-step tutorial, but if you’re familiar with the basics of sewing, I think you’ll get the idea!
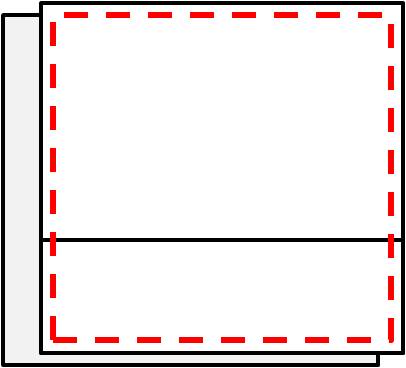
I wanted pillow covers that were removable, but I didn’t want to put in a zipper or do buttonholes. So, I went for a super-easy ‘flap’ technique. The back is composed of overlapping flaps that allow you to take the pillow in and out, but still cover the pillow:
The Basic Steps
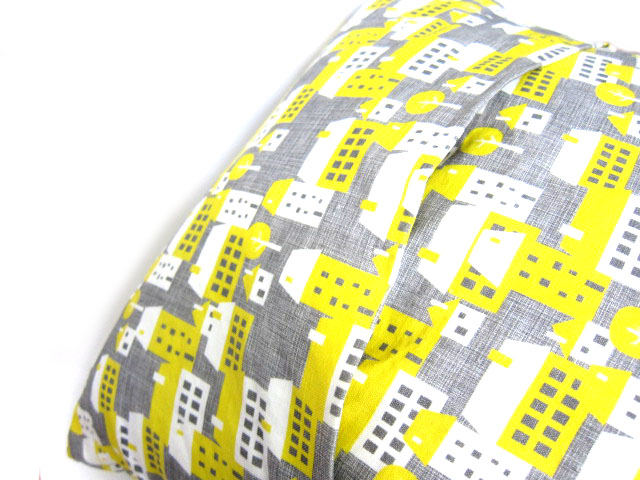
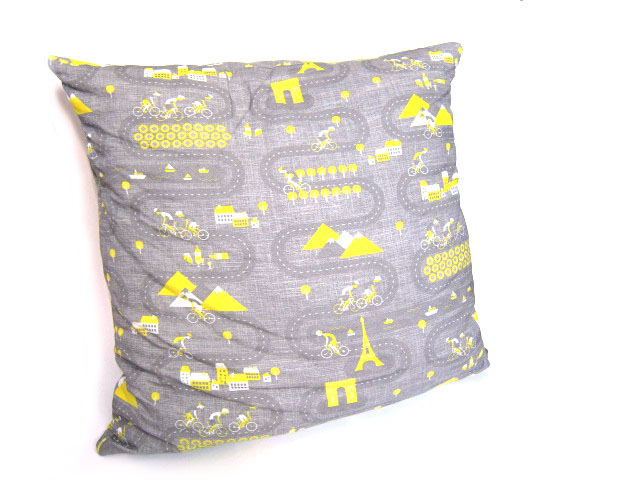
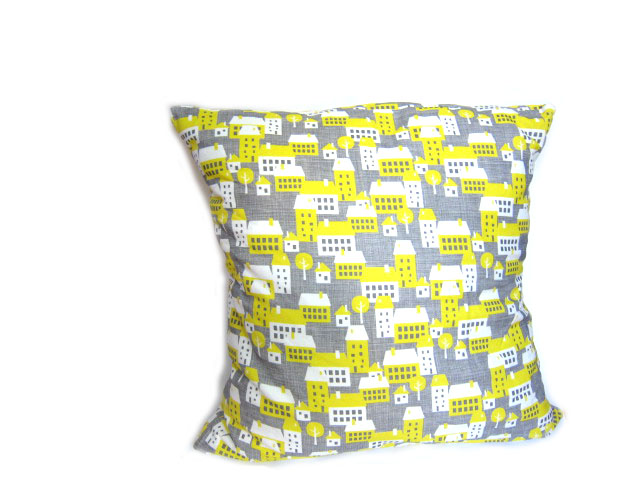
I ordered my fabric from Spoonflower, a great place to get fabric from indie designers. I went with a Tour de France fabric in yellow & grey (a sport I love and colors that match our sofa!) and a coordinating ‘houses’ fabric from the same designer.
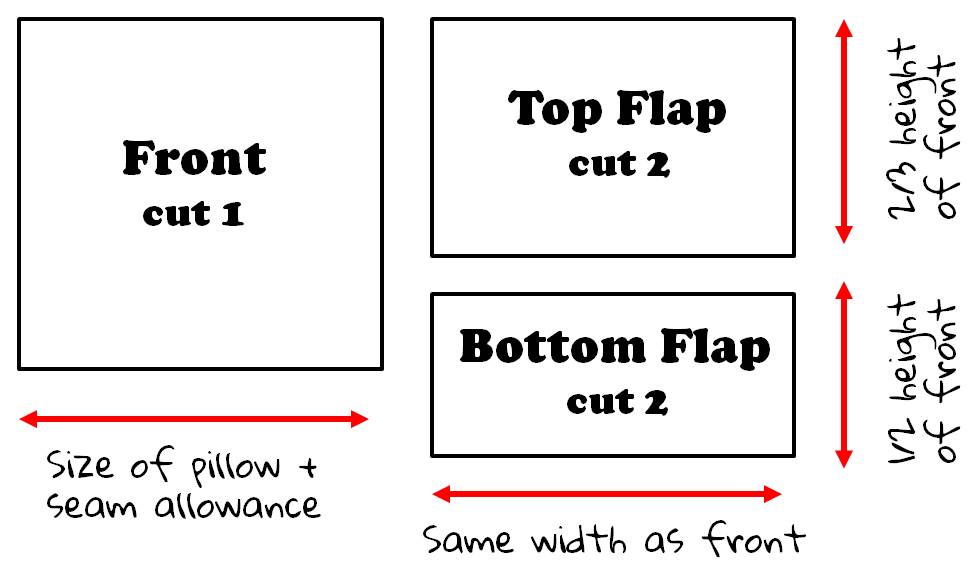
Next, I cut out the fabric.
The important thing is that you want to cut the back pieces to be bigger than just 1/2 of the height of your pillow… or else you won’t get any overlap.
Then, I sewed the pairs of flaps together:
Turning these inside out (to the right sides) gives you the nice, sewn edge at the opening of the flap.
Finally, I sew the front onto the (overlapping) flaps, lining up all of the raw edges:
Presto! Pillows!
As you can tell, they’ve already been well-loved (that is, squished) by me and hubby!
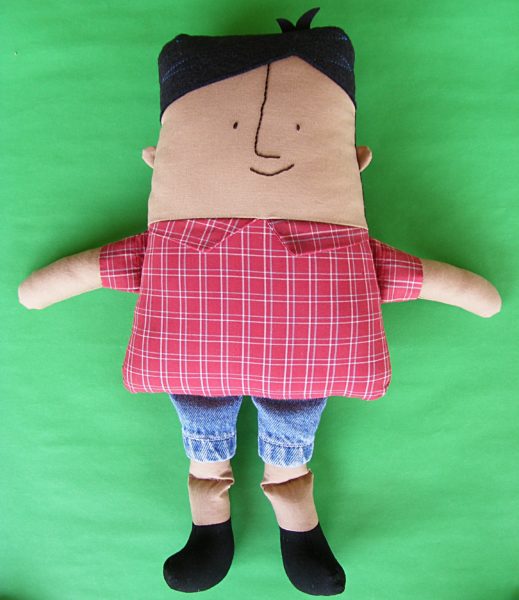
The instructions for the shorts say to turn up the bottom hem 1/2 inch and then another 1/2 inch. We’re going to steal the already-made hem so we need to shorten the pattern by 1 inch. Just turn up the bottom edge one inch and crease it to hold.
Make sure the edges of the cut-off denim leg are all lined up – the outside seam running right up the side and the front and back edges of the bottom lined up with each other.
Place the pattern on the bottom of the cut-off denim leg. The folded hem of the bottom of the pattern should be lined up with the bottom edge of the pants, and the edge of the pattern that says to place it on the fold should be butted right up against the flat-felled seam at the side of the cut-off leg. Cut around the pattern. It should look like the photo up there. Repeat with the other leg for the other side of the shorts.
Follow the rest of the pattern instructions without any more changes. You’ve got a cool pair of denim shorts with nice hem and seam details!
I talked about fabric grain in this video about working with polar fleece. Fleece is stretchy across the fabric (when you stretch from selvedge to selvedge) and much less stretchy when you stretch the length of the fabric (along the selvedge). Watch the video to see that stretch in action.
But what difference does the grain of the fabric make when you’re sewing softies?
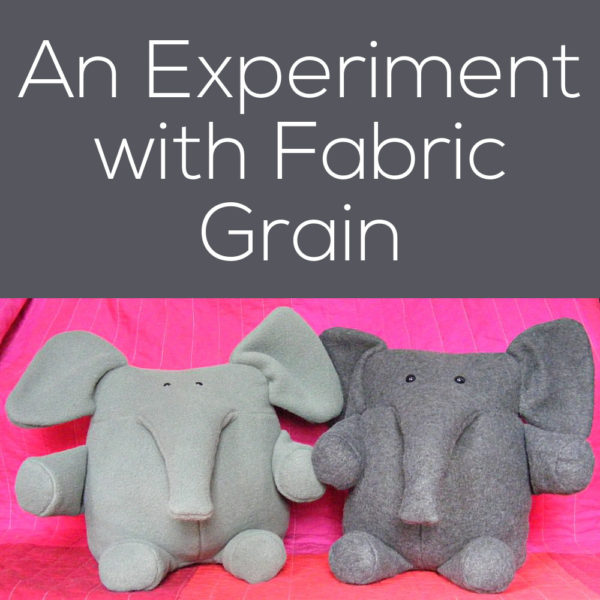
I thought I’d make two softies – one with the pieces cut on the grainline indicated, and the other cut the exact opposite way.
I made both of these elephants from the same pattern. I made them both from similar weight polar fleece. I stuffed them with the same amount of stuffing. The dark grey ones has larger eyes, but other than that they’re identical.
Except for the grain of the fabric.
I made the light grey one exactly as the pattern indicated – with the stretch running across his body. I wanted to emphasize his fatness. 🙂
I made the dark grey one with the grain running opposite of what the pattern indicated – so the stretch was running up and down his body.
Can you see the difference?
Jo said the light grey elephant looks fat, and the dark grey elephant just looks bloated – which I thought was pretty funny. 🙂
The dark grey elephant is clearly taller – that up and down stretch made a big difference there. And there’s a subtle difference in the seam between his face and his body. It’s a tiny bit more defined, because his body bulges a bit more above and below it. It’s also clear in person that the tummy of the light grey elephant bulges out more than the dark grey.
The dark grey elephant is technically made “wrong” but it doesn’t look bad. And if you make a softie (especially a big bulky one like this) with all the grainlines cut wrong you won’t have a disaster on your hands. But your finished softie will look subtly different from the one on the pattern cover.
So now you know! And knowledge is power – so now you can decide how your want the fabric to stretch for YOUR stuffed animal.
Any other fabric mysteries you’d like me to tackle? Leave a comment or send me an email.
Oh – and if you want to make that elephant yourself – you can get the pattern here. It comes with a pattern for her little mouse friend too. 🙂
You might be a little daunted at sewing a flat bottom to what is essentially a tube of fabric – but it’s really not that tricky.
There are two techniques – one for use with larger pieces going through the sewing machine, the other for smaller, hand sewn felt softies. I’ve got a photo tutorial for the first one and a video for the second one – because the second method involves faith and I know some of you won’t believe it until you see it. 🙂
Sewing a Flat Bottom With the Sewing Machine
Cut your round foot and sew your leg or body into a tube. Do not freak out when you think about putting them together. We’re going to break it up into sections and take it one section at a time.
Fold the round part in half and put a pin in the fold at each side. Open it up. Fold it in half the other way, so the pins match up, and put pins in the two new folds. You’ve divided the circle into perfect fourths without using a protractor. 🙂
Now we’ll divide the leg into fourths. Fold it in half so the seam is at one fold. Put a pin in the opposite fold. Now refold it so the pin and the seam match up and put two pins in the new folds. See? Perfect fourths – no measuring.
Put the two pieces together, matching pins.
Now take it just one quadrant at a time, fitting the curve of the round piece to the edge of the tube. Add more pins as needed. Fleece (like I’m using in this photo) is a dream to do this with. The fleece just stretches right into the curve and doesn’t need many pins. Non-stretchy fabrics might need a few more. I like to divide the quadrant in half and put in a pin. Then if it needs more, divide each half in half and put in a pin. Keep going until you feel like it’s all held together neatly – then run the thing through the sewing machine. I like to sew with the flat part down so I can see (and control) the excess fabric in the tube.
Sewing a Flat Foot by Hand
For smaller, hand sewn felt softies it’s even easier – but you do need to have faith in your pattern designer. It looks like there’s NO WAY this the little round bit will fit on the tube – but it will. I show you the whole process in one shot from start to finish.
See? That flat bottom fits right on there – almost like I used math or something to calculate the exact size needed. Which is exactly what I did – and then I tested it a couple of times to make sure I did that math right. 🙂
(In case you’re curious, that’s whipstitch I’m using to sew the foot on. There’s a tutorial here showing how to do it.)
Ready? Go give your softies some flat feet and cute sittable bottoms. 🙂
I love to use a bit of fake fur in my quilts and stuffed animals, but I get a lot of questions about how to make the eyes and other features work. How do you applique ONTO fake fur?
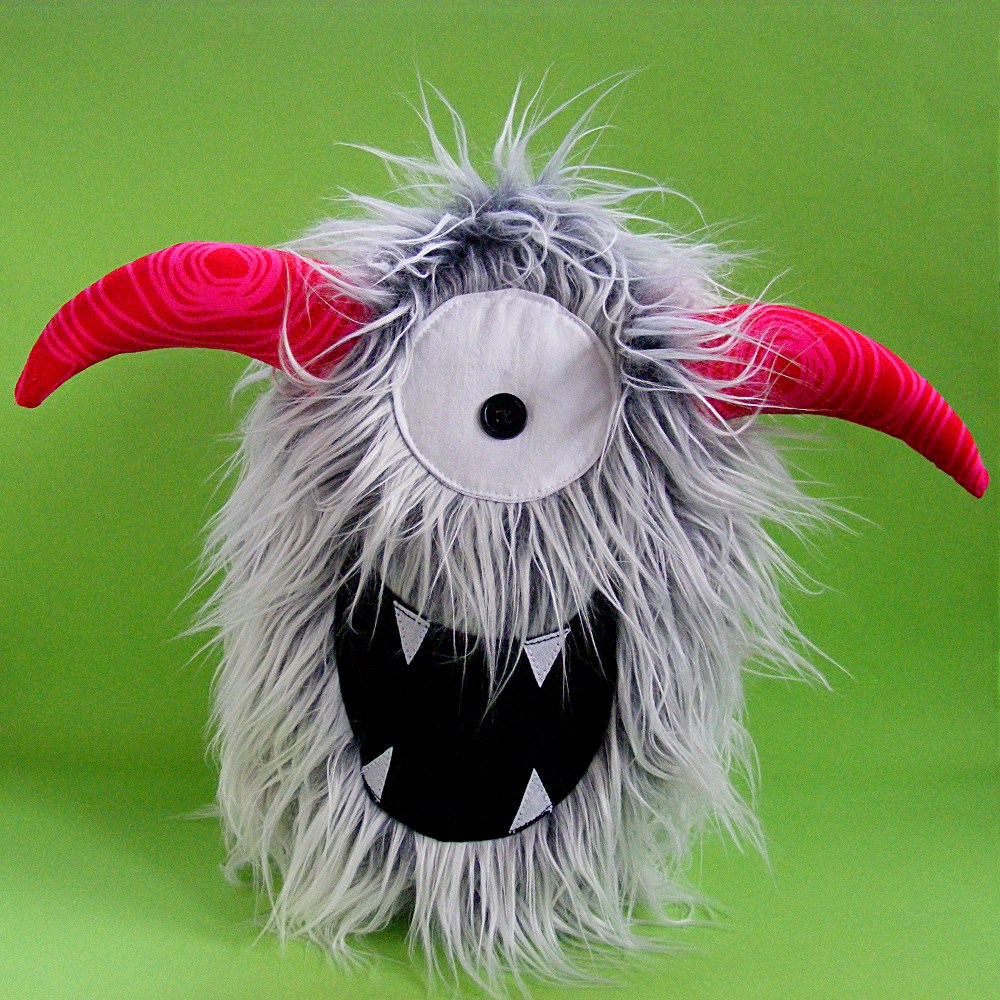
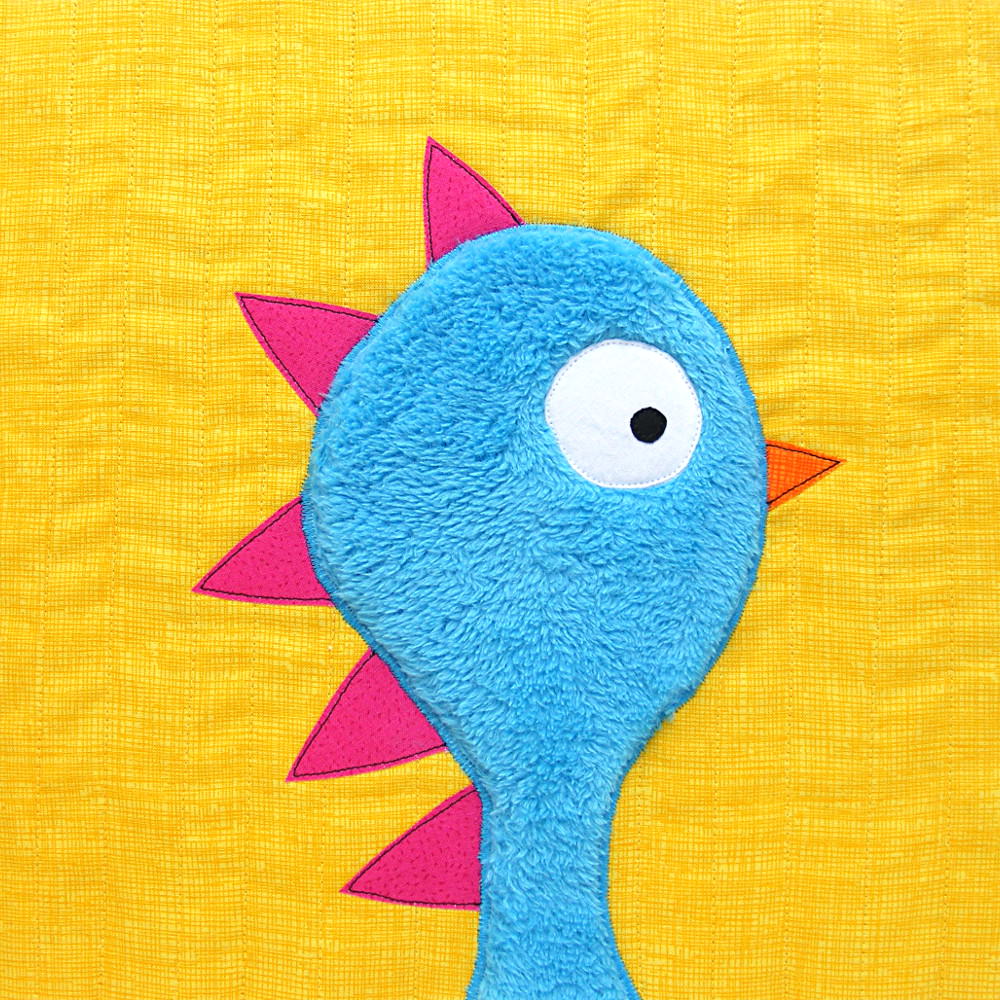
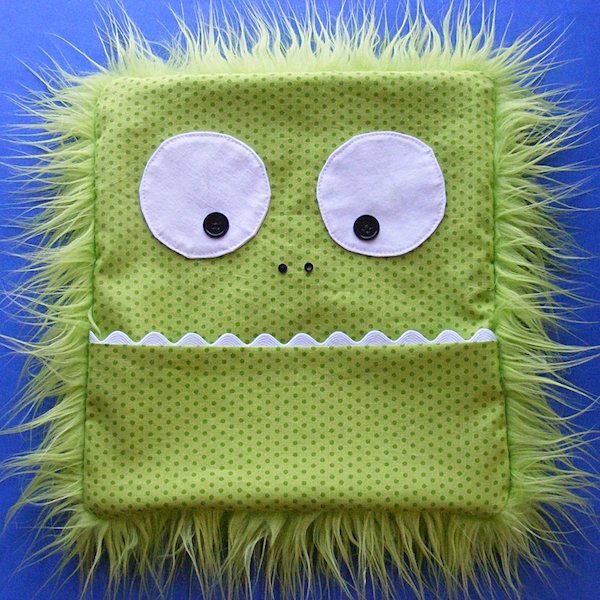
See the eye on the crazy blue bird monster, above? Or the giant eyeball on this monster made with the Eggheads softie pattern?
That’s the kind of thing people are asking about.
I get the same question about working with fleece, like the eye on this fleece bird/monster.
All of these use appliqué onto fake fur or fleece to sew on those eyeballs.
This video showed you how to cut faux fur without leaving your sewing space looking like a Muppet abattoir, and how to sew the pieces together so all the lovely fur ends up on the outside of your softie (without tedious seam-picking).
Now I’m showing you how to appliqué directly onto the fake fur. This is a good way to attach eyes, mouths, bellies, spots, stripes – any smooth surface you want on top of all that fur. It’s surprisingly easy!
Using faux fur (or fake fur) can add a really special – and professional – look to your handmade stuffed animals and quilt. Furry dogs! Furry cats! Furry monsters! They’re all wonderful!
But fake fur is not an everyday fabric, and a lot of people feel like it must require a lot of special knowledge or skill to use it, so they avoid it. That’s such a shame because it’s actually fairly easy to use – if you know just a couple of simple tricks.
So here’s the first in a little series of videos showing you some tips and tricks for working with faux fur. This video covers the most basic basics – how to cut it out without having fur fly all over your sewing room, and how to sew it together so the fur ends up on the outside of your softie, instead of hidden inside your seams. 🙂
Here are a few more helpful posts about working with faux fur. . .
And here are some of my favorite patterns that can be used with fake fur. . .
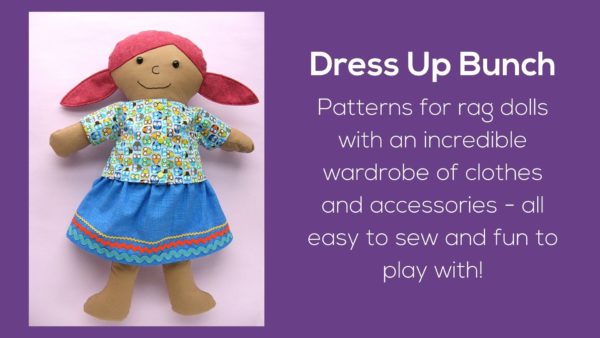
Spot the Dog – that’s Spot made up in a fabulous scruffy grey fur in the top photo. He’s actually a dressable rag doll, so you do need to be careful when making him with fur. If your fur is too full and shaggy, his clothes will be quite tight. 🙂
When my daughter was little I made her a fabulous pair of pants. They were a super simple pattern, made of deep green velvet. What made them extra special was the pink rickrack I embedded in the side seams so the little waves peeked out between the two layers. That turned them from nice, soft velvet pants into Dragon Pants – and she wore them All The Time. Such a simple addition – and so much fun.
In this video I show you how to embed rickrack in a seam. Use it to make some Dragon Pants of your own – or add it as an easy (and sturdy) embellishment to all kinds of things.
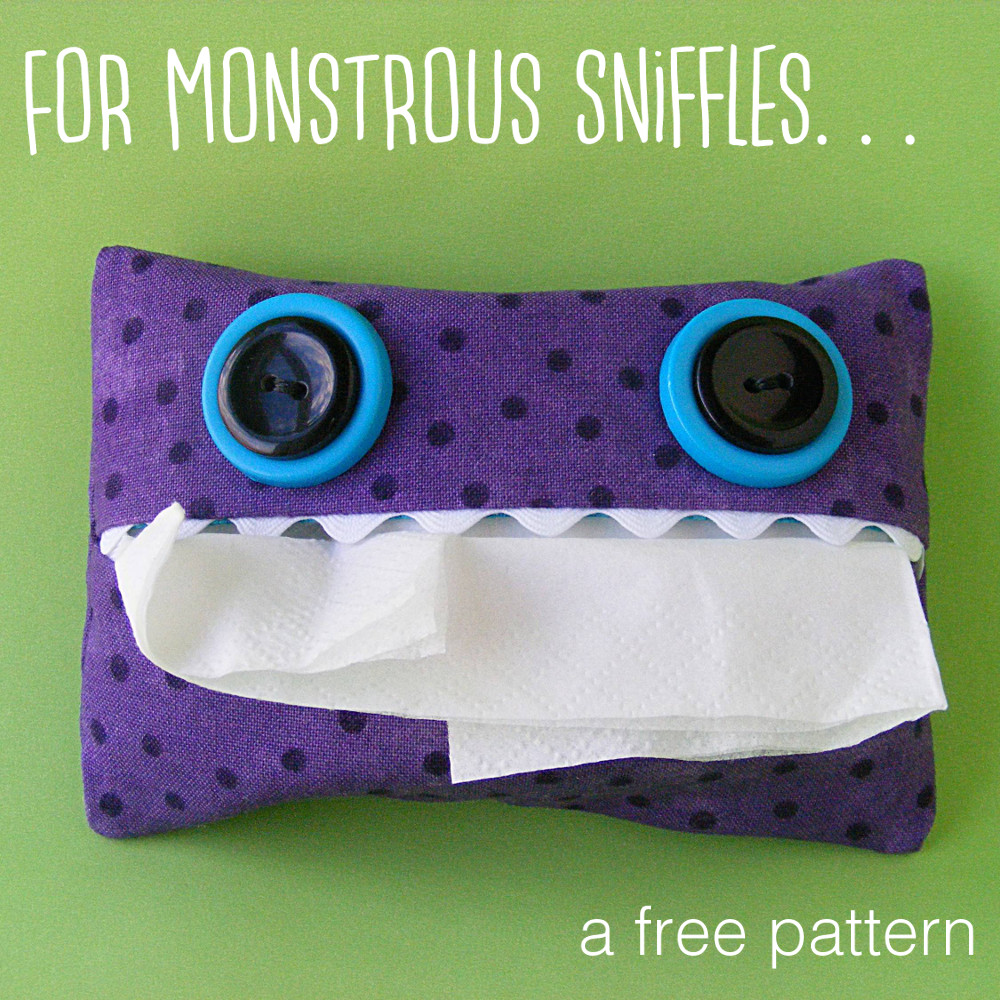
Using rickrack this way makes a great trim at the top of a lined purse or tote bag – and it makes perfect monster teeth in lots of projects – like this tissue pack. . .
I love making softies with fleece. It’s sooooooo soft and cuddly and (mostly) easy to work with.
I say mostly. There are a couple of things you need to be careful of when you sew with it, and I show you in this video.
Update: After making this video I discovered sewing clips. Most people use them for binding quilts but they are AMAZING for holding fat fleece together – without distorting it like pins can. If you work much with fleece – get them. You will love them.
One thing I didn’t mention – buy the good stuff. It’s called no-pill or anti-pill fleece and it costs $1-2 more a yard and is totally worth it. Some of the less expensive fleeces can start to pill after only a little bit of play and they look pretty dang grubby pretty dang quickly.
I designed the Franklin the Fat Cat pattern especially for fleece – and that’s what you see me working on in this video. If you want to make your own you can get the pattern here.
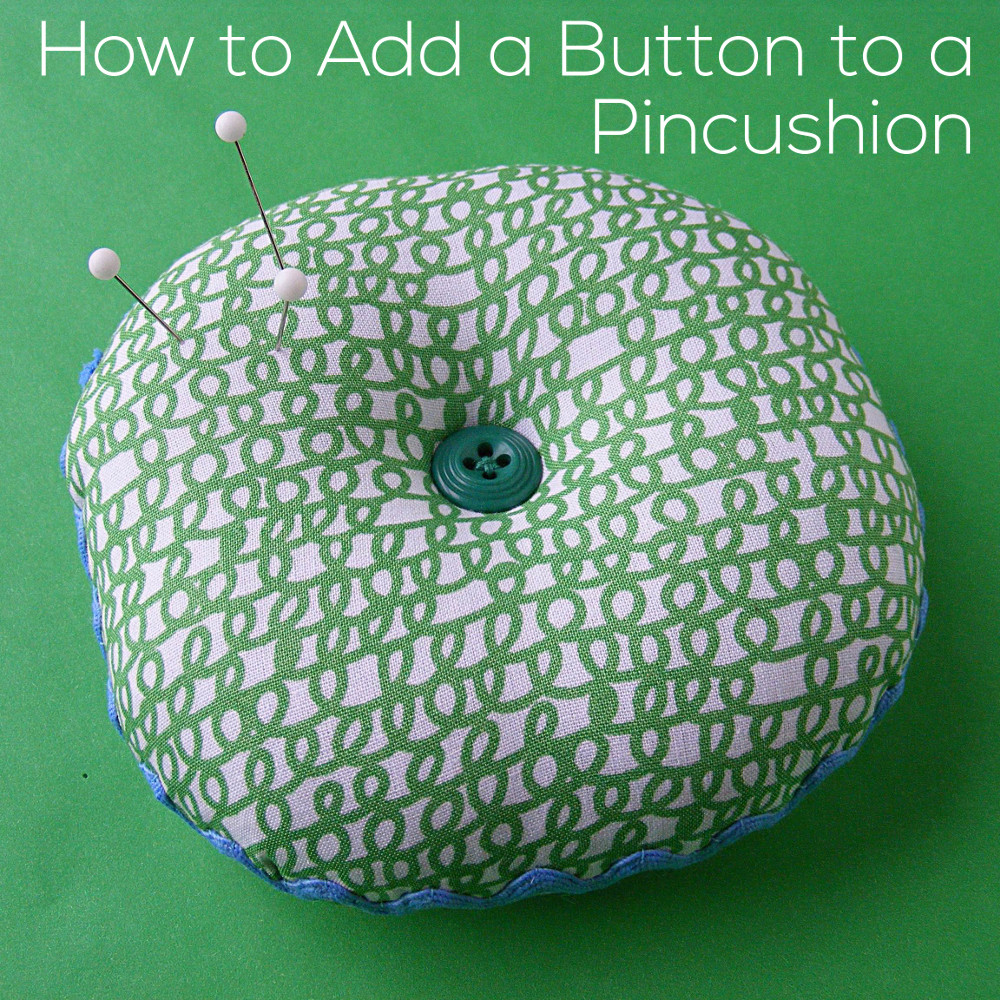
This is my favorite pincushion style. For the best results you want to stuff it REALLY hard – but that makes that nice dimpled button in the center a bit tricky. And how do you knot it off? I don’t want to see the knot anywhere.
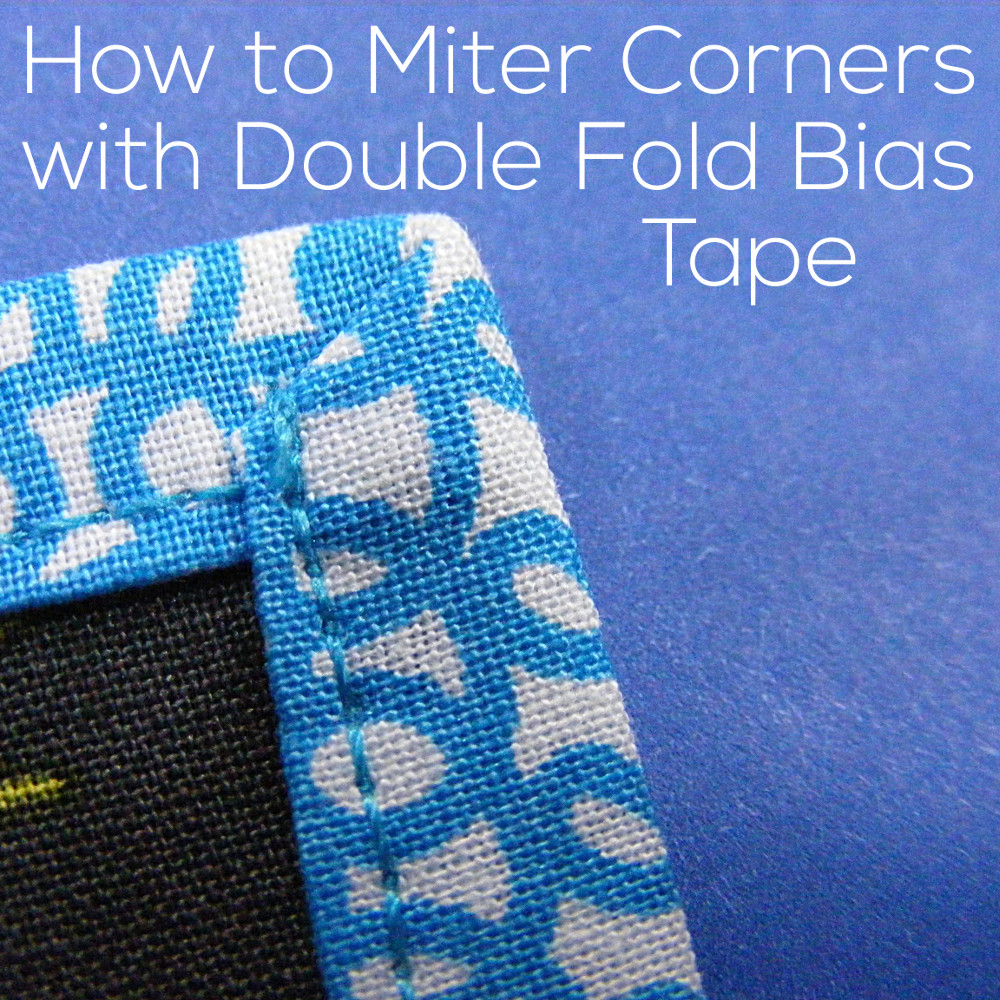
Ever since I did this video showing how to make bias tape I’ve been getting questions about how to miter corners neatly when you use it. How do you get that neat corner? Do you wrap the whole thing and pin it and then start to sew? Do you sew one side at a time? How do you pivot at the corner?
So many questions!
Here’s a video showing how to miter corners with any double-fold tape.
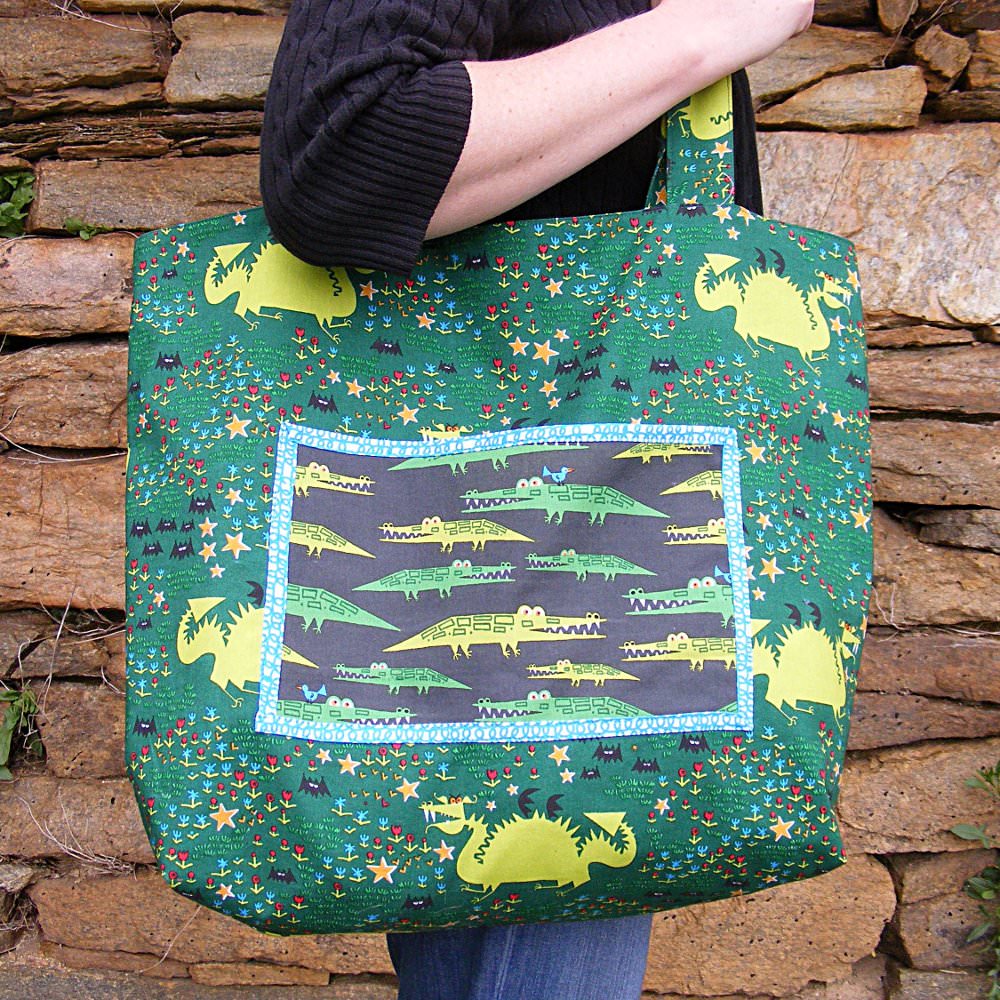
I used this technique just recently when I made this roomy tote bag. (It’s a free pattern! Get it here.)
I used custom bias tape and mitered the corners to bind the edges of the big pocket on the side.
Here’s a close up of the towel, showing how I mitered the corners neatly.
You can even use this technique to bind the edges of your quilt entirely my machine!
(Full disclosure – I don’t. I use a half-machine/half-hand binding method that makes an absolutely perfect and durable double-layer quilt binding. This video shows how I bind my quilts.)