How to Whipstitch – The Easy Way to Sew Up a Stuffing Opening – video

Threading a needle for sewing or embroidery.

If you make softies or pillows – or anything else that requires stuffing – you’ll need to sew up the opening by hand. I teach two basic methods for doing that – the easy way and the invisible way. This is the easy way.

I’ve taught it to 5 and 6 year-olds and they do a great job with it. I recommend it for beginners of all ages.

For those of you eager to try out the invisible way, watch How to Ladder Stitch.

Happy sewing!

Best,
Wendi
Brightly colored fabric with playful patterns, perfect for making cheerful, DIY sewing projects.

How to Embroider Eyes – video tutorial

My No-Longer-Top-Secret-Method for Embroidering Eyes

Want to learn how to embroider eyes the way I do it?

I have a particular way I make eyes when I draw, and when I translated those drawings into embroideries I had a hard time choosing a stitch that gave me just the effect I wanted.

A French knot was too round.

A simple straight stitch was, well, too straight. And too flat.

Padded satin stitch is great for larger eyes, but I needed something that would work for small faces and eyes.

I tried a lot of different stitches, and combinations of stitches until I finally hit on something that was just right. If I had to give it a name, I guess I’d call it a padded straight stitch?

So now I’m going to show you how to embroider eyes using this special stitch. I use this for all of my doll and softie faces, as well as any other small faces I stitch.

Want to practice stitching eyes? Try this Monster Mash embroidery pattern full of monster faces.

Monster mash embroidery pattern, colorful mischievous monster faces on purple background.

Lots of eyes to embroider in there!

The Under the Sea pattern is also full of eyes for you to embroider.

Happy stitching!

Vibrant handmade crochet toys and patterns from Shiny Happy World.

Here are all my lessons for other stitches.

Return to the Learn to Embroider main Table of Contents.

Move on to the lessons about finishing your work.

Vibrant handmade crochet toys and patterns from Shiny Happy World.

A Rice Bag to Keep You Toasty Warm

Fiery flame printed fabric for making colorful rice bags, heat packs, and heat therapy pillows.

Stitch up this easy rice bag and pop it in the microwave whenever you need a little warmth. Heat it for one minute (or a little more) in the microwave. Use it as a foot warmer when you go to bed at night. Or lay it on your chest when you have a cold. Drape it around your neck if you’ve spent too long at the sewing machine. 🙂

Don’t save this project for next winter! In the summertime my daughter likes to keep hers in the freezer to pull out whenever she needs a quick cool-off. Drape the cold bag around your neck on a hot day for instant bliss.

Make one for yourself – and lots more for gifts.

Update! I posted instructions to turn this into a Vicks VapoRub scented rice bag here. Use that version to help soothe a cough and clear a stuffy nose. And be sure to download the free monster rice bag cover pattern too! The link is in the same post. 🙂

What you’ll need

  • 2 squares of fabric – each 10 1/2″ x 10 1/2″
  • 2 1/2 cups rice or other filler
  • scented mix-ins – optional
  • sewing machine
  • thread
  • basic sewing tools
  • an hour or less

Difficulty

Super easy! Just a few straight lines and all machine work! Plus the pattern has links to videos teaching you all the skills you’ll need.

Step 1

Iron your fabric so it’s nice and smooth.

Lay your fabric squares right sides together. Using 1/4 inch seam allowance, sew around three sides. If you’re a new sewist, watch this video showing you how to sew straight lines and turn corners.

Step 2

Clip the corners close to -­ but not into -­ the stitching.

It should look like the photo.

Step 3

Turn the bag right side out. Turn the raw edge under 1/2 inch and press.

The entire top edge (all the way around) should be folded under so you have a clean edge.

Step 4

Using a piece of chalk or other erasable marking tool, mark lines every two inches along the length of your rice bag.

This will make channels that help keep the rice spread evenly throughout the bag so it doesn’t all shift into one corner.

Step 5

Stitch along the marked lines -­ right up to the open edge of the bag. Don’t forget to backstitch at the beginning and end of your stitching!

It should look like this.

Using a funnel, fill each channel with about 1/2 cup of rice. There should still be room to spare. Careful! If you fill your bag too full, it will be stiff and won’t mold to your body.

If you want your bag to be scented, now is the time to mix in some additions. I added a few cloves and some broken cinnamon stick pieces to each channel. You can add a few drops of essential oil to the rice before filling the bag. Lavender or rosemary is also a nice addition. Use your imagination!

There’s a tutorial here showing how to make your rice bag into a Vicks Vapo-­rub scented rice bag – perfect for soothing a cough and stuffy head without the icky sticky feeling of the Vicks.

Step 7

Sew the opening closed. Sew as close to the folded edge as possible.

Don’t forget to backstitch at the beginning and end.

Finished!

Want to get extra fancy? You can sew up a fun monster cover for your rice bag.

There’s a link to a free tutorial here.

Green monster rice bag cover

Happy stitching!

How to Use a Seam Ripper – video

Seam ripper tool for sewing and fabric repair.

If you’re going to sew, I guarantee there will be times when you need to “unsew.” If you’re anything like me – many, many, many times. Learn how to tear out stitches without tearing or distorting your fabric. Trust me. You’re going to need to know how to do this.

I keep one at my sewing machine, on at my ironing board, and one at my work table. That’s how often I need to rip out my work. 🙂

Happy sewing!

Best,
Wendi
That's me!

How to Split Stitch – video

The split stitch is a lovely outline stitch. It’s raised a bit from the surface of the fabric, and it has a lovely, almost-braided look to it. It also forms a more continuous line – unlike the backstitch where you can see the individual stitches.

Here’s how to split stitch.

See how easy it is?

Split stitch is great for outlines where I want a little texture – but it has other uses too. I almost always use it to outline the edge of a space I plan to cover with satin stitch. It helps to give your satin stitching a sharp, raised edge.

You can also use split stitch as a fill stitch, filling in large areas with that braided texture. I used that a lot in this free Feast embroidery pattern.

Colorful embroidered quilt featuring the quote "Enough is as good as a feast," with vibrant yarn and fabric textures.

You can see split stitch used as a fill stitch in the sun and the clouds, and regular split stitch used for the lettering.

Vibrant handmade crochet toys and patterns from Shiny Happy World.

Here are all my lessons for outline embroidery stitches.

Return to the Learn to Embroider main Table of Contents.

Move on to the lessons teaching fill stitches.

Vibrant handmade crochet toys and patterns from Shiny Happy World.

Free Puppet Theater Pattern!

Free pattern - easy doorway puppet theater

Can you sew a hem?

Yes?

Then you can make this easy doorway puppet theater.

No?

Then you’re about to learn – the pattern has links to videos teaching you all the skills you’ll need so you can make it.

It hangs in any doorway so there’s plenty of room “back stage.” And when you’re not using it it’s easy to just fold up and put away. Plus – it’s FREE!

What you’ll need

  • 1 yard solid-colored fabric for the backdrop
  • 1 1/3 yard patterned fabric for the bottom curtain
  • 2 spring tension rods long enough to fit in the doorway you’ll be using
  • Thread
  • Sewing machine
  • Basic sewing tools
  • less than an hour

Difficulty

Crazy easy. Seriously.

Sewing machine for beginners, learning to sew, beginner sewing tips.

There’s also a free template for two ships included! Just print, color, paste them to some cardboard, cut them out, add sticks for handles and you’re ready for the show!

Happy stitching!

Best,
Wendi
Applique Wendi (with fabulous hat)

How to Turn a Hem – video

How to Hem - video tutorial from Shiny Happy World

You’re the master of the straight line now, right? Well, now you get to practice it a little more. In this video you’ll learn how to turn a hem and stitch it in place.

This is a basic, double-turned hem on a straight edge – used for casual clothing and lots of craft projects. There are fancier ways of stitching invisible hems on more elaborate clothing but this is a good, easy technique for a basic hem.

Happy sewing!

Best,
Wendi
Colorful embroidered mushroom design on fabric, vibrant and detailed art piece.

How to Backstitch – embroidery video

If you want to do hand embroidery, you really need to know how to backstitch.

The backstitch is probably THE most common outline stitch. It gives a nice, smooth, continuous line. If you’re going to be stitching tight curves make sure to use a shortish stitch length. Otherwise, just use a stitch length you’re comfortable with and try to stay consistent.

Ready to learn it? It’s easy.

Now that you’ve seen how to backstitch, you’ll want to practice!

Here’s a free cat embroidery pattern, stitched entirely with backstitch.

Simple embroidered cat outline on black fabric, featuring cute facial features and whiskers.

And here’s a free butterfly embroidery pattern that uses backstitch and a tiny bit of running stitch for the swoopy flight path..

Colorful embroidered butterfly design on blue fabric, perfect for sewing and embroidery projects.

It’s so versatile! Use it any time a pattern calls for a simple line.

Once you know the basics of how to backstitch, you can fancy it up by adding a second thread in a contrasting color. Learn how to stitch a threaded backstitch here, and a whipped backstitch here.

Vibrant handmade crochet toys and patterns from Shiny Happy World.

Here are my lessons for the four most basic embroidery stitches I recommend for beginners.

Return to the Learn to Embroider main Table of Contents.

Move on to the lessons teaching other options for outline stitches.

Vibrant handmade crochet toys and patterns from Shiny Happy World.

How to Make Fancy Schmancy Cloth Napkins

Photo of a young girl holding a cloth napkin to her mouth.

How to Make Fancy Schmancy Cloth napkins - a free tutorial.

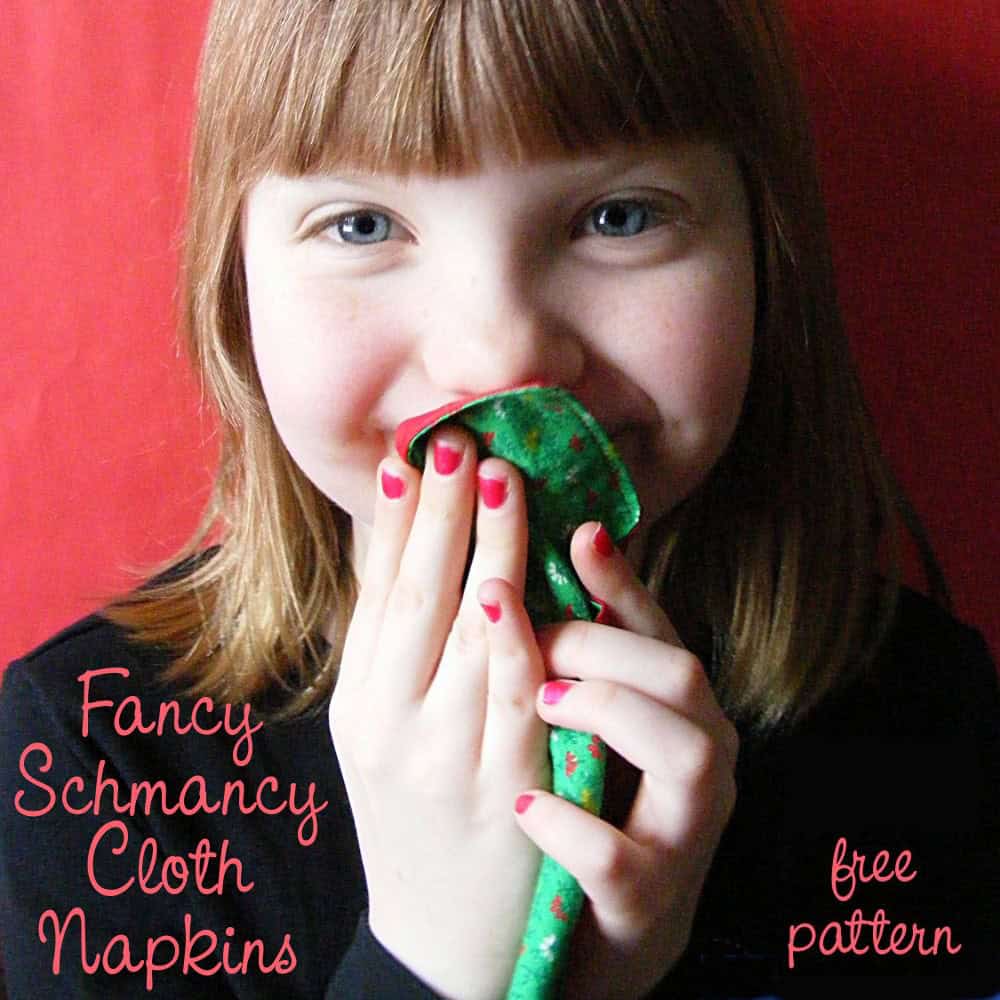
Make some fancy schmancy cloth napkins!

It’s the perfect project is to practice straight-line sewing on the machine!

You get to practice sewing around the edge with a nice, straight, 1/4 inch seam allowance, and then you get to go around the edge again with a topstitch.

Easy peasy!

So here’s a free pattern for you.

What You’ll Need for Each Cloth Napkin

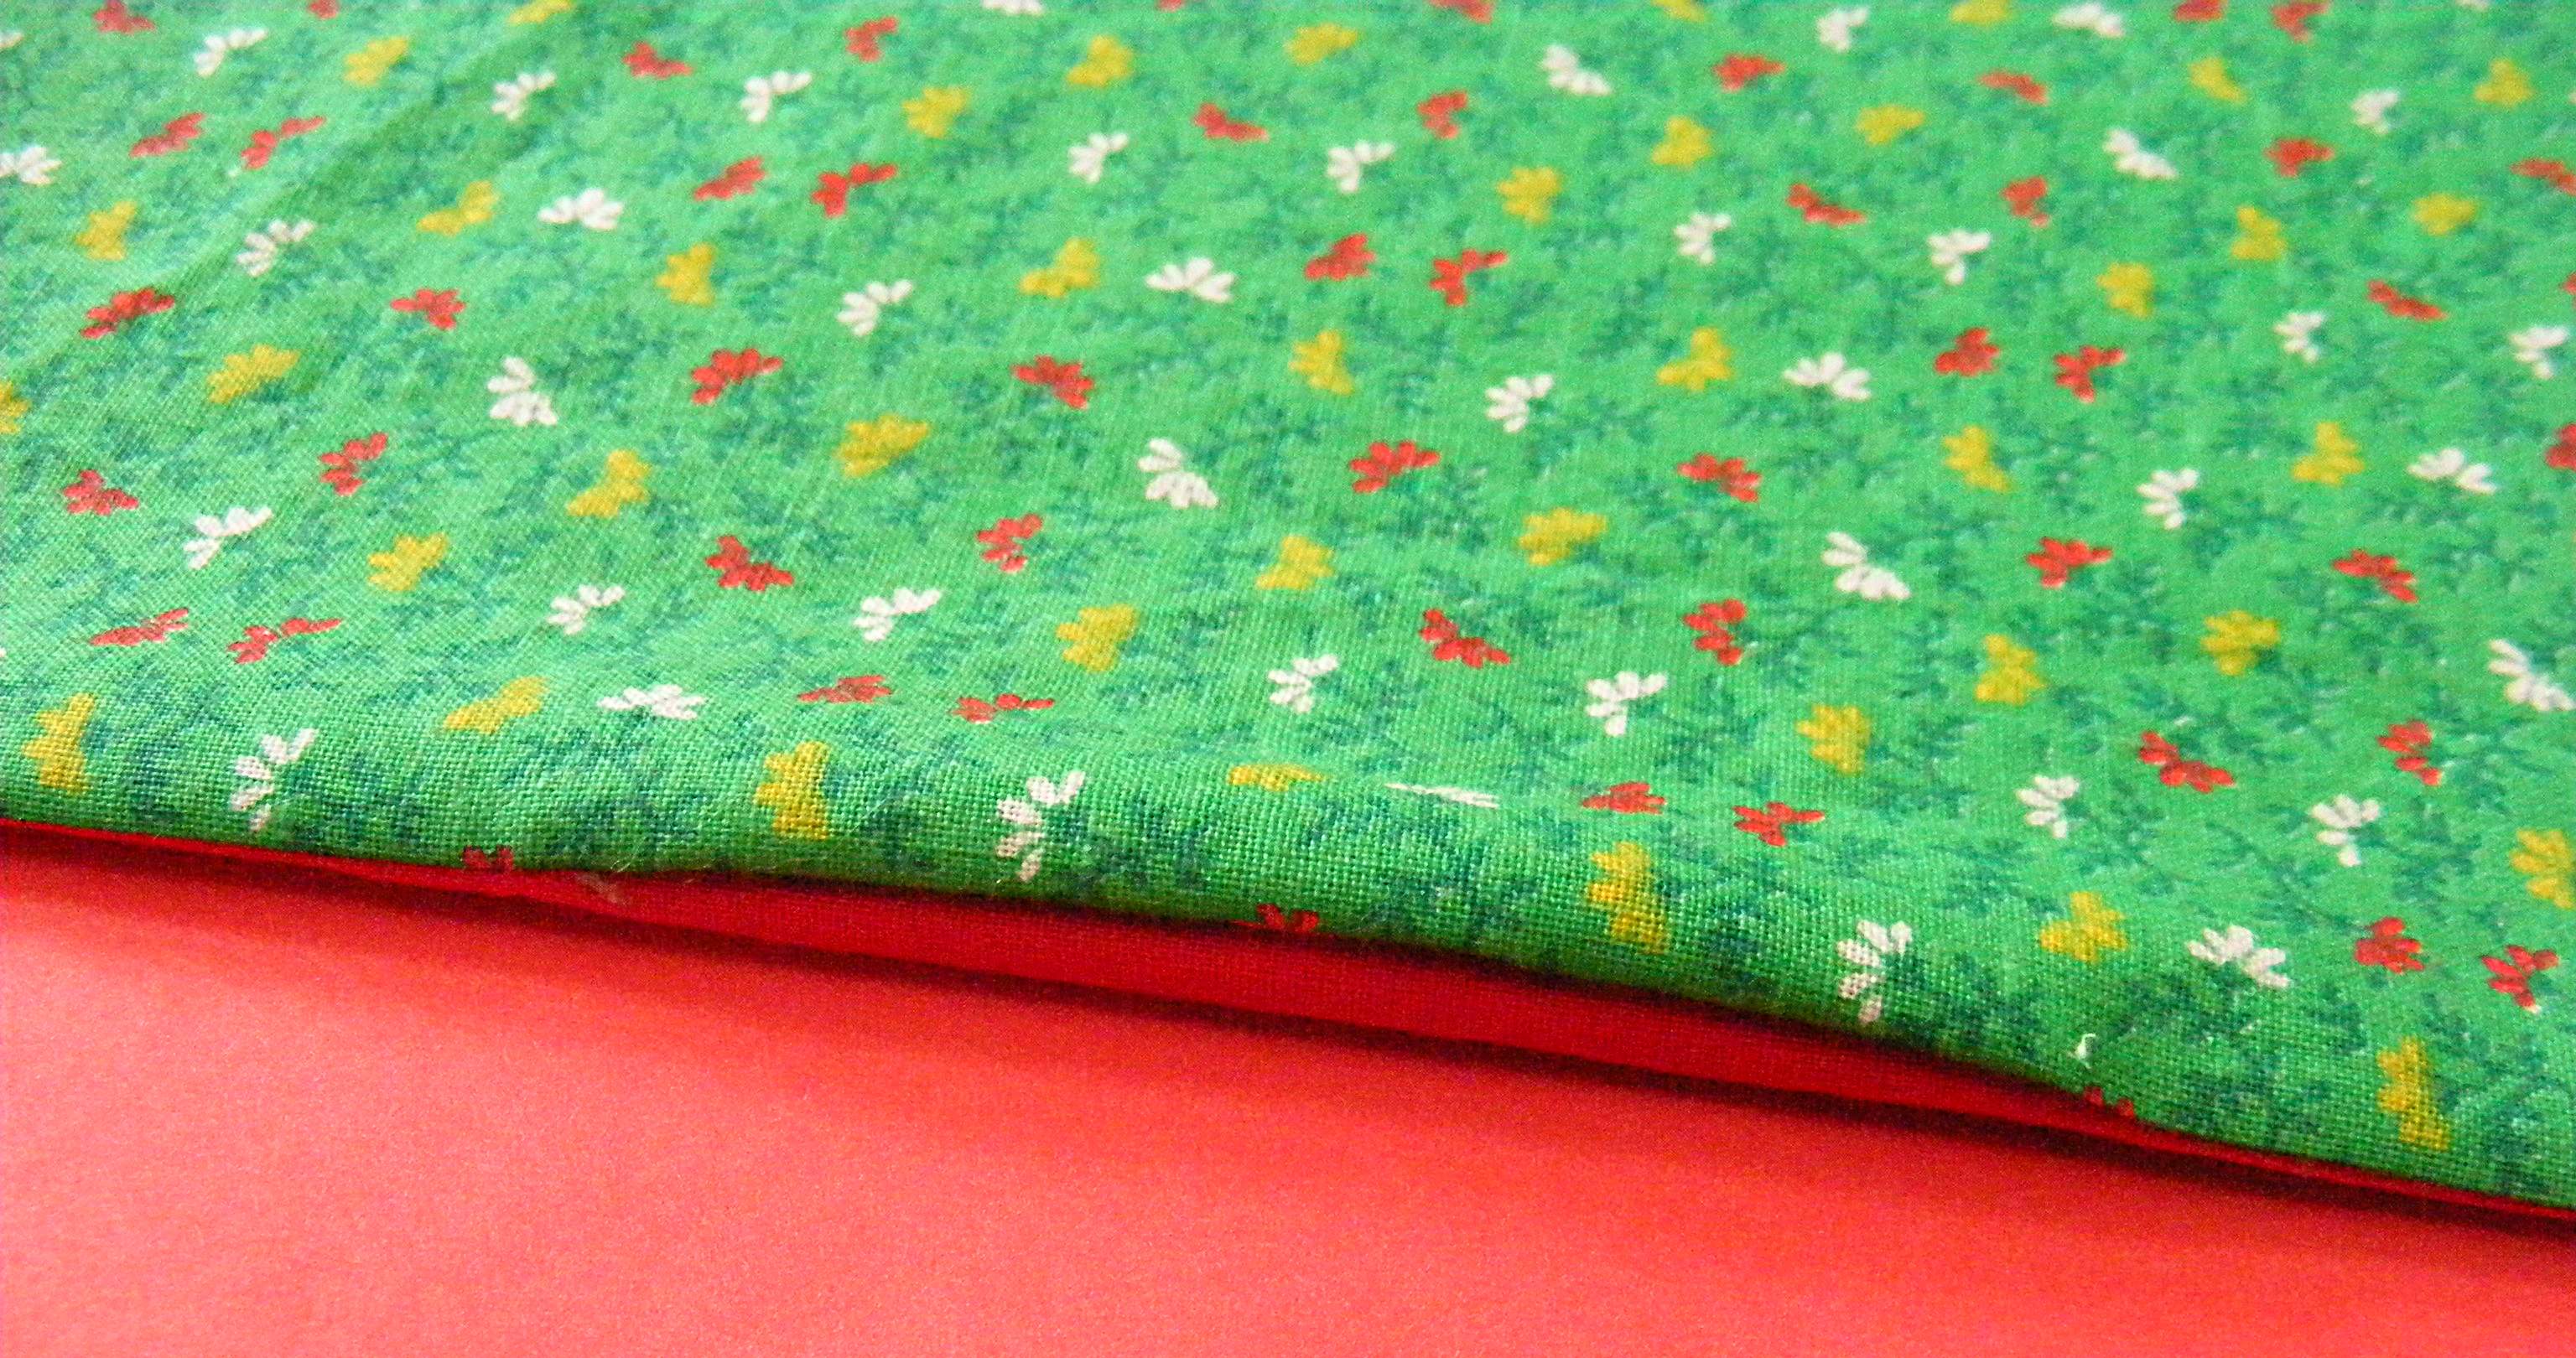
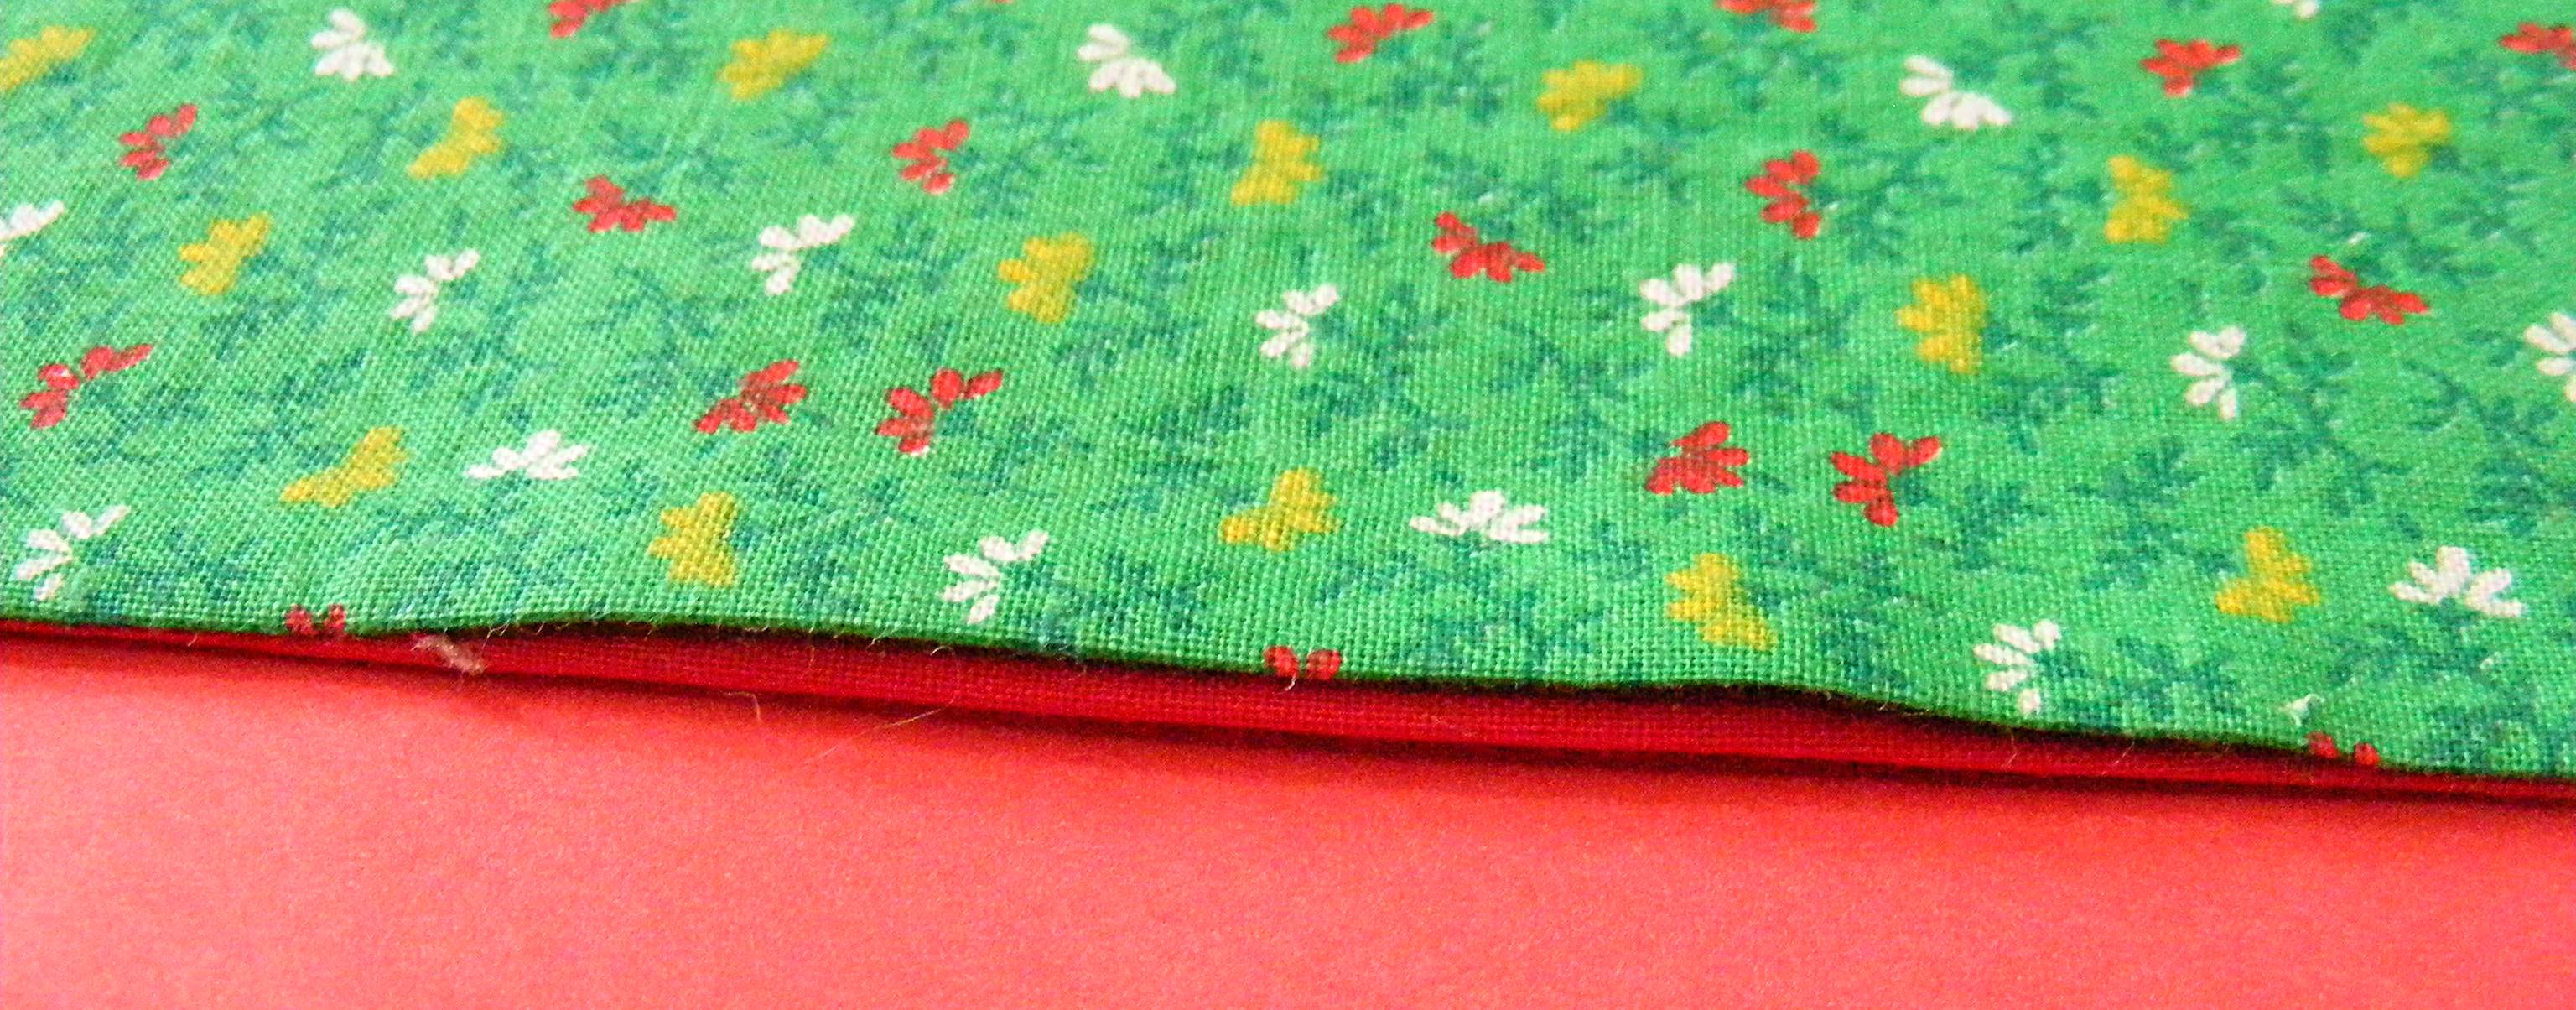
  • Two squares of fabric. I use 12-inch squares but you could go a little larger or smaller if you like. The two fabrics can match, can coordinate, or can be  completely random – it’s all up to you. I usually use a print and a solid that I think looks good with it.
  • Matching thread
  • Sewing machine
  • Iron
  • Pins

You read the part about this being good for practicing sewing straight lines, right? This is definitely for beginners.

If you want to get really fancy you can embroider on one of the squares of fabric before you sew them together. Maybe an initial? Or a flower? Or a small beetle?

There are a bunch of embroidery patterns here, and this book has over 500 motifs, including really unusual ones like chainsaws, lumberjacks, succulents, toys, and kitchen equipment.

Step 1

Iron your fabric so it’s nice and smooth.

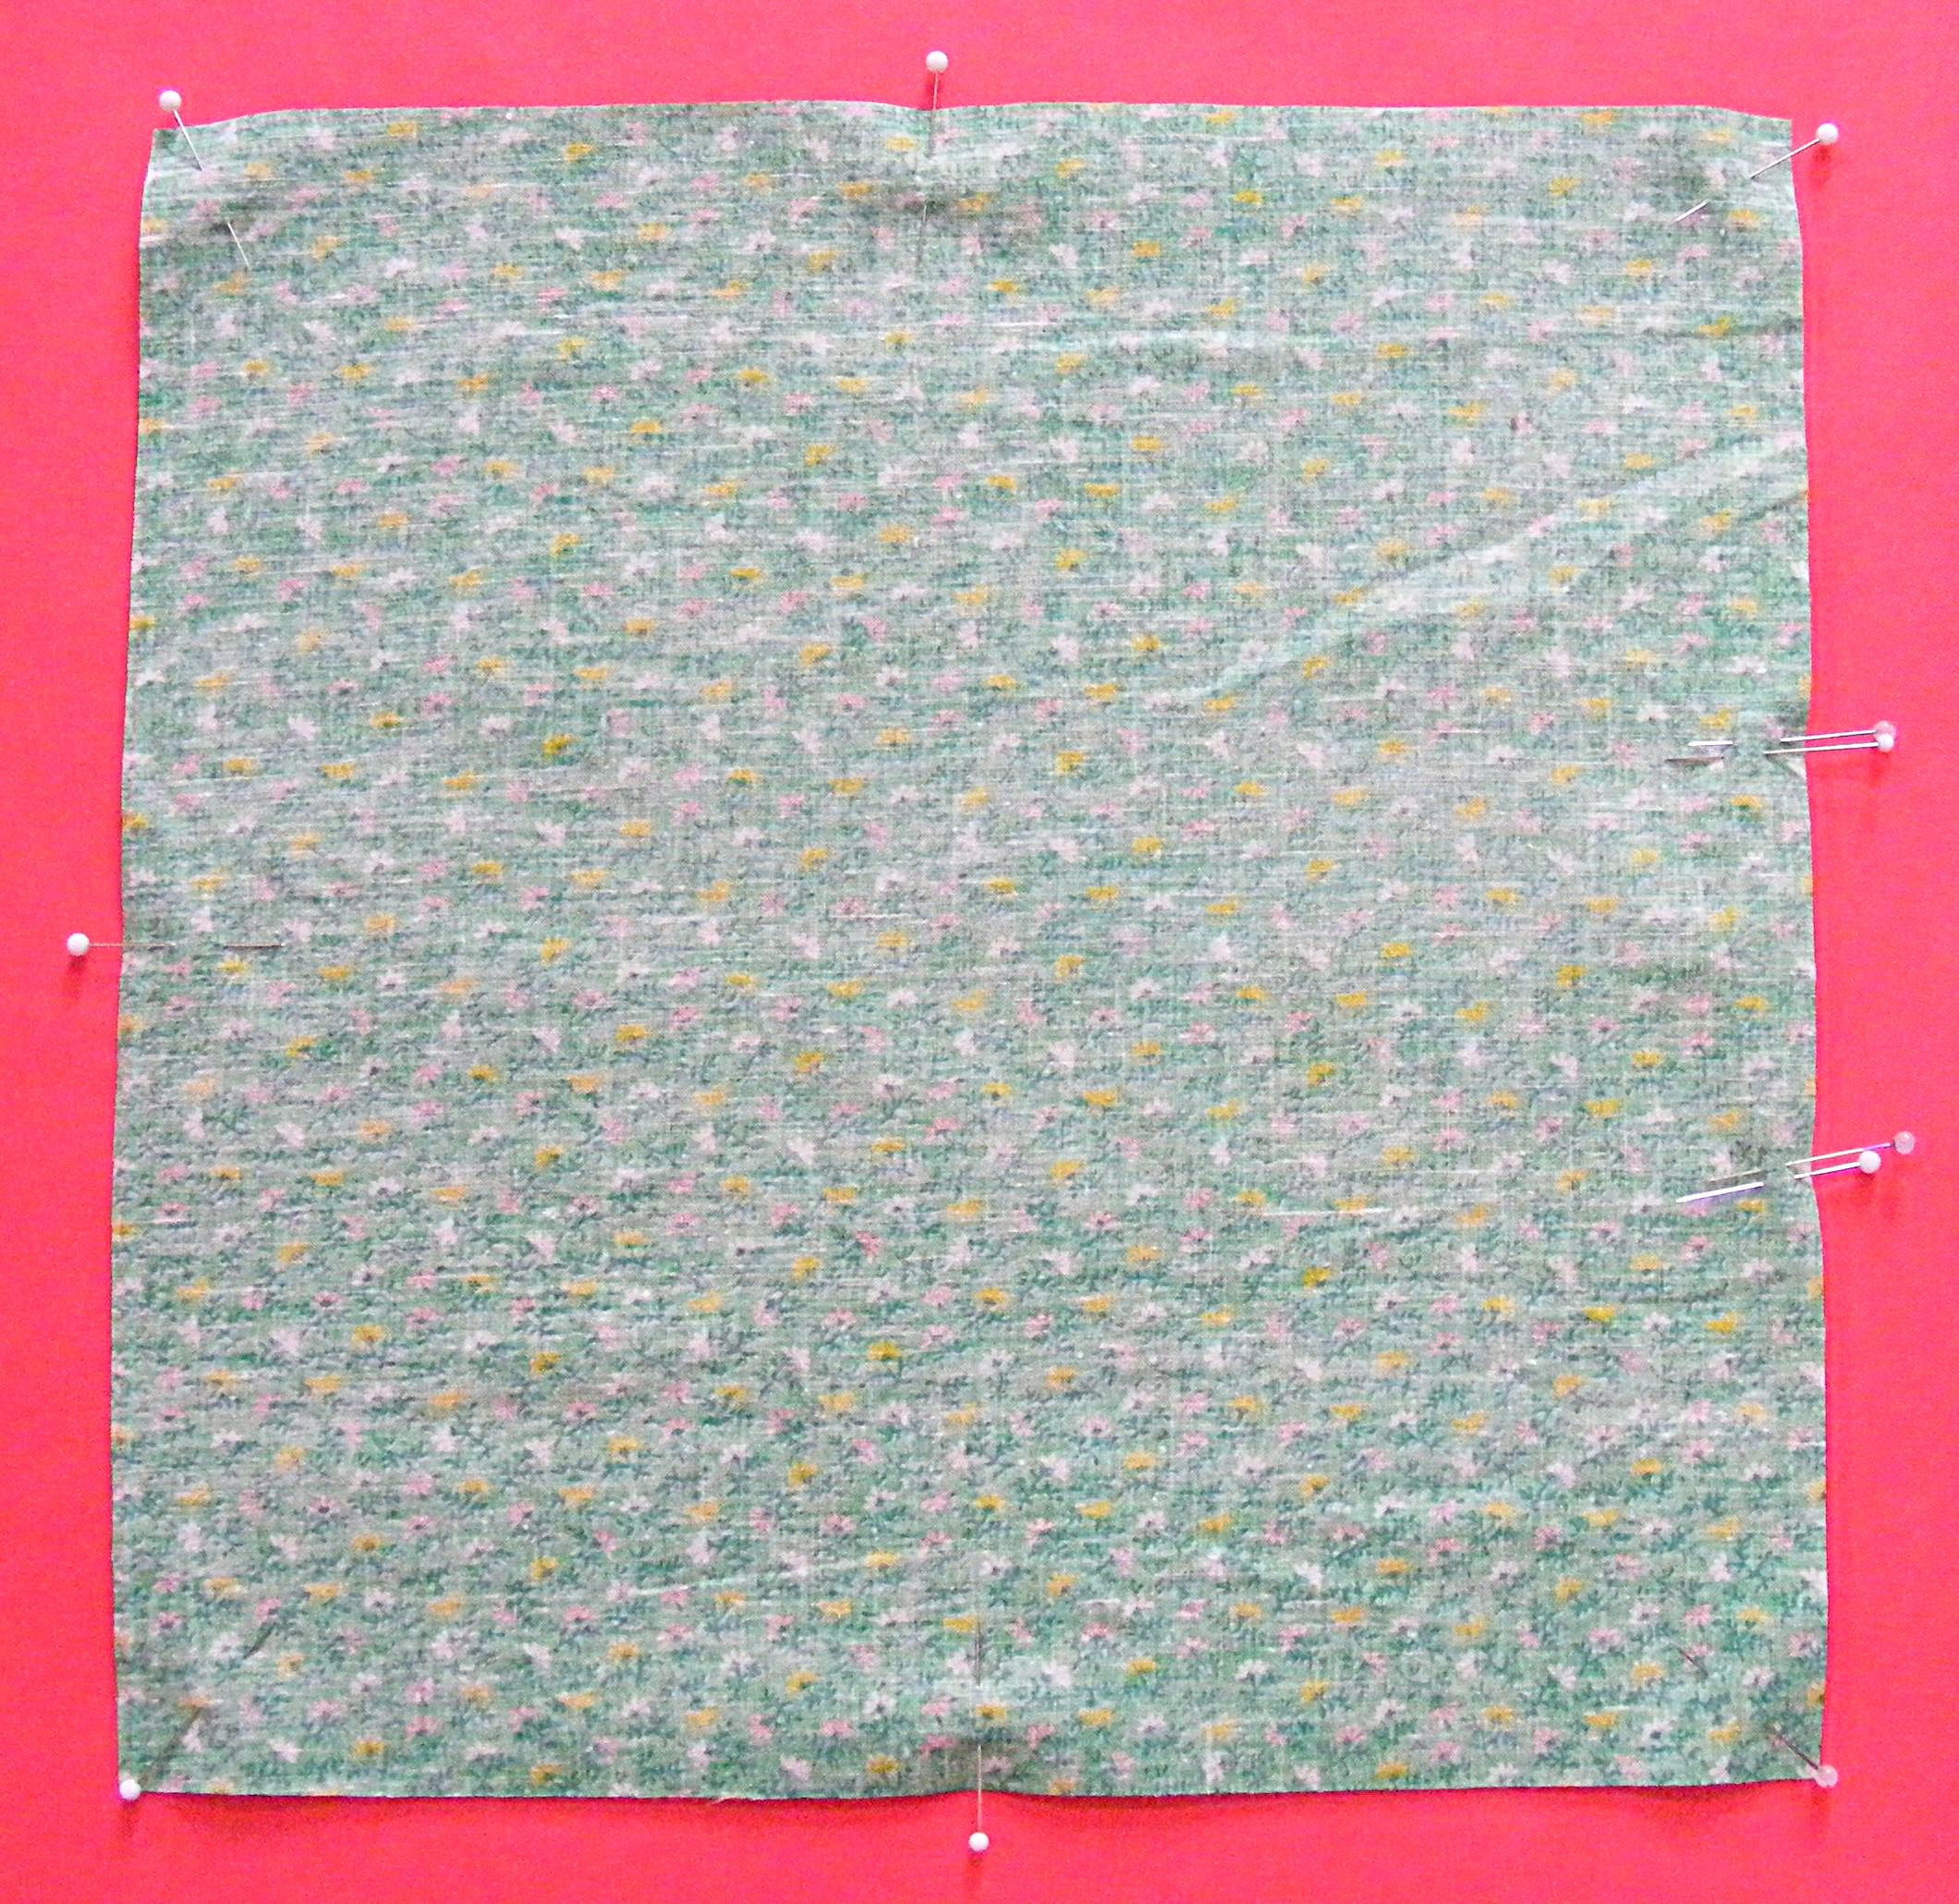
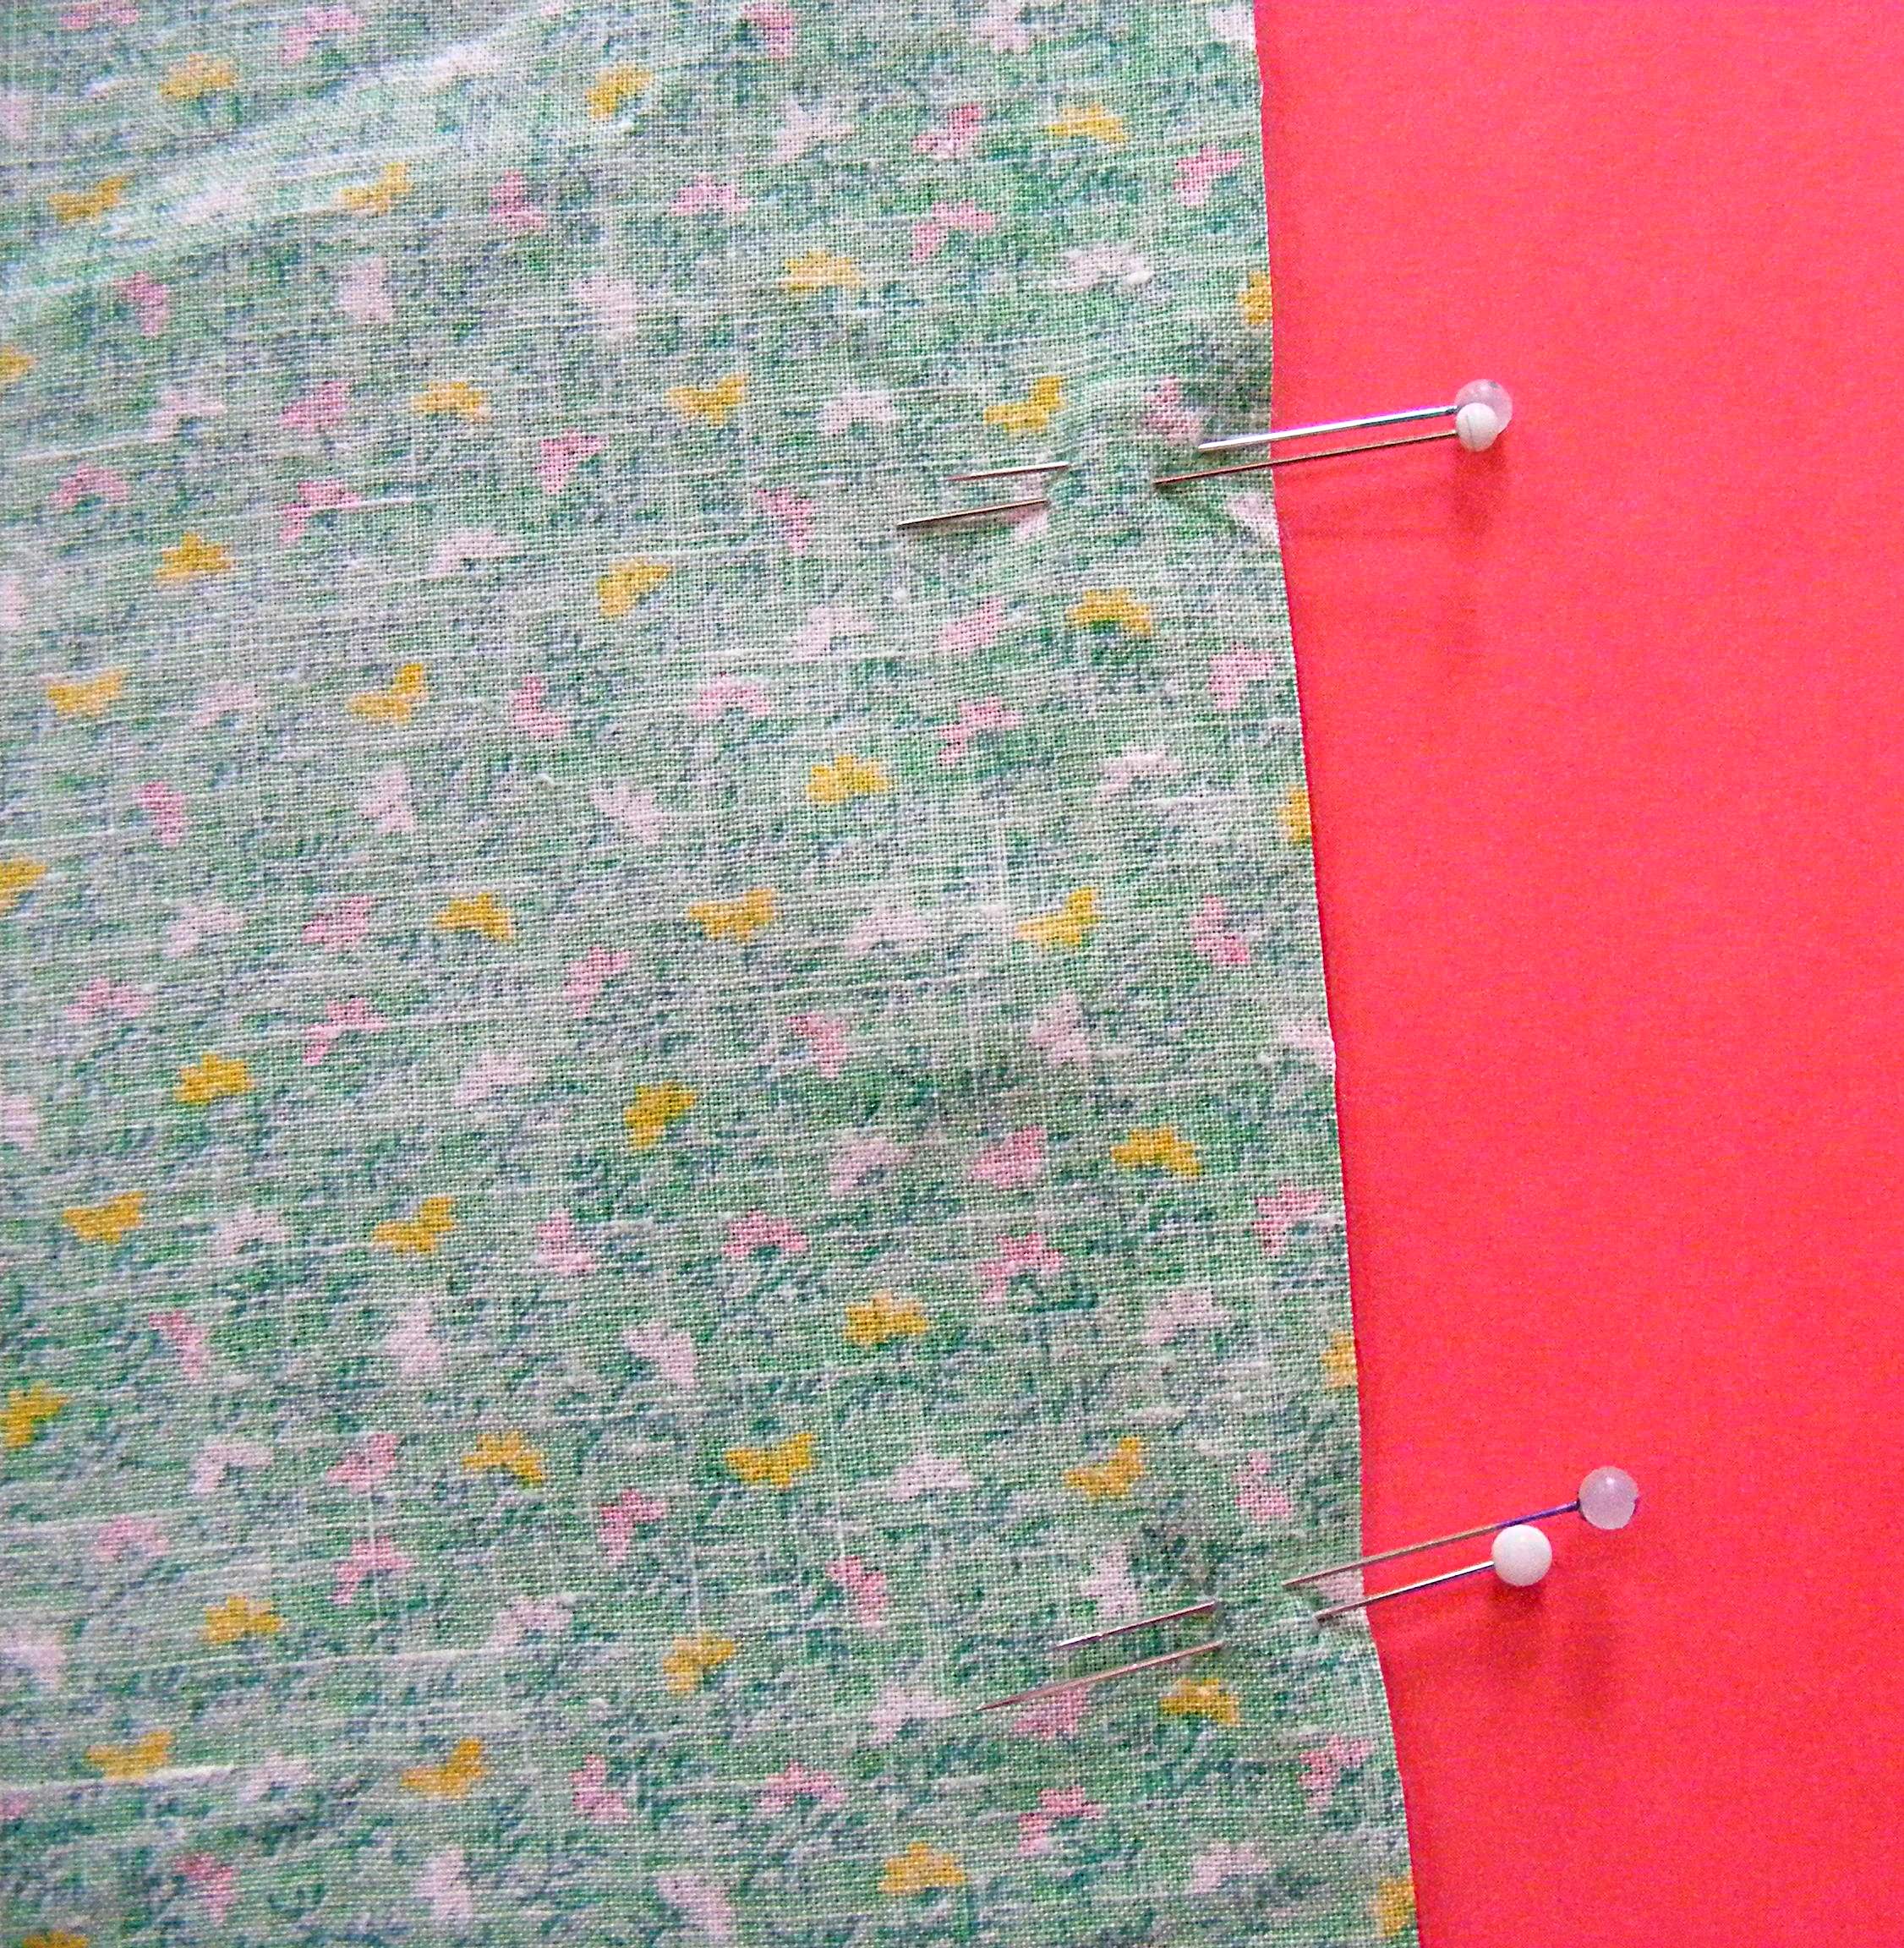
Stack the two squares of fabric with their right sides together and their edges lined up. The napkin should be “inside-out.”

Pin the two layers together around the edges.

Step 2

Leave an opening of at least 3 inches so you can turn the napkin right-side-out after stitching.

I like to mark the beginning and end of my opening with double pins so I remember not to sew it closed.

Step 3

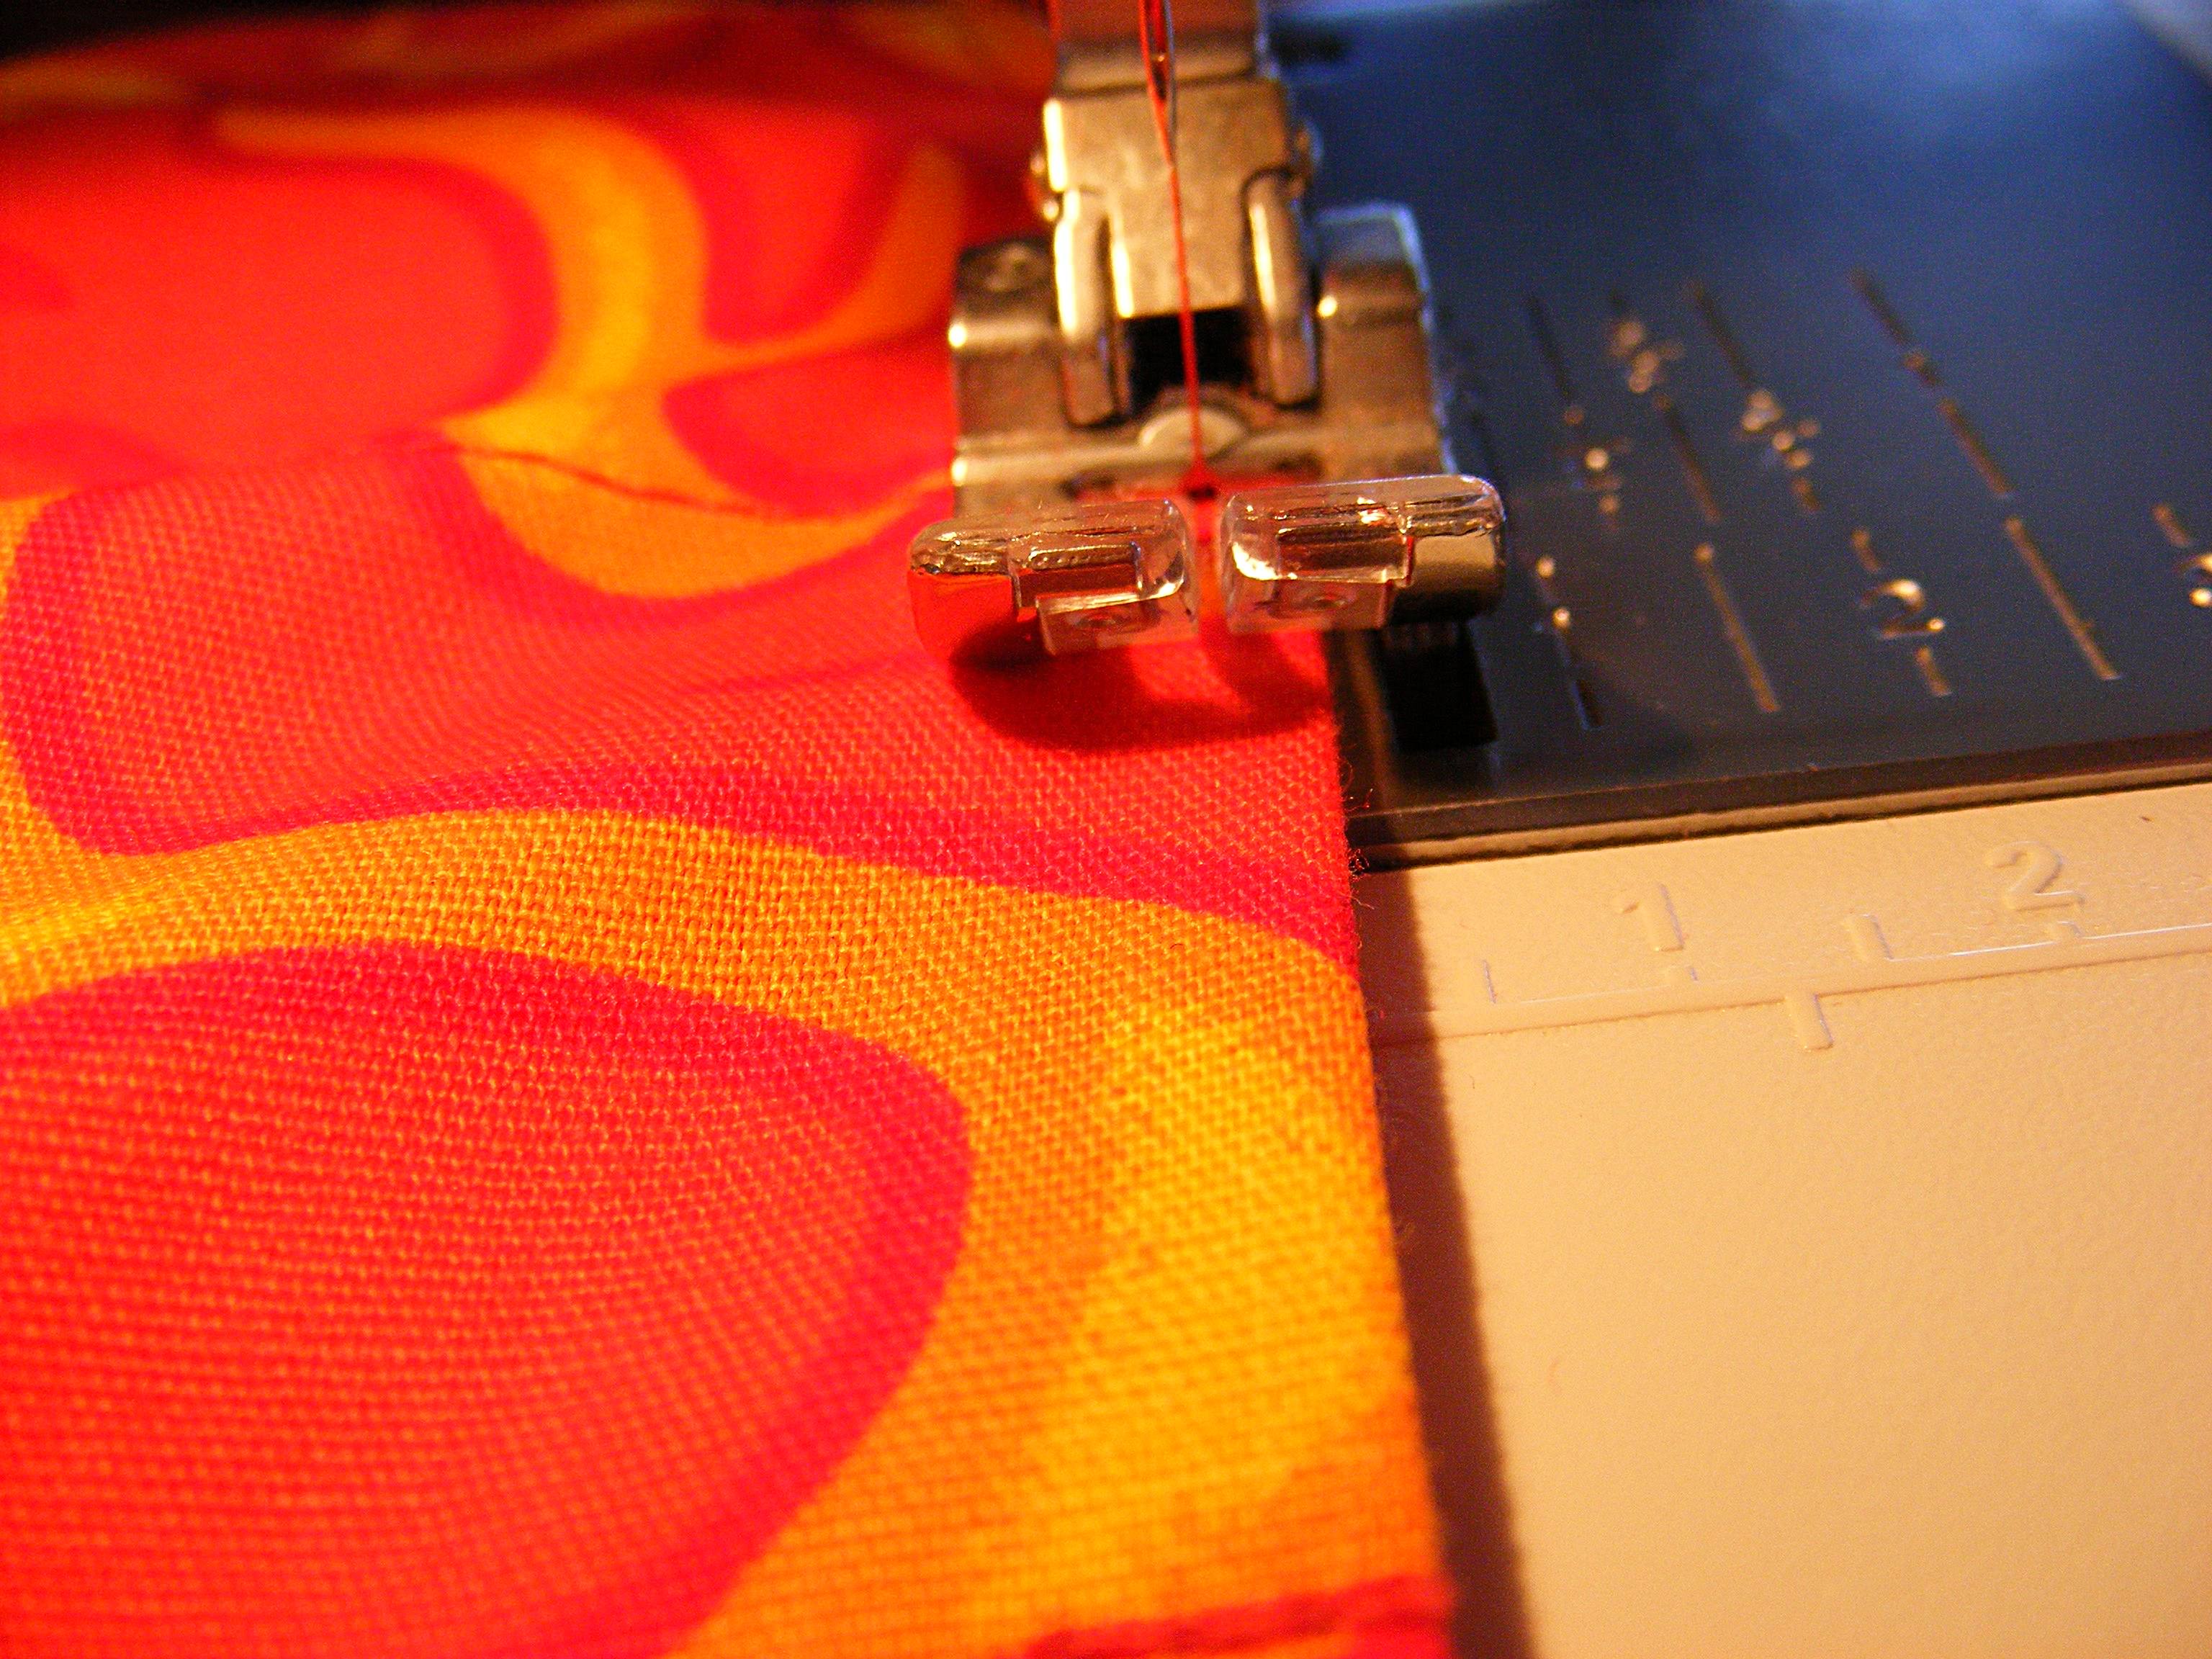
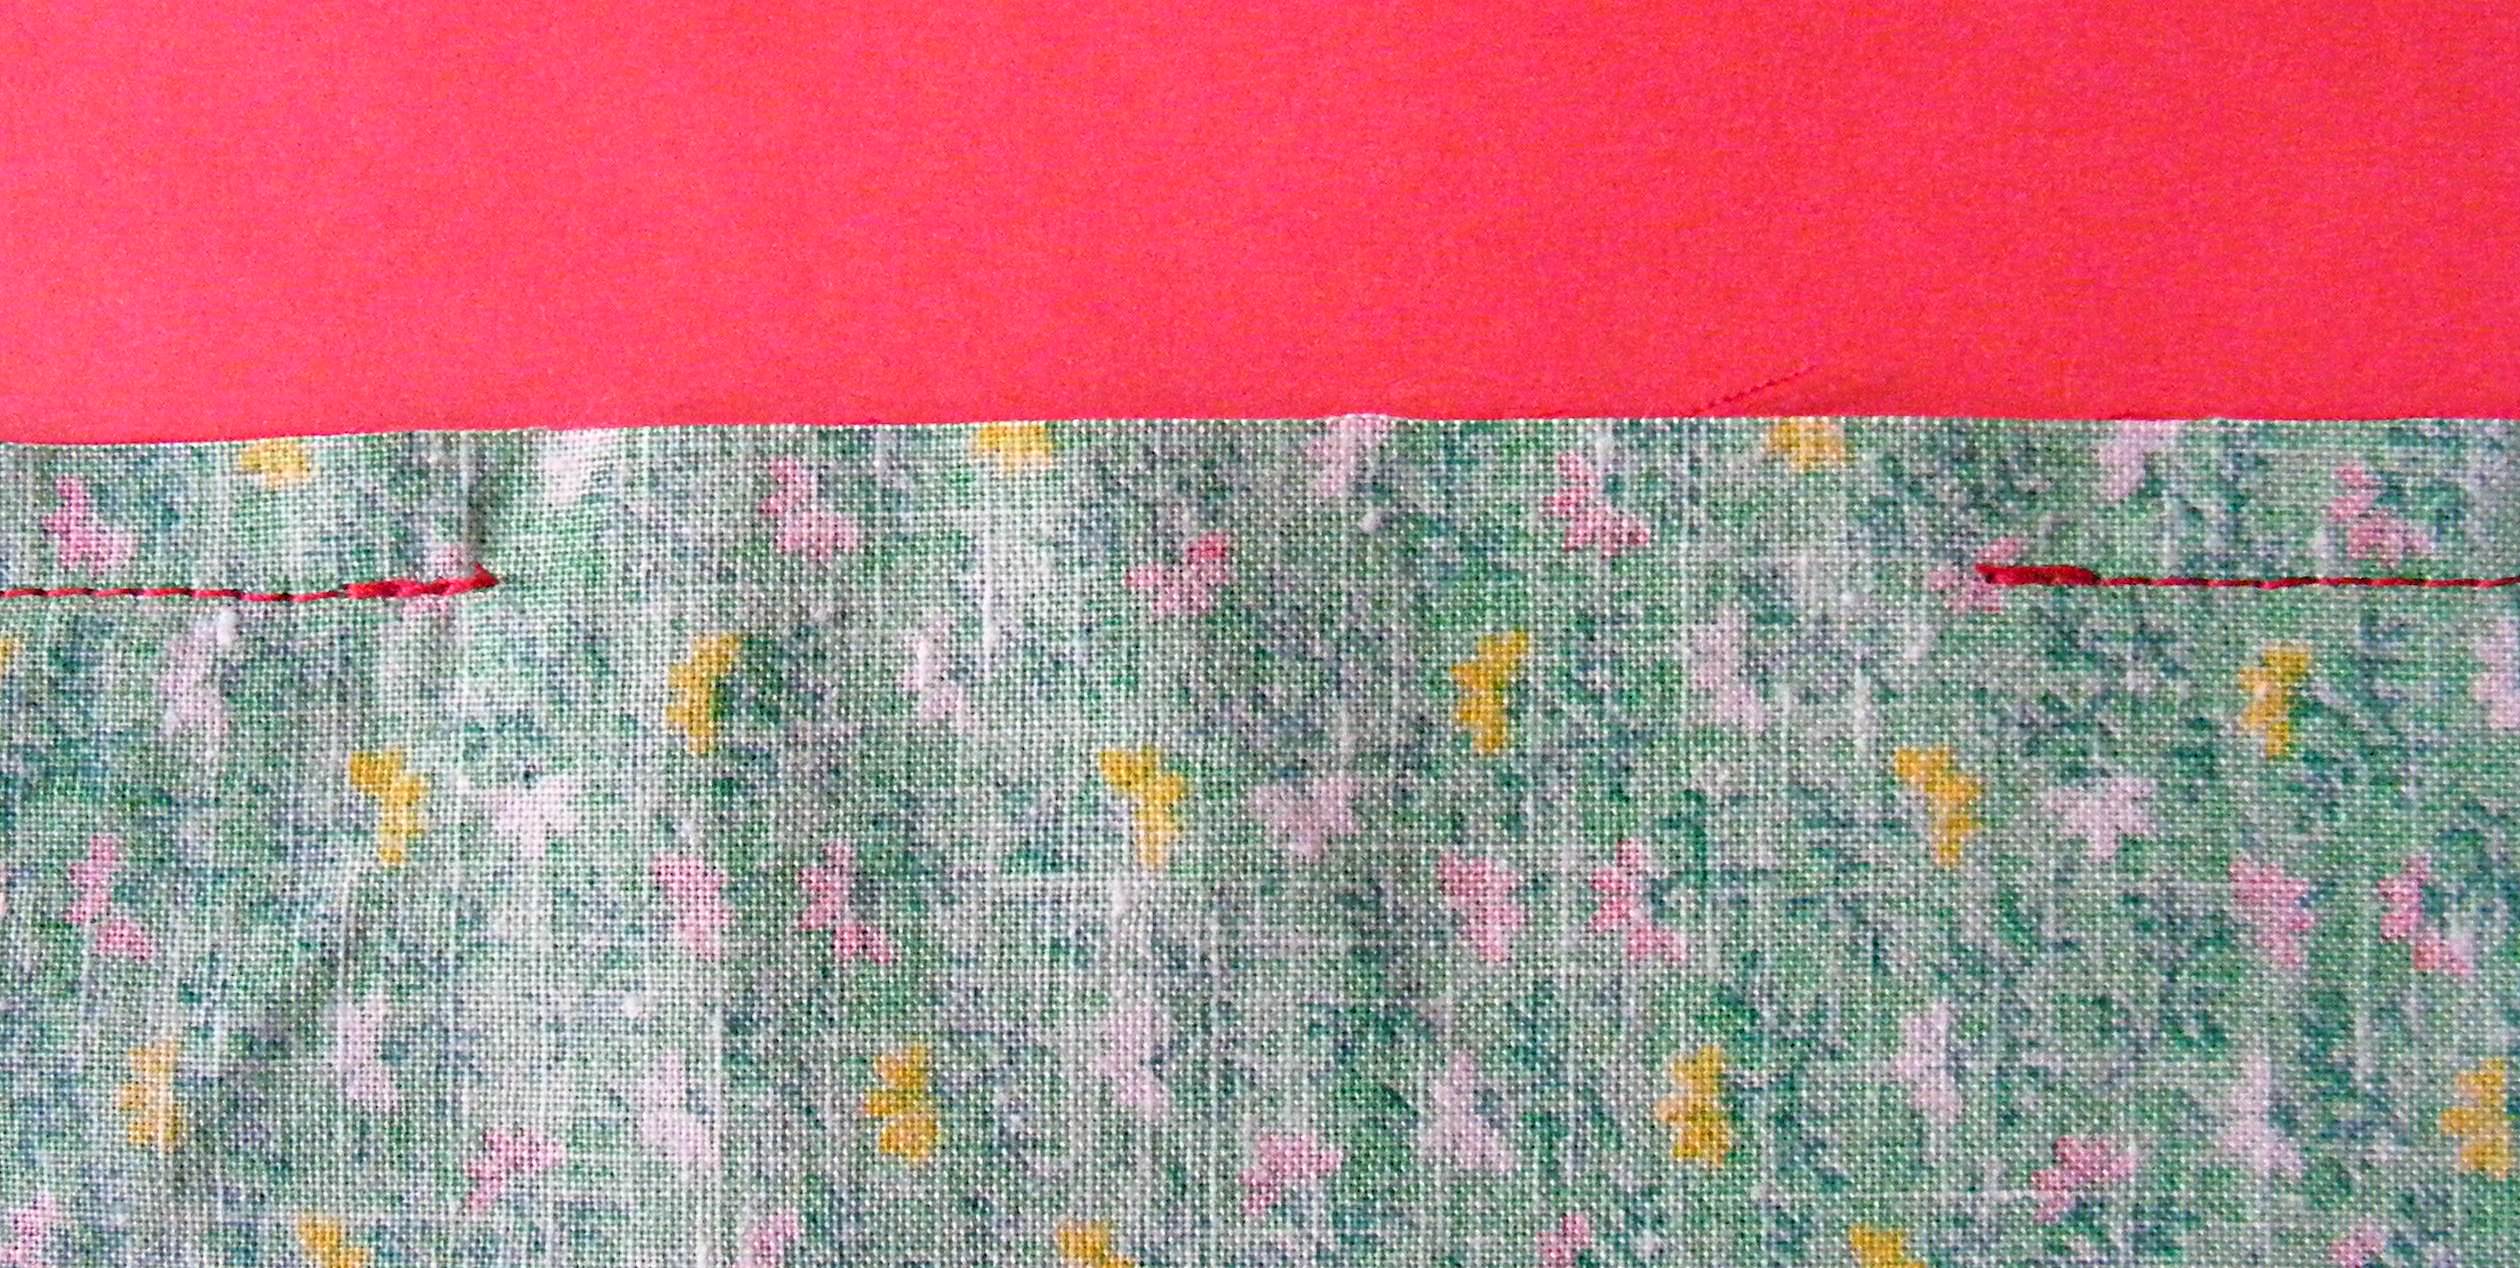
Using 1/4 inch seam allowance, stitch all around the edge of the napkin – except for the part you’re leaving open.

Remember to backstitch a few stitches at the beginning and end of your stitching.

The opening should look like this.

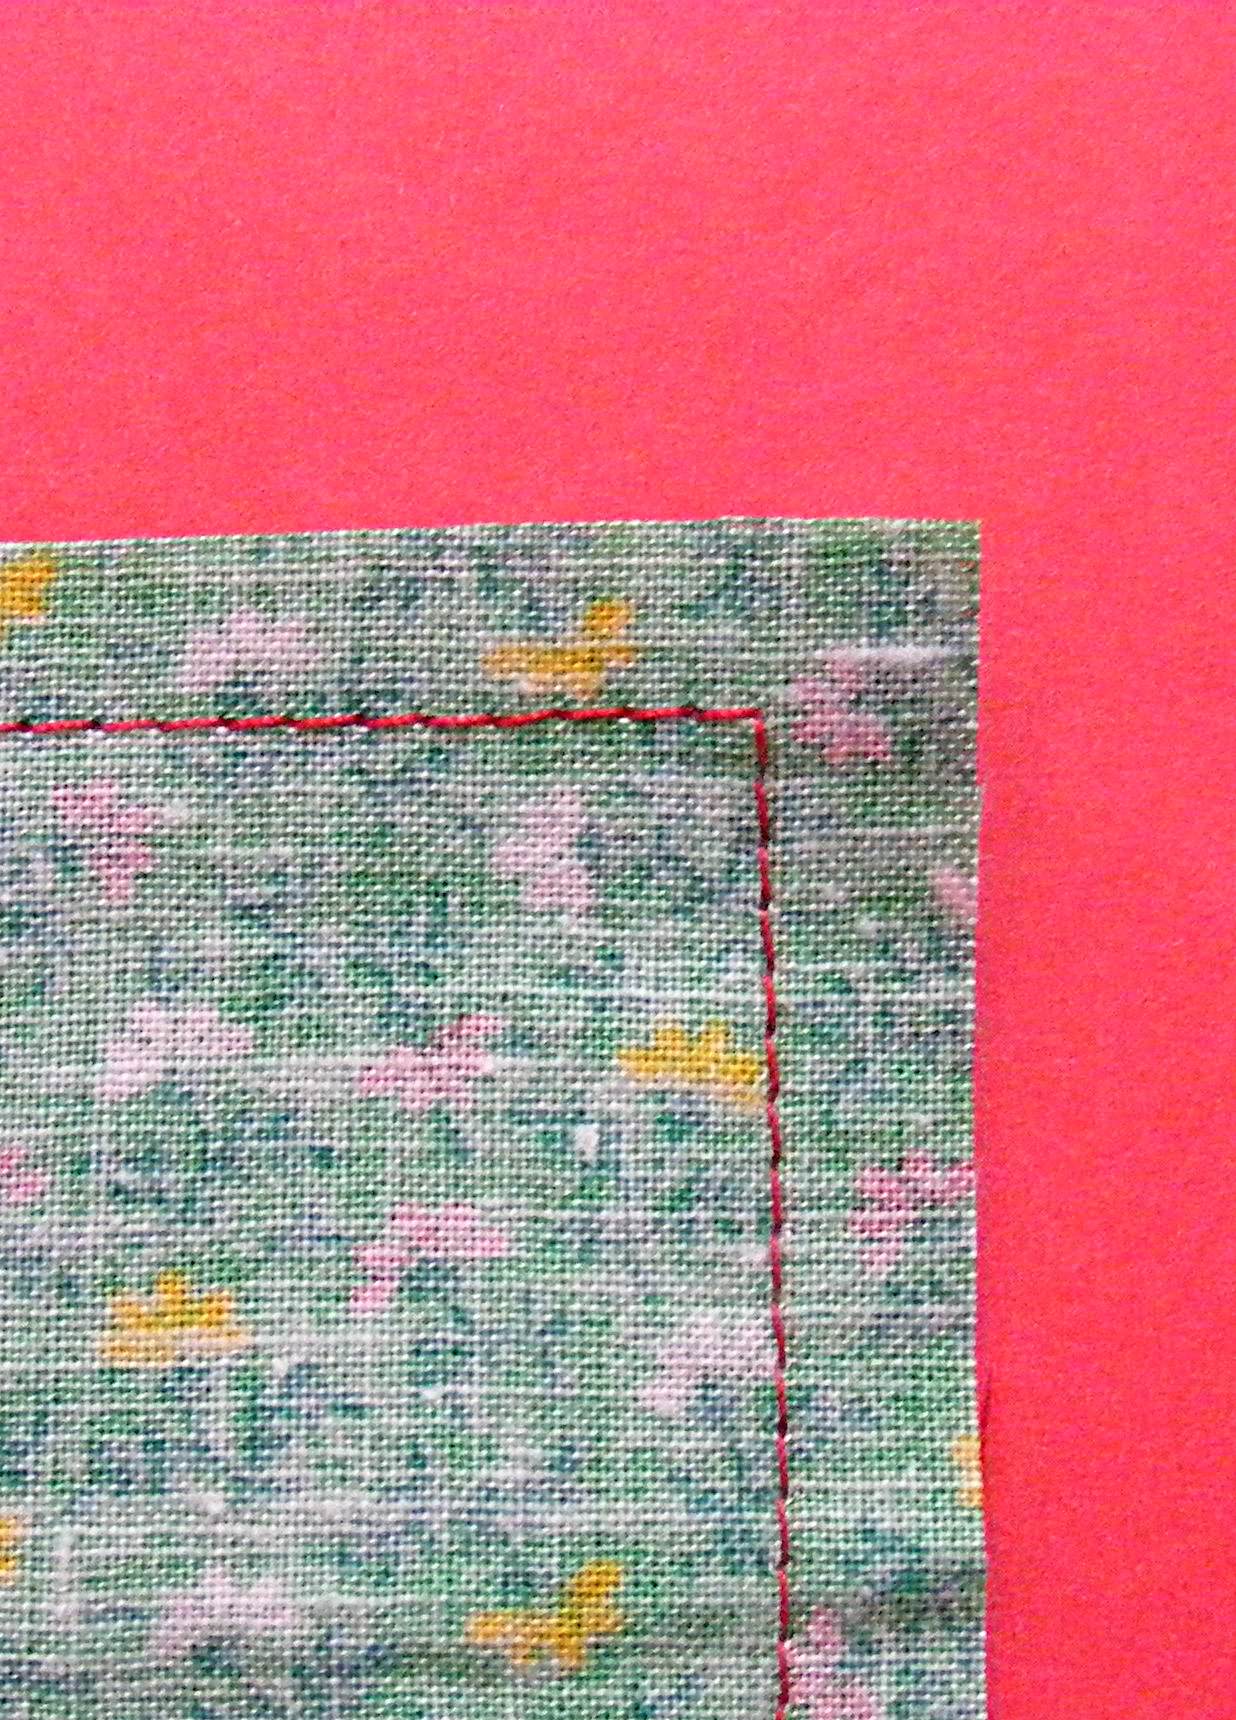
And the corners should look like this.

If you need help with your seam allowance or turning corners, watch this video.

Step 4

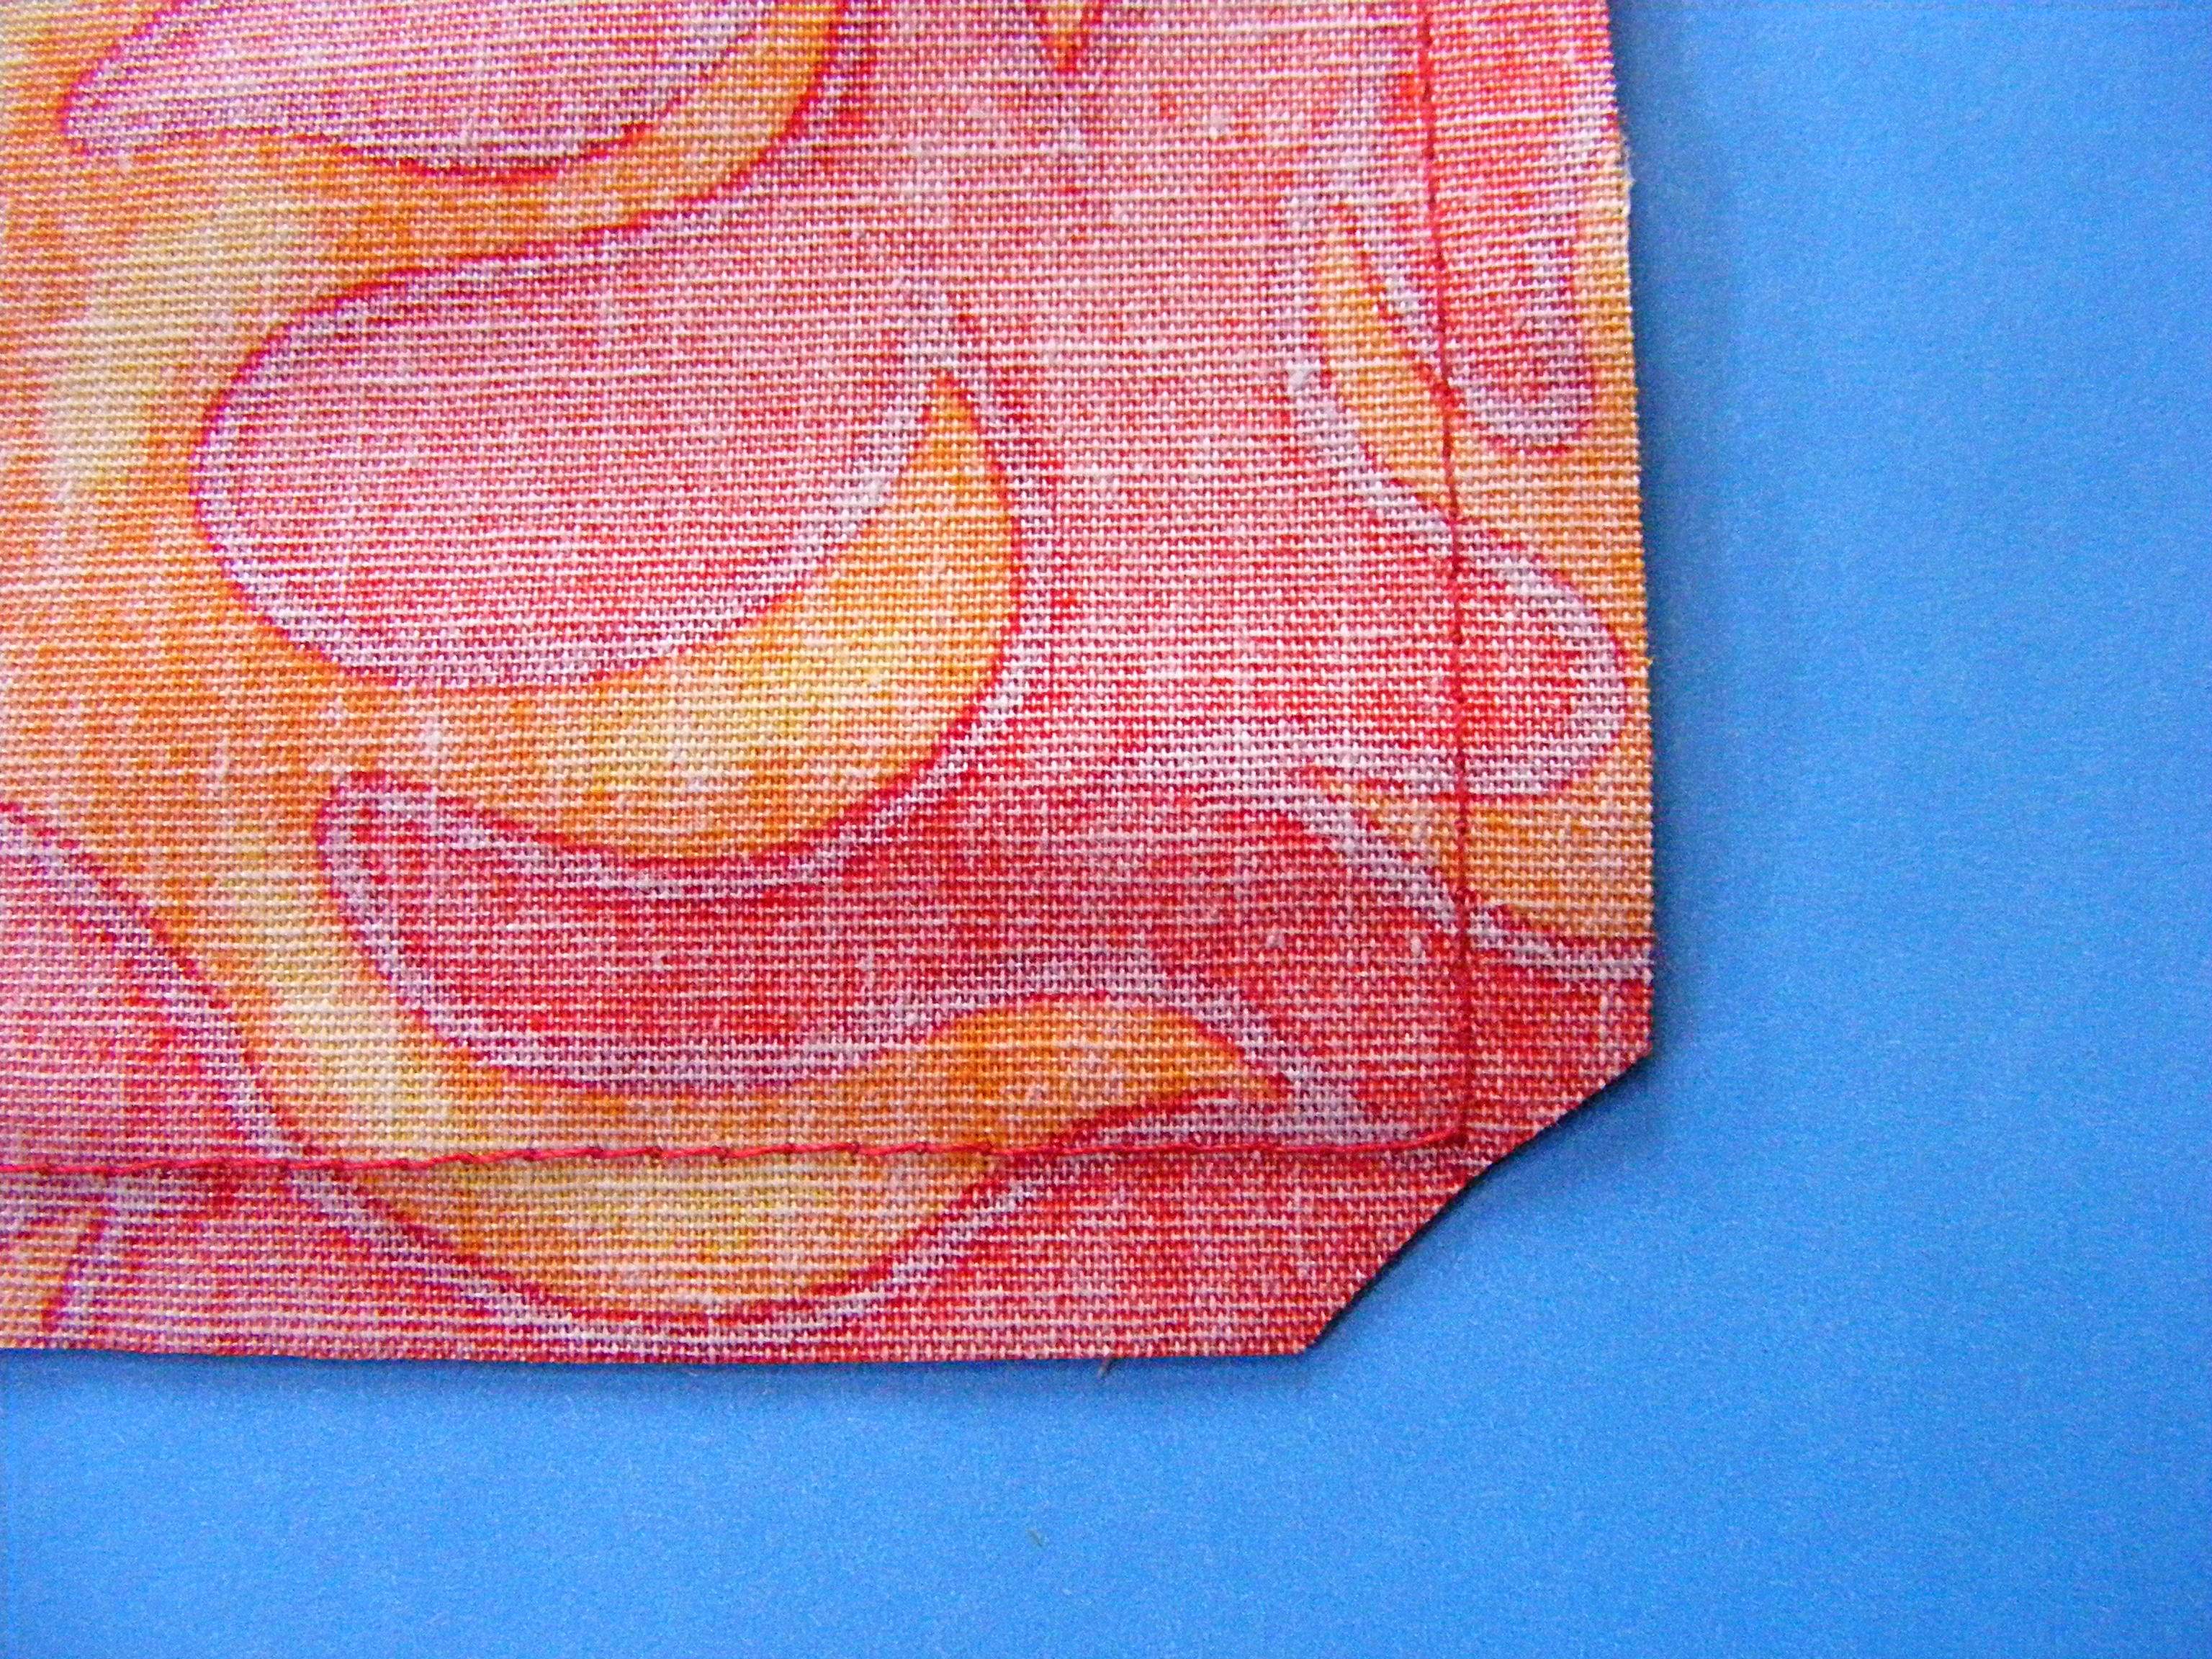
Trim away excess fabric at each corner. This will help make your corners nice and flat when you turn the napkin right-side-out.

Be careful not to cut through your stitches – your cut should be just a little bit out from the corner of your stitching.

Step 5

Turn your napkin right side out. Use a chopstick (or some other pointy, but not too pointy tool) to help pop the corners all the way out.

Smooth everything out and carefully press all the seams. Take your time and make the sides as square as possible.

Step 6

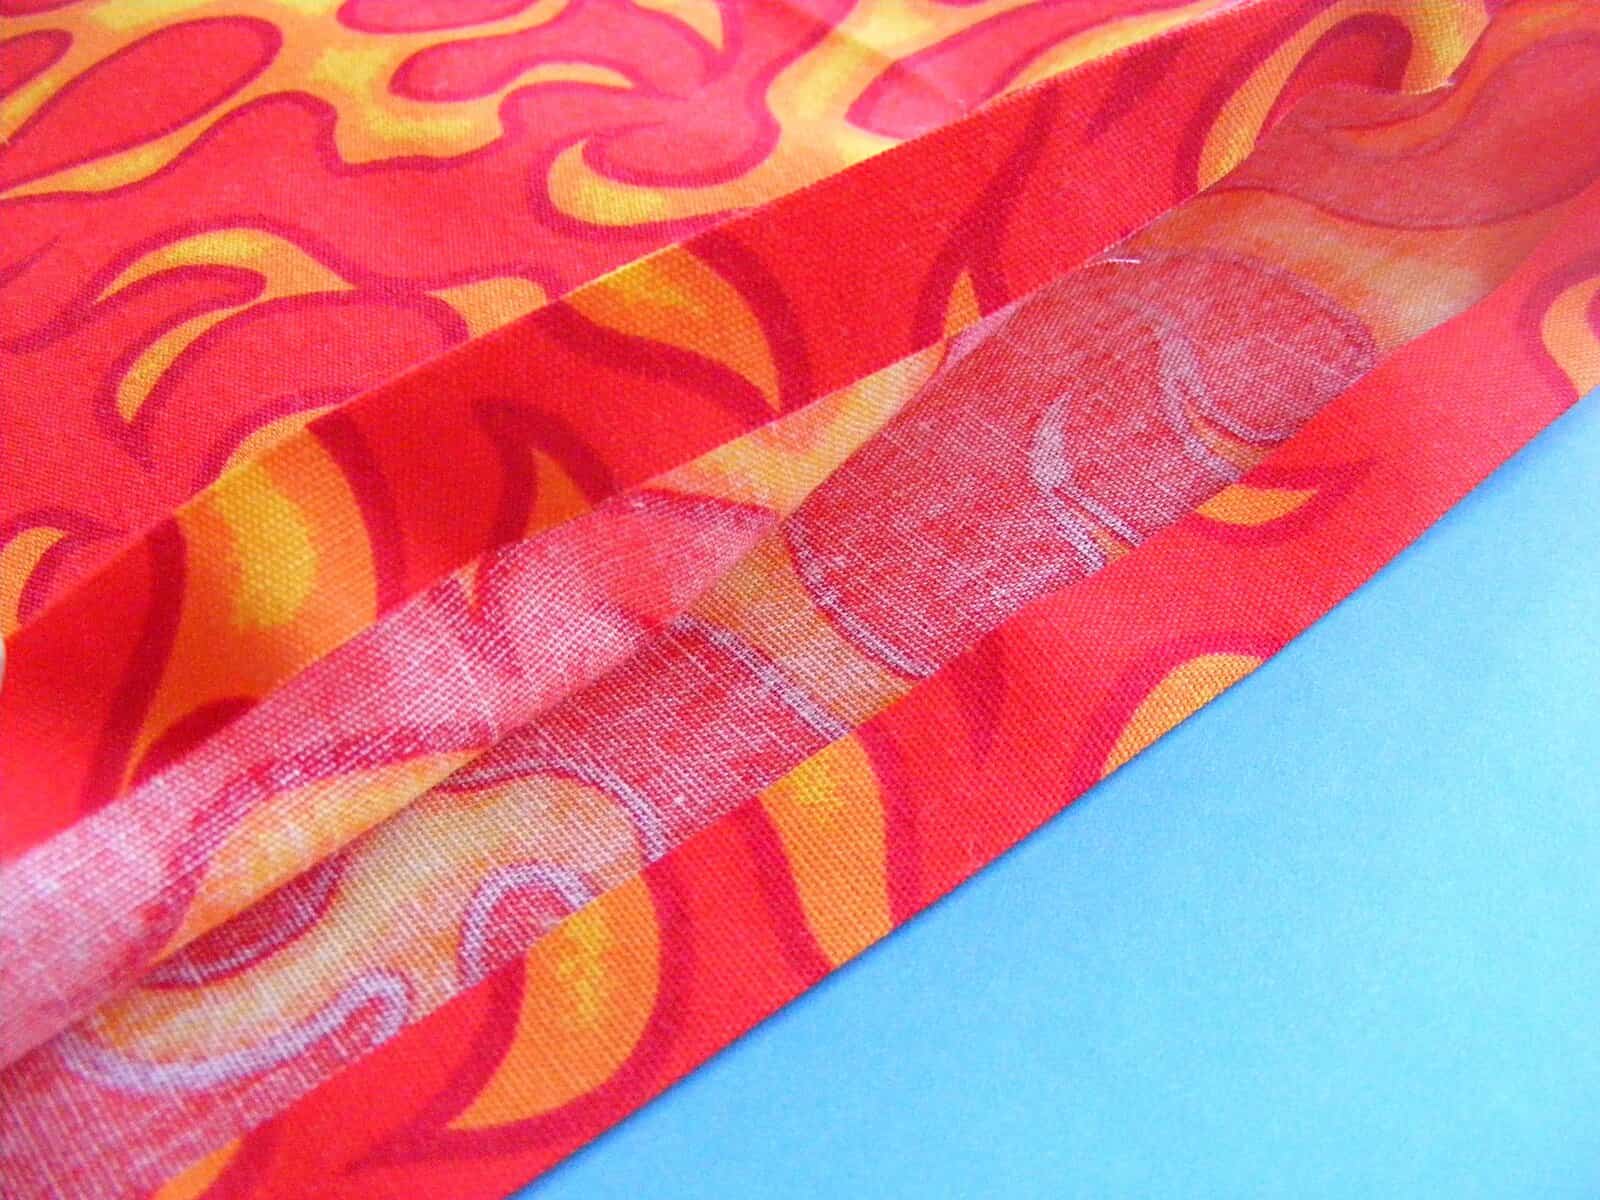
The unstitched edges of your opening should fold in pretty perfectly all by themselves, but give them some help if you need to. They should look like this before pressing. . .

And like this after pressing. . .

Step 7

Now you have two options. You can use ladder stitch to sew up the opening. It’s invisible, but some people don’t like hand stitching.

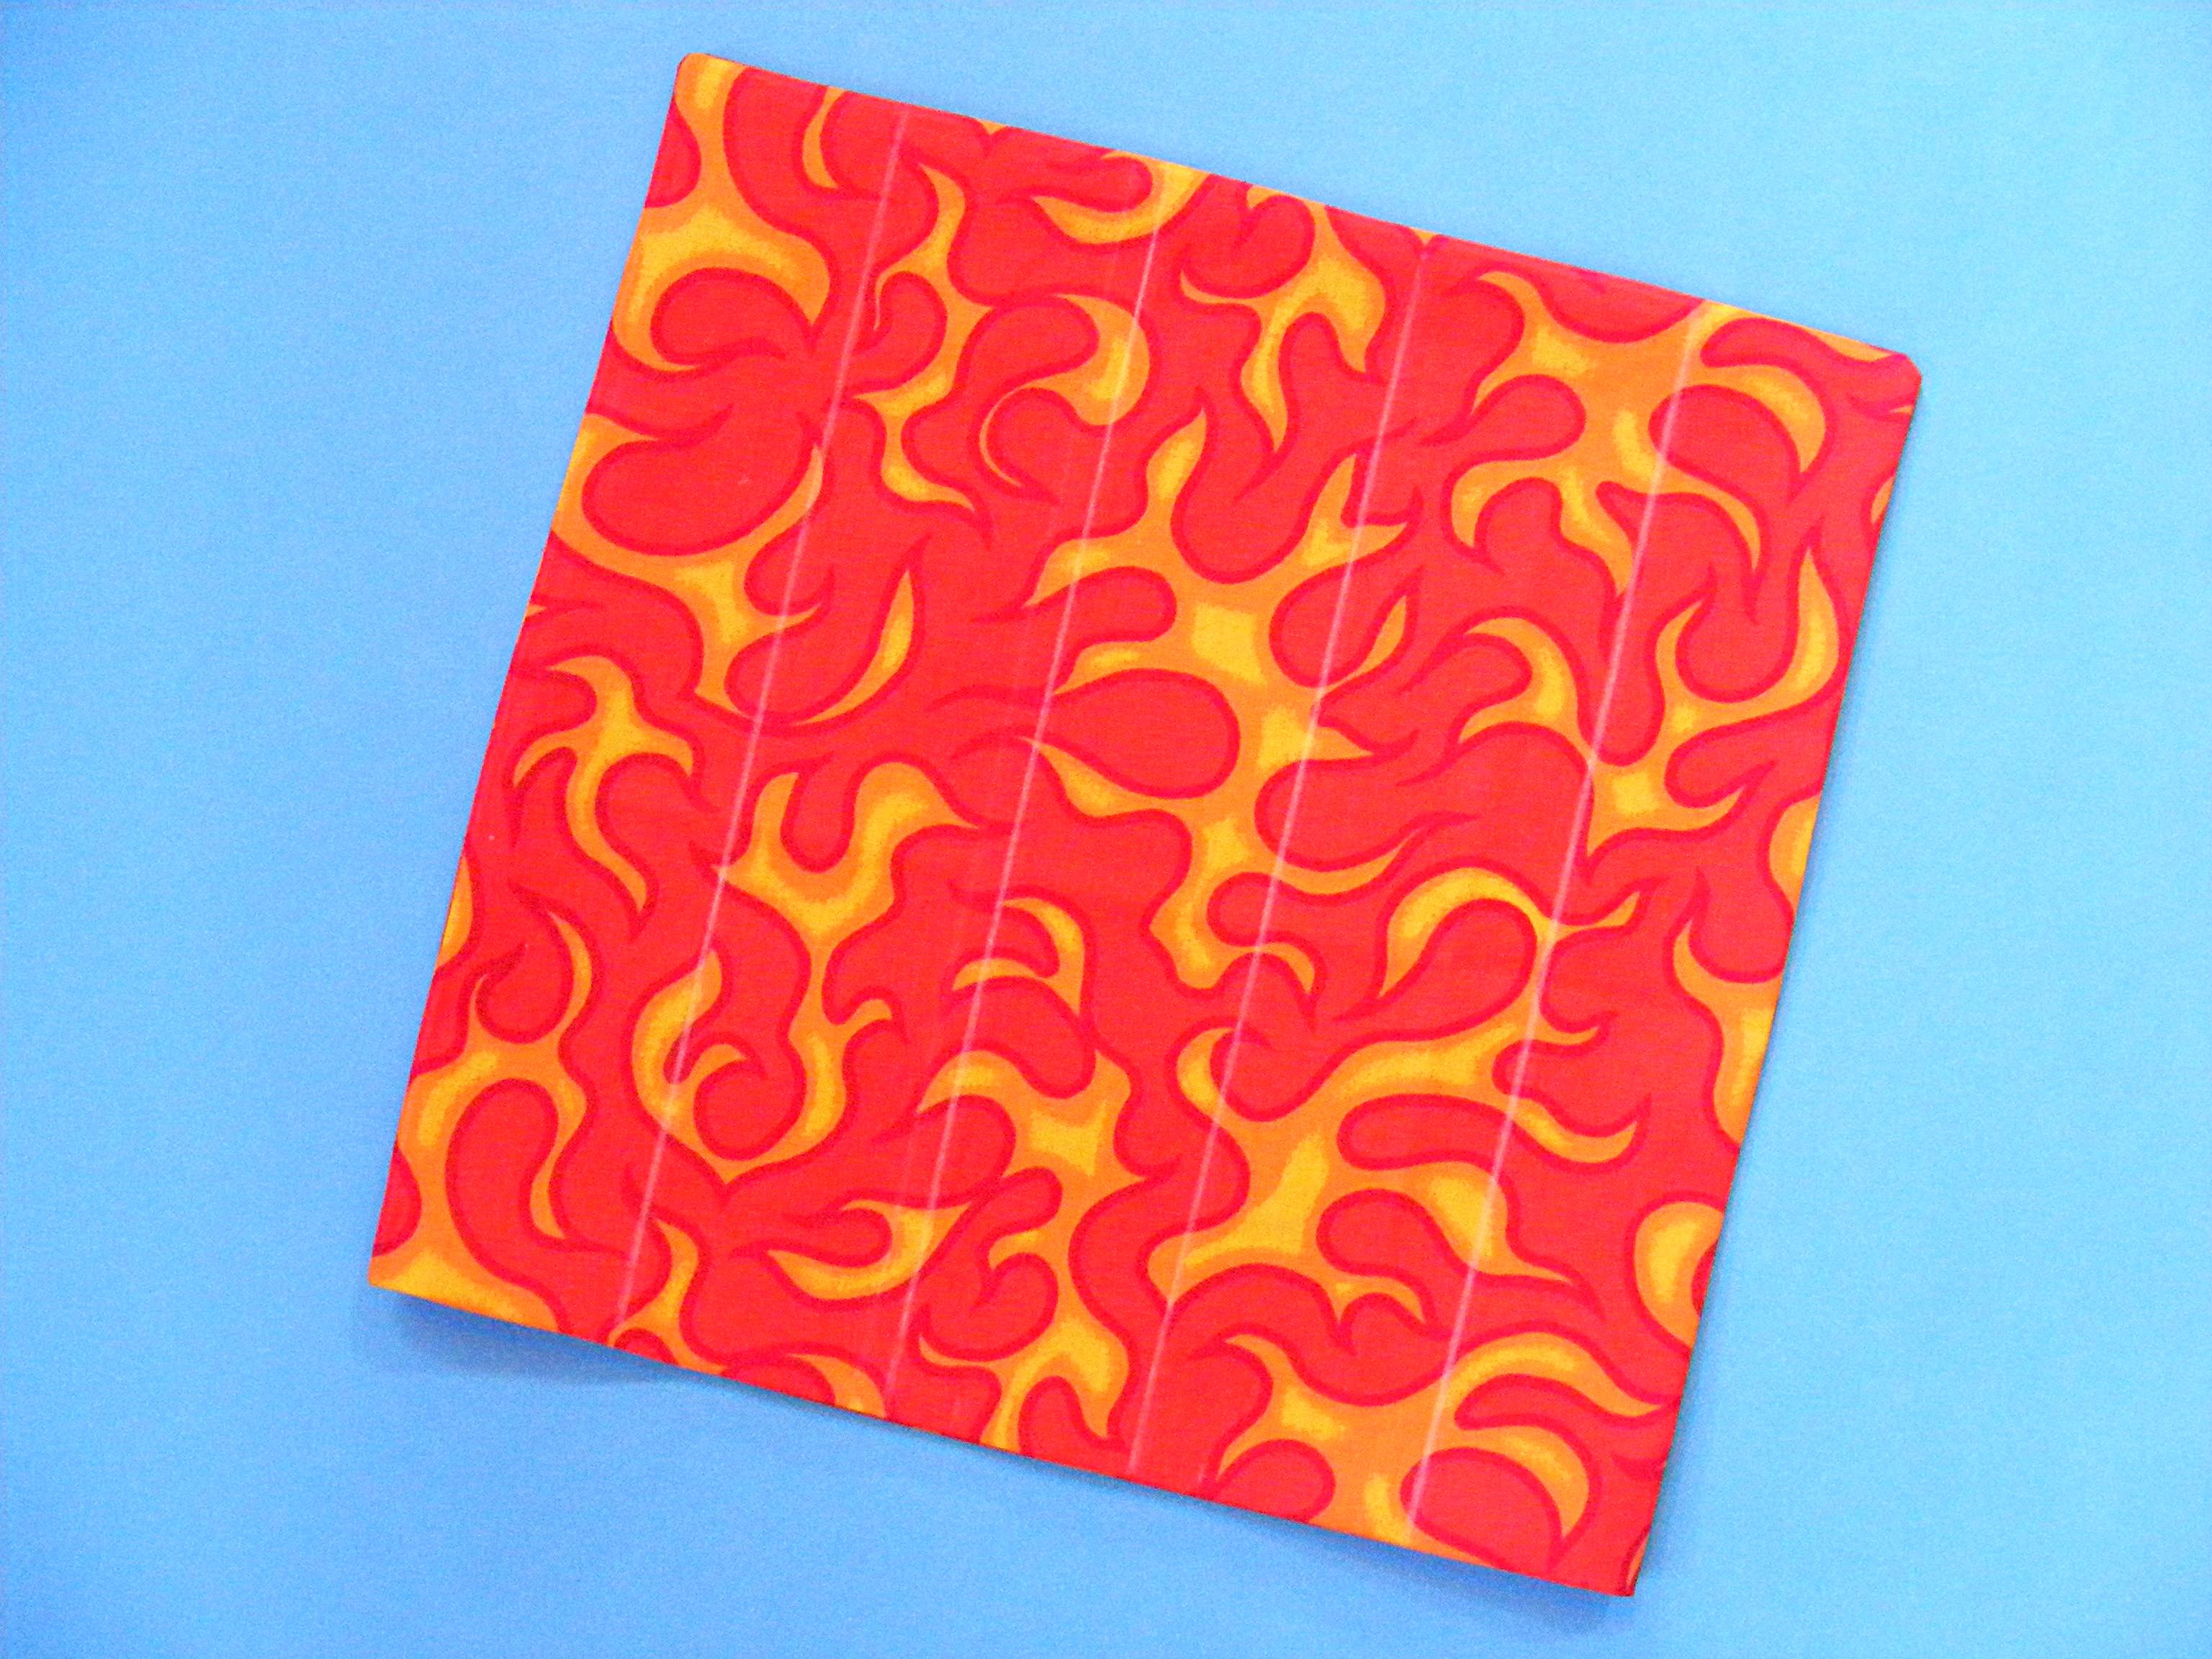
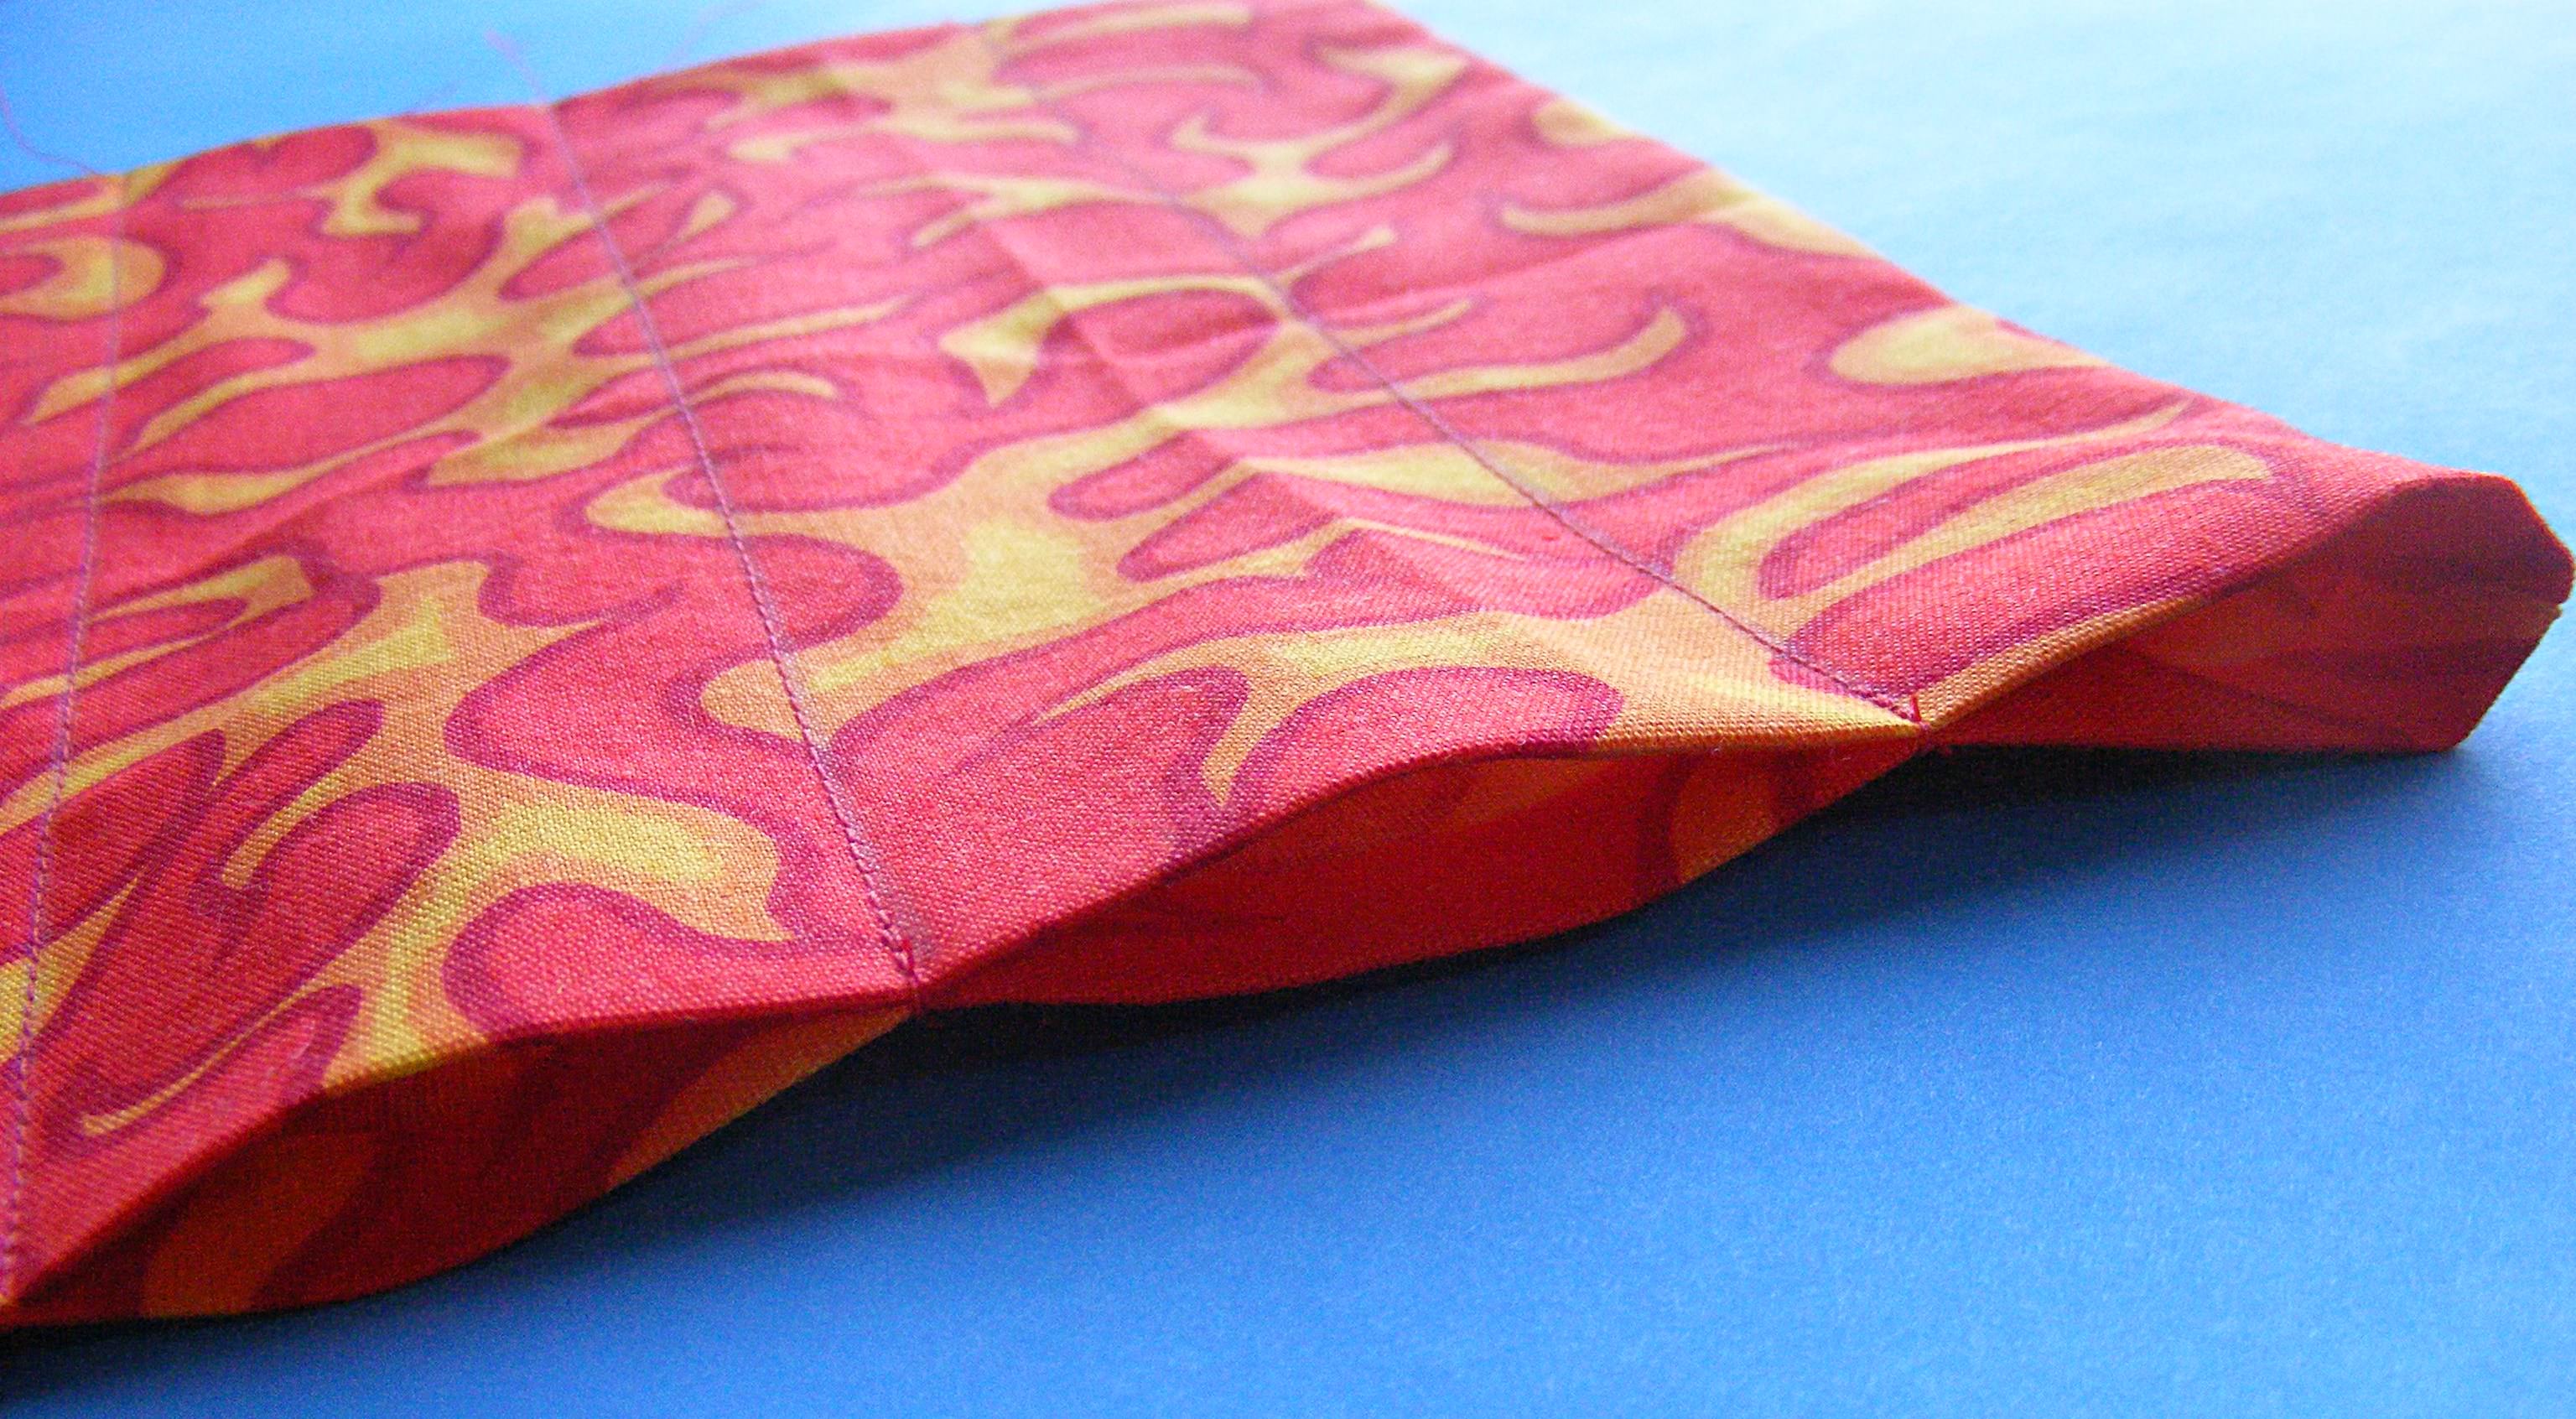
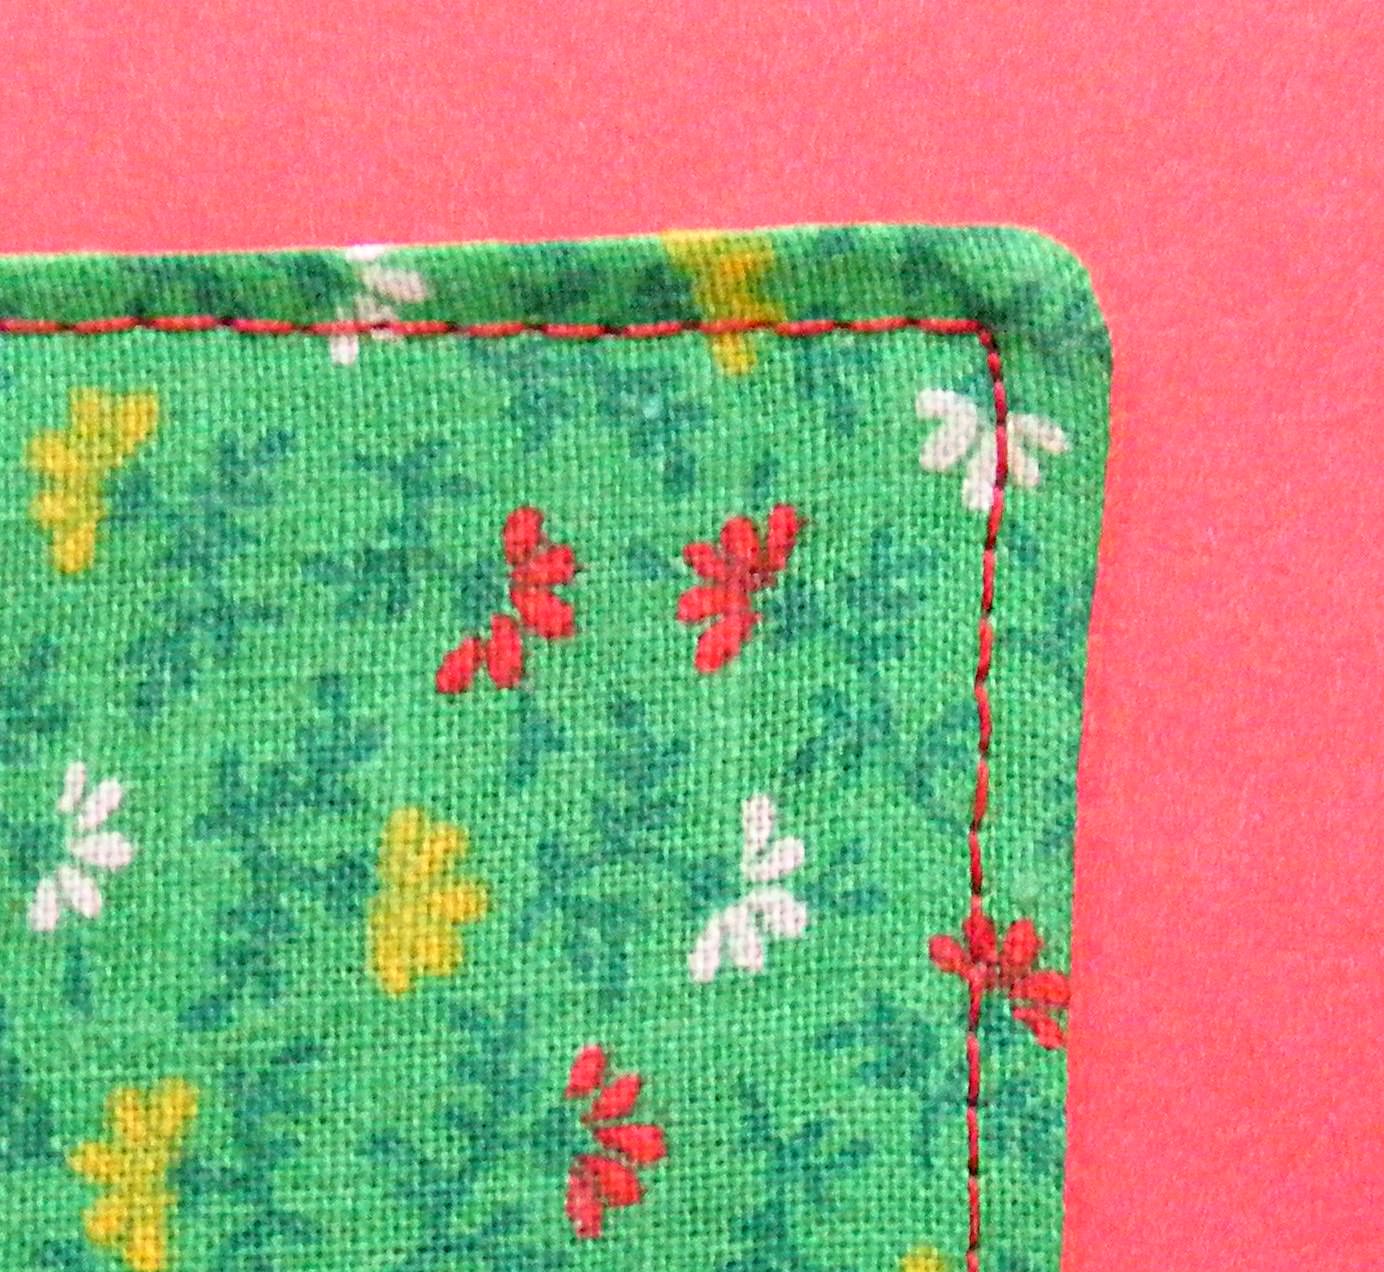
If you want to do the whole thing by machine, just stitch all the way around the edge, very close to the edge of the napkin. This is called topstitching and there’s a video here showing how to do it.

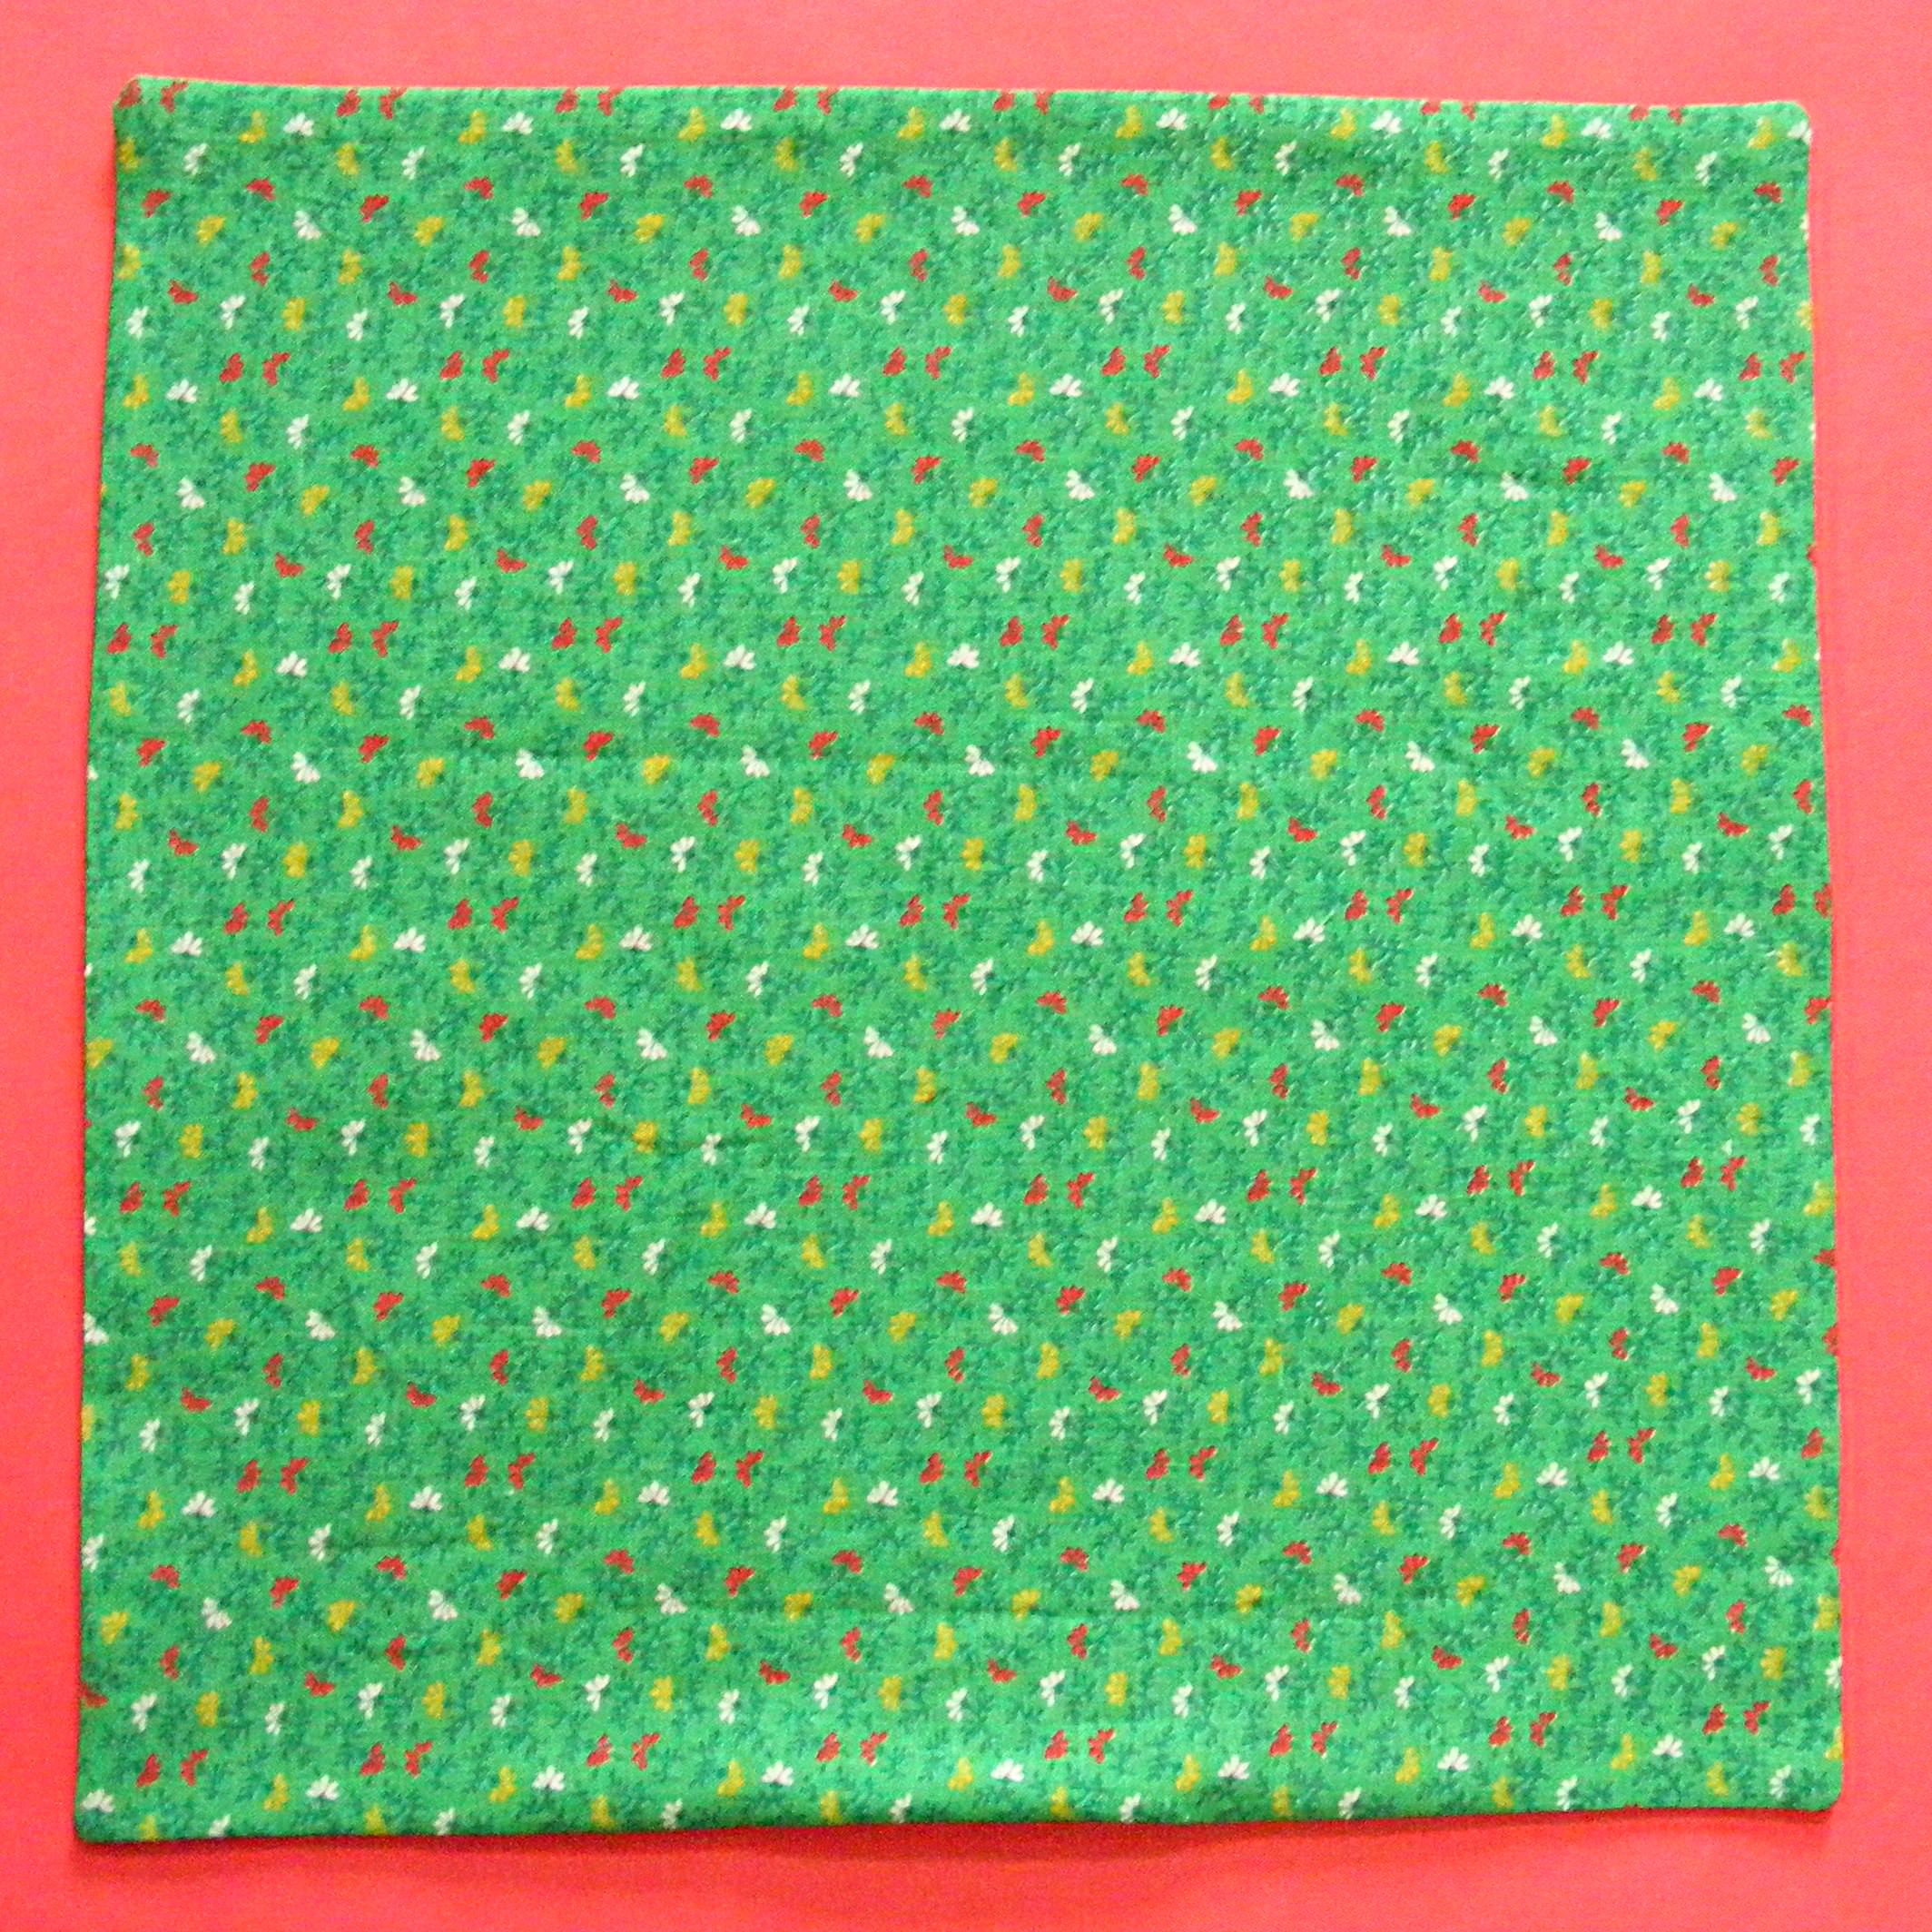
Every corner should be nice and square and this stitching will seal up the opening you used for turning. Easy peasy!

Trim your threads and press your napkin one more time. That last pressing will help the threads of your topstitching sink down into the fabric and look nice and finished.

Now – have a snack!

We have a big stack of colorful napkins in our house and everyone has their own favorites. This is a great way to use up random bits of favorite fabrics.

Happy stitching!

How To Sew a Straight Line on the Machine – video

How to Sew a Straight Line and Turn Corners - a video tutorial

Here it is – the moment you’ve all been waiting for – sewing on the machine! We’re going to start with straight lines and then we’ll have a separate lesson on sewing curved lines. In the video you’ll see me sewing on a piece of paper. You can download that sheet here.

One thing I don’t think I emphasized enough in the video – you have to backstitch a few stitches at the beginning and at the end of all sewing. The backstitching works as a knot and keeps your stitching from unraveling – so don’t forget that step.

Ready? Let’s sew!

Best,
Wendi
Colorful embroidered mushroom design on fabric, vibrant and detailed art piece.