I get a lot of questions about sewing machine feet. Mostly people want to know one of two things. What kind of specialty feet should they buy for their machine? And do they really need to have a walking foot?
Well – it all depends on what you want to sew!
There are so many specialty feet out there! I have a few I’ve bought for specific projects – a ruffling foot when my daughter was little and liked ruffles and gathered skirts, a piping foot for I-don’t-even-remember-what. You get the idea.
But there are a few feet that I use ALL THE TIME – and they’re what I want to talk about here.
Zipper Foot
I don’t sew much clothing, but I do like to make little zippered pouches and pillows with zippered backs. A zipper foot is pretty essential if you’re going to sew zippers. I guess technically you can do without it – but I wouldn’t want to. 🙂 The good news is that most machines come with a zipper foot, and if yours doesn’t, there are lots of inexpensive universals available.
A zipper foot is also really handy for sewing piping or other fancy trims where you want to sew right up against a chunky bit.
Handy links. . .
- How to Sew a Zippered Bag
- How to Add a Zipper to a Pillow Back
- How to Sew a Zipper in a Seam
- How to Sew an Exposed Zipper
Walking Foot
If you like to machine quilt, a walking foot is essential. Basically, what a walking foot does is give you feed dogs that sit on top of your fabric, pulling it through at the same rate as the feed dogs built into your machine below the throat plate. This keeps the top and bottom layers feeding evenly through the machine. Genius!
A lot of fancier machines now have a built-in walking foot, but there are universals available for every brand and some of them are pretty inexpensive. I highly recommend getting one!
Handy links. . .
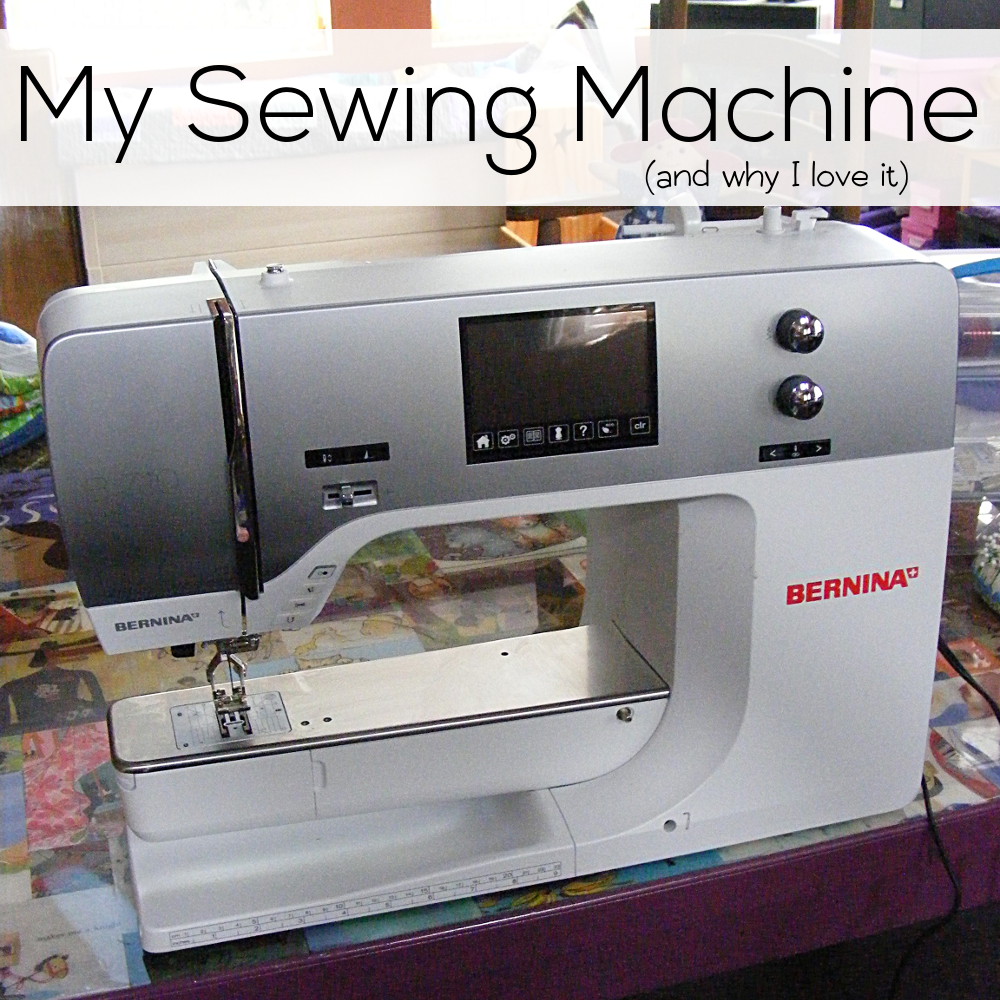
- My Sewing Machine and Why I Love It (if you want to know more about the machine I use)
- How to Machine Quilt
- How to Quilt a Big Quilt on a Standard Sewing Machine
- How to Sew or Quilt Perfectly Parallel Lines
- My Favorite Tip for Machine Quilting without Swearing
- Quilt As You Go: Stripes and Grids
- Quilt As You Go: Wavy Stripes and Grids
Quarter Inch Foot
This isn’t one of the essential sewing machine feet, but I really love it for when I want to be super precise in my seam allowance.
Here’s what mine looks like.
That weird piece sitting beside the foot actually screws into the machine and becomes a wall that you butt your fabric against, to help you get an exact 1/4-inch seam allowance (or whatever depth you set it to). This is perfect for joining quilt blocks – especially for quilts with half blocks and double blocks where the seam allowance needs to be really accurate.
For some machines, the quarter-inch foot has the “wall” built right into the foot, but those aren’t adjustable. They ONLY do a quarter inch seam allowance.
Handy links. . .
- Quilt Block Sizes for Alternate Grid Layouts
- How to Assemble a Quilt that Uses an Alternate Grid
- How to Quilt a Broken Grid
Clear Applique Foot
I saved my very favorite sewing machine foot for last – a clear applique foot.
If you do ANY machine applique (or any topstitching or edgestitching) this foot is absolutely necessary.
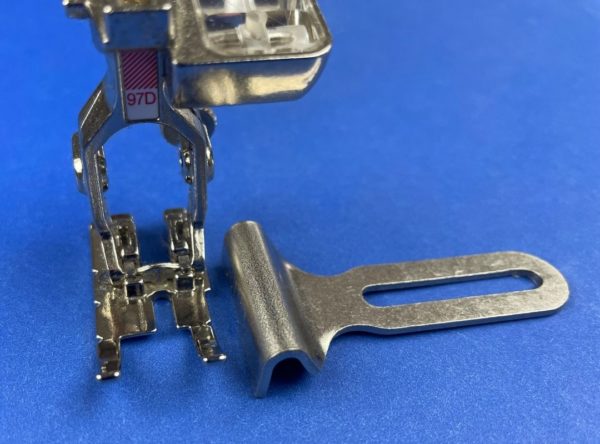
Here’s what a typical sewing machine foot looks like.
It’s metal and it might have a small opening like this one – but you can’t see much. And there’s very little visibility where the needle is actually going in – that smaller slot behind the main “toes.” It’s REALLY hard to see where you’re stitching with this foot.
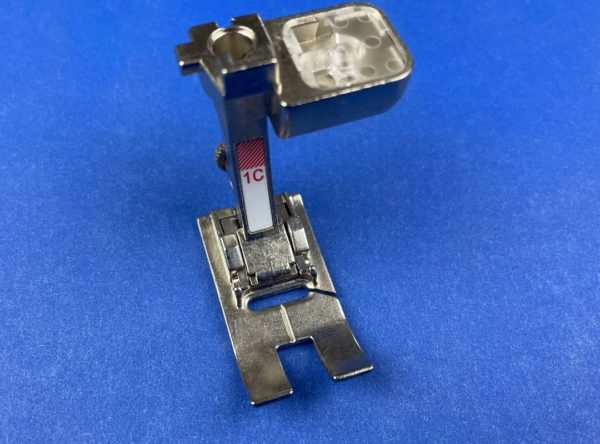
Here’s a clear applique foot.

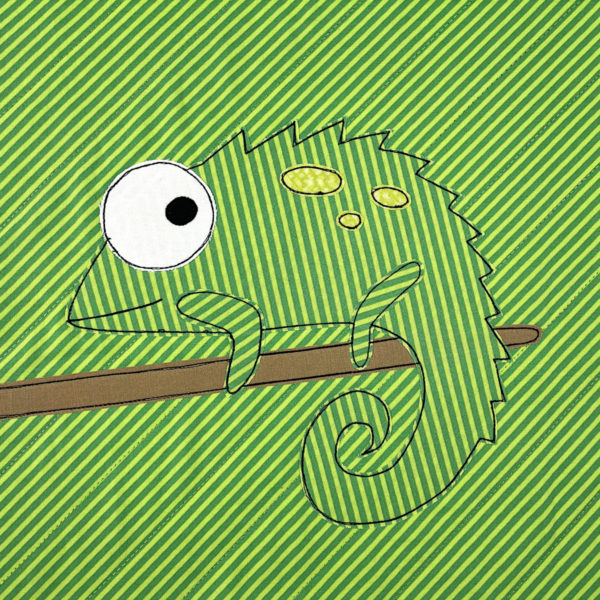
Look at that! The base of the foot is made entirely of clear plastic – giving you total visibility as you stitch. That ability to see what I’m doing is what allows me to outline applique shapes like this so neatly.
Handy links. . .
- How to Topstitch and Edgestitch
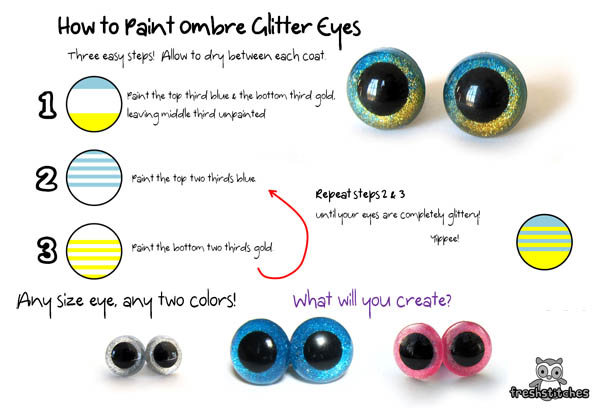
- Stitching Eyes and Mouths – with lots of help for stitching tight curves
So there you are – the four sewing machine feet I use most often.

Here are handy links to all the posts about quilting tools and supplies.
Sewing Machine
- My Sewing Machine and Why I Love It
- How to Choose a Sewing Machine for a Beginner
- My Favorite Sewing Machine Feet
- Basic Sewing Machine Maintenance
Iron
Rotary Cutting Tools
- My Favorite Rotary Cutting Tools
- How to Use a Rotary Cutter and Ruler
- How to Clean a Fuzzy Cutting Mat
Scissors
Other General Sewing Room Supplies
- Easy Pattern Weights (a free pattern)
- Pincushion (a free pattern)
- Needle Cushion (a free pattern)
- Sewing Machine Cover (a free pattern)
- How to Make a Design Wall
- How to Make a DIY Cutting Table
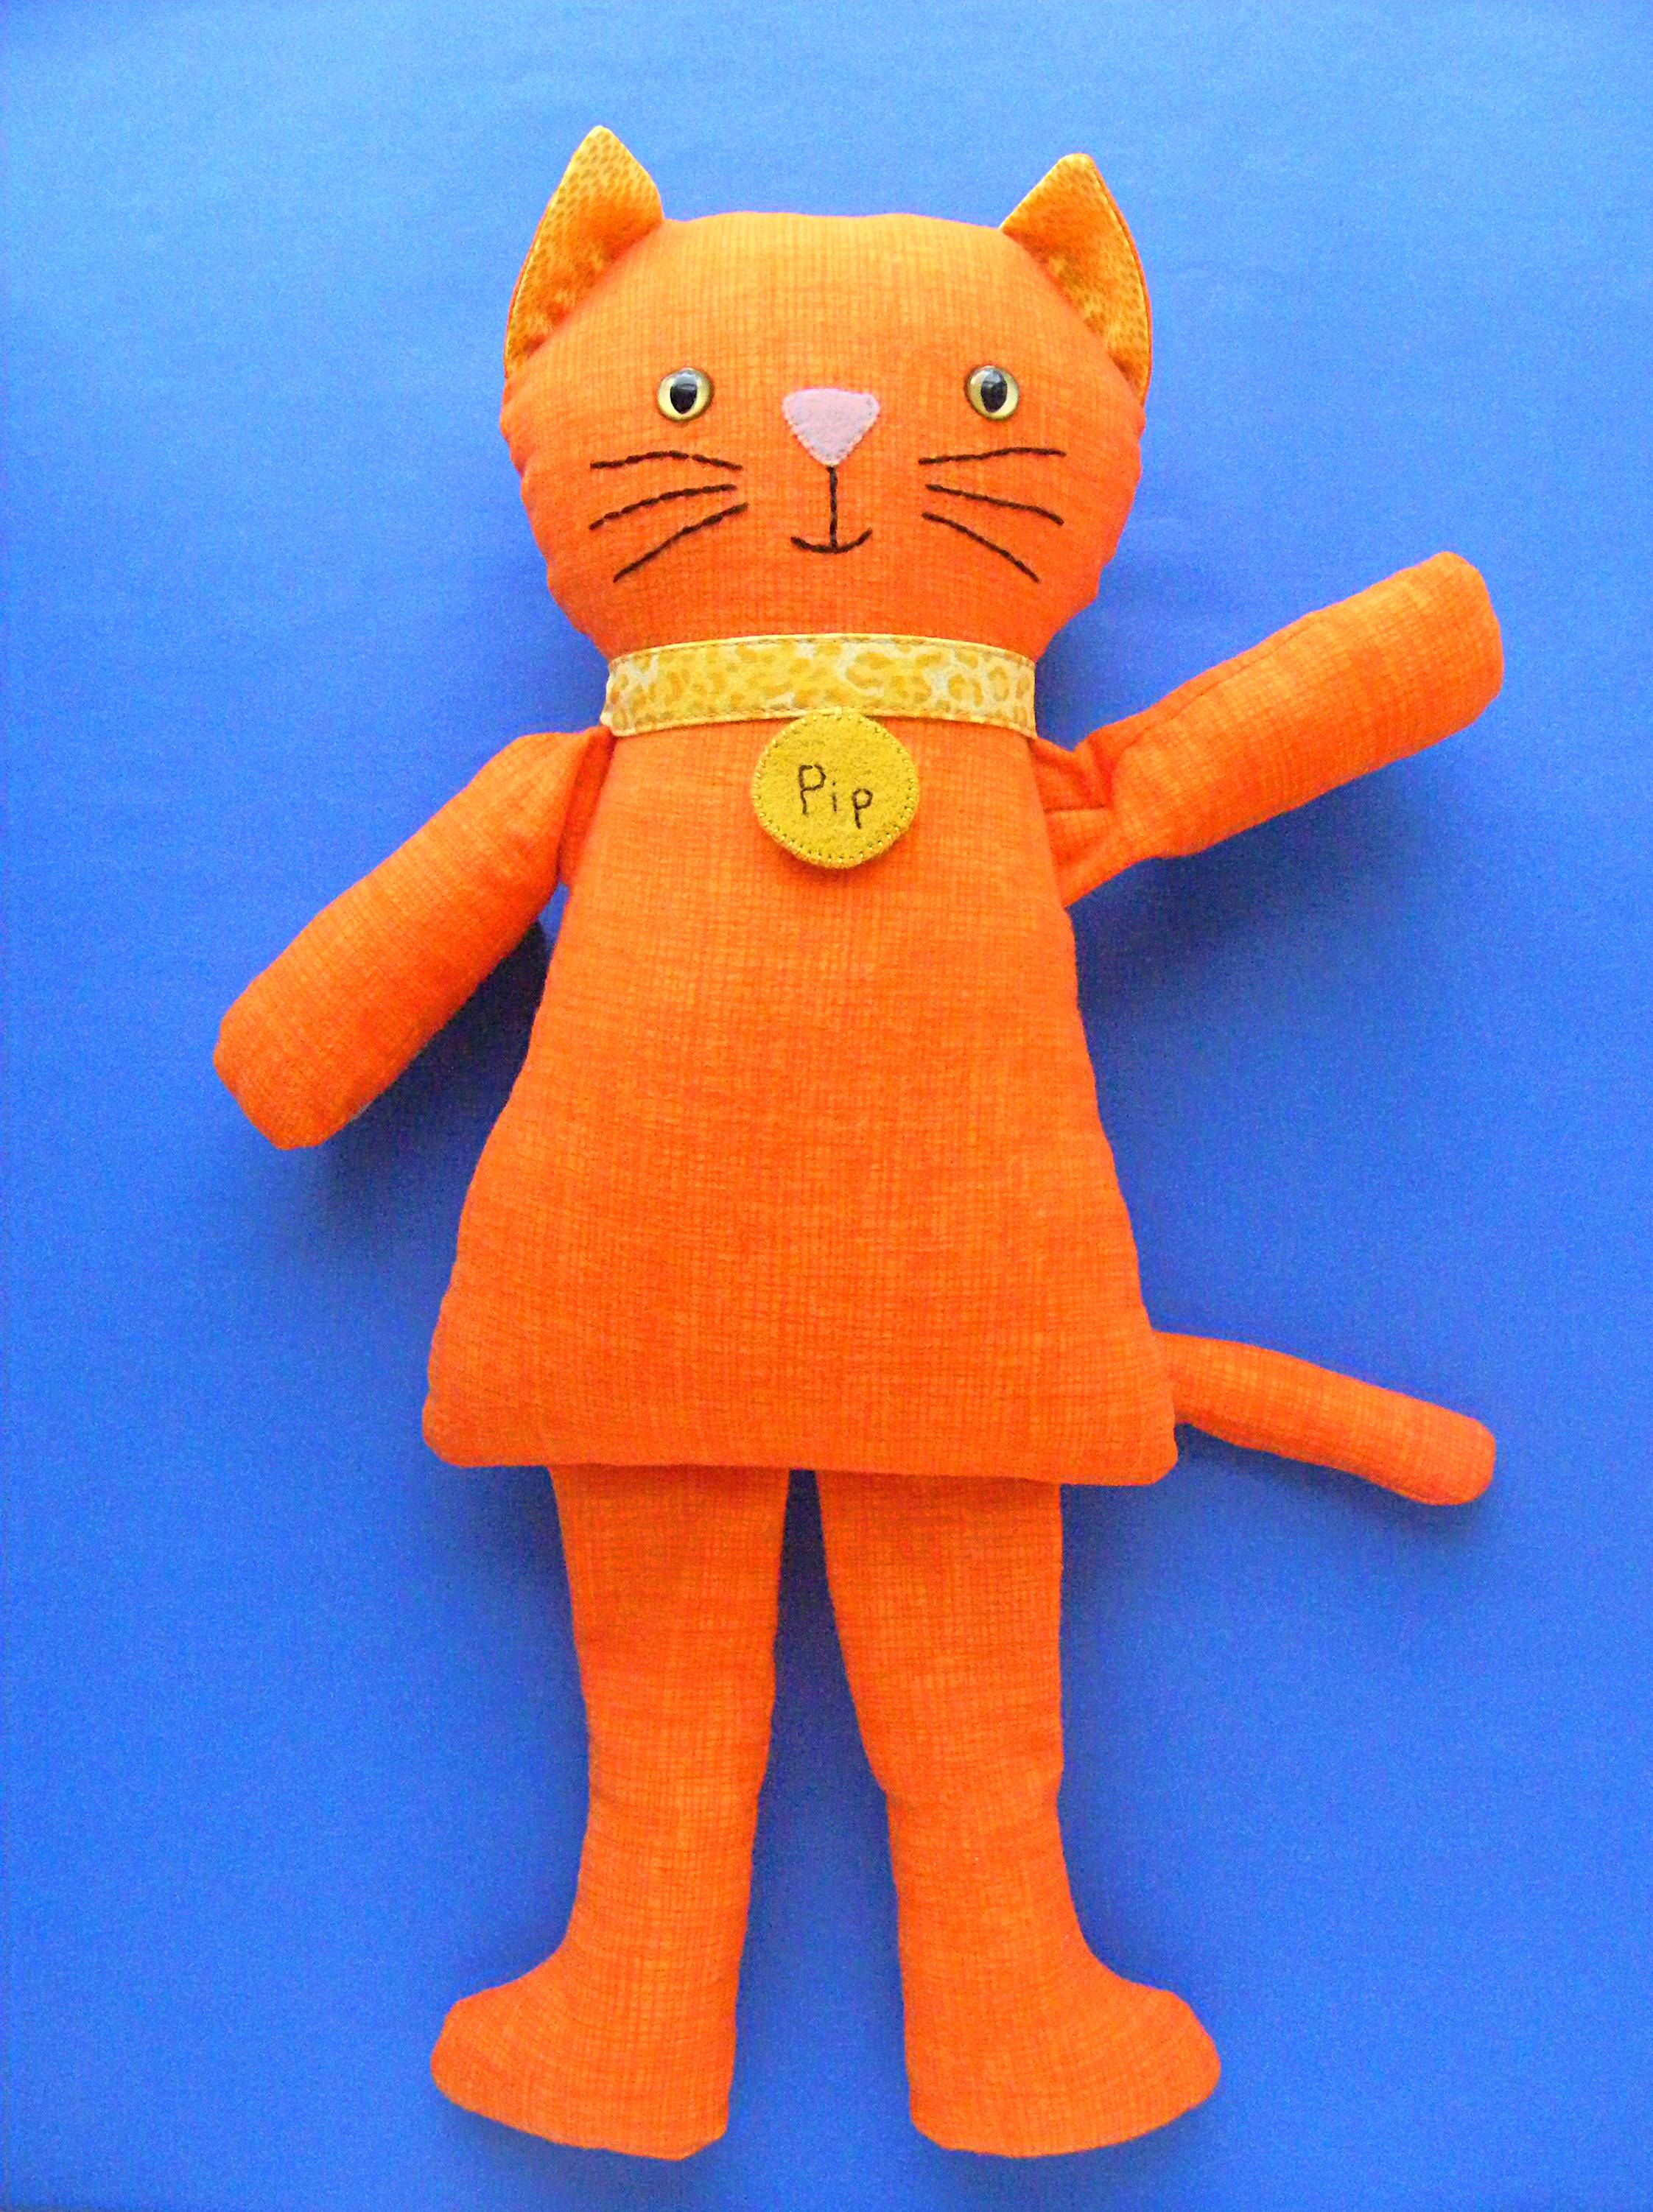
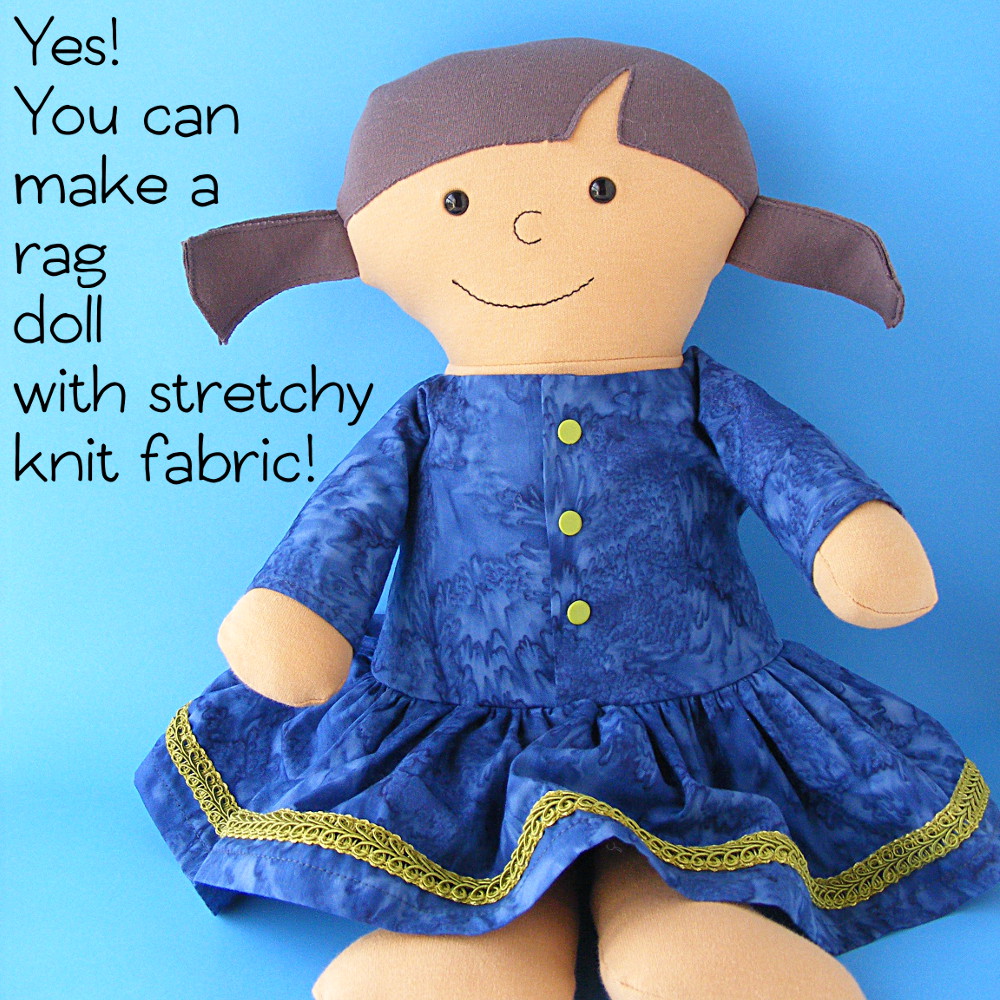
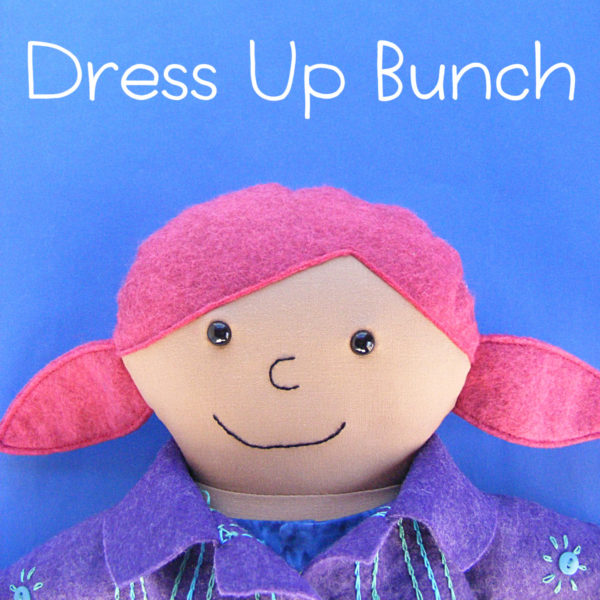
One More Hugely Popular Post that Seems to Fit Here Better than Anywhere Else
Return to the Let’s Make a Quilt main Table of Contents.
Move on to the posts about choosing your quilt pattern.
Happy stitching!