


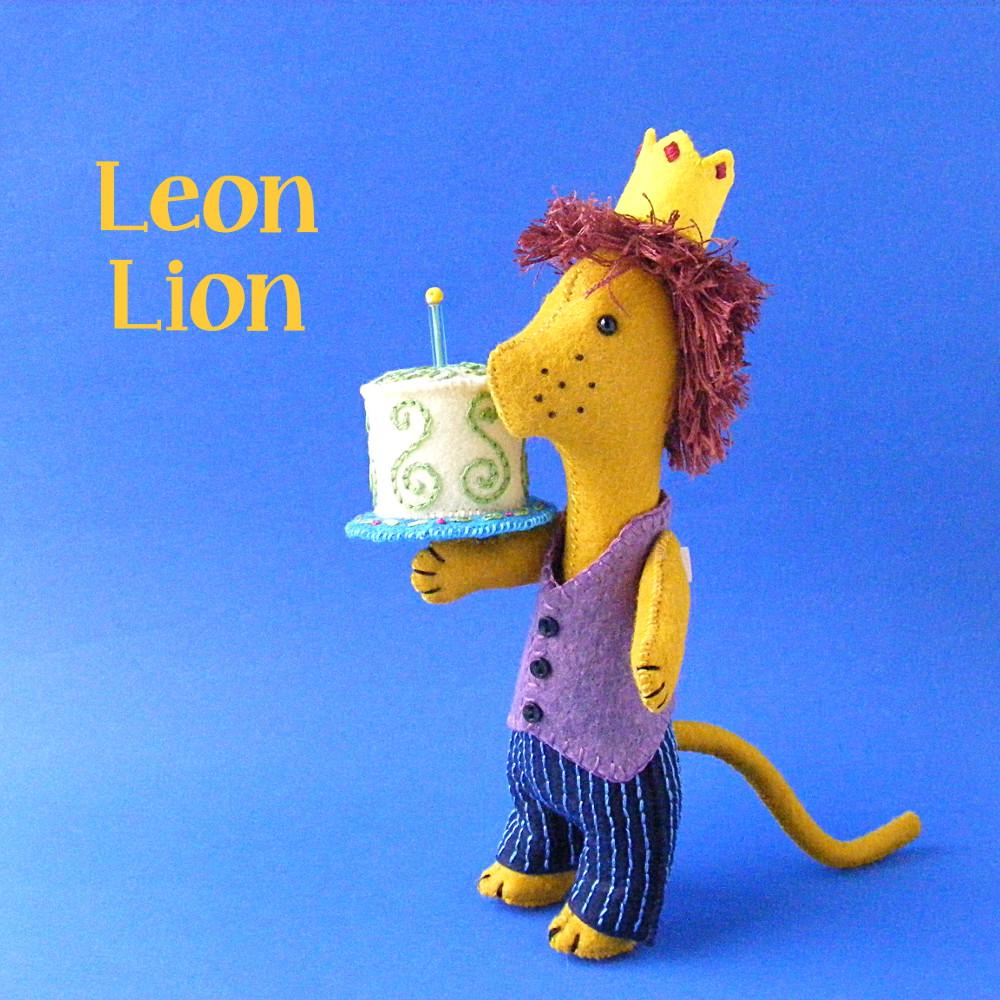
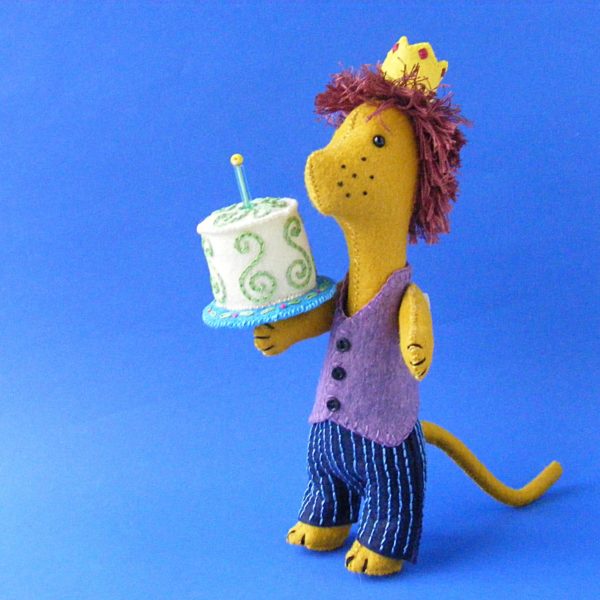
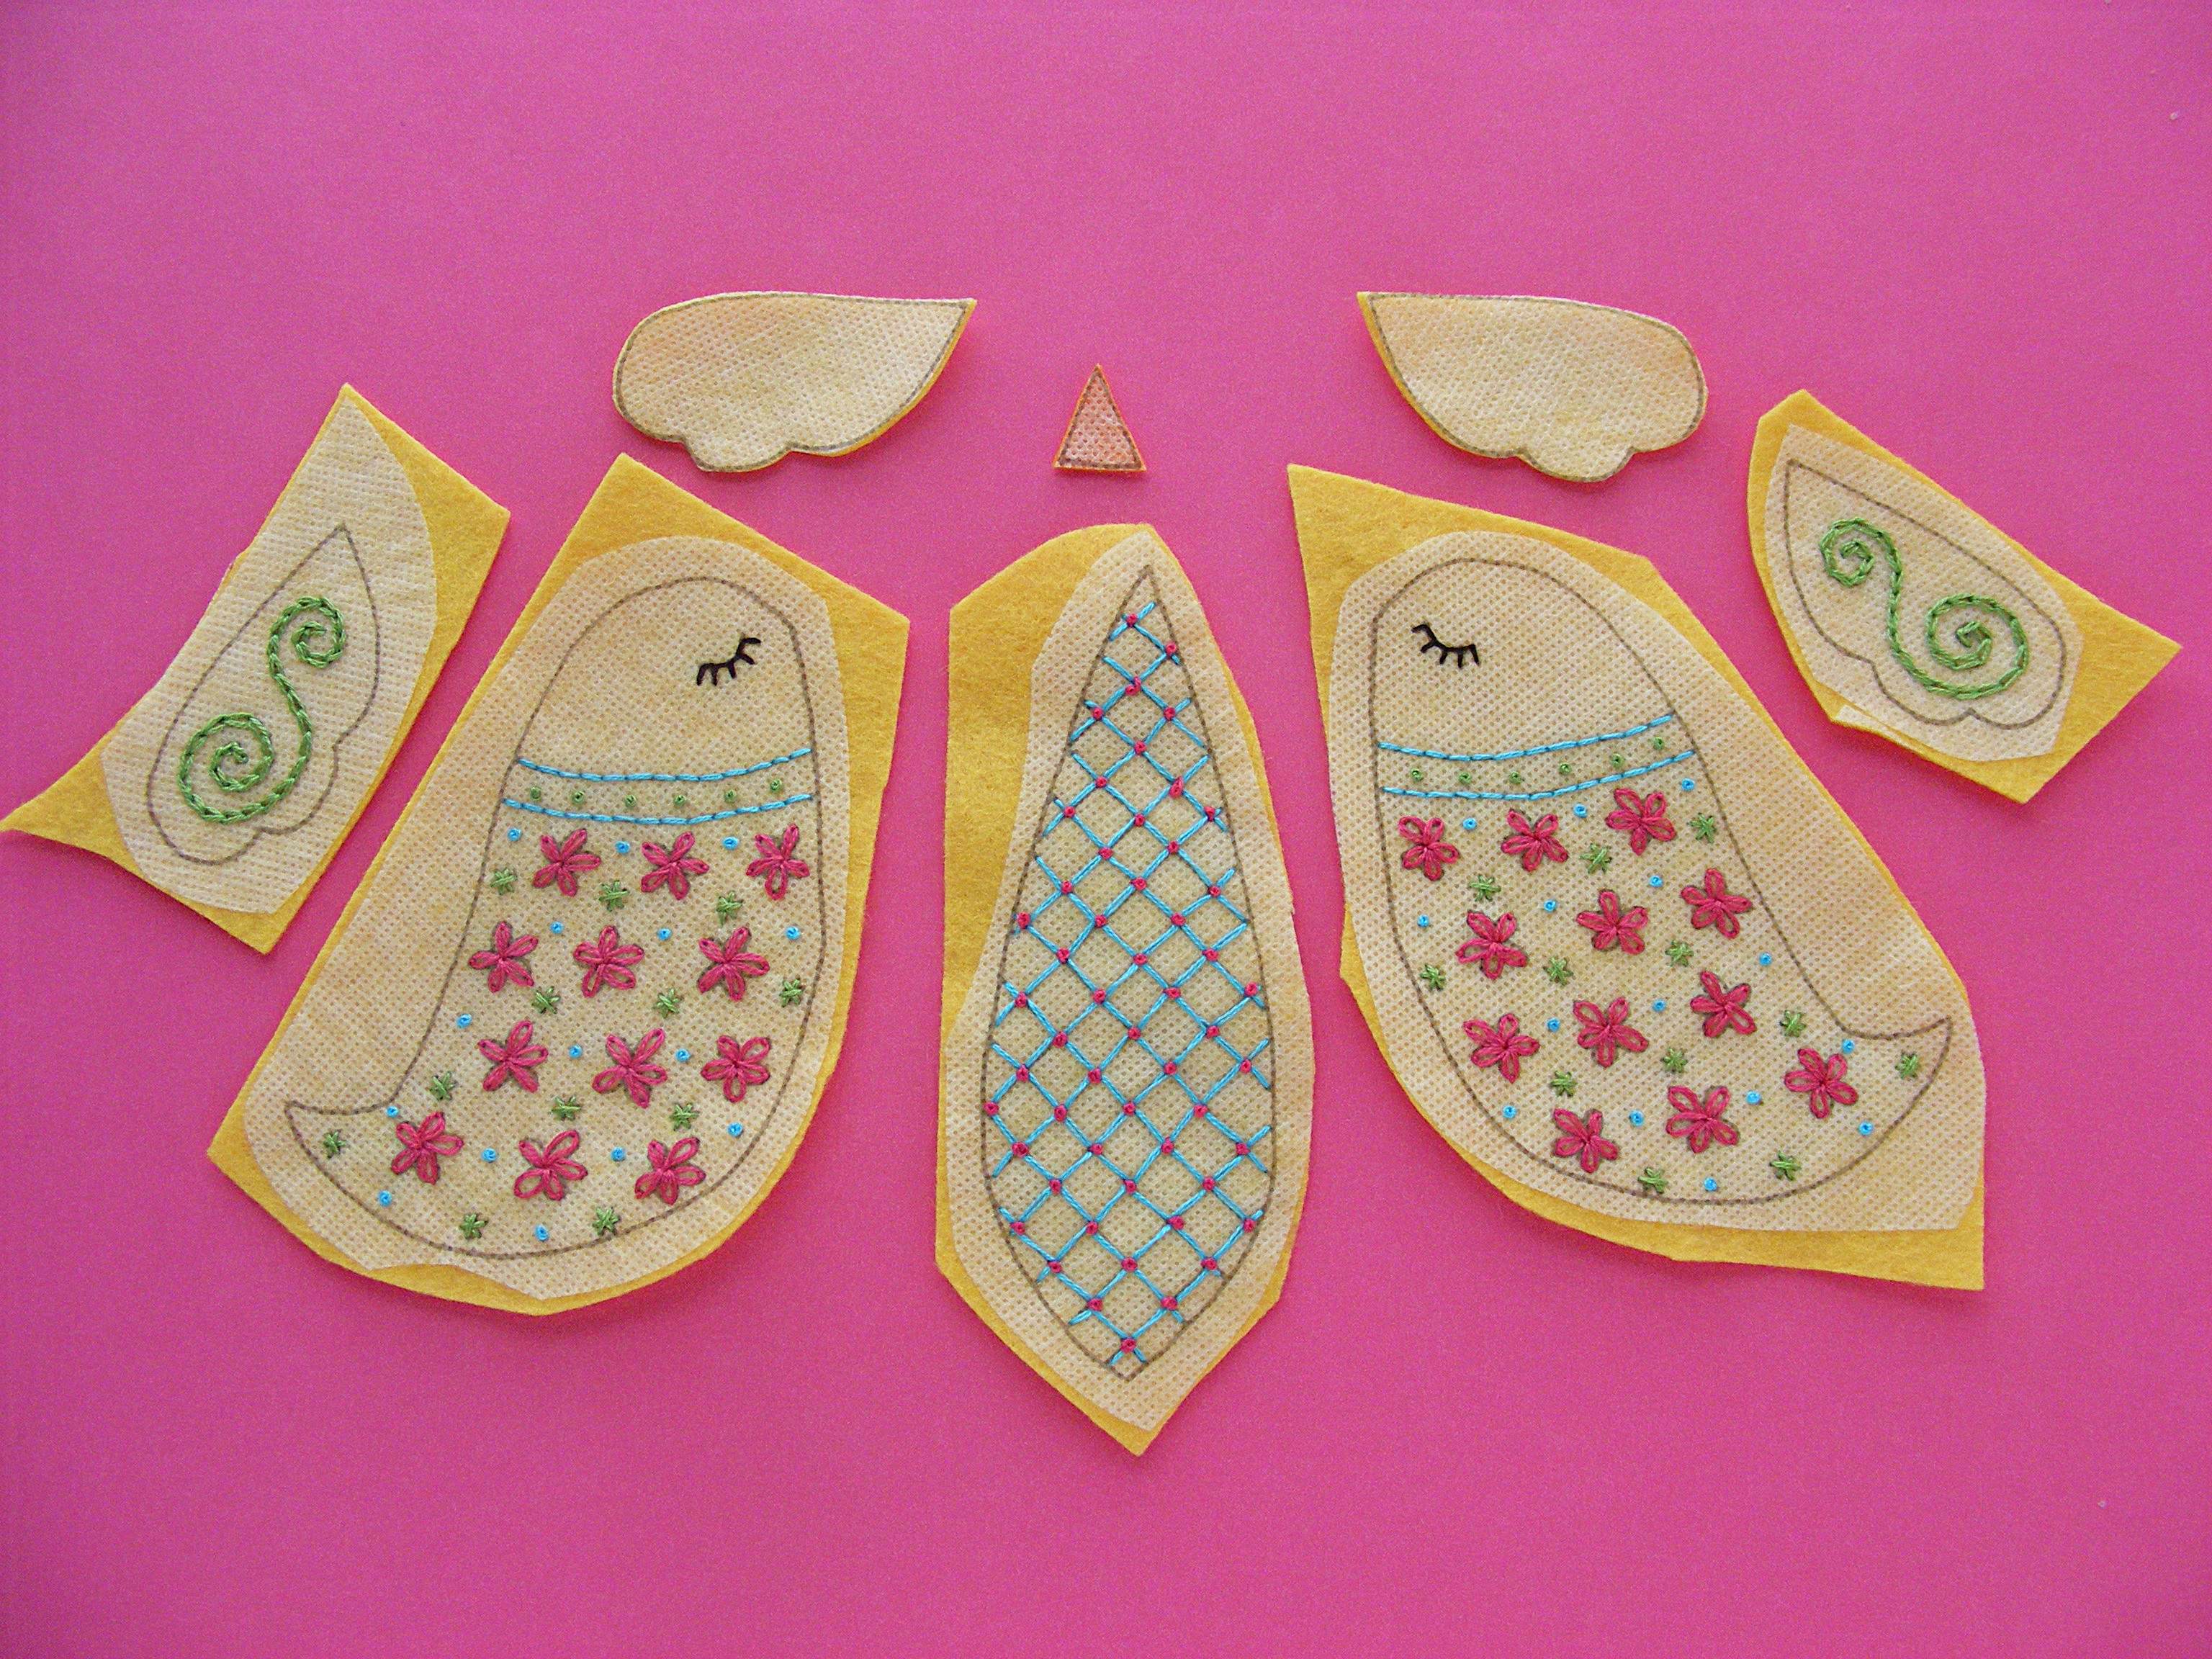
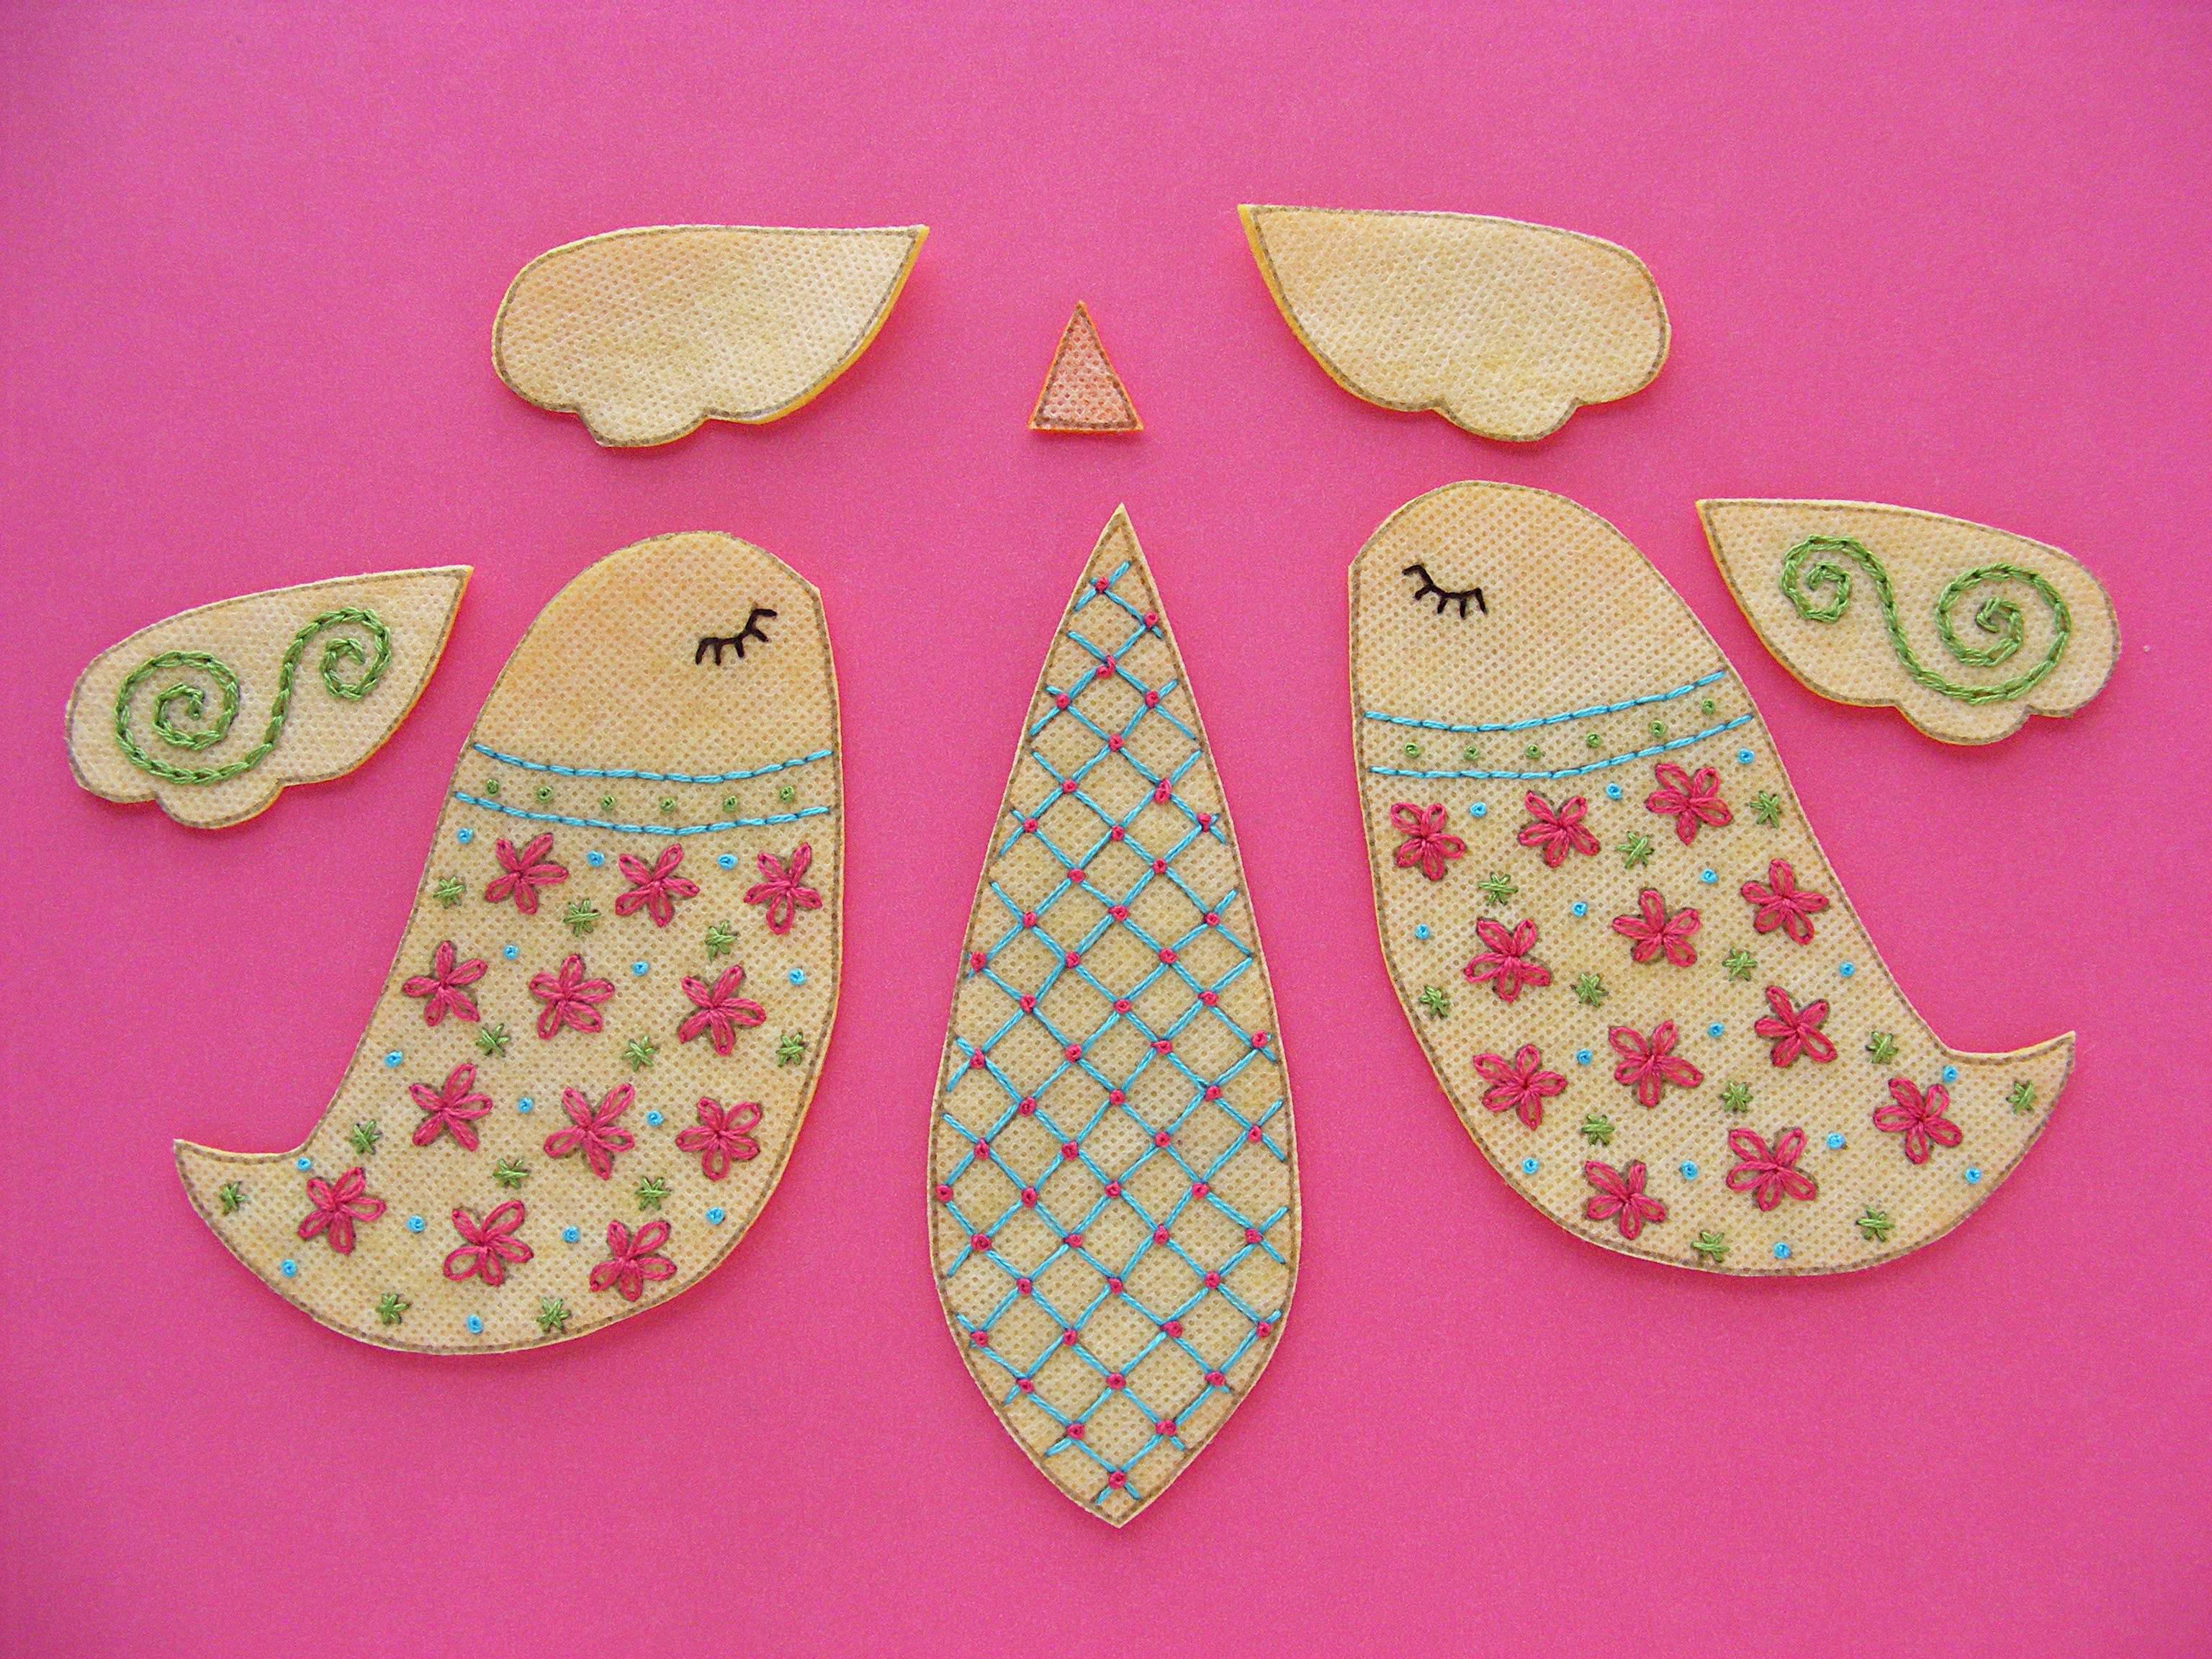
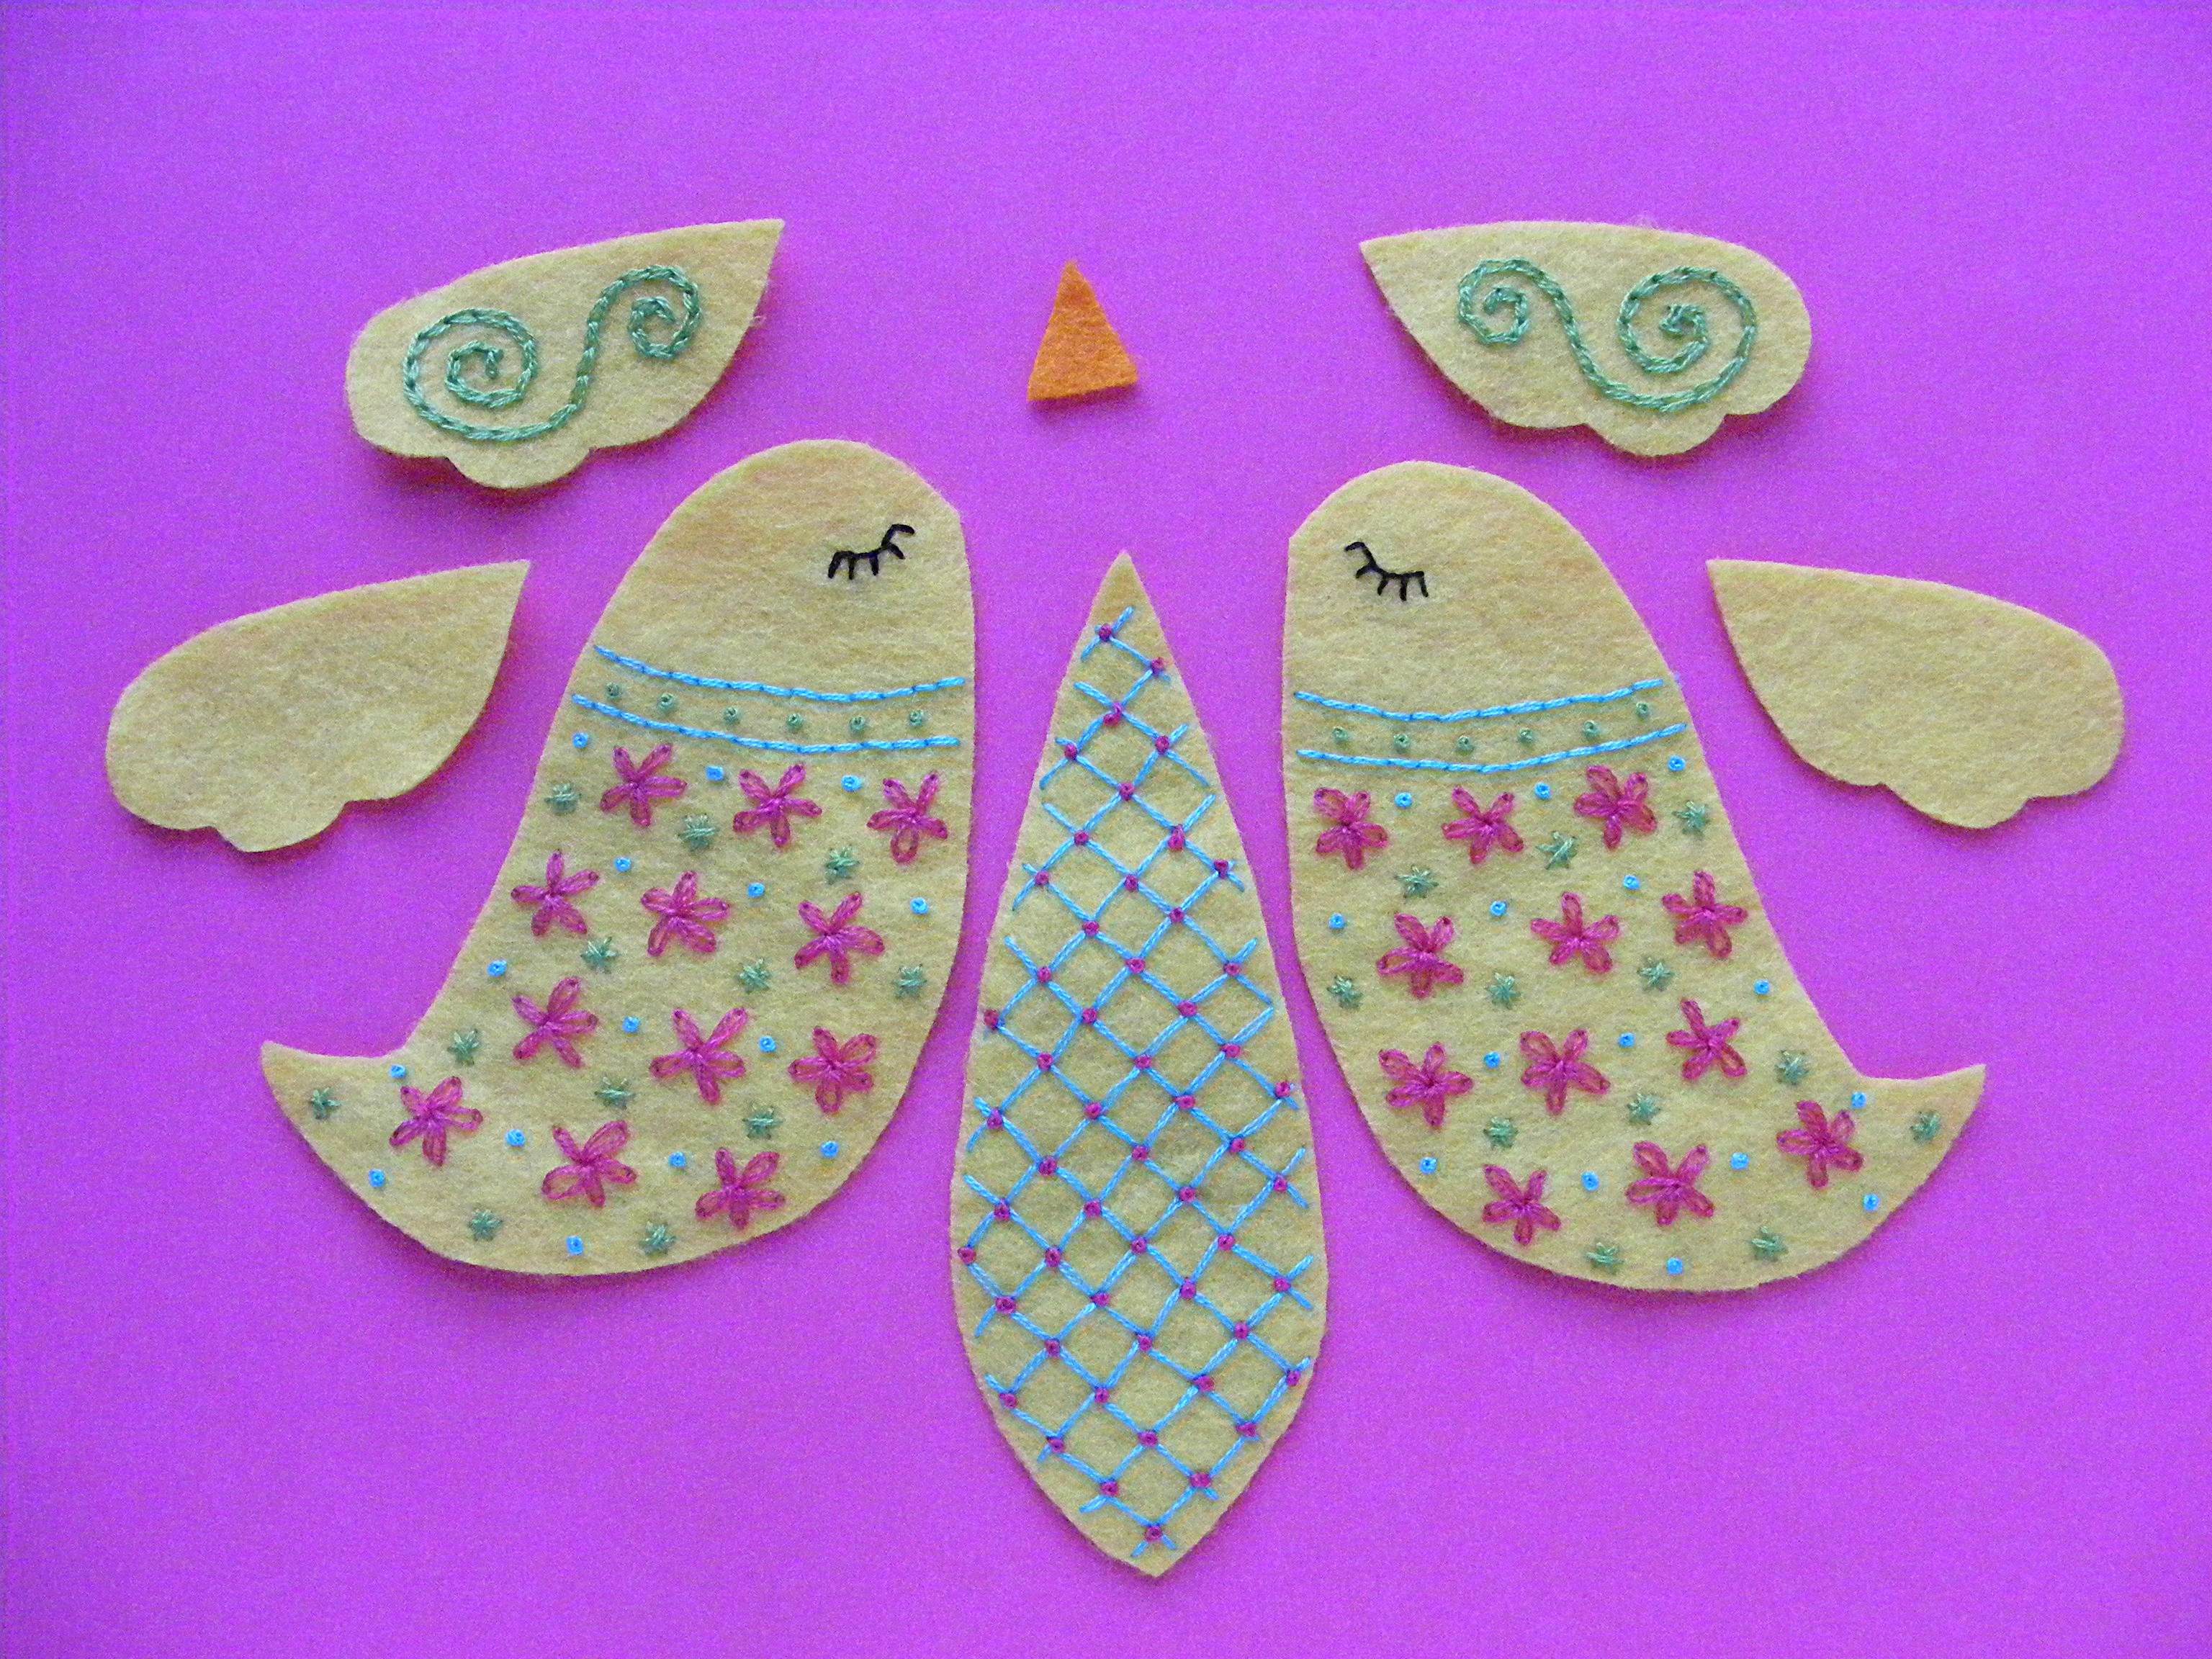
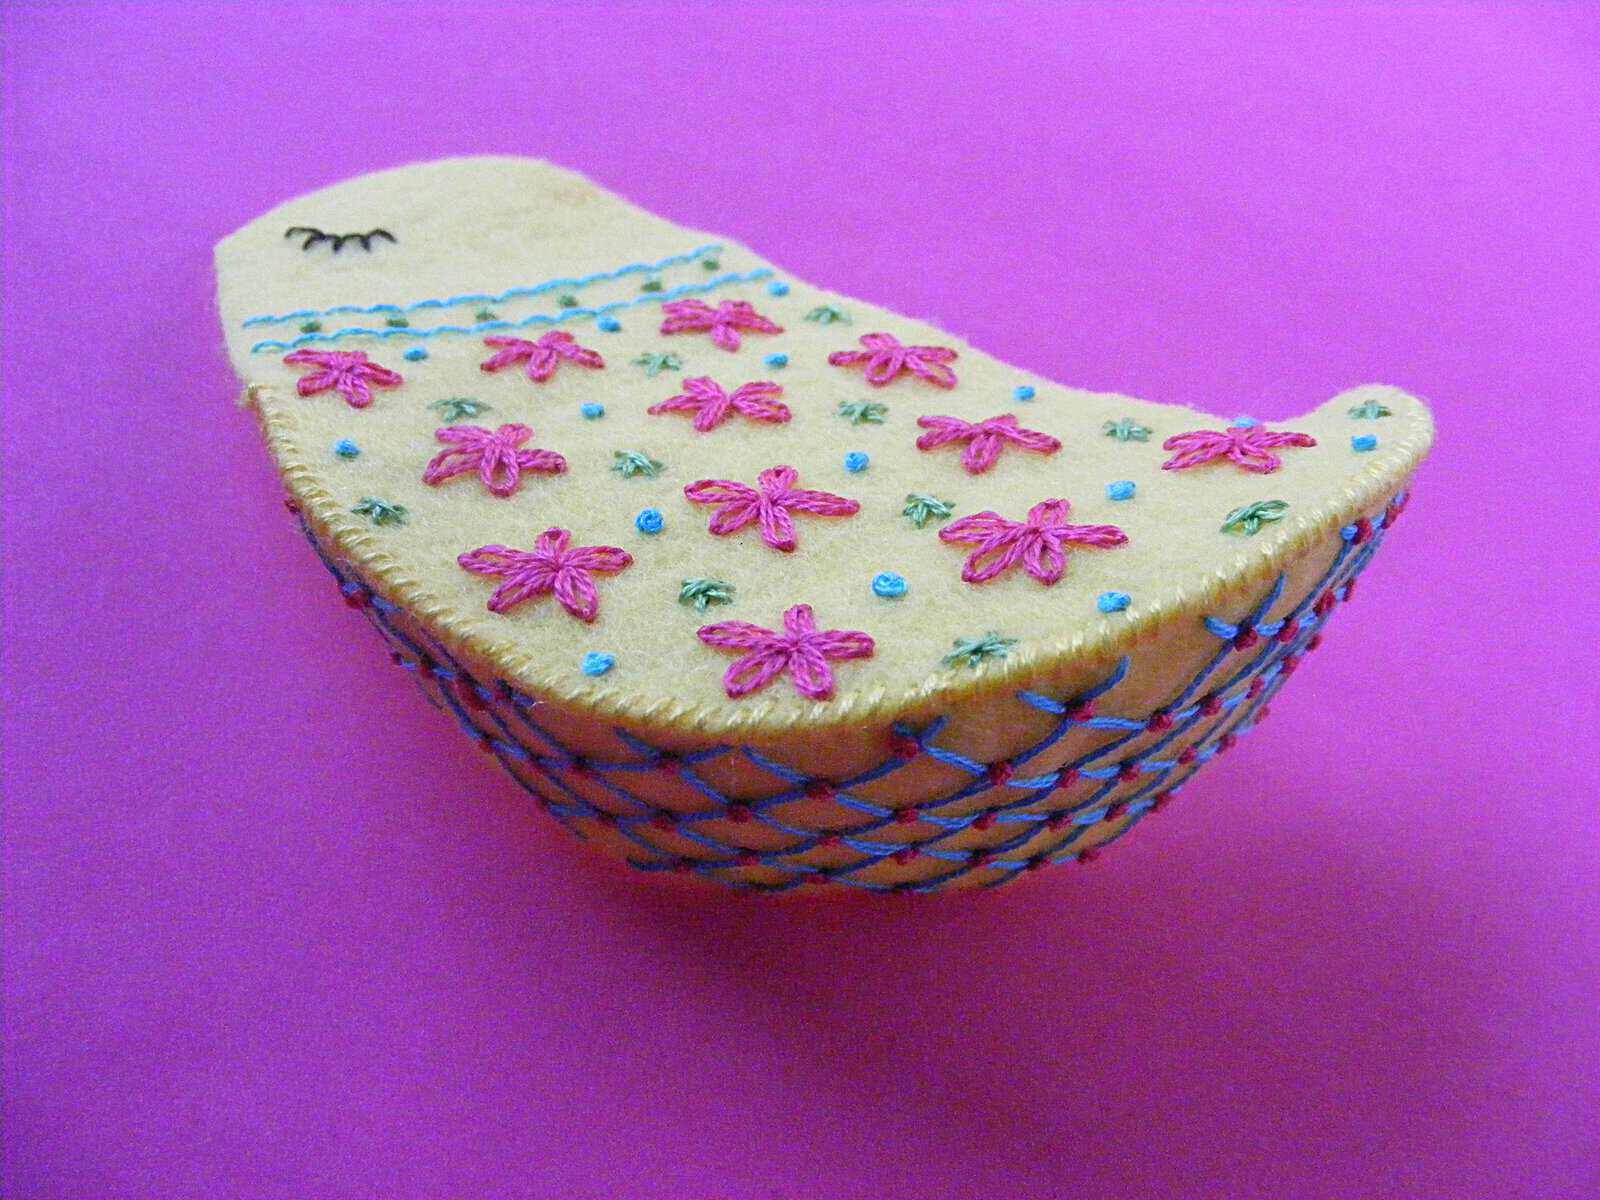
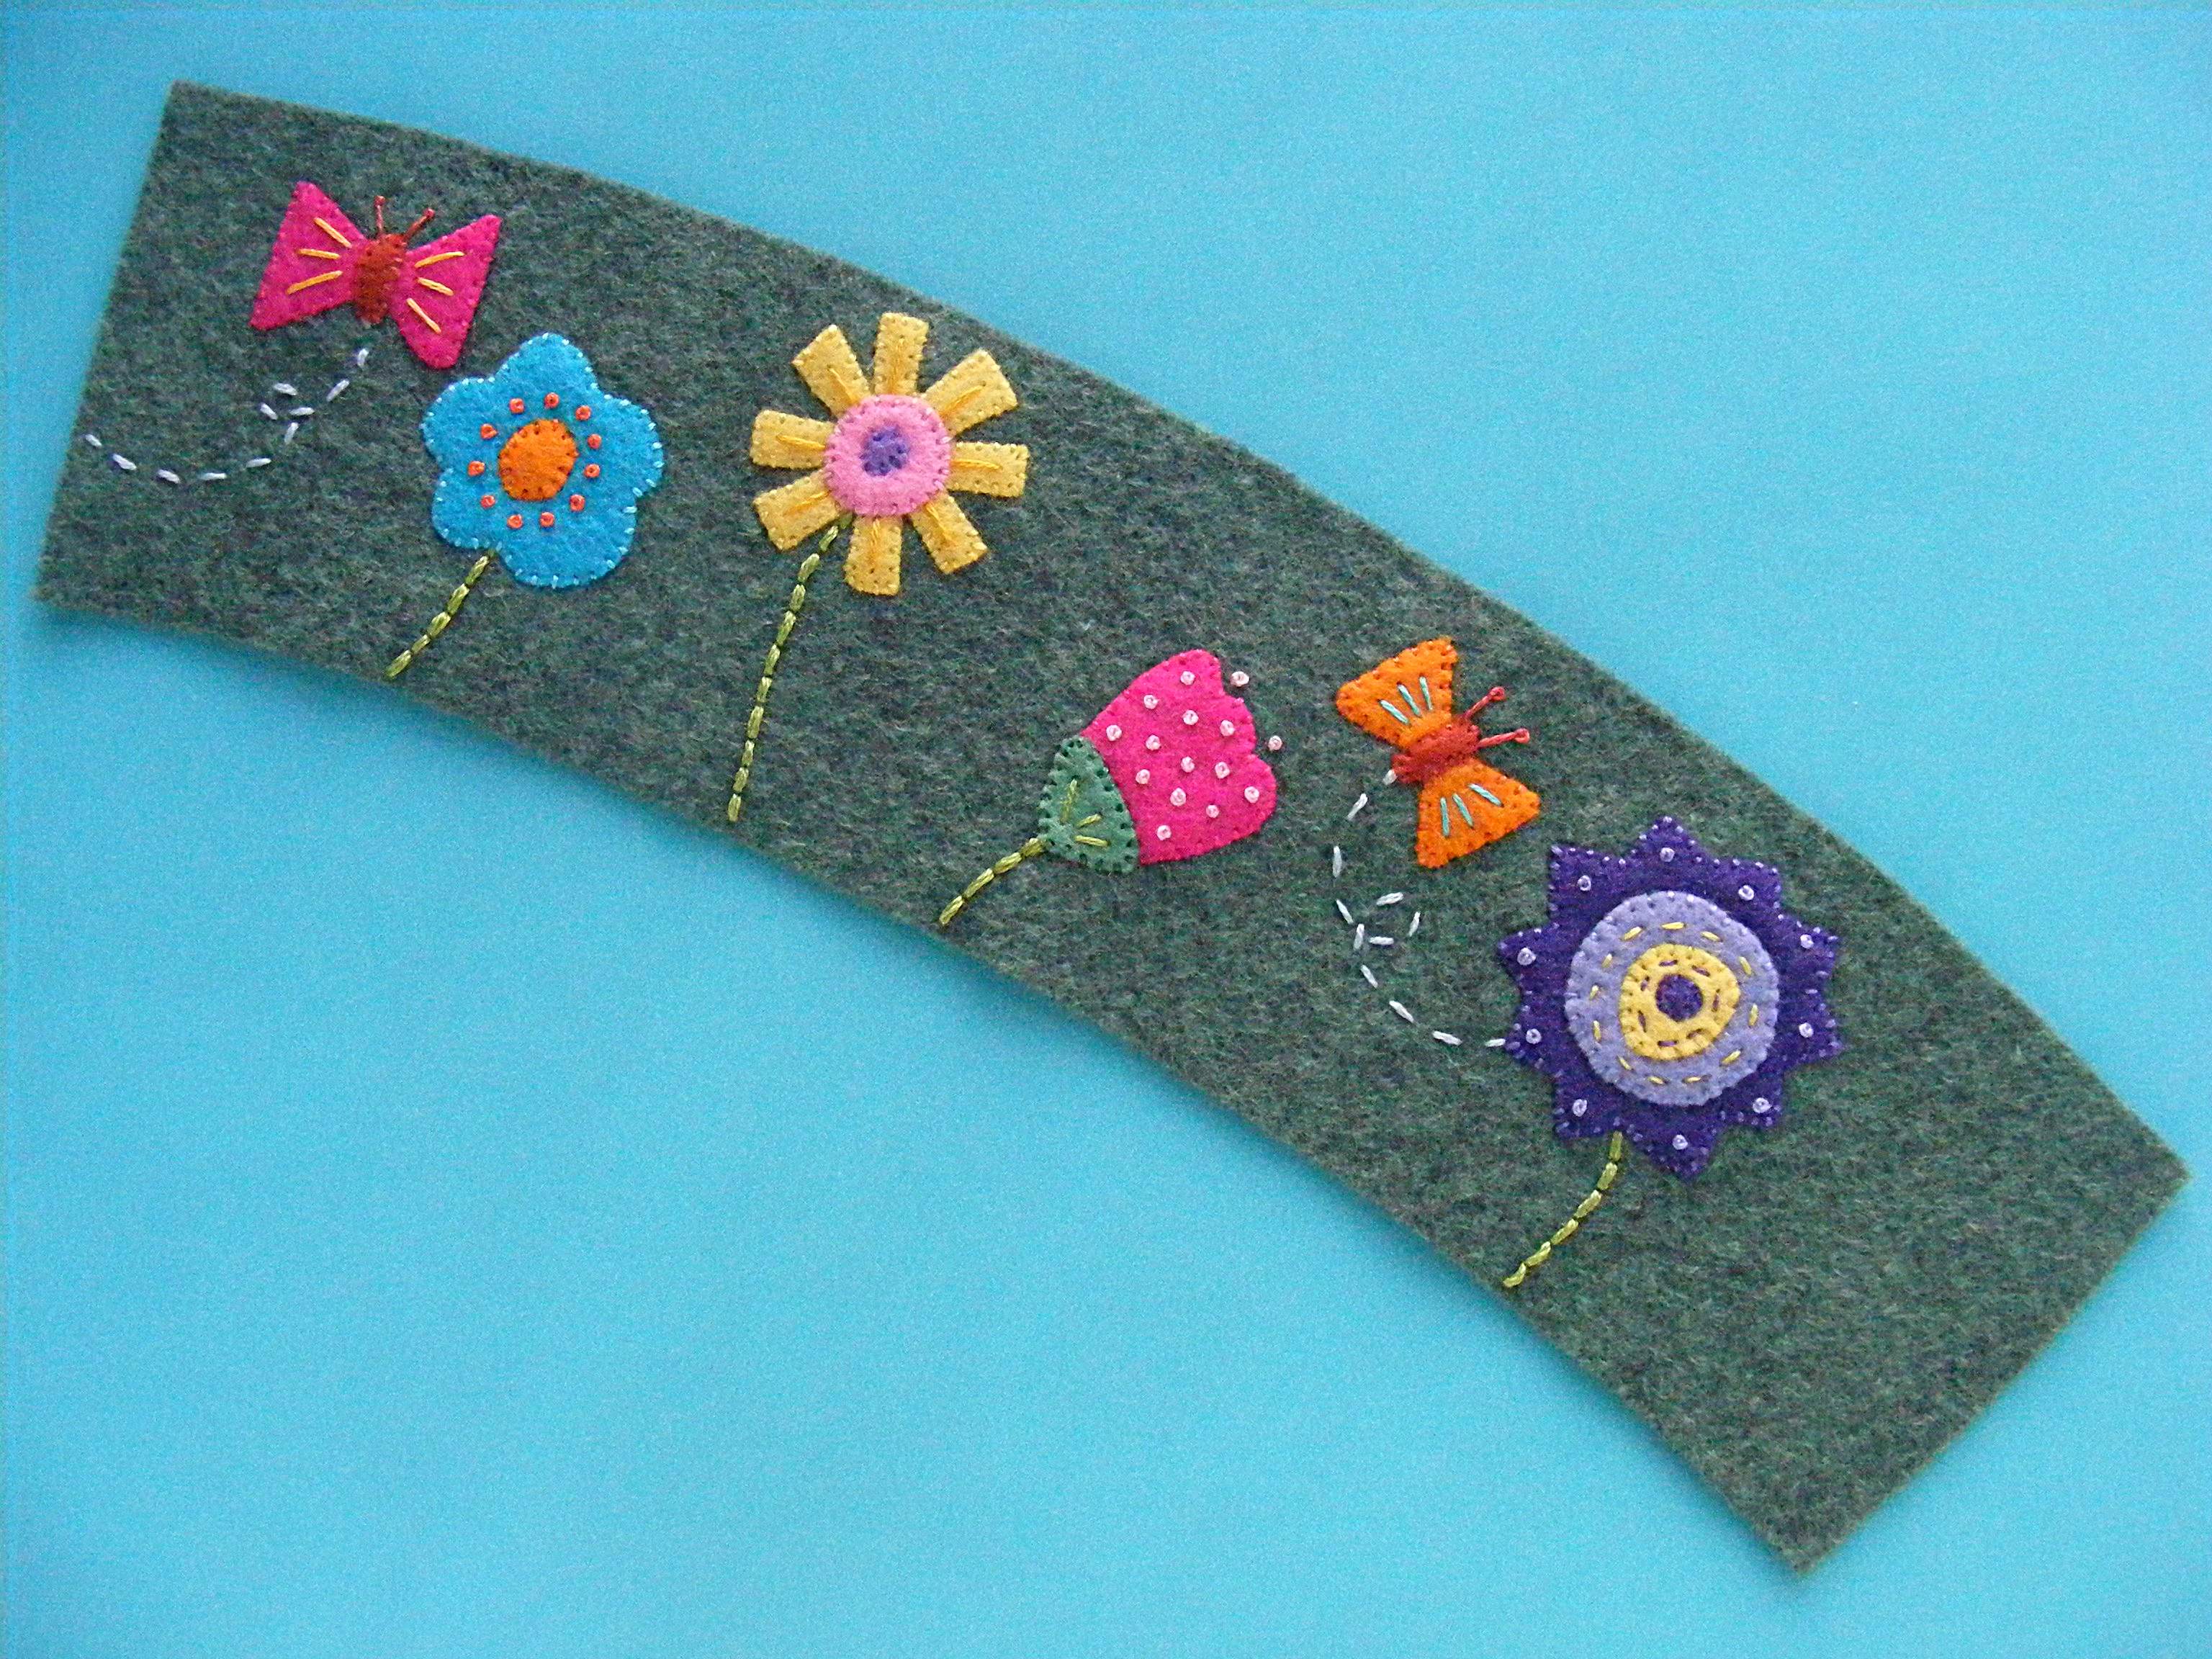
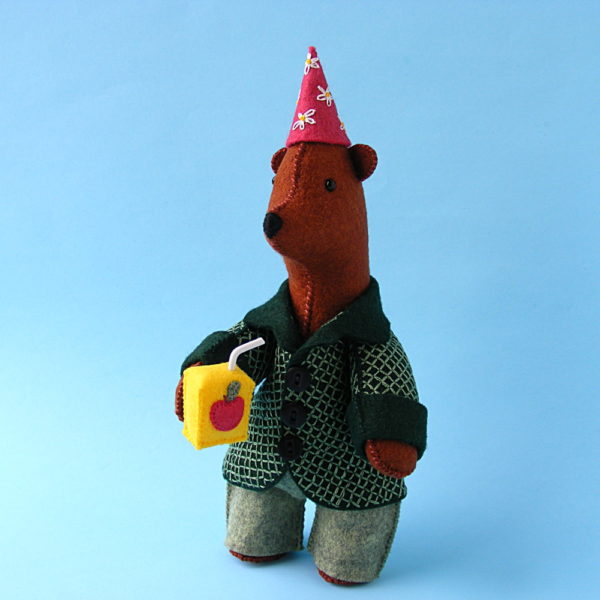
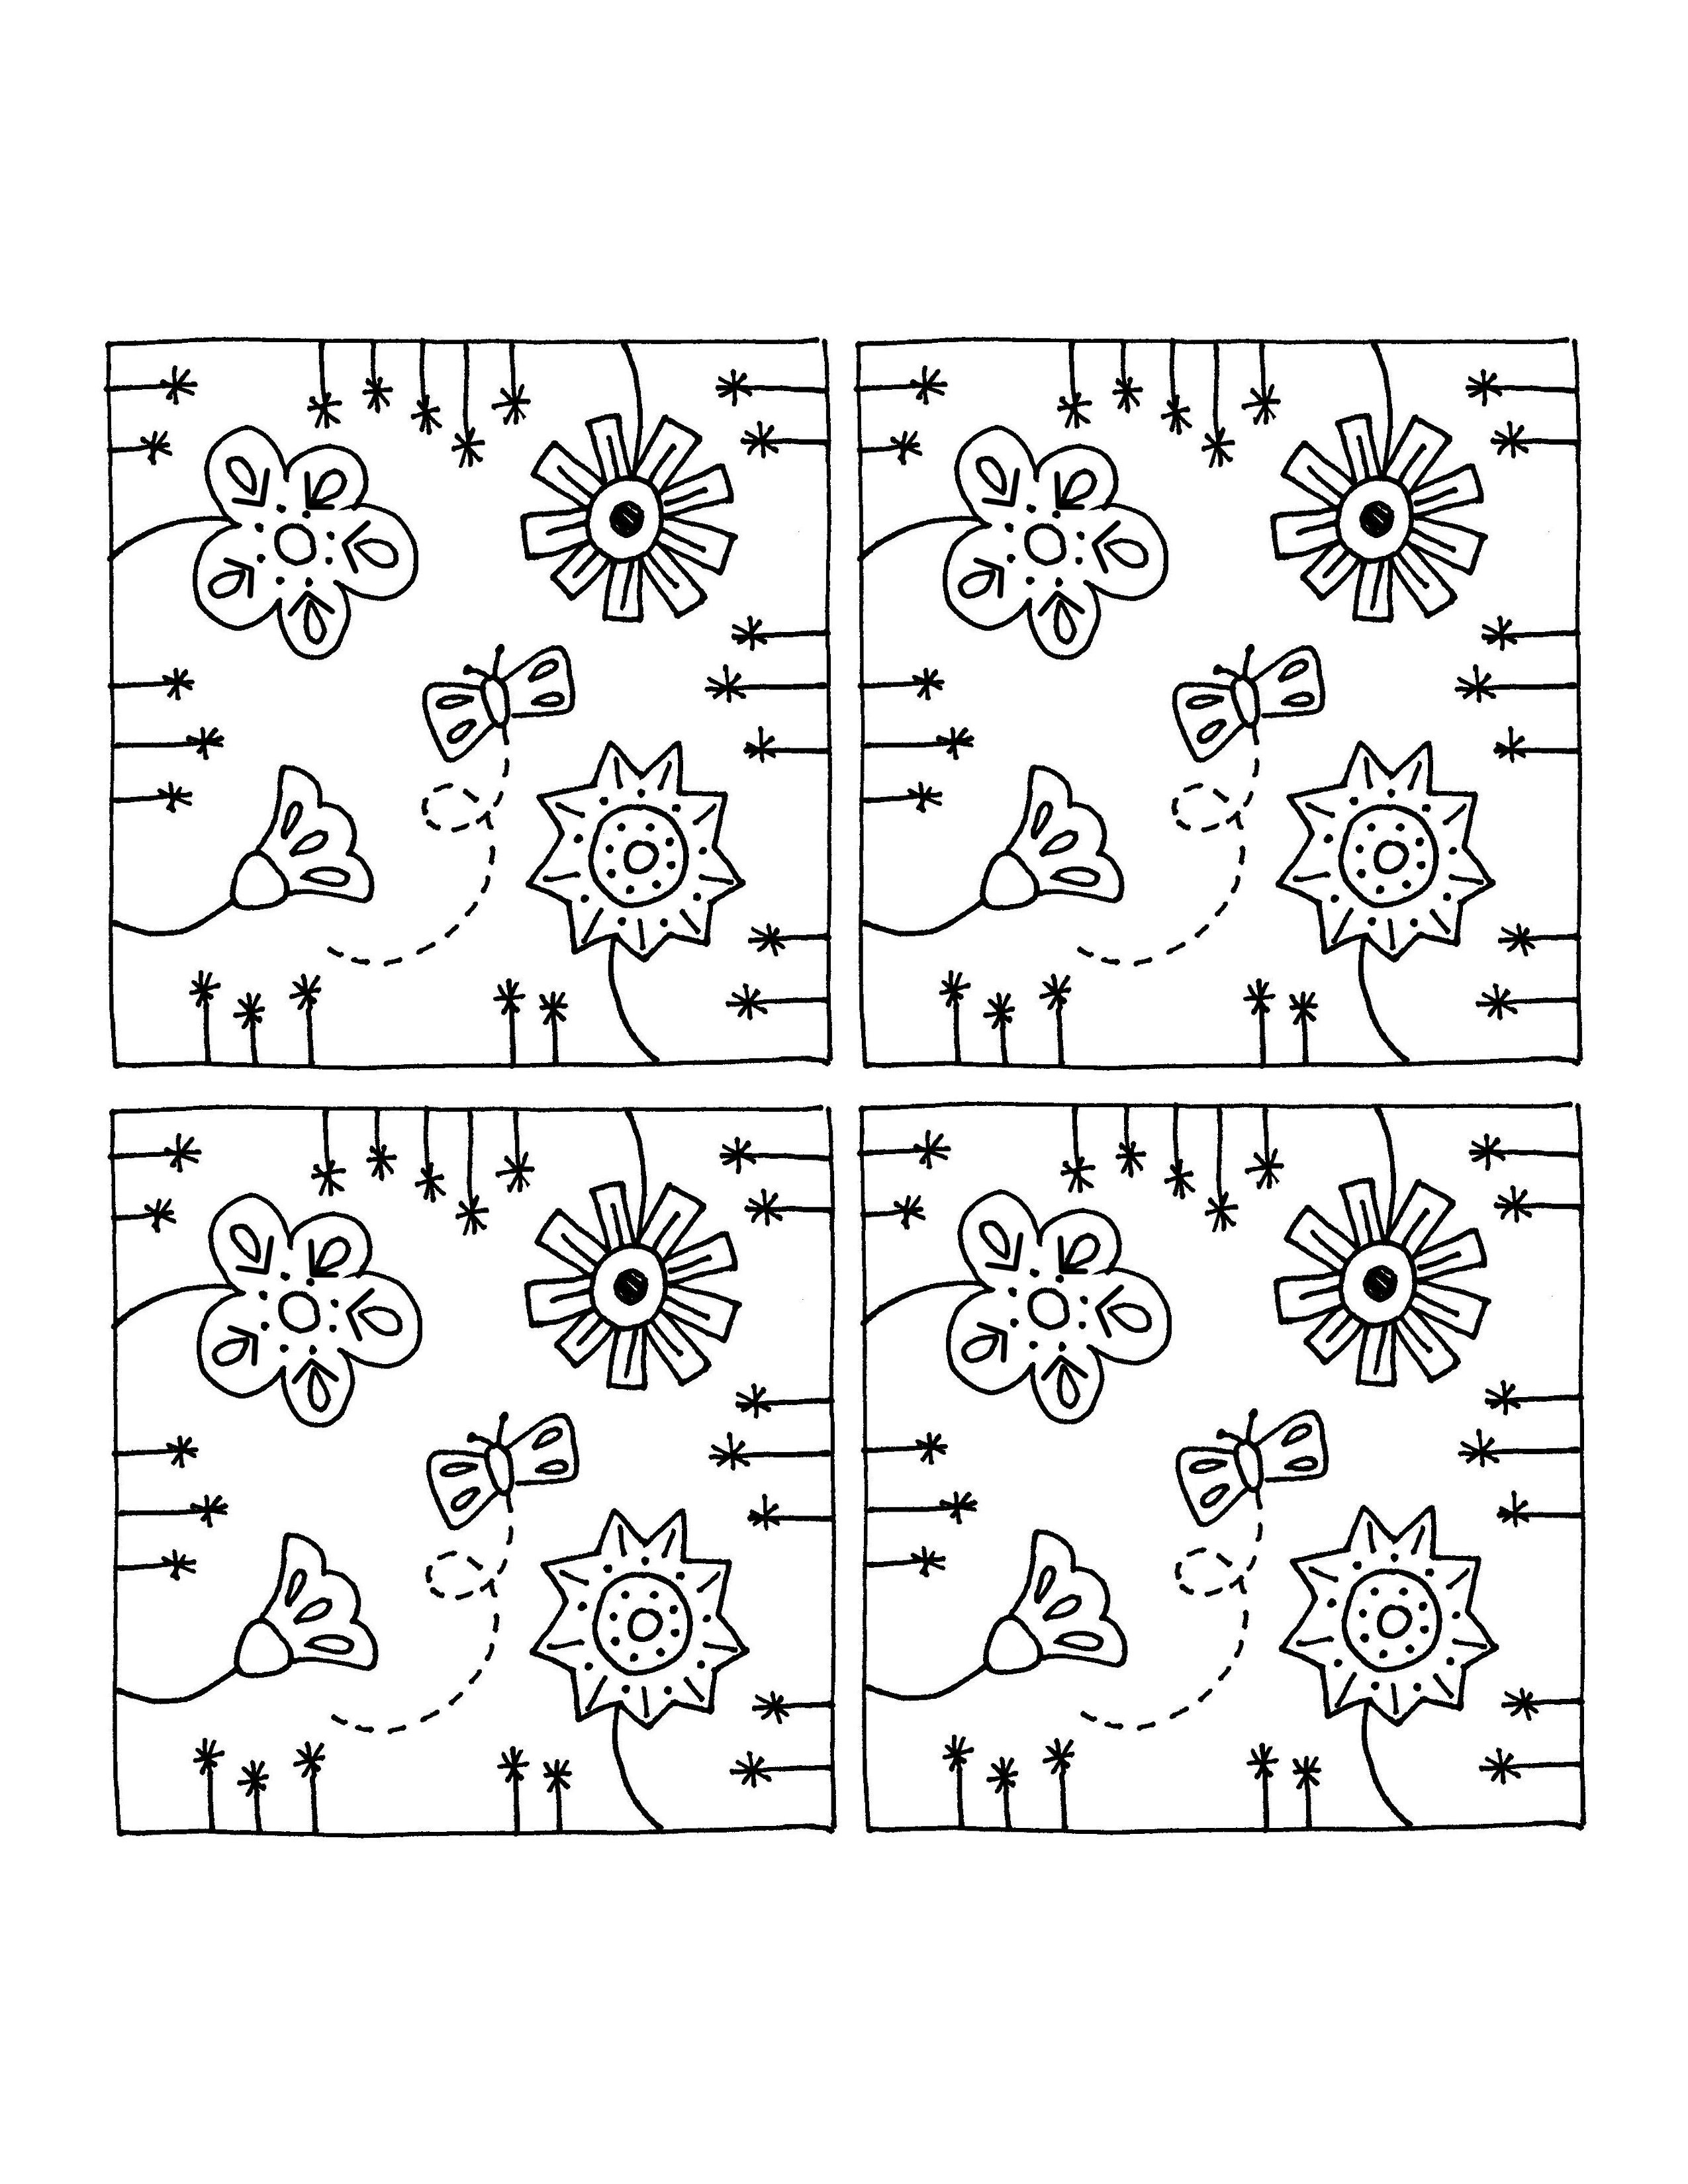
Leon Lion is here – the third animal in the Party Animals series.
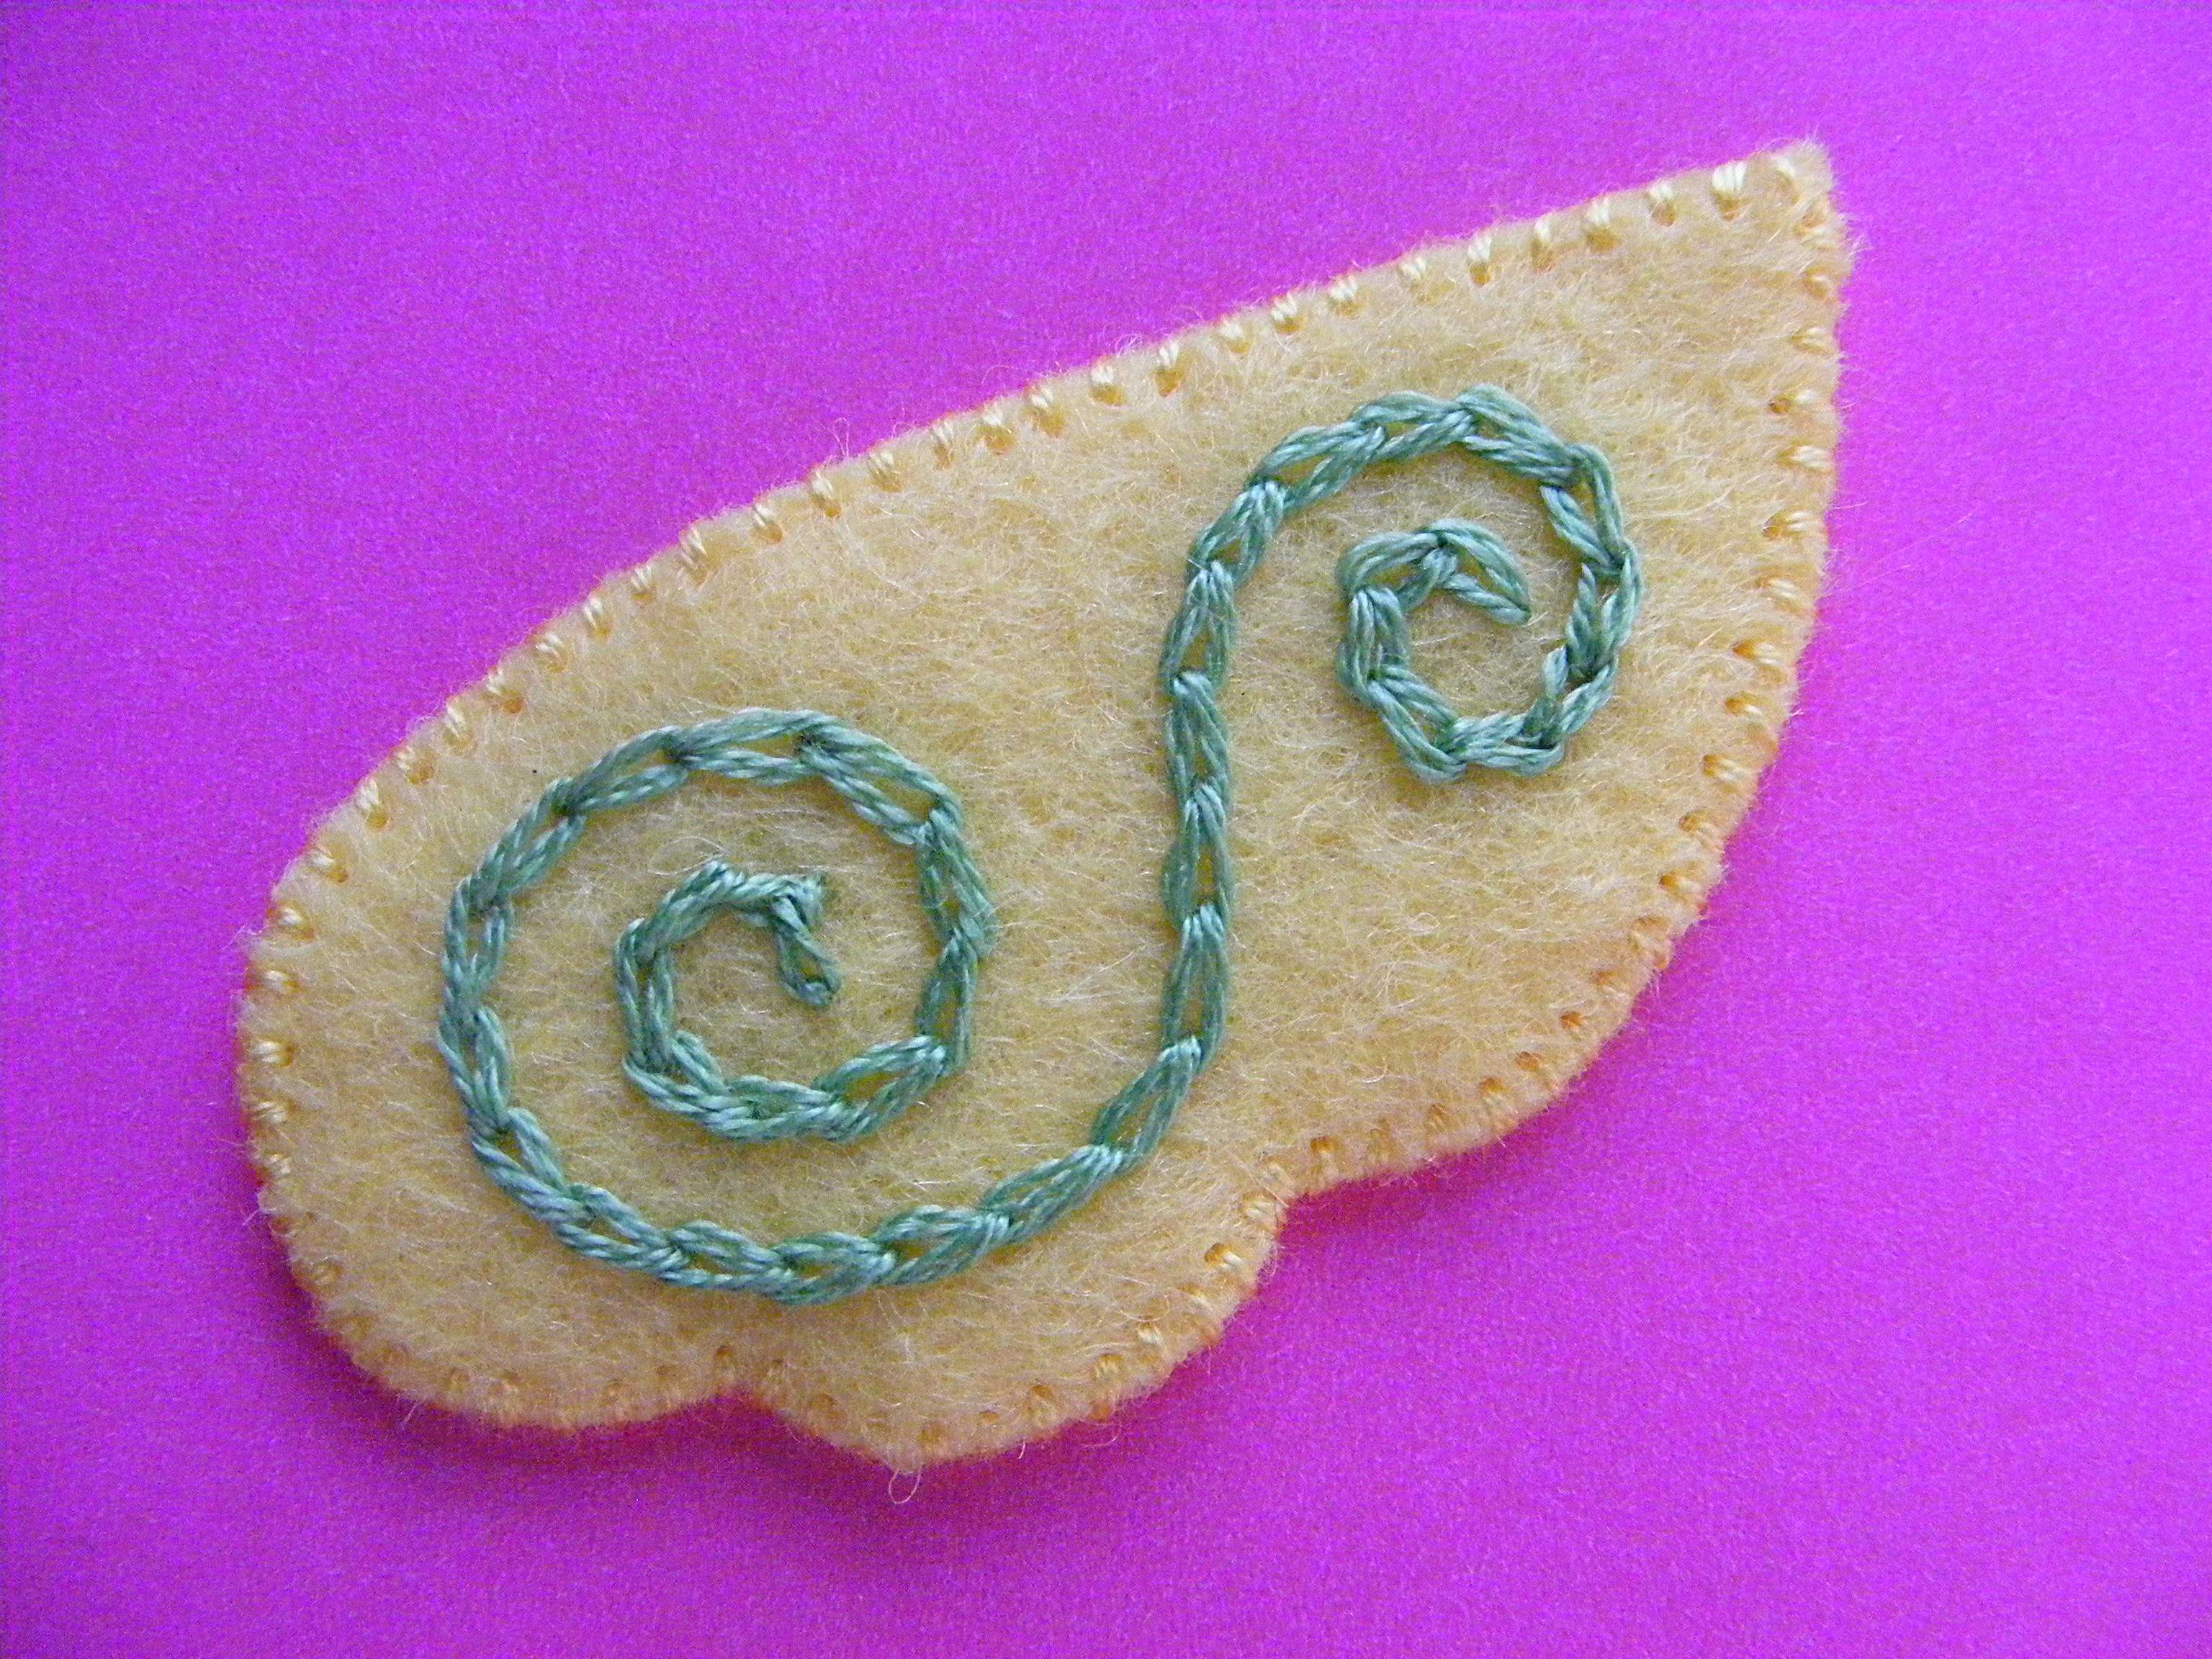
Leon Lion loves to bake! He made an extra fancy cake for this party with lots of pretty swirls. 😄
You’ll notice he’s not wearing a party hat. That’s because he NEVER takes off his crown. He takes his duties as King of the Jungle very seriously.
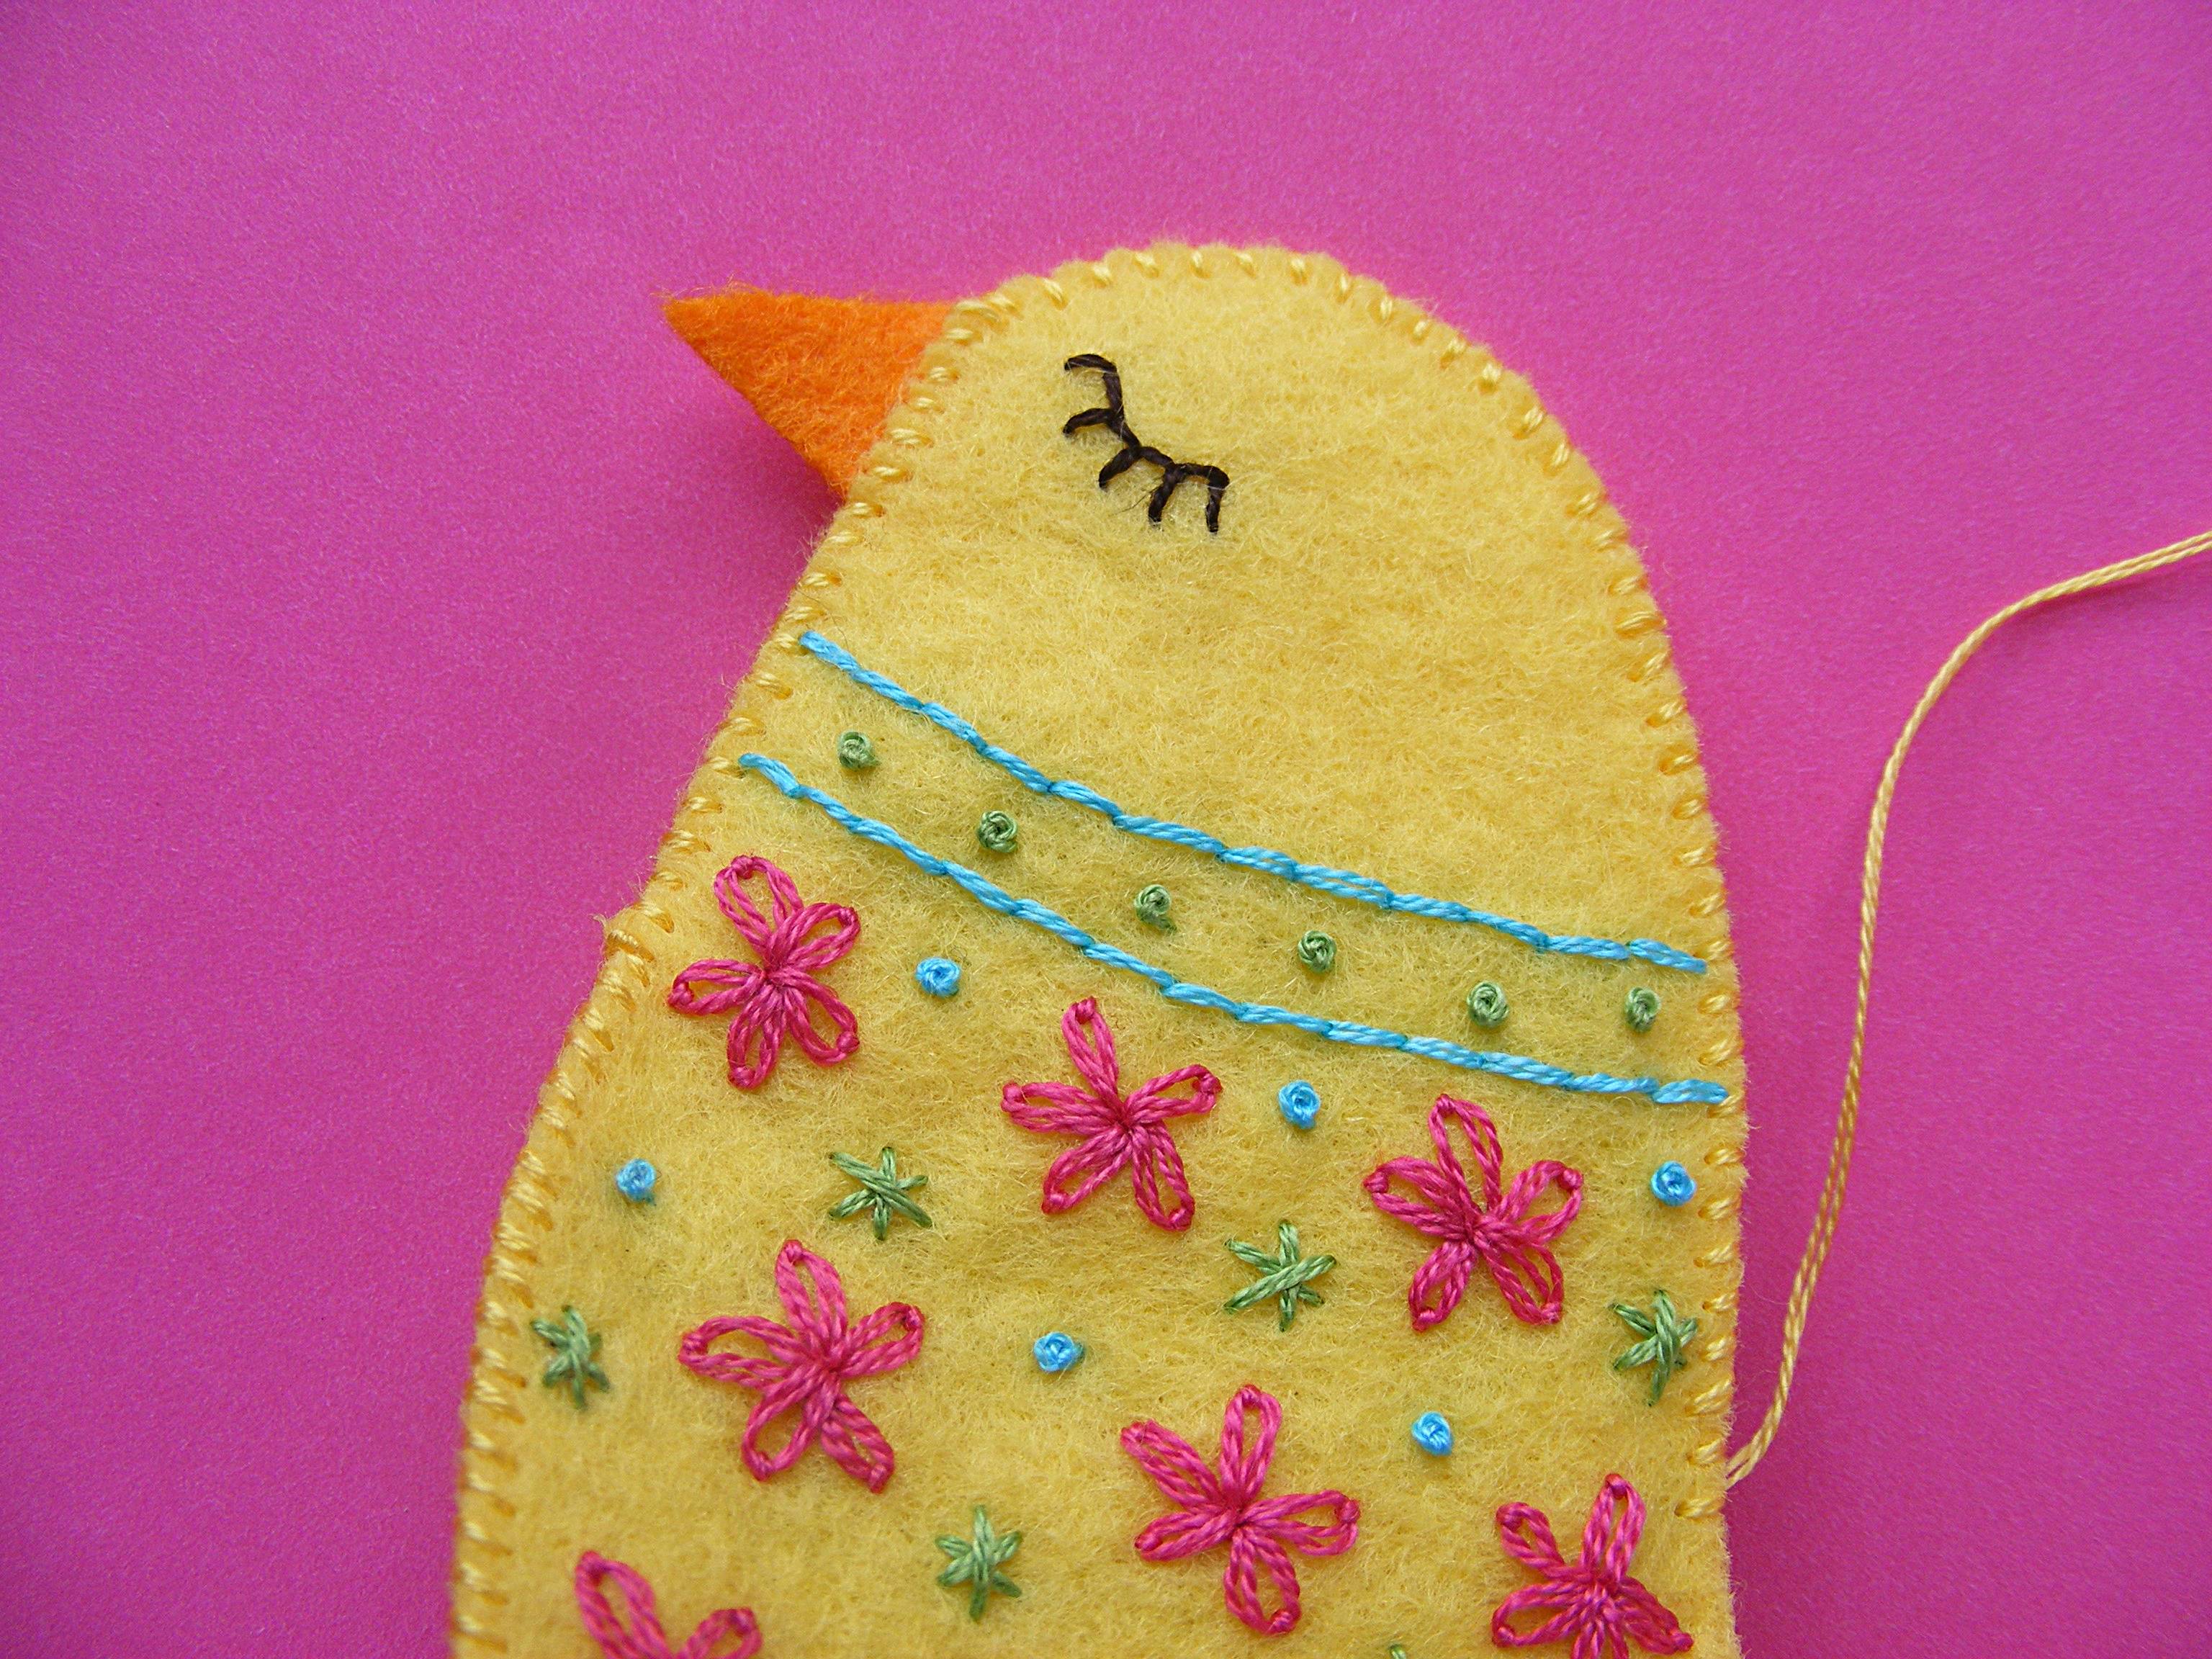
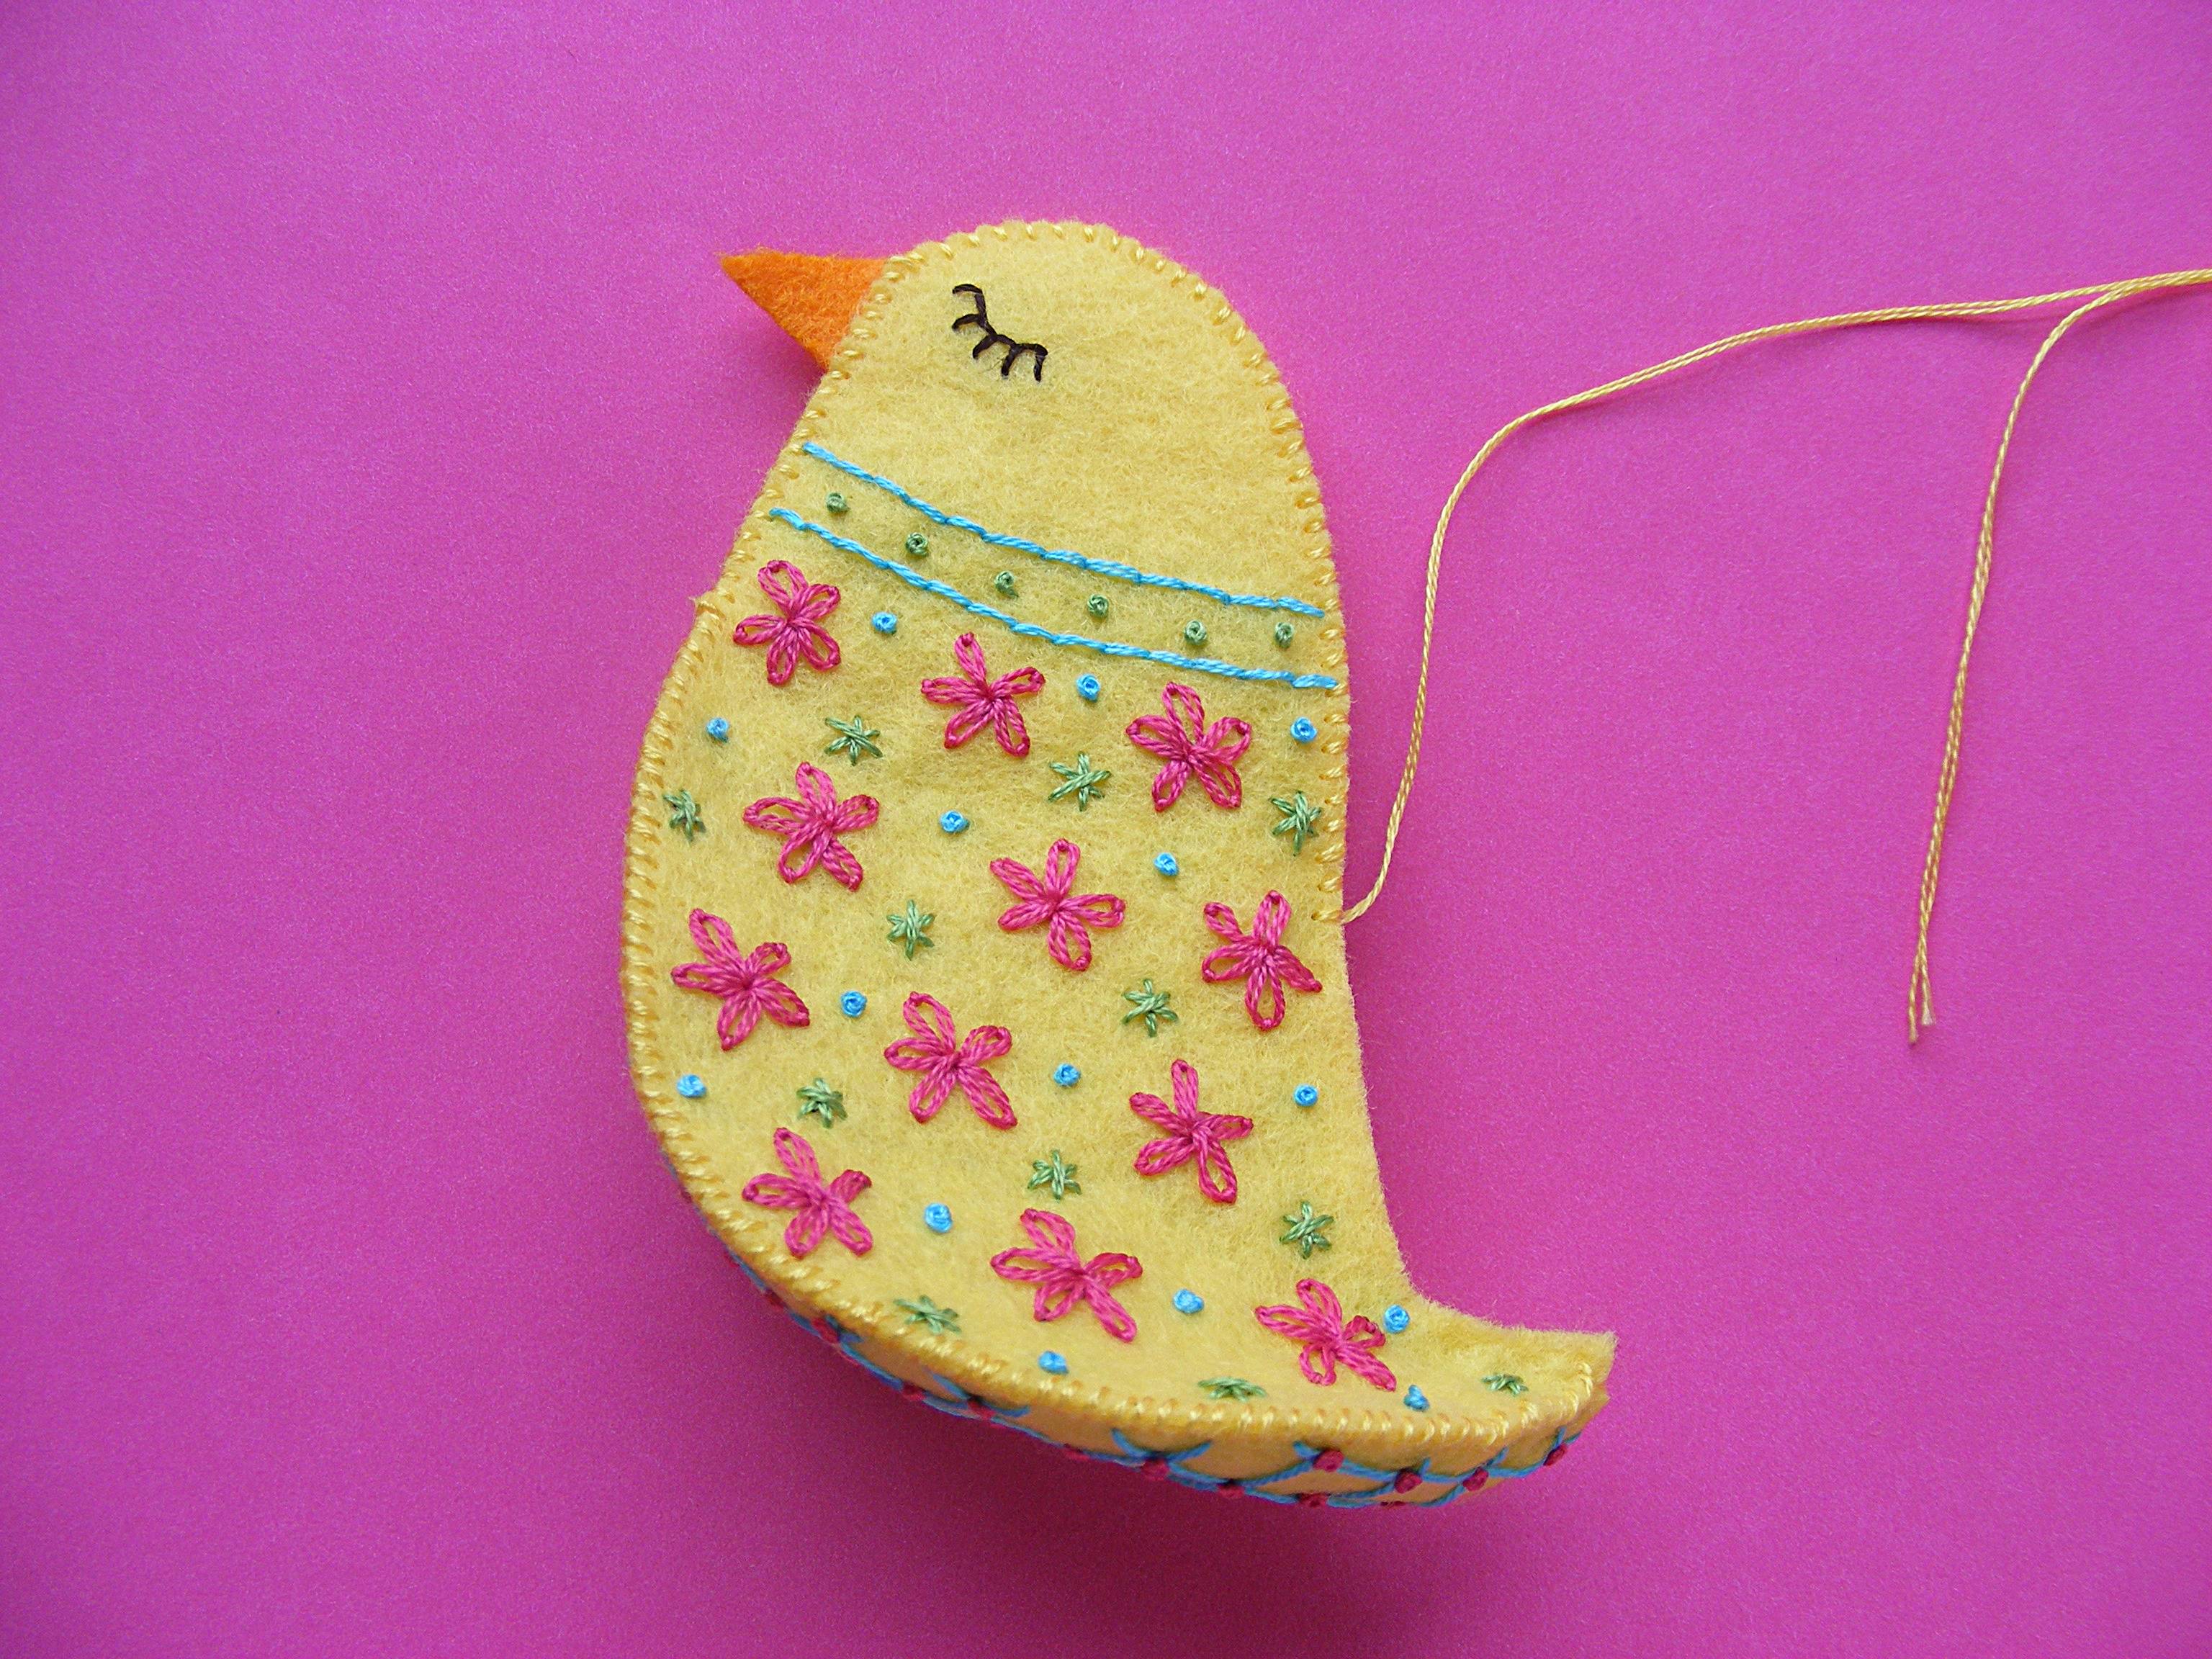
Check out that shaggy mane! You’ll get to practice your new Turkey work skills on this guy.
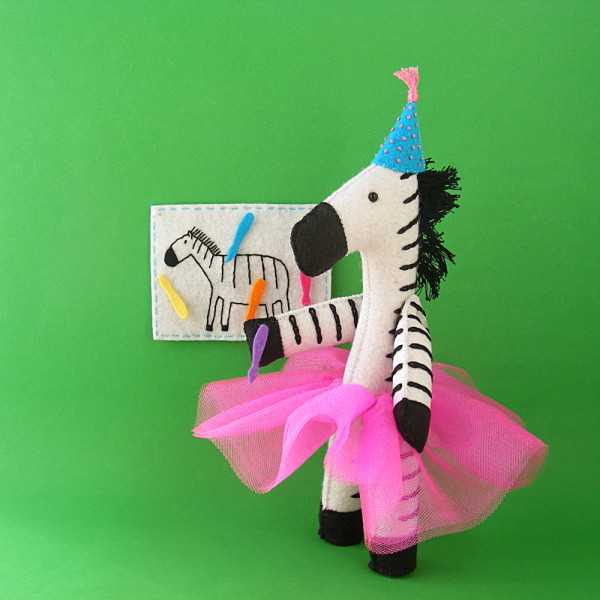
It’s really starting to look like a party!

You may be feeling a little nervous about that mane. Don’t be nervous! It’s a relatively easy stitch called Turkey work and the pattern has a link to this video showing how to do it.
I had a question asking me to get more specific about the spacing of the stitches in the Turkey Work for his mane.
I didn’t get terribly specific because a little variation here won’t be a problem. It’s not like eyes which really need to be placed just so. If you start his hair a little farther back, he’ll just have a bit of a receding hairline. If you go lower on his forehead than I did, he’ll have a shorter forehead. It’s all good. 🙂
Here’s a bit more info. . .
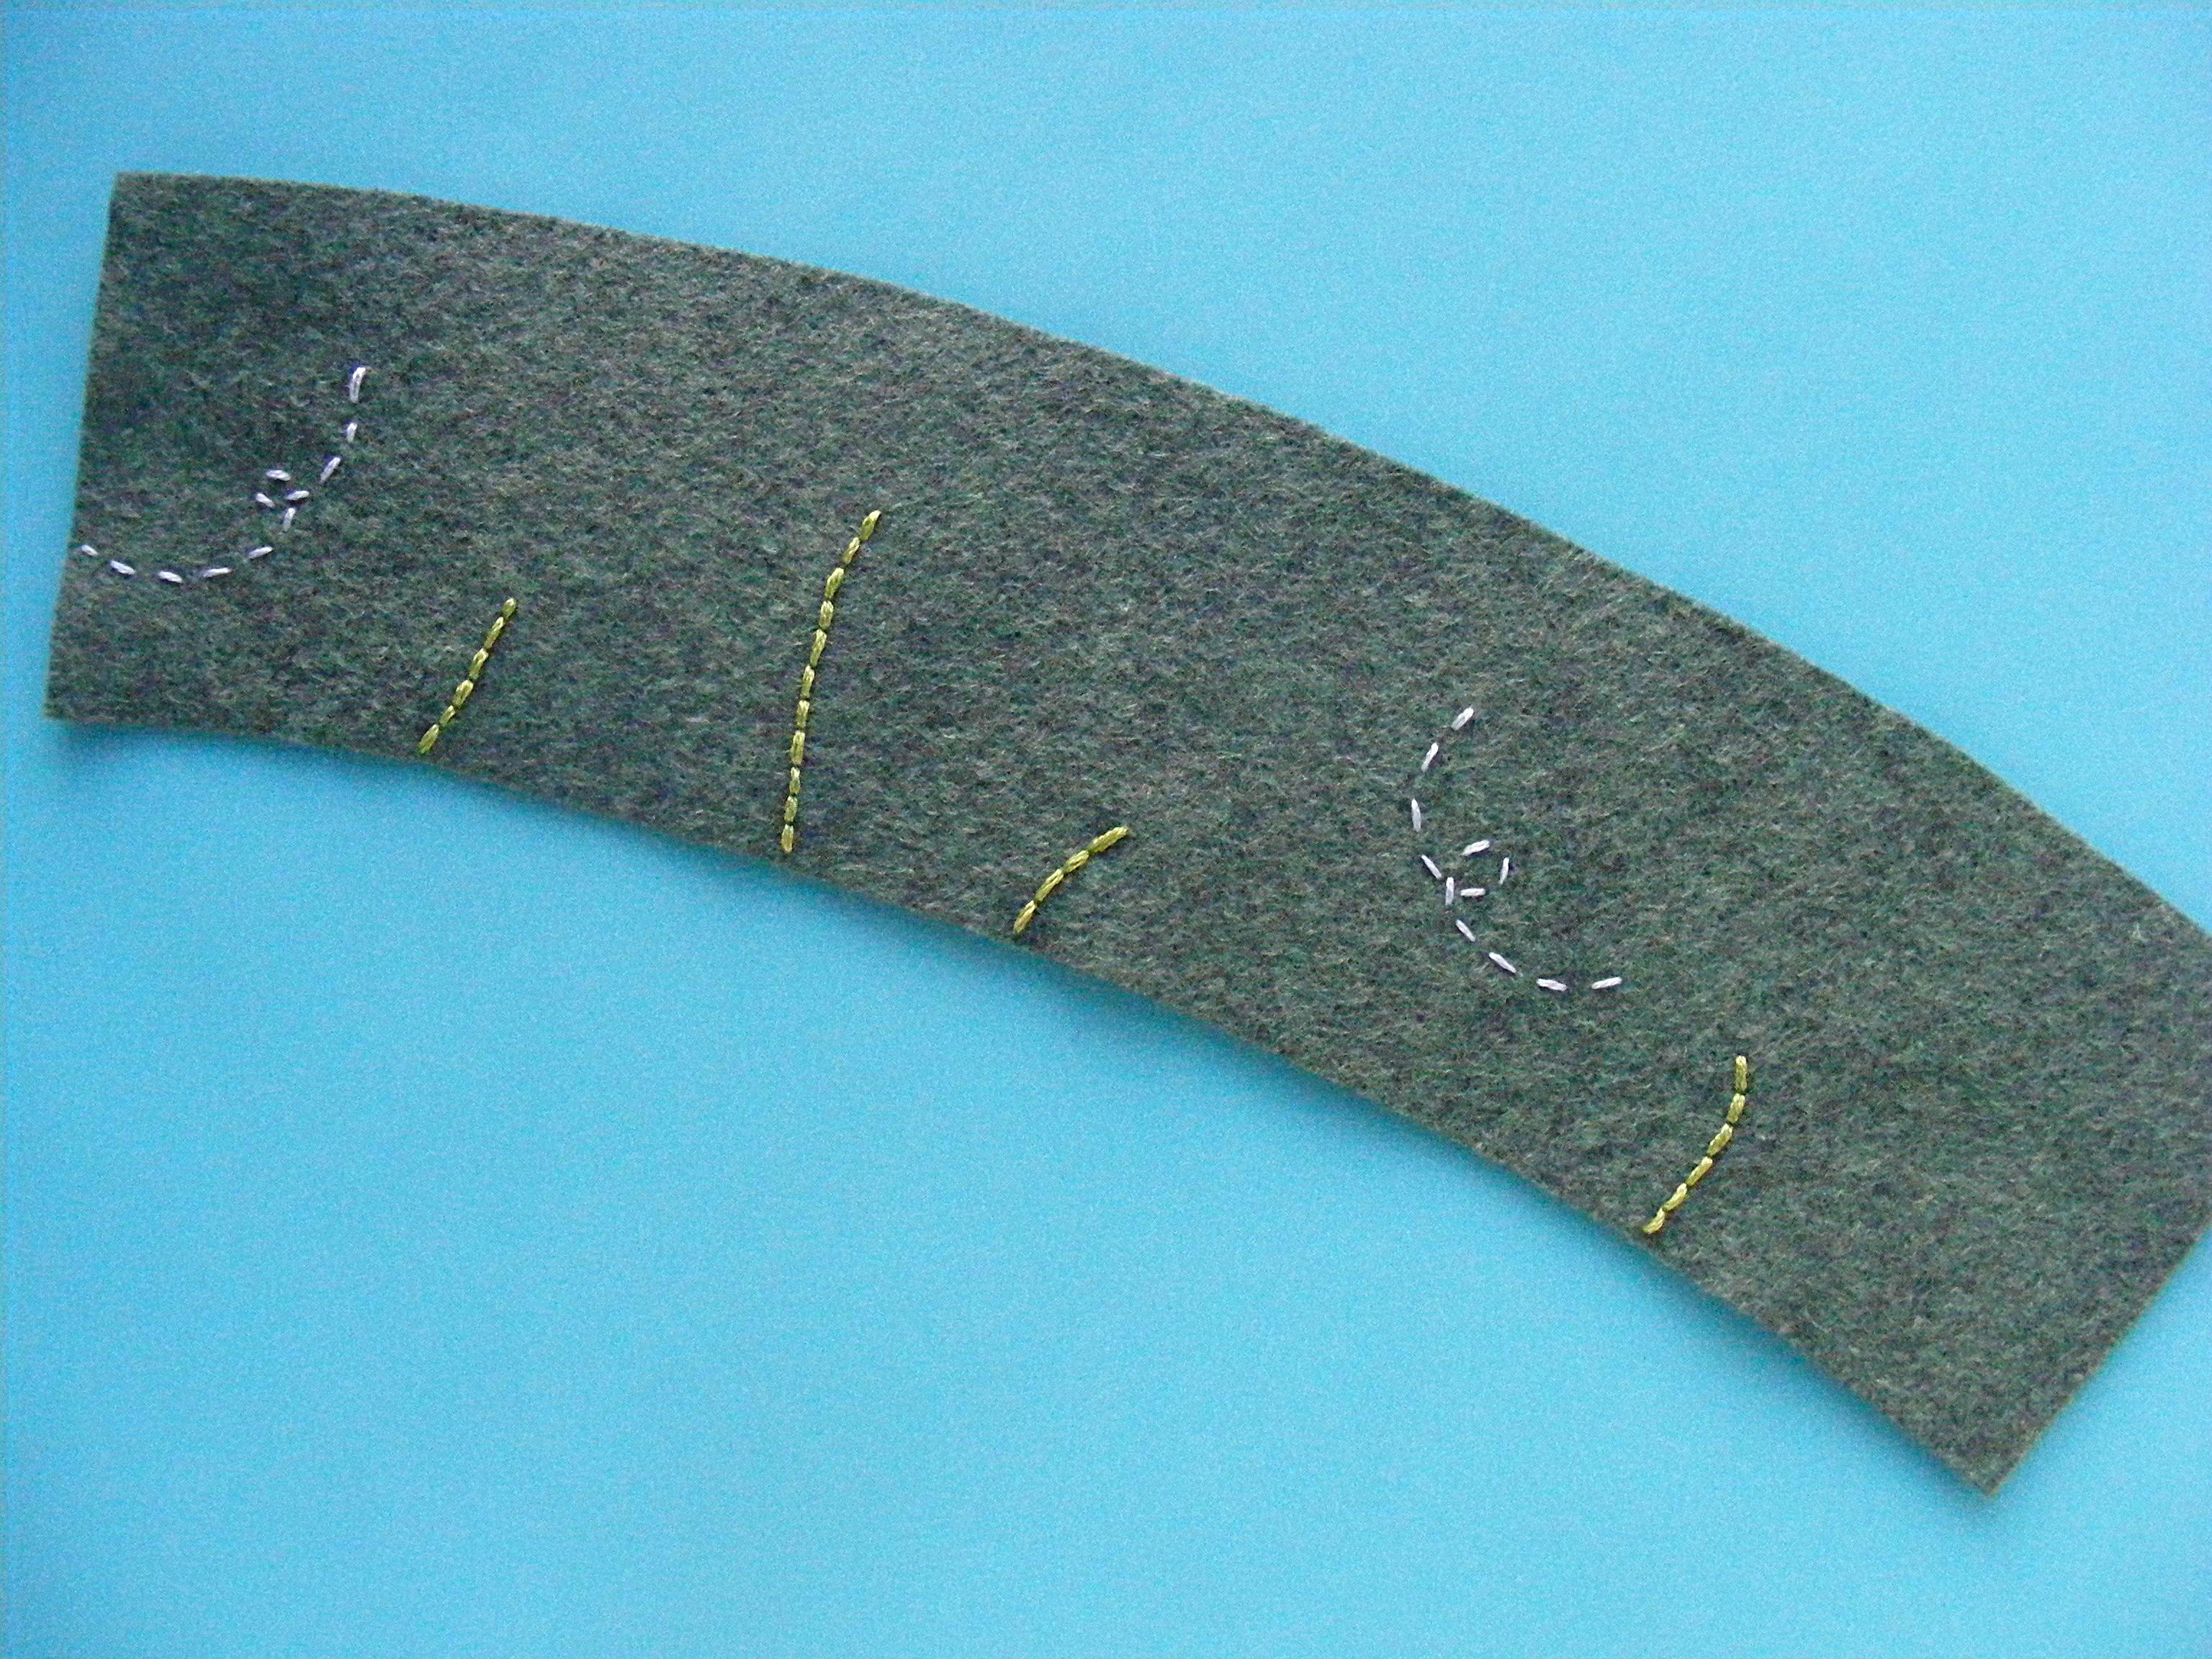
I started stitching with a row of stitches right down the back of his head, starting a bit back from his forehead and stopping a bit short of the nape of his neck.
This shows an approximation of starting and stopping places. Again – you don’t need to stress too much about this.

Then you just basically circle around that first row of stitching, giving him a wider and wider Mohawk until it’s not a Mohawk at all anymore and starts to look more like a mane.
I stitched up one side, across the front, down the other side, across the bottom, etc. until I used almost the whole skein of thread. At some point I decided that it was far enough down the nape of his neck and I stopped adding loops when I went across the bottom and just skipped over to the other side by slipping my needle through his head. Every time you finish a circuit, take a look at him and decide if you like the way his hair is growing. You can add an extra row or two across his forehead if you want, or make it go lower on his neck the same way. It’s totally up to you!
I do recommend going around in circles. It’ll be the easiest way to keep your stitching even on both sides so his mane is balanced – which is more important than the particular placement on the head.
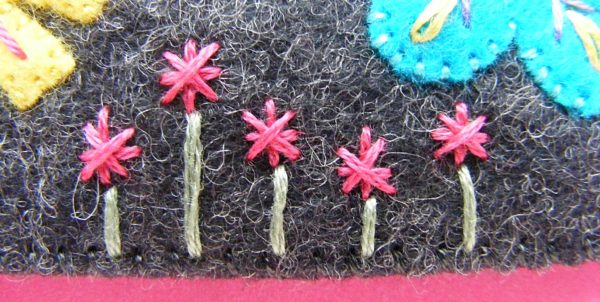
I also had a question about coverage.
You can see in the loopy photo that there are bits of head showing through the mane before cutting and fluffing.

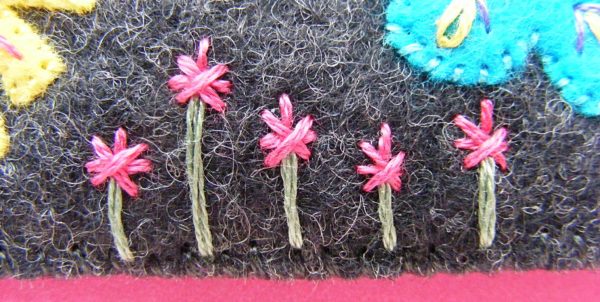
That fluffing really fills things out! I took this photo after fluffing, but spreading apart the mane so you can see his scalp underneath.

You can see that there’s actually a LOT of scalp visible if you work your way down there – rather like a doll’s head. So don’t worry about getting perfect coverage there. The fluffing will really fill things out.
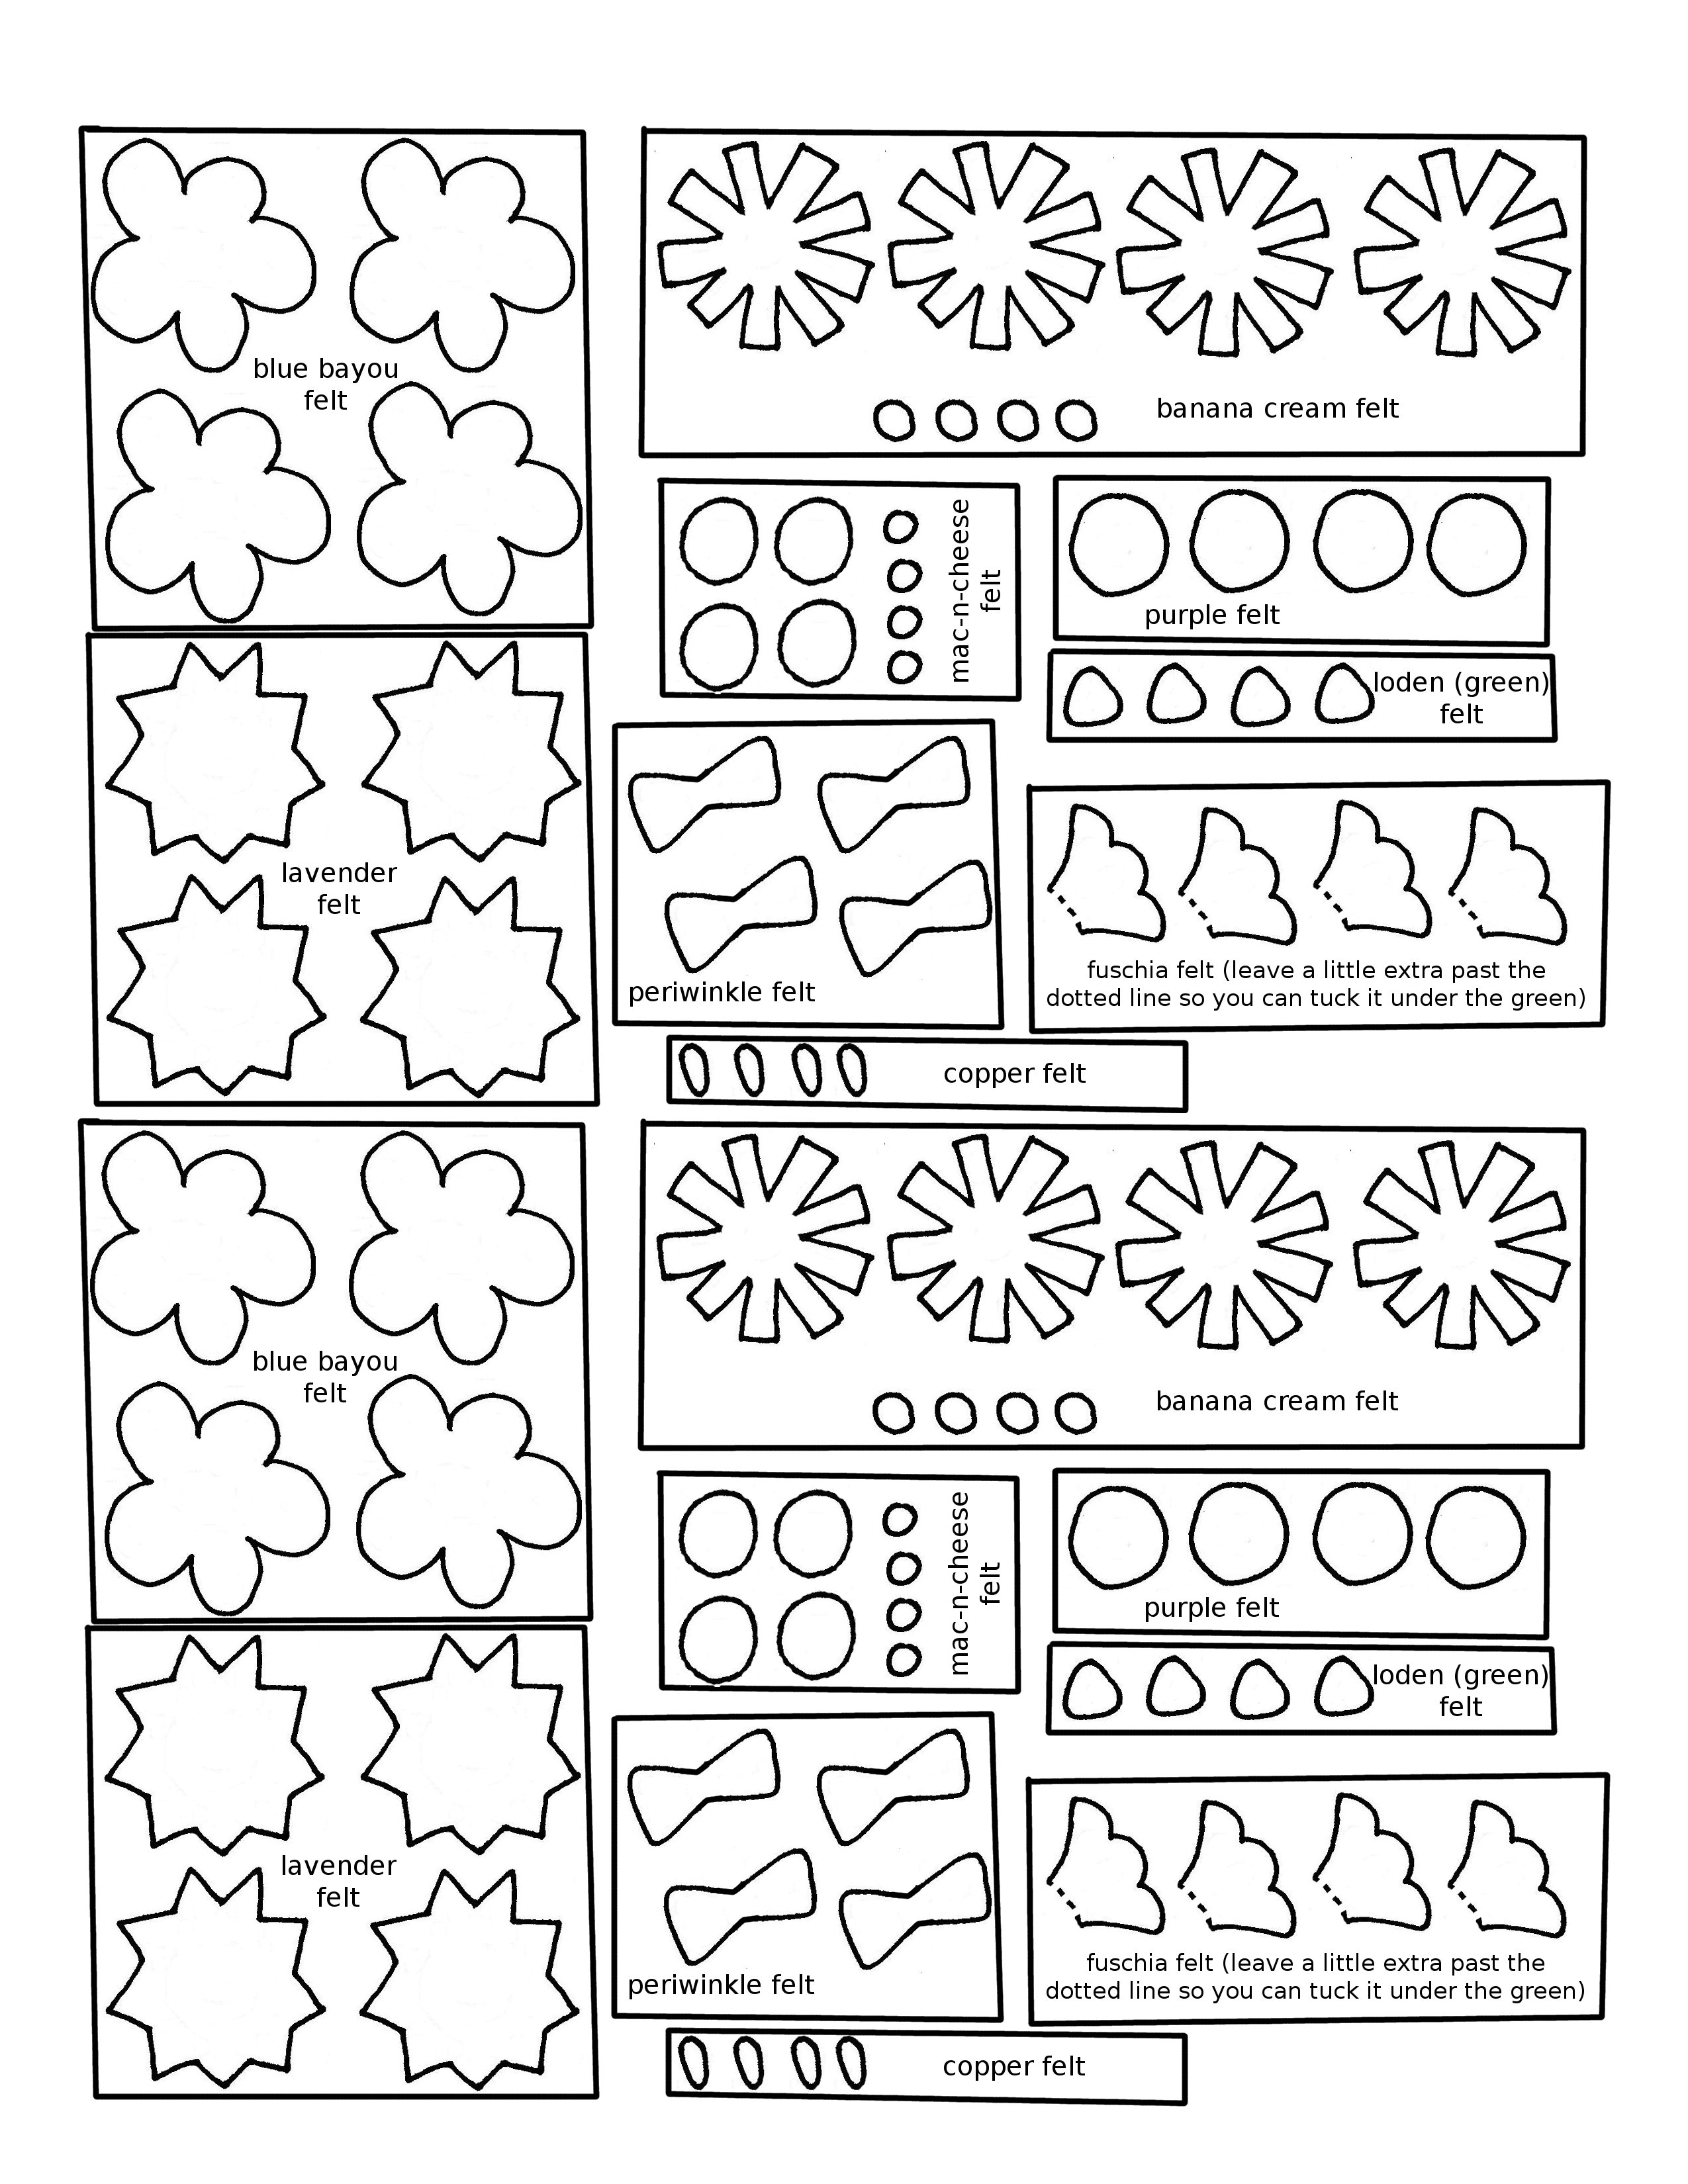
One other note. I made mine an adolescent lion with a shortish mane that doesn’t grow very far into his face. If you wanted to make a more mature lion you can buy an additional skein of the thread and keep making more circles until he looks the way you want. If you decide to do that, I’d make the loops a little longer too. My loops were about 3/4″ tall and not perfectly even. I left them a little shaggy after trimming – I just cut the loops in half and left them mostly untrimmed because I wanted a pretty shaggy look.
Did you notice how many times I said things like “a little variation is good” and “don’t worry too much about the placement here” and other things like that? That’s because it’s really not that fussy. I understand you being nervous – it’s a brand new stitch for most of you and it’s very different. But fluffing those loops out covers a lot of little “mistakes” – so relax and have fun! And imagine all the other things you can do with that new stitch! Fancy fringes, bushy eyebrows, dignified beards – the possibilities are endless!
Happy stitching!
Best,
Wendi![]()


