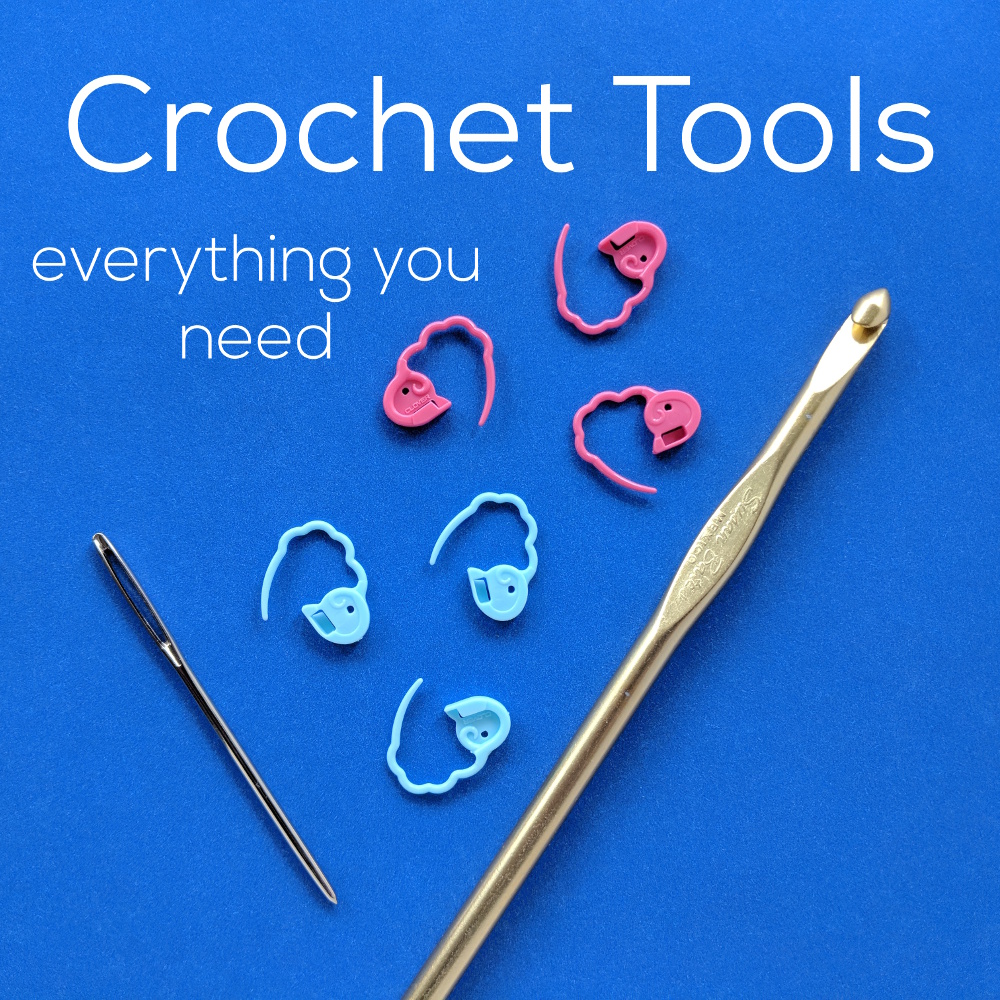
You only need a few things to crochet amigurumi – a hook (to crochet), some stitch markers (to mark your place), and a tapestry needle (to weave in the ends and attach arms and legs).
Besides yarn – that’s really it! It’s a lovely craft – and easy to carry your projects everywhere.
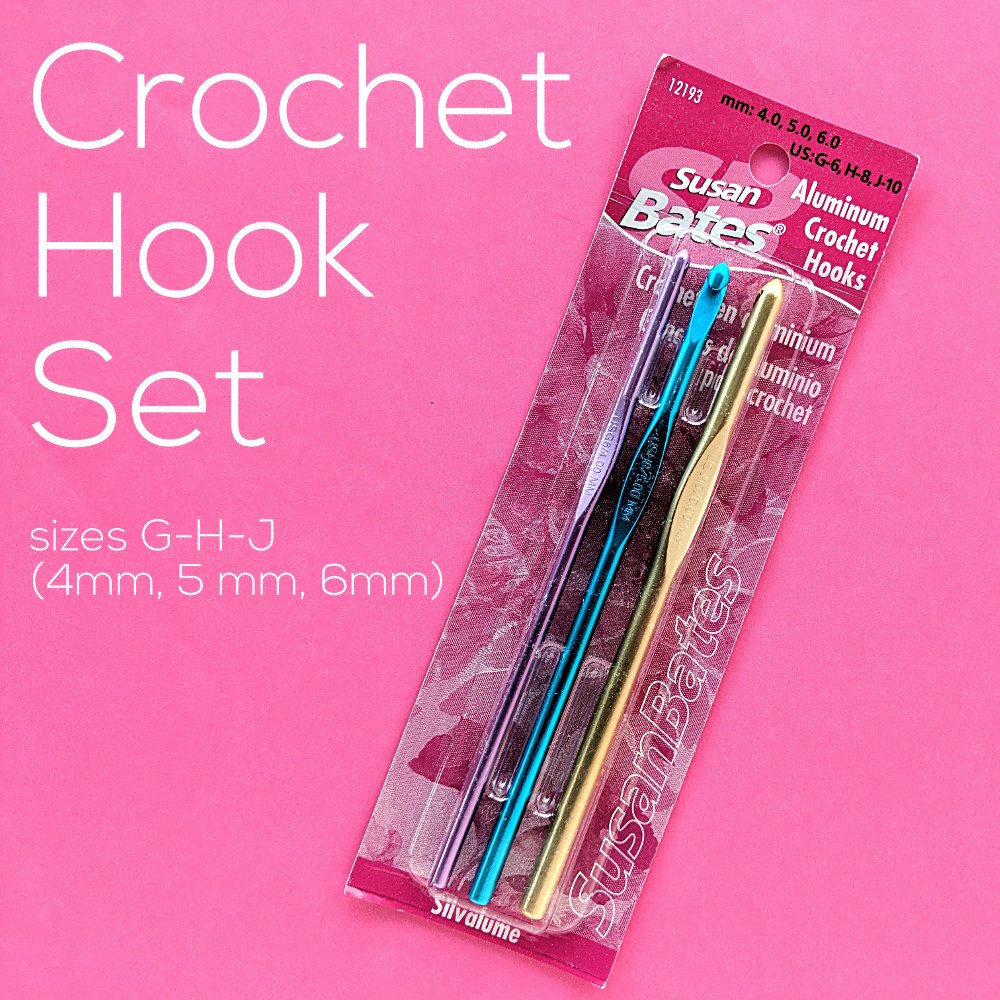
This set of hooks includes the three most common sizes for working with medium weight yarn. I think this kind with the fat “neck” makes it extra easy to control the tension of your stitches.
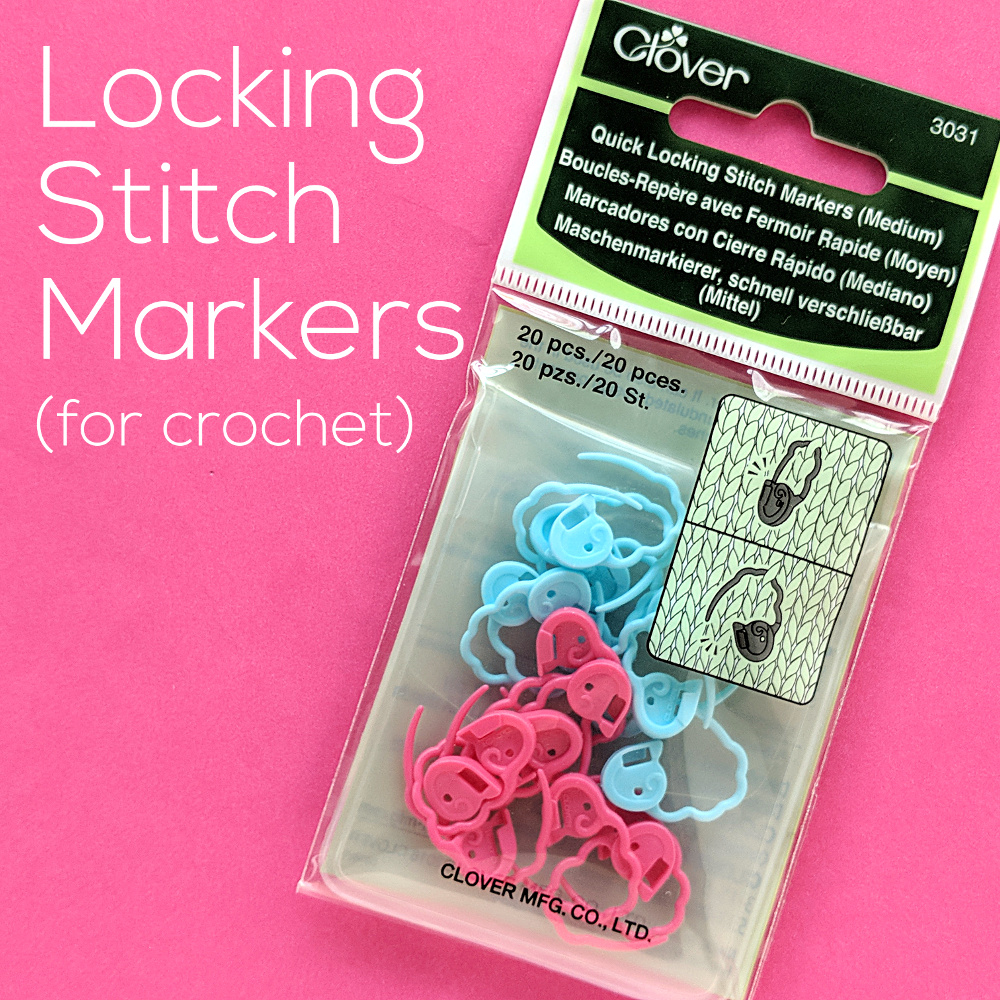
You’ll need a handful of stitch markers. I use these to mark the end of a row, to mark where eyes and noses go, to hold pieces in place while I whipstitch them together, and more. They’re super useful!
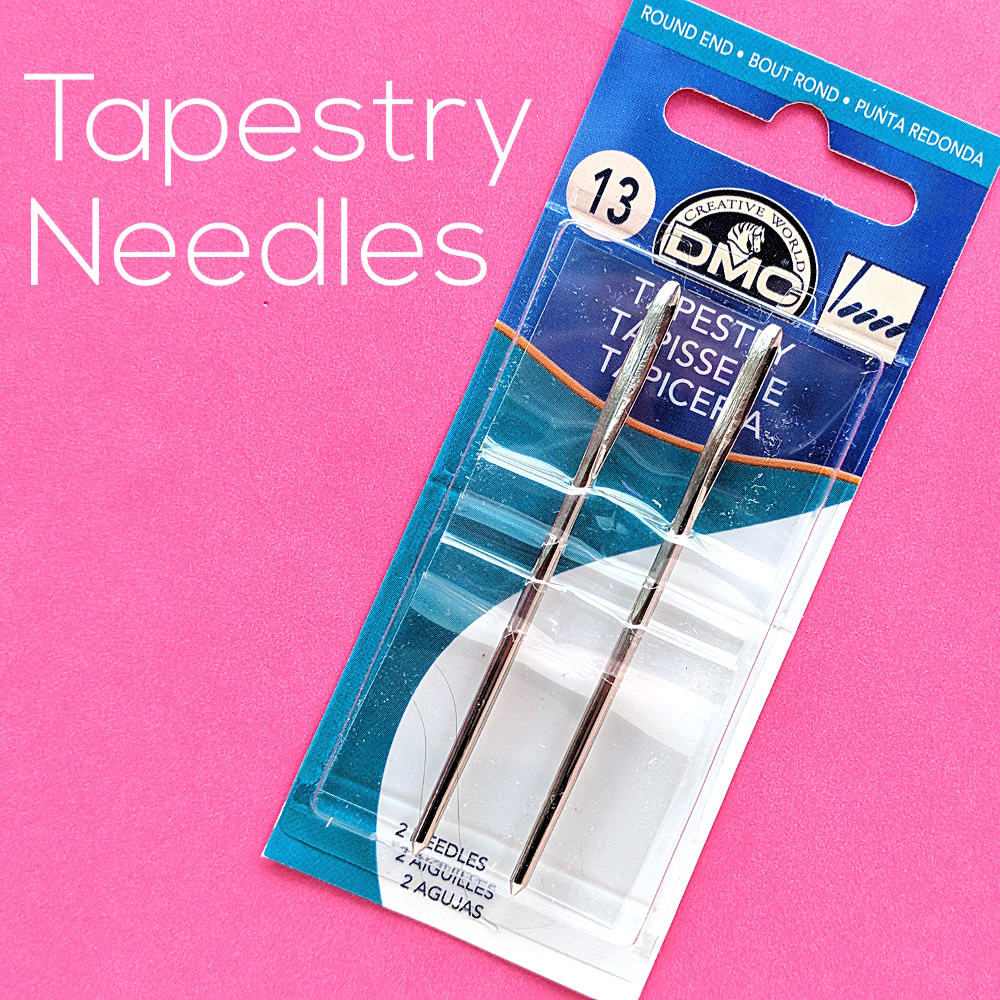
Grab the biggest tapestry needles you can find. Yes – you may have a large embroidery needle that you could maybe, with a lot of effort and swearing, work a piece of yarn into. Do yourself a favor and just get the enormous needles. They’re super cheap and you’ll be glad you spent the money every time you need to thread some yarn.
Total for all these tools?
Should be less than $20.
Add in a pattern and a skein of yarn and maybe a packet of eyes, you could be making your first amigurumi for less than $30.
Give it a try! And happy stitching! 🙂
Here are handy links to all the posts about crochet tools and supplies.
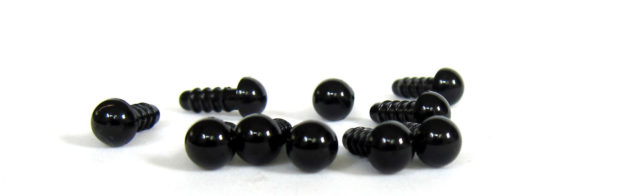
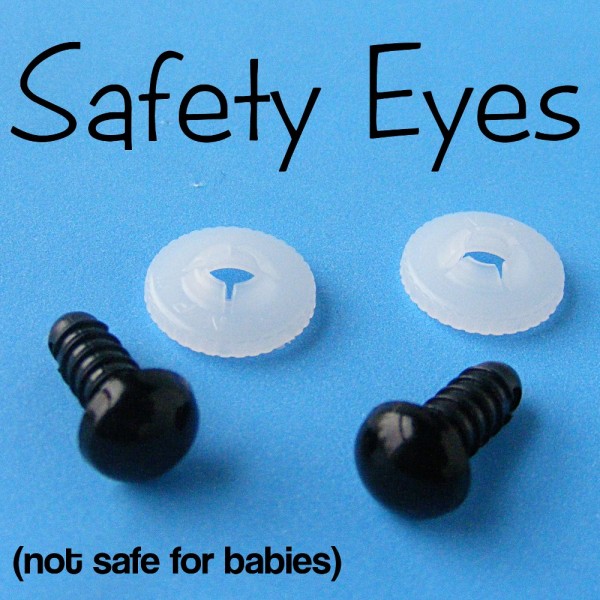
Craft eyes. Plastic eyes. Safety eyes. Animal eyes. They’re called lots of different things!
You can use them for both sewn and crocheted softies. I’ve even used them in applique wall hangings. I just use a pair of wire cutters to snip off the post that sticks out after you attach the washers.
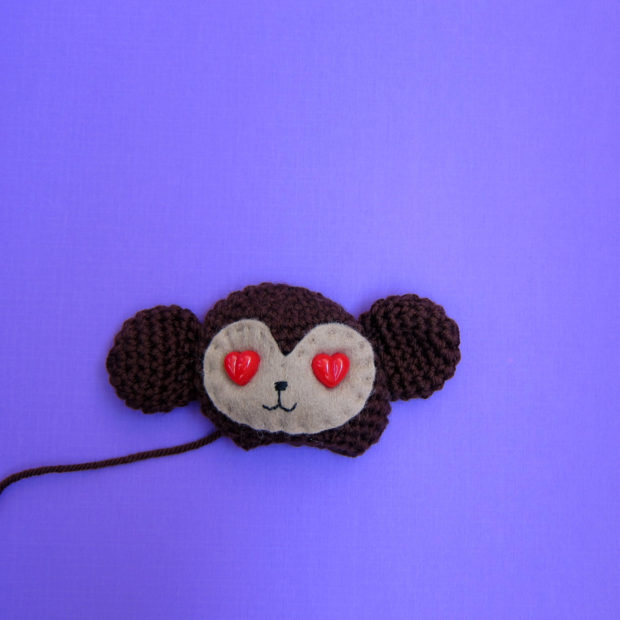
I’ve made a video (below) that shows you how to install them. In the video I’m demonstrating on a crocheted stuffed animal, but you can use these eyes in sewn softies as well. You just need to poke a hole! I like to use a ball point awl. It creates a hole by stretching the fibers around the opening instead of by cutting any of the threads. If you cut a hole in stretchy knit fabric, that hole can run over time, just like a ladder in your stockings.
I prefer eyes with ridged shanks and plastic washers. I feel like they hold the best BUT they’re harder to use with smaller size eyes. It’s just really hard to hold such tiny pieces straight while you push the very tight washer on! So for the smallest eyes (4.5 mm) you’ll get smooth shanks and metal washers instead. They’re still small, fussy pieces, but they’re not nearly as hard to work with. Also – 4.5 mm eyes are so small that I really only use them for small felt softies – the kind of softies that stand on a shelf instead of being played with a lot.
Speaking of safety – just because they’re called “safety eyes” doesn’t make them safe for babies. The eyes themselves will never come apart (here’s a video showing how to remove safety eyes – you’ll see how hard it is to do). But babies can chew through the fabric around the eye, which then frees the eye (along with the still-attached washer) which is a choking hazard. So only use these on toys for kids over three, or toys that will be played with under supervision.
Below the video I’ve also included a quickie photo tutorial for those of you who want to get ‘straight to the point’ as well as some other links you might like!
Video Tutorial for Craft Eyes
This is a little 5 minute video. Enjoy!
How to install craft eyes
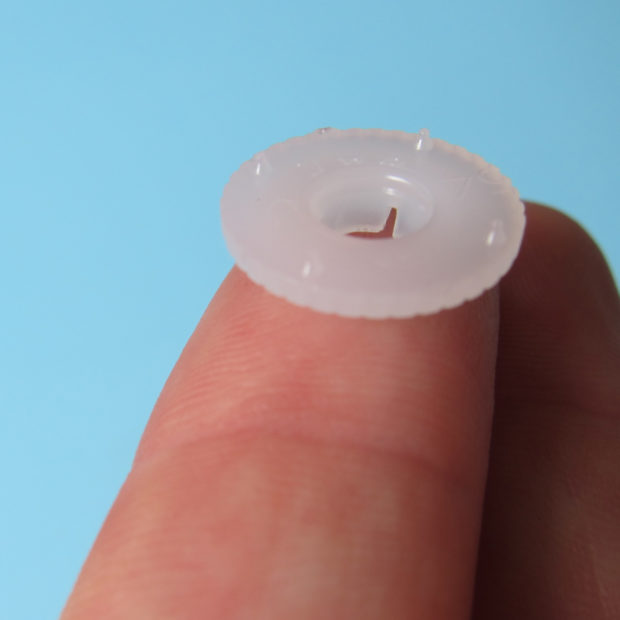
Do you see those little points?
Those little ‘barbs’ dig into the fabric and keep the eye from rotating. Which isn’t a big deal if you’re just using a black craft eye, but is crucial if you’re using a comic eye. You don’t want them twisting and giving you googly eyes!
The ridges on the posts of craft eyes help the washer click on (and stay on!) securely. I love hearing the ‘click’ as I press the washer on! The ridges also help to make sure the washer presses on evenly.
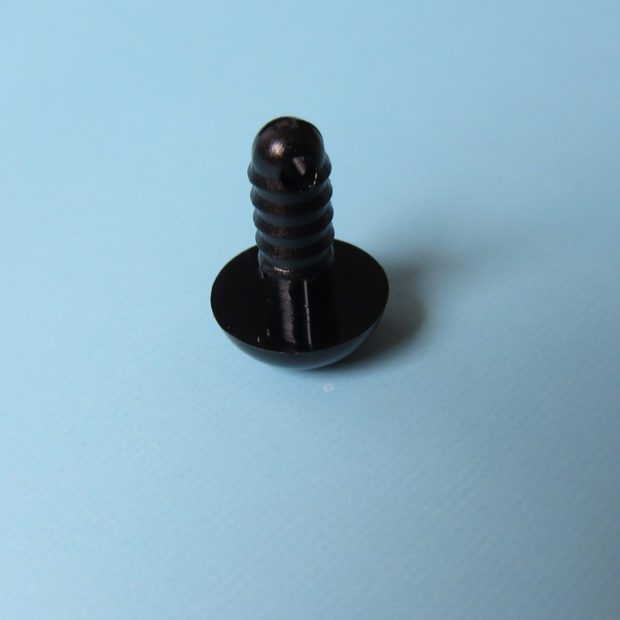
So, let me show you how to install a craft eye with a plastic washer.
First, insert the post of the craft eye between the stitches on your piece where you want it to go. For sewn softies, use a ball-point awl or a small knitting needle to poke a hole. I recommend that you place the eyes first, before pressing on the washers, just to see if you like the look.
Once your eyes are positioned how you’d like, press the flat side of the washer (that’s the one with the tiny barbs!) onto the post.
Here’s a photo of how it will look (but without the fabric getting in the way… obviously, your piece doesn’t really look like this!):
I don’t want you to stress too much about this, because if you try to put the washer on backwards, it just won’t go.
Now, push! You’ll hear that click, and it’s on!
A note about smaller eyes
Most 6 mm craft eyes, because they are SO tiny, have smaller plastic washers without the ‘barbs’. And most 4.5 mm eyes (as mentioned above) have metal washers. But don’t worry, the same rule applies: flat side towards the fabric.
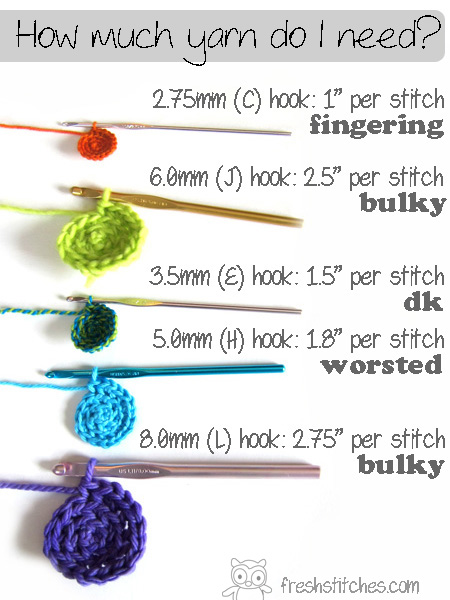
My previous post, how much yarn do I need? has been so popular that I wanted to expand on it a little bit today by looking at adding another stitch into the mix, the double crochet.
Double Crochet vs. Single Crochet
The measurements above show you how much yarn you’ll use for a single crochet stitch for different thicknesses of yarn.
Did you know that different stitches use different amounts of yarn, too?
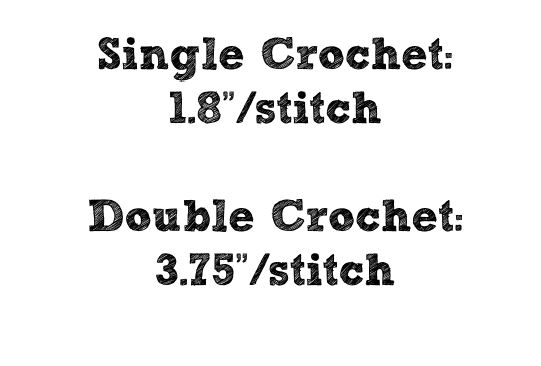
For my measurement, I measured single crochet and double crochet, both using a size H (5.0mm) hook, worsted weight yarn and crocheting through both loops.
You can use this number to calculate how much yarn your project will use or how many rows you can work on your blanket before you run out of yarn. Cool, right?
Which stitch should I use?
It looks like the double crochet uses more yarn, but keep in mind that it’s also a bigger stitch, too… so one stitch covers more surface area.
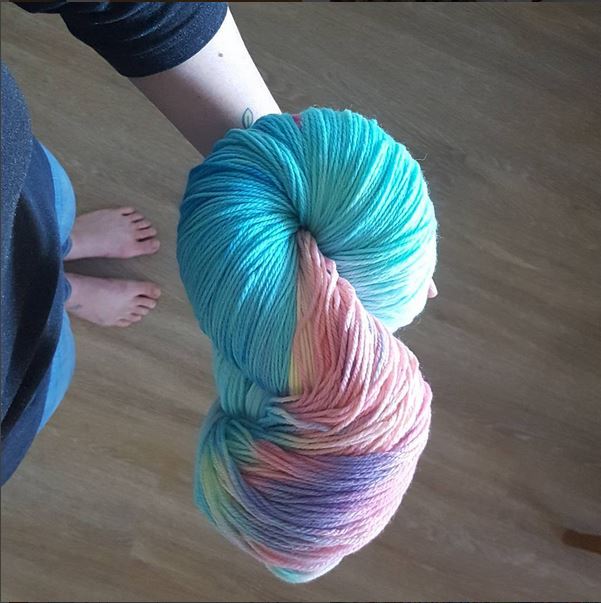
The factor that’s relevant in how variegated yarn will work up is how long each color repeat is and how much yarn each stitch uses. Although skeins vary, most are about 3-4 feet in circumference, and a variegated yarn will break this length up into a few colors. So, most color repeats are a few to several inches.
You can see here that each color lasts several stitches before switching to a new color.
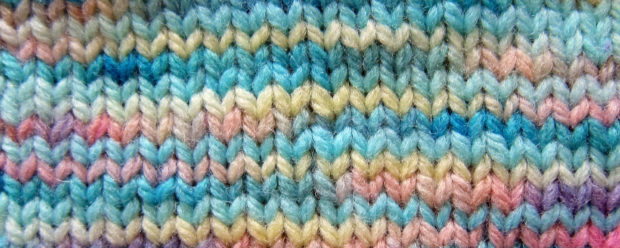
Crocheting
Crochet stitches, in general, use more yarn than knitting stitches, so a color repeat will last over a fewer number of stitches.
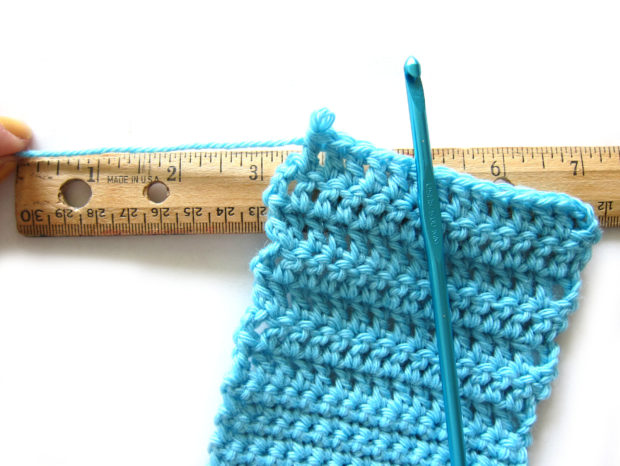
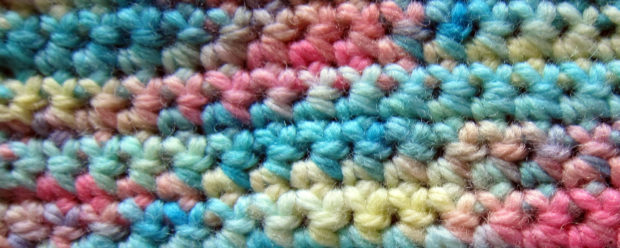
Here’s my crochet swatch
This swatch is done in single crochet, and most of the colors last for a few stitches before changing (as compared to several with knitting). This results in a ‘splotchier’ looking fabric.
You might be interested in reading about the latest craze of Planned Pooling.
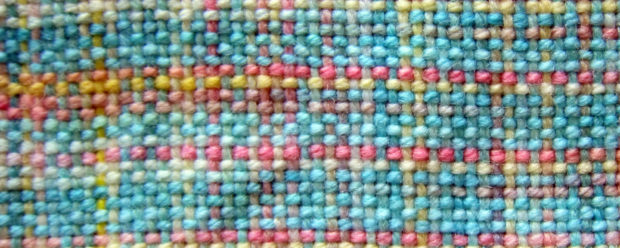
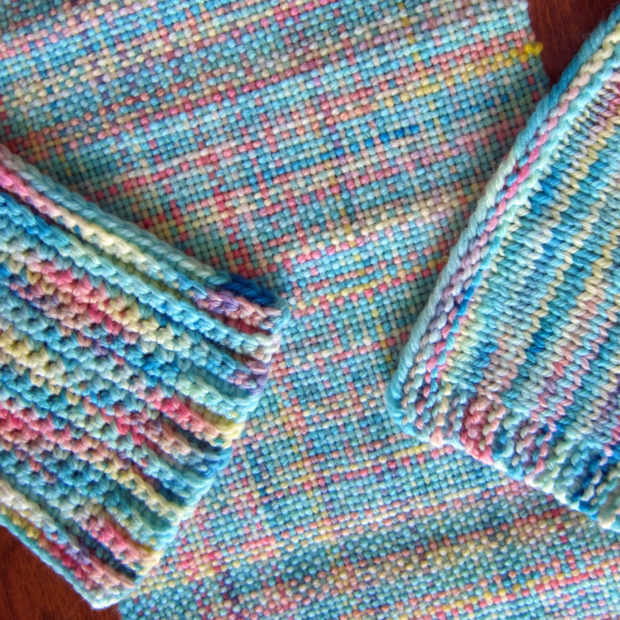
Weaving
Totally different from knitting and crochet, because there isn’t a ‘stitch’, the color repeat goes for as long as it actually goes on the yarn. In most cases, a color lasted for an entire row on my scarf.
Also, weaving uses two directions of yarn, the warp and the weft.This results in a really lovely plaid-like fabric. Here’s my swatch:
All together now!
They’re all so different, right?
It just goes to show that when you find that dream variegated skein, you still have choices to make! You’ll want to select a project (and craft) that will result in the colors working up the way you want!
This post was originally published 5/21/2012… but 4 years later, this is still some of my best advice! Follow these steps to get your stash organized!
You’ll also be interested in reading:
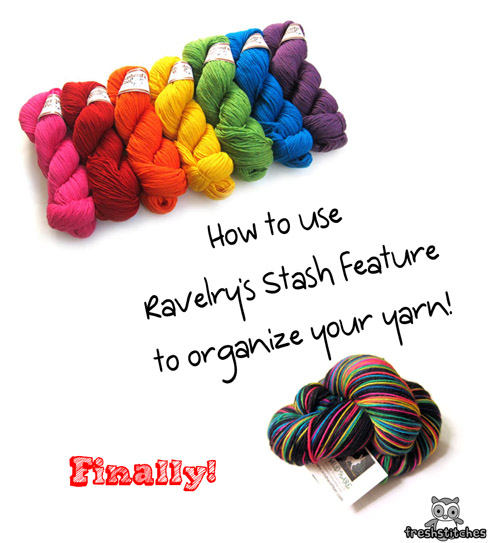
If you’re a Ravelry-user, you’ve probably seen the ‘Stash’ button (underneath ‘my notebook’)… but do you use it?
You should! In this post, I’ll tell you why I love storing my Stash on Ravelry, and I’ll walk you through the basics of how to use it. Just put in a bit of time up front, and you’ll have a super-organized stash that your yarny-friends will be envious of!
Reasons to Use Ravelry’s Stash
Why should you go through all of the work of uploading your yarns into the Ravelry database? Seems like a lot of trouble, huh?
Here are a few reasons why I think it’s worth your while:
No matter how large your stash is, storing it in Ravelry’s online database makes it easy to sort and search… no more digging through tubs in your basement to see if you have any pink laceweight yarn.
The stash is integrated into other features on Ravelry, meaning you can search through patterns based on what’s in your current stash.
When it’s time to do spring-cleaning, it’s easy to list your undesired yarn stock as ‘for sale/trade’.
The Basics of Putting your Stash on Ravlery
Let’s start at the start. Under ‘My Notebook’, click on ‘Stash’:
You’ll go straight to your Stash Page (yours will be empty if you haven’t added anything yet, but I’ve got yarns in mine!):
Have a yarn you want to add? Click the ‘Add New Yarn’ button and add whatever information you’d like. I like to put a picture in, but that’s not necessary. To get the best use of the stash feature, be sure to enter the name of the yarn, number of skeins you have and color.
How to Search through your Stash
Okay, so you’ve uploaded the yarns that you have… how do you search through them? Easy-peasy!
Let’s look at our main screen, again:
Look to the right of the ‘Add New Yarn’ button… that’s where you do your searching! You can search by ‘Date Acquired, ‘Yarn Weight’ (i.e. do you have any bulky-weight yarn?) or ‘Fiber’.
Let’s say I’m trying to find out if I have any yarns that contain cotton… I just select ‘Contains Cotton’ from the ‘Fiber’ drop-down menu:
Looks like I have 4! When I click on that selection, those yarns come up on my screen and I can browse them for further info.
Searching Patterns with your Stash in mind
Now, we’ve all done the search for patterns… but did you know that you can restrict your search to patterns that you already have the yarn for?!? Talk about a time-saver!
To do this, you’ll need to click ‘Pattern Browser & Advanced Search’:
Here, you can enter lots of criteria… but what’s important to us is restricting your search to yarns you have in your stash.
Scroll down, looking on the left, until you see the ‘My Notebook’ header. Click ‘Yarns in my Stash’, and the search will bring up all of the patterns you can make!
Isn’t that great?
Using your Stash in your Projects
Once you’re using the Stash feature, you’ll want to keep it up-to-date. So, when you start a new project, make use of the ‘use stash yarn’ option:
Doing this does 2 things:
It automatically updates the amount of yarn in your stash
It lists detailed information about your yarn (color, dye lot, purchase date) in your project
Listing your Yarn for Sale/Trade
Sometimes, you’re looking to clean out your yarn stash. No problem! It’s easy to list your yarn for sale to other Ravelry-users. Edit the information about your particular yarn, and select ‘Will Trade or Sell’:
If you want added exposure, share your yarn with some groups where you think people may be interested.
Get Started!
Are you encouraged to list your stash online, yet?
Those of you who have giant stashes, here’s one more helpful bit of information:
See that line next to my cursor? You can use the ‘Stored In’ line to add information about where a particular skein is stored (i.e. the blue storage tub under the guest bed) in real life!
I get a lot of questions about what stuffed animal eyes are safe for babies.
Even though craft eyes are often called safety eyes – they are not recommended for use in toys for children under the age of three.
I’m often asked, “can I use buttons instead”?
In short, the answer is no.
To explain why, let’s talk about why craft eyes aren’t baby safe for stuffed animals. It’s incredibly unlikely that the washer will accidentally come off of the back of the eye. (In fact, it’s pretty difficult to remove the washer from an eye with plastic ridges, as I showed in this blog post on how to remove craft eyes.)
The danger with craft eyes is that a baby (or dog) could chew through the fabric that the eye is attached to, dislodging the eye. A plastic eye securely attached to a scrap of shredded fabric is still a choking hazard.
Now what about buttons? Many people assume that since they’re sewn on, they’re more secure. But it’s not true. A baby can use their set of chompers to chew through the thread attaching it to the piece. It’s actually easier for a abby to chew through the threads holding a button eye in place than it is to chew through the fabric surrounding a craft eye.
Baby-safe stuffed animal eyes
For completely baby-safe stuffed animal eyes you have a few different options.
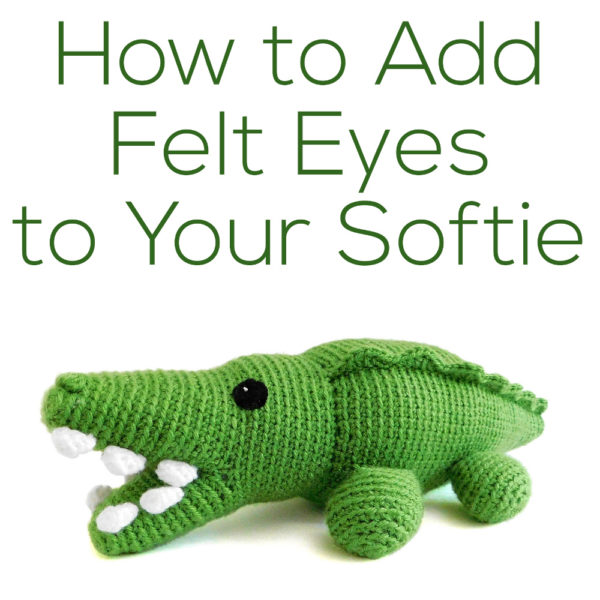
For crocheted stuffed animals, the easiest solution is to crochet the eye.
One more option for baby-safe softie eyes is to embroider them! This also works on both crocheted and sewn stuffed animals. On small stuffed animals you can use this stitch, and for larger eyes I recommend satin stitch or split stitch as fill stitch.
So many options- and all baby safe. Choose the one you like the look of best!
You can get craft eyes in lots of fun colors, and I show you how to use them here. But, what do you do if you want something you can’t find in a shop? Like pink eyes? Or glitter eyes? Or polka dot eyes? Hmm… those would be hard to find.
You can paint them yourself! Today, I’ll show you how to paint your own craft eyes! All you need is clear craft eyes and some paint. And since there are oh, about a thousand, colors of paint available… the possibilities are endless!
Scroll down for the video!
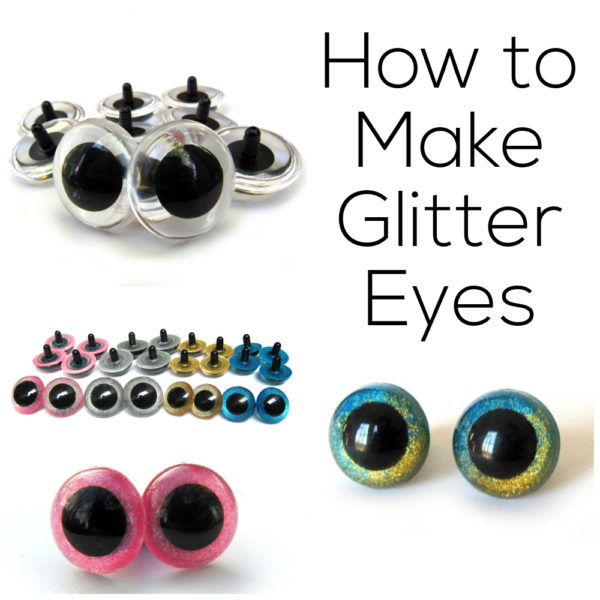
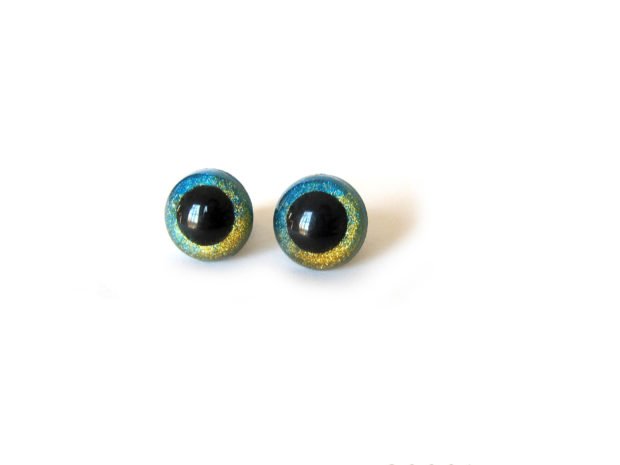
Glitter eyes!
Have you seen Beanie Boos? They’re a group of Beanie Babies with glitter eyes!
I’ve been getting lots of requests for glitter eyes, because you want to add this awesome touch to your own stuffed animal creations. I can’t find anywhere where they are commercially available… but, I have found the perfect glitter paint!
Aren’t these amazing? And they’re even more sparkly in person!
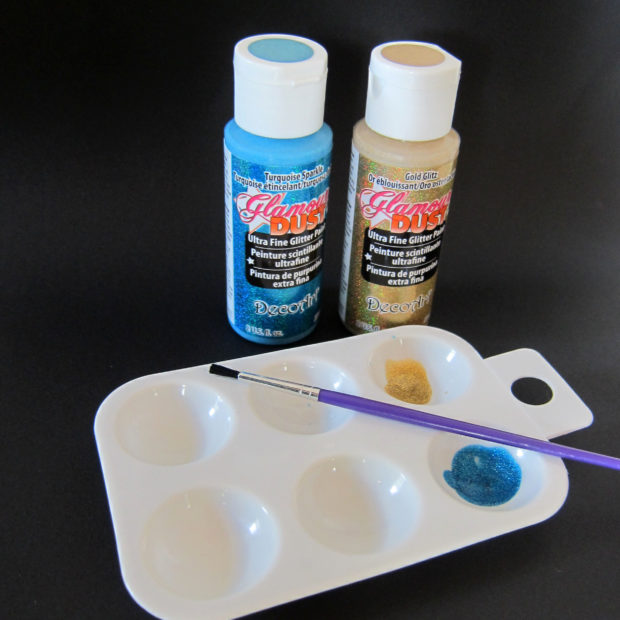
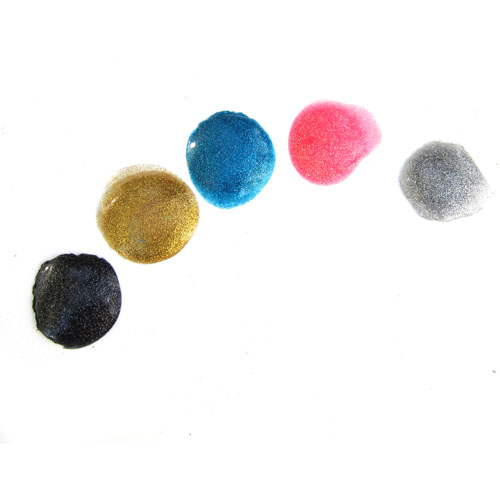
Painting your own craft eyes is easy! All you need is some acrylic paint and clear craft eyes.
You’ll get more details in the video below, but here are the basic steps:
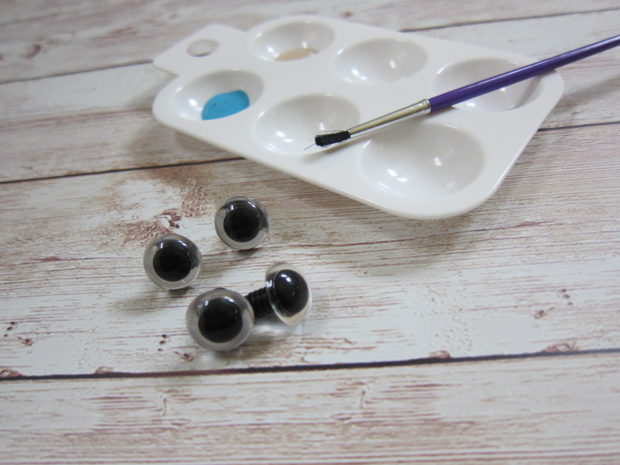
Apply a thin coat of acrylic paint to the back of the craft eye
Allow paint to dry
Repeat. I’ve applied 2-3 thin coats for maximum glitter
Video Tutorial
I filmed this tutorial before I got the fancy palettes, and I realize my thumb is often in the way… oops! But, I think you get the idea!
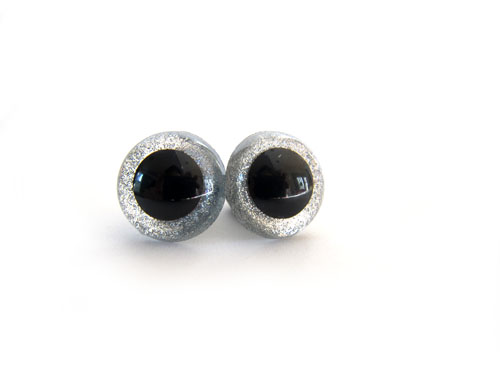
Isn’t that easy? And here’s the result!
Of course, you don’t have to use glitter paint. Any acrylic paint will work! And you don’t have to paint them all one color. Try painting little polkadots before you lay down a solid background color. Or maybe stripes! Or a starburst effect! The only limit is your imagination!
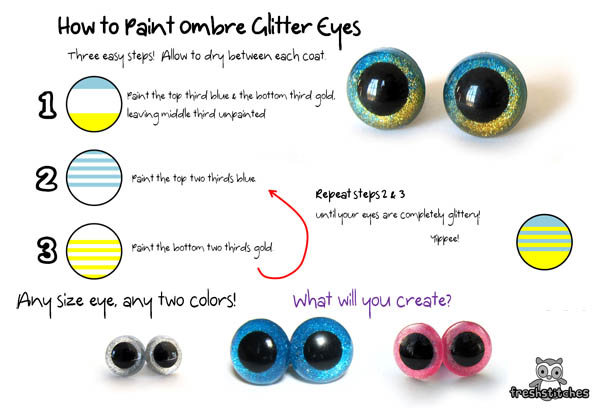
Ombre Glitter Eyes
An ombre effect is a little more tricky than simple stripes, so here’s some more info on that.
Aren’t these amazing?
This ombre effect is super-easy to achieve with glitter paint because the paint is actually clear with specks of glitter. That means that one coat leaves little gaps for another color to shine through!
TUTORIAL
Here’s how to do it in three easy steps!
I’m so excited about the possibilities… I’m thinking my next ones will be white and pink ombre.
What color combinations do you think would be amazing?
Get glittery! 🙂
Here are handy links to all the posts about amigurumi eyes. . .
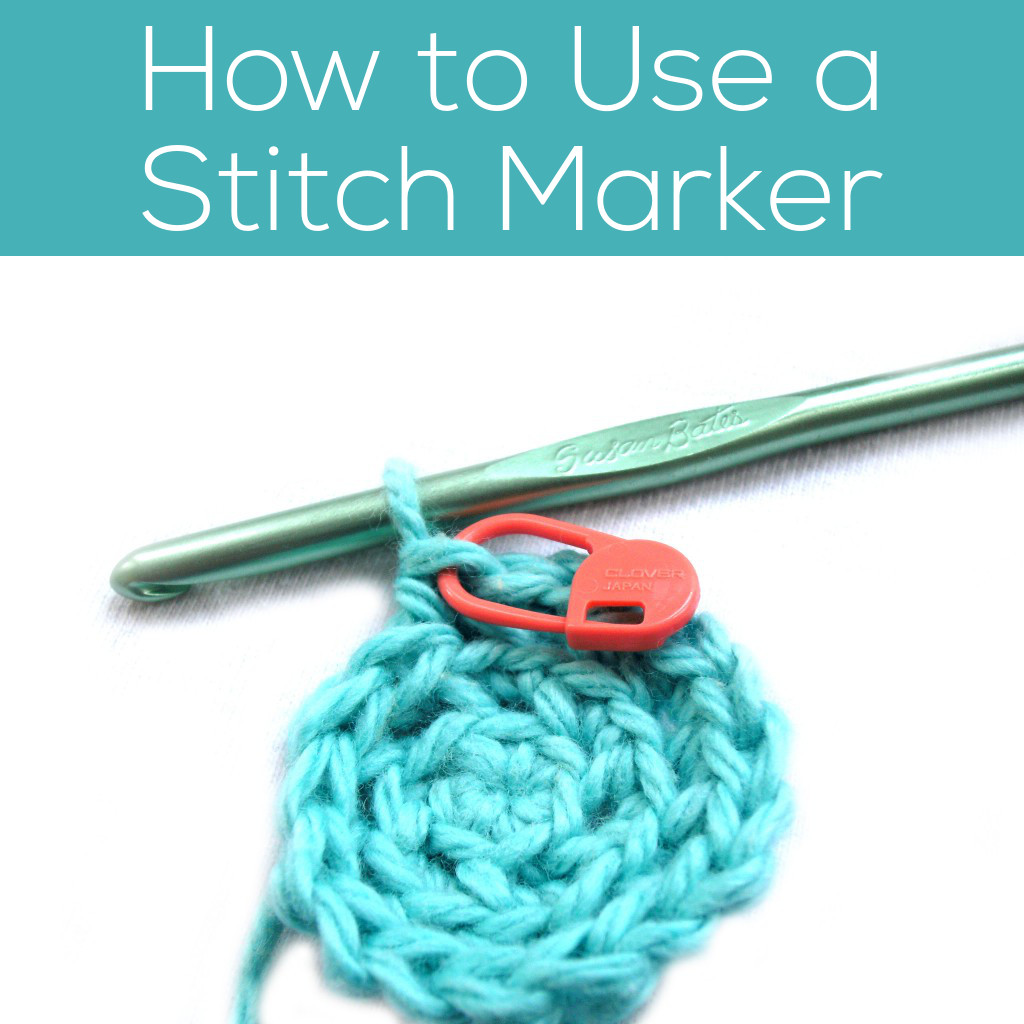
Besides your hook and yarn, a crochet stitch marker is your best buddy and most useful tool!
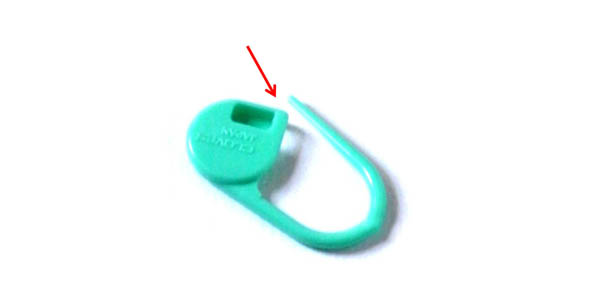
You want to look for a locking stitch marker, which is a lot like a fancy safety pin.
Locking stitch markers come in a few varieties, but the most important thing is that they open and close! Don’t get fooled into buying those ordinary ring markers that are for knitting needles. . . they don’t work for crochet.
Do you have your stitch markers ready? Let me get you and your new best friend acquainted!
Handy Use #1: Mark the End of the Round
The most common problem crocheters have when crocheting in the round is losing track of where the round starts and ends – which leads to an incorrect stitch count and mayhem! So, I’ll show you how to use a locking stitch marker to mark the end of a round.
I don’t tend to use a stitch marker for the first couple of rounds (because there are so few stitches per round), but I usually start at the end of the third round. Here I’m crocheting the snout of the cow, but many circles begin the same way.
Since I crochet through the back loop only the front loop is available to hold a locking stitch marker.
Slip the stitch marker into the front loop of the last stitch in the round, close it up, and keep crocheting!
I know I’m finished with my next round when I’m just above the stitch marker, like this:
Then I can move the marker and start my next round. No confusion!
Handy Use #2: Counting How Many Rounds You’ve Done
A lot of amigurumi are made by crocheting in the round. When teaching classes, I’ve noticed that counting rounds is something that gives a lot of crocheters trouble… I mean, who wants to count every stitch? I’ll show you how a crochet stitch marker can help you in counting rounds.
Let’s do a little example.
I’ve been following my pattern instructions for the first three rounds, and now my pattern says:
Rounds 4-6: sc in each st (18)
How can we do this without counting?
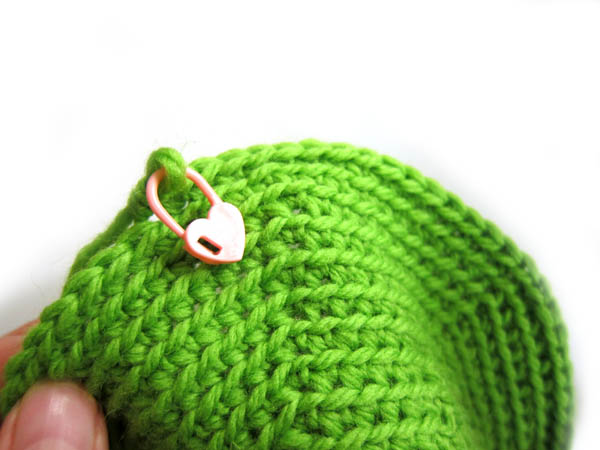
I take a crochet stitch marker (the orange thing in the photo above), and lock it onto the last stitch of the round. Then, I’m just going to keep crocheting around and around until I’m exactly 3 rounds above my marker!
Check out the photo above… and you’ll also see why I prefer crocheting through the back loops- each round leaves behind a little horizontal ridge that makes each round super-easy to count!
Handy Use #3: Position Your Pieces for Attaching
Attaching pieces can be a little tricky, too… but stitch markers can help! So, let’s look at some instructions that say, ‘attach legs to rounds 9-14’.
What you want to do is find out where round 9 is, and place a locking stitch marker there. Start counting (see the ridges?) from the center:
Count until you’re at round 9, and place a marker. Place another at round 14. Now you know where your leg should be located on the body!
Handy Use #4: Use Crochet Stitch Markers to Hold Pieces While Seaming
So now you’ve marked where your pieces should go… but locking stitch markers have one more great use. I use crochet stitch markers to hold my pieces in place while I’m sewing pieces together. It’s like having a few extra hands!
They’re big enough to go through a couple layers of crochet fabric, and by placing a couple around the piece that you’re attaching it’ll be held in place – making your sewing even easier. Yay!
I’ve been showing you lots of examples of circles… but this exact same trick can be used when assembling a sweater or afghan blocks! It keeps everything nice and even!
Handy Use #5: Keep Your Work from Unraveling When You Travel
Throw your crochet into your bag, and you’re just one snag away from all of your work coming undone. Eep! But not with a stitch marker!
Put your locking stitch marker through the loop when you’re done… and it can’t unravel even one stitch! Fabulous!
Caring for Your Crochet Stitch Markers
I bet you didn’t think these handy tools needed any special care, but there’s one little trick that will make them even easier to use.
Store them open!
That’s it! That’s the key to a healthy and long-lasting locking stitch marker.
Why? If you store your marker closed, the plastic slowly bends until the ‘open position’ isn’t very open anymore.
It’s not a huge deal, but it makes the marker just a little bit harder to slip onto your crochet piece. Store them open and there’s no problem!
There you go – lots of handy ways to use your crochet stitch markers to make your projects just a little easier and more fun.
Here are handy links to all the posts about crochet tools and supplies.
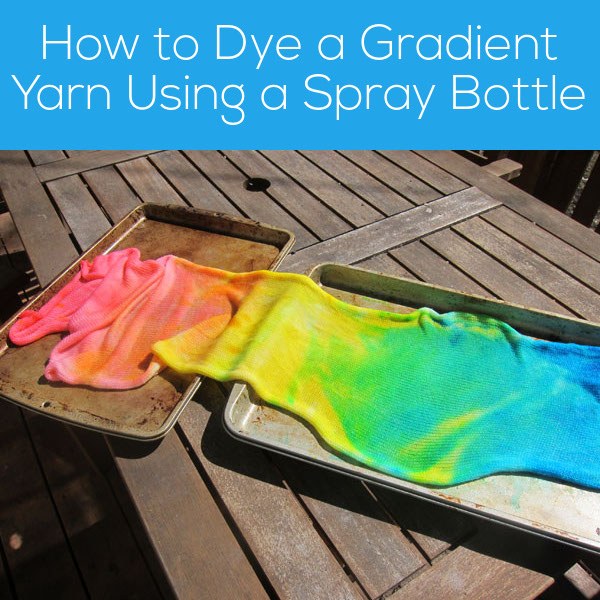
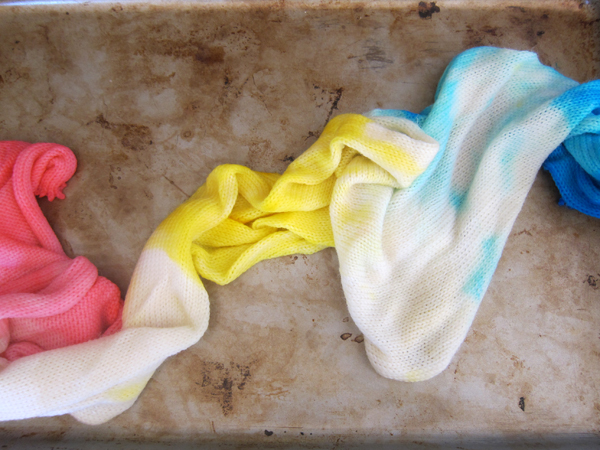
Okay, now here’s the technique: I rolled out my sock blank and dunked each end and the center in one color, leaving a lot of white space in between. See?
Ignore my ugly cooking sheet in the background. Actually, don’t ignore it (it’s crucial for keeping your counters clean in this project!)… just pretend it’s prettier!
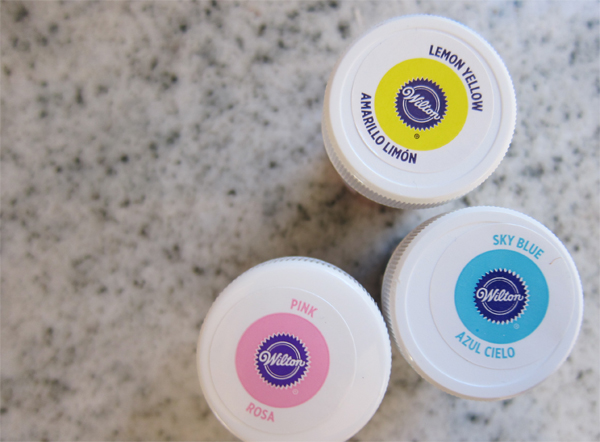
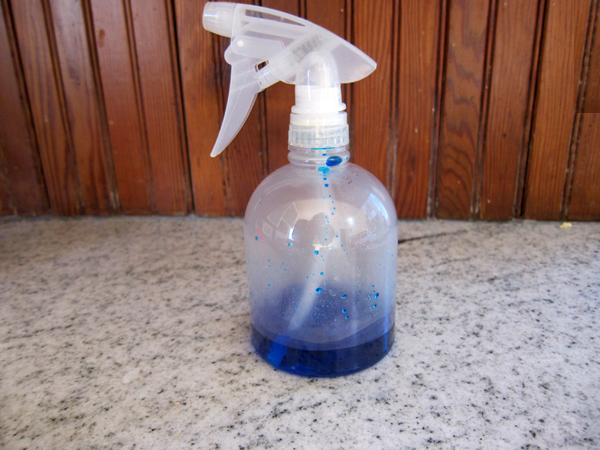
Now, load up your spray bottle with the dye.
You want to use the spray bottle to direct your dye exactly where you want it. With this blue, I’m going to spray more towards the blue dyed portion of the yarn, and then spritz less to blend it into the yellow.
Now wash your bottle really well and repeat with the other two colors. You’ll get a very blended effect!
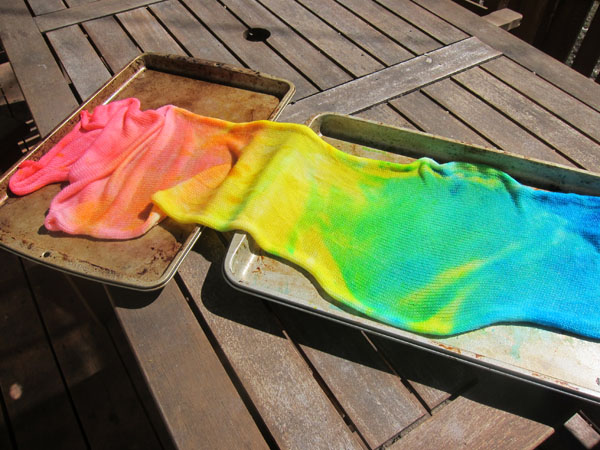
See how the colors blend? Because the dye is wet when you’re spraying, the blue mixes with the yellow and makes green… it’s an effect that’s hard to get if you’re just dipping the blank in dye.
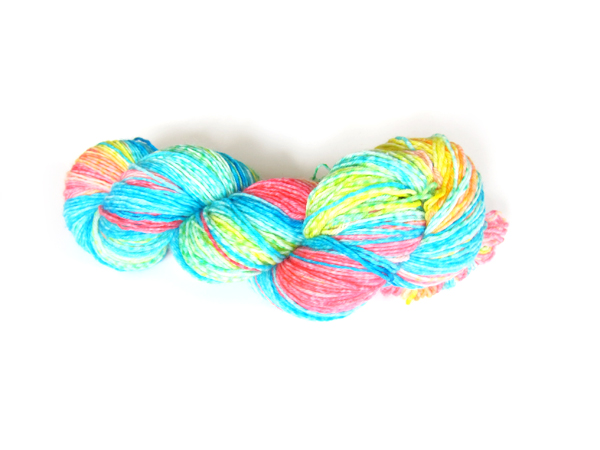
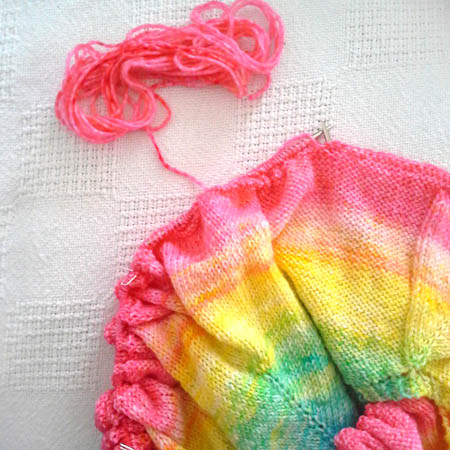
I let it dry, and then wound it on a niddy noddy. Here’s the hank:
The gradient-ness doesn’t show up too well in a hank. But no worries, I’ll show you what I’m knitting. Here’s a little shawl I’m working on:
Isn’t the gradient fantastic? I can’t wait to wear this one!
This post contains affiliate links. That means I make a little commission if you buy something after clicking through. All affiliate links are marked with an *.
Of course you can go to the store and purchase a skein of yarn.
But you can also make the yarn yourself!
Some of these are fabulous options if you’re on a budget, or maybe just looking for a way to get creative!
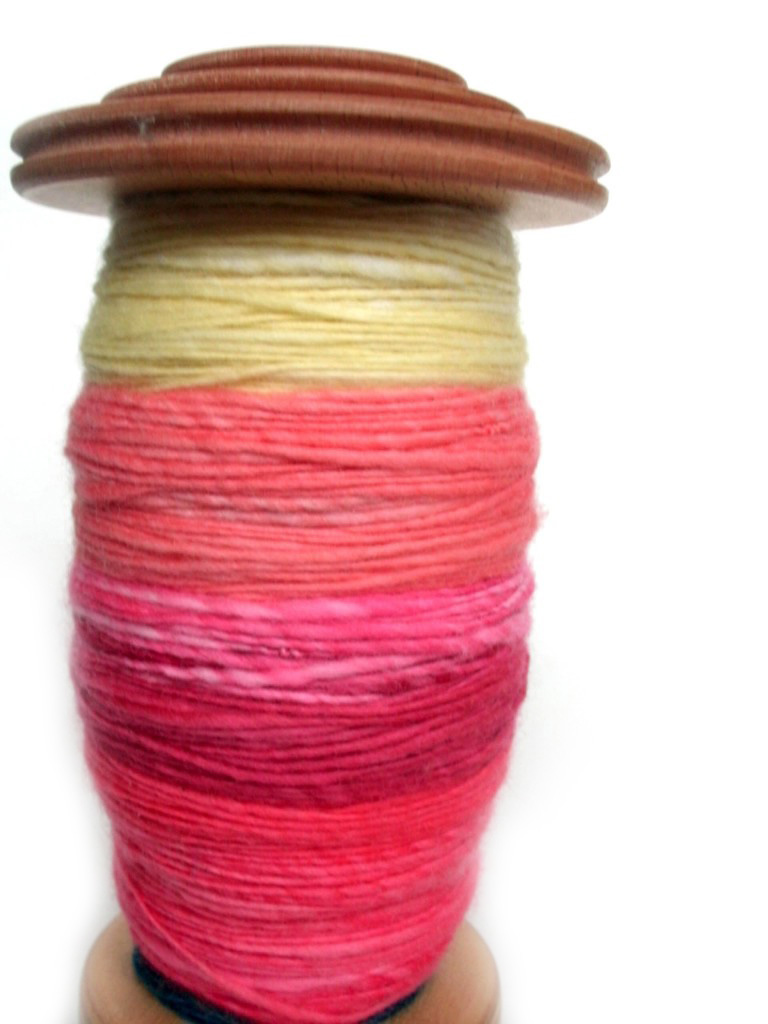
Spin Yarn
Spinning is using either a spindle or a spinning wheel to create yarn from fiber. You can make it as complicated as you want… you can sheer the sheep, wash and card (organize) the fiber yourself (free if you own a sheep or are friendly with a farmer!) or purchase some roving online.
Tips
If you’re giving spinning with a spindle a try, I highly recommend one with a notch. You can find one for less than $20 on Etsy.
Before investing in a wheel, shop around. Try borrowing one from a local spinning guild or renting one from a yarn shop so you can see if it really suits you.
Shopping for fiber is as much fun as shopping for yarn! Search for ‘hand dyed roving’ on Etsy to get started!
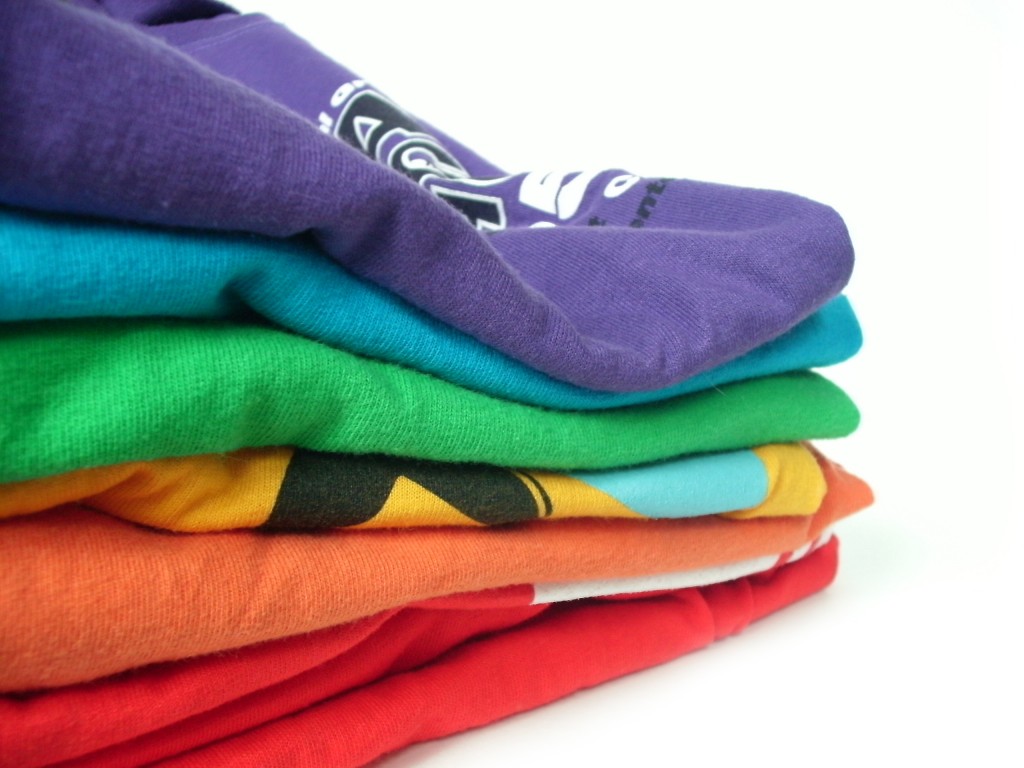
Make t-shirt Yarn
T-shirt yarn is yarn made from t-shirts!
I made some t-shirt yarn a little while ago and crocheted a bath mat. So much fun!
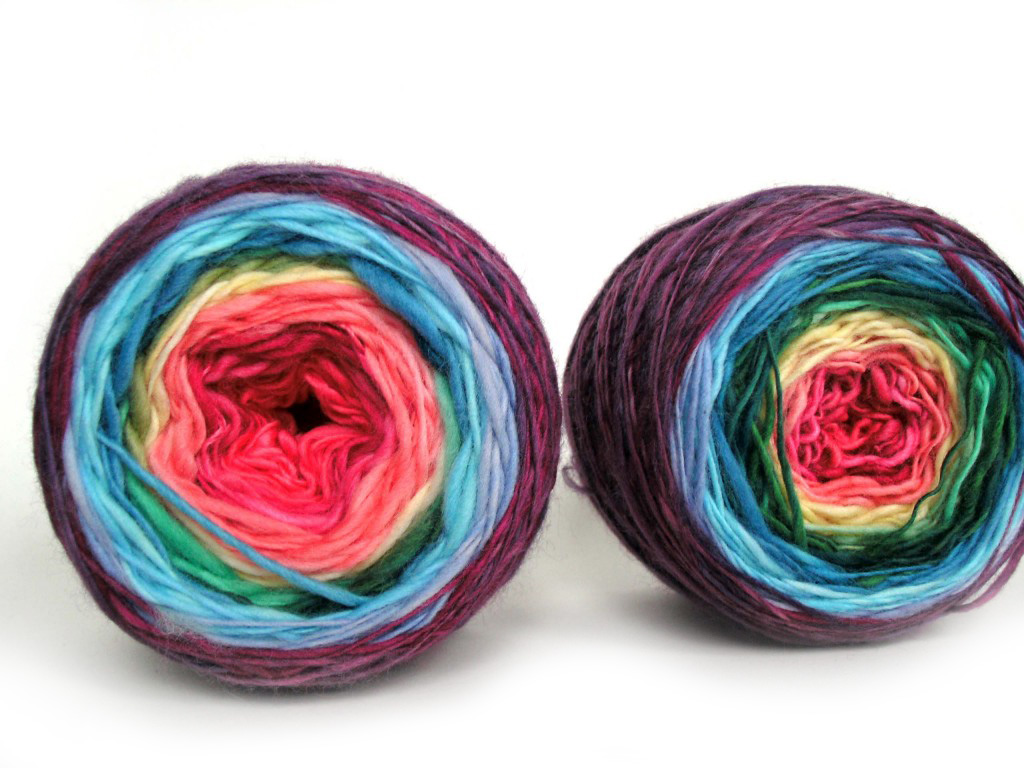
Do you have lots of scraps laying around? Join them together to make a magic ball! Here is a tutorial.
Tips:
Select yarns that are the same weight to join together
Yarns with plies work best
Wind the ball as you go to keep it tidy!
Once you’ve finished, you have a fun rainbow-y yarn that you can use to knit or crochet anything!
Unravel a Sweater
Some beautiful yarn in the world has been knit up into really ugly sweaters.
If you find one of these gems in the thrift store, you can unravel the yarn and put it to good use! I once retrieved skeins of cashmere yarn from one lucky find!
And more…
This Mollie Makes post has links to even more techniques for making yarn that I haven’t tried yet. Newspaper yarn? Whoa!
How many of these have you tried?
Are any of these ways of making yarn new to you?
Or have you done them before? Let me know your experiences!