Use this free placemat pattern and get a little bonus use out of your favorite blocks from your quilt patterns!
I love seeing people make things besides quilts with their Shiny Happy World quilt patterns.
Don’t get me wrong. I love seeing your finished quilts!
But if you make quilts – it’s a great way to get extra use out of your patterns.
And if you’re new and a little nervous about making a whole quilt, it’s a nice small, single-block project to dip your toes in. 🙂
Today let’s talk placemats.
They’re so easy to make!
Placemat Pattern Instructions
A typical placemat – one that easily fits a standard place setting – is anywhere from 12″ to 14″ tall and 18″ to 20″ wide.
(A fat quarter is typically 18″ x 20″ so any placemat in this size range will take two fat quarters and some batting.)
I cut my rectangles (a front, a back, and a batting) 13″ x 19″ – right smack in the middle of the normal range.
If you’re going to use Quilt As You Go and you like to quilt before you applique (that’s what I do) layer your placemat top with the batting (no backing yet!) and quilt however you like. Press it flat.
Next – add your applique character.
Positioning the Applique
Almost all the characters in my quilts are designed to fit in a 10″ square, and I find they work really well with this placemat pattern without any resizing. If you’re using another designer’s pattern, just enlarge or reduce the image to be 8-9 inches tall.
I like to position my image to one side or the other. If it’s centered it gets completely hidden by the plate, plus I like things to be asymmetrical. 🙂
Look at the way the image is framed/cropped. Maurice (my favorite cat from this Cats quilt pattern) is chopped off straight at the shoulders. I designed him to look like he was in a portrait. You’ll want to be sure to position that straight cut edge flush with the bottom edge of the placemat – like he’s popping into the frame and we just snapped a photo.

This bird from the Chirp pattern, on the other hand, isn’t cropped anywhere. Position complete images like this fairly close to the bottom edge of the placemat (that will anchor the image and keep her from looking like she’s floating in space) – but not so close that any part of her gets cut off when you sew up the edges.

See the difference?
Applique your image in place using your favorite technique.
You can find all my applique tutorials here. I used applique with fusible adhesive and outlined with simple straight stitching in black thread.
Now comes the extra fast and easy part of this placemat pattern.
Finishing Your Placemat
You can, of course, layer on the backing and bind the edges just like a quilt. I love binding and would choose this technique unless I was in a hurry.
But not everyone shares my love of hand-sewn binding. 🙂
For all of you – here’s a fast and easy finish.
Layer the placemat front and back right sides together. Pin or clip all the way around the edges.

Sew it up around the edges (I used a 1/4″ seam allowance, but you can fudge that a little) leaving a few inches open on one side for turning.
Don’t forget to backstitch at the beginning and end of your stitching!

Clip the excess seam allowance off the corners – very close to your stitching. That will allow you to get nice crisp points.
Turn it right side out, smooth and straighten all the edges, gently poke out the corners, and press. Turn the seam allowance of the opening inside (so that folded edge lines up with the sewn edges) and press that too.
No need to sew up that opening by hand! Topstitch all the way around the edge of the placemat and that will close up the opening.

I like the topstitching around the edge of the placemat to be about the same distance from the edge as my topstitching on the applique pieces. That keeps everything looking neat and unified.

Finished!
There are so many possibilities for this! You can use any applique pattern. (I used blocks from Cats, Chirp, and Noisy Farm.)
Add some lettering from this free alphabet applique pattern to personalize each placemat with someone’s name!
Oooh! Instead of a name, use the Paper Dolls quilt pattern to create images that look like the person the placemat is for. That would be so much fun!
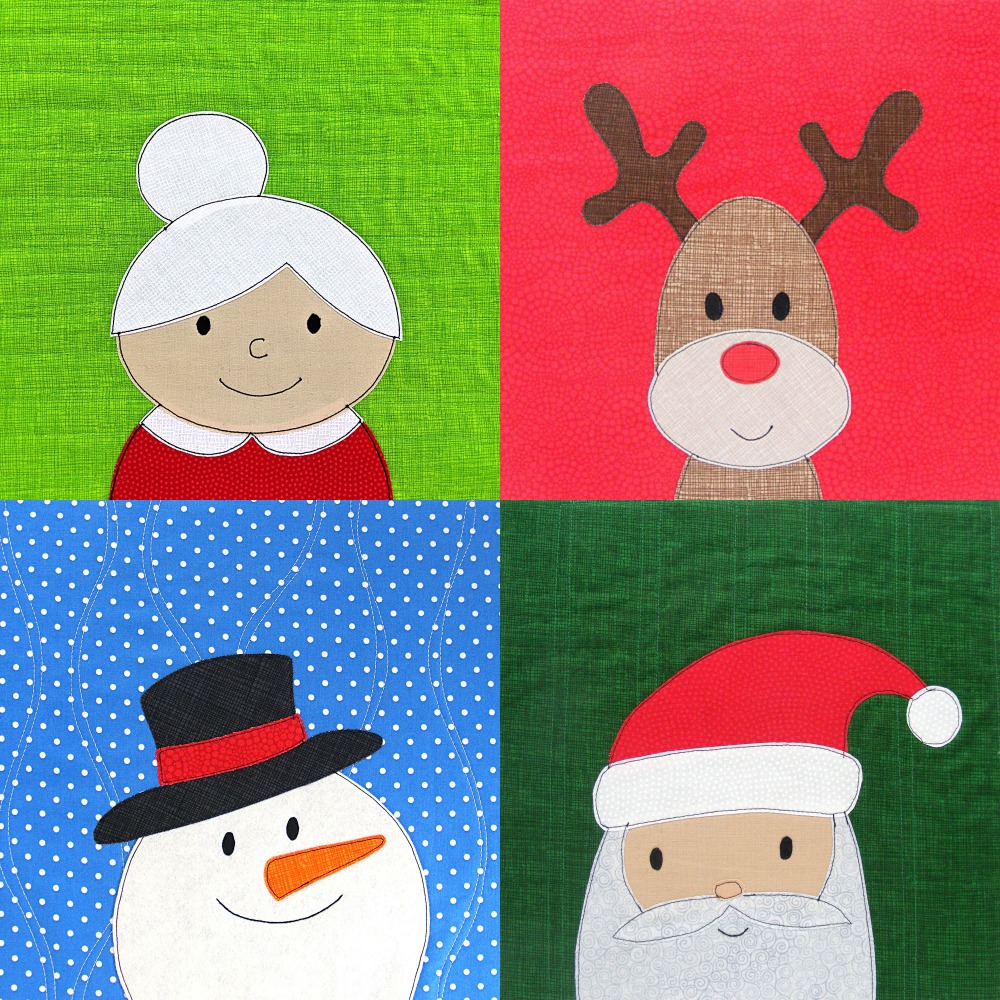
Use some of my free applique patterns to make a set of holiday placemats. I have free Halloween, Easter and Christmas patterns. 🙂
Instead of applique, do some embroidery. The placemat size and construction method is exactly the same.
You can make traditionally pieced placemats too! Just start with your favorite pieced block, and add enough fabric around it to get it up to the standard placemat size. The method is just like this one for turning any quilt block into a pillow.
Have fun with it!

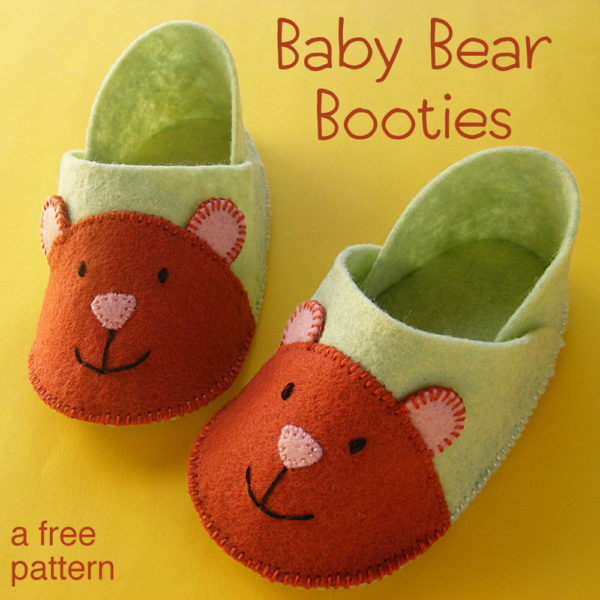
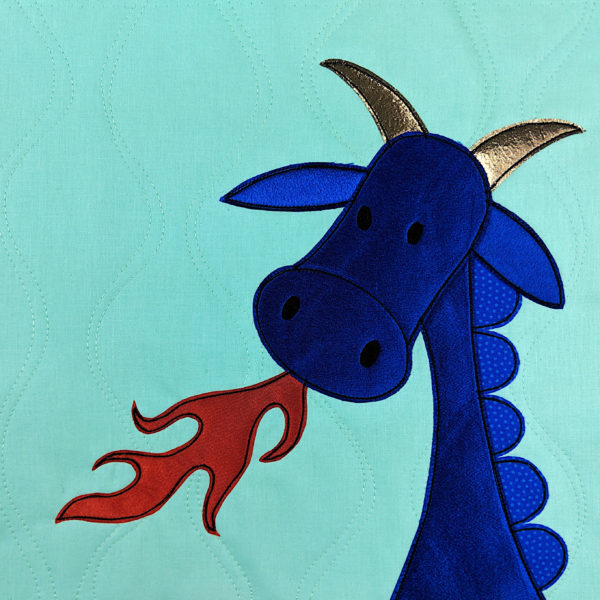
Here are several free patterns that work with my basic 10-inch applique squares – no resizing needed!
- Make a Wall Hanging with a Wonky Churn Dash Frame
- Trick or Treat Bag (medium tote bag)
- Quilted Tablet Cover
- How to Turn Any Quilt Block into a Pillow
- Fast and Easy Placemats
- Fancy Felt Frame
- Receiving Blanket
Here are several free patterns that work with just some simple resizing. This post about making coasters has info about resizing an applique pattern that can be applied to any of these projects.
- Free Bib Pattern
- Simple Christmas Stocking
- Mini Bunny Tote Bag
- Turn Any Quilt Block Patterns into Cute Coasters
- Cozy Bear Coasters
- The Big Bag (applique on the pocket)
- Cloth Book for Babies
Return to the main Let’s Make a Quilt Table of Contents.
Happy quilting!