Come Visit Me at Made By Joel

Made by Joel Embroidery

Hey everyone! I’ve got a guest post over at Made by Joel – one of my very favorite blogs!

For those of you who don’t know about Joel – he’s an awesome Dad who make The Most Amazing Toys for his kids. Simple things out of everyday materials that have LOADS of play value. Scroll through his archives and order his book, Made to Play!. It looks fabulous!

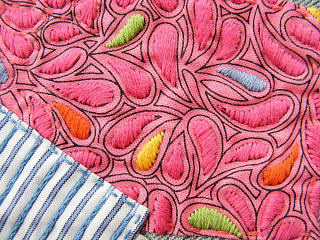
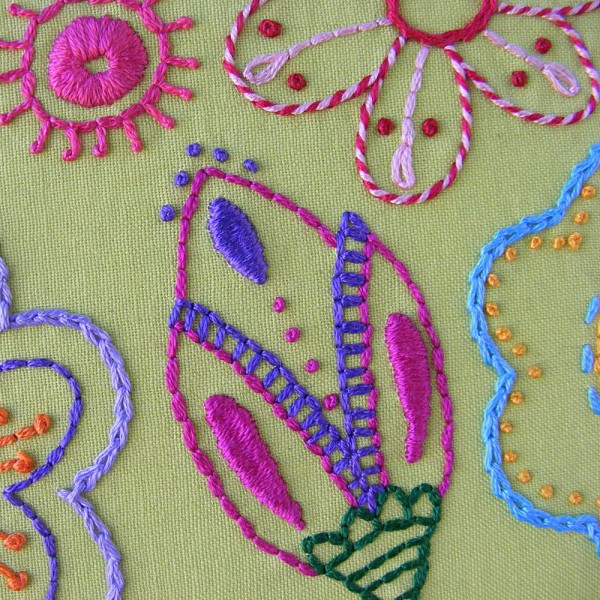
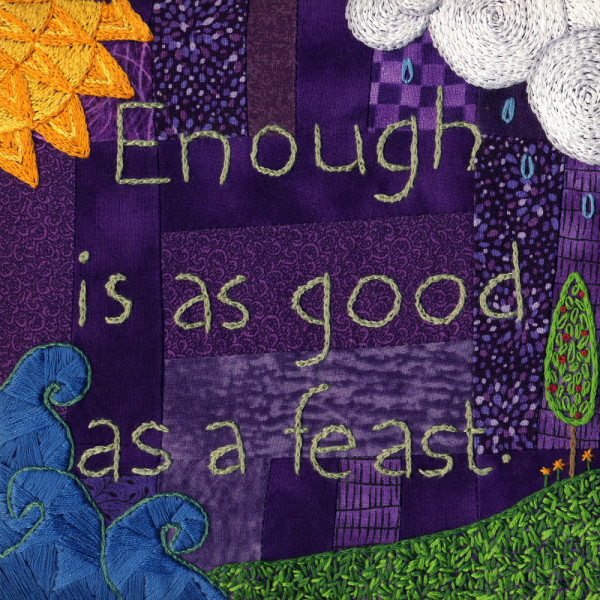
Anyway – Joel does these terrific coloring pages – really great lines drawings that just beg to be embroidered. So I stitched one up and wrote up a post on how to do it.

There’s a lot of info you’ve already seen on my site about how to transfer the pattern and what some of the basic stitches are. But I also include some information about my thought processes as I made the design decisions about what stitches to use where, where to add color, and what color thread to use. I think it would be useful to anyone who wants to learn more about making their own embroidery design decisions.

Check it out!

Best,
Wendi

How to Embroider a Fly Stitch – video

How to Stitch Fly Stitch - a video tutorial from Shiny Happy World

Fly stitch is really similar to the lazy daisy – and just as easy. Use it to make little flies (really!) or join them together to make a nice vine.

I used fly stitch (with glow in the dark thread!) to make the fireflies in this Firefly Tree embroidery pattern.

Firefly Tree embroidery pattern

Happy stitching!

Here are all my lessons for other stitches.

Return to the Learn to Embroider main Table of Contents.

Move on to the lessons about finishing your work.

How to Couch with Satin Stitch – video

How to Couch with Satin Stitch - a video tutorial from Shiny Happy World

I’ve already showed you what couching is and how to do it.

And in this video I show how to couch using a sewing machine.

Now we’re going to take it one step further and use a satin stitch for couching – completely covering the cord with your embroidery thread.

Happy stitching!

Here are all my lessons for outline embroidery stitches.

Return to the Learn to Embroider main Table of Contents.

Move on to the lessons teaching fill stitches.

How to Couch – embroidery video

How to Couch - a video tutorial from Shiny Happy World

Couching is the process of using embroidery stitches to stitch a cord (or yarn or decorative thread) to the surface of your fabric.  It’s a fun way to add some nice dimension to your work and it can give you  a really unique effect.

Give it a try!

If you want to couch using your sewing machine – take a look at this video.

Here are all my lessons for outline embroidery stitches.

Return to the Learn to Embroider main Table of Contents.

Move on to the lessons teaching fill stitches.

How to Mend with Patches

How to Mend with Fun Patches - a video tutorial from Shiny Happy World

Use all your favorite embroidery stitches to make mending patches prettier AND stronger. First watch the video for the how and why – and then scroll down for some detailed examples of finished patches from a pair of my jeans.

 And now for the samples. These are all from one pair of jeans. 🙂

This one is super easy. I used a running stitch around the edge of the patch, and then I used split stitch over every other stripe.

This is just running stitches – lots of running stitches. It’s stitched on corduroy so I was able to use the space between the ridges to as a guide to keep my rows of stitching straight and parallel. I used a two different shades of blue thread.

On this one I used the gingham print of the fabric as a grid to make nice, even cross stitches and running stitches. The stitches of my Xs were pretty big – possible to snag on things – so I took tiny little straight stitches in pink at each intersection to strengthen the whole thing and add a fun accent.

Pretty Patch Tutorial at Shiny Happy World

This started as a plain black fabric with white polka dots. First I took little straight stitches in the polka dots and made cross stitches in the spaces between them. That didn’t make the stitching as close as I wanted so I added a grid of backstitches in green.

And finally – this one was a real labor of love. I satin stitched over each drop shape in the fabric print – matching the color of the printed drop. It took a long time but the texture is luscious.

If the tear is in a tricky spot – like when the rip is at the edge of a pocket – take a look at this post.

Have fun with some patches! Soon you’ll be looking for an excuse to mend!

Here are all the posts about finishing embroidery projects.

Basic Finishing

Other Ways to Use Embroidery

Return to the Learn to Embroider main Table of Contents.

Happy stitching!

How to Cross Stitch – video

How to Cross Stitch - a video tutorial from Shiny Happy World

Cross stitch is really easy. It truly is just a little stitched X. But there are a couple of tricks that will make your stitching look good – especially if you’re using cross stitches to fill an area – and that’s what I show you in this video.

Happy stitching!

Here are all my lessons for other stitches.

Return to the Learn to Embroider main Table of Contents.

Move on to the lessons about finishing your work.

Free Cat Embroidery Pattern

Sly Cat - a free embroidery pattern from Shiny Happy World

Want to learn the basics of hand embroidery with an easy online workshop – totally free?

Sign up for Embroidery 101 here. You’ll learn how to get started, the tools and supplies you’ll need, the four most basic stitches, how to transfer your pattern and how to display your work.

If you already know the basics – sign up for Embroidery 201. It’s also free! You’ll learn how to stitch on specialty fabrics like felt and stretchy T-shirts. Plus you’ll learn lots and lots and LOTS more stitches – all my favorites!

Here’s a free cat embroidery pattern for you to play with!

My daughter has been drawing cat faces all over the place.

It’s her new favorite doodle.

She drew one recently in chalk on a slate stone in our yard and I loved the effect – so that’s what I was going for with this simple line drawing.

The image is just under 6 inches square. It would be cute on a tote bag or T-shirt – or a towel. It also fits perfectly into a 7″ hoop.

This is a great pattern for beginners. You only need one stitch and there’s nothing too fussy or detailed about it.

I stitched it in a pale (chalky) color on a dark background and with a slightly thicker thread than I usually use.

Here’s how to do it. . .

Download the pattern here.

Transfer the pattern to your fabric. I always use Sulky Sticky Fabri-solvy to transfer all my patterns – it’s especially awesome for dark fabrics like this. You can see it in action here.

(If you use an iron-on transfer method, remember that you’ll need to reverse that pattern image.)

Stitch your design. I used backstitch for all the stitching, and a full 6 strands of DMC #519 on a dark grey fabric.

Soak out the stabilizer and iron it dry.

Finish it up however you like! You can use this free cat embroidery pattern on a T-shirt, tote bag, pillow cover, and more.

Happy stitching!

How to Stitch a Whipped Backstitch or Running Stitch – video

How to Embroider whipped backstitch or running stitch - a video tutorial from Shiny Happy World

Whipped backstitch is one of my very favorite stitches.

It looks fancy, but it’s soooooo easy! It’s very similar to the Threaded Running Stitch and Backstitch – but it has more of a spiral effect.

You can see some whipped backstitch in the flower with the red and pink striped outline that’s cropped out of the top of this photo.

Bloom flower embroidery pattern detail - the red and pink flower outline is embroidered with whipped backstitch

Those flowers are from the Bloom embroidery pattern.

I also used it for the crown in the Queen of Hearts pattern. That’s what you see in the title image at the top of the post.

I always think whipped backstitch looks like candy cane striping, so I used it in several places on this free gingerbread house pattern.

Gingerbread House - a free felt Christmas ornament pattern from Shiny Happy World

I don’t use whipped running stitch as much and whipped backstitch, but the process is the same, and I demonstrate both in the video.

Happy stitching!

Here are all my lessons for outline embroidery stitches.

Return to the Learn to Embroider main Table of Contents.

Move on to the lessons teaching fill stitches.

How to Stitch a Threaded Backstitch or Running Stitch – video

How to Sew Threaded Backstitch or Running Stitch - a video tutorial from Shiny Happy World

Here’s an easy way to fancy-up a basic outline stitch. Try it with two colors of thread like I show in the video – it’s a fun look!

Take a look at this video showing how to sew a whipped running stitch or backstitch for a slightly different look.

Here are all my lessons for outline embroidery stitches.

Return to the Learn to Embroider main Table of Contents.

Move on to the lessons teaching fill stitches.

How to Use Split Stitch as a Fill Stitch – video

split stitch as fill stitch

Normally split stitch is an outline stitch, but in this video I show you how to use it as a nice fill stitch.

It’s a great way to fill an area with lovely texture instead of the smooth surface you’d get by using satin stitch.

It’s also a very useful stitch to use as padding below satin stitch, to get a nice raised bed of stitching.

Using split stitch as a fill stitch is easy – there are just a couple of things to keep in mind, and I show them in this video.

Want to practice this new stitch? I used it a lot in this free embroidery pattern.

Enough is as Good as a Feast - free embroidery pattern from Shiny Happy World

Happy stitching!

Here are all my lessons for fill stitches (besides satin stitch).

Return to the Learn to Embroider main Table of Contents.

Move on to the lessons for all the other stitches.