If you have the Shiny Happy Houses quilt pattern, you can use it to make a whole different quilt just by switching out the fabrics. Make a fun haunted house quilt!
For this block the arch templates that I usually use for doors and windows became fun tombstones! I used ghost and creepy eyeball buttons for extra Halloween fun. And of course – the Halloween-themed fabrics make it easy. 🙂
That’s how I made these adorable trick-or-treaters!
It’s Haunted House Week here at Shiny Happy World. The Shiny Happy People group on Facebook is already on board – I’ve seen two awesome haunted houses over there already!
The Controlled Chaos Quilt is finished! And I love it soooooo much!
Before I get to the story – I want to give you all the link to the free scrap quilt pattern. It’s really much more than a pattern, because there are also lessons about working with color, and videos teaching all the skills I used – from cutting to sewing, quilting, and binding. It’s really a complete scrap quilting workshop. Get all the details here and make your own!
I started this quilt way back in May 2014. My scrap bins were overflowing and I particularly wanted to use up a lot of the smaller scraps. I thought about sewing them together randomly, creating a chaotic splash of colors – but I decided to control the chaos and create patterned blocks with those scraps. I’m so glad I did!
My plan was to make one block a week, so I would be done with the piecing in 20 weeks.
ha ha ha ha ha ha ha ha ha ha ha ha ha ha ha ha
Fifteen months later I finally finished piecing all the blocks. 🙂
This was a project that I set aside repeatedly – every time work got busy. But I always came back to it and I loved seeing the pile of finished blocks stack up.
Block #16
It took me another three months to sew the blocks together and add sashing. It shouldn’t have taken that long, but it was the middle of the pre-holiday prep season and I had to set it aside again.
Once I got the top finished and basted, I decided to hand quilt it using Big Stitch Quilting.
That was the best decision ever!
Jo took one look at the quilting and announced that I was completely bonkers. In her words, “That’s going to take FOREVER!”
It actually took seven months.
Seven months of absolute bliss.
Seriously.
If I knew I was going to get some couch time with my quilt in the evening, I looked forward to it All Day Long. I’ll continue to machine quilt the quilts I want to finish quickly, but for the personal projects that are all about taking my time and enjoying the process – it’s Big Stitch Quilting forever for me. I don’t think I’ll ever do traditional hand quilting again.
Look at that texture!
The whole quilt took a little over two years from start to finish.
That’s a long time for a single project, but I enjoyed every minute of that time – especially the hand work. In fact, I think my next big project like this will be all hand work from start to finish.
If you look at my timeline, the place I really stalled was piecing the blocks. In a way that makes sense. I sew at the machine during the day – which makes it work time. I sew by hand at night – free time while I watch television. Since this was a personal project it got set aside during busy work times. If the next one is all hand work, I think my progress will be more steady.
Meet Stacey Trock – one of the judges in the Mix & Match Monster Contest.
Stacey is The Queen of Crocheted Cuteness!
I’ve known how to do basic crochet since I was a kid, but I was limited to afghans and scarves. Stacey taught me how to make things that are not flat!
I learned how to make hats in her Mix & Match Hats class on Craftsy – and now I can make crochet hats in lots of different shapes, customized to fit any head!
It’s puffy and fat – like traditional trapunto applique.
You can read more about traditional trapunto here. It’s. . . a lot of work. Seriously. A lot.
So I didn’t use the (crazy labor-intensive) traditional trapunto technique. I used a fun and easy fake trapunto applique technique I developed to give the monsters in this quilt googly eyes, like this. . .
So much fun!
(It’s the button pupils dimpling the eyes in that really make them extra cute.)
Here’s the video tutorial showing how to do it.
You can use this technique for clouds and trees, like I show in the video, but also for any relatively simple shape. Just choose something big enough to be able to turn it right side out after sewing, with an outline that’s primarily gentle curves or wide points.
You can also use this technique without the puffy stuffing. It’s not really trapunto applique anymore, but it’s a great way to get easy turned edges for applique into shaggy or fluffy fabric – like cuddle fleece.
Here are links to all the posts showing how to applique with fusible adhesive – my favorite method. It’s fast and easy and (with the right materials) it holds up beautifully to rough use and repeated washing.
A cute kiddo-approved project, quilt-as-you-go techniques for fusible appliqué, and me right there in front of you, showing you everything I know and answering all your questions. 🙂
Update – Please be aware that Craftsy (now Bluprint) has added a subscription plan to their offerings, which changes the way instructor support happens. If you buy the class for your Forever Library, you get instructor support – which means your questions go to a special instructor dashboard where I see them and I can respond to them. I answer questions every business day. If you watch the class as part of the streaming subscription, any questions you post go to the larger class community – not to me. I don’t even see them, so I can’t answer them.
I’ve been sharing little peeks of what to expect from the new Craftsy class on Facebook and Instagram and then gathering them all up every week here on the blog. There are so many fun things in this one class!
You can read the first round up here. Googly eyes, scrappy pieced backgrounds, silly eyelids, a kajillion uses for a triangle – it’s all there. 🙂
This week we started with silly hair.
I mean, seriously. Those curls have elastic inside so they spring back when you pull on them. How silly is that?
And then I showed how one simple body shape can look totally different, depending on the other bits you add.
My favorite is the one with the purple toenails. 🙂
More fun 3D parts with these teeth.
So easy!
And then I went really crazy with the 3D additions with these floppy, satin-lined ears. . .
Enter the giveaway for a free spot here. Even if you don’t win – just by entering you’ll be notified when the class goes live (so soon!) and you’ll get a special discount coupon.
Over on Facebook and Instagram I’ve been sharing little peeks and bits of info about what will be covered in the class. Here’s a quick summary of what I’ve shared so far. . .
The theme is Monsters.
Mix & Match Monsters. 🙂
The pattern included in the class includes pages and pages of monster parts and you can put them together any way you like. Don’t worry if that sounds intimidating – over the course of the class you’ll see dozens of sample blocks for ideas and inspiration. You can copy as many or as few as you like. Here’s a GIF I made showing just a few ways I used a simple triangle shape.
Of course, you’ll learn the basics of Quilt As You Go and applique with fusible adhesive. . .
. . . and we even have a lesson on making pieced QAYG background blocks from scraps.
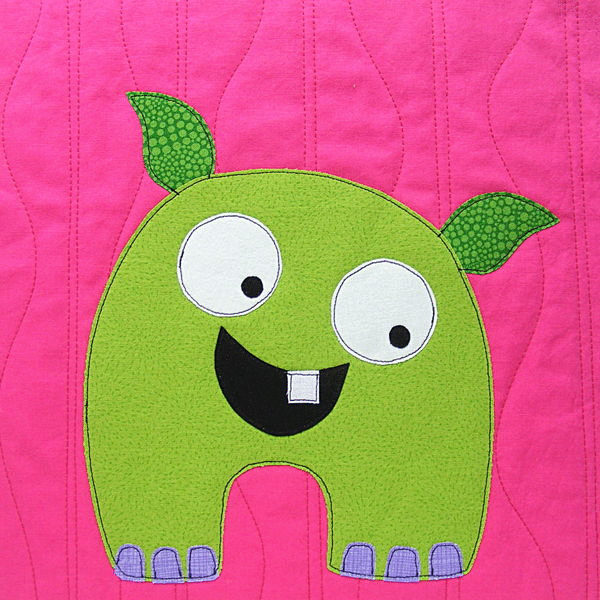
We talk about choosing fabrics and I show two different no-fuss-no-measure techniques for making your blocks. I love this grumpy “Get off my lawn!” monster. 🙂
I use a few different types of fabrics in the class and show you my tips for getting good contrast and monsters that really POP. I especially love the magnificent mottled monsters I got with these batiks.
Aren’t they gorgeous? I also really love saying magnificent mottled monsters. 🙂
We do a lot of different variations on eyes in the class. I think my favorite are these googly eyes.
Technically they’re faux trapunto eyes with needle sculpted pupils, but that makes them sound really hard and they’re actually super easy. You’ll see if you take the class. 🙂
I also like playing with eyelids. Look at just a few of the possibilities!
Grumpy eyes, sleepy eyes, surprised eyes – I love them all.
Update – Please be aware that Craftsy (now Bluprint) has added a subscription plan to their offerings, which changes the way instructor support happens. If you buy the class for your Forever Library, you get instructor support – which means I’ll answer any questions you post. If you watch the class as part of the streaming subscription, any questions you post go to the larger class community – not to me.
Now that Quilt Market is over I can finally share details about some of those BIG embroidery projects I was working on back in April. 🙂
This post is all about how I made this cat surrounded by lots and lots of embroidered flowers. It’s in an 18-inch hoop!
I started out by enlarging my favorite cat (Maurice) from my Cats Quilt pattern and appliquéing it on a big square of fabric. I enlarged him just a bit (printed the pattern page as big as I could and still get it to fit on a single page) and used my normal fusible adhesive method.
I stitched down all the edges, but I did NOT stitch the whiskers yet. They’re just drawn in for now with a fine-tip Sharpie.
Then it was time to add the flowers. It doesn’t matter that the full piece is bigger than a single sheet of paper because the Continuous Stitching pattern is a seamless repeating pattern. See how you can overlap the edges for a continuous pattern? That means you can make BIG embroidery. As big as you want!
It took me several sheets of Sulky Stick & Stitch (the new – and much better – name for Sulky Sticky Fabri-solvy) to cover the whole hooped area.
I just stuck the sheets right over the cat. So many flowers!
I don’t normally have problems with the Sulky Stick & Stitch pulling loose, but I don’t usually stitch this large, so I started stitching in all the overlapping areas first, just to keep things secure.
Here are some details of the different kids of flowers. . .
One of the things I love about working with Sulky Stick & Stitch is that I can change my mind about things partway through stitching. All the markings will wash away, so I don’t really have to stick with my original drawing. Take these tulips. . .
Those little purple dashes were supposed to be dots, but when I got to them I changed them to dashes. No big deal.
All the stitching is finally finished! I just skipped right over that applique cat – it was easy to see him through the stabilizer.
Here it is having its soak.
Yep – that’s the messy back. Here are some more shots of the back of the piece.
I do NOT believe that that back of your work should be as pretty as the front. 🙂 I’m a thread-carrier and it would drive me batty to tie off my thread after each individual flower!
But – recognizing that I’m a thread carrier means I do something a little different with pieces like this. See how dark green that fabric is? That’s not the same lime green you see on the front of the piece! That’s because I backed the piece with a second layer of darker fabric behind the main fabric. It keeps my thread carries from showing through to the front! Tricky. 🙂
I soaked the piece for about an hour in cold water, sprayed off the bits of mushy stabilizer, gave it another quick swish in clean water, then ironed it dry. One more step before finishing. . .
Remember how I didn’t stitch those whiskers when I appliquéd the cat? Time to do it now. I waited because I wanted the black whisker lines to go over the embroidered flowers. This part was totally nerve-wracking, but it did just fine. 🙂
I hooped the finished piece in a quilting hoop using this method. No way was I letting glue anywhere near a piece that took this long to stitch!
Finished!
That is one BIG embroidery piece!
I’m super happy with this piece! Sulky had it hanging in their booth for Quilt Market and they’ll be exhibiting it at a few more shows, but Jo has already claimed it for her room when it comes home. 🙂
Here are the other BIG embroidery pieces I stitched for the same project.
I love instant delivery. I love being able to print directly onto specialty papers like Sulky Sticky Fabri-solvy, freezer paper, and fusible adhesive. And I love being able to click through to additional resources and tutorials.
But they’re new territory for a lot of people!
I get a lot of questions about digital patterns and have heard some heartbreaking stories that could have been avoided if people had known just a few good practices when working with this kind of file.
So here are some simple suggestions for you.
When you download your digital pattern file, make sure to save it where you know you can find it.
Most computers have a factory-created folder called downloads and all downloaded files are automatically saved there. You can change your computer settings to save downloads to your desktop or another folder, or you can just open the downloads folder after you download your pattern, and then move it to where you want it to live permanently. I suggest a folder called Shiny Happy World Patterns. 🙂
Save a backup!
I can’t count the number of heartbreaking emails I’ve gotten from people whose computers crashed and they’re trying to replace all their digital patterns because they didn’t have a backup. 🙁
If you have a free Google account, you have a HUGE amount of free storage space on Google Drive. You can also save a backup to an external hard drive, another cloud service, or even a flash drive. I know a couple of people who store a backup of all their digital patterns on a flash drive – which makes it super easy to take to a copy shop for printing if you don’t have a printer.
Saving the email with the download link is NOT a safe way to back up your files.
A lot of shopping cart services have an expiration date on those links – some as short as a week.
Many shopping cart services have a limit to the number of times you can download a pattern – a few limit it to a single download!
Digital delivery services change and companies go out of business. Download links don’t remian functional forever. A pattern actually saved to your computer (and backed up) is yours forever.
Only print the pages you need
As a designer, one of the things I love about digital patterns is that I can include loads of additional information and photos – way more than I could possibly justify if I had to think about the printing costs associated with books and paper patterns. And I can include links to video tutorials going into more detail teaching every single skill used in the project.
The only pages you really need to print out are the pattern pages – the actual templates that you’ll be cutting out or tracing. And many times you don’t even need to print all of those. All of my applique patterns, for example, include a regular version of the image which you can use for needle-turn applique and as a placement guide for other techniques, plus a whole separate set of templates with all the pieces reversed and exploded and ready to print on fusible adhesive or freezer paper. You don’t need both sets! Choose your technique and then print only the pages you need.
Some people print all the instruction pages and keep them in a binder, but a lot of people skip that step too. You can set your computer, phone or tablet next to your sewing machine and work directly from the screen if you like.
Print at 100% size – no scaling
The exact look and wording of the printing dialog will vary depending on your computer and your printer, but it will look something like this.
I drew a big pink arrow pointing to the stuff you need to look for – language about size or scaling. Unless the instructions state otherwise, you want to print at 100%.
Sometimes a PDF won’t print. It’s usually a problem with needing an update – either your browser, your version of Adobe Reader or your printer driver. It’s hard for me to help with that because the problem is usually specific to the software on your computer. I can tell you that there are no “protections” of any kind on my PDF patterns – if you can download the pattern you should be able to print it. One workaround that can help is to print it as an image. There are instructions here for how to do that, as well as some more troubleshooting tips for weird printer problems.
Updating your browser can fix a whole host of weird problems. It’s the “Have you tried changing your sewing machine needle?” fix of the tech world. Any time I run into tech difficulties on ANY site, my first stop is always to visit www.whatismybrowser.com. It will tell you if there’s an update available for your browser. Running that update has helped solve really weird problems more times than I can count.
Those tips address the most common questions and problems people run into with digital patterns. If you have any more tips or suggestions for people – please include them in the comments!
Having trouble downloading a pattern? Want to know how you can work with digital patterns if you don’t have a printer? You’ll find answers to lots of tech questions on the FAQ page.
Here’s a list of links all about choosing a quilt pattern – and even designing your own!
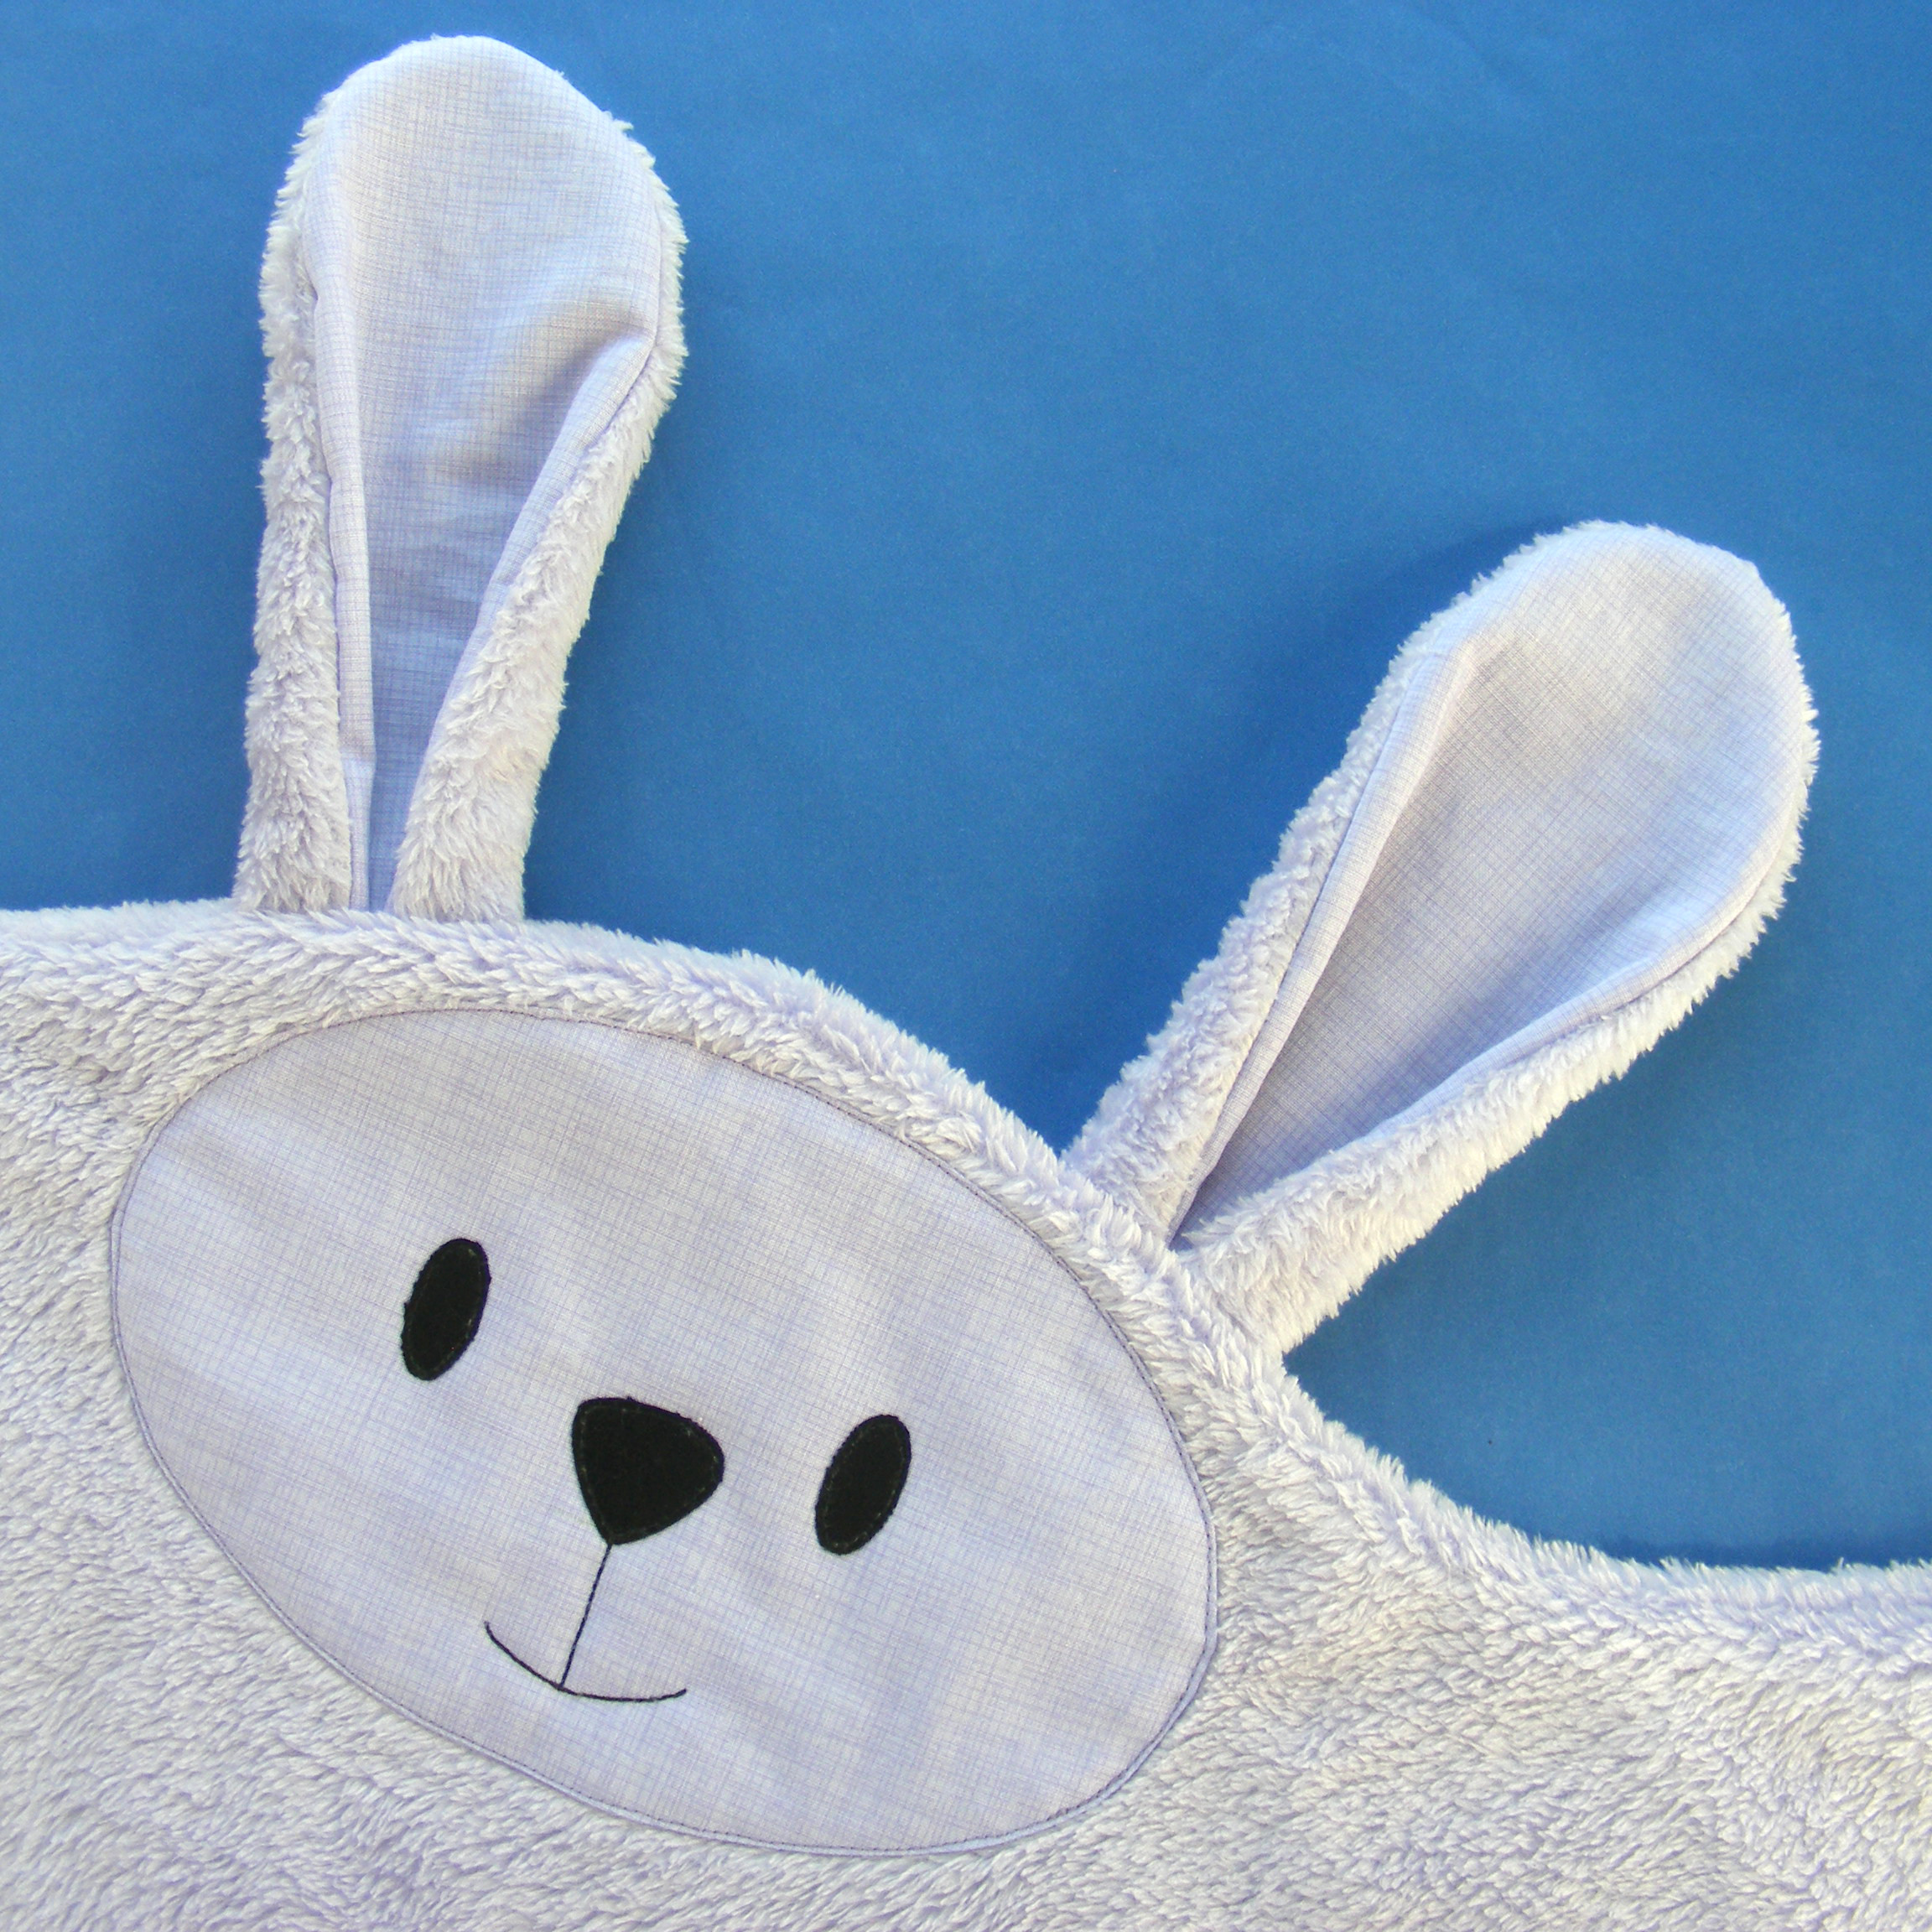
When I made the first cat quilt for my daughter Jo, she asked for cuddle fleece on the back. Until then I had only used it for stuffed animals, but she thought it would make an exceptionally cuddly quilt.
She was right.
After sleeping under it the first night she came to me and very seriously said, “Mommy. You should never use anything else on the back of your quilts.”
She was right again. 🙂
Wonderfully – I’ve found that it’s no harder to work with than a woven fabric on the back!
Note – I’ve heard from a few people with Brother machines that they do NOT like pulling the cuddle fleece through. We think it might be that the Brother feed dogs are less “grabby” than other manufacturers? Just be aware – if you have a Brother machine you may need to give it some extra help to get it to move through the machine.
A lot of people have asked me whether they have to do anything special to use cuddle fleece on the back of their quilts.
Do they need to use a special needle?
Do they needle to use a particular thread?
Do they have to use a walking foot?
Can I show actually doing some of the quilting?
Can I show what it looks like from the back?
I can show you all of that!
I’ve made a bunch of these now and I’ve found that I don’t really need to treat it any different from using a woven fabric background. In fact – I think it’s even less likely to get tiny folds or puckers in it. 🙂
A note about the fluff. . .
By the time I get to the backing/quilting/binding step of a project I’m always super excited to finish – and I don’t take the time to tumble the backing in the dryer to get rid of the fluff on those cut edges. 😛 If you’re more patient than me. . .
Cut the backing to size
Toss it in the dryer on air dry for 15-20 minutes. That will pull almost all of the fuzz off the edges and catch it in the lint trap.
Proceed as normal – baste, quilt and bind wearing whatever you want and not worrying about getting too messy. 🙂
Cuddle fleece makes an extra cuddly quilt with (in my opinion) the perfect weight. And it washes and wears beautifully!
Here are all my posts about layering and basting your quilt, and the final round of quilting.
Here are all my posts about hand quilting and Big Stitch quilting. I don’t use these techniques with fusible applique or Quilt As You Go, but I LOVE using Big Stitch Quilting with my cheater fabric.