I go into lots of detail about the reasons why in this post, but the nutshell version is that cutting the fabric has gotten too painful for me.
For the most part I’m replacing my fabric bundles with new bundles from Spoonflower – designed by me especially for applique. It’s very exciting!
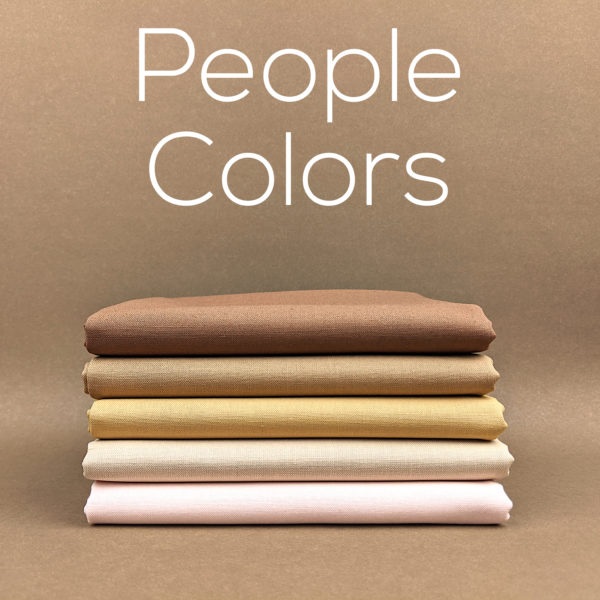
But that doesn’t replace solid bundles like these People Colors.
Never fear! These are actually REALLY easy for you to order from any shop that sells Kona Solids – which is almost every fabric shop.
All you need to know are the colors. Skin tone fabric can be tricky. Too pale and they look ghostly. Too pink and they look feverish or sunburned. Too yellow and they look sallow. Too dark and the black safety eyes I like to use don’t show up well.
It’s hard to rely on your monitor to give you an accurate color, because every monitor is calibrated differently. So I compiled the lists below by looking at actual swatches of fabric in natural light. It’s really the only way to know what you’re getting!
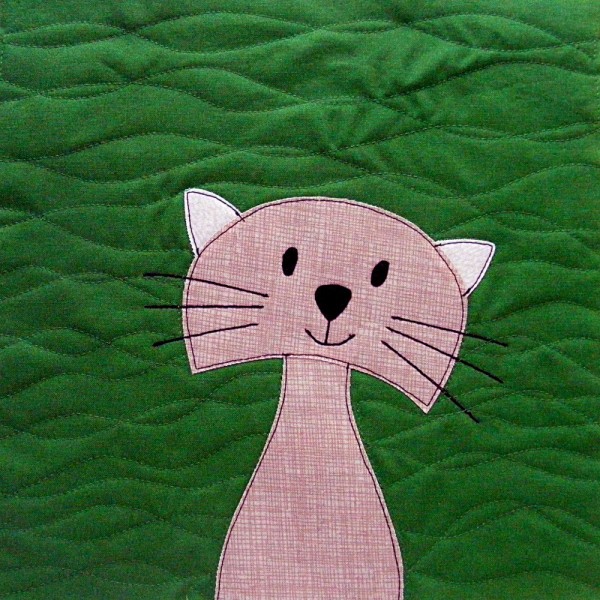
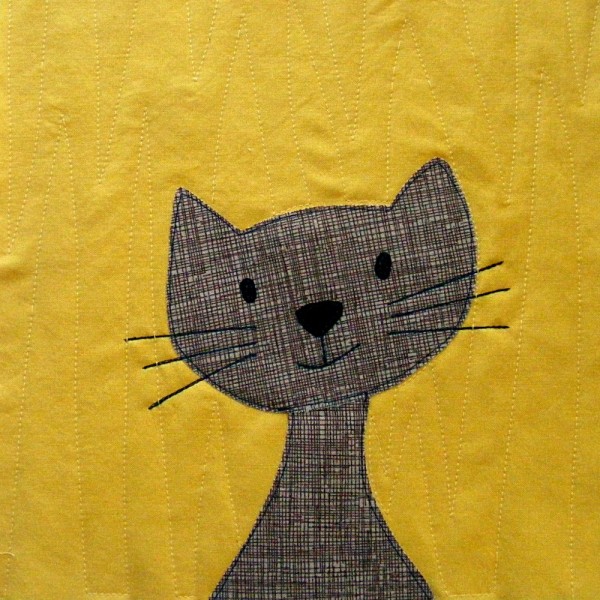
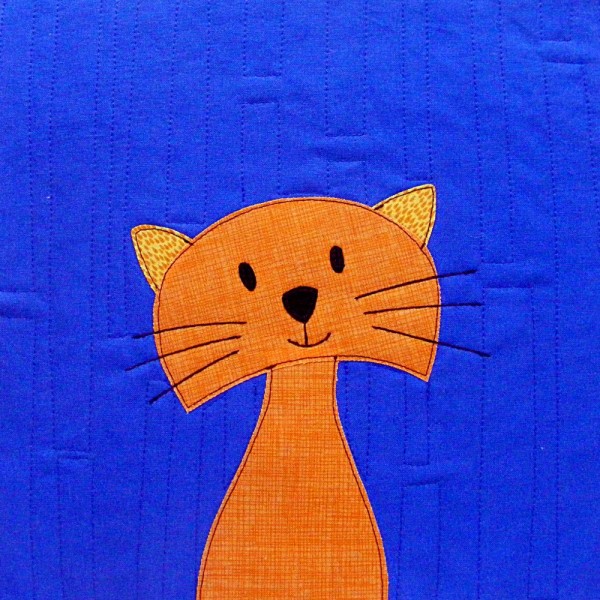
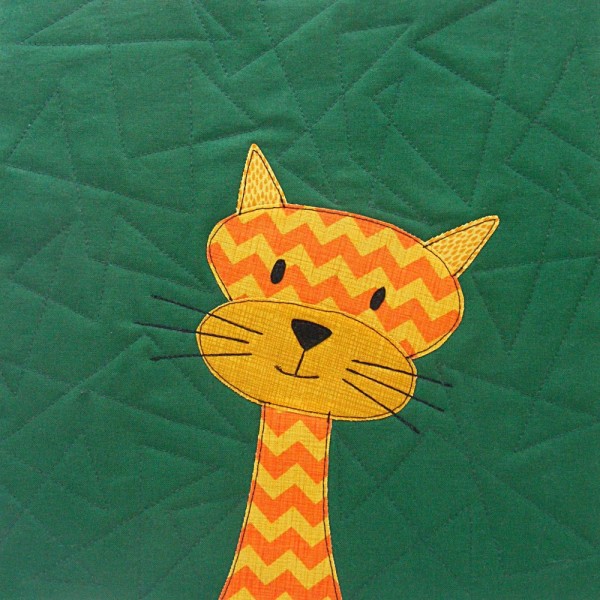
Here’s the list of colors that you see in the stack at the top of this post, from top to bottom.
Mocha
Latte
Honey
Scone
Lingerie
Of course, you’re not limited to these colors!
I would definitely not go any lighter than lingerie. My skin has been accurately described as “fishbelly white” and the Scone is the closest match to it. If you go lighter than Lingerie, your doll will look very ghostly!
On the other end of the spectrum, lots of people are actually darker than Mocha, but using a darker fabric can make it hard to see the eyes. 🙁 If you want to make sure the eyes will show up well, there’s a tutorial here to help you out. A lot of people have the instinct to ring them in white, but that just makes them look scared.
If you’re shopping for skin tone fabric, you can order any of these colors and be confident that you’re not going to make a doll that looks alien or ill. 🙂
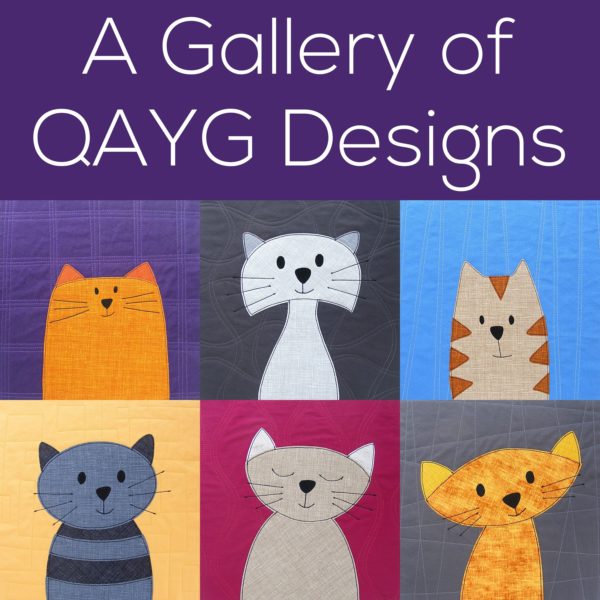
When I make a quilt using my Quilt As You Go method, I like to do all the quilting before I add the applique. Easy peasy – and the possible quilt designs are endless! My quilting becomes doodling on a blank square of fabric and it’s so much fun!
If freehand quilting is like doodling, using these blocks is like coloring. No pressure, and totally fun and relaxing.
I don’t like it when the quilting lines show through my applique.
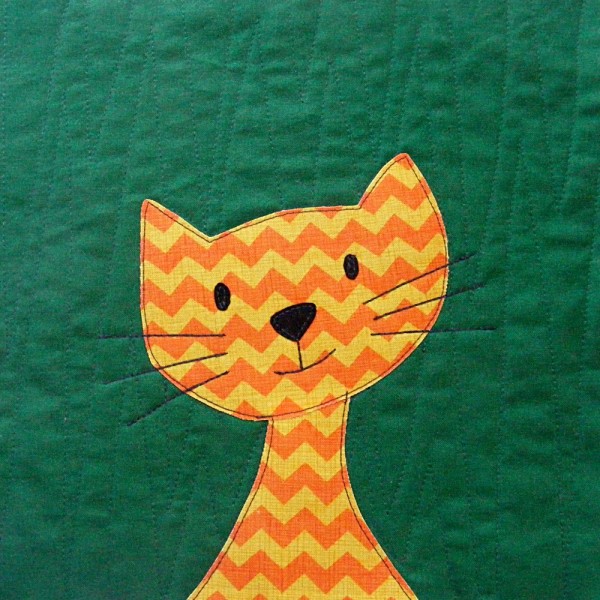
I don’t run into this often, but I almost always use prints for my applique (usually in fairly strong colors) and the quilting doesn’t usually show through.
If your applique fabric is a solid, or a very light-colored print, or a light-colored solid, you’ll probably be able to see the quilting lines through it. If that bugs you, do the applique first and then the quilting.
That’s the way I show it in all of the videos that follow – so you can see some tips for working around that applique after it’s already in place. I show the quilt lines on paper so you can get a bird’s-eye overview of the whole block instead of seeing it at an angle as it is in the machine.
If you want more details about exactly how I sew these patterns at the machine, there are two additional posts you’ll want to see.
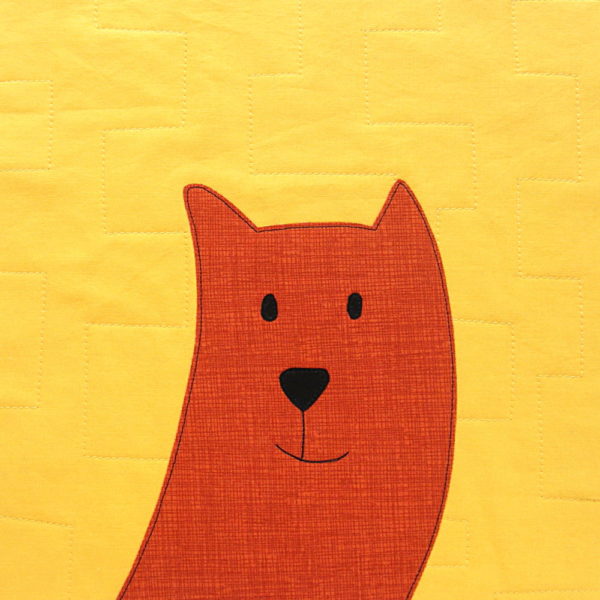
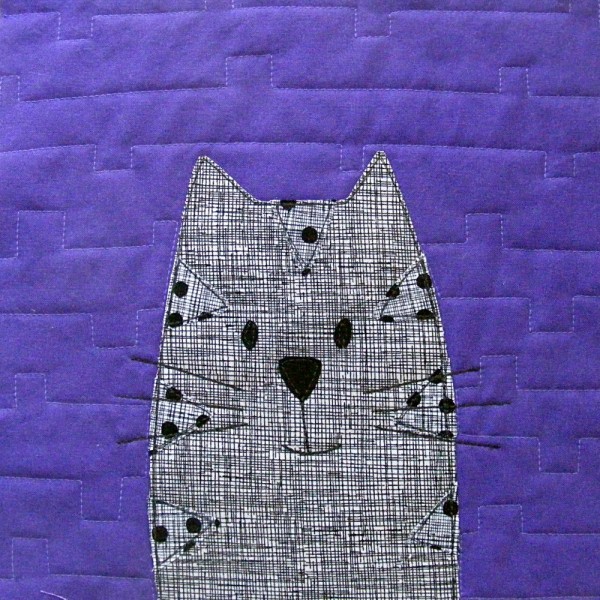
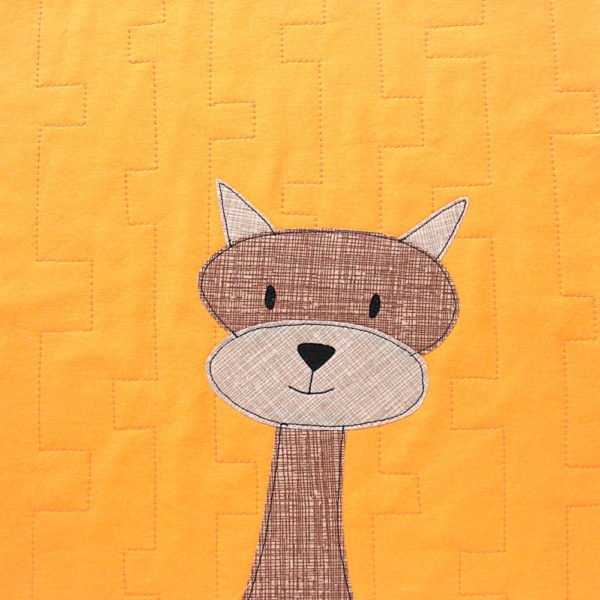
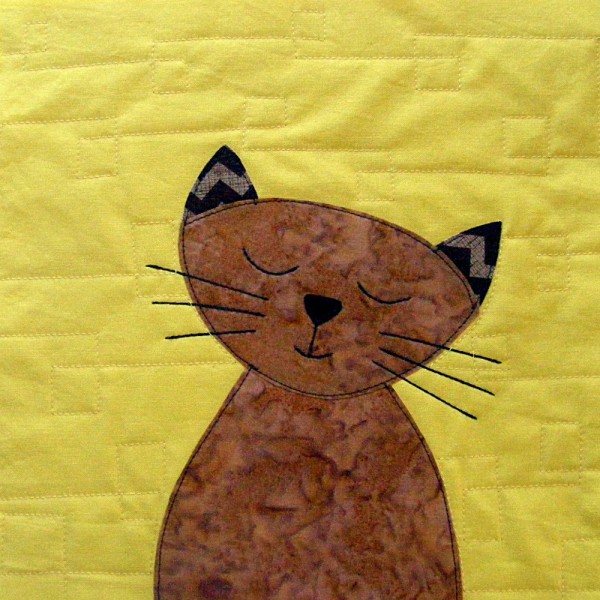
You’ll see several different quilt designs below. For each one there’s a close-up image, a bit of additional information about it, a few additional examples, and the video showing how to do it.
Straight Line Stripes
Straight line stripes.
Does that sound humdrum and boring? Think again! It’s super easy and there’s a huge range of texture you can get from simple straight lines. Are they close together or far apart? Does the distance between the lines vary in a single block? Do they run on the horizontal? Vertical? Diagonal? Do they make a grid? A grid of squares? Rectangles? Diamonds?
Here are a bunch of blocks that are quilted with simple straight lines.
One thing you’ll notice in ALL of my quilting is that the lines are never perfectly straight, perfectly parallel, or perfectly evenly spaced. I do that on purpose because I want the quilting to match the hand-drawn quality of the applique blocks. (Plus it’s easy and fun.) If you’re making a quilt that demands more precision – you might want to use a special tool for making your lines perfectly parallel. You can see that in this video.
Ready for the QAYG tutorial?
Straight lines are super easy, and you can still get a bunch of variety.
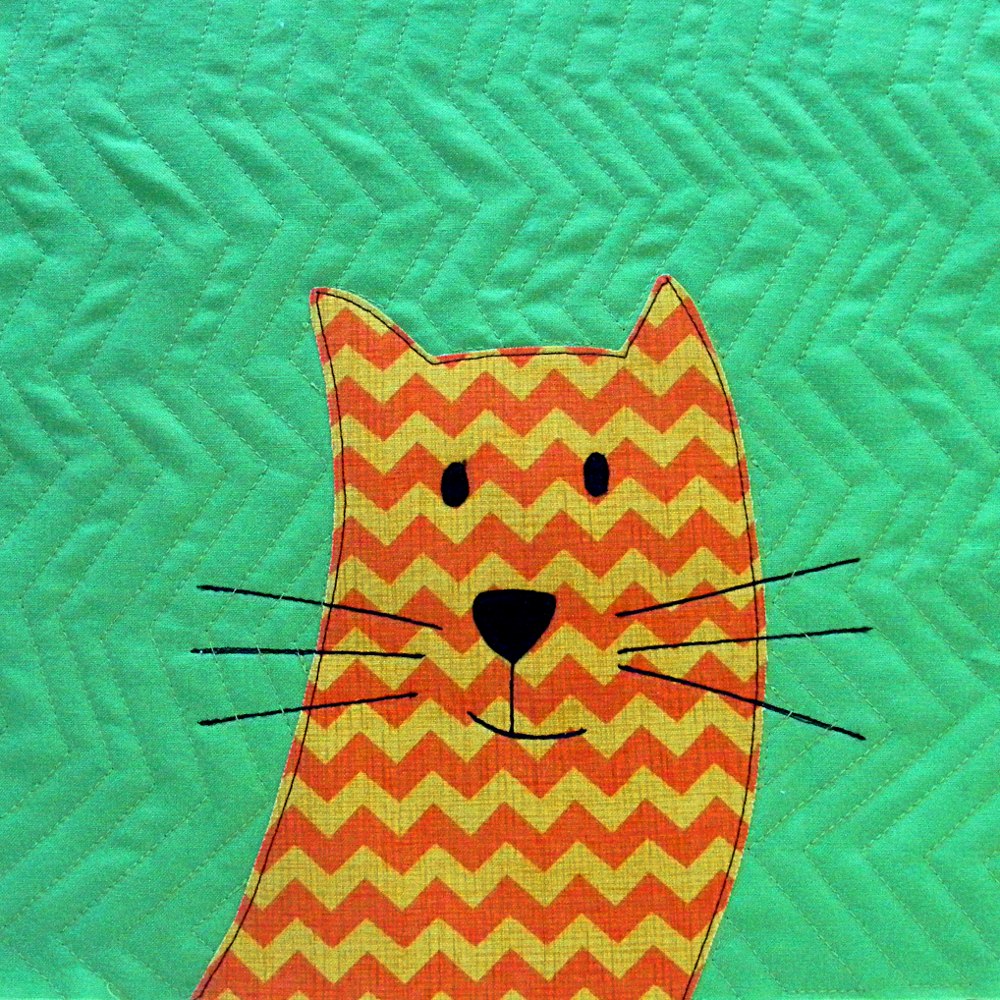
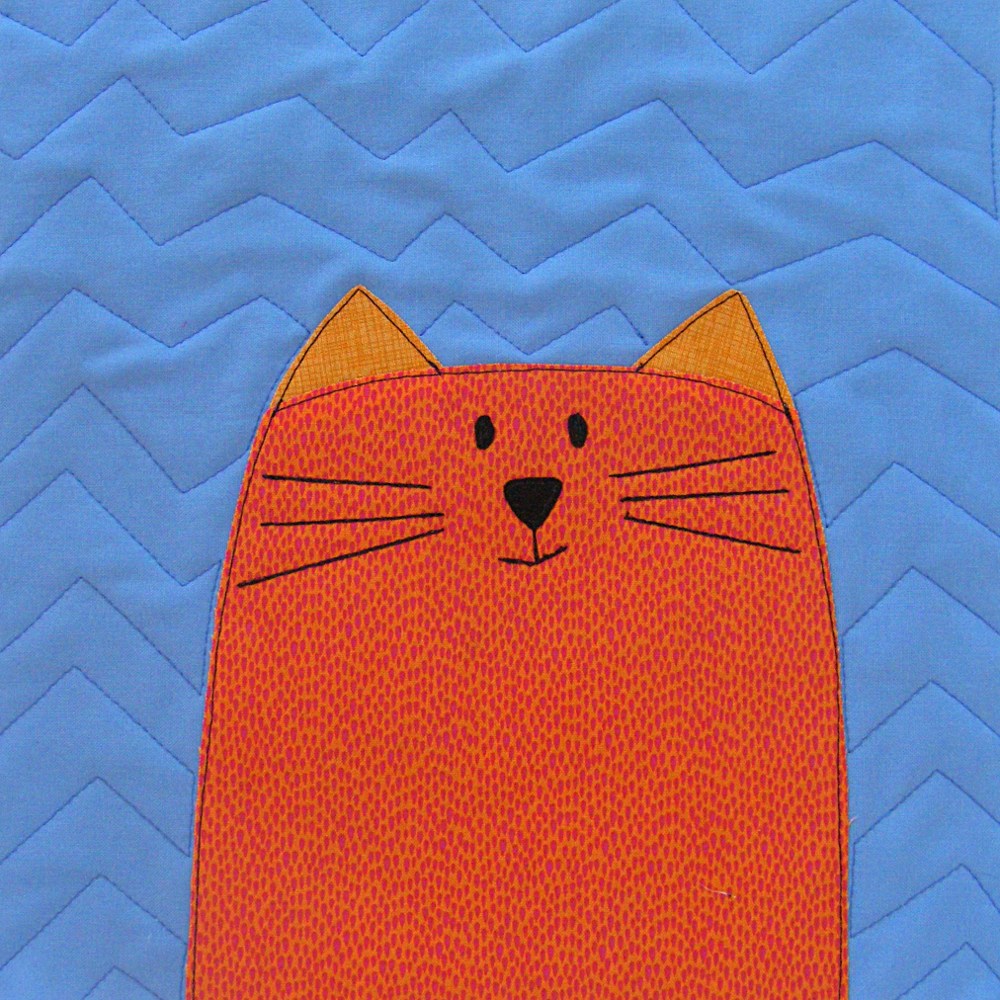
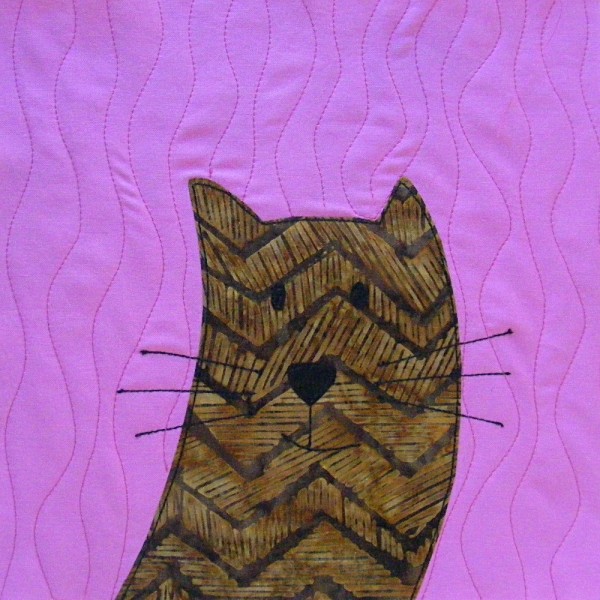
Chevrons and Zigzags
Chevrons and zigzags.
Again – that seems not very exciting. But you can do a lot with simple chevrons. Do they run horizontally or vertically? How close together are they? Are they perfectly parallel and neat? Or more jagged and cartoony?
Here are a few blocks that are quilted with simple chevrons.
Just like my straight-line quilting, the lines are never perfectly straight, perfectly parallel, or perfectly evenly spaced.
Ready for the QAYG tutorial?
So much fun!
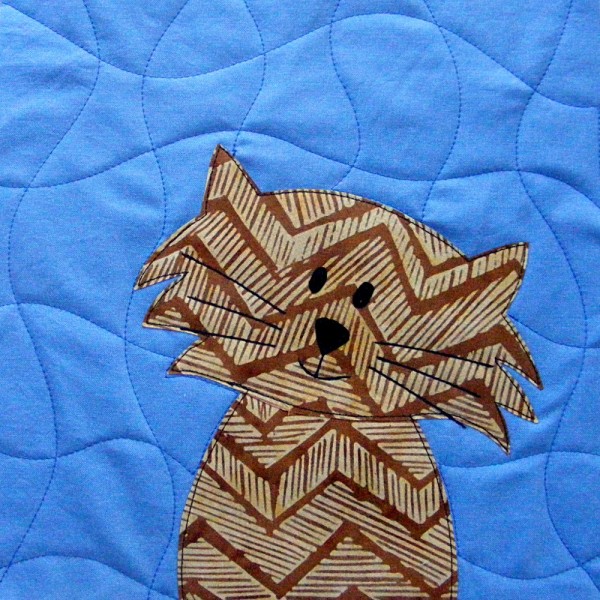
Wavy Stripes
I love wavy stripes! They’re super easy to do and they add lots of life and movement to the background of a block. And they can vary a lot! They can be close together or far apart. Vertical or horizontal. They can intersect for a groovy checkerboard effect. They can overlap for a watery effect. Have fun with them!
Now that you’ve seen some samples, are you ready for the video?
These are REALLY fun to stitch.
Blades
I call this design Blades because I think it looks like blades of grass – especially on the green background fabric you see in the image. 🙂
Blades is a good pattern for working around an existing applique image, and you can vary the look of it by using squared-off ends instead of pointy ones.
Here are a couple of blocks with Blades quilting.
pointy bladespointy bladesblunt blades
Now that you’ve seen some samples, here’s the video showing how.
See how easy?
Teeth
In this video I show you how to quilt Monster Teeth – another fun and easy pattern.
You can make flat, plant-eating teeth or sharp, meat-eating teeth – and they can run vertically or horizontally. Take a look at these sample blocks.
horizontal flat teeth
Now that you’ve seen some samples – here’s the video showing how.
See? Easy peasy. 🙂
Square Squiggles
I call this design Square Squiggles. It’s a fun straight-line adaptation of the loopy designs popular in free motion quilting- and it’s one of my favorite fills.
You can make your rows of squiggles run across your block or up and down – it’s all good. Take a look at these sample blocks.
sideways squiggles
Now that you’ve seen some samples – here’s the video showing how.
This is really a fun fill. I love the look of it!
Boxes
These interlocking boxes are really similar to the Square Squiggles. I love the mosaic-ish kind of look of this pattern!
It breaks out of the row formation we’ve seen in previous patterns, and that means it take a little more thinking as you go – but it’s not hard. Just give yourself permission to slow down or stop whenever you need to in order to plan your next step.
Take a look at these sample blocks.
Now that you’re seen a sample – here’s the video showing how.
I love this look!
Triangles
These interlocking triangles are a lot like the interlocking boxes. They both take a little thinking as you go, so don’t be afraid to stop after each triangle to plan your next move!
Take a look at these sample blocks.
interlocking trianglesinterlocking triangles
Now that you’ve seen some samples, here’s the video showing how.
See? Not too hard.
Echo Quilting
This is the only design I ever use where you really need to do the applique first. (Again – I usually quilt, THEN applique.)
Echo quilting is really fun and easy – just be sure you’re outlining a relatively simple shape. It also works great for pieced geometric quilts.
I like to vary the amount of space between my echo lines, but if you want perfectly even spacing, using the edge of your presser foot as a guide works great.
Here are a couple of blocks with echo quilting.
somewhat wide echo quiltingnarrower echo quilting
Now that you’ve seen some samples, are you ready for the video?
See how easy?
This kind of quilt design really puts the emphasis on your applique because it draws your eye right in to it.
So there you are! A gallery of ideas to get you started with Quilt As You Go. These are just the beginning! See what designs you come up with!
Here are links to all the posts about cutting your blocks.
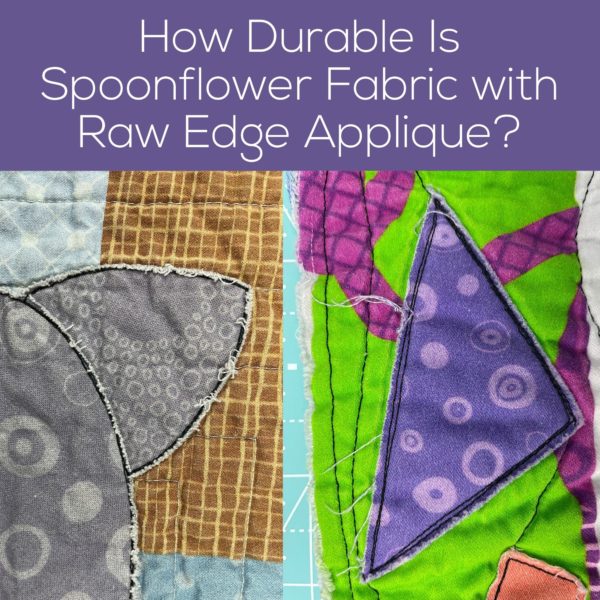
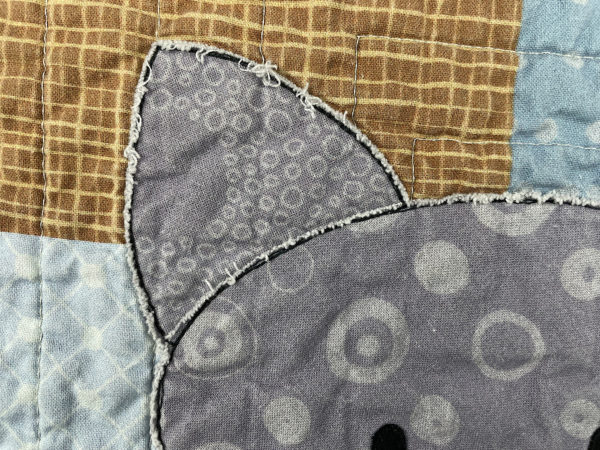
I get a lot of questions about how durable it is to do raw edge applique with fusible adhesive – especially the way I only outline it with straight stitching instead of a wide satin stitch.
I’ve got a post about that here where I showed one of my daughter’s quilts after almost two years of use with lots of laundering.
One of the caveats in that post is that the quilt was made with good quality fabric. Fabric from a quilt shop, fabric from a big box fabric store, and fabric from a discount store like Walmart are all printed on different quality base fabrics – with the price usually going up with the quality.
When I started using Spoonflower fabric with my quilts I wanted to test just how well their fabric holds up to repeated washing and drying. And they print on several different fabric bases so I wanted to test it on more than one.
For my daughter’s quilt, I washed it. . . like a quilt. That means cold water wash in a front-loading machine and drying on something hot but not the hottest setting. I also didn’t keep track of how many times I washed it in that almost-two years.
For this test I wanted to be even more rigorous – and more controlled.
I made up two samples. For each sample I quilted a background block, then fused on my applique and stitched around it – just like my quilts.
Then I threw it in every load of laundry I did until each sample had been washed and dried twelve times.
I was not gentle.
When I washed them with clothing I washed them in cold water and dried them on hot.
When I washed them with towels I washed them in hot water and dried them on the hottest setting.
For the record – I would NEVER wash an actual raw edge applique quilt in hot water, I would never dry it on the hottest setting, and I would NEVER wash it with towels. So rough! They’ll rough up those raw edges like nothing else will. What I’m showing you here is the worst-case scenario that would result from really abusing your handmade quilt.
Update – a lot of people have asked about color-fastness. I wish I had thought to take before photos just to show the color! But I didn’t, so I’ll just have to tell you that I’ve been very happy with the results. As you look at the photos below, the Petal Signature Cotton looks really faded next to the bright colors of the Organic Cotton Sateen. It’s not. Those started out as very greyed-out, muted colors for an Arctic Chill quilt I was working on. It’s a really unusual color palette for me, so looks very faded compared to almost everything else you’ll see here at Shiny Happy World, but that was by design and has nothing to do with the washing and drying. 🙂
So here are the results. . .
Petal Signature Cotton
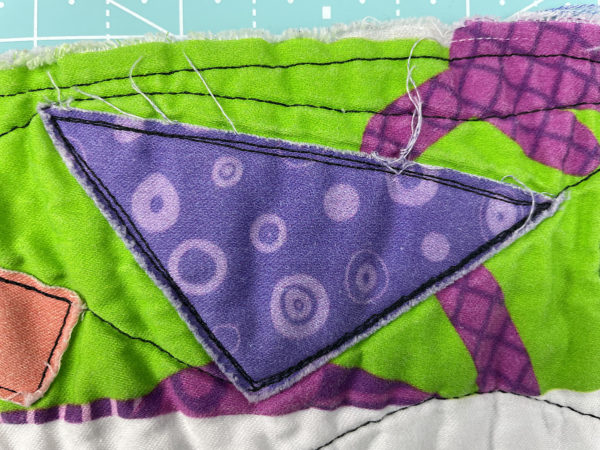
The first sample is printed on Petal Signature Cotton. That’s Spoonflower’s basic quilting cotton, and I think it’s their least expensive fabric.
There’s definitely some fraying – an amount that’s desirable to many people. In fact, some people deliberately scuff up the edges with a wire brush to get it to look exactly like this.
One important thing to note is that even though there is some fraying on the edges, in no place is the piece lifting up. In other words – the fraying doesn’t go past the stitching line. The edges fray, but the entire patch remains intact.
Organic Cotton Sateen Ultra
The second sample is printed on Organic Cotton Sateen Ultra. This fabric feels like quilting cotton, but it’s a little bit smoother. It’s not shiny (it’s sateen, not satin) but it does have a little bit of a sheen to it.
One of the reasons I wanted to test this fabric is because it’s wide. The printed area is 56 inches wide, compared to 42 inches for the Petal Signature Cotton – wide enough to back one of my napping size quilts with no piecing.
It’s more expensive than the Petal Signature Cotton – but not as much more as it seems at first glance, because it’s more than a foot wider and that adds up to a lot more fabric.
So let’s see how it did!
Very, very little fraying. The two sides of the triangle cut on the straight grain have almost none – and even the bias hypotenuse edge has a few long threads (easily snipped), but not much general fraying at all.
It’s worth noting that NONE of the fraying showed up until the first time I threw it in a hot wash with towels.
So there you are!
If you’re doing raw edge applique with fusible adhesive, think about the kind of fraying you find desirable.
If you like a soft frayed edge, I recommend the Petal Signature Cotton.
If you want as little fraying as possible, I recommend the Organic Cotton Sateen.
For several years now I’m been putting together color-coordinated fabric bundles and selling them in my shop. Now I’m transitioning to selling my own fabric designs through Spoonflower. I’ve had a lot of people ask why I’m making that switch – which is a great question.
There are actually a LOT of reasons.
I has been physically hard for me to cut and bundle fabric.
I injured my shoulder last year and it’s just not getting better – partly because the movements required to stack the bolts and cut the fabric are exactly what I need to stop doing. I invested in some tools to make cutting easier, but it’s not enough. I looked into hiring someone to do that for me, but I don’t sell enough on a regular-enough schedule to make that really work.
By shifting my fabric palettes to Spoonflower, they do all the heavy lifting.
Regular commercial fabrics go out of print really fast.
Every time I assemble a bundle I really love, I’m super lucky if I get to reorder it as-is more than once. Then one or more of the fabrics go out of print and I have to start all over again, ordering samples, trying to create a comparable color palette with all new fabrics. I have to cross my fingers that all the colors in the bundle will ship, and that they all ship in the correct amounts. And every time I create a new bundle I have to take all new photos. It’s a LOT of work to go through in order to create a bundle that always FEELS like it’s made with the same fabrics.
Also, I get a LOT of requests from people for very specific fabrics they see in my sample blocks – and most of the time those fabrics are no longer available.
With Spoonflower, I create exactly the palette I want and it’s always available. None of these fabrics will go out of print.
Now you can buy yardage.
I’ve never set out to be a fabric store. I’m not set up for cutting fabric every day, so when a fabric shipment arrived I immediately cut and bundle all of it. Bolts are never all the same length so any bolts that are longer than the shortest bolt in the bundle are available as leftovers you can buy by the half yard – but that isn’t nearly enough for people who want to get, say, an extra 2 yards of their favorite fabric in the bundle to use as the backing and binding. That just isn’t something I can do.
With Spoonflower you can buy small amounts of the fabrics for the individual blocks, and more yardage of your favorites for backings and bindings. You can even get your favorite prints on other fabrics like fleece and minky to make coordinating stuffed animals and extra-snuggly quilt backs.
You can buy just what you need.
Let’s say you’re making a Woodland Critters quilt. You’re going to need a lot of medium and dark brown and very little rust. In the old bundles you were getting an equal amount of each fabric. Now you can create your own bundles that are exactly what you need.
You can also build in more variety of your favorite colors. For example, instead of just one dark purple and one light purple in the old Rainbow Brights bundle, now you can shop by color and find a range from dark to light of that exact hue, so you know they’ll look good together. You can create your own bundles using exactly the prints you love, knowing that all the colors will go together.
And if you run out of dark purple, you can order more of exactly the fabric that you like the best and use the most. 🙂
Cheater Quilts and Coordinating Prints
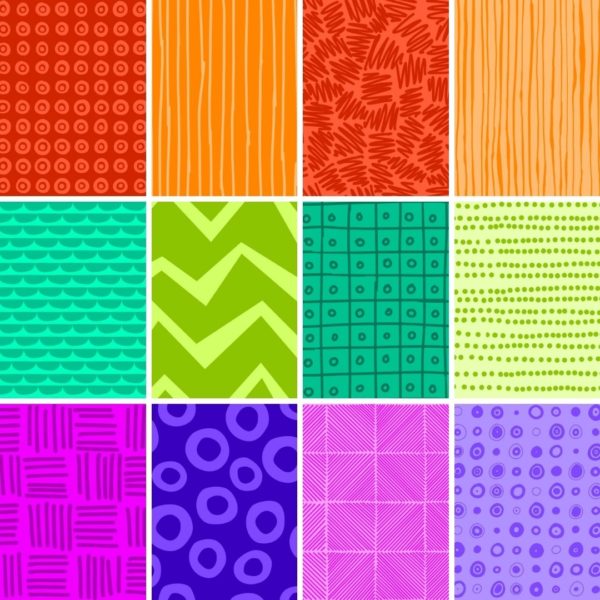
Most of what I use in my own quilts are tone-on-tone blenders – but sometimes it’s nice to have a more complex coordinating print to use in alternating empty blocks, for sashing, or as the quilt back.
Since I’m the designer for both the blenders and the coordinating prints – I can make that happen!
I designed both of these using the exact same colors as the Gemstone Blenders.
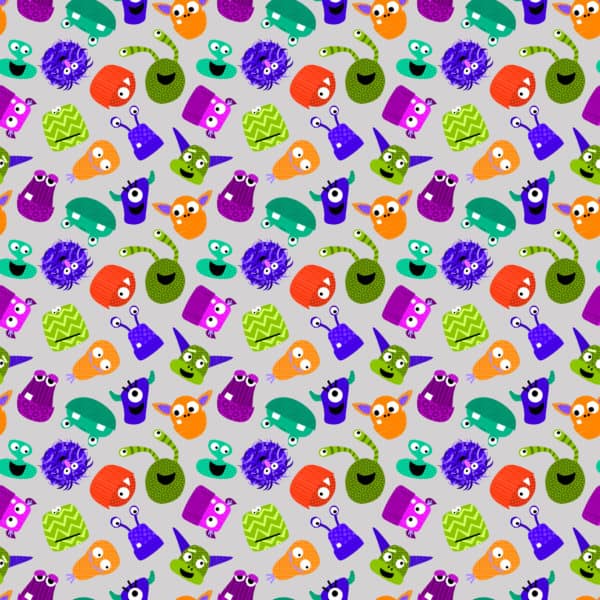
So you can make a Mix & Match Monsters quilt using all the fun tone-on-tone prints from the Gemstone Blenders for your applique, checkerboard them with some non-applique blocks in the tumbling monster heads print, and use the cheater quilt as the backing.
Super fun!
Bonus – if you make that quilt for your baby, and they want a matching monster dress when they’re a toddler – the fabric will still be available!
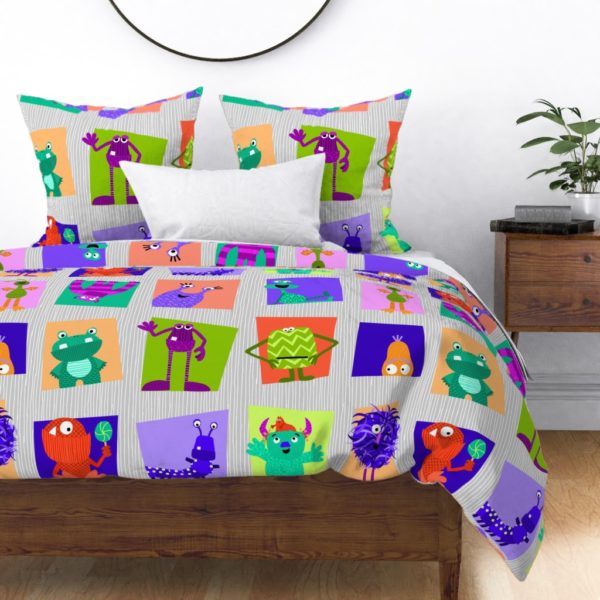
Ready Made Items
If quilting isn’t your thing, Spoonflower offers ready-made duvet covers (and other home decor items) in all their fabrics. 🙂
And if quilting is your thing, but you also like other coordinating things, now you can get art prints and printables and other items that match the fabric you use in your sewing projects.
Fancy!
I Love Designing Fabric
Finally – I’m making the switch because I love designing fabric. 🙂
I have Very Strong Thoughts about what kind of fabric works for applique – and now I can design exactly what I want to use. And I love making fabric that coordinates perfectly with the characters in my patterns!
I hope you love using it as much as I love designing it. 🙂
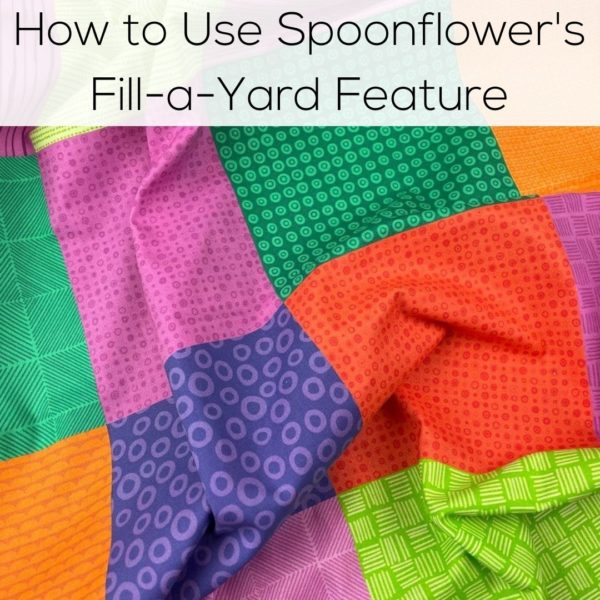
One of the niftiest features they have on Spoonflower is their Fill-a-Yard. It allows you to print a LOT of different designs on a single yard of fabric. So cool! And so cost-effective, too. 🙂
In this video I walk you step by step through how to fill a yard. You can make 6 inch squares (a nice small amount for applique), 12 inch squares (great for background blocks), 6 x 12 inch rectangles (perfect for half-blocks), 12 x 24 inch rectangles (perfect for double blocks), 18 inch squares (great for pillows), full-width stripes (terrific for binding) and more!
Here’s how to do it. . .
I love using this feature to create something resembling pre-cuts. They’re not cut yet, but they’re printed on the fabric so they’re super easy to cut AND I can wash them while they’re one full yard so no shredding or twisting in the wash. Awesome!
Buy pre-made items like duvet covers, sheets, and curtains.
Get your favorite prints on comfy knits for kids clothing.
Spoonflower is FANTASTIC! I’ve been buying their fabric for personal use (clothing and home decor) for over a year now and I’m just thrilled with the quality. I’ve been dreaming of designing fabric for years now, and I’m so excited that it’s finally happening.
I can’t wait to see what you all make!
Here are links to all the posts about choosing fabric.
When I say 10-inch square – that means that’s the FINISHED quilt block size. After you sew it all together, then the block is ten inches square.
To get those finished 10-inch squares, I like to cut my blocks 11 inches square. That way I have a little wiggle room – and I LIKE wiggle room. I quilt my block, then applique it, and then trim it down to 10 1/2 inches square so that when I sew the blocks together using a quarter inch seam allowance, my finished blocks are ten inches.
Easy peasy. Cut all blocks 11 inches square.
But what about half blocks? And double blocks?
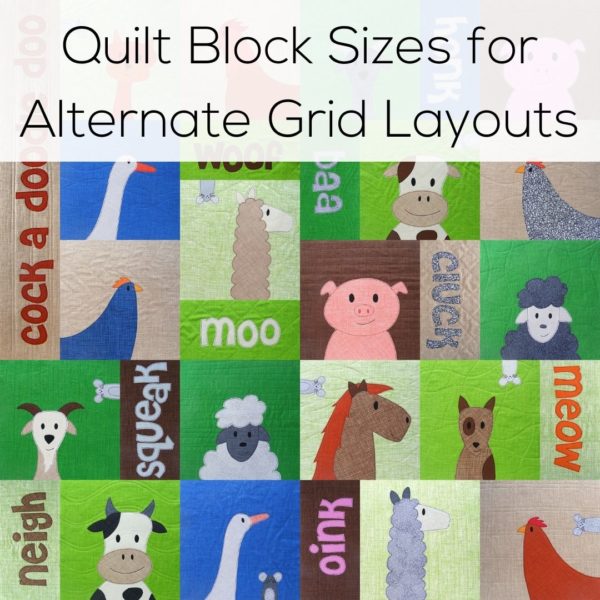
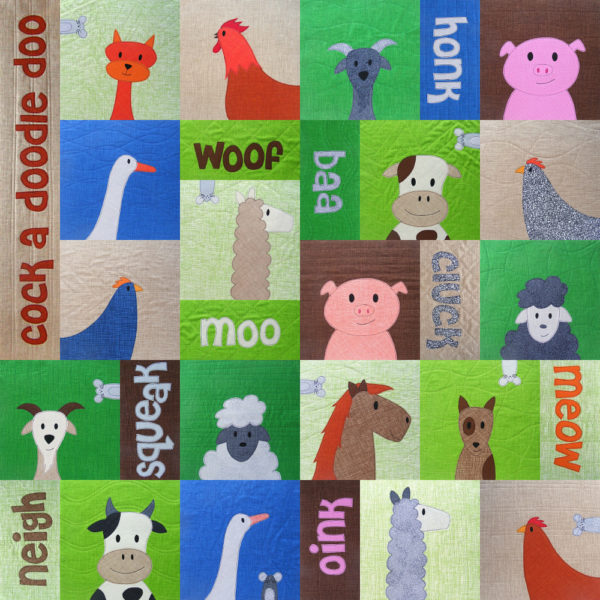
Varying quilt block sizes is a great way to break up that straightforward grid.
You can do that with any of my quilt patterns! Half blacks are an especially easy way to add words to the layout using this free alphabet applique pattern.
There’s also a tiny little trick to cutting these different quilt block sizes.
If you cut the square blocks 11 inches square, you might think you just cut that in half for a half block – but you have to remember to allow for a seam allowance!
To do that we need to start with the finished block size.
So. . .
Your half block will finish at 10 inches x 5 inches.
Cut your starting block 11 inches x 6 inches.
After you do your applique and quilting, trim to 10 1/2 x 5 1/2 inches.
All set!
Do the same thing for double blocks.
Your finished size will be 10 inches x 20 inches.
Cut your starting block 11 inches x 21 inches.
After you do your applique and quilting, trim to 10 1/2 x 20 1/2 inches.
Done!
Now that you’ve got some different quilt block sizes you can use to play with – try breaking up the grid on any of your standard quilt patterns!
Find links to all the posts about pattern size and layouts here.
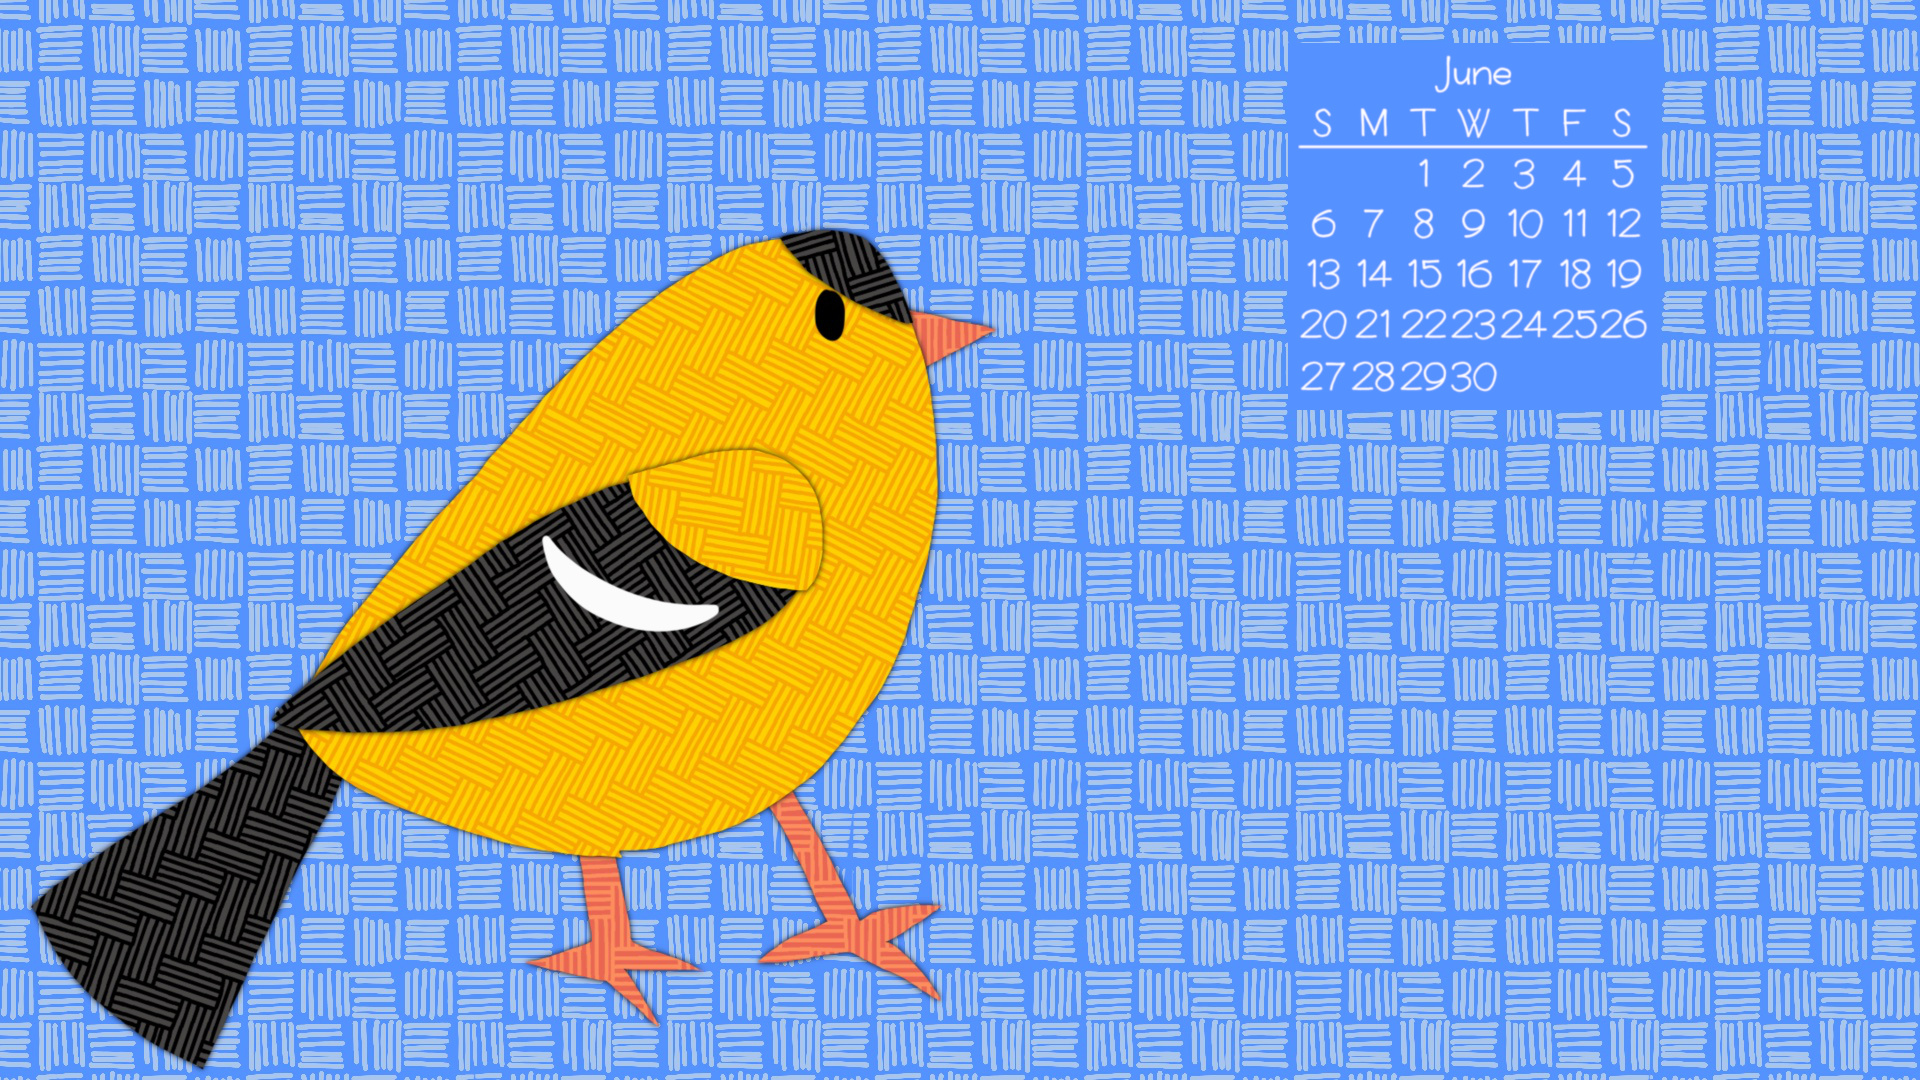
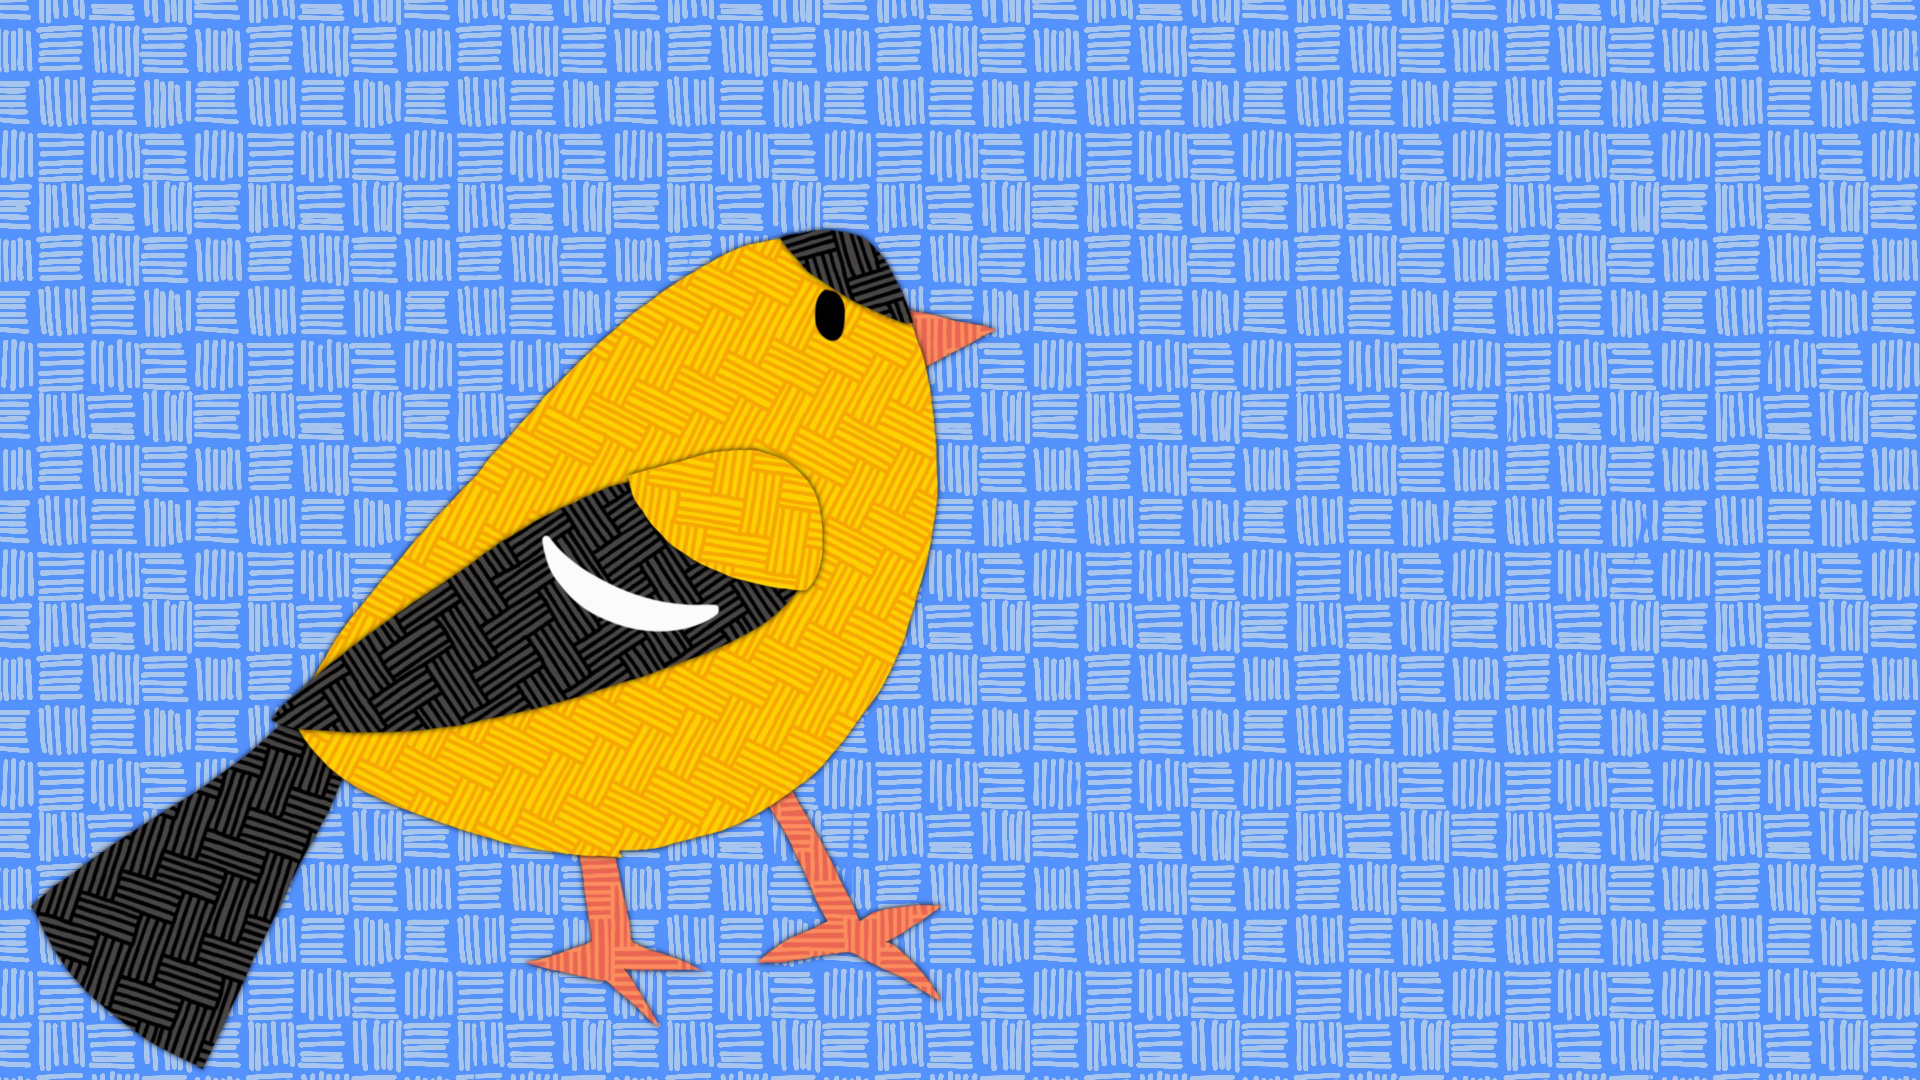
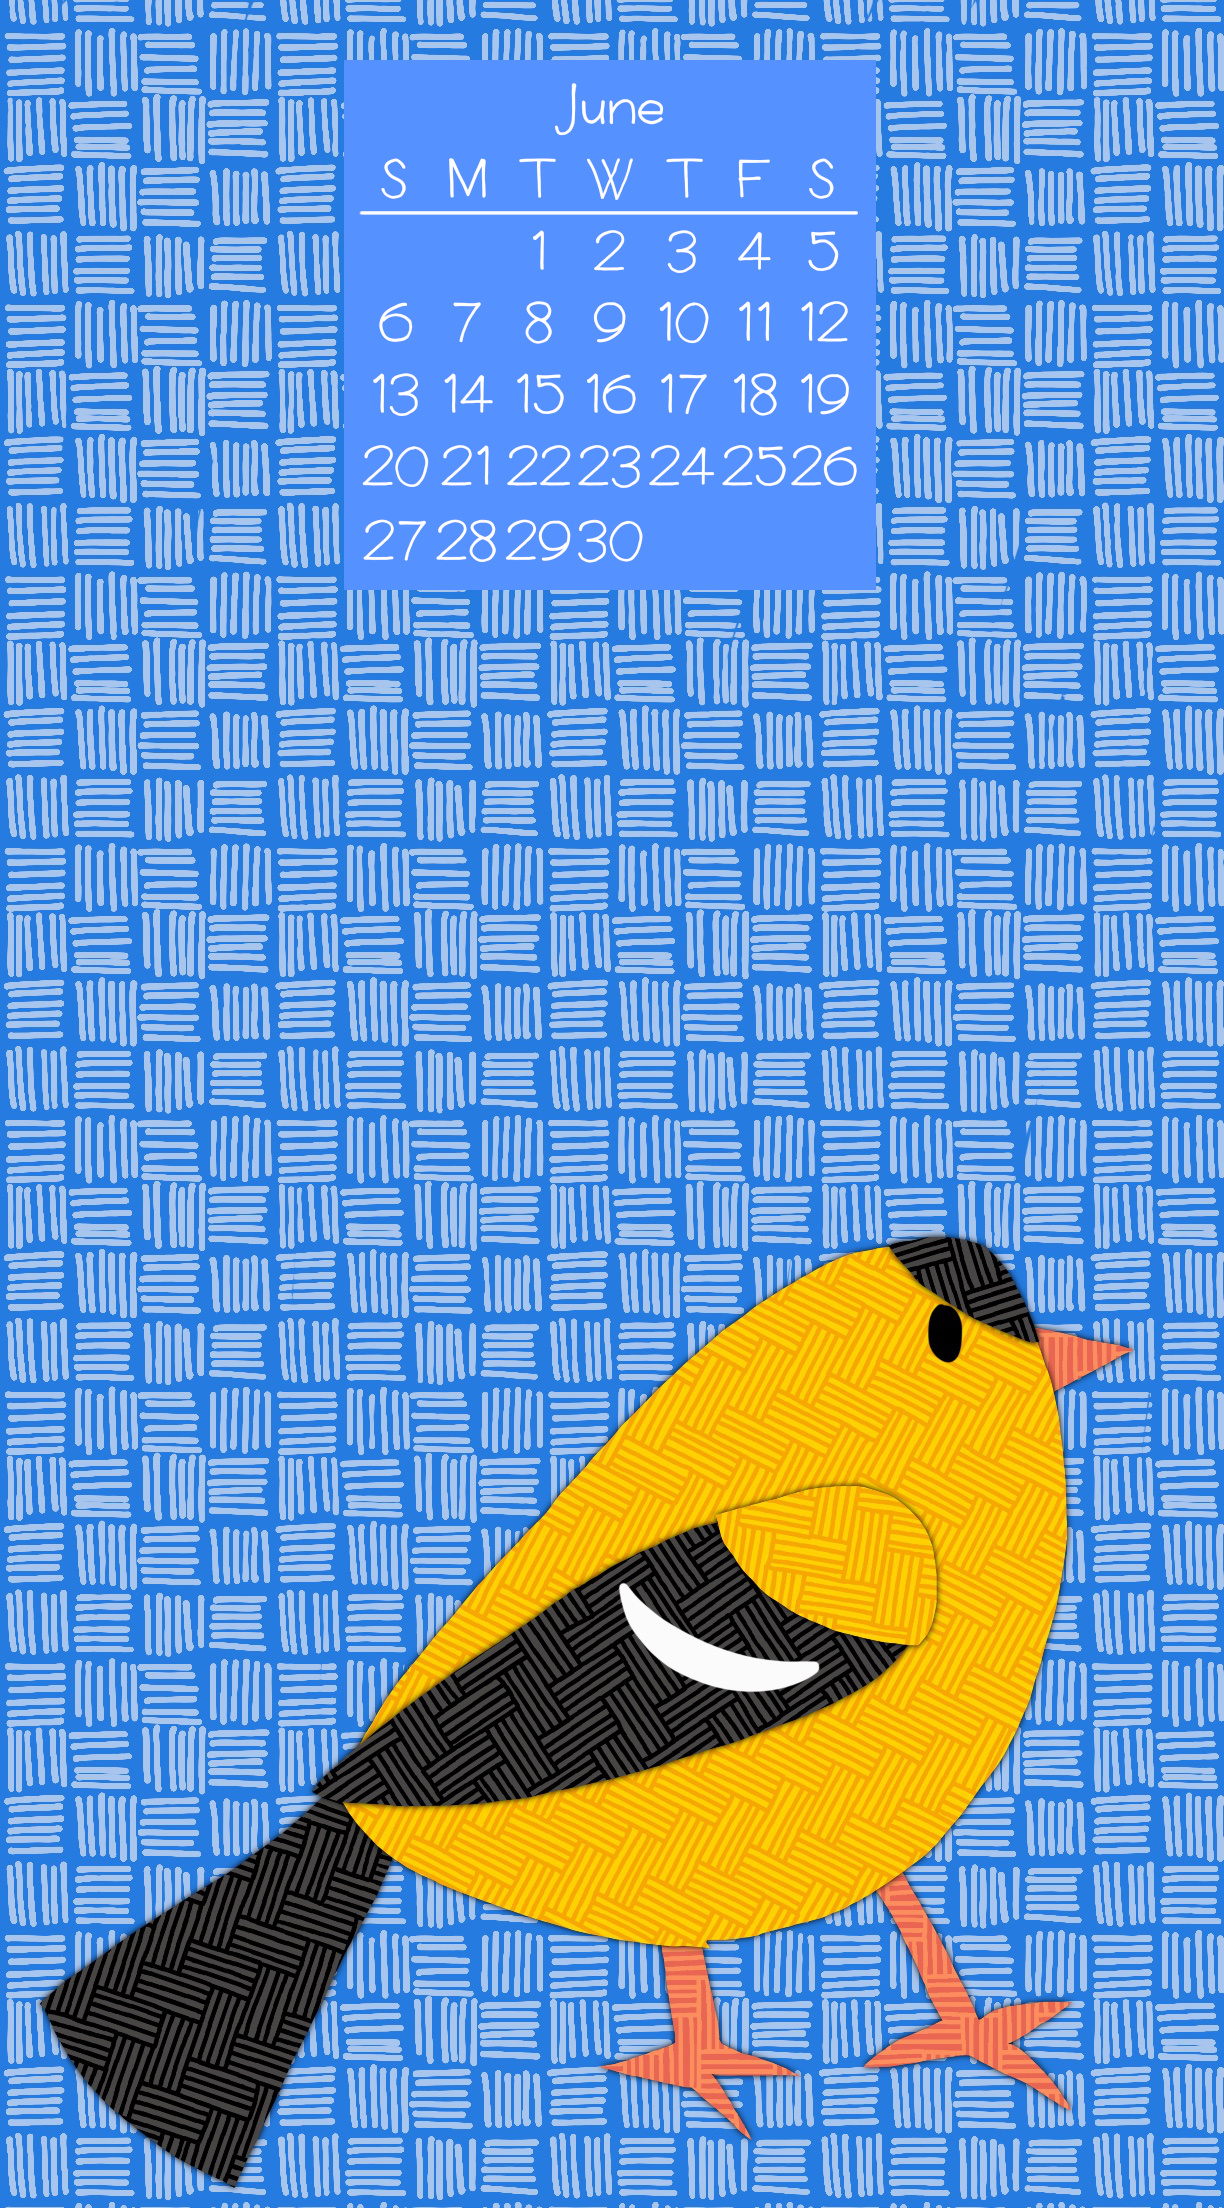
Happy June! Here’s your new monthly wallpaper for computers and phones and other devices!
I’m still really excited about the new Backyard Birds quilt pattern, so I thought I’d share the drawing that started it all.
In 2020 I finished the 100 Day Project for the first time. I broke the project up into ten mini-projects – each with its own theme. One of the last themes I did was Birds, and as I was drawing my second bird (this goldfinch) I started to wonder about the possibility of creating a set of templates that could be used to create almost any songbird. I played with the idea for ten days and decided it WAS possible! This year I finally made that happen, testing out a new pattern by creating over 100 different birds from one set of mix & match templates. That was my 100 Day Project for 2021!
Download your wallpaper for computers, phones, or tablets below. You can get it both with and without the June calendar, in case you want to keep that pretty goldfinch on your screens during other months of the year. 🙂
All of my quilt patterns are really just starting places. I design everything based on a 10-inch square grid, so that you can mix and match individual block patterns however you like.
Even if you buy one of my multi-block patterns or bundles, the layout I use for my samples is just one way to put your block together. I may show the Lovable Mutts laid out in a simple grid, but you might want to add half blocks full of barks and yips and howls and woofs. Go for it!
If you purchase your own collection of individual block patterns, or decide to use a different layout than the sample I made for a pattern, you lose the handy materials list, cutting instructions, and assembly guide for all the different quilt sizes I show in my samples.
That’s where these guides come in!
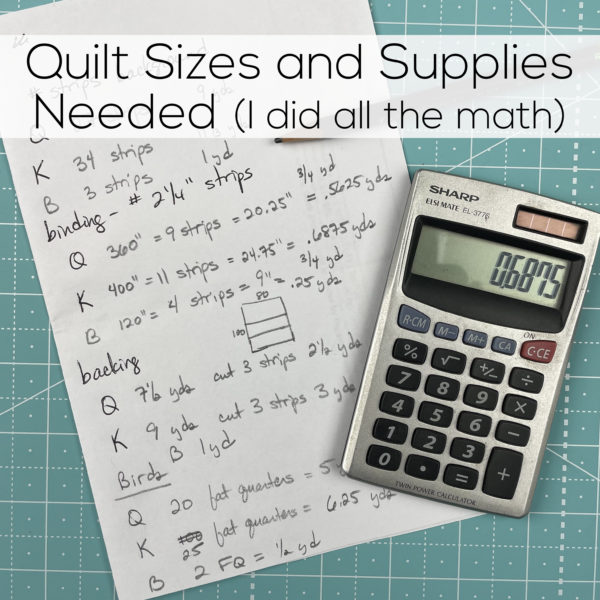
There’s no reason for every individual to have to calculate all the math for all the different quilt sizes and layouts. I can do that once and then share it for everyone!
Each of the guides below is a downloadable PDF for one layout style. It includes all the following information for six different quilt sizes, from Itty Bitty Baby to King size.
fabric requirements
cutting instructions for background blocks, backing, and binding
quilt assembly diagram
backing assembly diagram (where any piecing is needed)
links to tutorials for quilt assembly and finishing
All fabric requirements are based on 40-inch wide fabric.
Pick Your Layout
If you need more info about what the different layouts look like, you can see lots of examples of each layout style in this post – Play with Your Layouts.
Choose your layout and click on the link below to download your PDF.
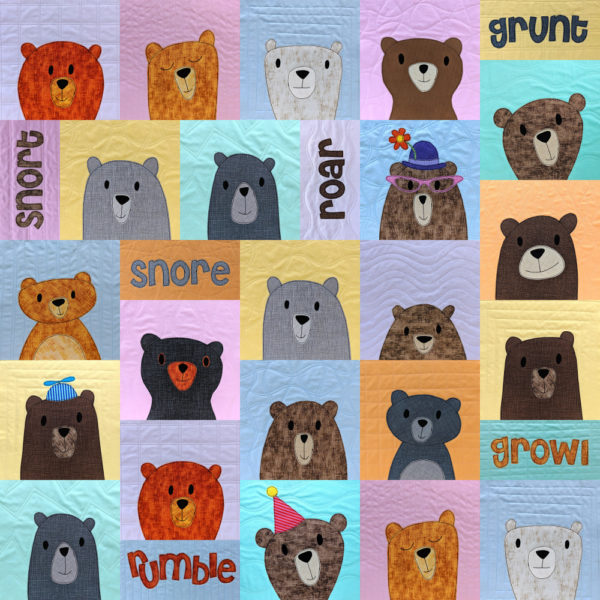
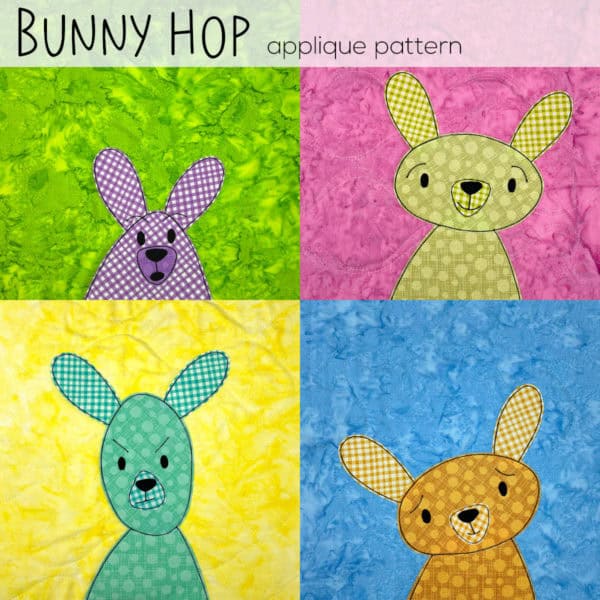
Yep, the 15th of the month means it’s pattern release day in the Funny Faces Quilt Block of the Month Club!
The new pattern this month is a bunny.
But not just any bunny.
See those four bunnies? They were all made with the same pattern pieces!
The pattern includes one head, one body, one muzzle, and two ears – but it has four different eye/eyebrow sets and four different mouths. By twisting and turning the applique pieces and swapping out the eyebrows and mouth – you can create a kajillion different bunnies.
That’s right – your applique blocks can multiply like rabbits. 🙂


