Get and Prepare Your Supplies – Let’s Make a Quilt

Once you’ve chosen your pattern, the size you want to make, the layout you want to use, and the fabric you love – it’s time to go shopping!

Lots of the posts about choosing fabric also mention where you can get it.

In addition to fabric, there are some other things you’ll need, like thread, batting, etc.

These links go to all my posts about quilt supplies.

Finished with this topic?

Return to the Let’s Make a Quilt main Table of Contents.

Move on to the lessons about cutting and quilting your background blocks.

SHARE THIS

Choose Your Fabric – Let’s Make a Quilt

Now that you’ve chosen your pattern and the size and layout you want to make, it’s time to choose your fabric!

For some people this is their favorite part, and for some people it’s the most stressful.

Here are links to all the posts about choosing fabric.

And here are links to posts about using specialty fabrics.

Finished with this topic?

Return to the Let’s Make a Quilt main Table of Contents.

Move on the the lessons about getting and preparing your supplies.

SHARE THIS

Choose Your Quilt Size and Layout – Let’s Make a Quilt

Once you have a pattern, the next thing you need to do is decide on a size and layout.

Most of my quilt patterns include instructions for just three sizes, and just a basic layout – but you have so many options! In the posts below you’ll find detailed fabric requirements and instructions for quilt sizes from Itty Bitty Baby Size to King Size, and instructions for layouts that add sashing, and lots of alternate settings.

All of my applique patterns (except Paper Dolls) are built on ten-inch squares. That means you can mix and match between the patterns, and you can apply a layout you see in one pattern to any other pattern. Fun!

Find links to all the posts about pattern size and layouts here.

Quilt Sizes and Supplies Needed

Play with Your Layouts – Multiple Possibilities for One Quilt Pattern

Sashing

How to Make Applique Bust Out of Its Frame

Alternate or Broken Grid layouts (adding half and double blocks)

How to Make an Applique Rag Quilt

How to Make a Polaroid Quilt

How to Make a Wonky Churn Dash Frame for Any Block

Finished with this topic?

Return to the Let’s Make a Quilt main Table of Contents.

Move on to the lessons about choosing your fabric.

SHARE THIS

Choose Your Pattern – Let’s Make a Quilt

Before you do anything, you’ll need to choose a pattern. 🙂

You can, of course, use the techniques and instructions I’ll be giving you with any pattern, but there’s a post below with a quick rundown of several of my patterns, arranged by difficulty. It has info that will help you to see what exactly makes a pattern easy or difficult.

There are lots of patterns for individual blocks too – including free patterns. Those patterns don’t include instructions for making a full quilt, but you’ll get that instruction in this series – so feel free to start with one of them.

You do not HAVE to start with one of the easiest patterns!

I’m a big believer in choosing a pattern that really excites you and then just taking it slow enough to learn as you go. But that’s my learning style and you know your own style best. How comfortable are you with fiddly bits? Does making a mistake ruin all the fun for you? Do you like to sew really fast and going slow makes you want to stab things?

Think about what makes sewing fun for you and choose your pattern based on that.

Here’s a list of links all about choosing a quilt pattern – and even designing your own!

Return to the Let’s Make a Quilt main Table of Contents.

Move on to the Choose Your Quilt Size and Layout lessons.

SHARE THIS

Basic Tools – Let’s Make a Quilt

I’m going to make a distinction here between tools and supplies. Tools are the things that you’ll use over and over again for all of your quilts – like a sewing machine, iron, and rotary cutters. Supplies are the things that get used up with each quilt, like thread, fusible adhesive, and fabric. I’ll cover these in two different lessons.

We’ll start with tools.

Quilting can be a very expensive hobby – but it doesn’t have to be. Here’s info about all the tools I use every day – with notes about which I think are must-haves and which are optional upgrades. You’ll also find info about maintenance here.

Here are handy links to all the posts about quilting tools and supplies.

Sewing Machine

Iron

Rotary Cutting Tools

Scissors

Other General Sewing Room Supplies

One More Hugely Popular Post that Seems to Fit Here Better than Anywhere Else

Return to the Let’s Make a Quilt main Table of Contents.

Move on to the posts about choosing your quilt pattern.

SHARE THIS

Let’s Make a Quilt!

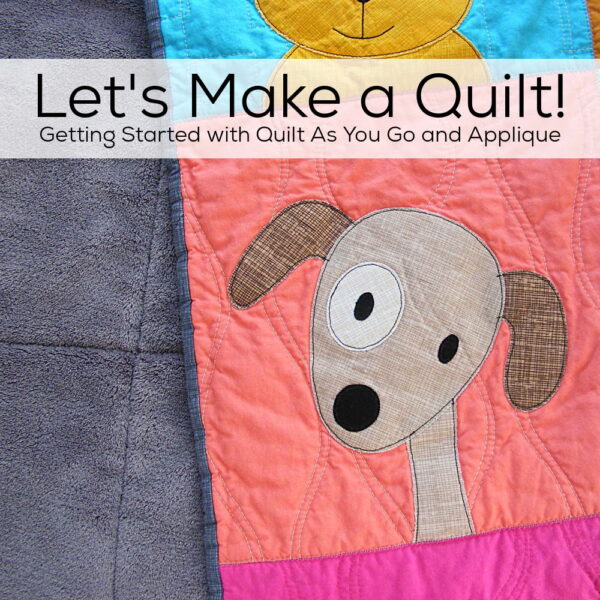
Quilt block of a cute dog face with perky ears and a spot on one eye. Text reads: Let's Make a Quilt! Getting Started with Quilt As You Go and Applique

Let’s learn how to make a quilt!

Any time you make a quilt – even if you’re working from a pattern – there are a bunch of decisions you have to make along the way. Options you need to choose. Maybe skills you need to learn.

I’ve organized here all the quilting tutorials on Shiny Happy World into groups that answer those questions you’ll be asking along the way. Think of this page as the table of contents linking out to all the info you’ll need.

If you’re just getting started, you’ll be able to work systematically through these posts with any Shiny Happy World pattern. There’s even a post about choosing a pattern! And there are plenty of free options if you just want to test out my method for Quilt As You Go and applique with fusible adhesive to see if you like it before you commit to a whole quilt.

So jump right in!

Each of these links will take you to a page with more info on that topic – usually including links to other pages with more detailed info and tutorials.

Each of those pages will have suggested links to keep moving you through the lessons. There will also always be a link back to this – the main Let’s Make a Quilt page – so you can refer back to the main Table of Contents as needed and jump to any topic you like.

Basic Tools

Choose Your Quilt Pattern

Choose Your Quilt Size and Layout

Choose Your Fabric

Get and Prepare Your Supplies

Cut and Quilt Your Background Blocks

Applique Your Blocks

Outline Stitch

Trim and Assemble Your Blocks

Basting and Final Quilting

Bind and Finish Your Quilt

Using Shiny Happy World Applique Patterns to Make Things That Aren’t Quilts

That’s it!

There’s a similar table of contents for all my embroidery tutorials here.

I’ll be adding posts to organize all the tutorials for crochet and sewing stuffed animals soon.

Happy stitching!

SHARE THIS

Funny Faces Quilt Block of the Month Club Pattern List

Here’s a complete list of all the patterns released so far in the Funny Faces Quilt Block of the Month Club.

2019

March – Paxton Penguin

April – Heidi Hedgehog

May – Harrison Horse/Ursula Unicorn

June – Frasier Frog

July – Darius Dragon

August – Taylor Turtle

September – Tucker Tiger

October – Yeti

November – Kevin Koala

December – Serena Seal

2020

January – Benjamin Badger

February – Russell Rat

March – Ginny Giraffe

April – Sanford Squirrel

May – Liz Llama

June – Mo Muskox

July – Troy the Tree Frog

August – Eloise the Emu

September – Corbin the Camel

October – Marcellus the Monster

November – Tom the Turkey

December – Shinji the Snow Monkey

2021

January – Ellen the Elephant

February – Lovebirds

March – Bunny Hop

April – Mama and Baby Kangaroo

May – Papa and Baby Penguin

June – Carter Chameleon

July – Danny Dragonfly

August – Weldon Wombat

September – Gracie Goat

October – Birds of Prey

November – Fluffy the Puppy

December – Scarlett Skunk 

2022

January – Calvin Cockatiel

February – Thaddeus Tiger 

March – Sullivan Snail 

April – Reena the Red Panda

May – Parker the Praying Mantis

June – Silas the Spider Monkey

July – Bellamy Bee

August – Lucien Lion 

September – Oswin Octopus 

October – Octavian Owl

November – Adrian Alligator

December – Zulima Zebra

2023

January – Dawson Donkey 

February – Griffith Groundhog 

March – Declan Deer

April – Leighton Lemur

May – Chad Chimpanzee

June – Colby Cat

July – Billy Bison

August – Madison Meerkat

September – Harper Hippo

October – Hollis Hamster

November – Padgett Pig

December – Grady Gazelle

2024

January – Sam the Shaggy Dog

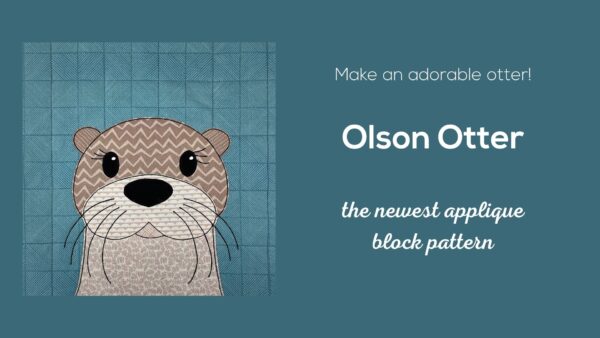
February – Olson Otter

March – Beckham Bear

April – Galen Gorilla (will be available in the shop in late May)

May – Landyn Lizard (or Salamander or Newt)

All the patterns from previous months of the Funny Faces Club are available in the Individual Applique Blocks section of the Shiny Happy World shop.

SHARE THIS

How to Make a Quilt with an Alternate Grid

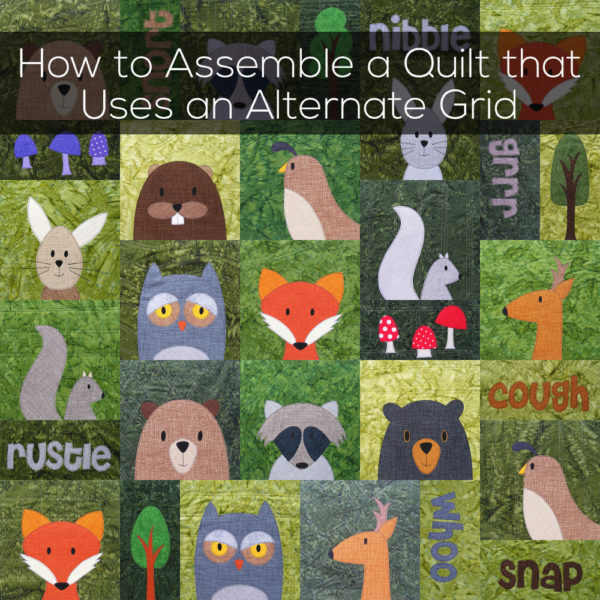
How to Assemble a Quilt that Uses an Alternate Grid - a video tutorial from Shiny Happy World

One of the easiest ways to make your quilt more dynamic is to use an alternate grid instead of a simple checkerboard.

And one of the easiest ways to make an alternate grid is to add half blocks!

It can be tricky to plan and assemble these quilts, but there are really only a few things to keep in mind – fabric requirements, block size, and how to sew those blocks together without any dang Y-seams.

The fabric yardage for my quilt patterns really doesn’t change – so that’s easy.

The size for half-blocks is also easy – once you remember to account for seam allowance. For my quilts (which are all based on a 10-inch grid) the half blocks will finish at 5 x 10 inches. That means you need to trim them (before sewing them together) to 5 1/2 x 10 1/2 inches. That means you need to cut your initial blocks 6 x 11 inches.

That leaves layout and assembly.

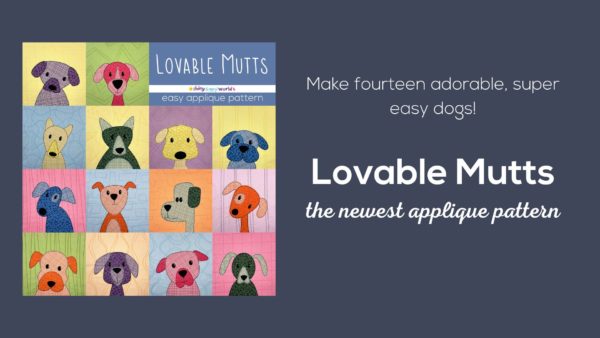
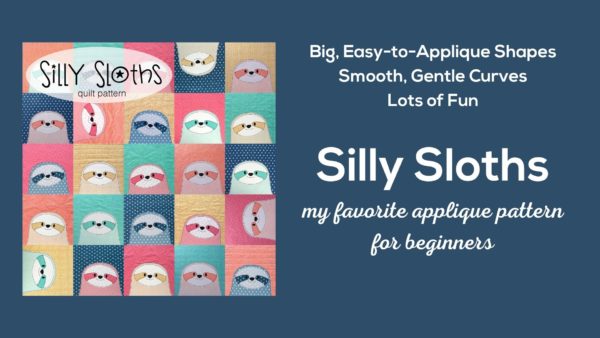
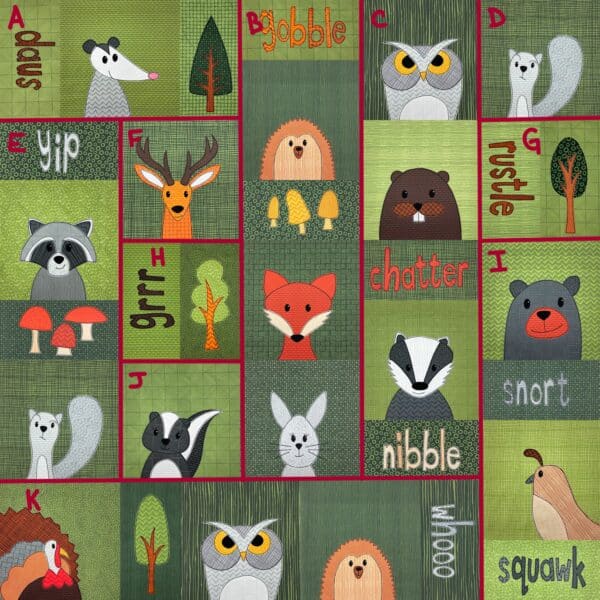
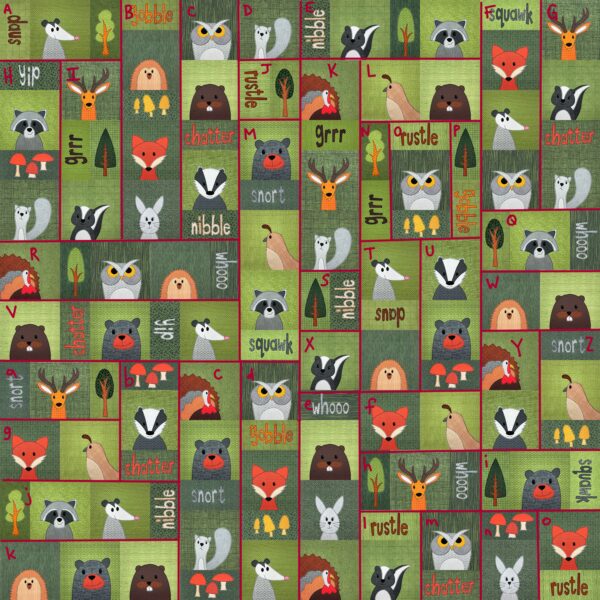
To make things extra easy for you, I’ve created basic templates you can use for six different quilt sizes. The samples all use the Woodland Critters quilt pattern, but you can use these layouts to add half-blocks to any of my patterns. Use the free alphabet pattern to add barks and yips and whines to the Lovable Mutts pattern, add snores to the Silly Sloths pattern, add a name and birth date to a baby quilt. You get the idea!

For each size below I tell you how many full blocks and how many half blocks to cut, give a template you can follow to assemble your blocks in a no-Y-seam layout, and explain in detail how to assemble the blocks. (It looks more complicated than it is – basically I’m just starting with the smallest units and adding to them with each step.)

Get more info about the different quilt sizes here, and get some tips for quilting an alternate block quilt here.

Itty Bitty Baby Size

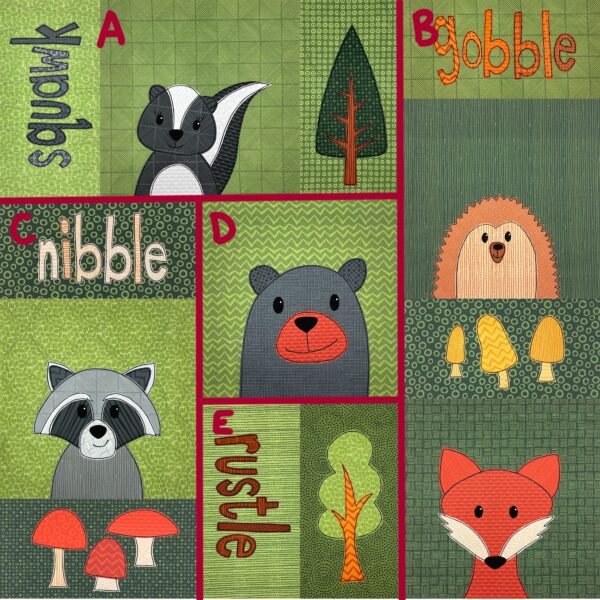
Instead of cutting nine square blocks, cut 5 square blocks (11 x 11) and 8 half blocks (6 x 11).

Sew each “chunk” you see in the diagram, then assemble them as follows:

  • Sew D to E
  • Sew C to DE
  • Sew A to CDE
  • Sew B to ACDE

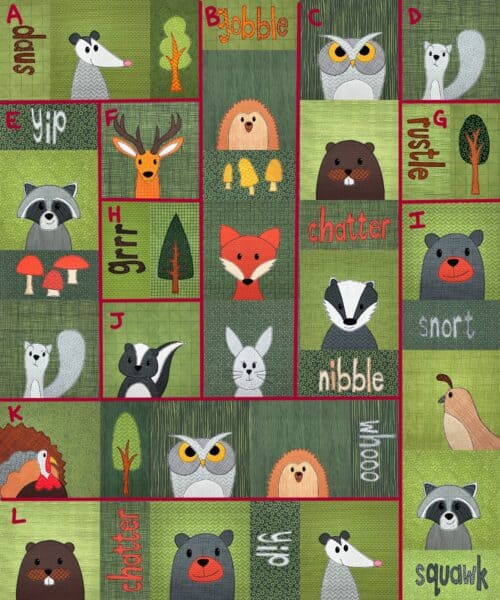
Crib Size

Instead of cutting 25 square blocks, cut 17 square blocks (11 x 11) and 16 half blocks (6 x 11).

Sew each “chunk” you see in the diagram, then assemble them as follows:

  • Sew F to H to J
  • Sew D to G to I
  • Sew E to FHJ
  • Sew A to EFHJ
  • Sew B to AEFHJ
  • Sew C to BAEFHJ
  • Sew K to CBAEFHJ
  • Sew DGI to KCBAEFHJ

Nap Size

Instead of cutting 30 square blocks, cut 21 square blocks (11 x 11) and 18 half blocks (6 x 11).

Sew each “chunk” you see in the diagram, then assemble them as follows:

  • Sew F to H to J
  • Sew D to G to I
  • Sew E to FHJ
  • Sew A to EFHJ
  • Sew B to AEFHJ
  • Sew C to BAEFHJ
  • Sew K to CBAEFHJ
  • Sew L to KCBAEFHJ
  • Sew DGI to LKCBAEFHJ

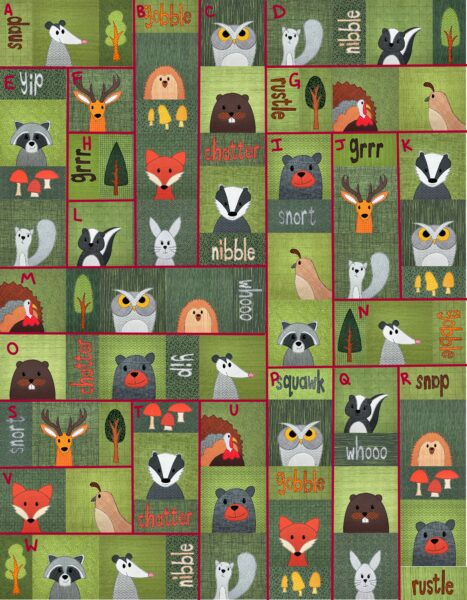
Twin Size

Instead of cutting 63 square blocks, cut 45 square blocks (11 x 11) and 36 half blocks (6 x 11).

Sew each “chunk” you see in the diagram, then assemble them as follows:

  • Sew F to H to L
  • Sew E to FHL
  • Sew A to EFHL
  • Sew B to AEFHL
  • Sew C to BAEFHL
  • Sew M to CBAEFHL
  • Sew O to MCBAEFHL
  • Sew S to V
  • Sew T to SV
  • Sew W to TSV
  • Sew U to WTSV
  • Sew UWTSV to OMCBAEFHL
  • Sew J to K
  • Sew N to JK
  • Sew I to NJK
  • Sew G to INJK
  • Sew D to GINJK
  • Sew P to Q
  • Sew R to PQ
  • Sew RPQ to DGINJK
  • Sew UWTSVOMCBAEFHL to RPQDGINJK

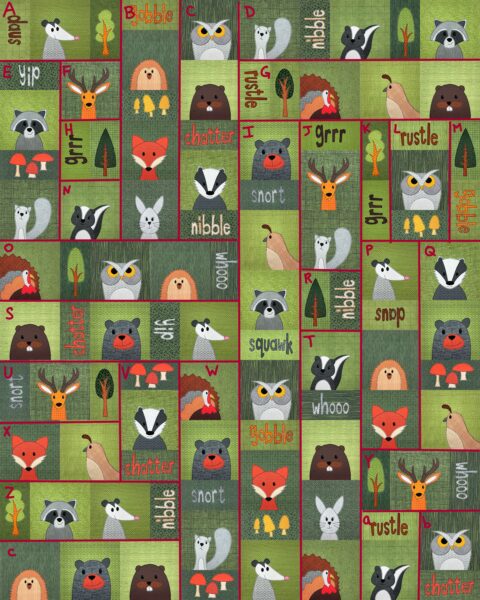
Queen Size

Instead of cutting 80 square blocks, cut 57 square blocks (11 x 11) and 46 half blocks (6 x 11).

Sew each “chunk” you see in the diagram, then assemble them as follows:

  • Sew F to H to N
  • Sew E to FHN
  • Sew A to EFHN
  • Sew B to AEFHN
  • Sew C to BAEFHN
  • Sew O to CBAEFHN
  • Sew S to OCBAEFHN
  • Sew U to X
  • Sew V to UX
  • Sew Z to VUX
  • Sew c to ZVUX
  • Sew W to cZVUX
  • Sew WcZVUX to SOCBAEFHN
  • Sew D to G
  • Sew J to R
  • Sew T to JR
  • Sew I to TJR
  • Sew K to L
  • Sew M to KL
  • Sew P to Q
  • Sew a to b
  • Sew Y to ab
  • Sew Yab to PQ
  • Sew MKL to YabPQ
  • Sew MKLYabPQ to ITJR
  • Sew DG to MKLYabPQITJR
  • Sew DGMKLYabPQITJR to WcZVUXSOCBAEFHN

King Size

Instead of cutting 100 square blocks, cut 72 square blocks (11 x 11) and 56 half blocks (6 x 11).

Sew each “chunk” you see in the diagram, then assemble them as follows:

  • Sew H to I
  • Sew A to HI
  • Sew B to AHI
  • Sew C to BAHI
  • Sew R to CBAHI
  • Sew V to RCBAHI
  • Sew a to g
  • Sew b to ag
  • Sew j to bag
  • Sew k to jbag
  • Sew c to kjbag
  • Sew ckjbag to VRCBAHI
  • Sew D to J
  • Sew M to DJ
  • Sew d to MDJ
  • Sew dMDJ to ckjbagVRCBAHI
  • Sew N to O
  • Sew P to NO
  • Sew L to PNO
  • Sew T to U
  • Sew TU to LPNO
  • Sew f to TULPNO
  • Sew h to fTULPNO
  • Sew l to m
  • Sew lm to hfTULPNO
  • Sew K to S
  • Sew X to KS
  • Sew e to XKS
  • Sew eXKS to lmhfTULPNO
  • Sew E to eXKSlmhfTULPNO
  • Sew EeXKSlmhfTULPNO to dMDJckjbagVRCBAHI
  • Sew F to G
  • Sew Q to FG
  • Sew W to QFG
  • Sew Y to Z
  • Sew YZ to WQFG
  • Sew n to o
  • Sew i to no
  • Sew ino to YZWQFG
  • Sew inoYZWQFG to EeXKSlmhfTULPNOdMDJckjbagVRCBAHI

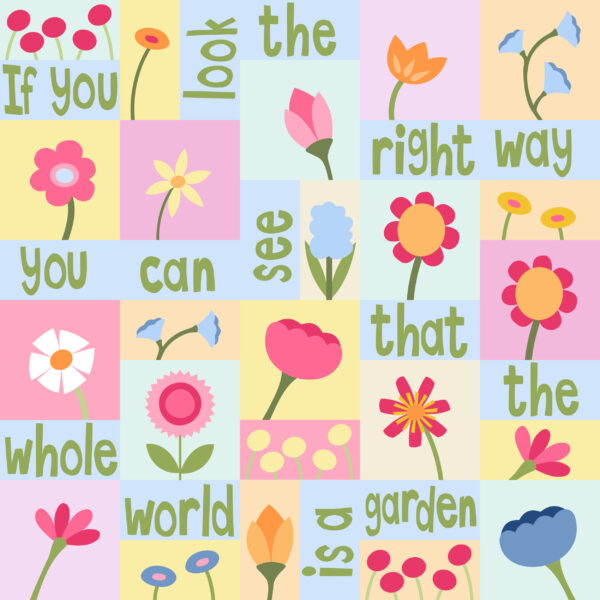
Whew! That King size looks a little crazy – but it’s the same principle as the smaller alternate grids. Just start with the smallest units and build up into larger chunks. There’s a video here walking you though the reasoning and process – especially helpful if you want to create your own alternate grid design and don’t want to end up with Y-seams. Maybe you want to incorporate a quote into a quilt, like I did in this version of the Wild Flowers pattern?

I can’t wait to see what you create with alternate grids!

Find links to all the posts about pattern size and layouts here.

Quilt Sizes and Supplies Needed

Play with Your Layouts – Multiple Possibilities for One Quilt Pattern

Sashing

How to Make Applique Bust Out of Its Frame

Alternate or Broken Grid layouts (adding half and double blocks)

How to Make an Applique Rag Quilt

How to Make a Polaroid Quilt

How to Make a Wonky Churn Dash Frame for Any Block

Finished with this topic?

Return to the Let’s Make a Quilt main Table of Contents.

Move on to the lessons about choosing your fabric.

Happy stitching!

Free Nutcracker Applique Pattern

Want to learn how to make a quilt with an easy online workshop – totally free?

Sign up for Let’s Make a Quilt here. You’ll learn how to get started, the tools and supplies you’ll need, and how to make a quilt from start to finish using Quilt As You Go and applique with fusible adhesive.

It’s the easiest, most fun way to make an applique quilt. You can do it!

Every year (almost) I release a free holiday applique pattern.

Here are the links to the patterns from previous years.

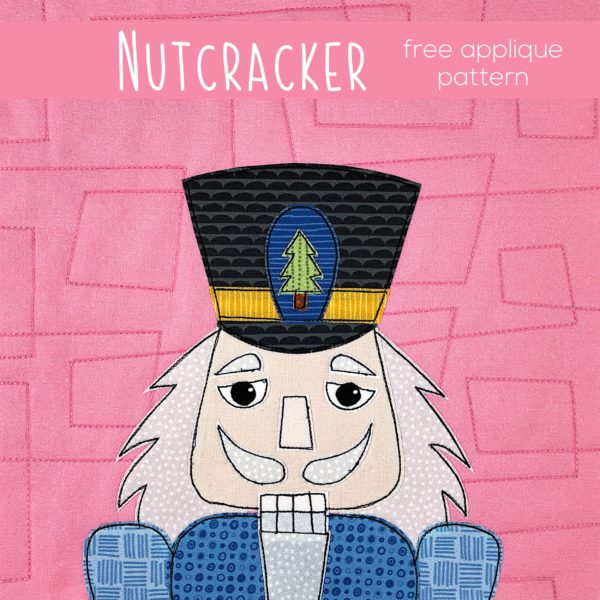
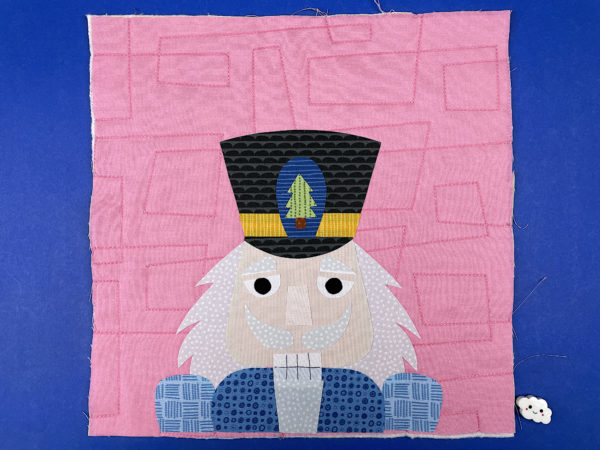
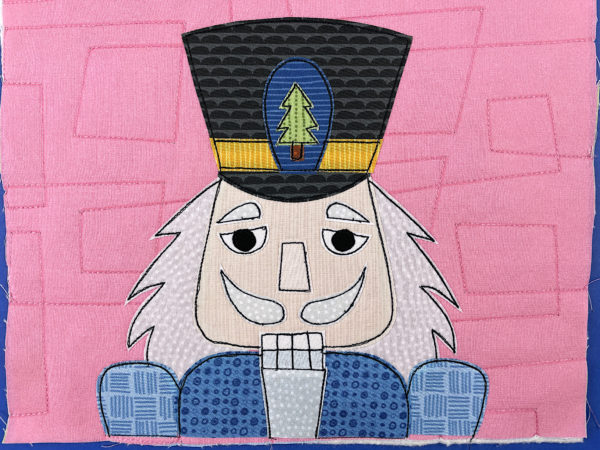
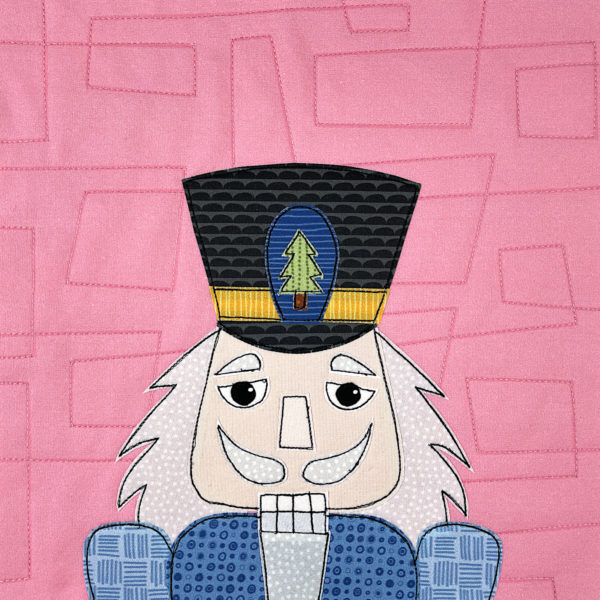
This year I’d like you to meet the Nutcracker!

Now let’s jump right to the instructions!

These instructions assume you’re already familiar with the applique method I use – Quilt As You Go and applique with fusible adhesive.

If you’re new to my patterns, there’s a detailed video workshop here that takes you step by step through the methods I use. It’s totally free, and you can work your way through the lessons using any pattern you like, including this nutcracker pattern!

Step 1

Download the template pieces. If you’re using paper-backed fusible adhesive and cutting by hand, use this link to download the PDF. If you’re using an electric cutting machine, use this link to download the SVG. On most computers that link will take you to a preview of the file. You’ll need to click on the down-arrow icon to actually download it to your computer.

If you’e using an electric cutting machine like a Cricut. . .

  • Upload the file to your machine.
  • Resize if needed. (The small square in the top left corner should be 1 inch.)
  • Ungroup the pieces and assign colors.
  • Cut.

Step 2

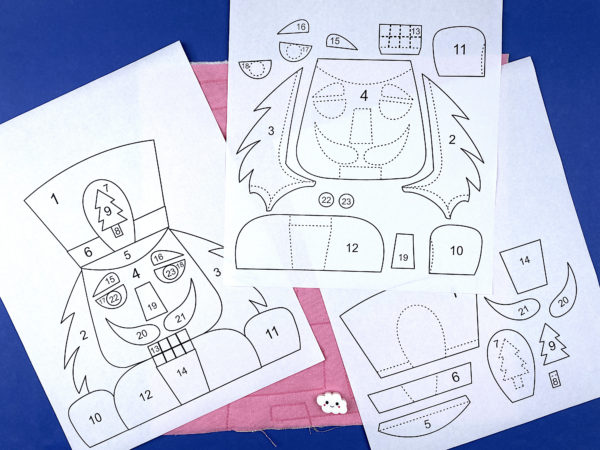
Trace or print the pattern onto the paper side of the fusible adhesive.

I use Heat & Bond Lite for all my quilts, and I love printable sheets because I’m lazy and hate to trace. 🙂

The image has already been reversed, so just trace or print. If you’re tracing, be sure to trace the lines separating the teeth too. You’ll need those for Step 5.

Step 3

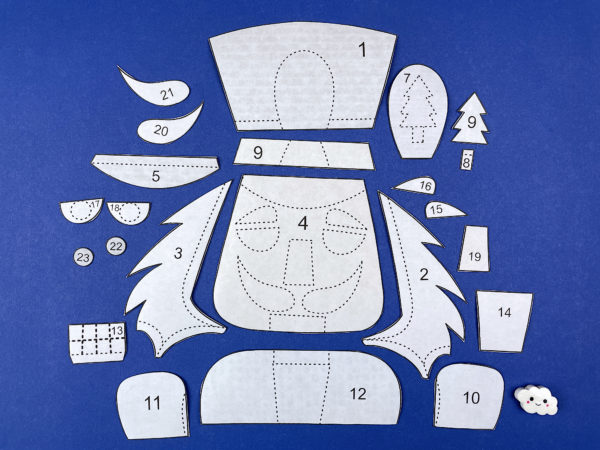
Whoa! That’s a lot of pieces!

It’s ok – the numbers tell you what’s what and there’s a video showing how to layer them up. 🙂

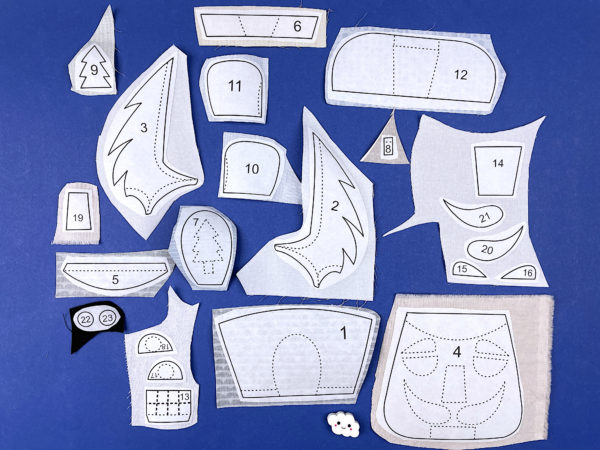
Roughly cut around each shape and fuse it to the back of your fabric.

Step 4

Cut around each piece neatly.

This time you’re cutting directly on the solid lines.

Step 5

Remember back in Step 2 when I told you to make sure you traced the lines for the teeth? Now you’re going to use that. Hold the teeth up to a window so the light shines through it. You’ll be able to see all the dotted lines, and the adhesive will stabilize the fabric so you can trace on it without it crinkling up.

If you’re not using a lightbox (I am in my video), trace all the other dotted lines too using chalk or a pencil. They’ll help you position the pieces.

Step 6

If you’re doing Quilt As You Go (I did) then you can quilt your block before adding the applique. So easy!

Cut your background fabric and a piece of 100% cotton batting 11 inches square.

Layer the block with a piece of 100% cotton batting. Quilt any pattern you like!

I prefer to quilt my blocks before I applique. These posts show how I do that, along with lots more info. Start with them.

Some people prefer to quilt after they applique. This post features a gallery of lots of quilt patterns with video instructions showing you how to work those patterns around applique you’ve already done. Of course, you can also stitch these designs before you applique.

If you’ll do the quilting later, simply skip this step.

Step 7

Peel off the paper backing and arrange the pieces on a background block.

Fuse the pieces in place, following the instructions for whatever brand of adhesive you used.

This video has detailed instructions for layering all those pieces and also shows the finished block.

Step 8

Outline all the pieces with black thread and a simple straight stitch – or choose your favorite decorative stitch.

This video has some tips for outlining those tight curves.

I like going around all the pieces three times for a sketchy, scribbly look. This post has some tips for that.

This post has tips for using decorative stitching.

This post has some information about outlining using thicker thread.

Done!

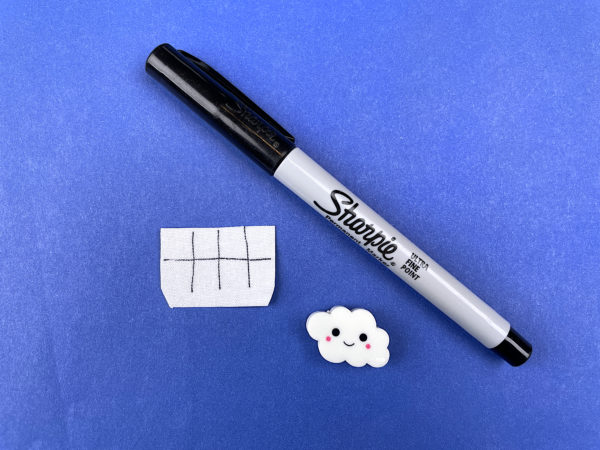
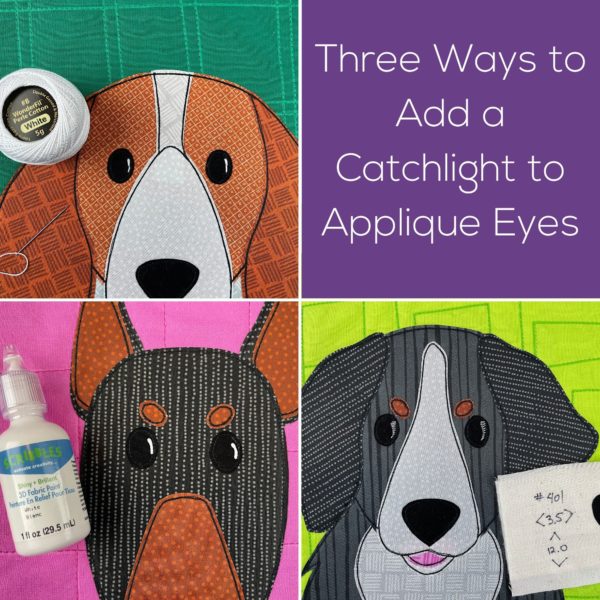
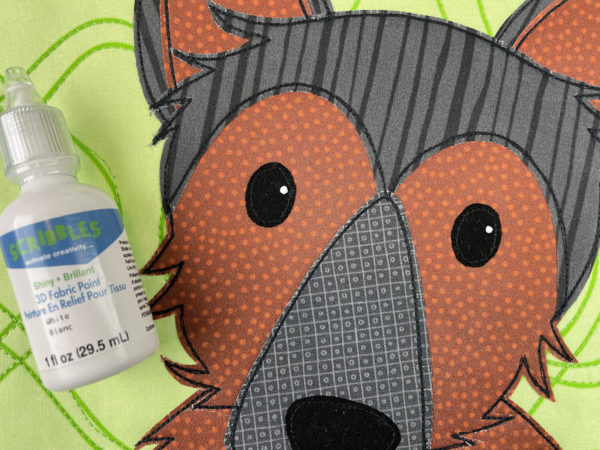
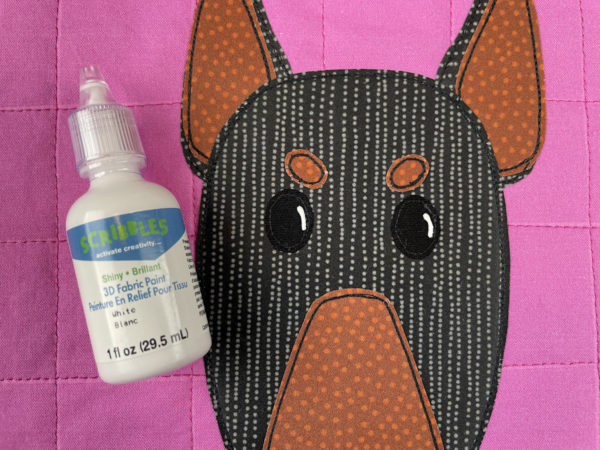
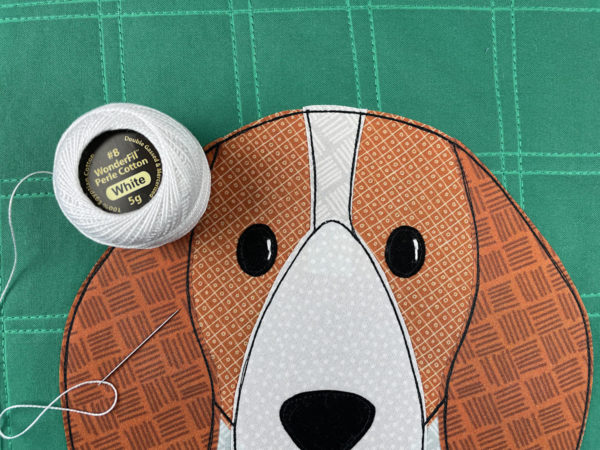
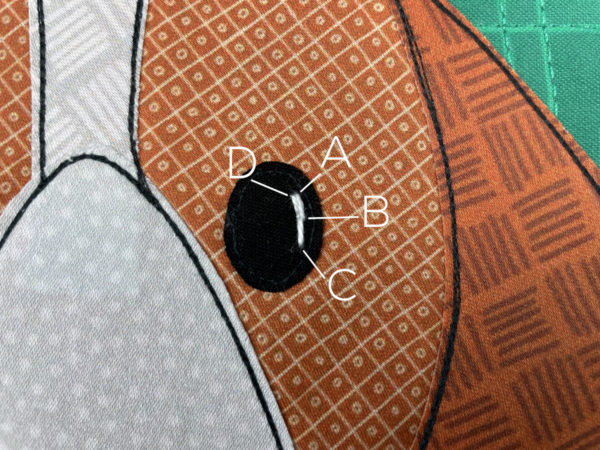
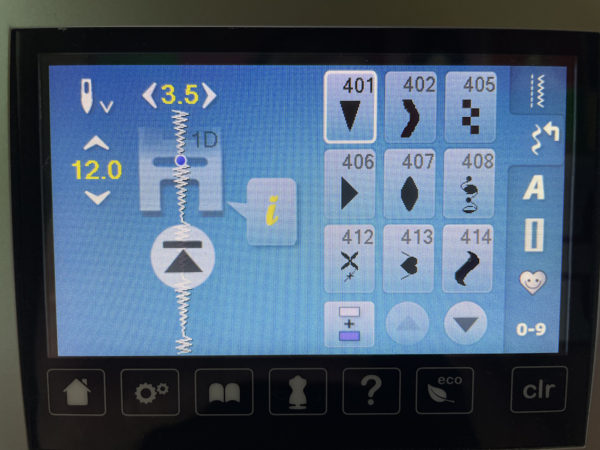
Do you like those little specks of light in his eyes? This post shows you three ways to add those catchlights.

If you’re making a one-block project, go ahead and finish it up!

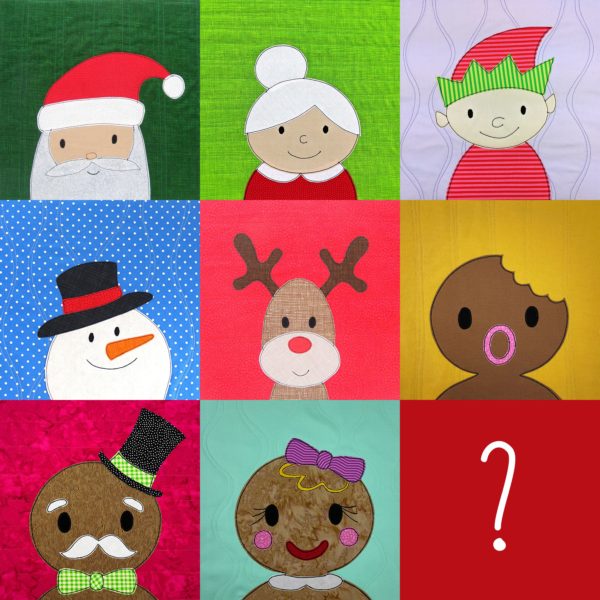
If you’re making a bunch of nutcracker blocks to join into a quilt -­ maybe adding them to the other free Christmas blocks – have fun!

This post has details about lots of different layouts that work well with my patterns.

This video shows how to trim your finished quilt blocks.

This video shows how to sew your blocks together using the QAYG method I use.

This post has tips for quilting on a cuddle fleece back.

And this video shows how to bind your quilt.

What can you do with just one block pattern? Tons of things!

I have lots of free patterns that you can use with any applique patterns – stockings, tote bags, placemats and more! Find all the free patterns here.

Have fun! And share a photo of what you make! You can share it in the Shiny Happy People group or tag it with #shinyhappyworld on Instagram.

If you like this free pattern, sign up for the Shiny Happy News!

Happy stitching!
My Favorite Tools and Supplies

In an effort to have more time to spend designing, I’m no longer selling tools and supplies. But I don’t want to leave you hanging! That section of the shop has always been where I share all my favorite things!
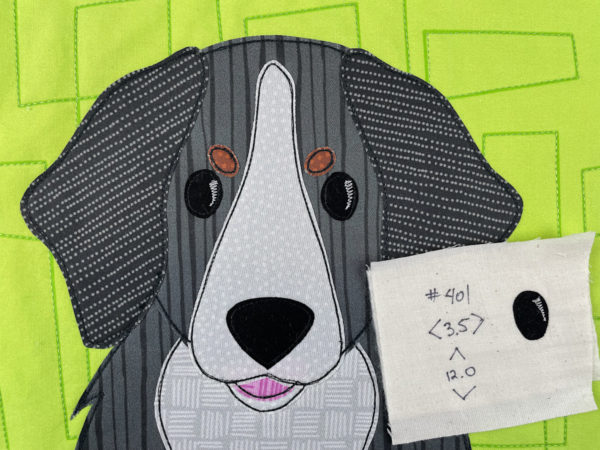
So here’s a list of all the tools and supplies I used to sell – organized by craft – with links to where you can get them now. (The links followed by an asterisk are affiliate links, which means I make a small commission on each sale.)

Quilting Supplies

Supplies for Stuffed Animals and Dolls

Embroidery and Felt Supplies

Crochet Supplies

Fabric

I’m using Spoonflower fabric now for all my samples because it never goes out of print! Plus it’s super fun to work with fabric I designed especially for applique. 🙂

Spoonflower has millions of options – which can be a bit overwhelming – so I also have my fabric listed here on Shiny Happy World in these categories.

Each listing redirects to that specific palette or collection in my Spoonflower shop.

These links go to all my posts about quilt supplies.

Finished with this topic?

Return to the Let’s Make a Quilt main Table of Contents.

Move on to the lessons about cutting and quilting your background blocks.

SHARE THIS