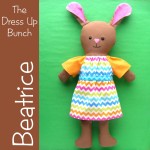
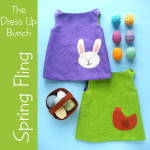
New easy (and free!) doll clothes patterns for the Dress Up Bunch!
I redesigned the Play Clothes pattern for the Dress Up Bunch to get rid of the set-in sleeves and fussy collar facing on the shirt. Yay! The new shirt is so much easier to make!
These are the basic doll clothes patterns that are included with all of the human dolls so I was looking at replacing it in Every Single Doll Pattern – which would take forever. Instead I decided to just make it free for everyone!
Download the pattern pieces here.
Click here to jump to the skirt pattern.
Use 1/4″ for all seam allowances unless otherwise noted.
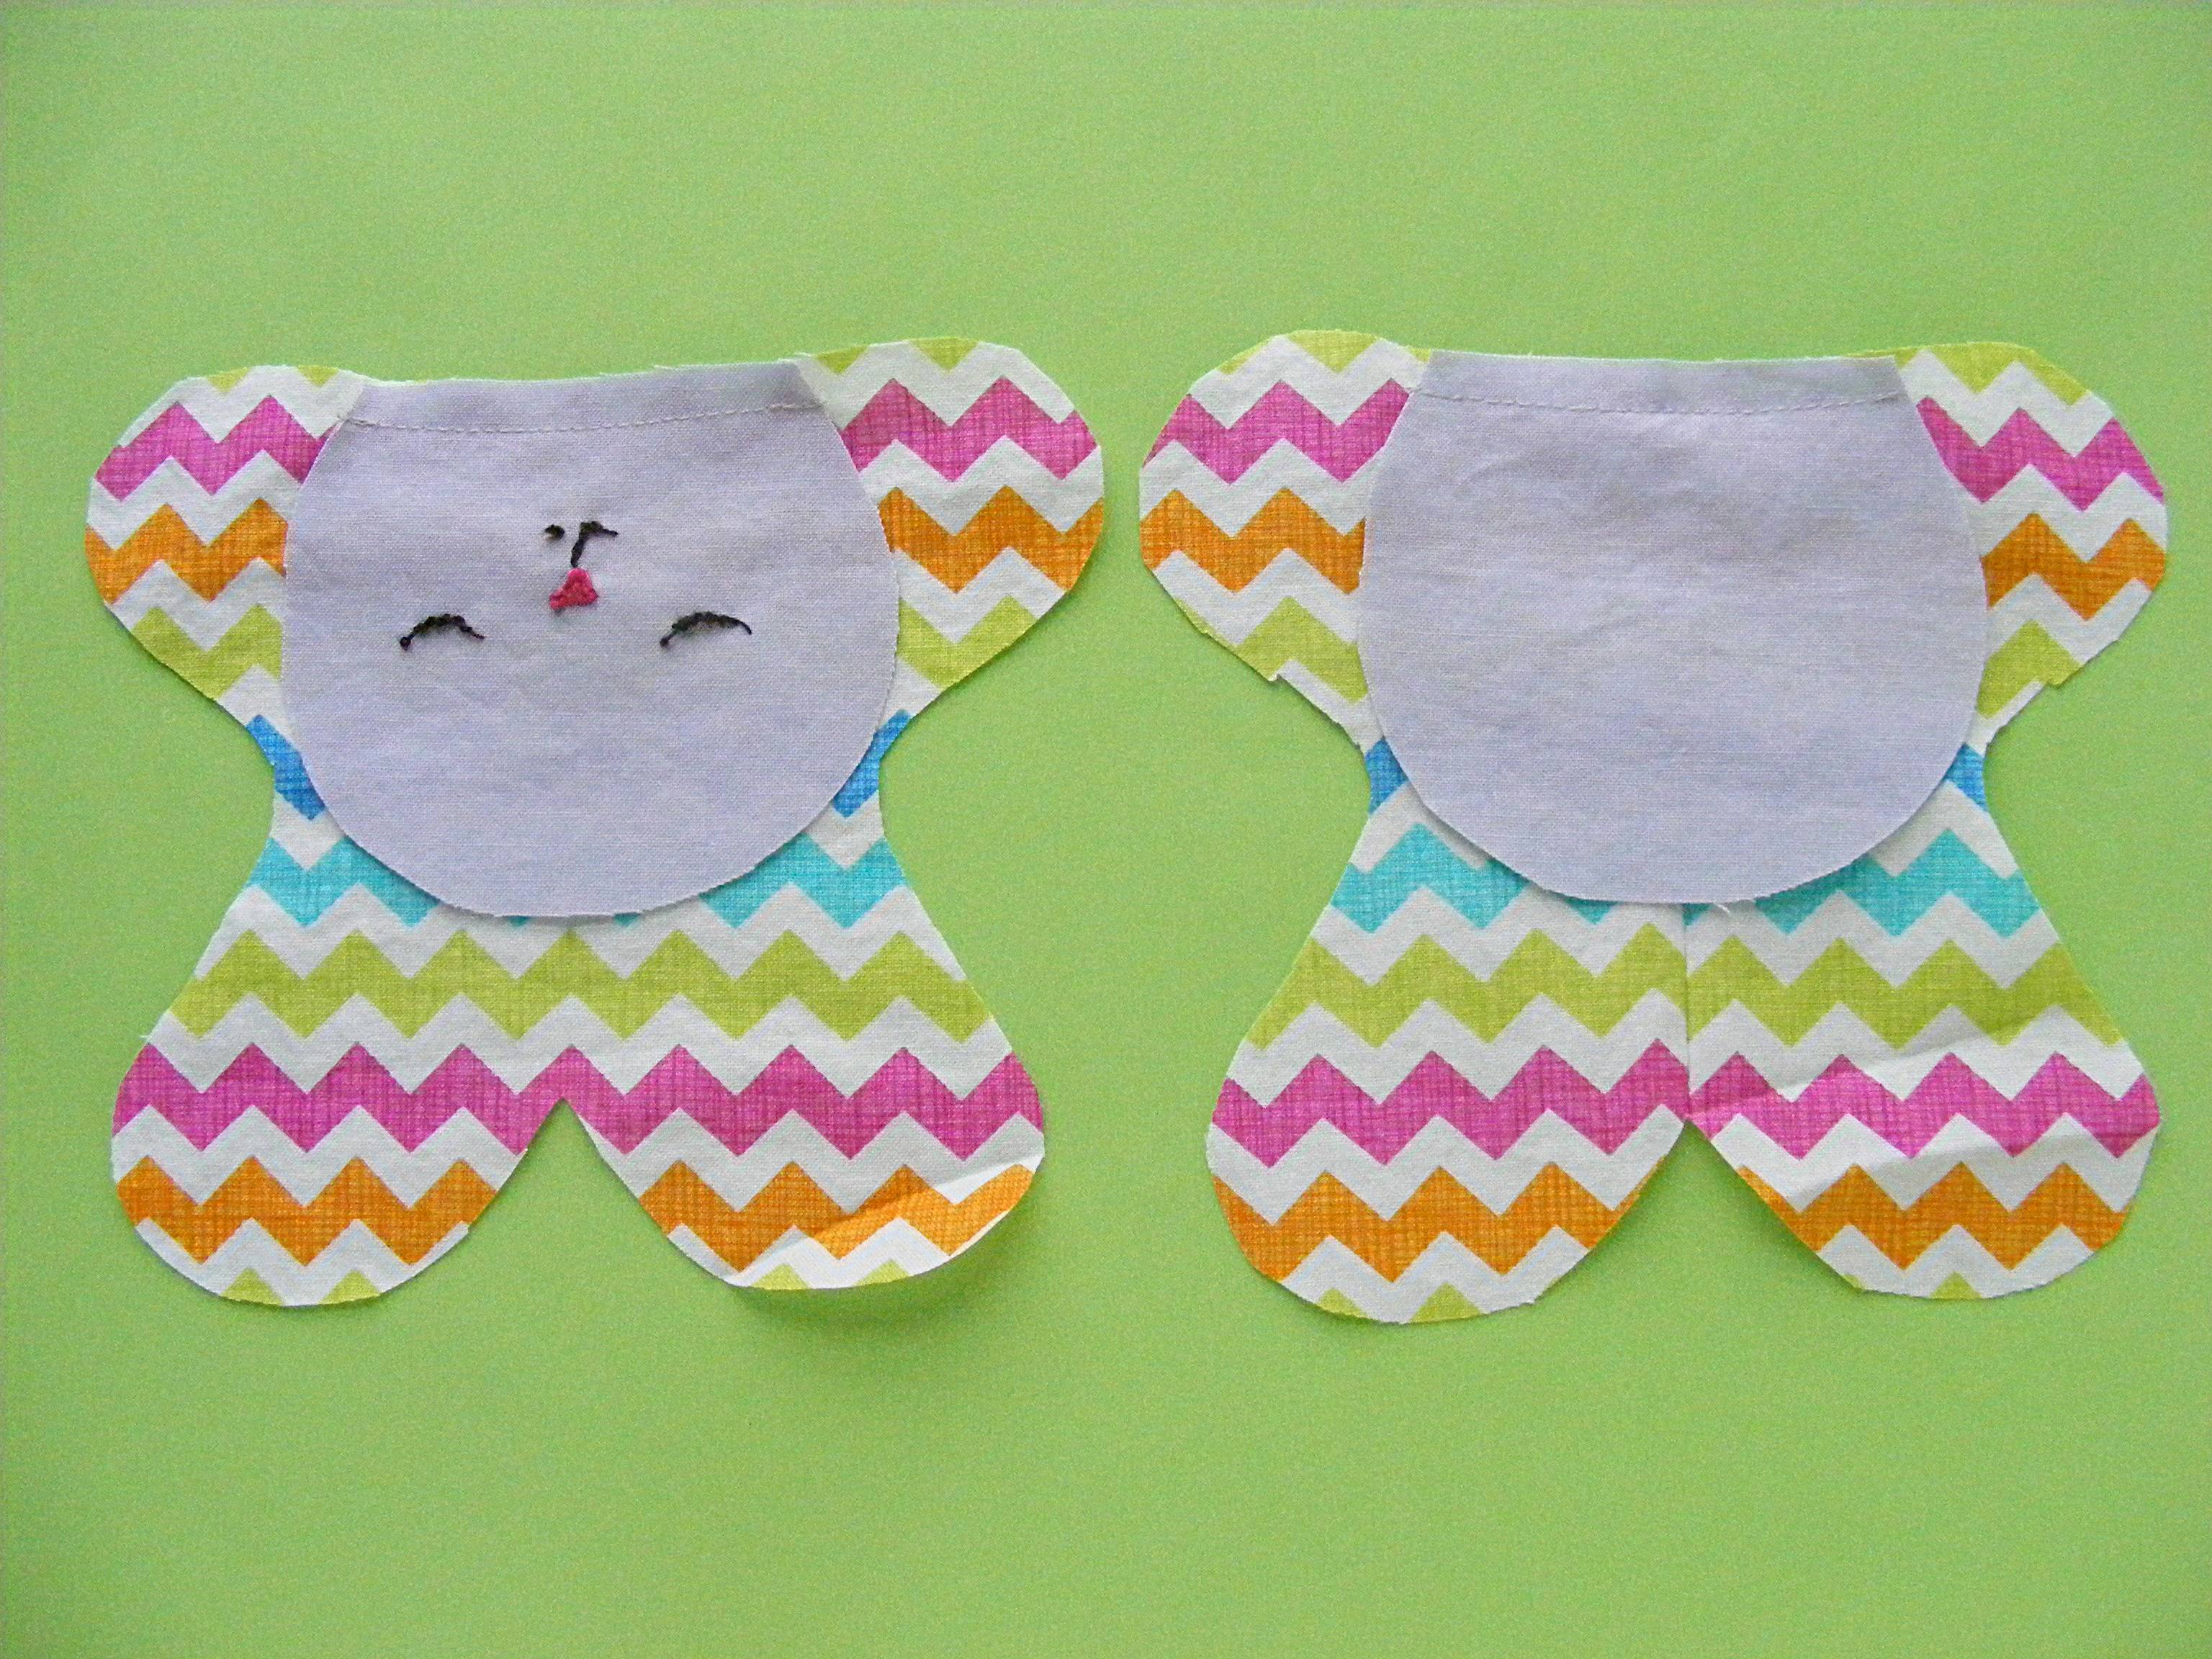
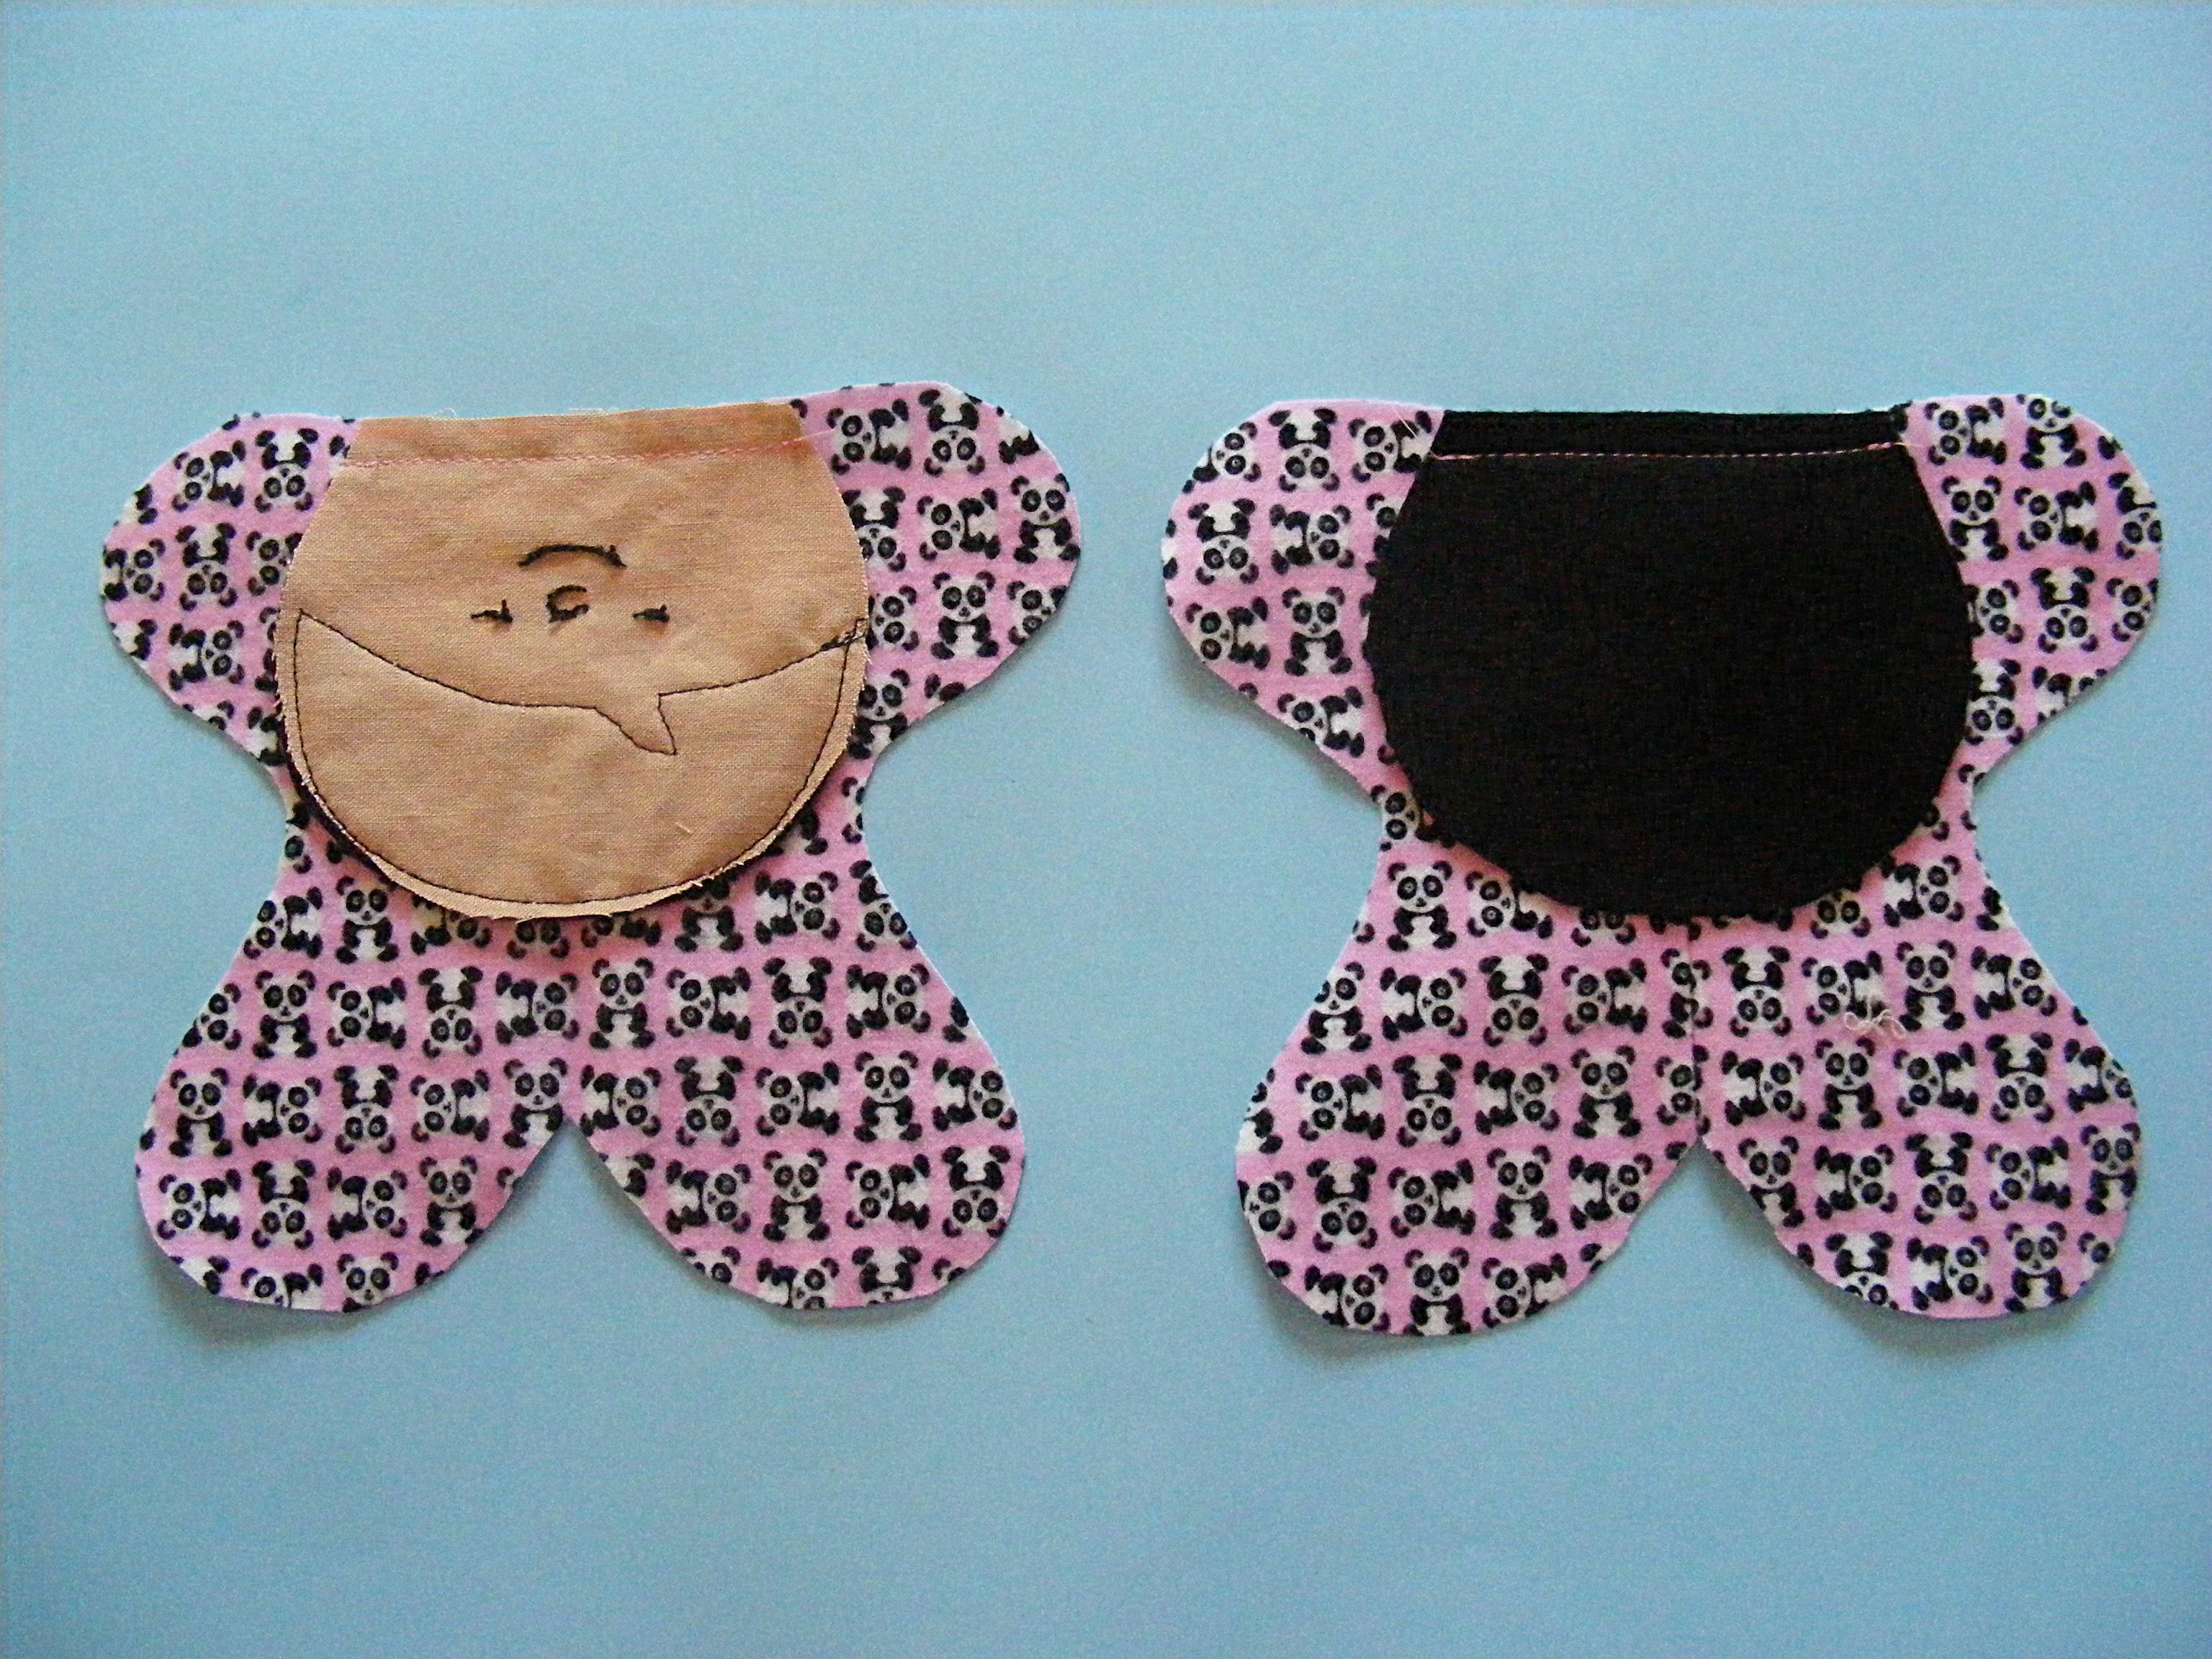
Doll Shirt Pattern
Step 1
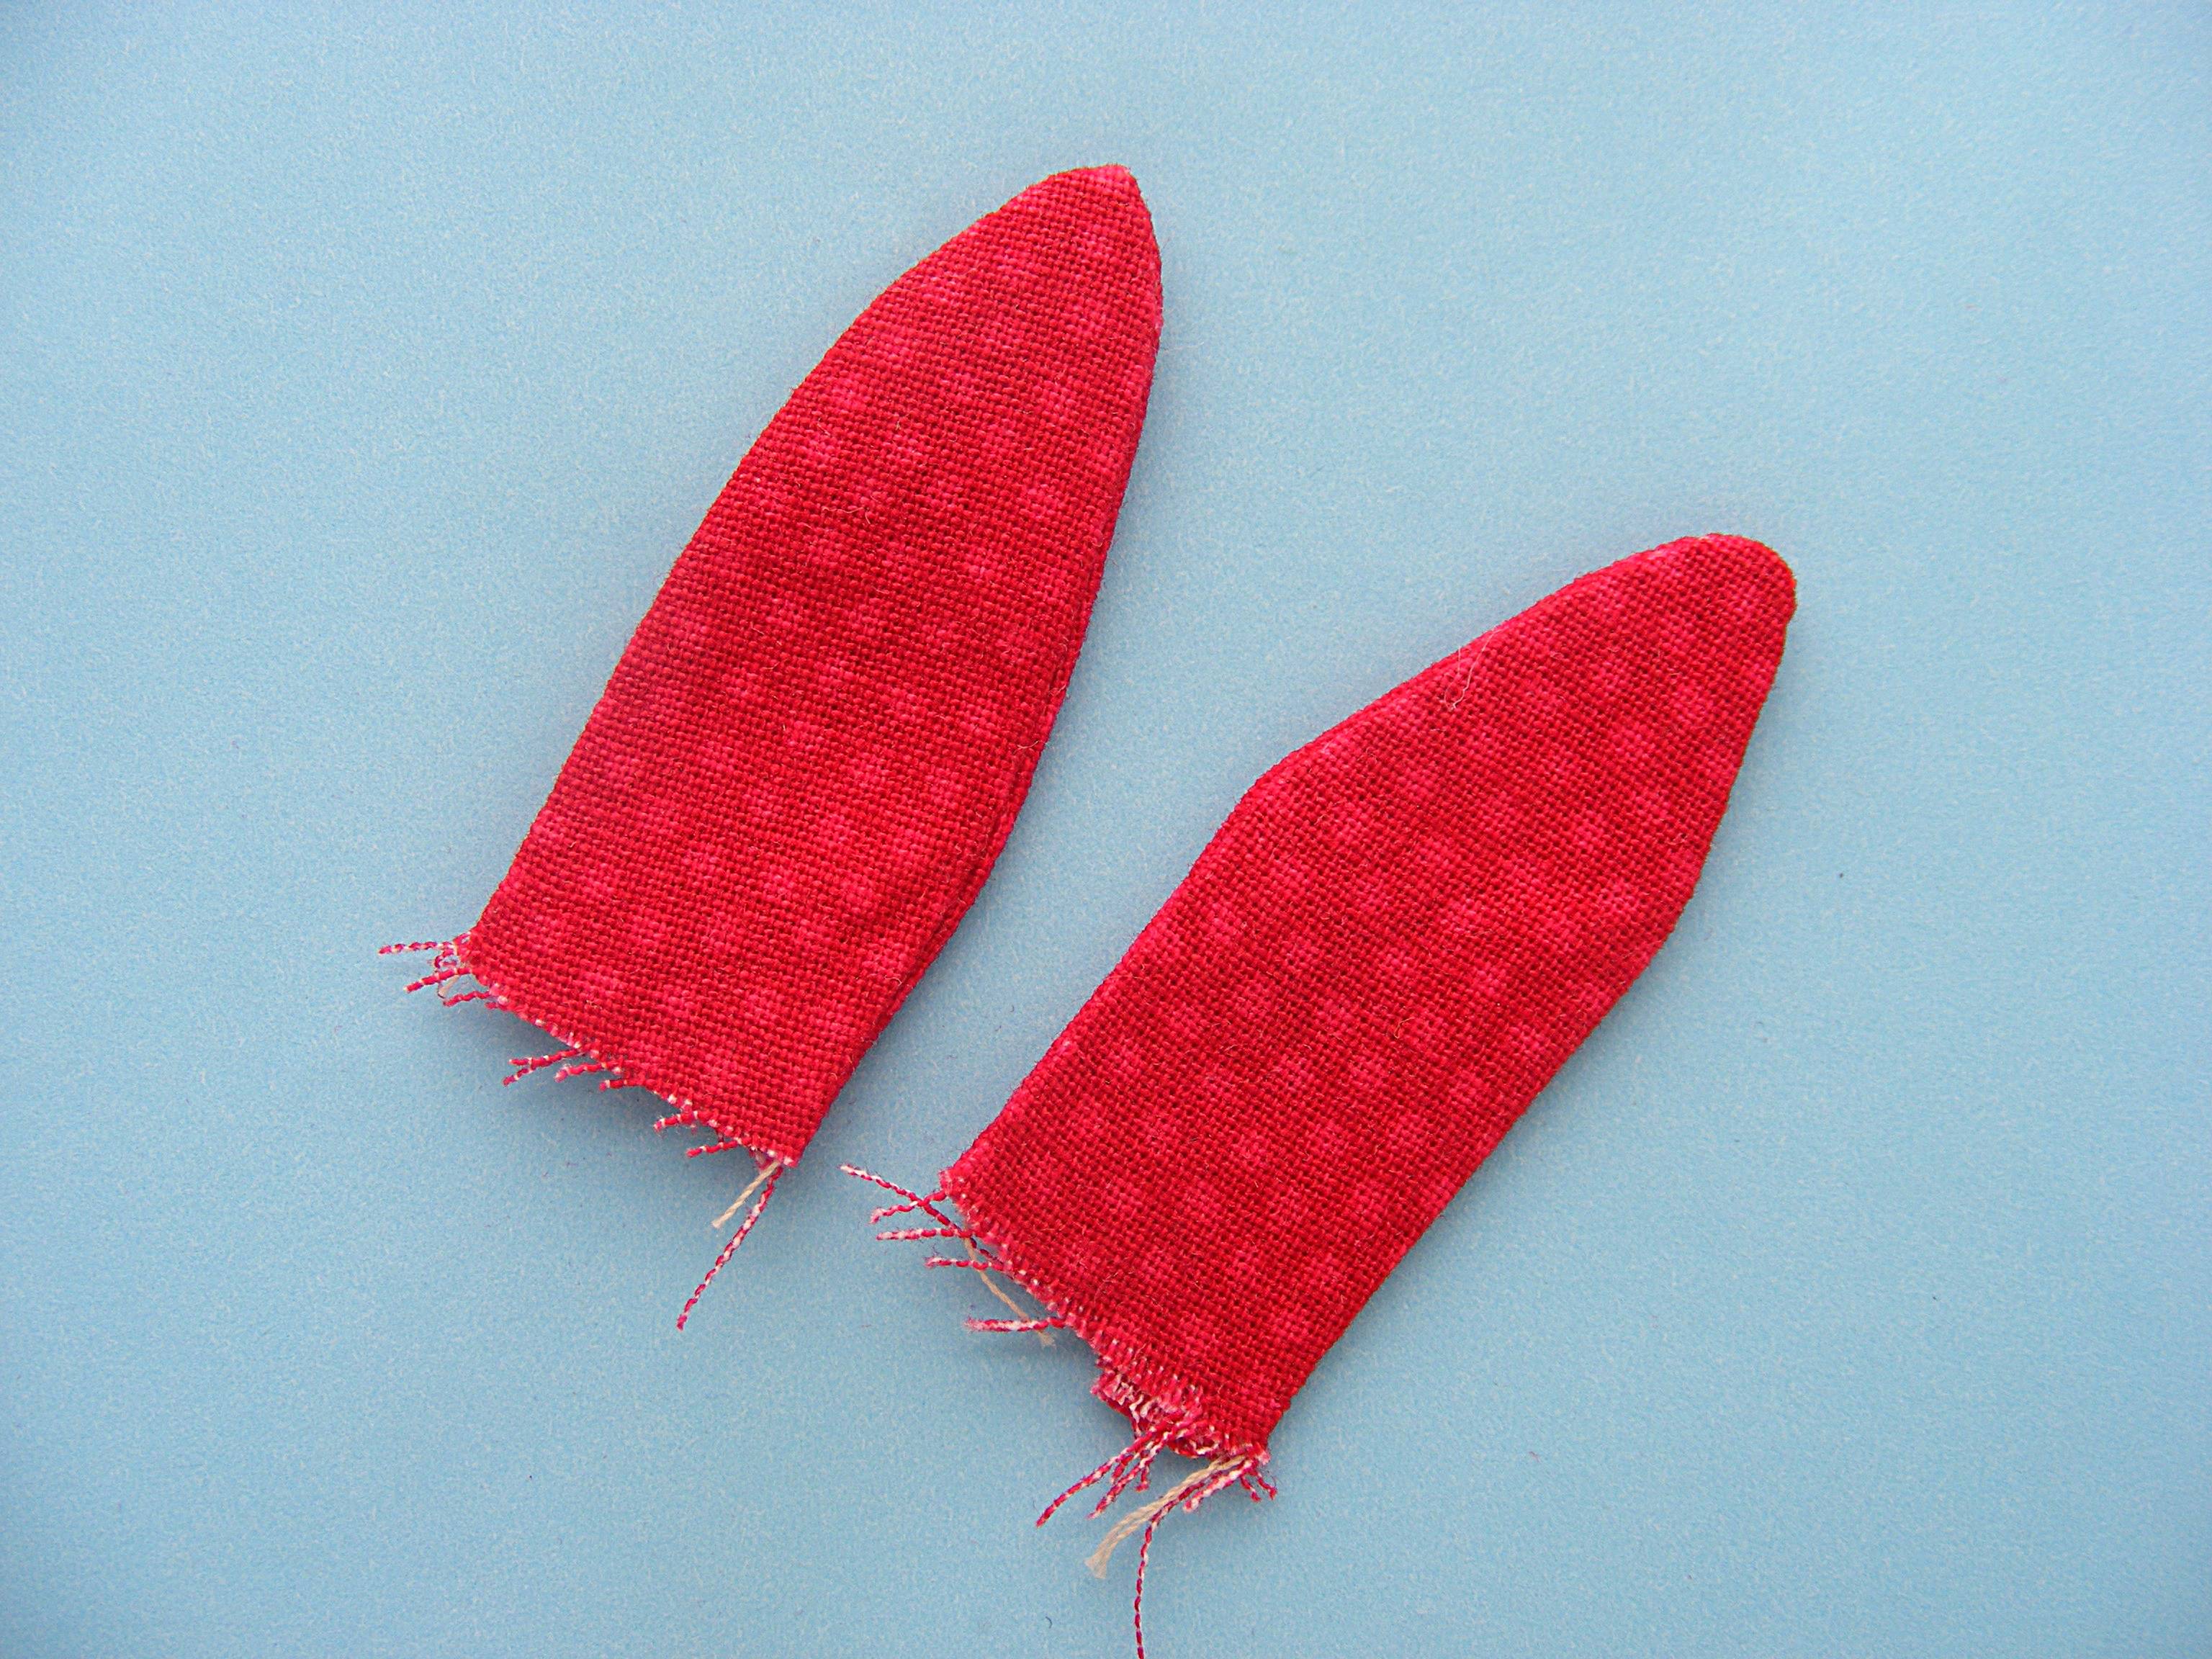
Join the 2 shirt pattern pieces into one and cut it out. Place the shirt and shirt lining fabric right sides together and cut the single shirt pattern piece out of them at the same time. That way the pieces lines up perfectly. 🙂 .

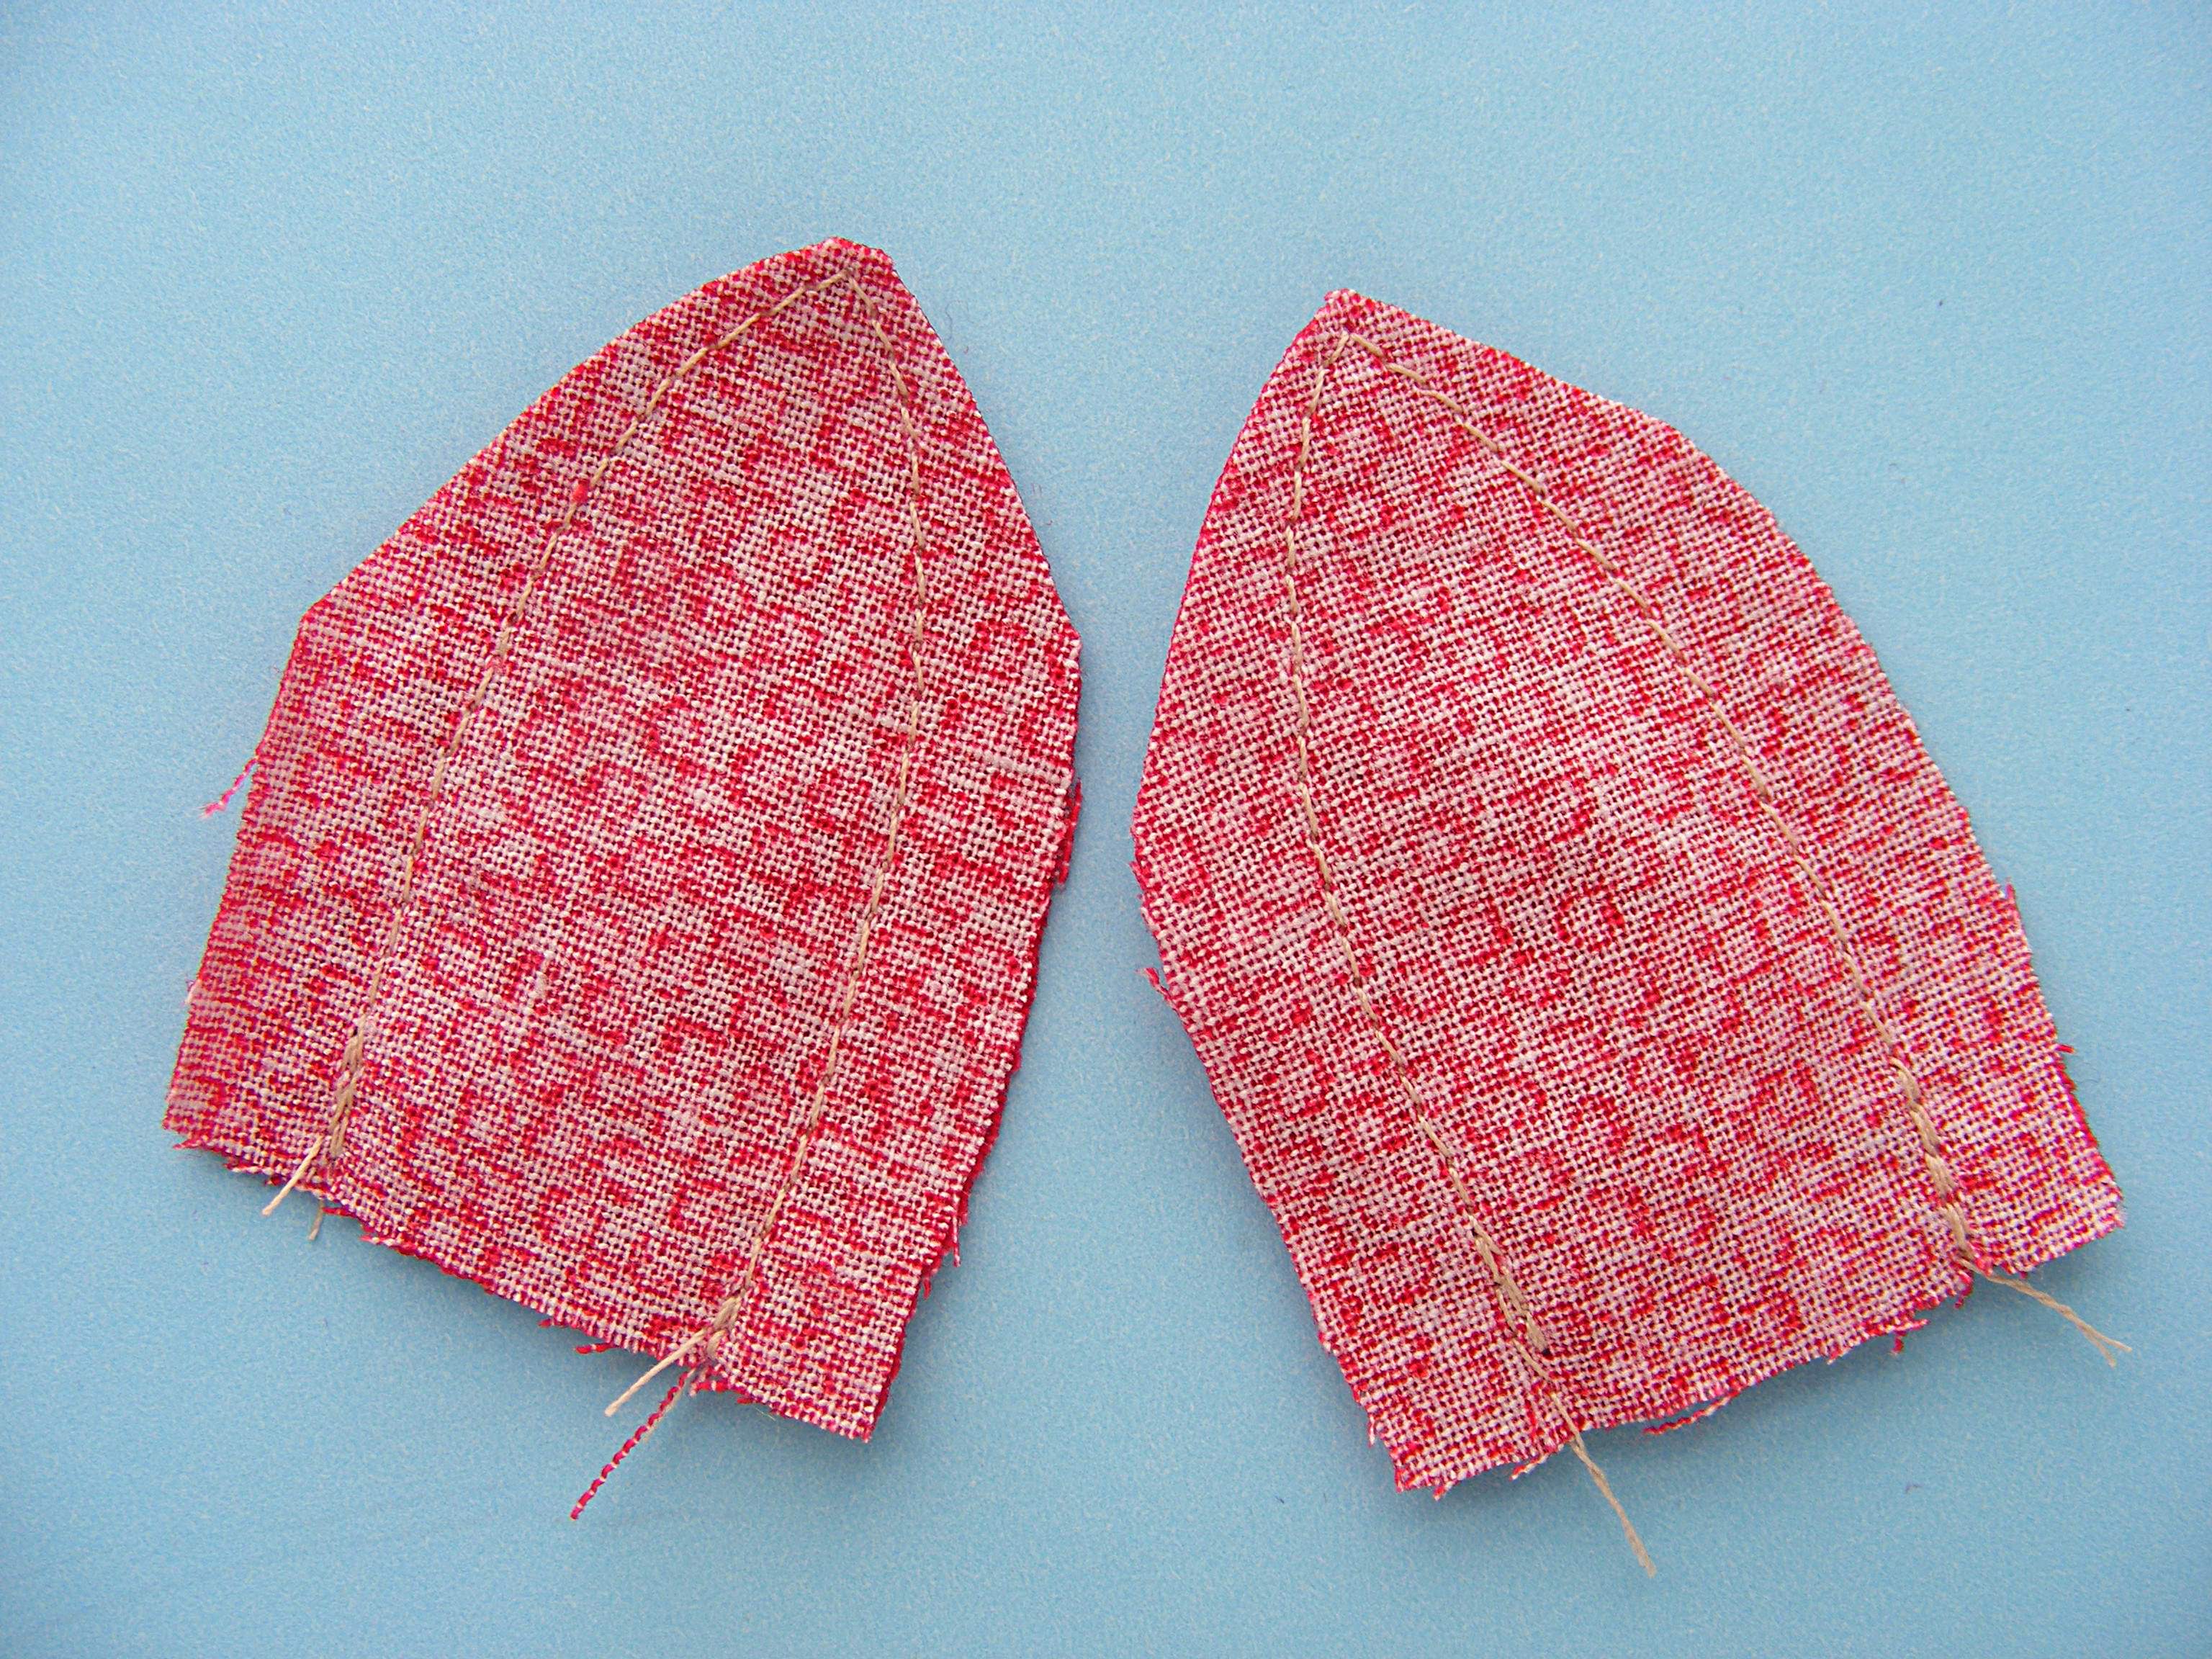
It’s a weird-looking pattern. Here are some quick labels to help you make sense of it.
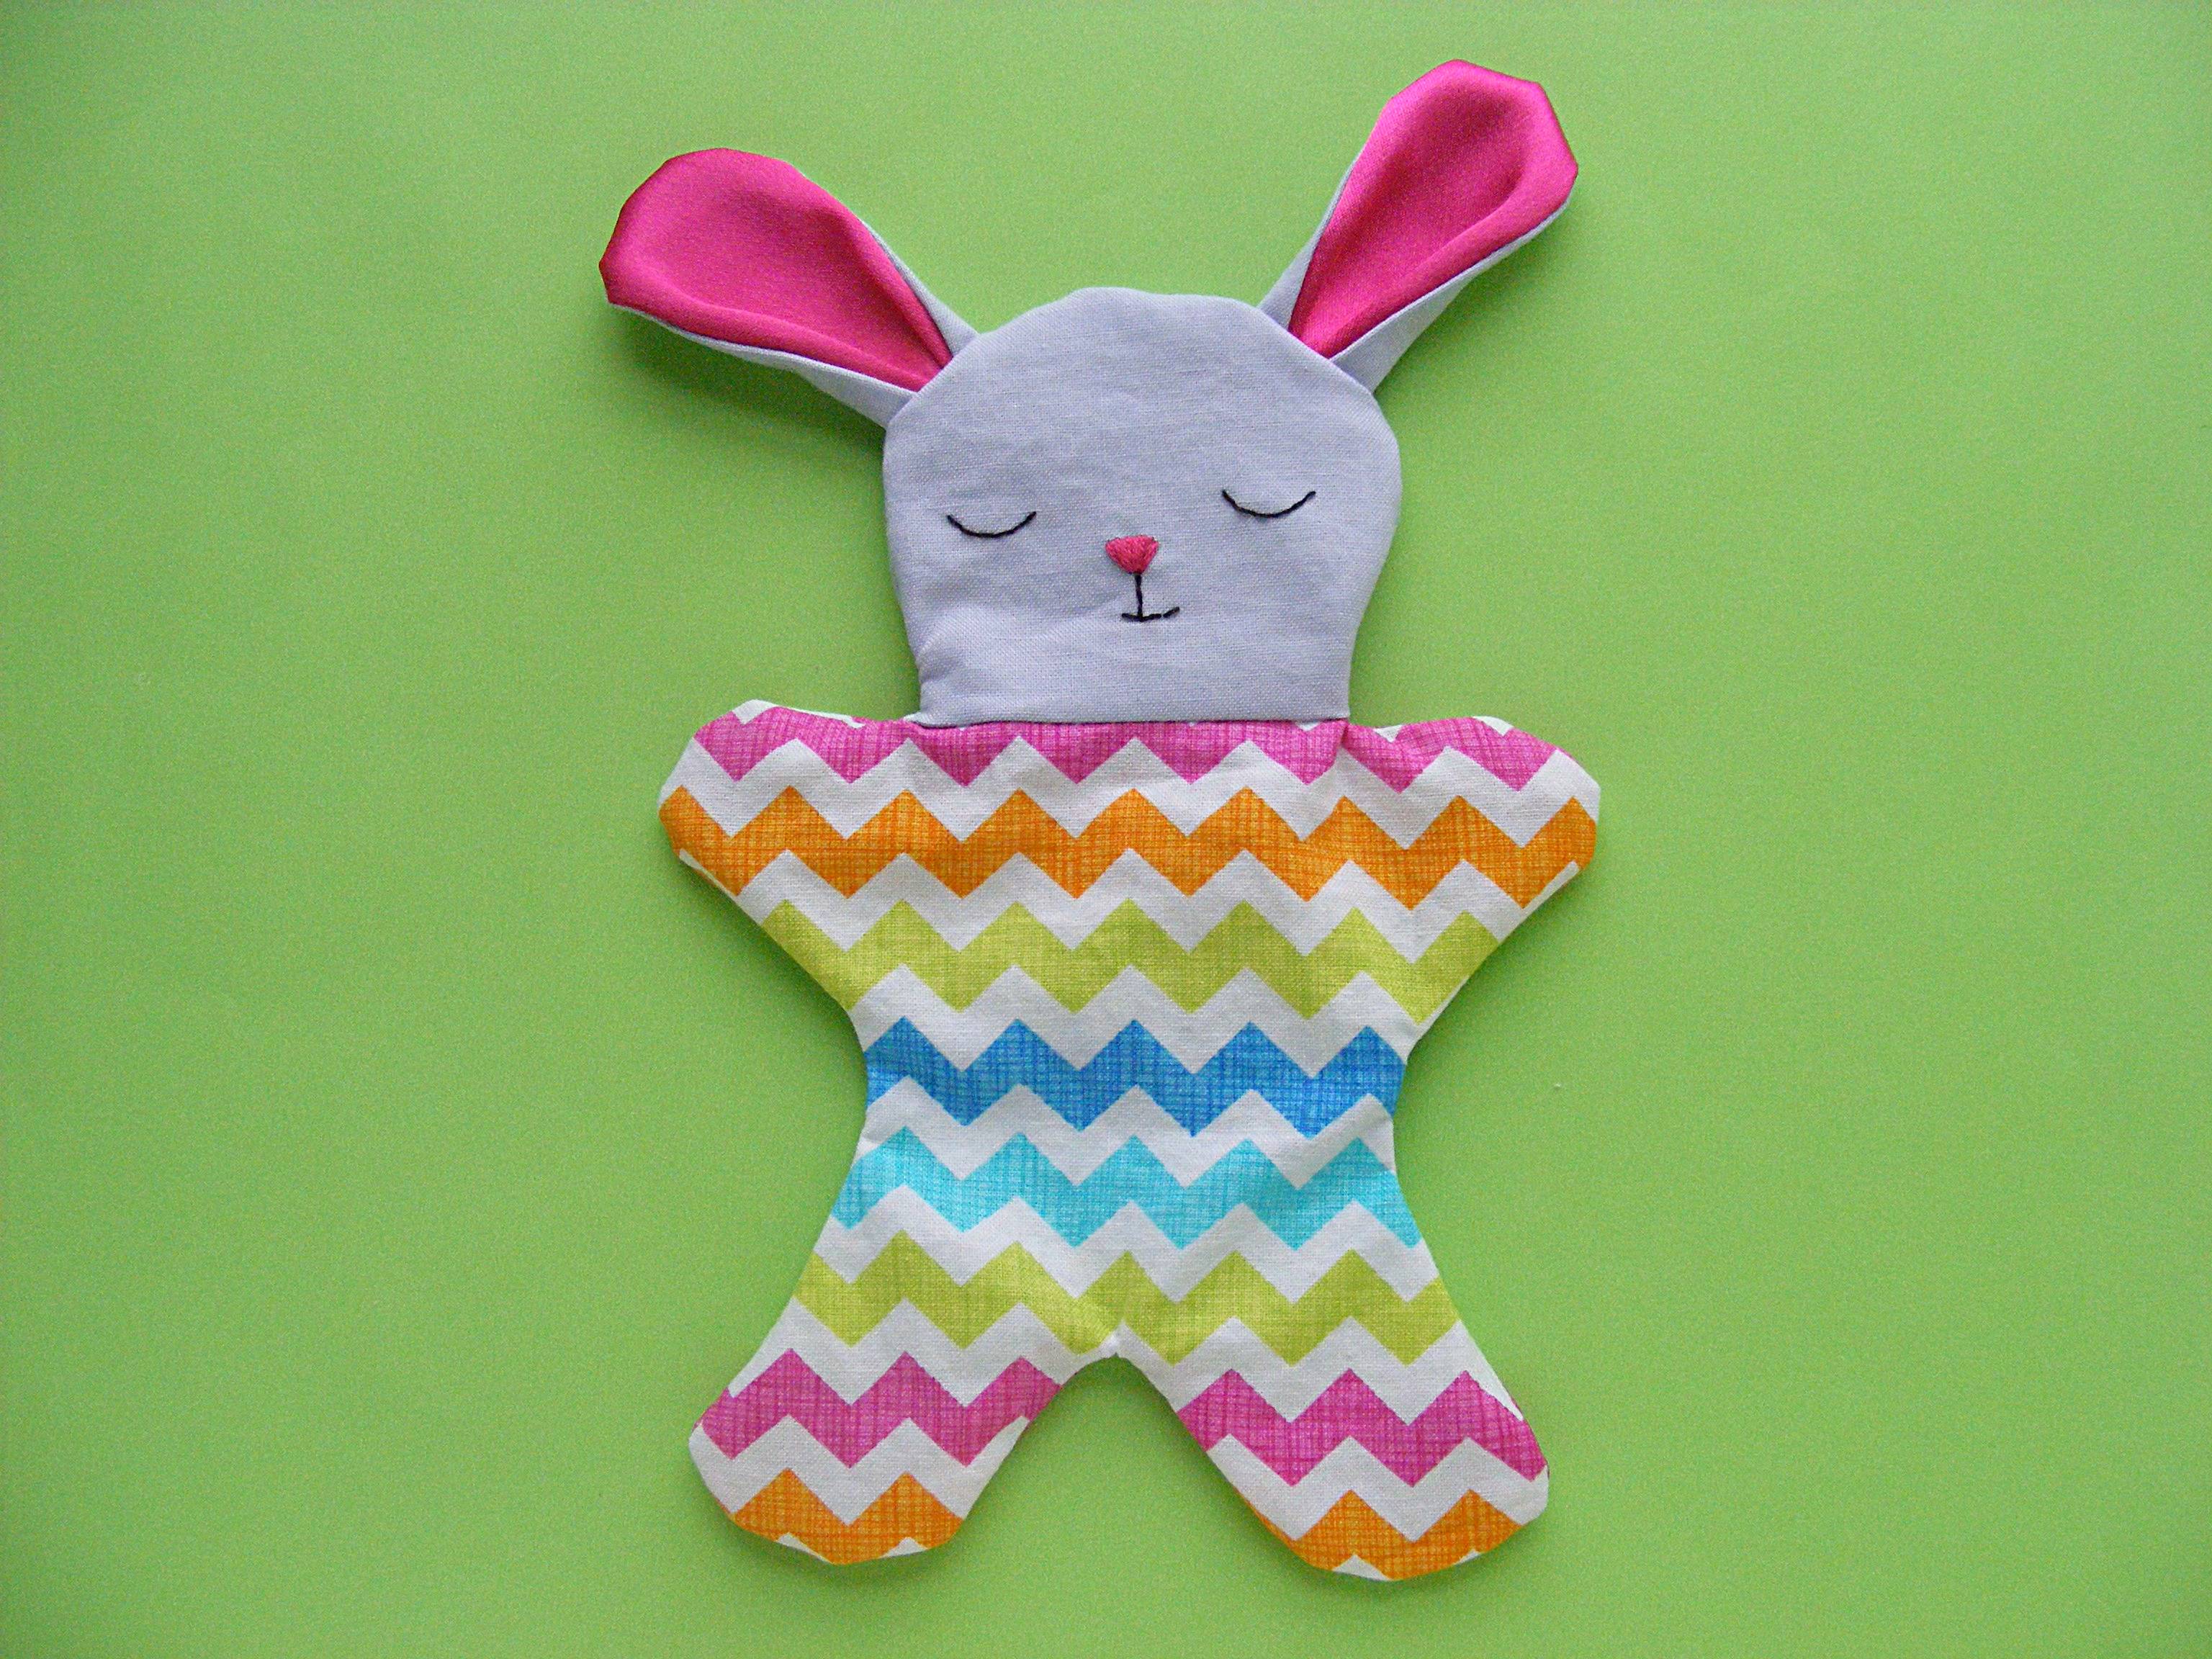
Please note! This pattern only works with non-directional fabric. Since it’s all one piece, whatever is right side up on the front will be upside down on the back – so choose something that looks good both ways. Those fizzy, swirly polkadots are from the perfectly-named Pop collection from Timeless Treasures, and the shirt lining and shorts are in my favorite Sketch.
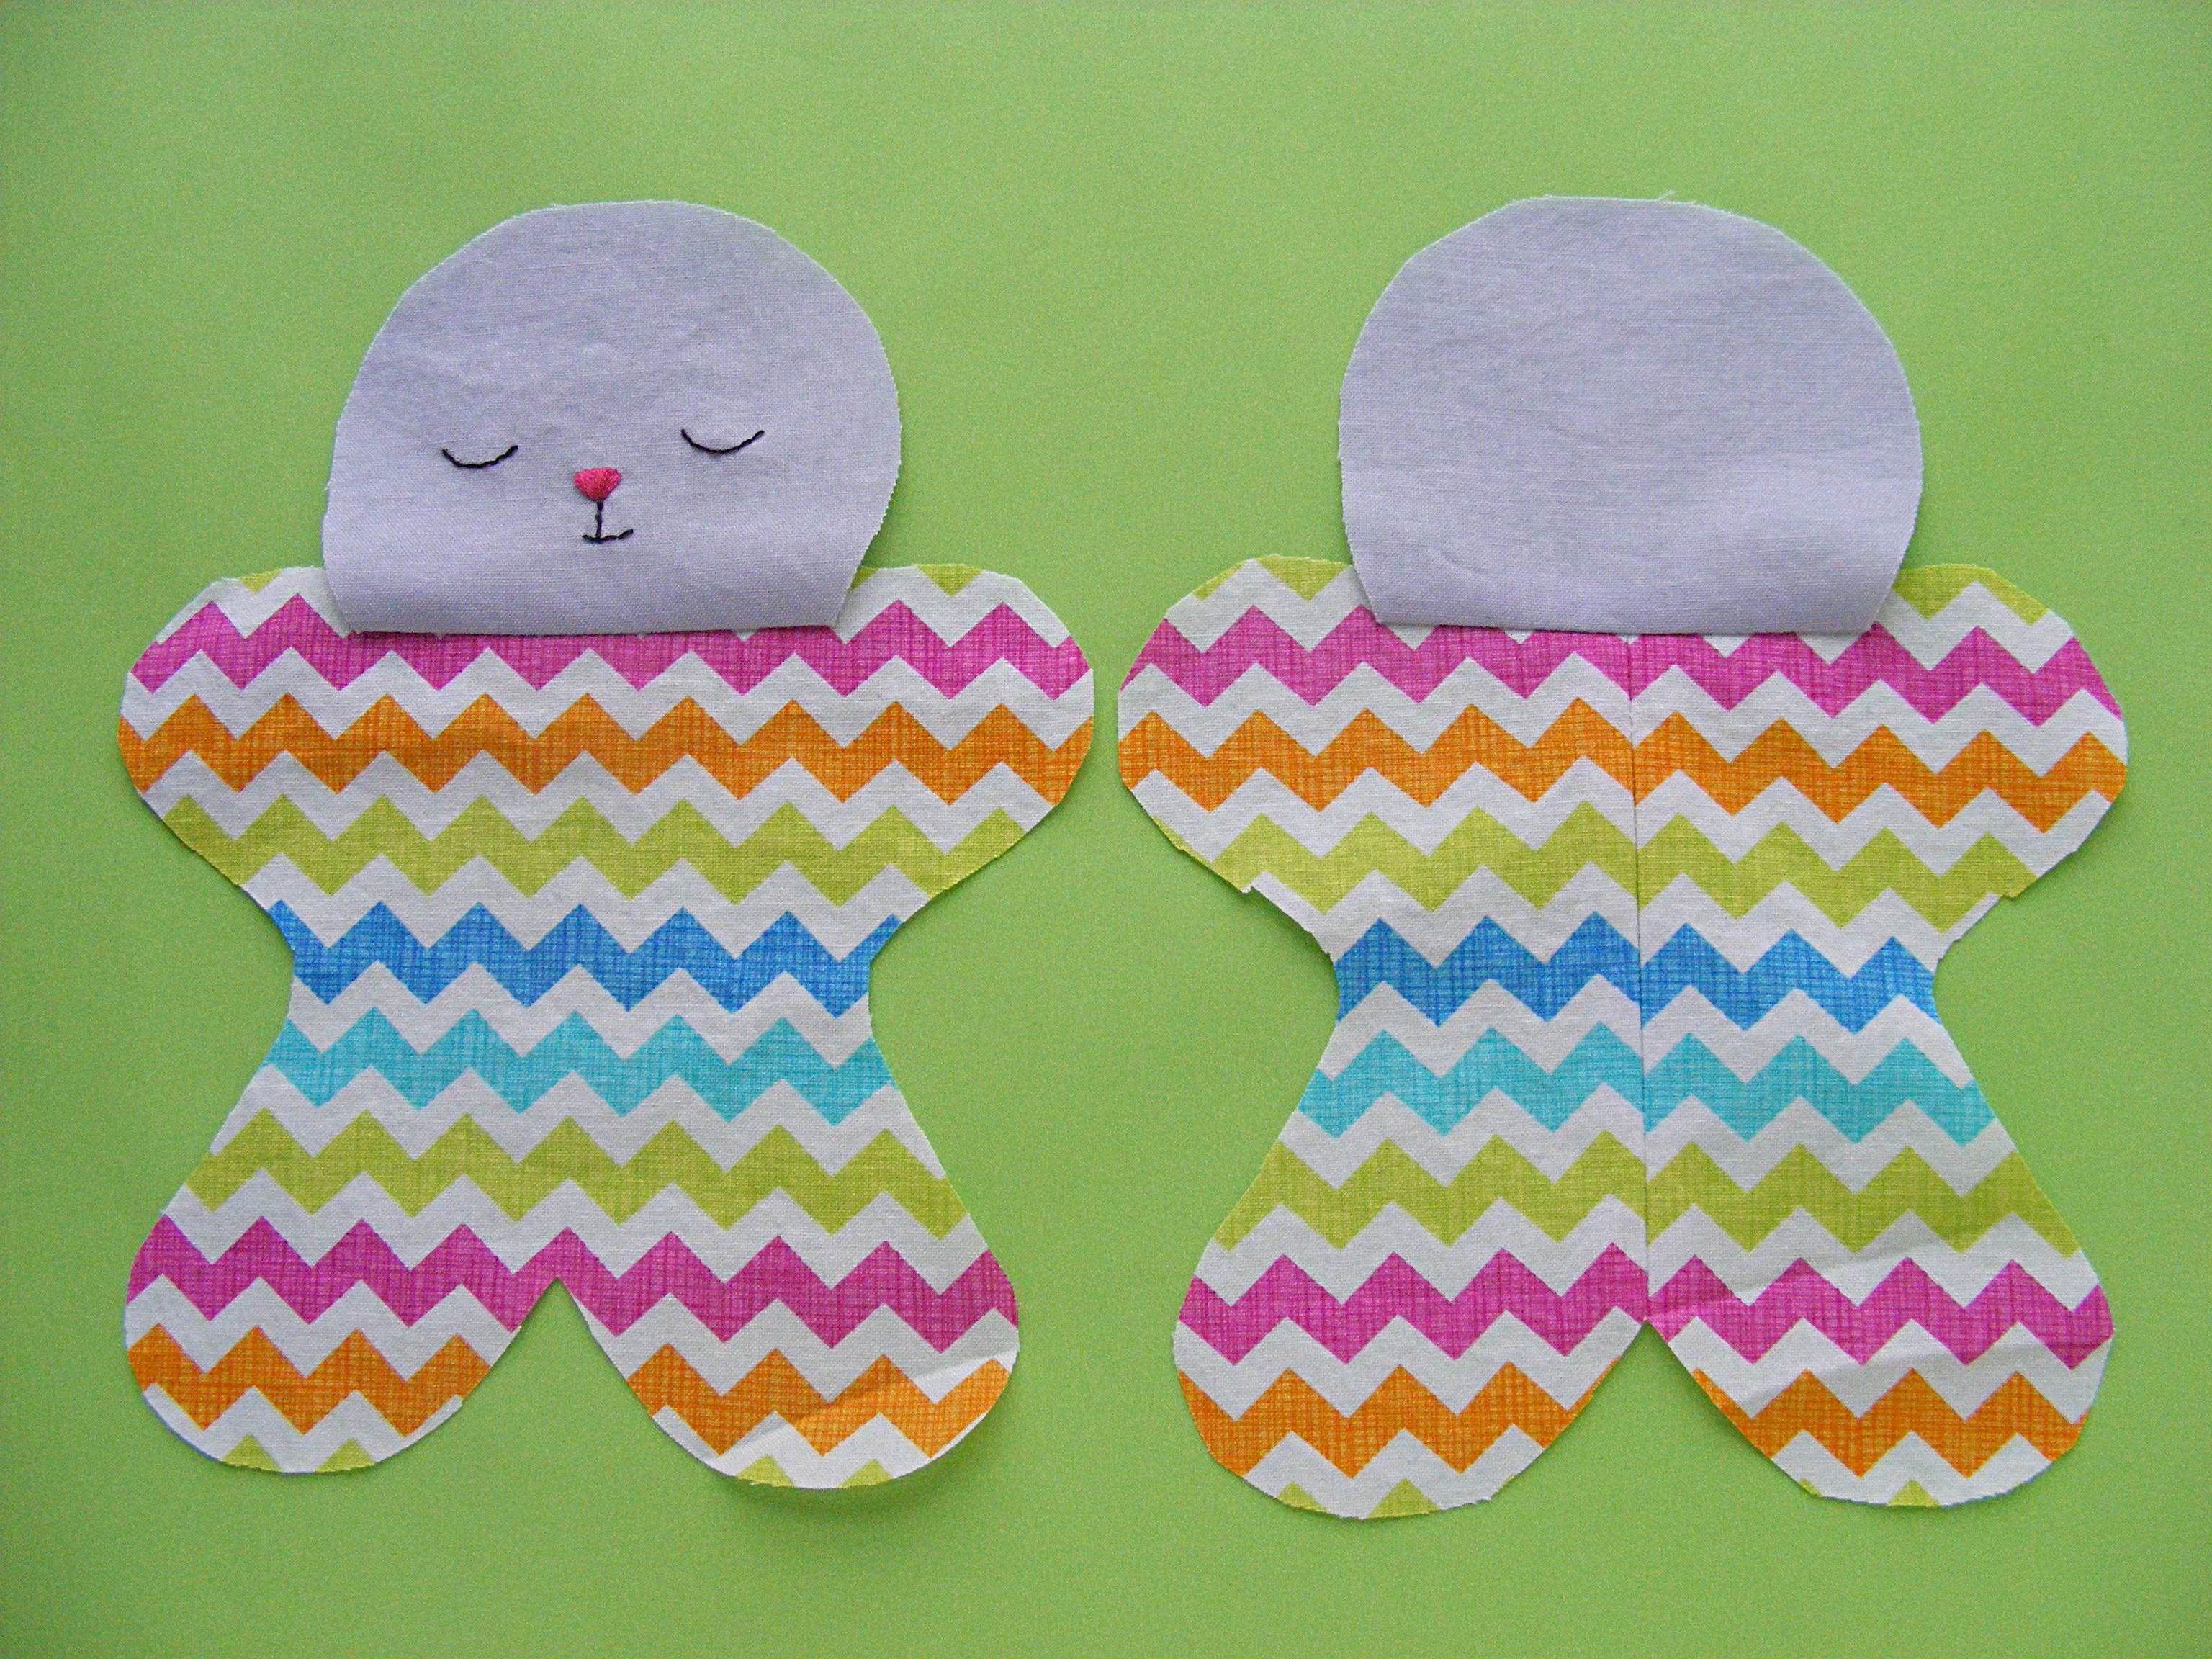
Step 2
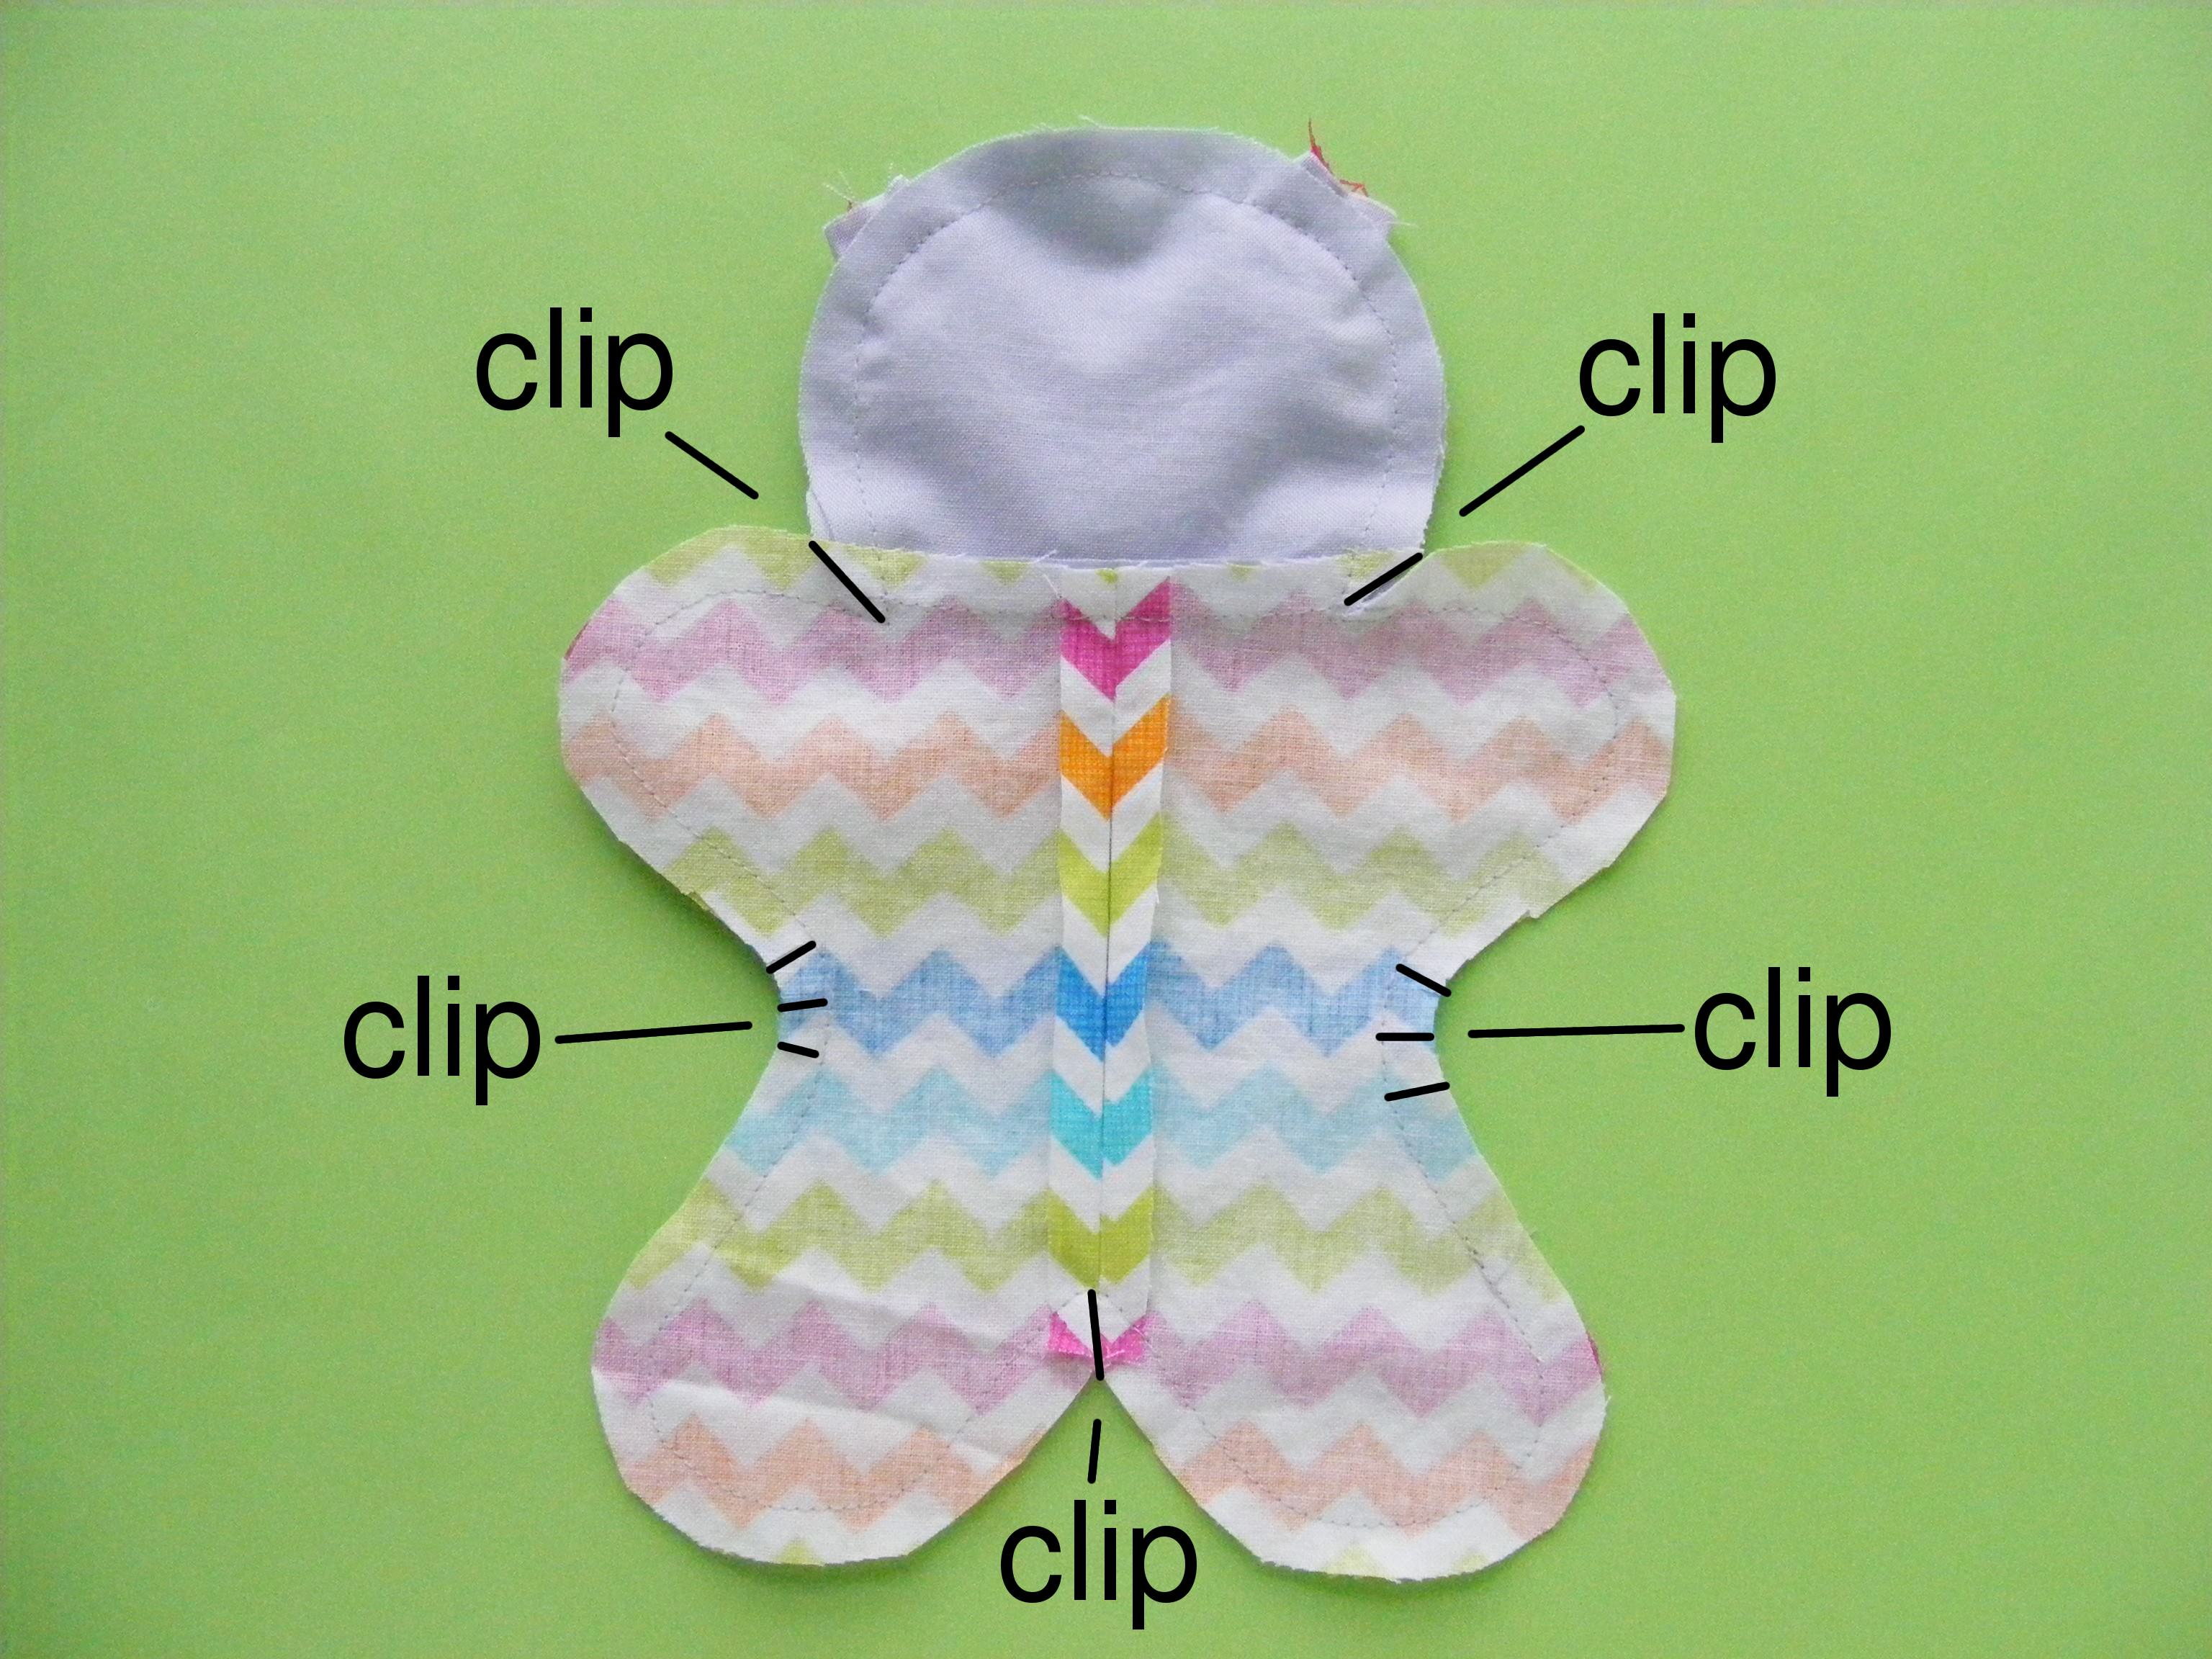
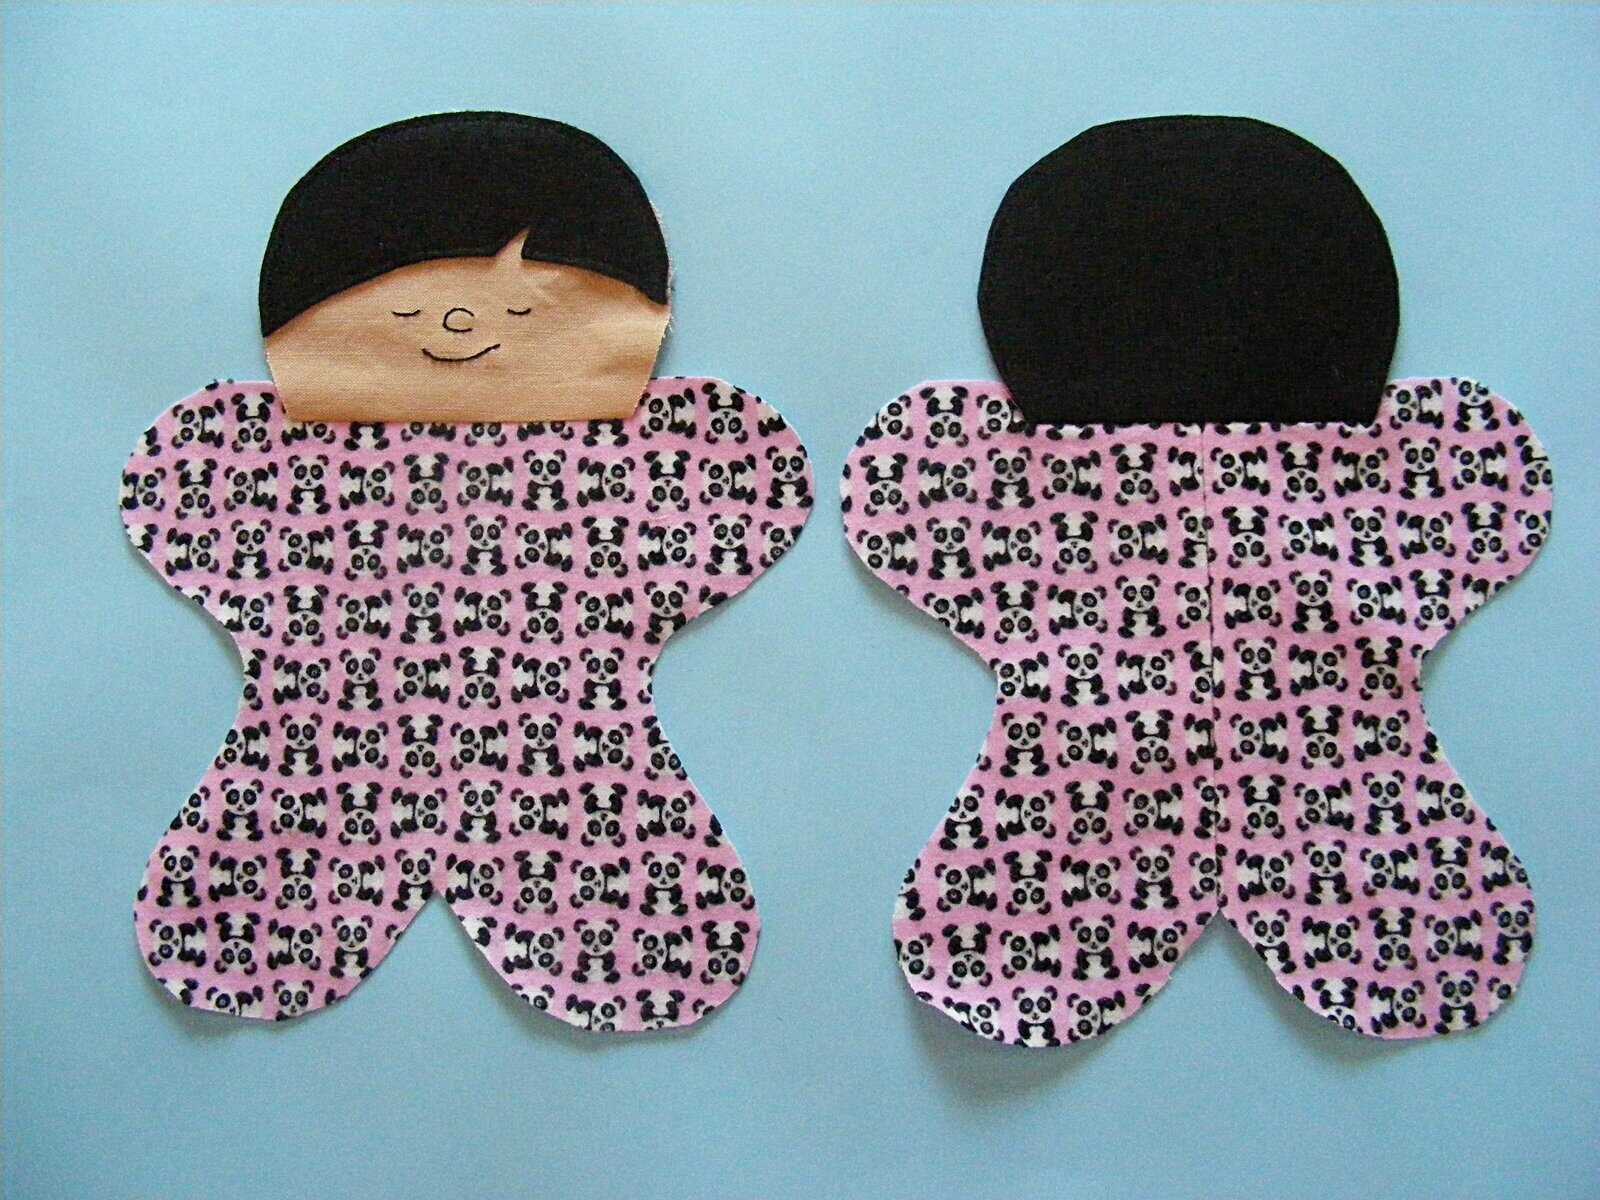
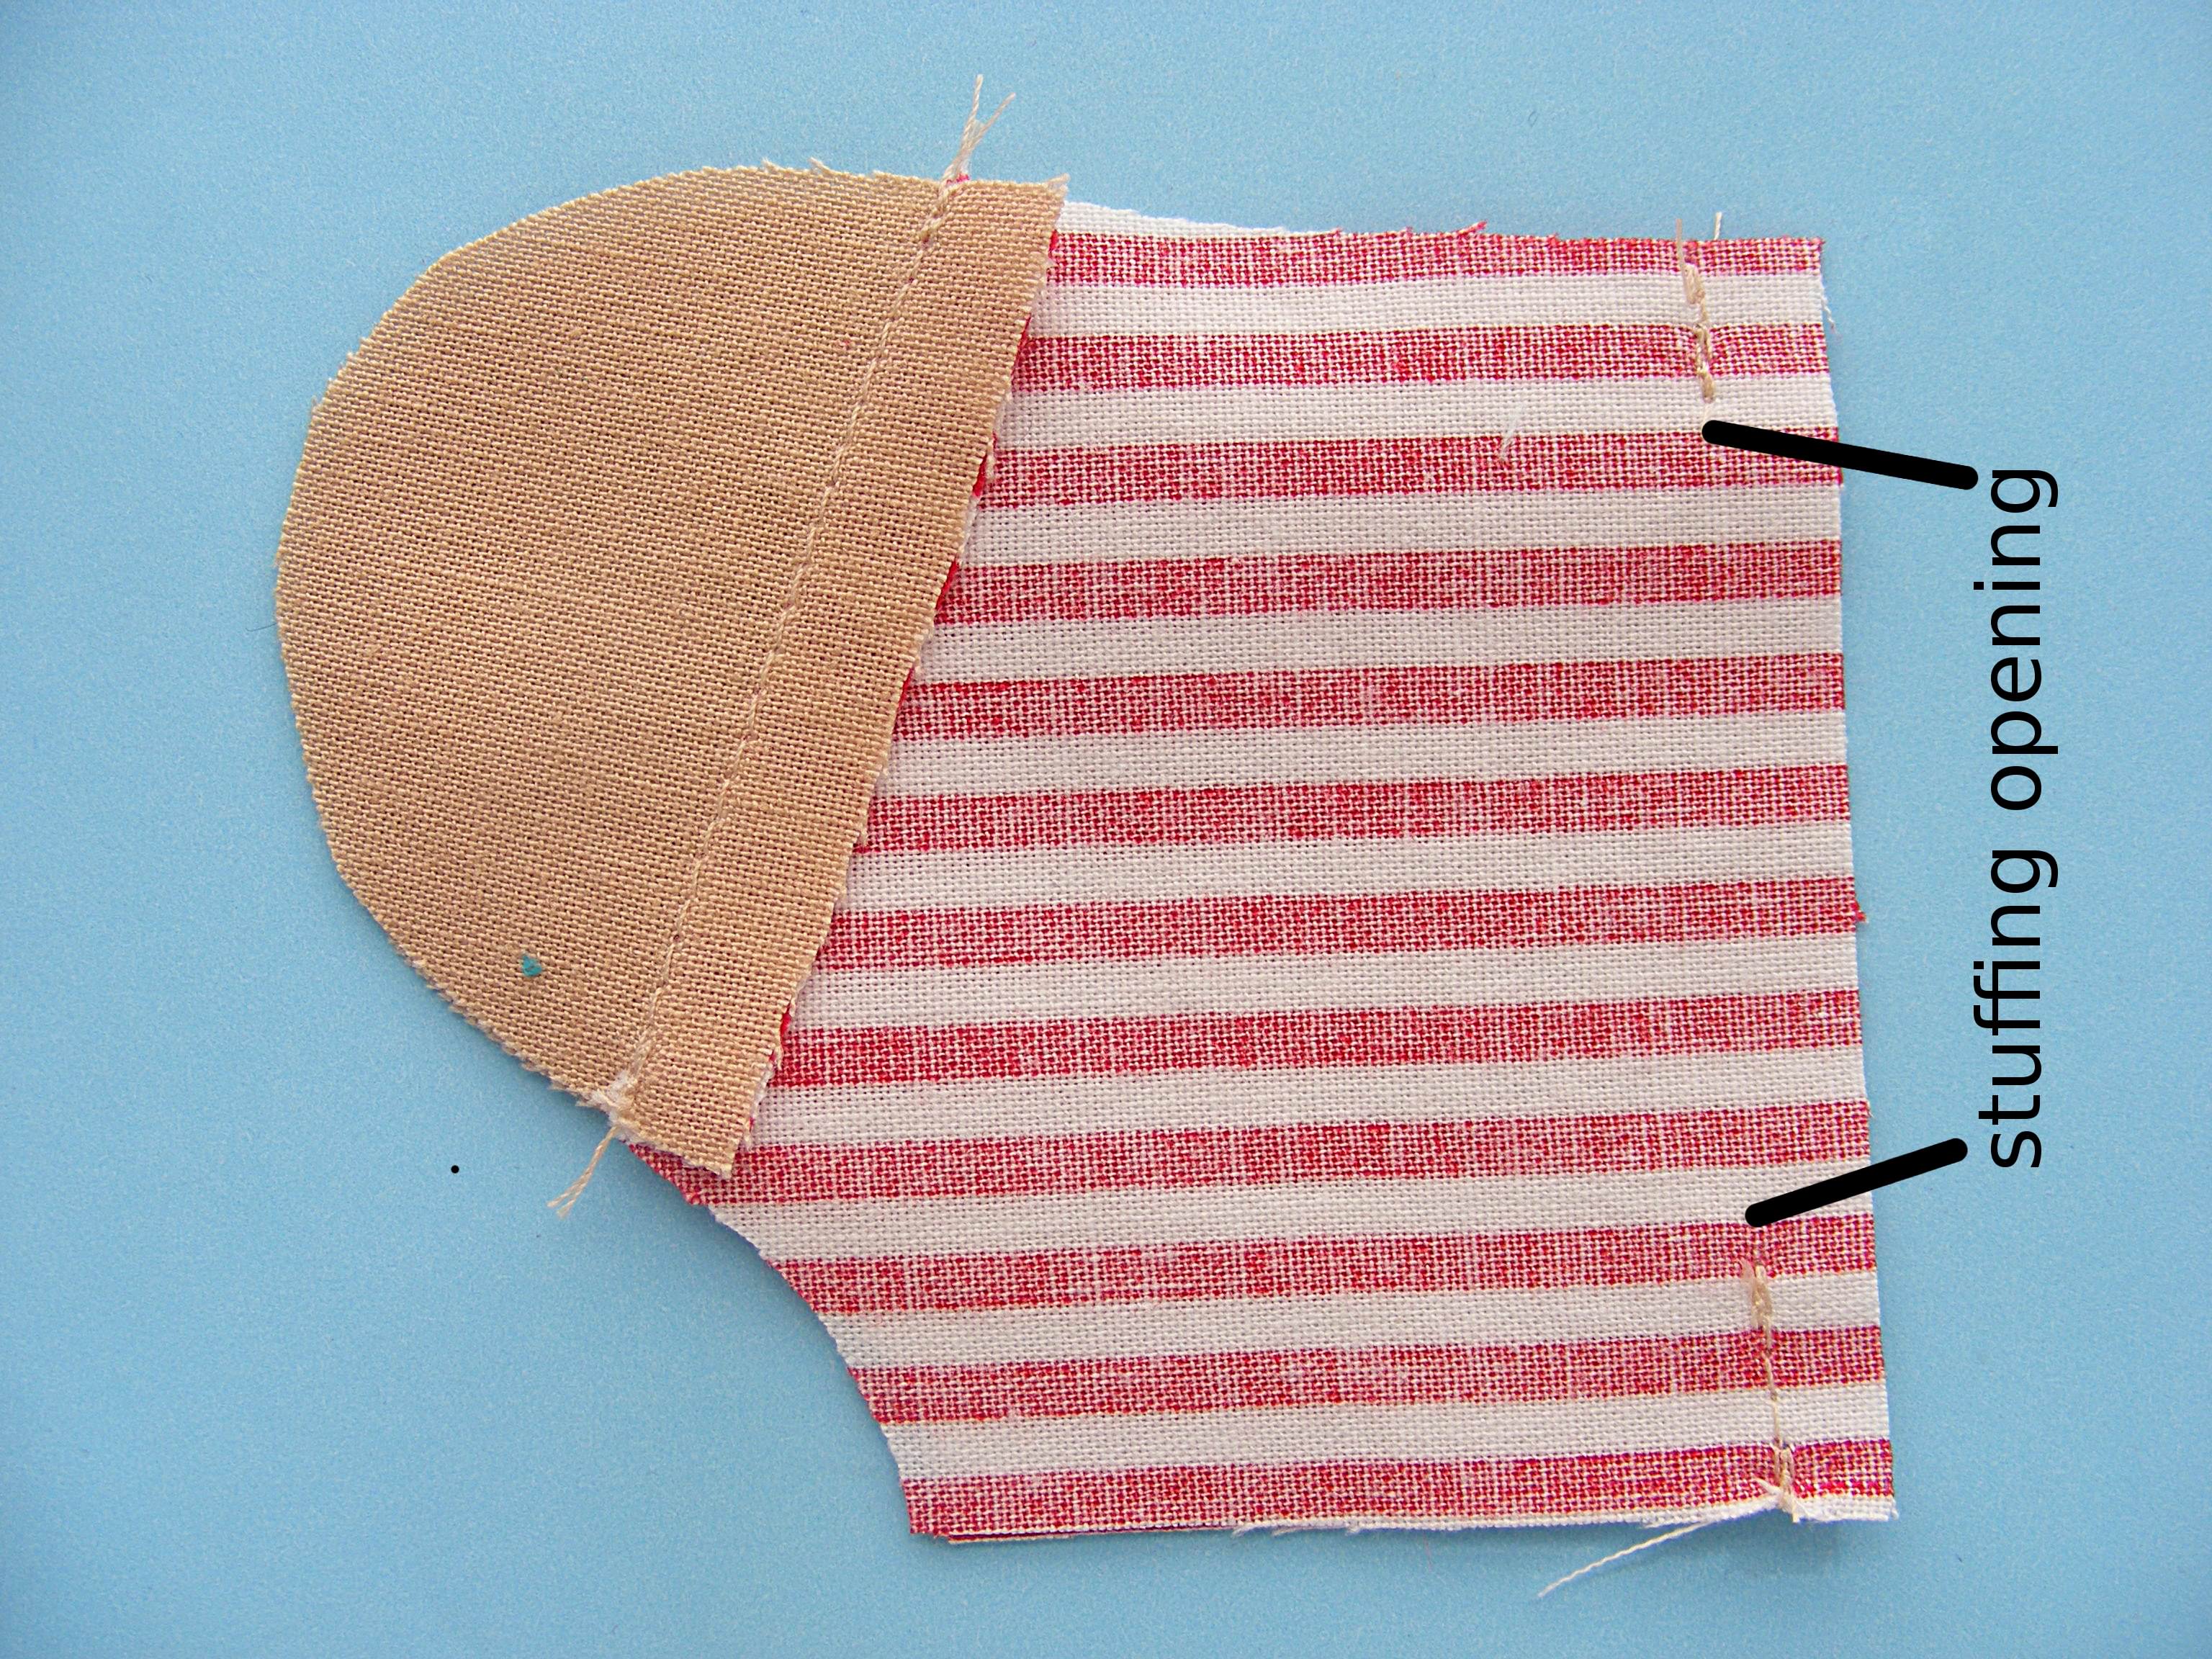
Sew the main shirt and lining (right sides together) up one front side, around the neck, and down the other side. Clip the curves and corners.

This video has tips for handling tight curves, and also info on the how and why of clipping curves.
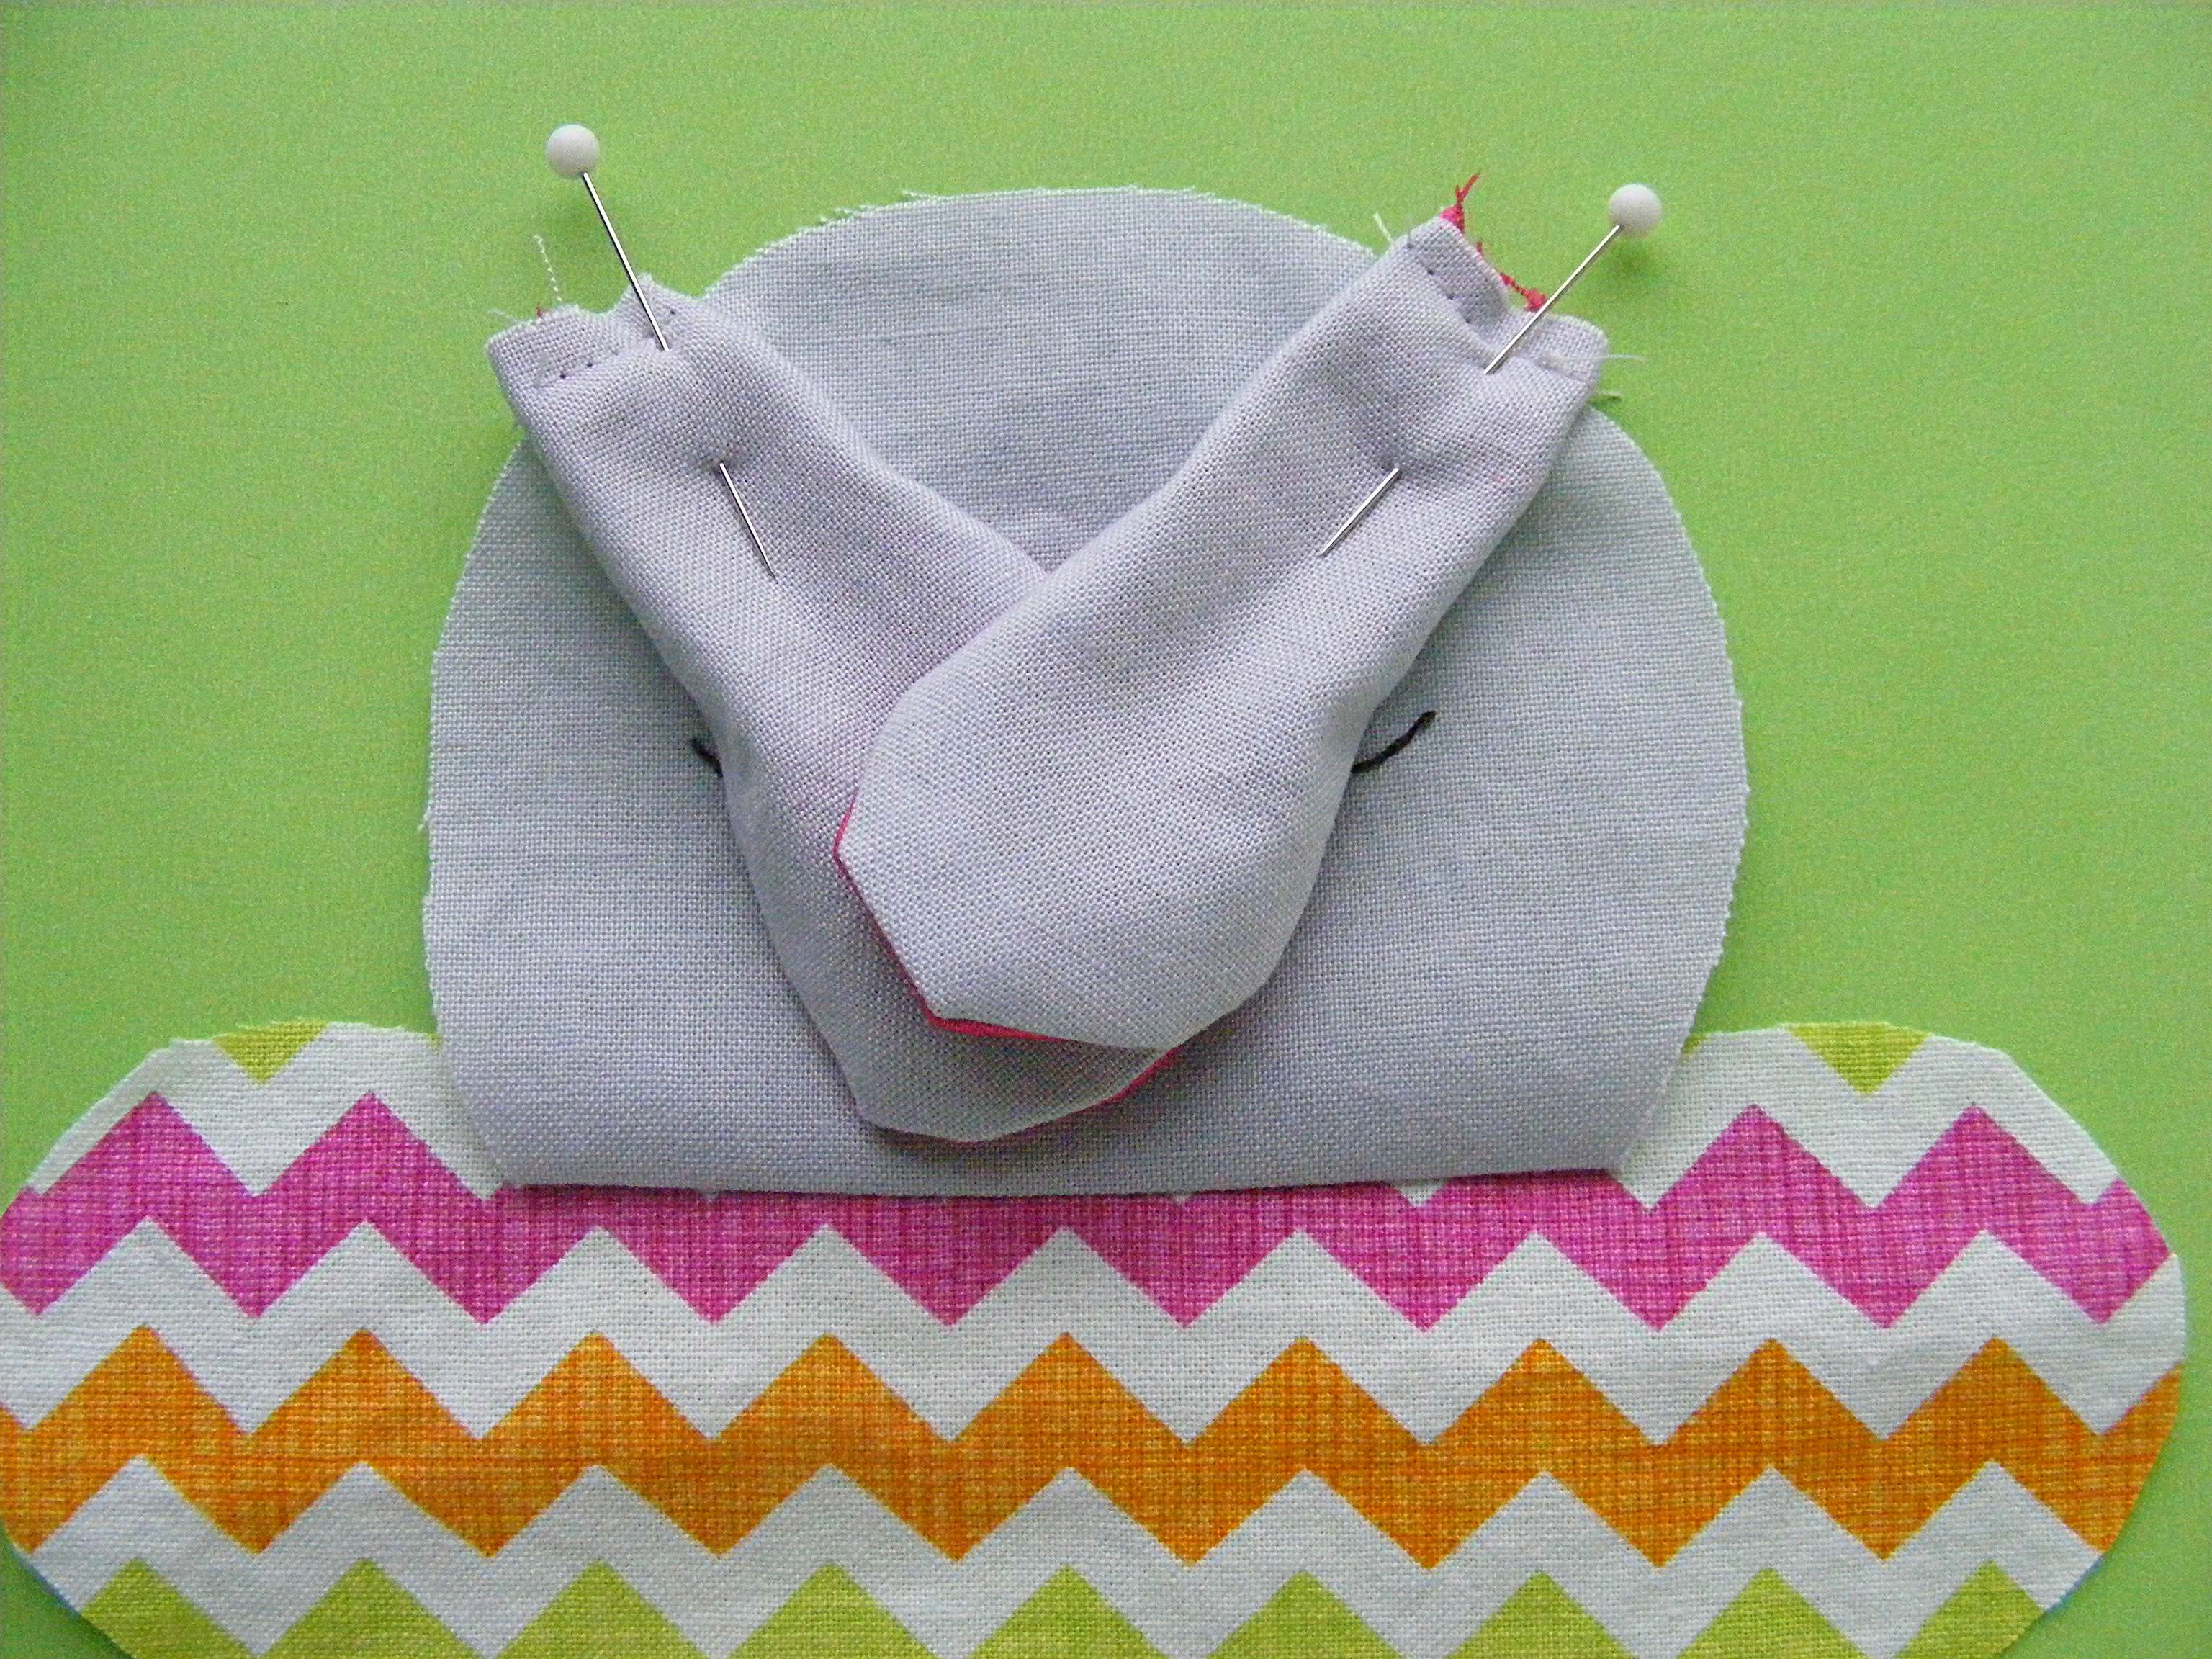
Step 3
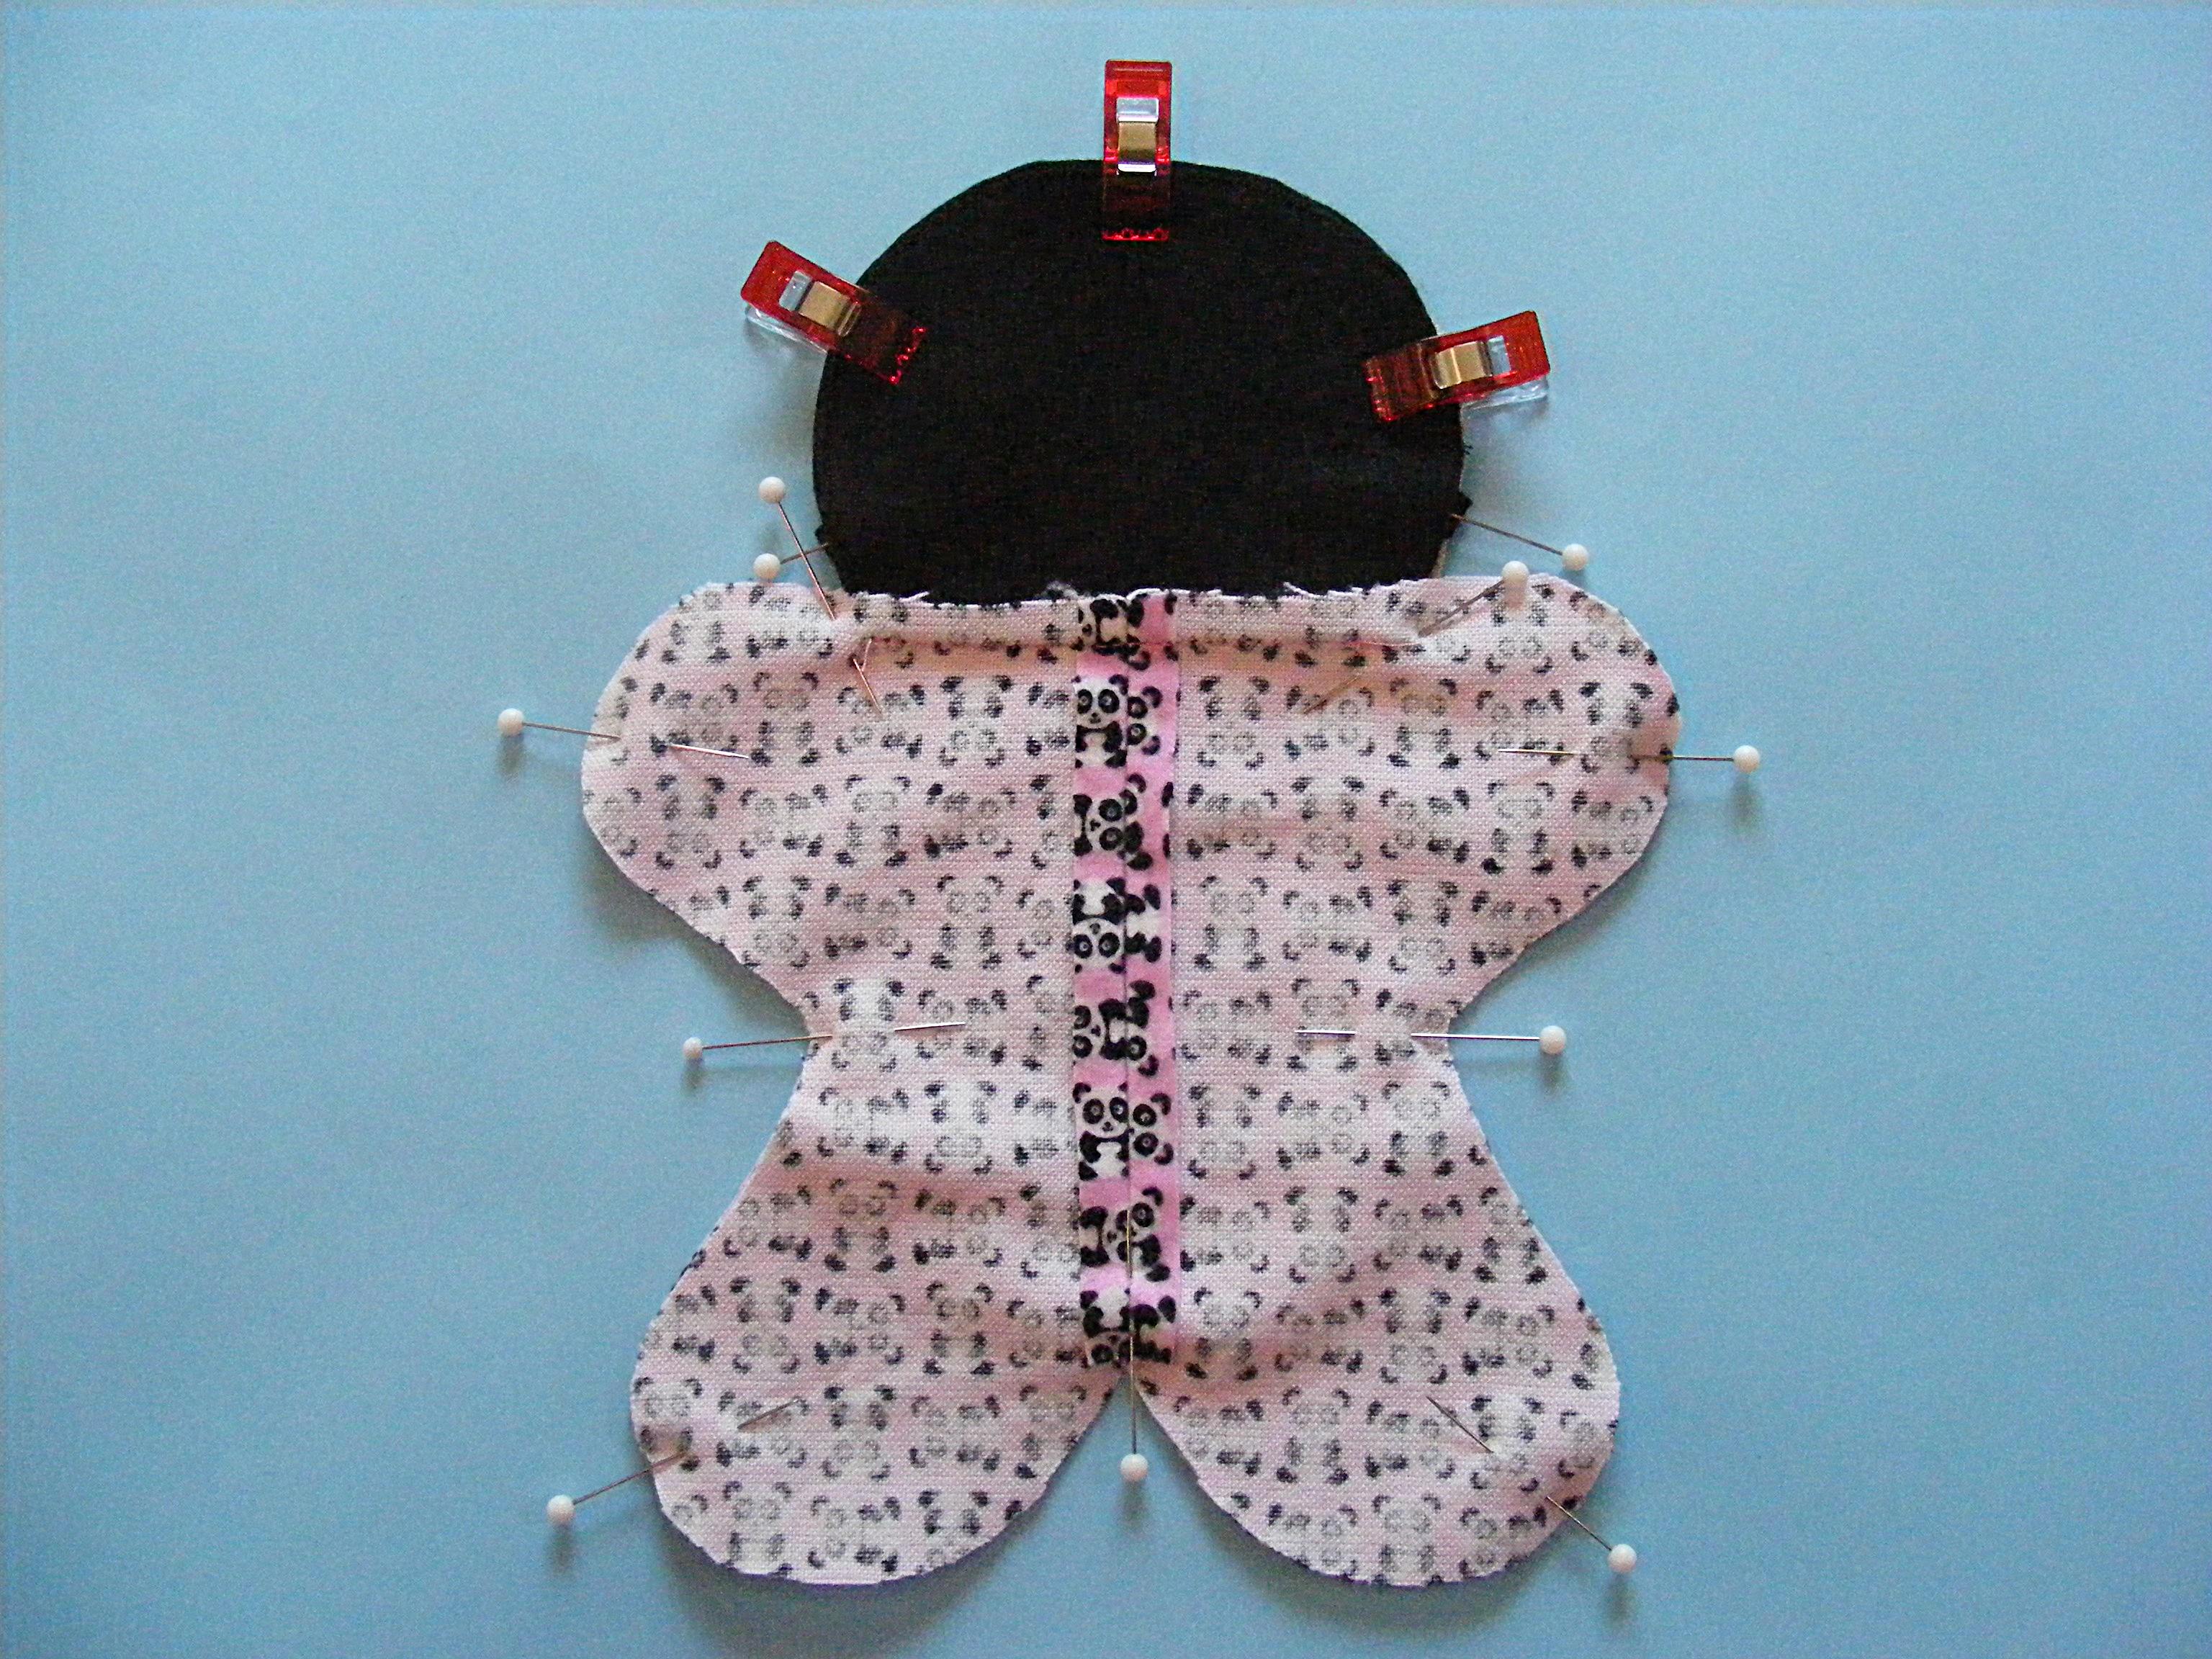
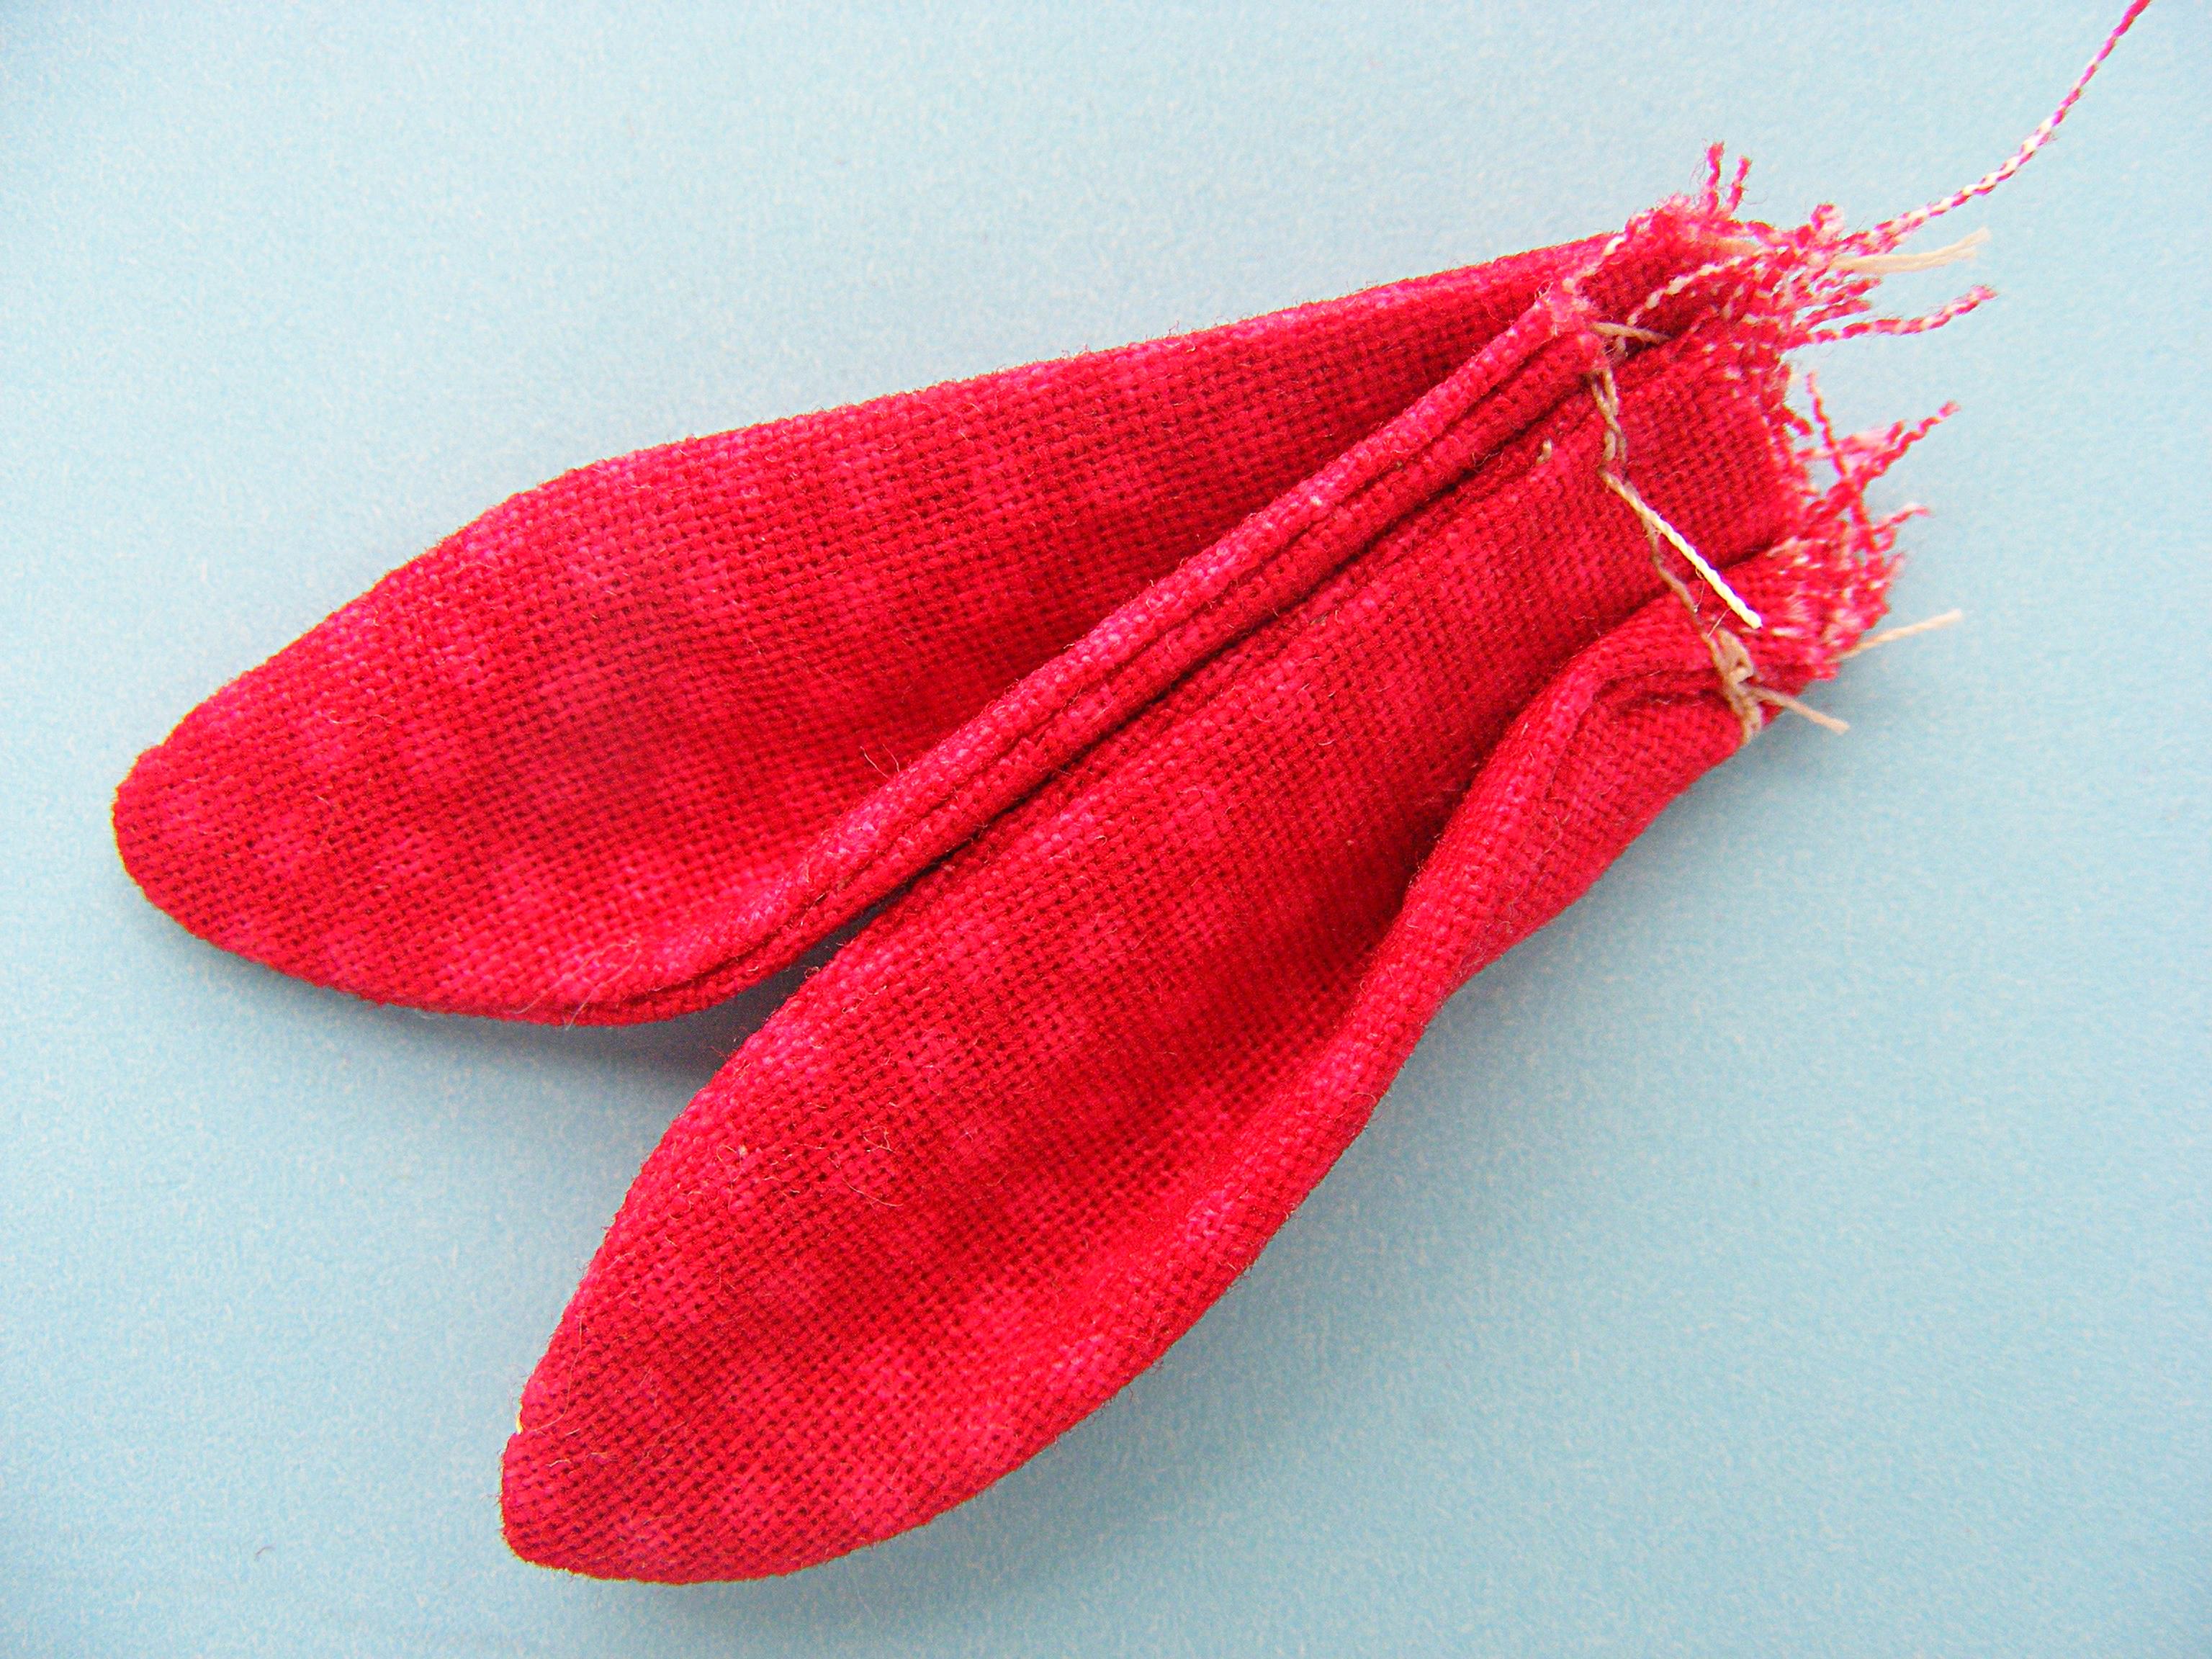
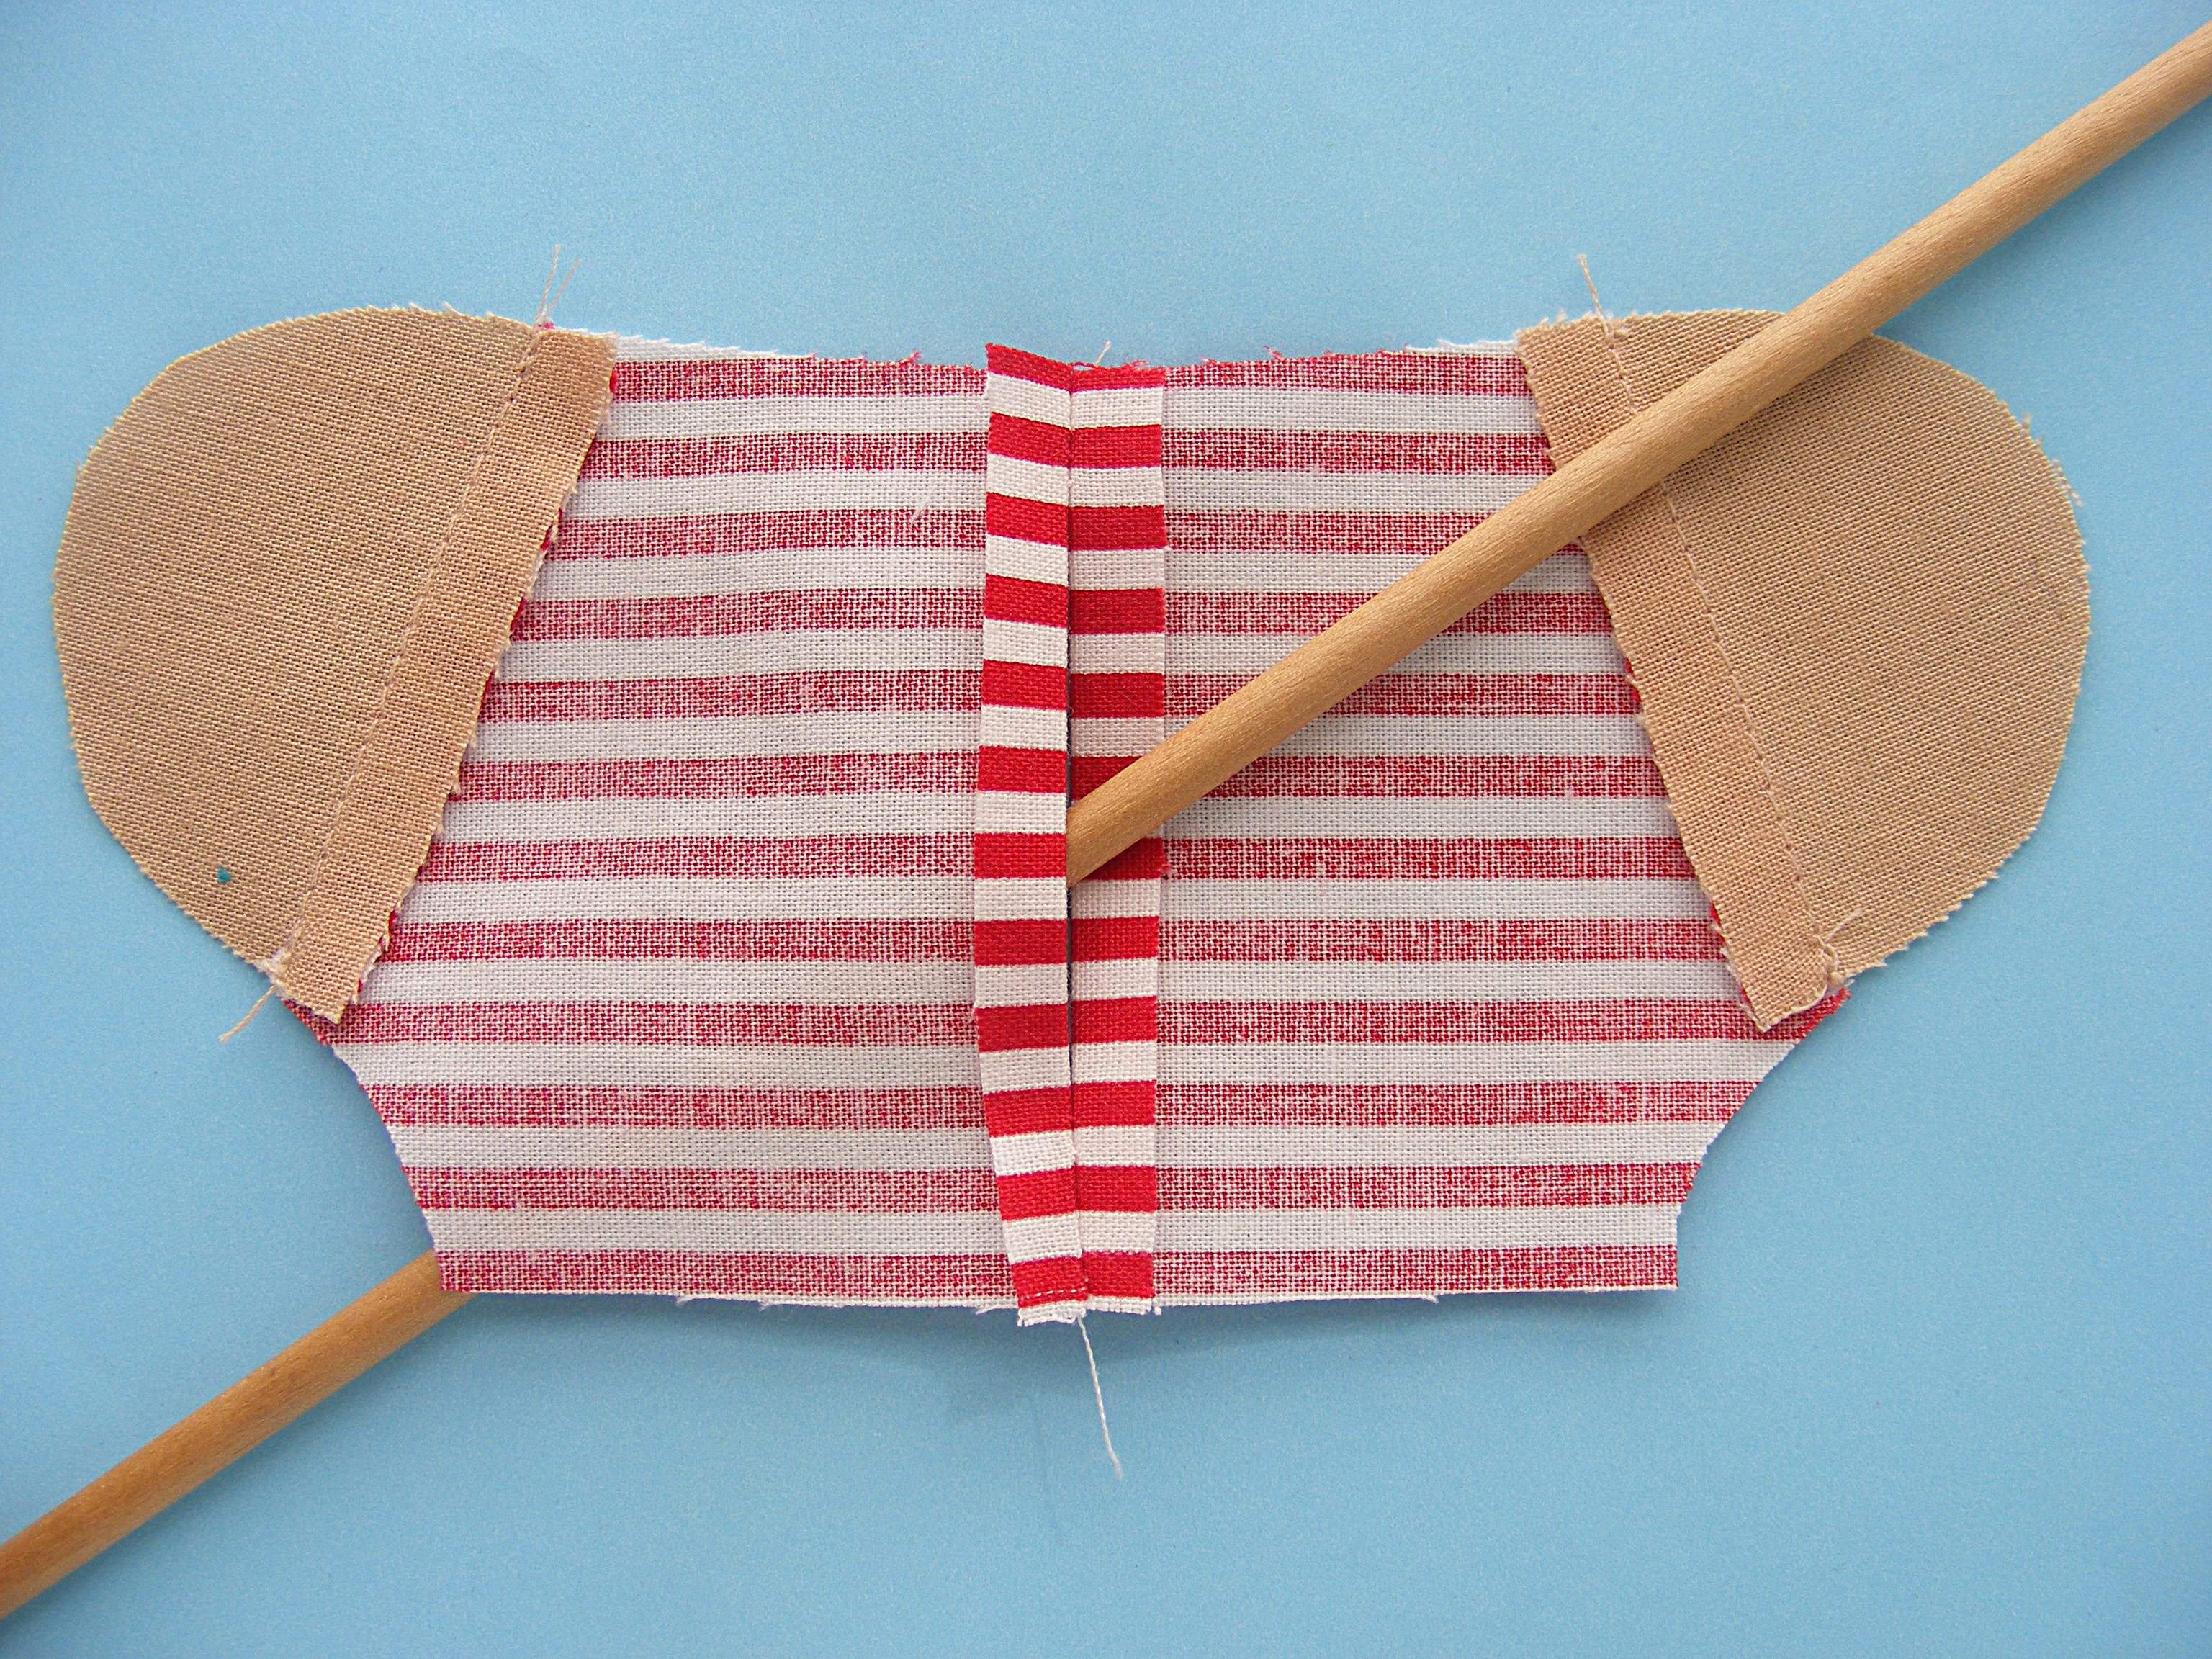
Turn the shirt right side out.

Carefully smooth out the curve around the neck, poke out the corners, and press. From this point on you’ll treat the two layers of fabric as one.
Step 4
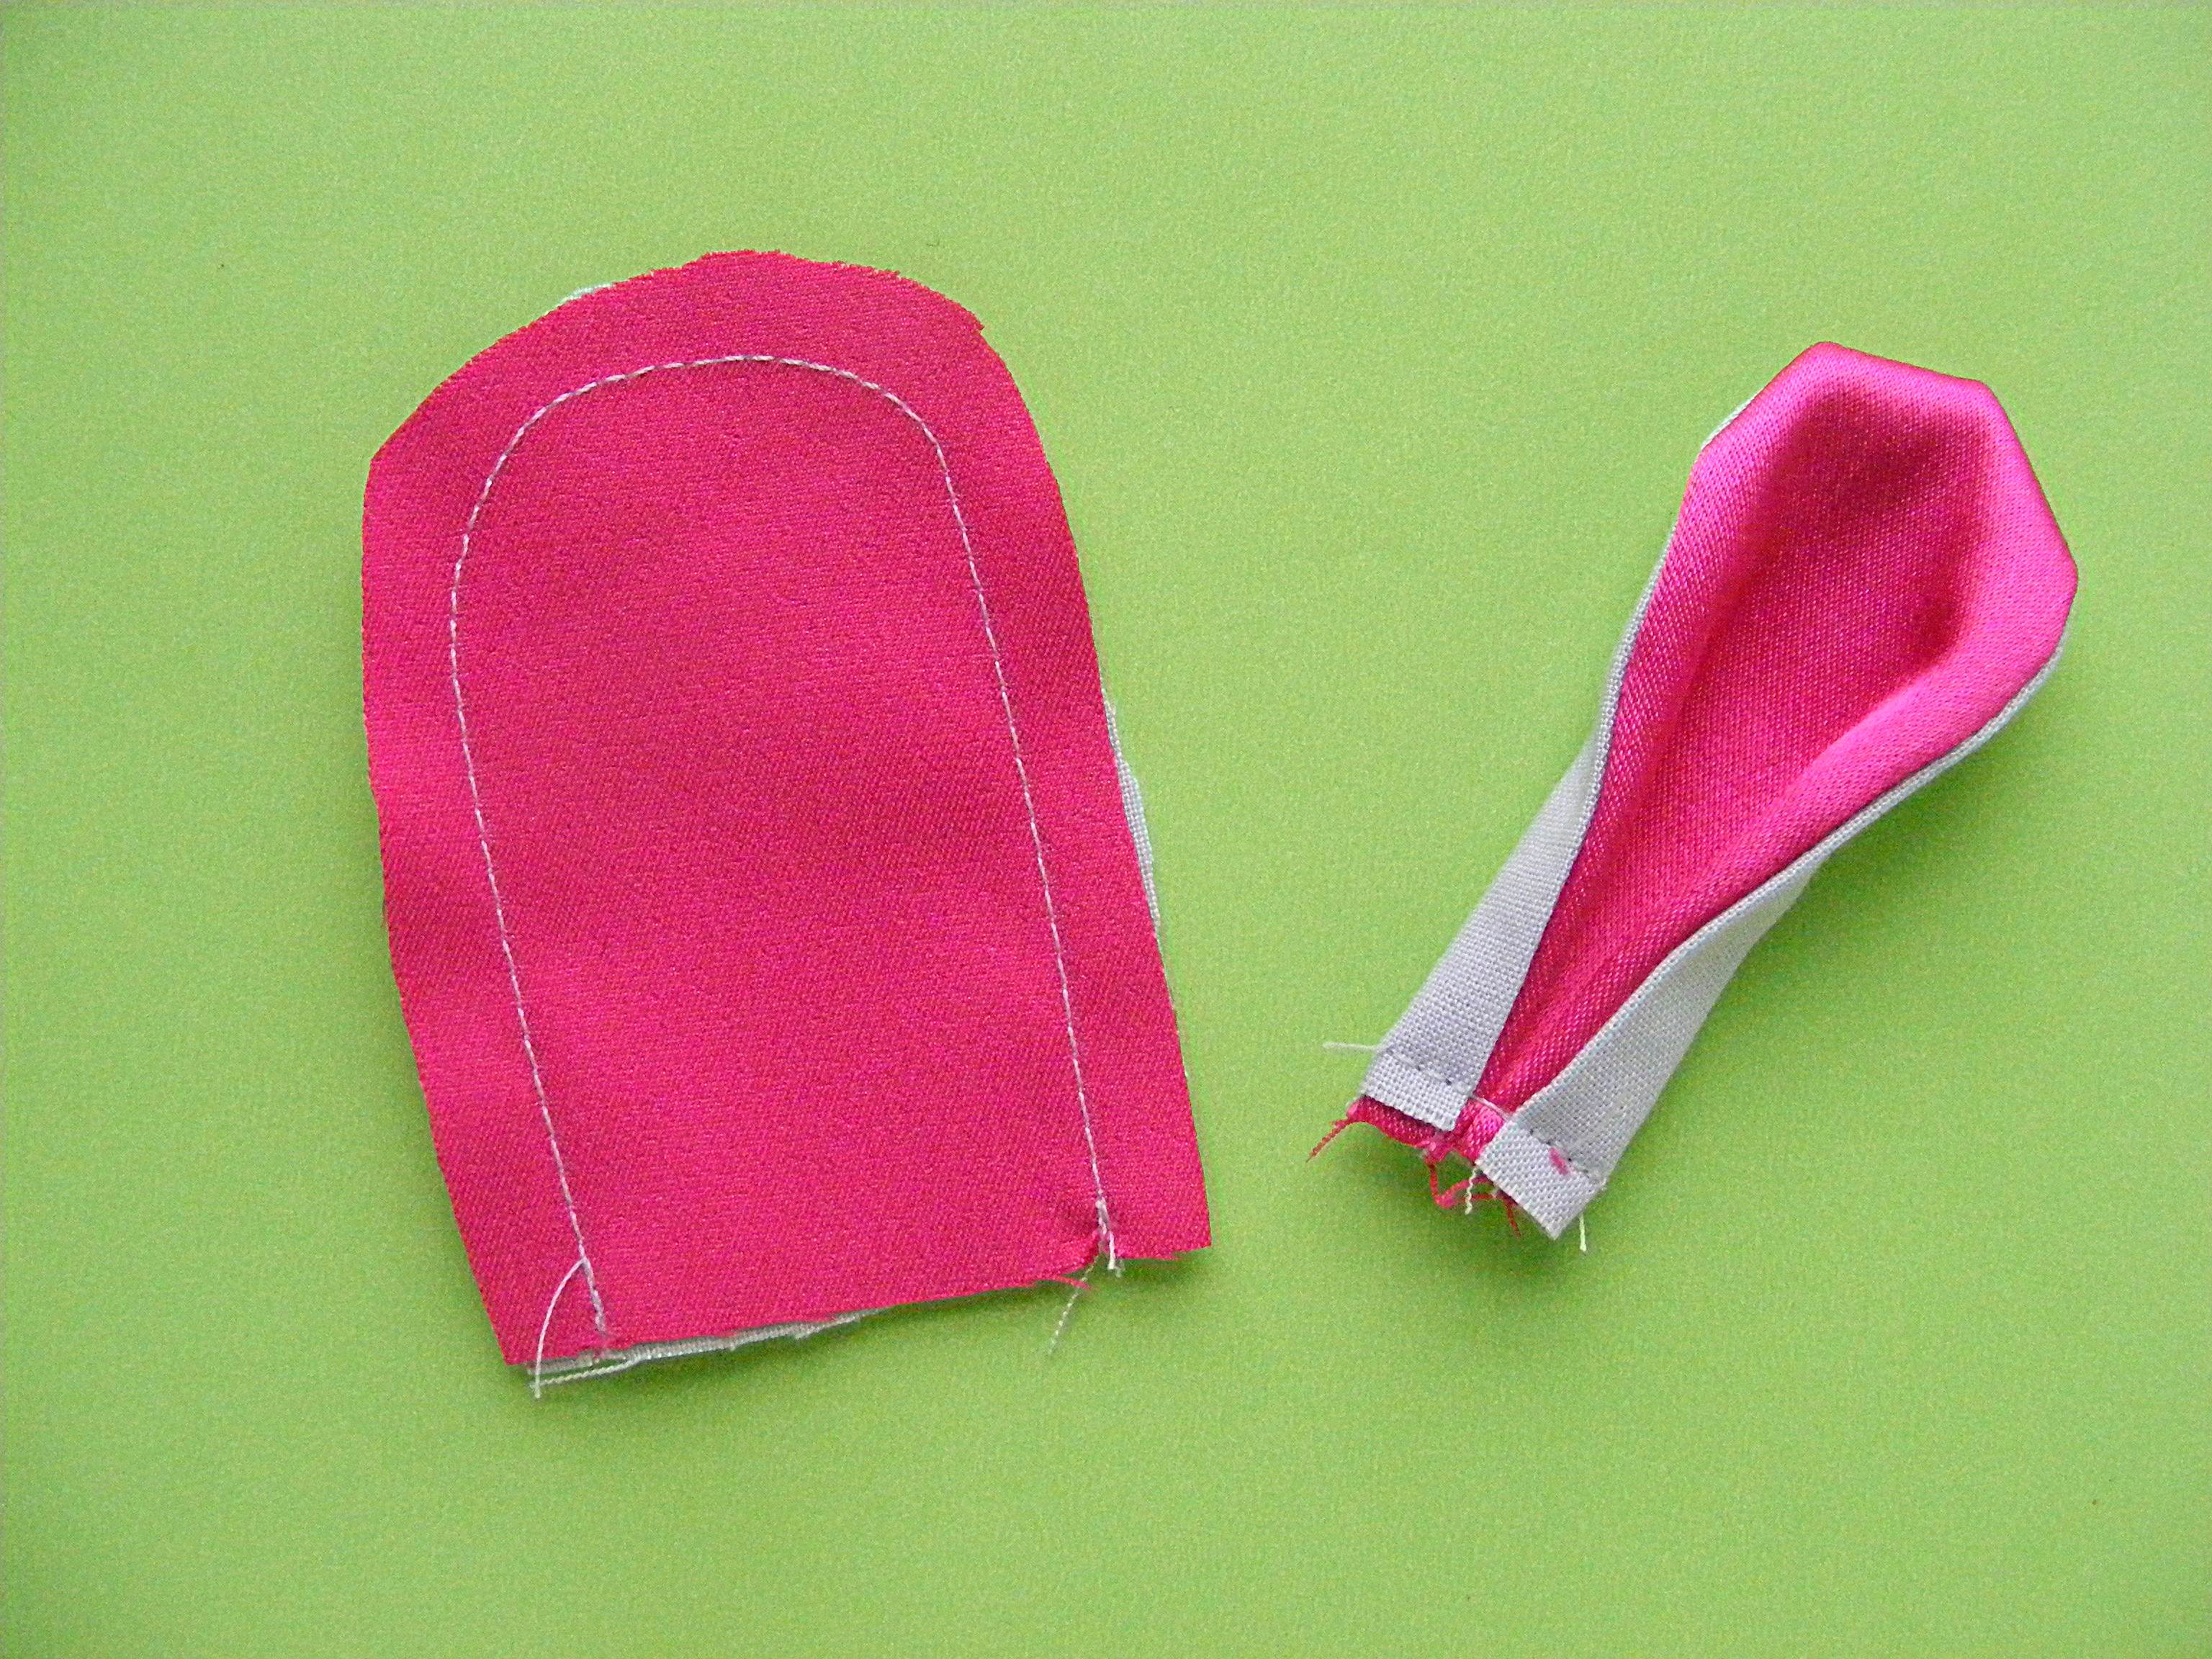
Hem the sleeves. Turn up the raw edge 1/4” and press. Turn it up another 1/4” and press. Stitch the hem in place.

You can hem to the outside, so the contrasting lining shows (like I did) or hem to the inside for a more traditional finish.

Here’s a closer look at one of my sleeve hems.
Here’s a little trick so you don’t have to measure that skinny 1/4 inch. Sew the two layers together 1/4” from the raw edge. Use that stitching line as a guide for turning up the first 1/4.” No measuring! Then turn the second 1/4” and stitch.
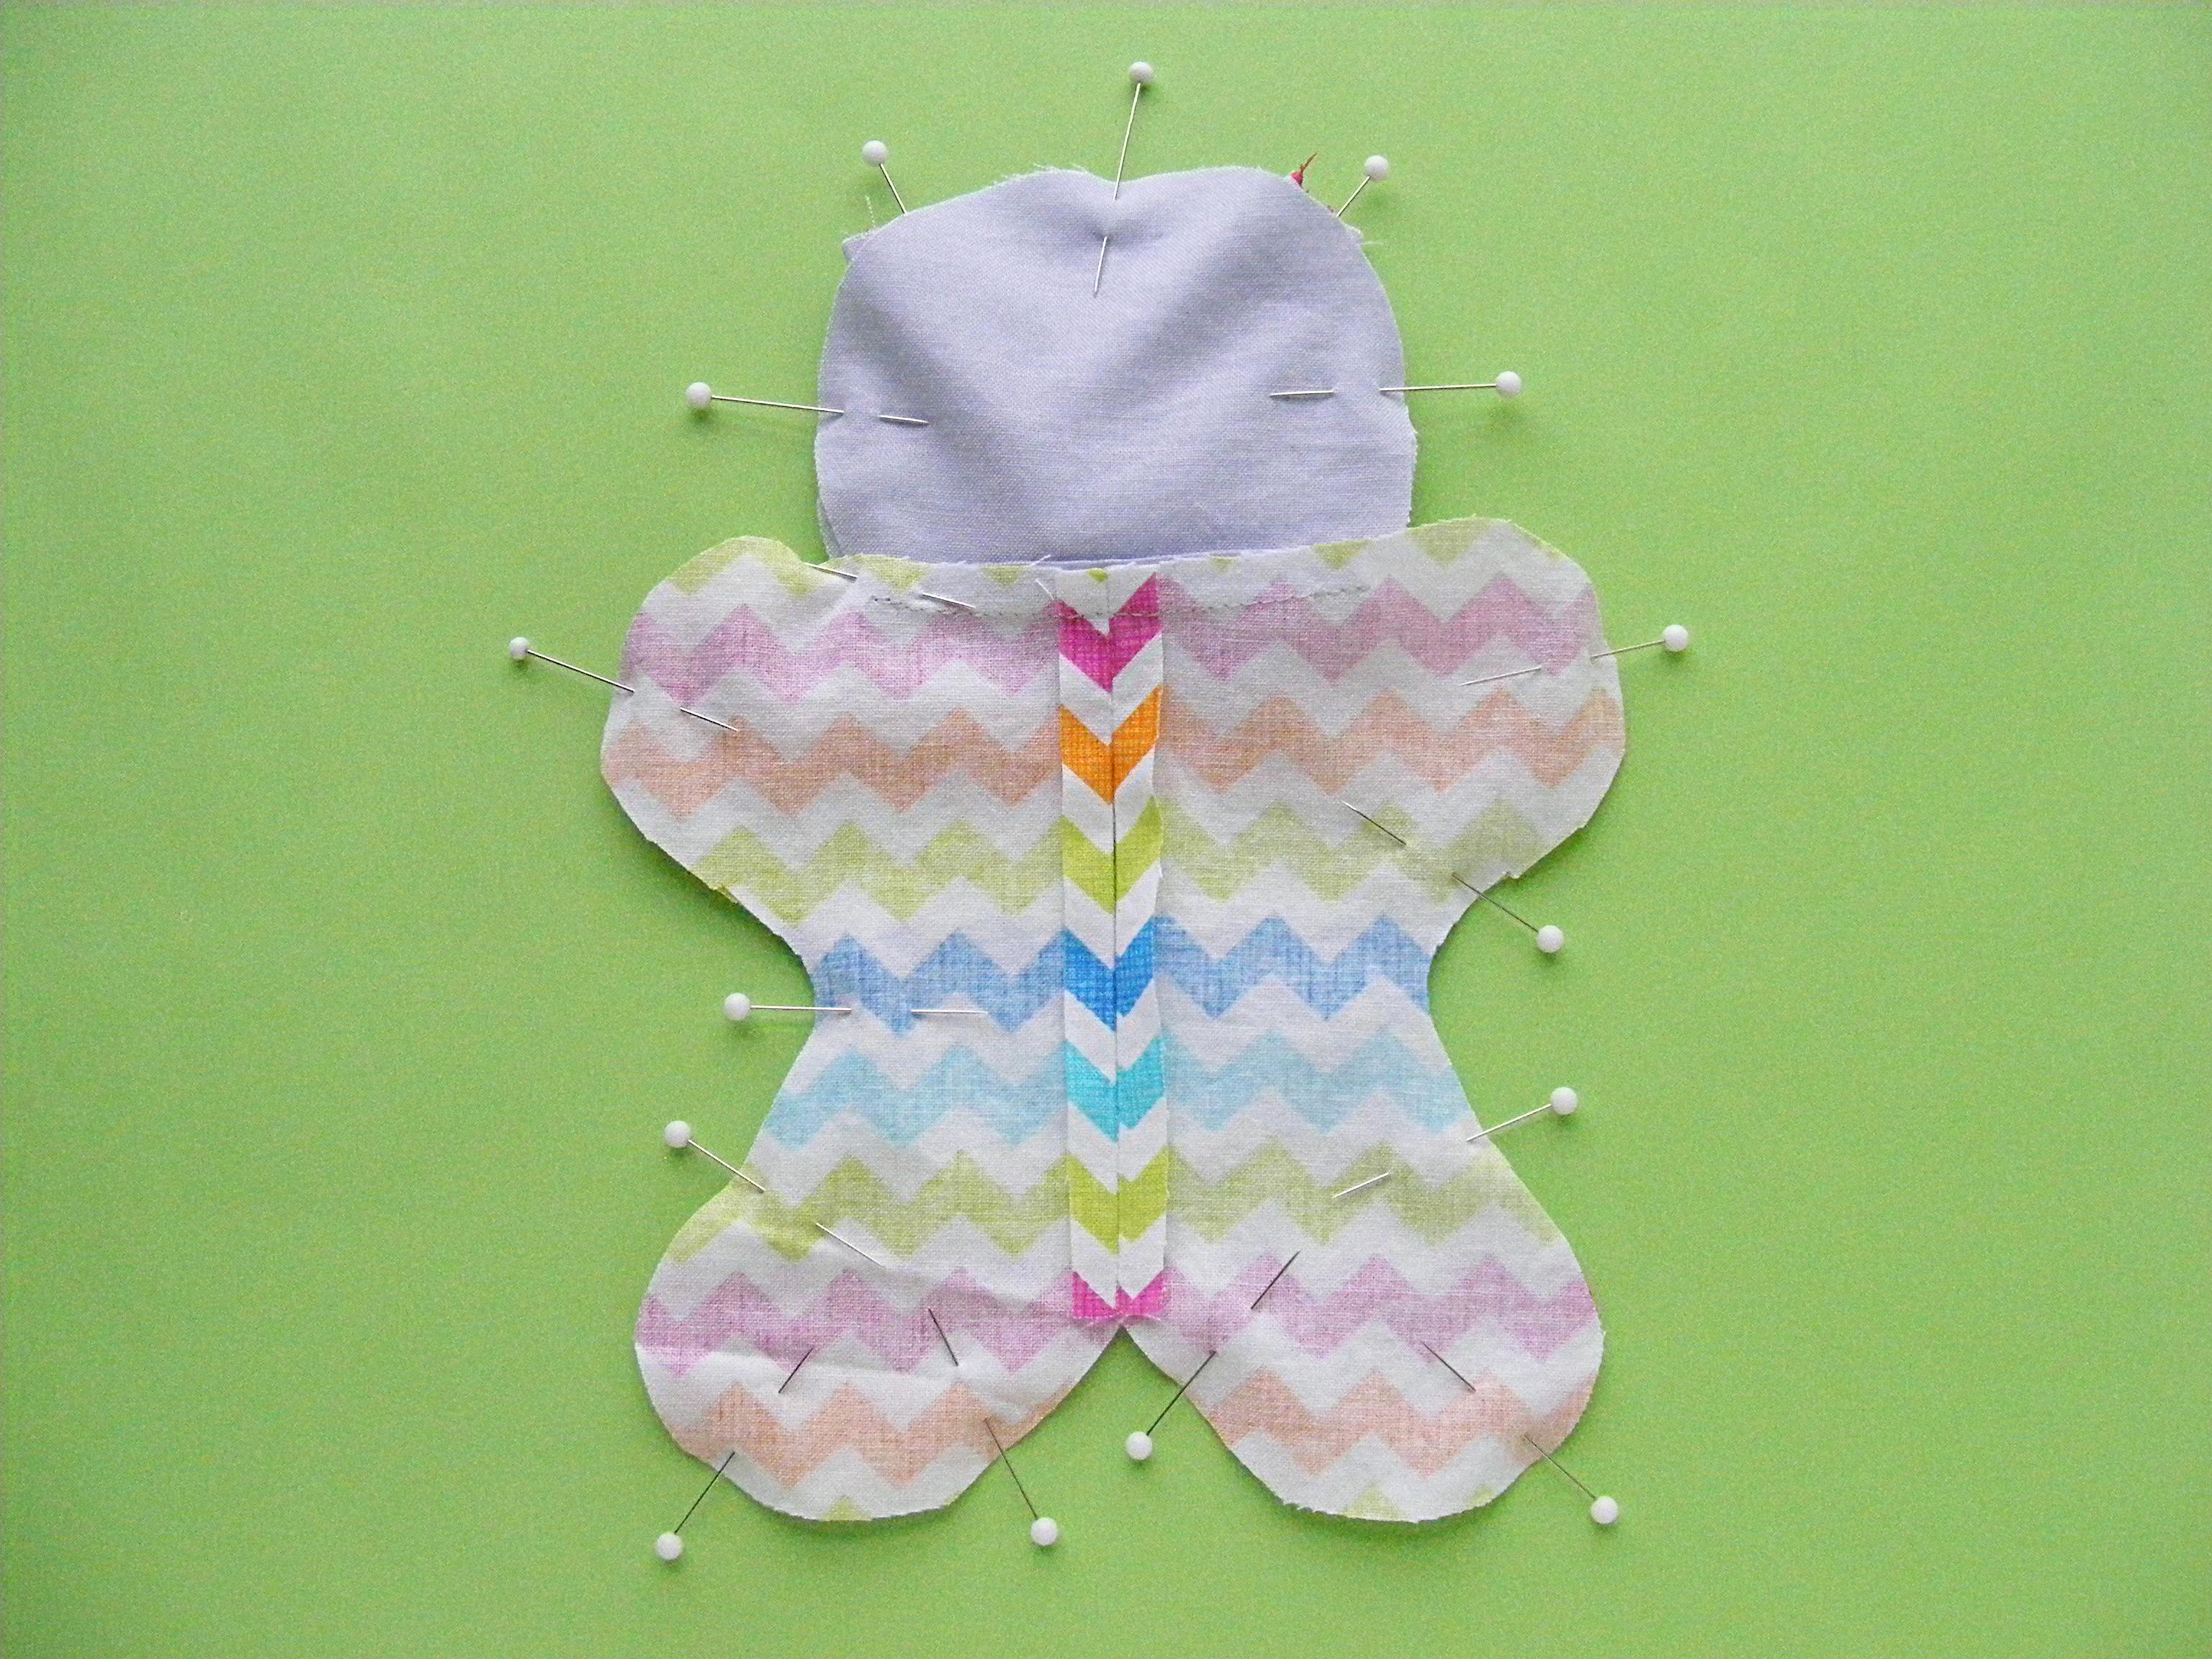
Step 5
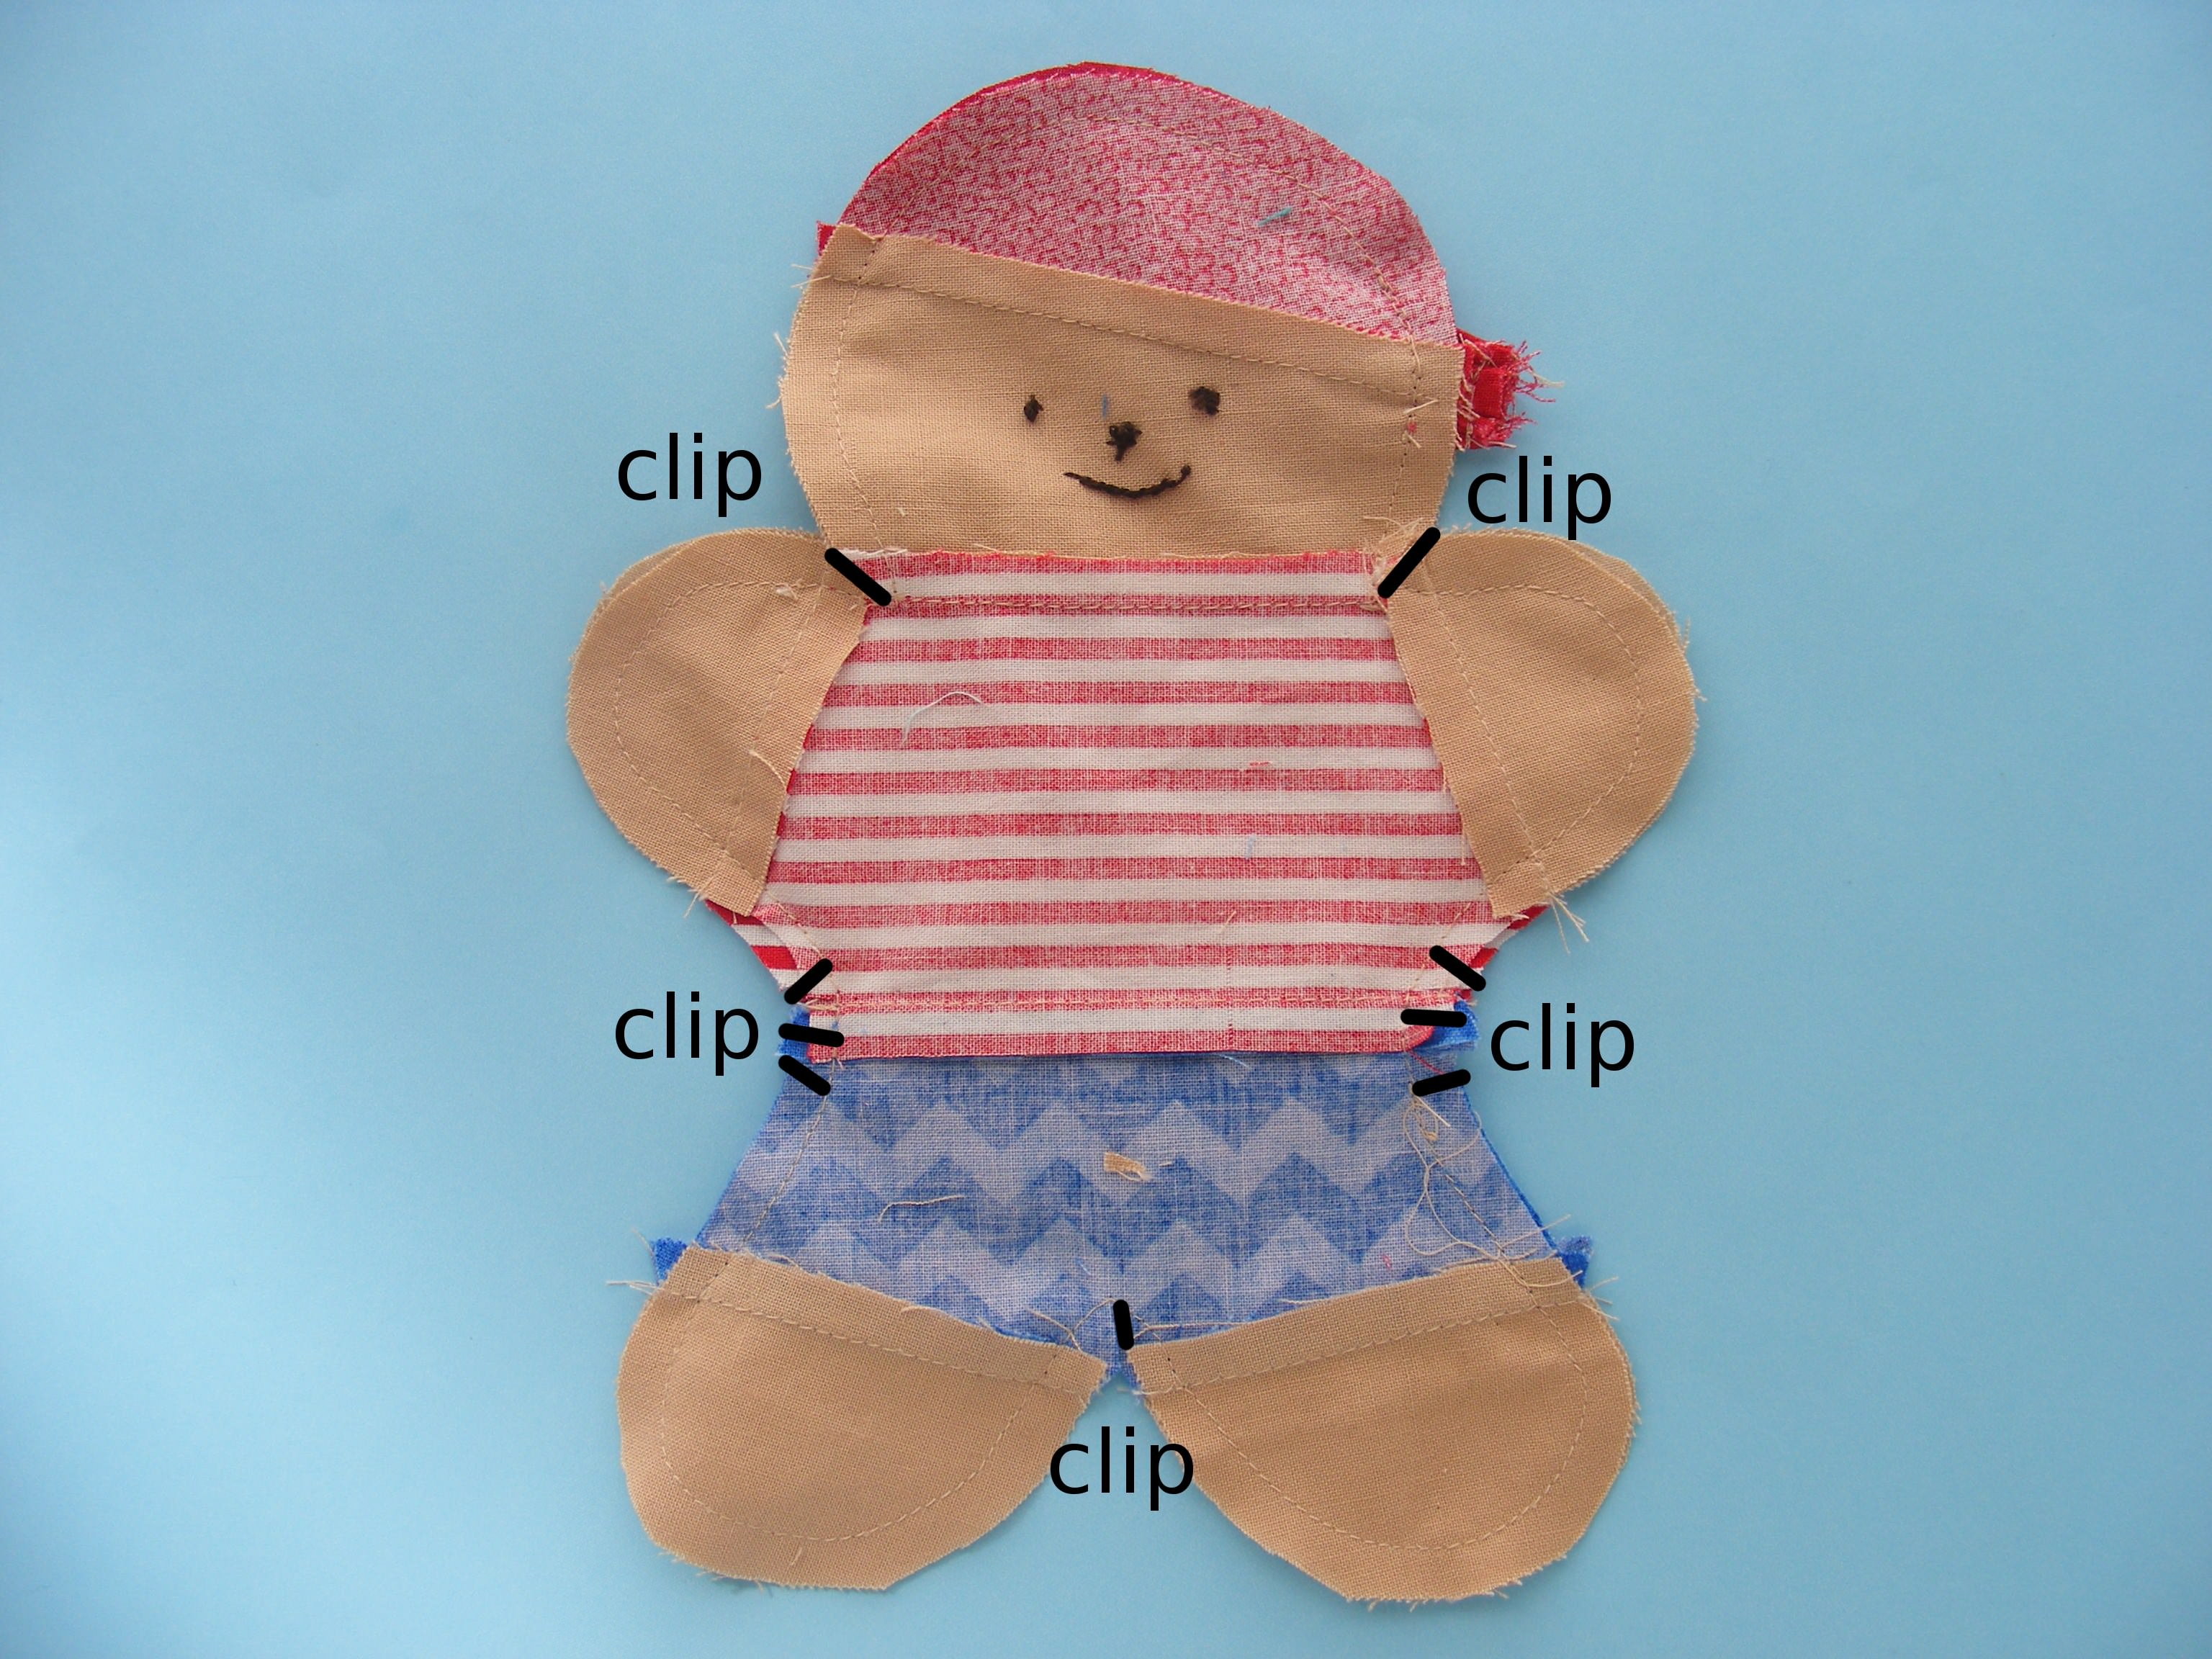
With the shirt inside out, sew the underarm/side seam.

Start sewing at the armhole so that edge is perfectly lined up and finish at the shirt bottom. Any unevenness there will be hidden once it’s hemmed. Clip the seam allowance in the curve.
Step 6
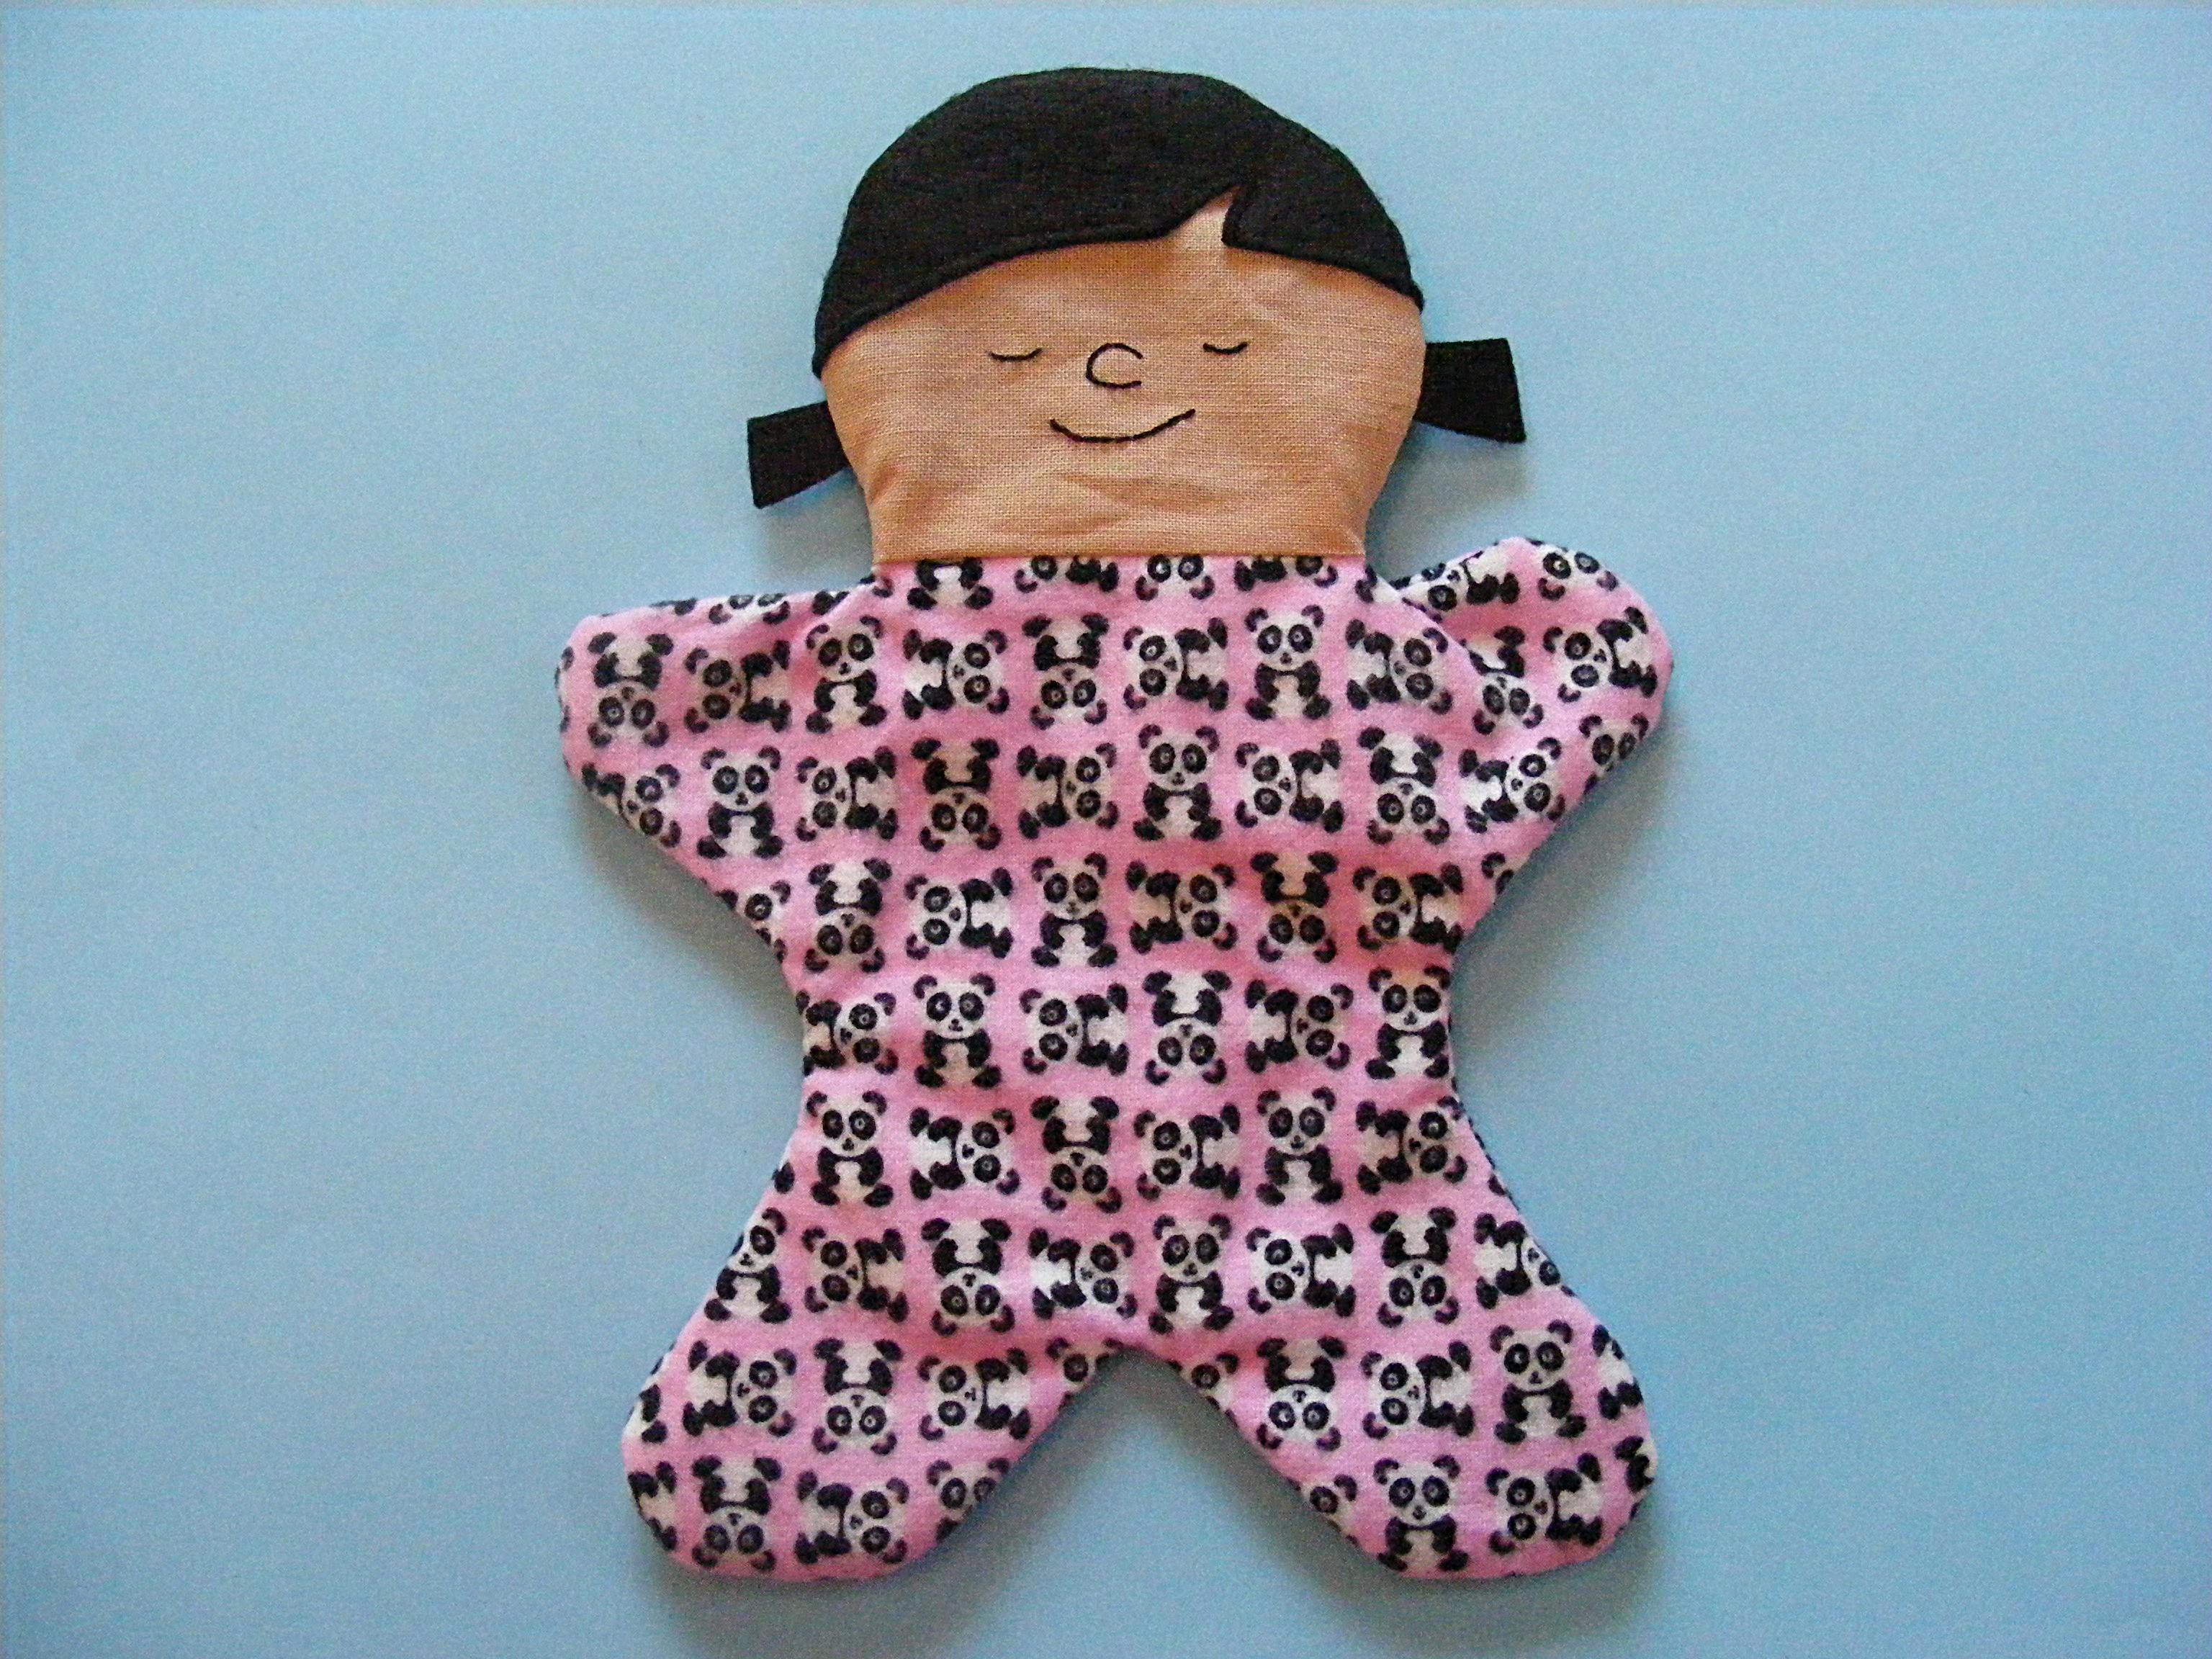
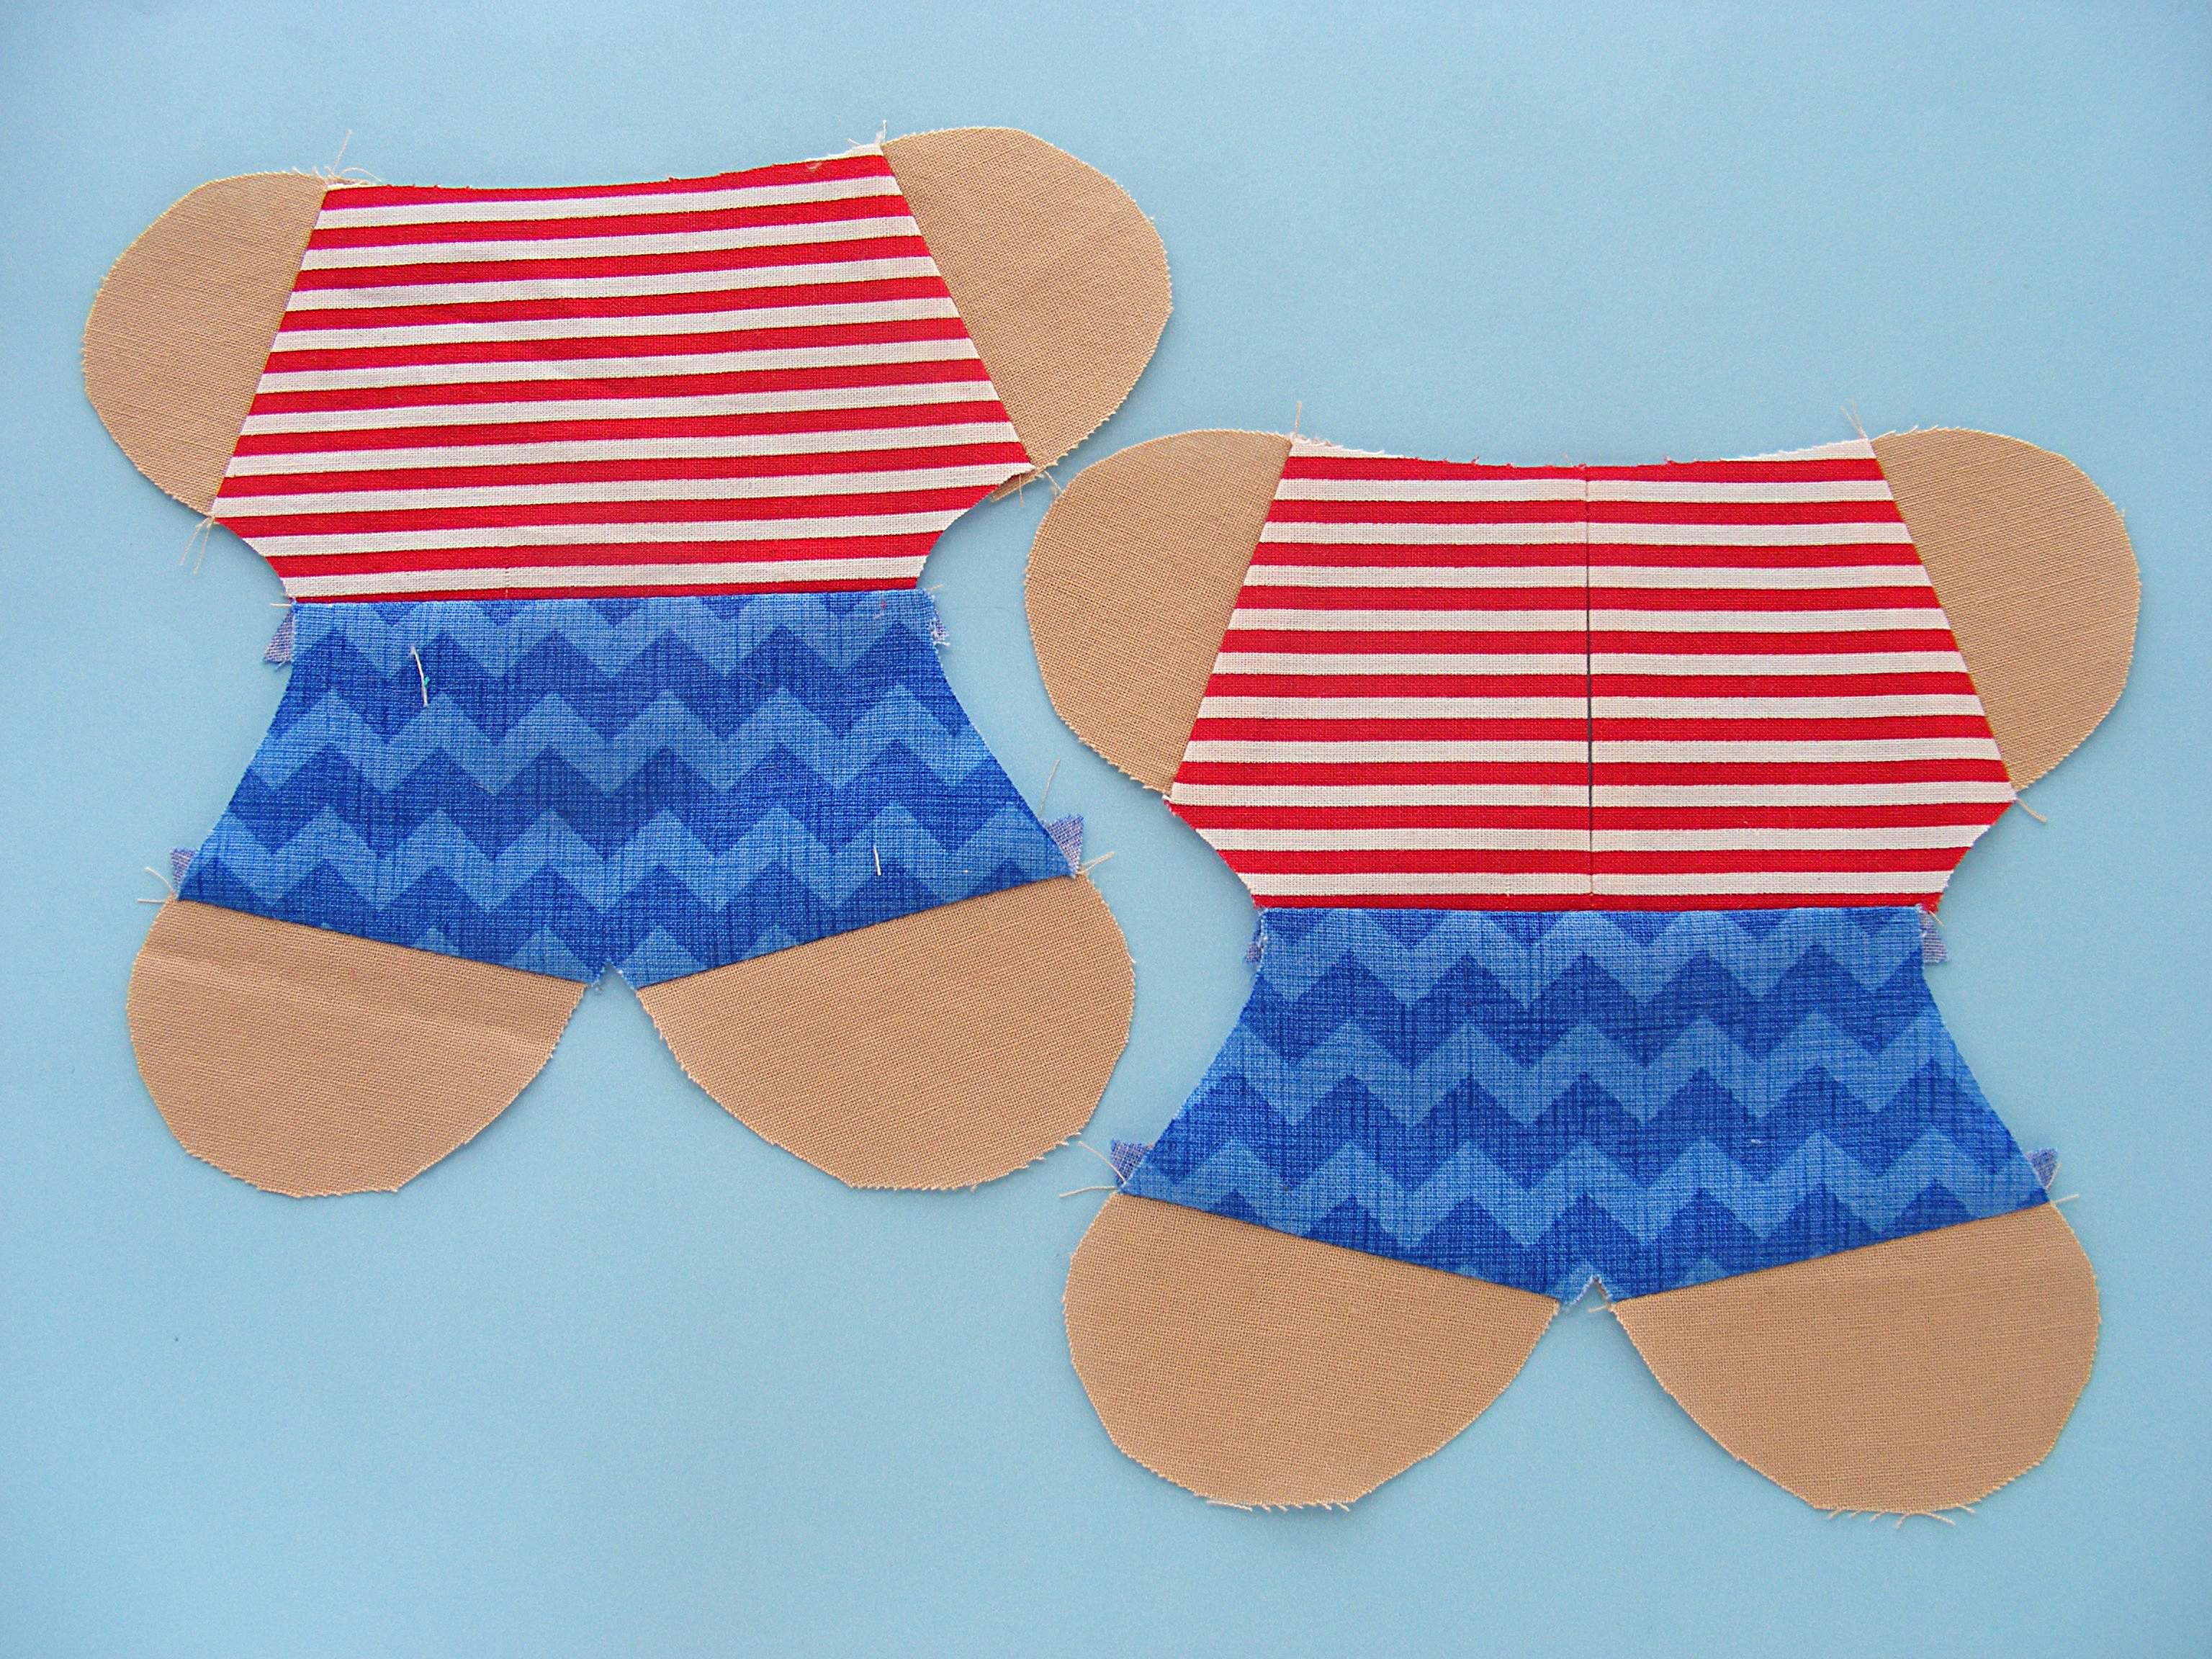
Turn the shirt right side out and press.

Almost finished!
Step 7
Hem the shirt bottom the same way you did the sleeves in Step 4.

Step 8
Press everything and add three snaps. I like using these pretty colored snaps.

For the youngest doll-owners you might want to use velcro instead. I have special skinny hook & loop tape ideal for doll clothes in the shop. And if you’re extra fancy you can use buttons. 🙂
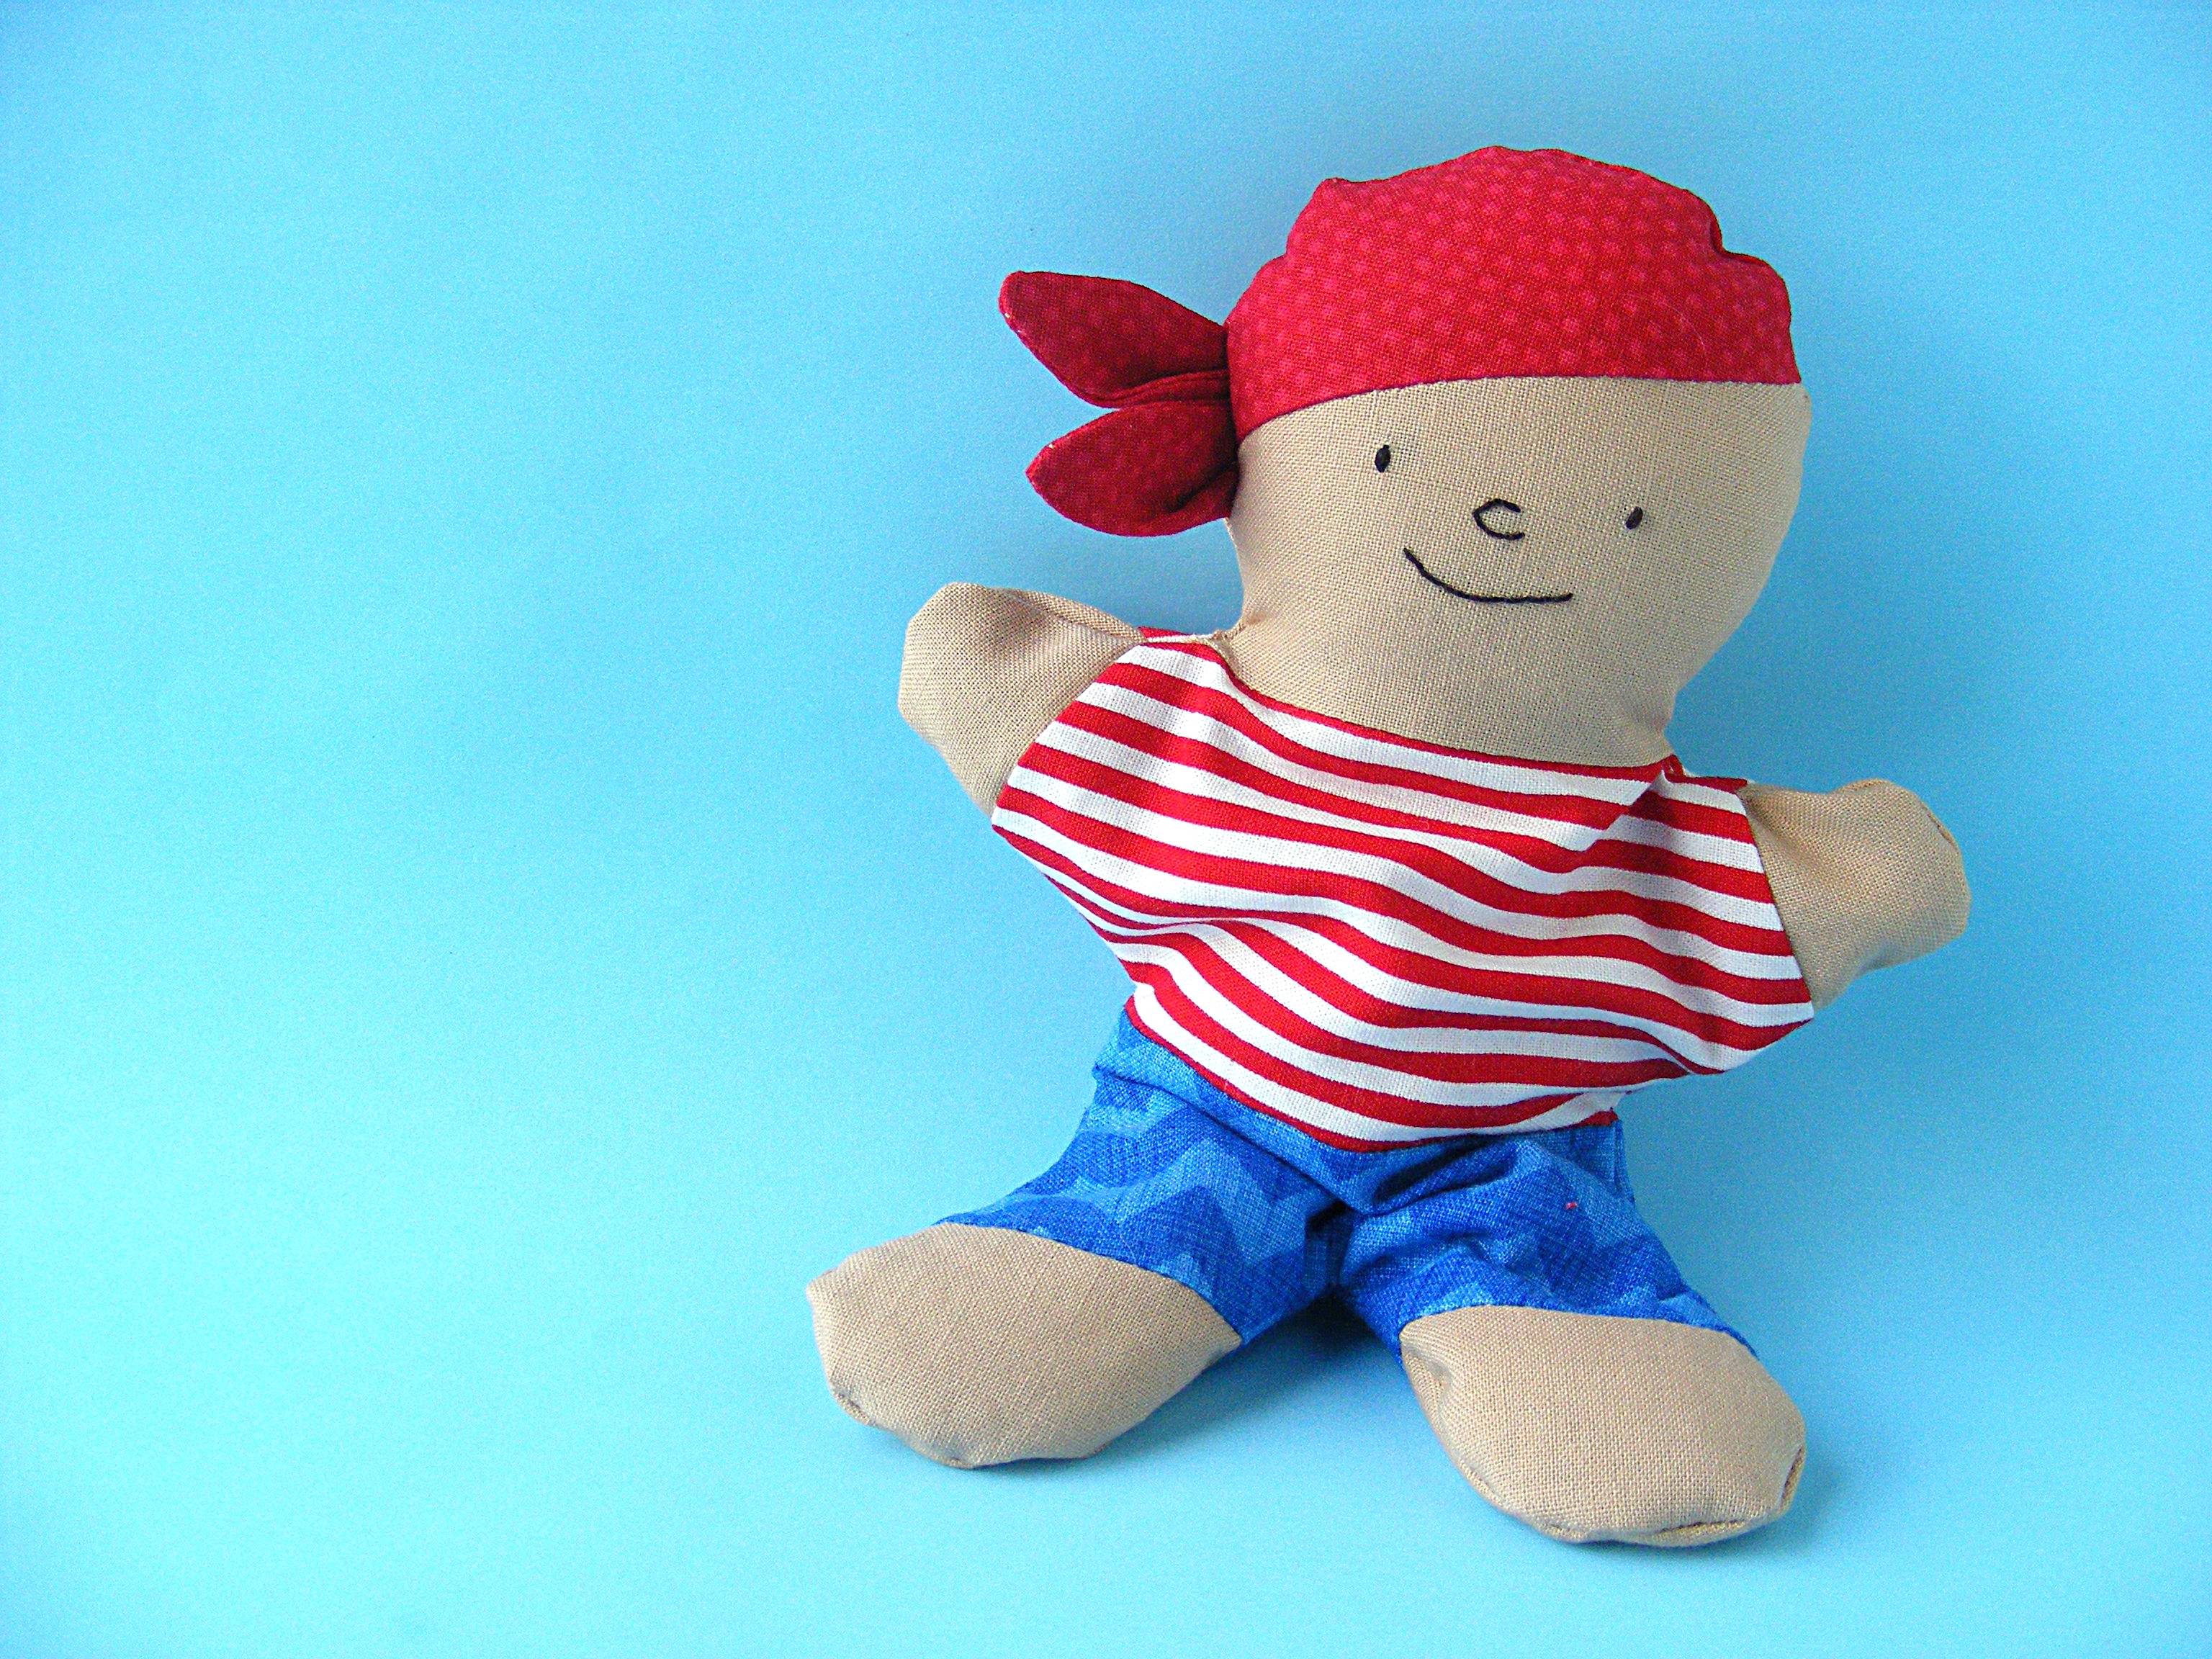
Finished! But your doll can’t just wear a shirt!

You can find instructions for a super easy doll skirt here.
Doll Shorts Pattern
Step 1
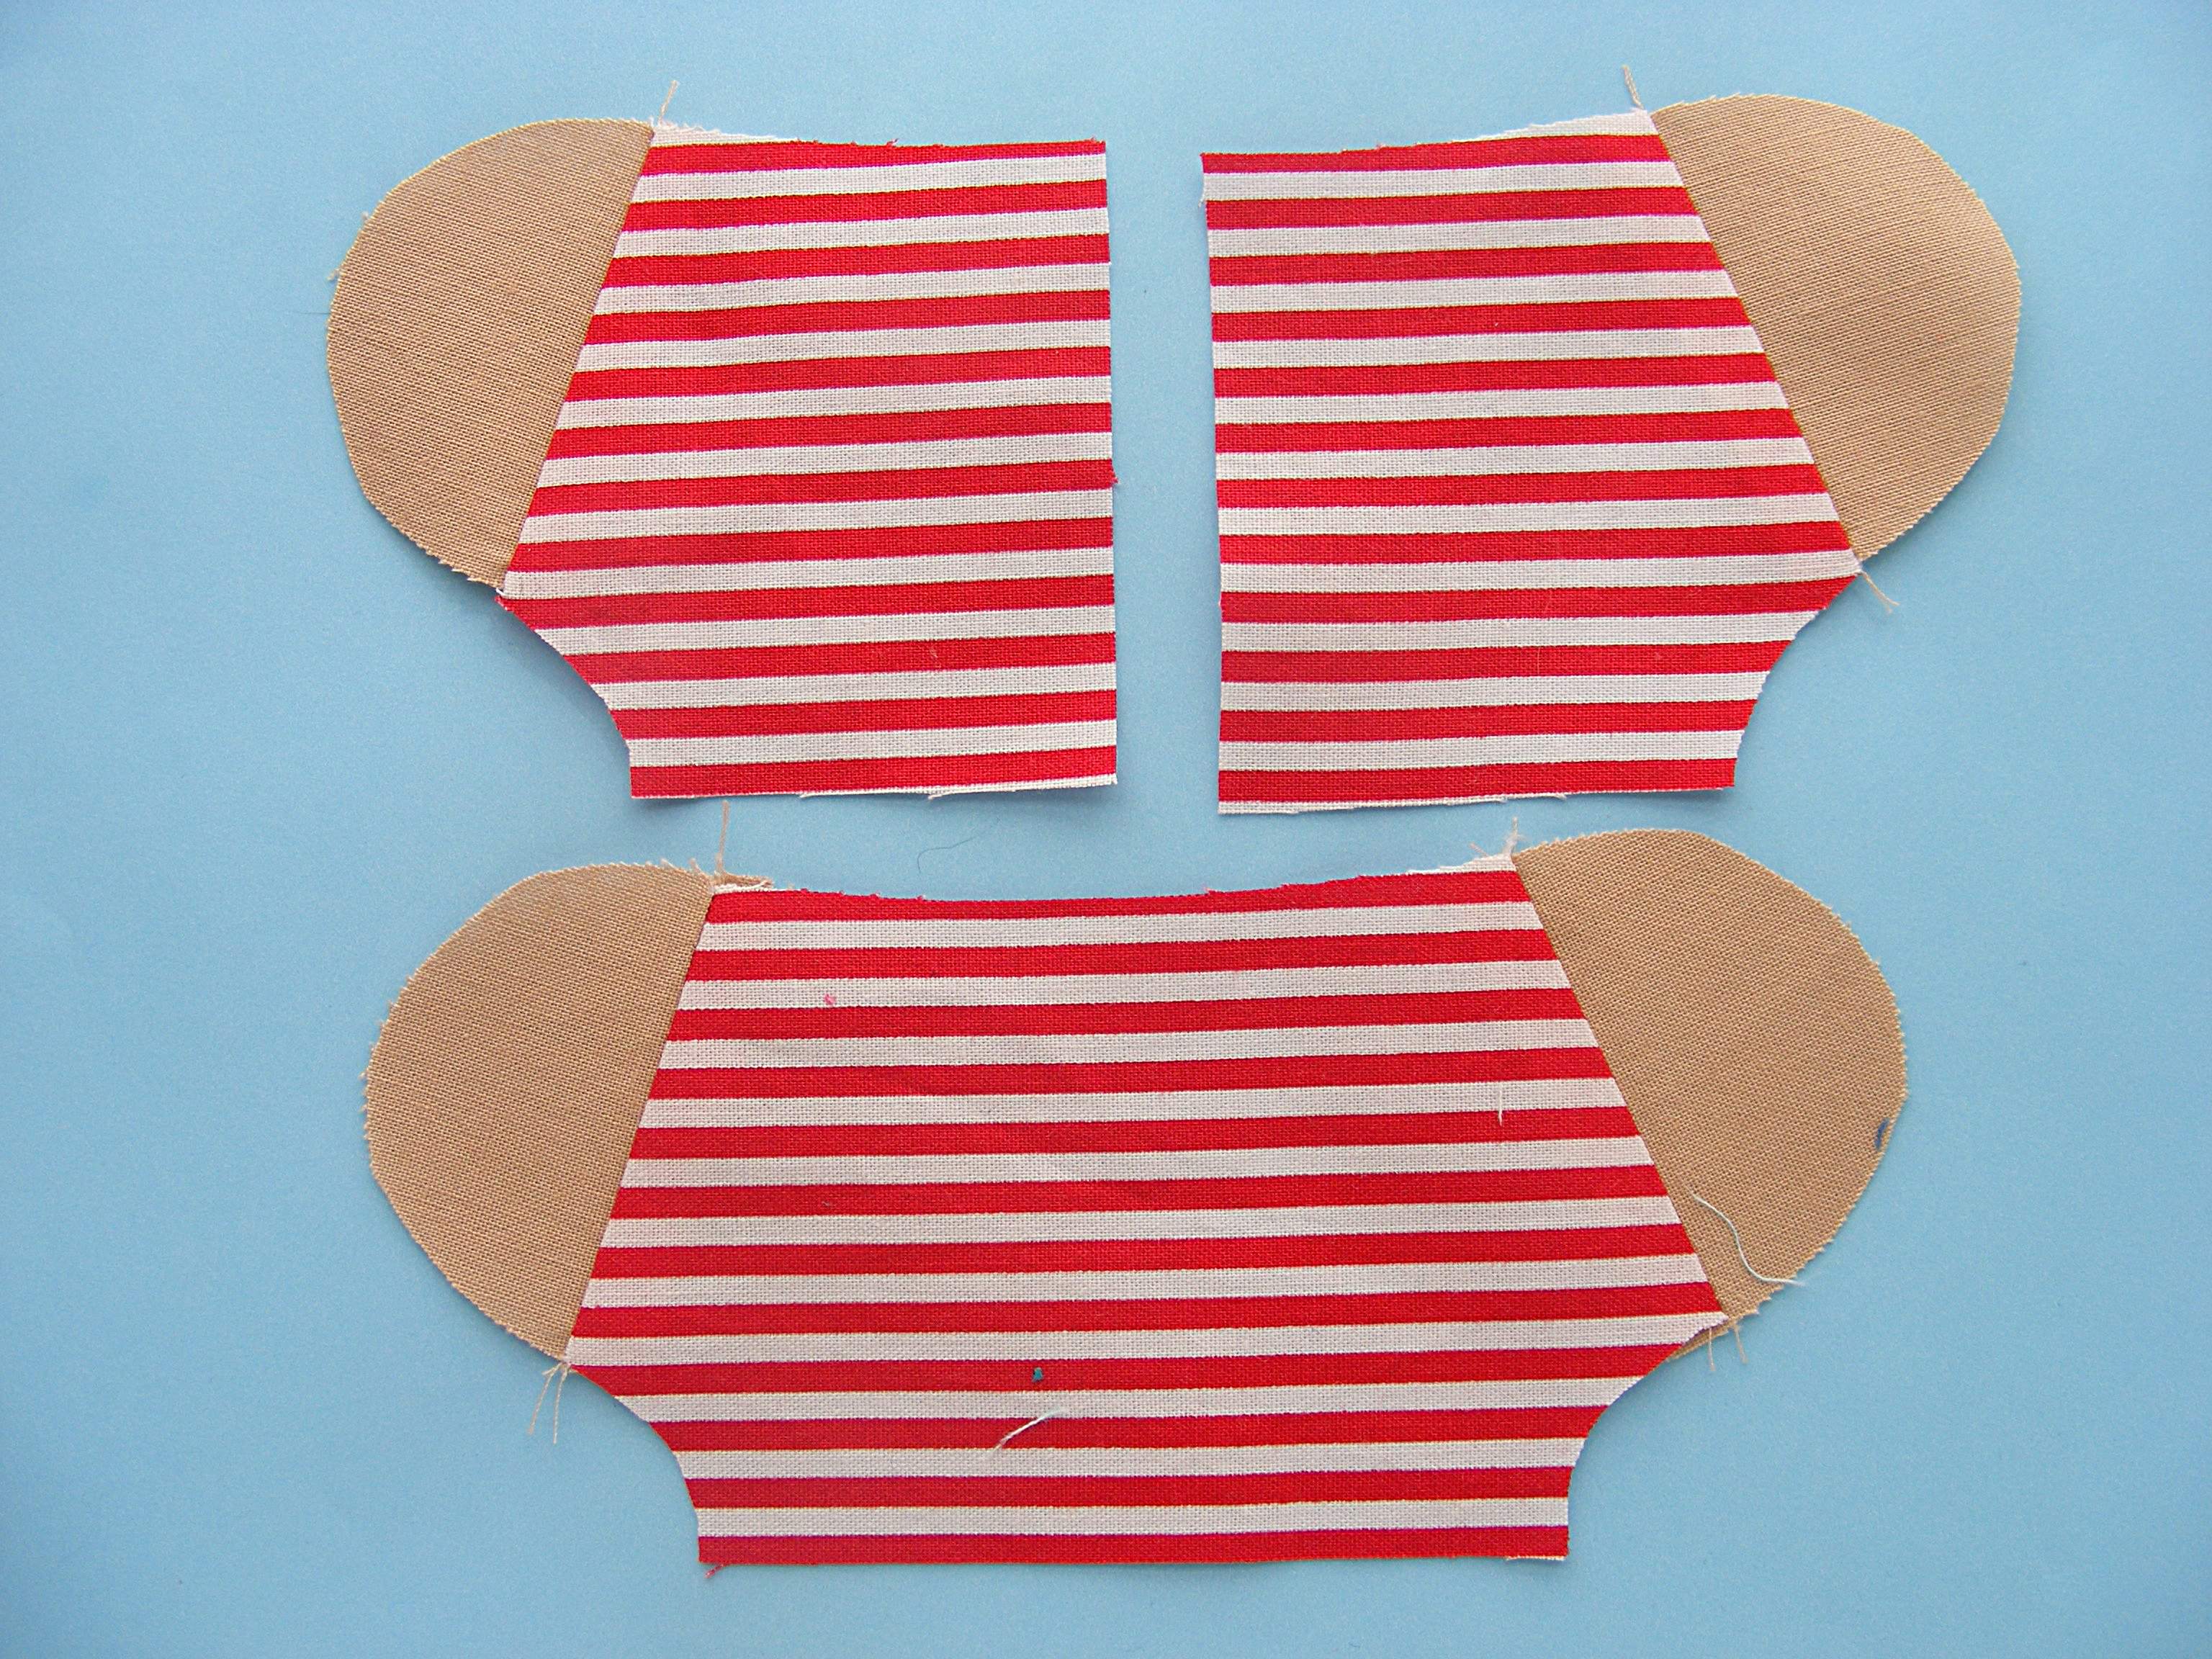
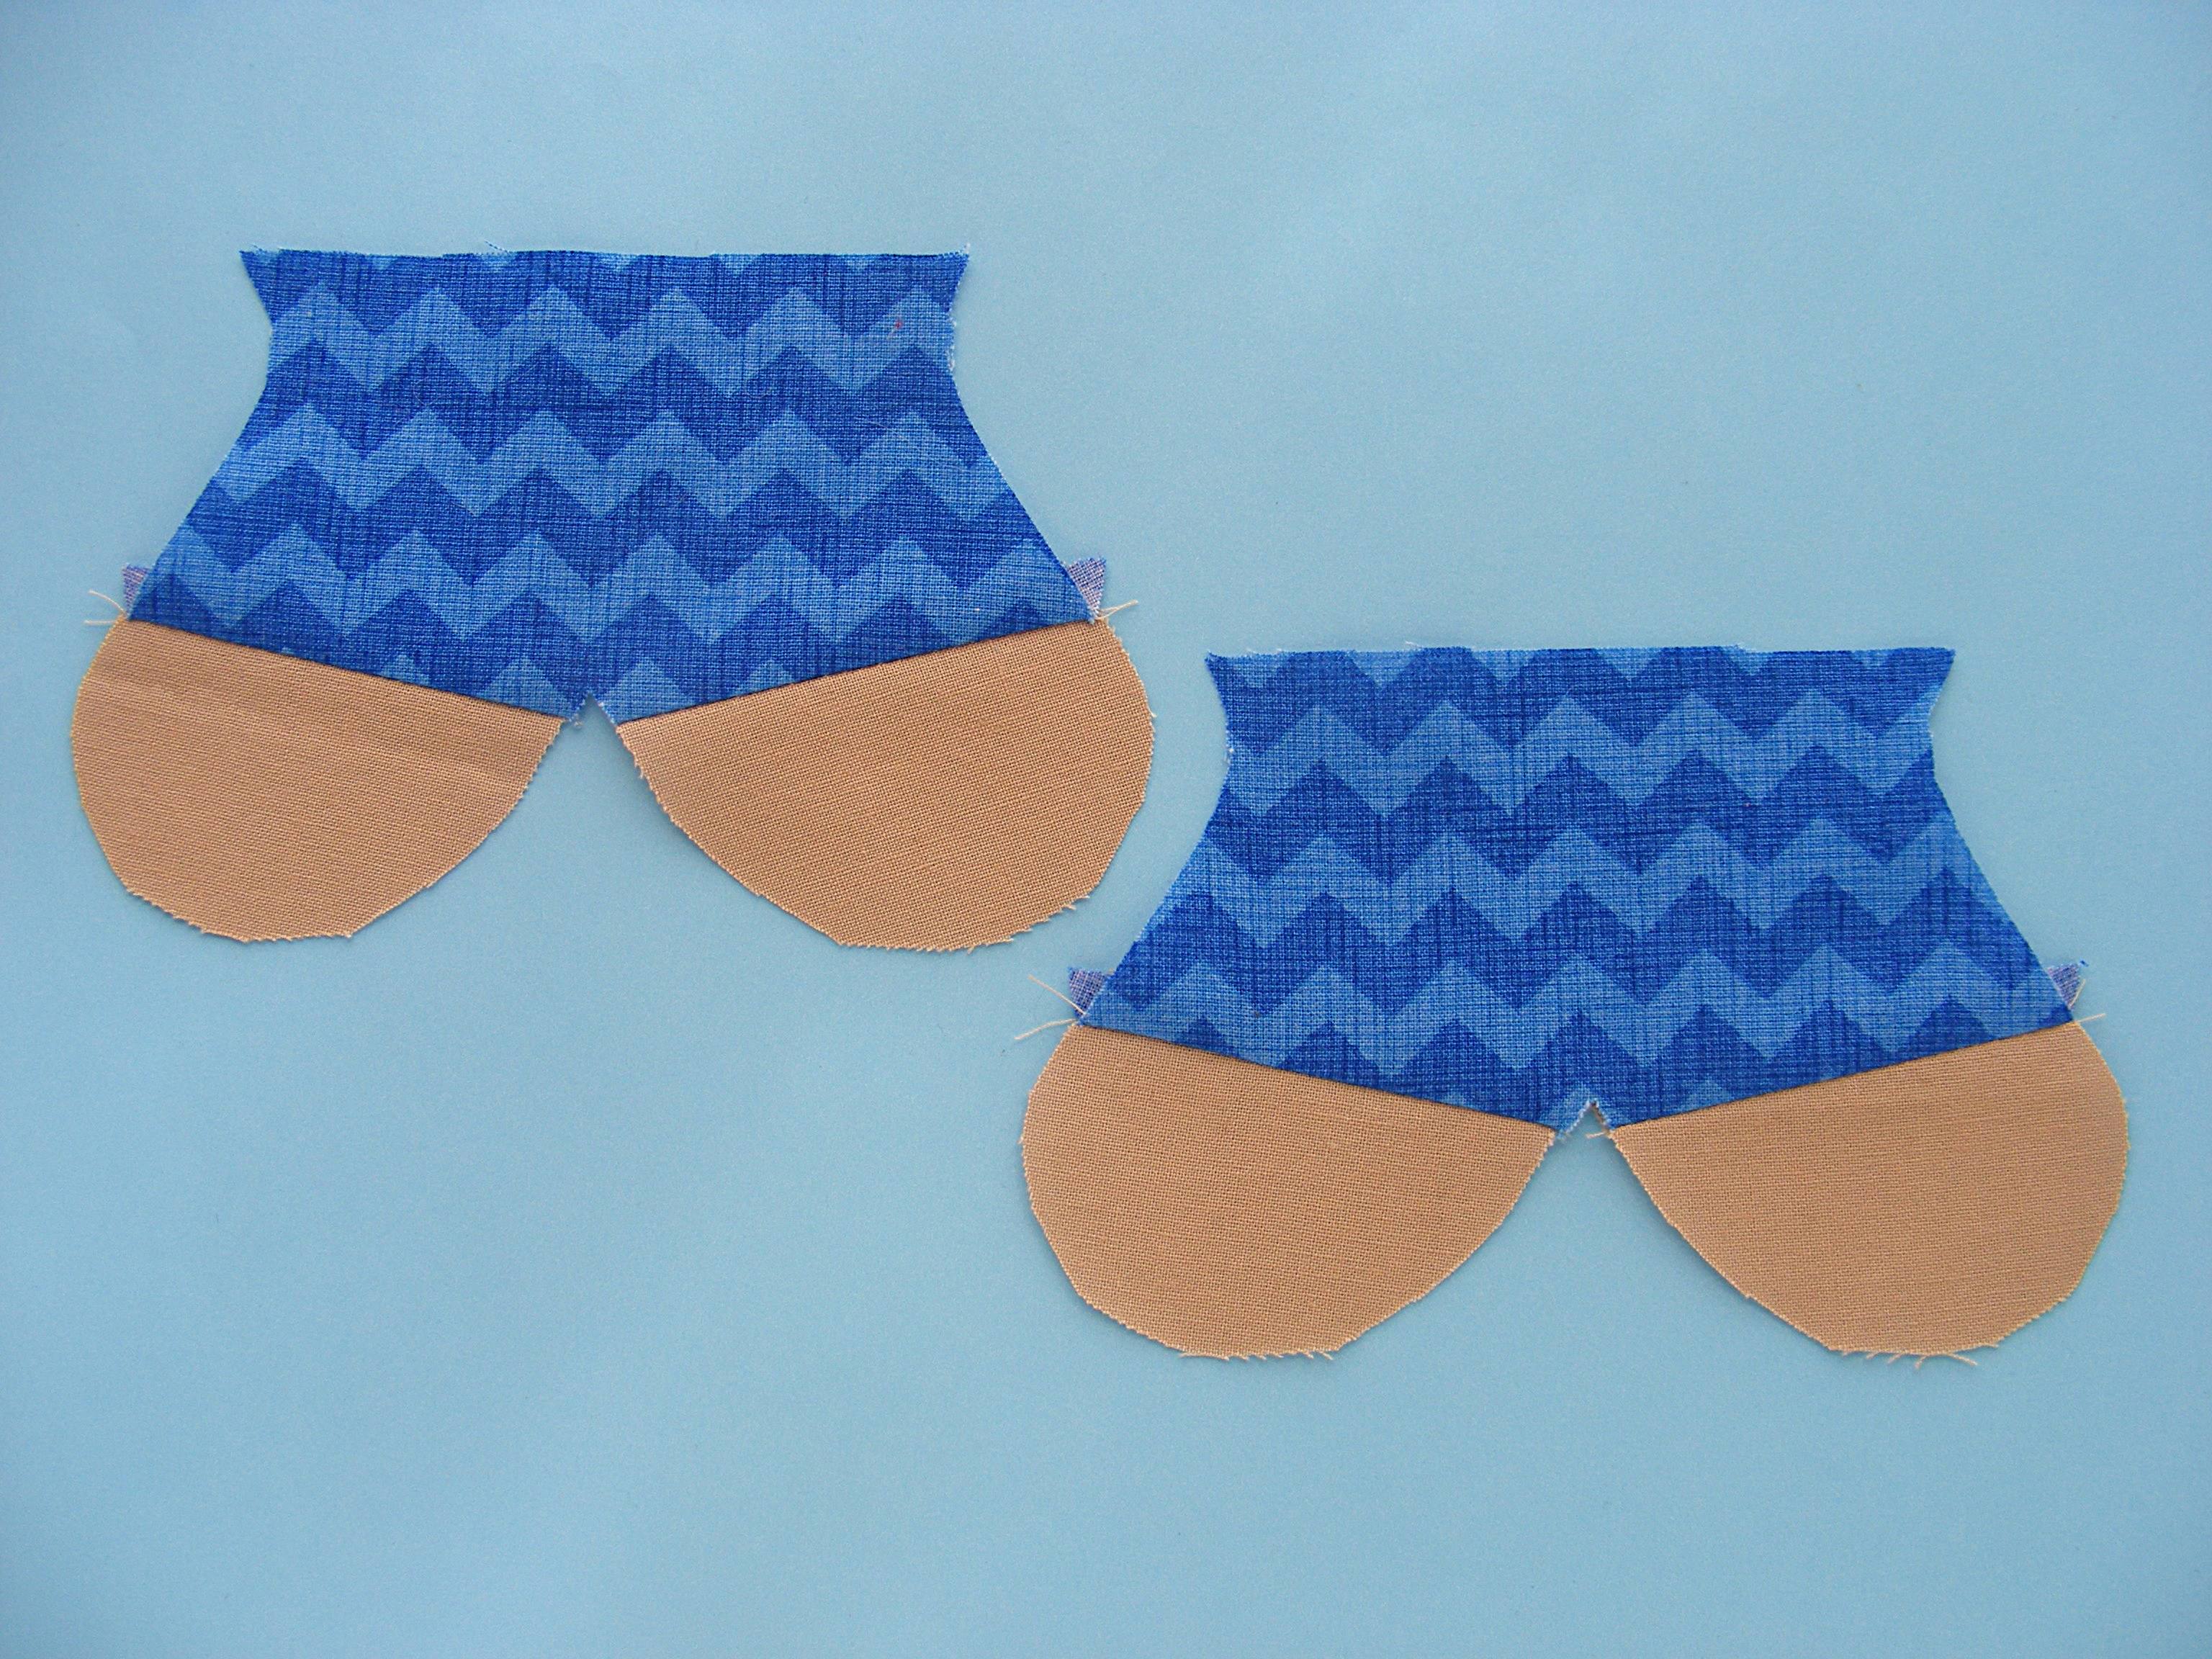
Cut out two shorts pieces. Unlike the shirt – this fabric can be directional. 🙂

Hem the bottom of the two shorts pieces. Turn the raw edge up 1/2″ and press. Turn it up another 1/2″ and press. Stitch the hem in place.
Step 2
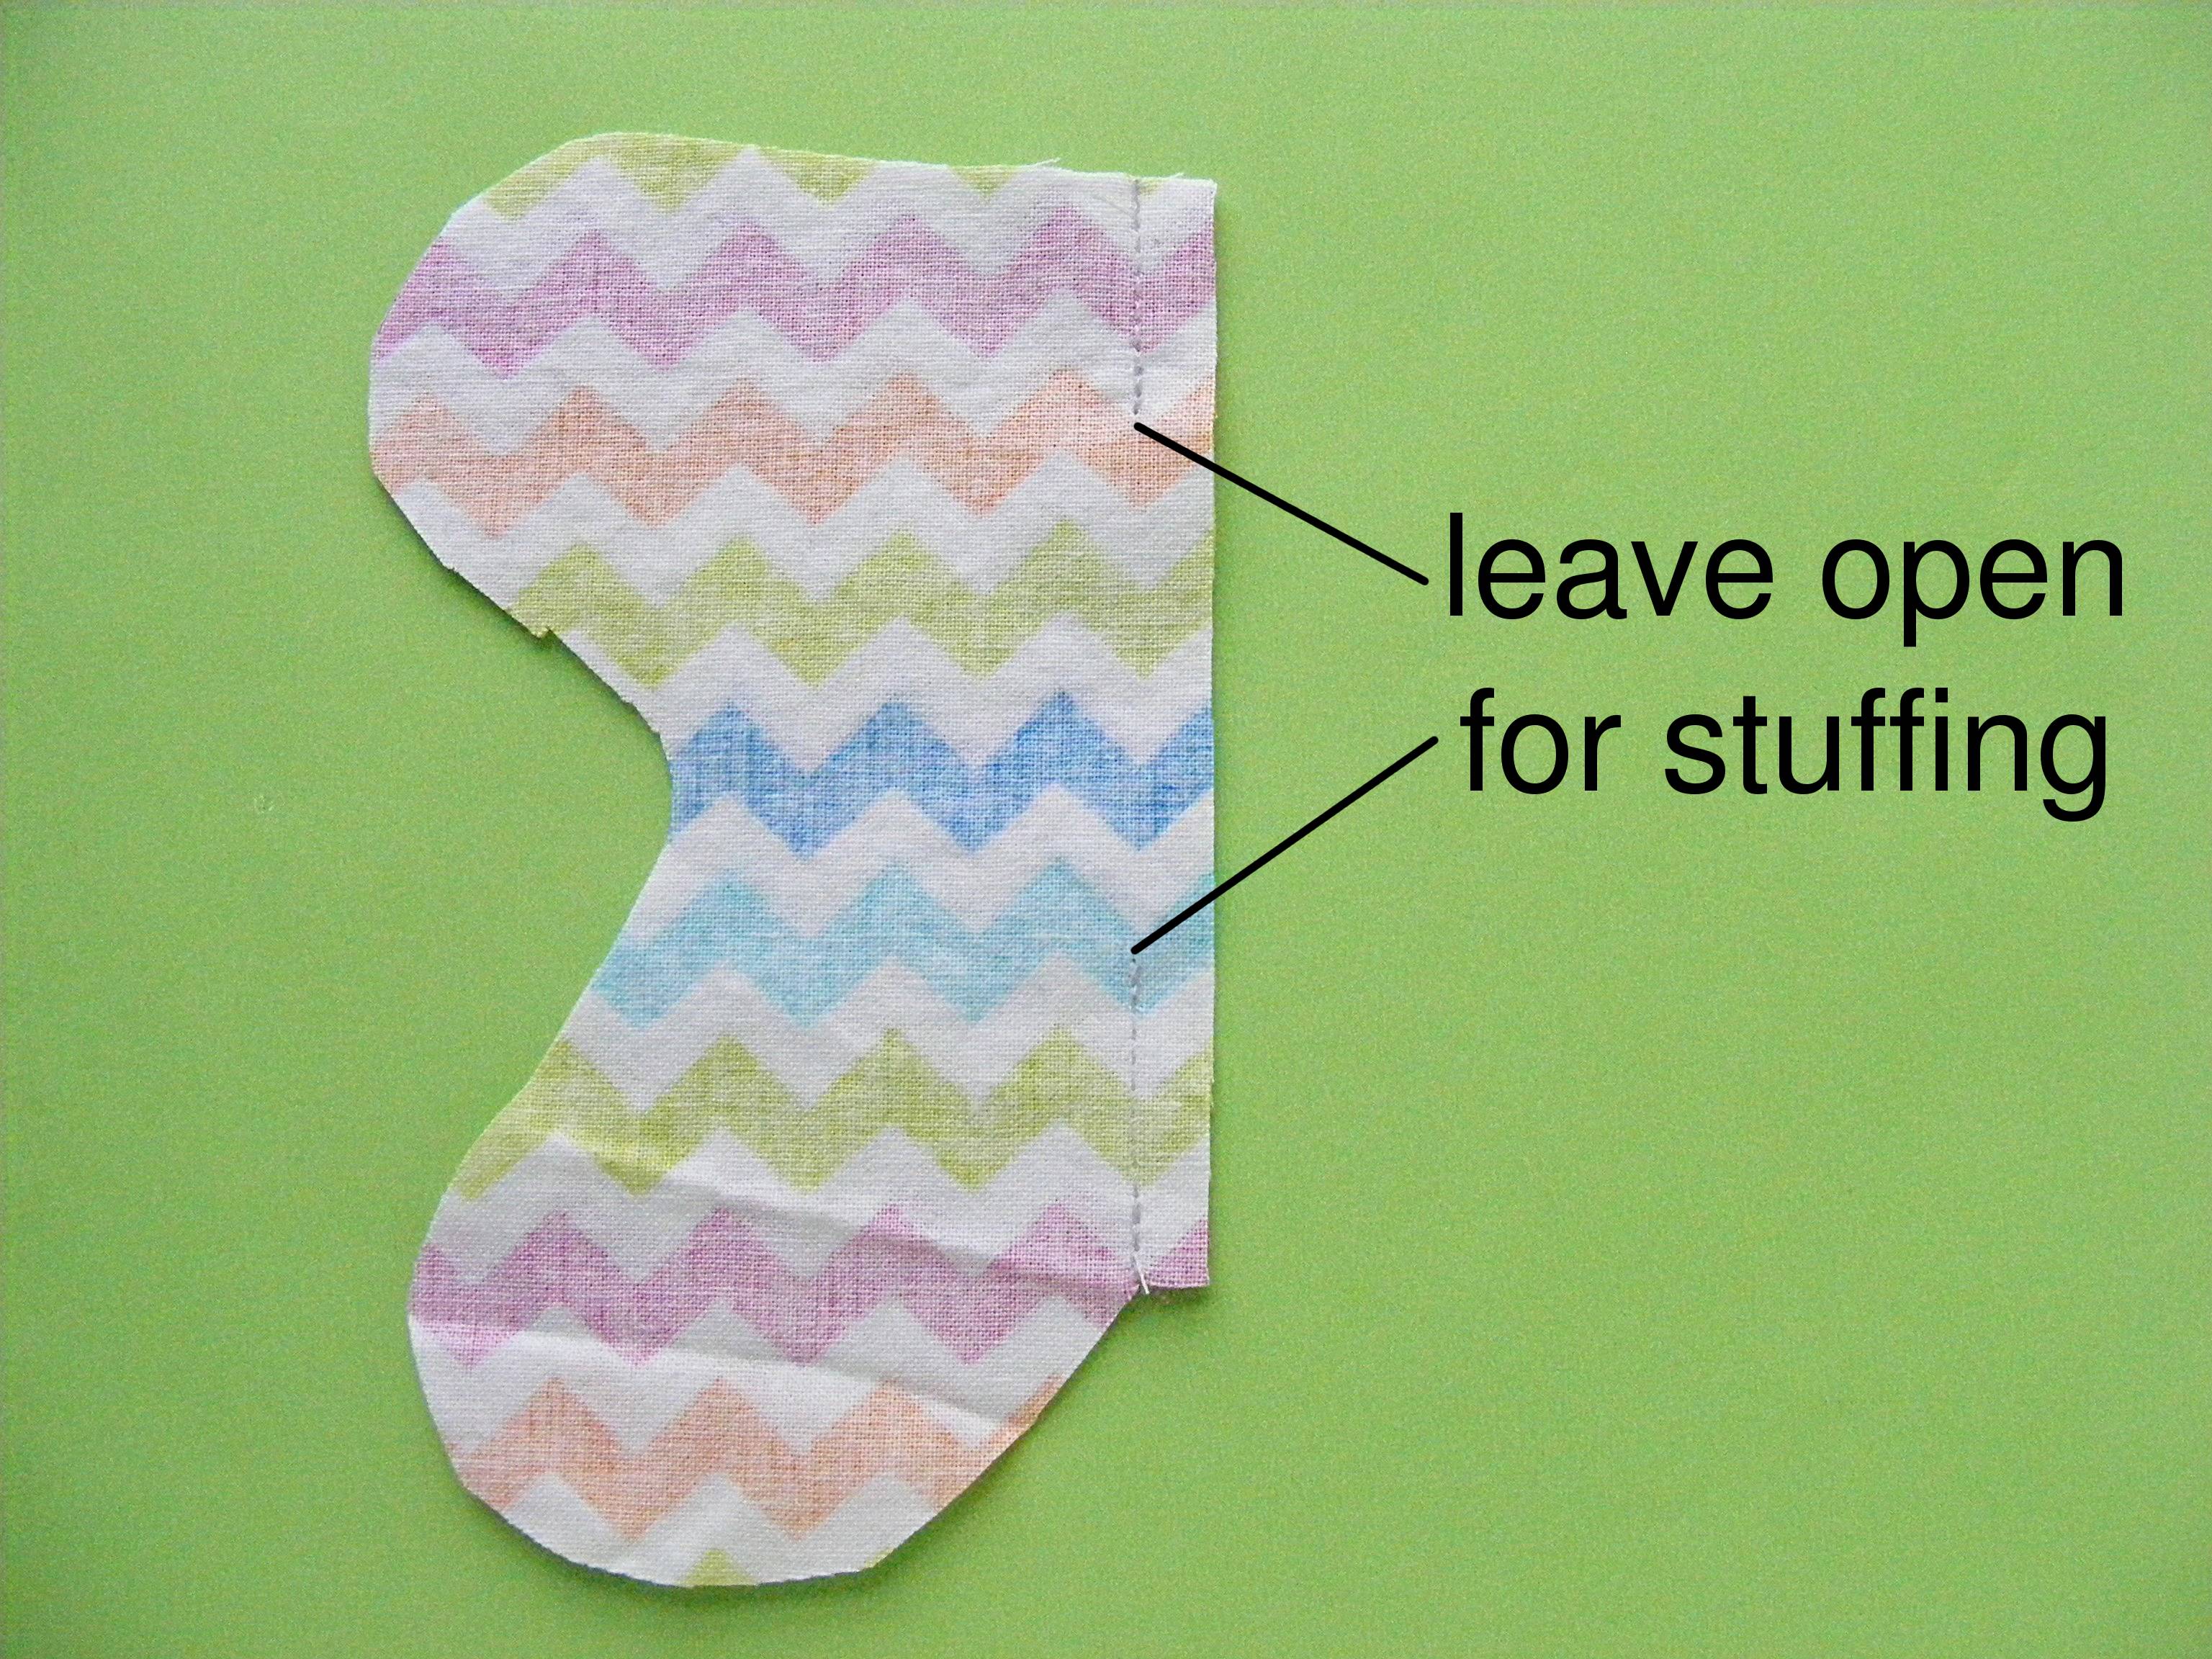
Sew the center back seam using 1/4″ seam allowance.

If you want critters with tails to be able to wear the shorts, leave the tail opening (as marked on the pattern piece) unstitched. Make sure to backstitch at the top and bottom of the opening.
Step 3
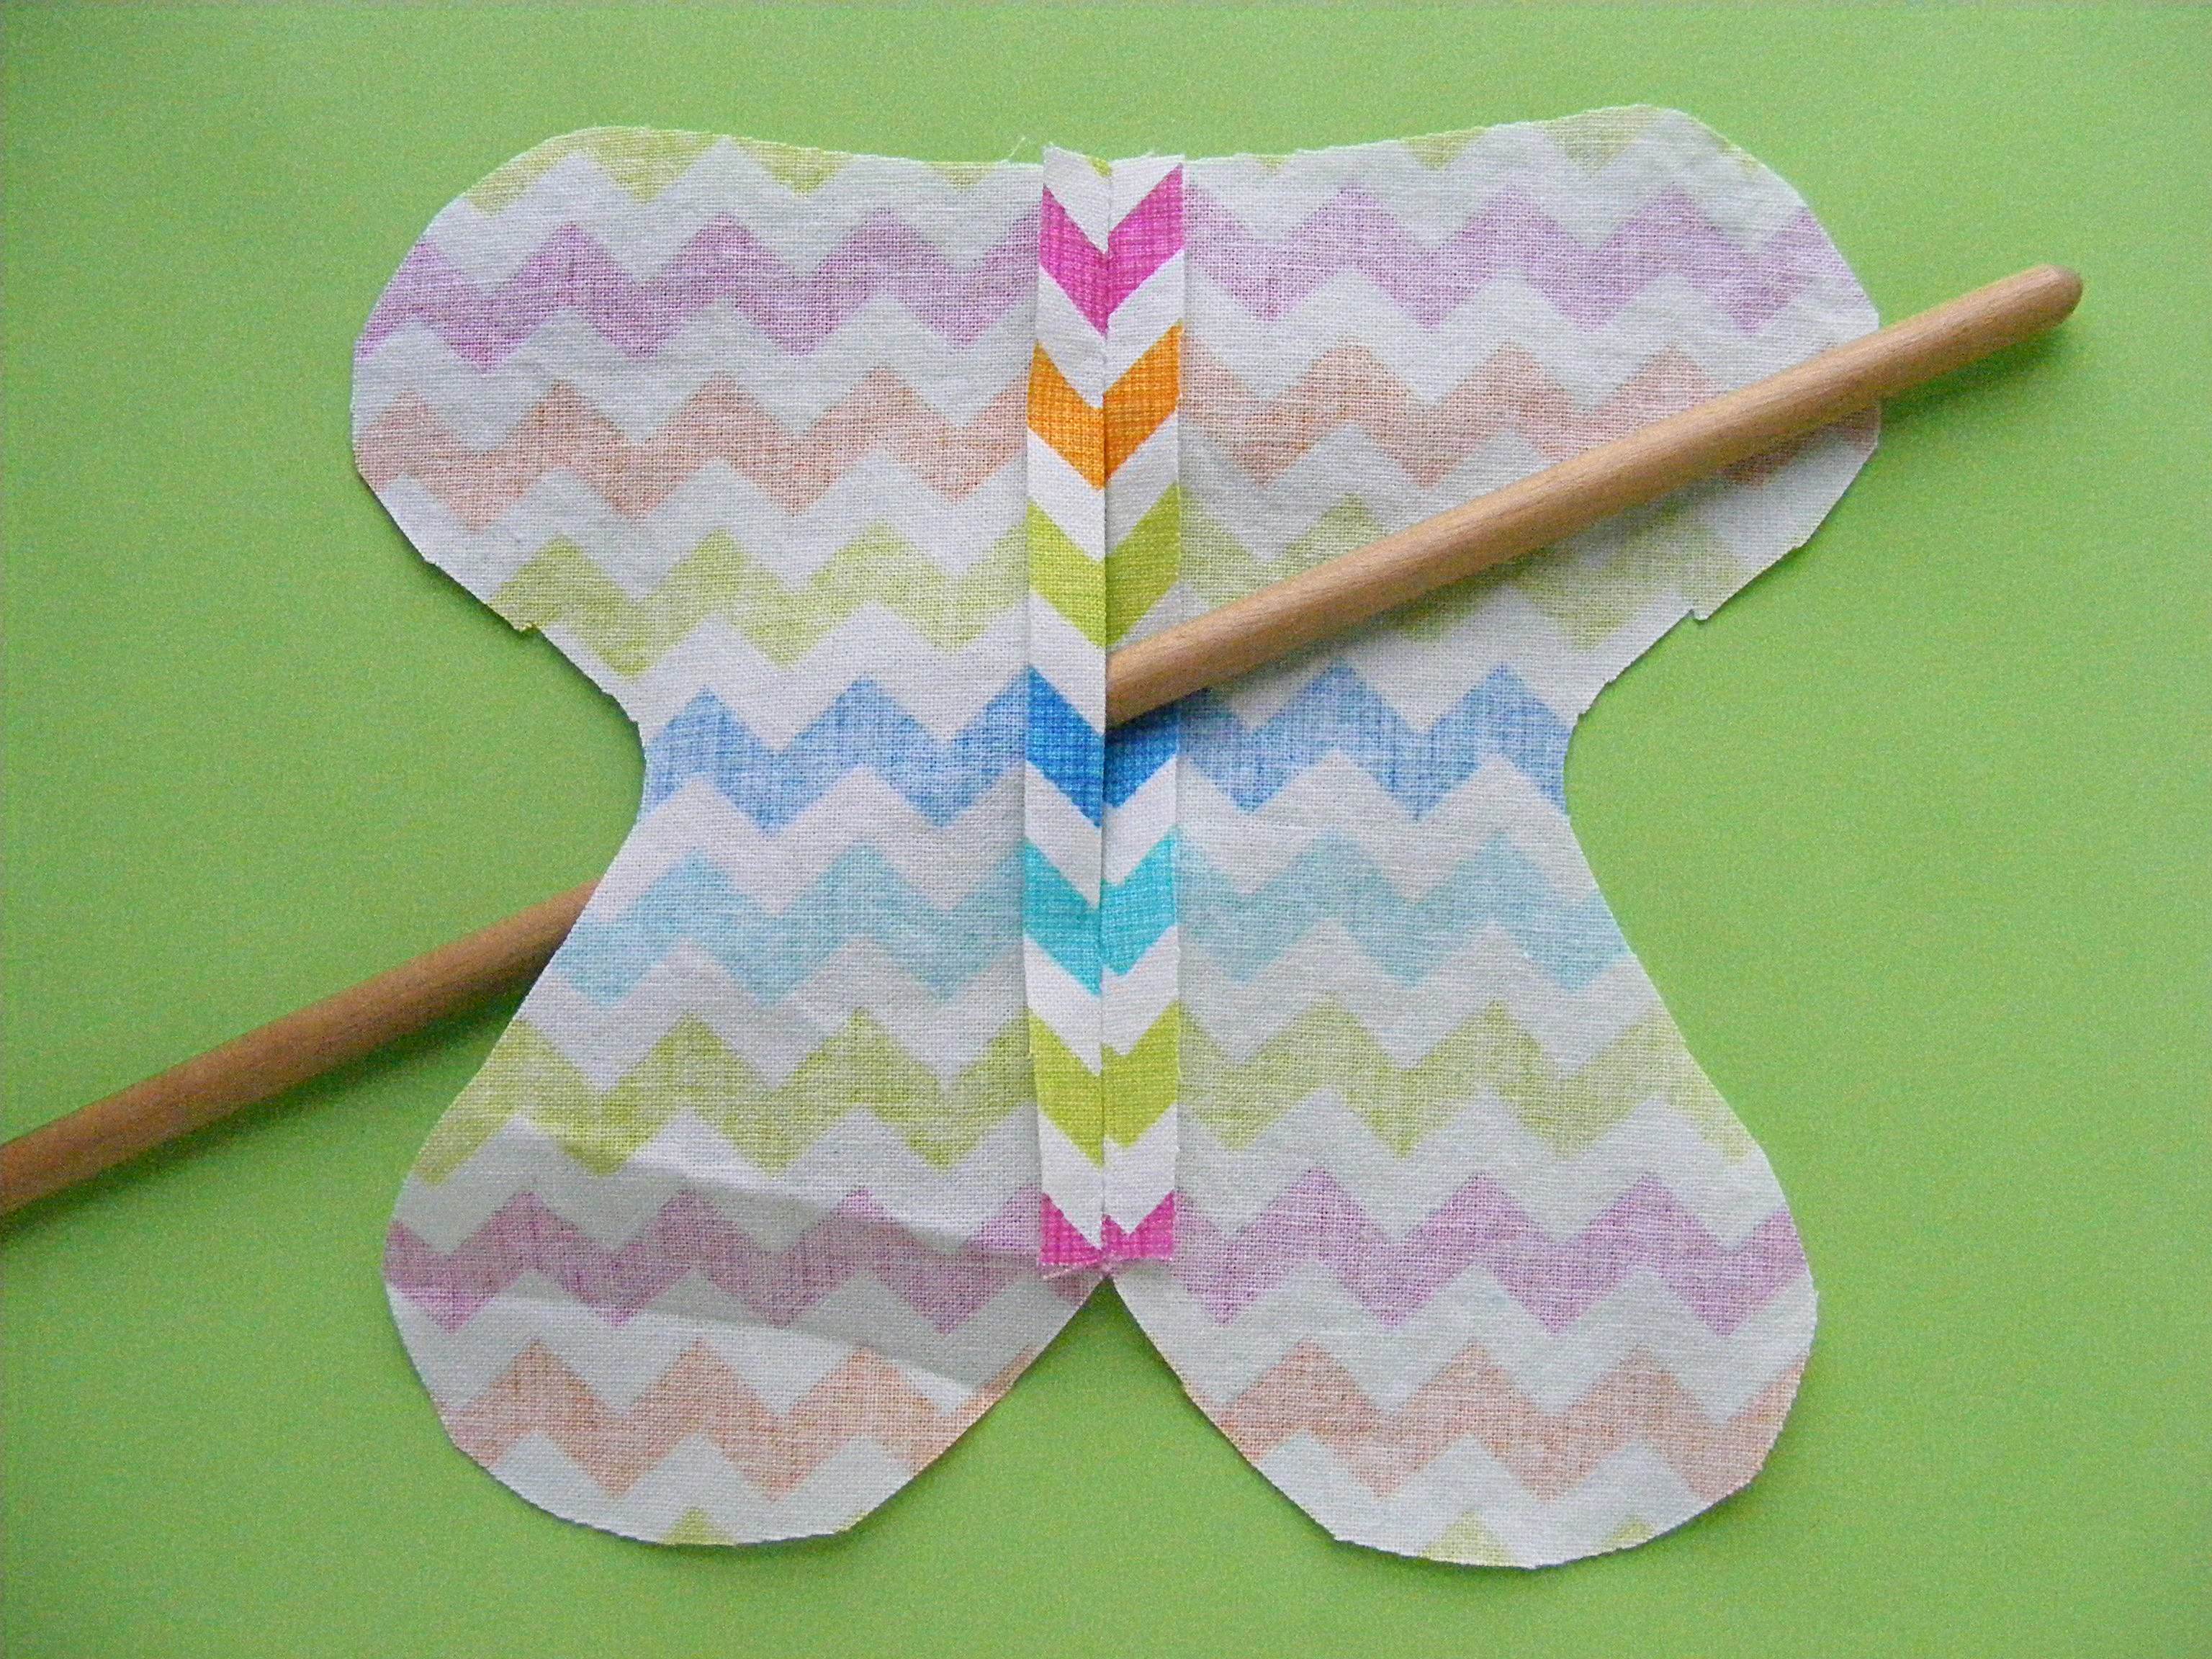
Press the center back seam open.

If you are leaving a tail opening, stitch a box around the opening to stabilize it.
Step 4
Start to make the casing for the elastic. Turn the raw edge at the top of the shorts down 1/2″. Press. Turn it down another 1/2″. Press.

Don’t sew this yet. It’s just easier to measure and press when it’s one flat piece.
Step 5
Unfold the casing creases you made in Step 4.

Match up the center front edges and sew, using 1/4″ seam allowance.
Step 6
Refold the casing creases and stitch it down almost all the way around the top of the shorts.

Leave a couple of inches open at the center back seam so you can get the elastic in.
Step 7
Cut a 12″ piece of 3/8″ elastic and thread it through the casing. Overlap the ends of the elastic 1 inch and sew them together. Slip the stitched elastic up into the casing and finish sewing the casing closed.

Watch this video for more info on using elastic in a waistband.
Step 8
Sew up the inseam/crotch of the shorts using 1/4″ seam allowance.

Press anything you can get to with the iron. 🙂
Finished!

And here’s a view from the back.

It’s Spot the Puppy wearing these and he likes to have room for his tail to wag. 🙂
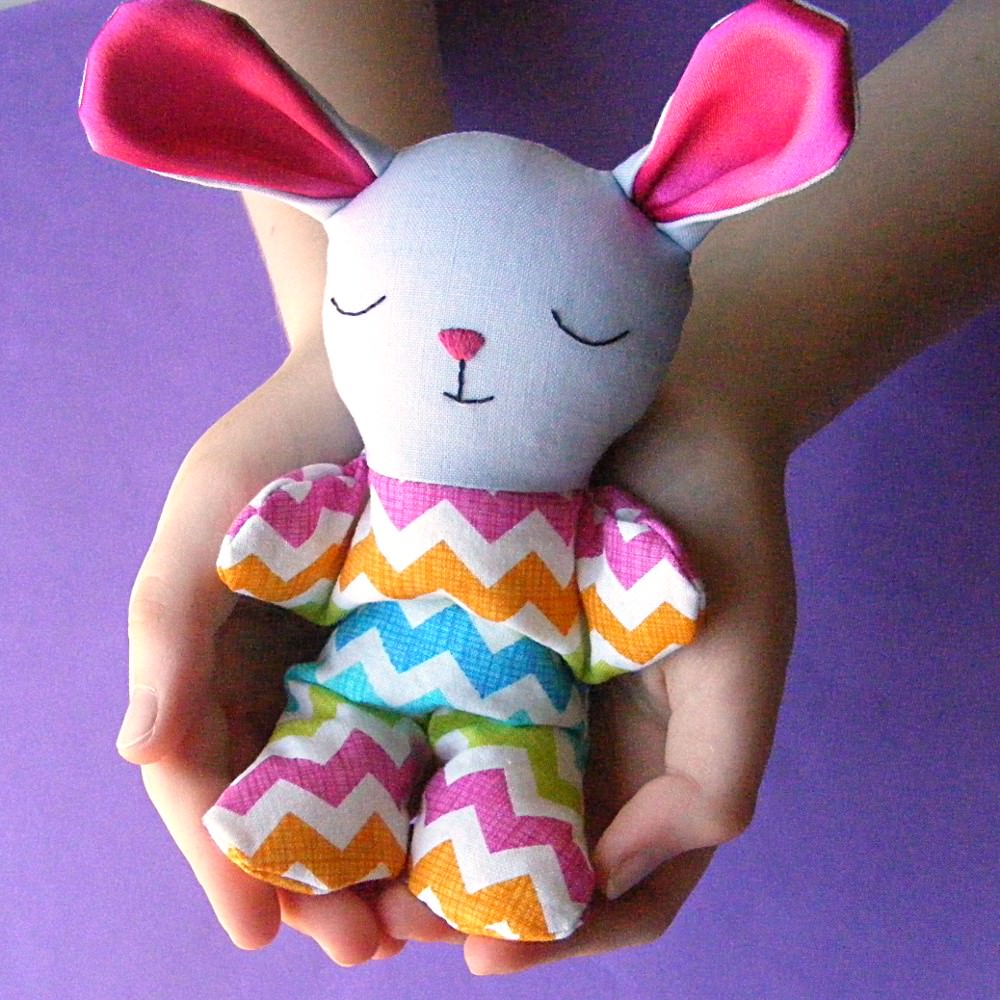
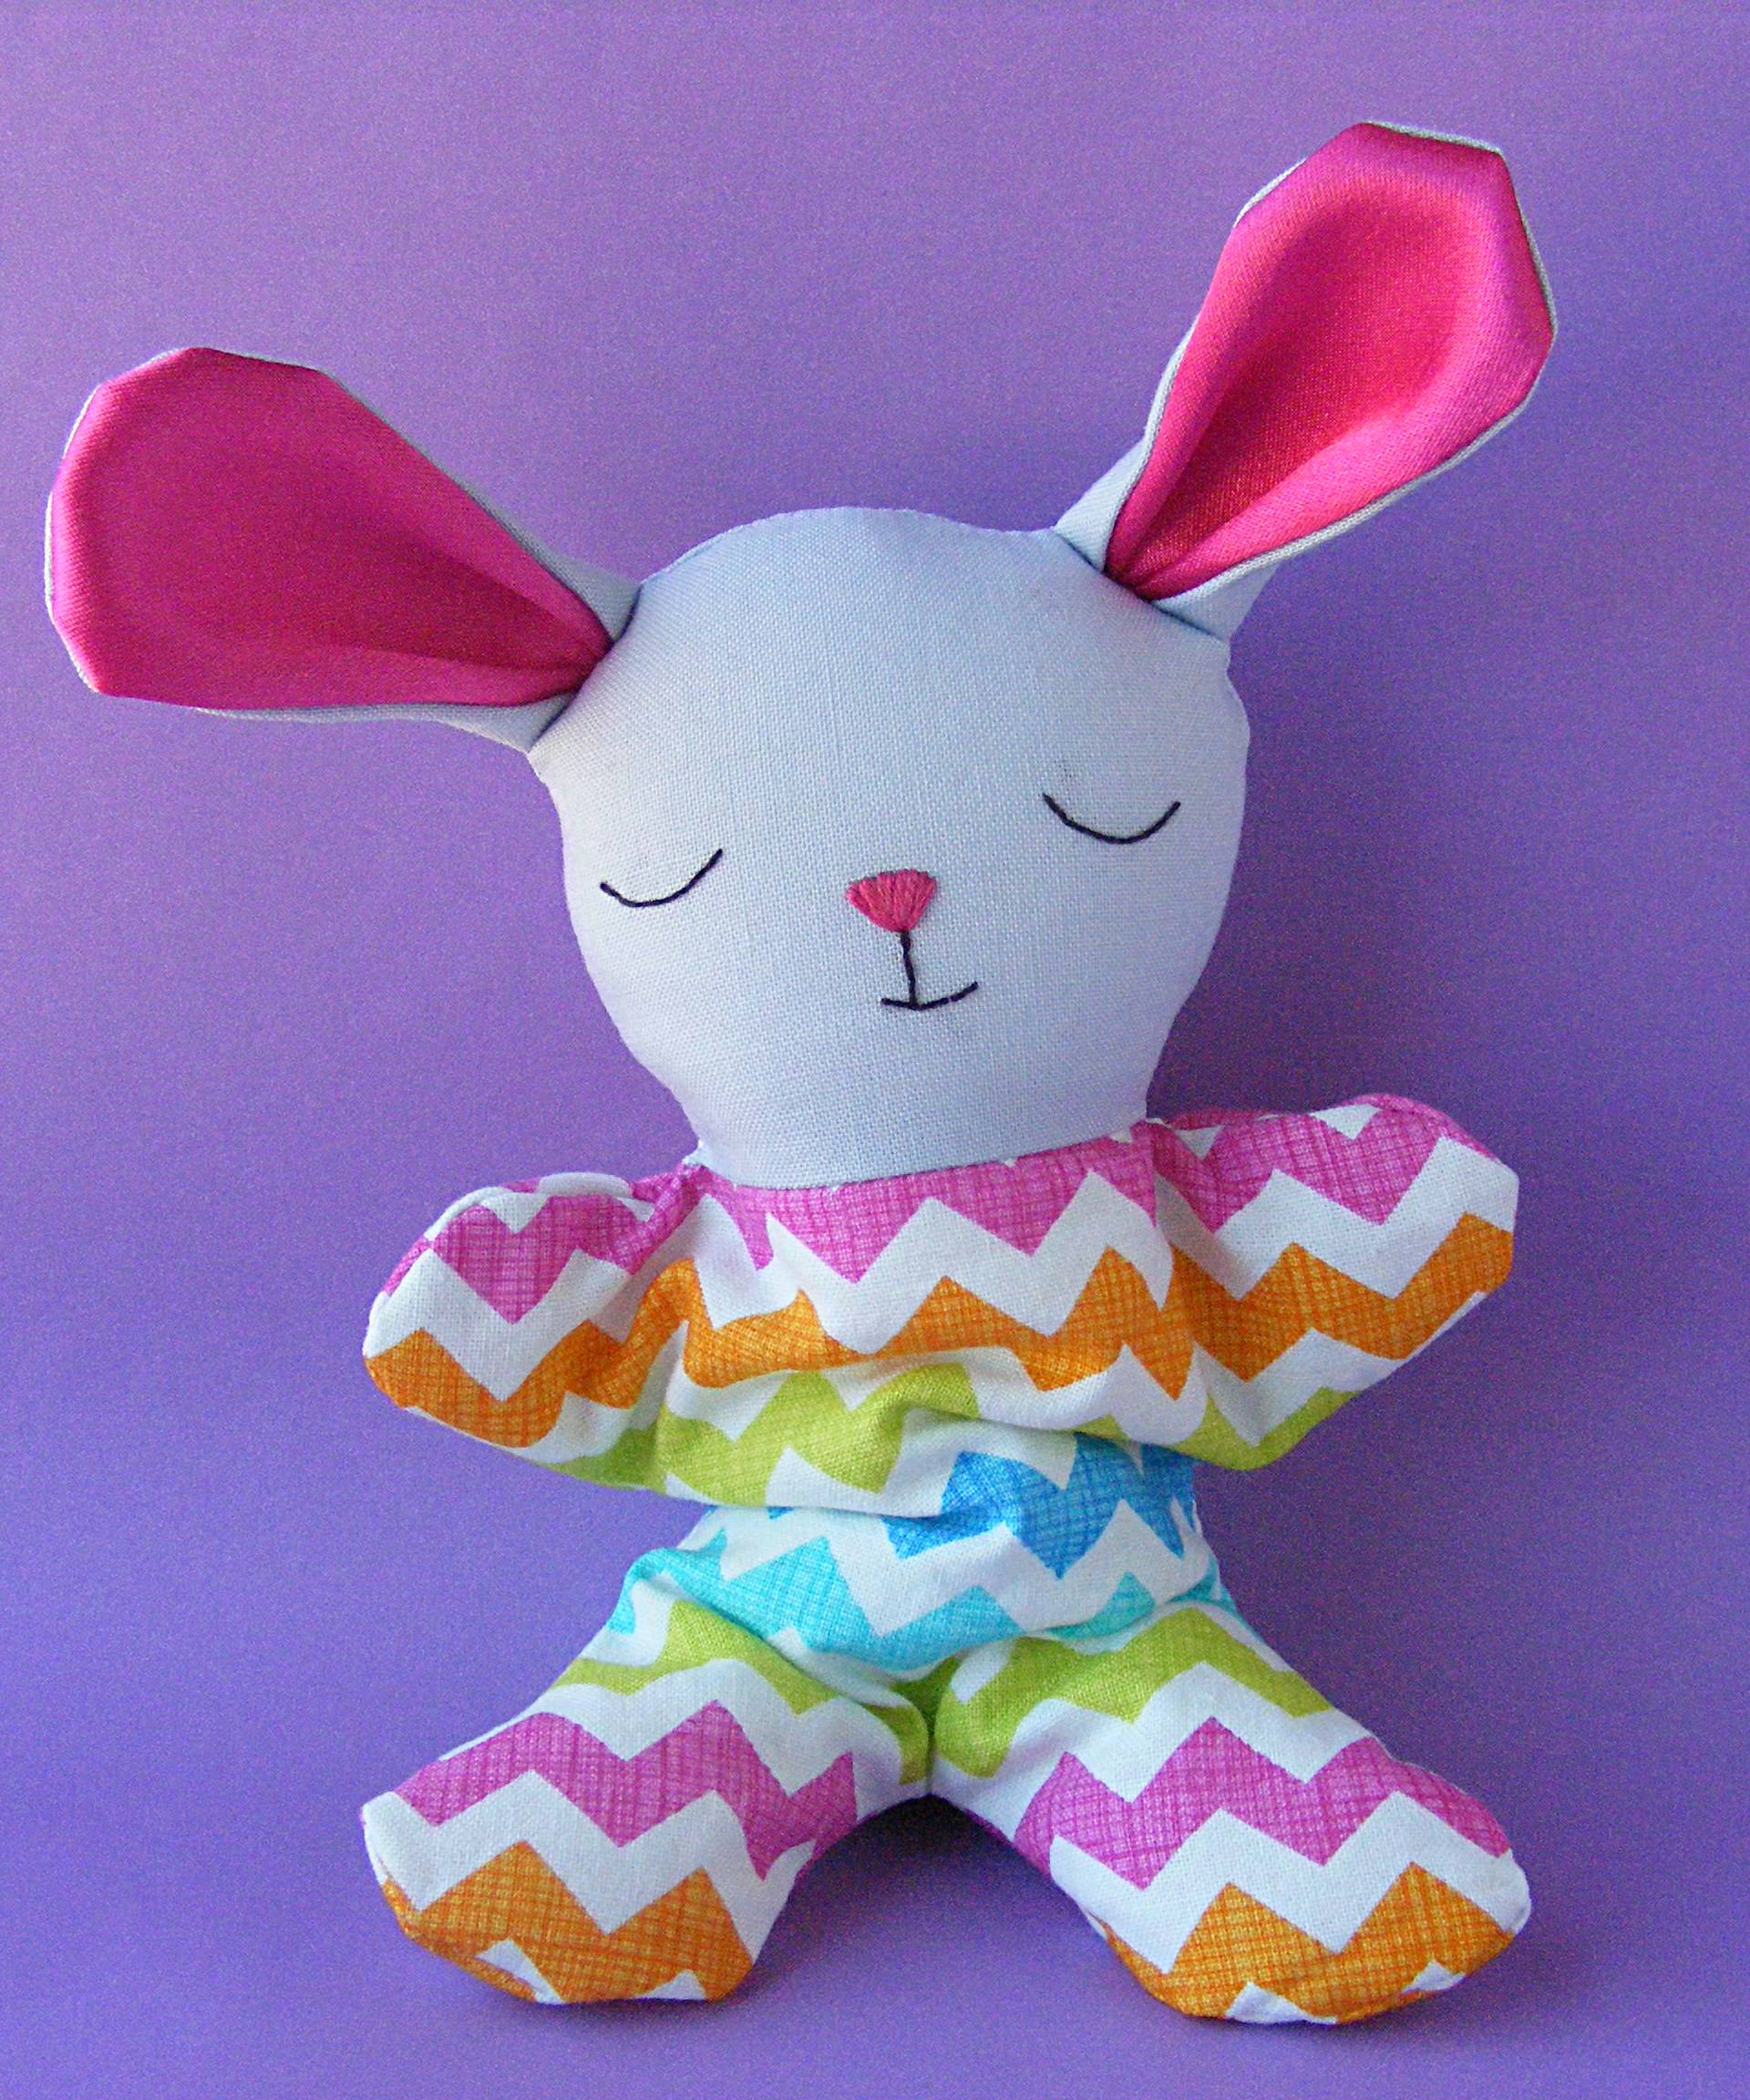
So there you have it – three basic doll clothes patterns – all super easy and free. The shirt, skirt and shorts will fit any of the Dress Up Bunch dolls.
Happy sewing!
Best,
Wendi


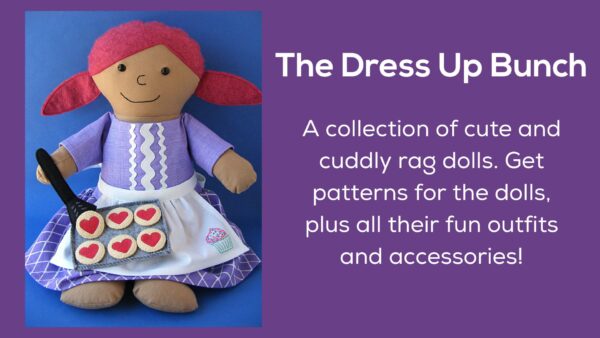
The Dress Up Bunch is a collection of cute and cuddly rag dolls. Get patterns for the dolls, plus all their fun outfits and accessories!