How to take charge of your unruly scrap pile!

Scrap-a-long!

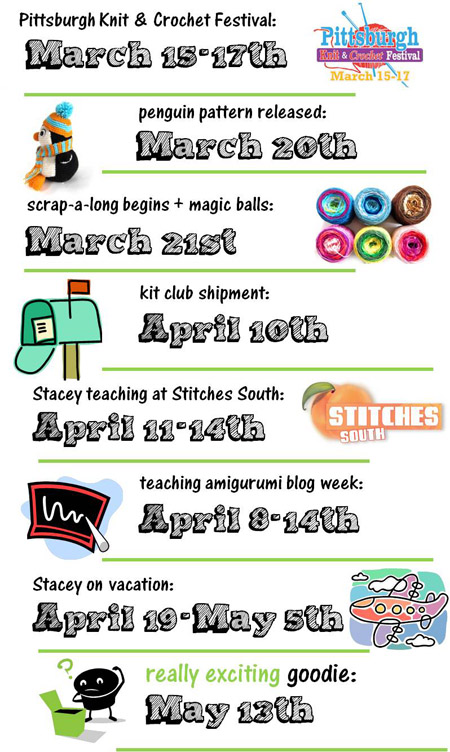
You’re joining in on the scrap-a-long, right? This crochet-a-long is all about gathering up those little bits of yarn that you can’t find a use for… and turning them into something fabulous!

Even if you’re not crocheting with us, this post will help you to corral those scraps and get them organized! It’s spring… why not do a little cleaning up of your scraps?

Step 1: Find them… all

That’s it… now’s the time. Haul out all of your yarn bins and your baskets and start gathering the bits of yarn that are ‘scrappy’.

white yarns

What counts as scrappy? That’ll vary by person… but my philosophy is: if you look at it and can’t figure out what in the world to do with it, it’s scrappy.

Step 2: Consider odd skeins

I know it’s a scrap-a-long, but to you have a skein of yarn in a color that just doesn’t work for you? It’s totally okay to throw it into the scrap pile.

green yarn

The objective of this organizing is to clean out your stash… no need to leave uglies behind with your favorite skeins! At a later stage, you can snip these rogue skeins into scrap-sizes.

Step 3: Sort by weight

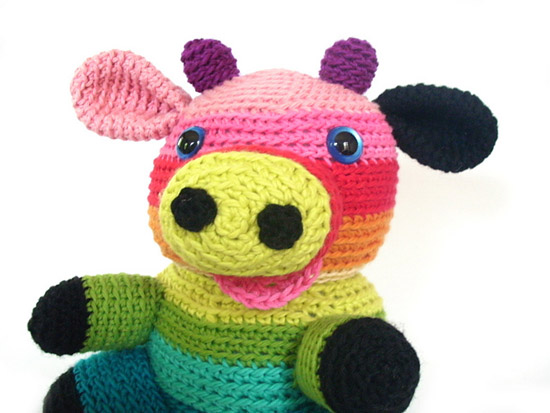
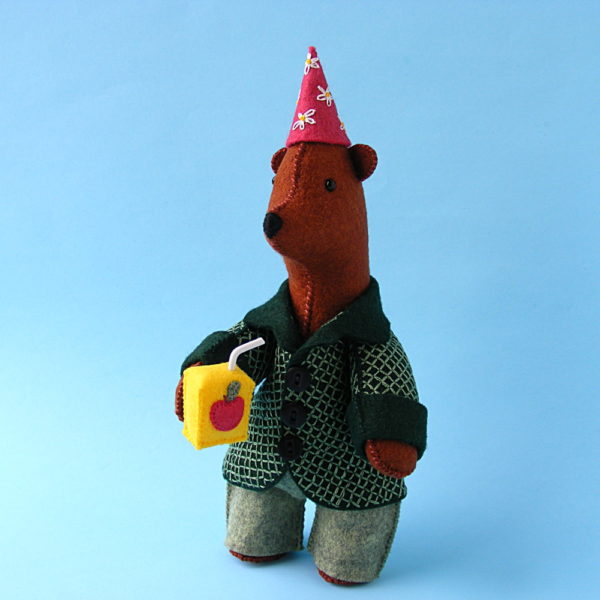
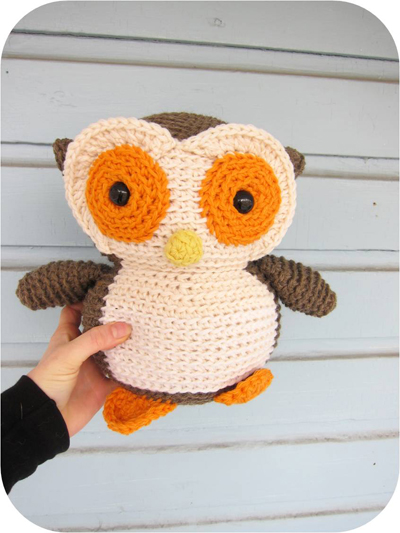
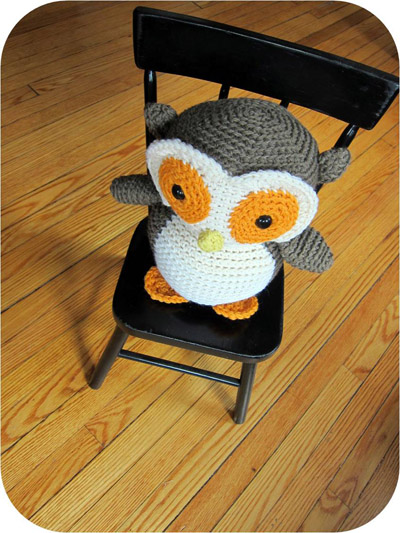
In the scrap-a-long, we’ll be making an animal from the scraps we gather, and it’s best to use scraps of the same thickness.

It doesn’t matter which thickness it is, just so long as they can work together without leaving holes in your work. So, select the thickness you’d like to use for your project, and pull out all of the bits of yarn with that thickness.

pile of blue yarns

It’s not a science… trust your gut. If two yarns look to be about the same thickness, then that’ll do!

And who knows… maybe you want to do the following steps with each group of yarns you have… you’ll make multiples! Fun!

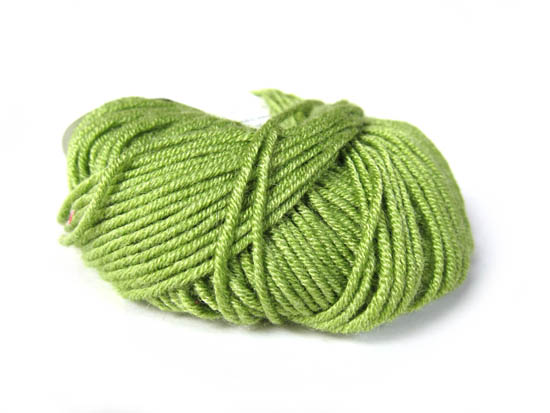
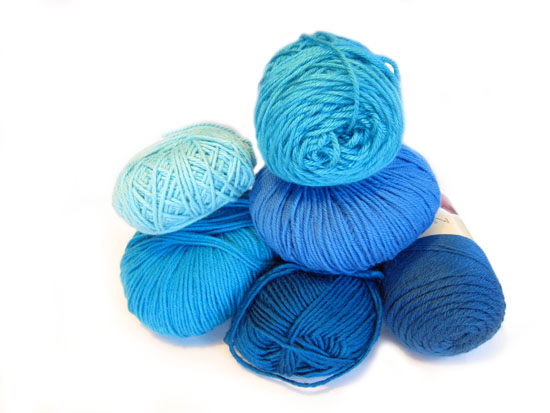
Step 4: Sort by color

It’s like being in kindergarten again… put the blues in one pile, the pinks in another…

Sorting all of your yarn by color will give you an idea for the color palette you’re working with.

scraps of yarn

You can be as picky as you want to be with the sorting. My categories were: neutrals, green/yellows, red/pink/oranges, blues and purples. You can have broader or narrower categories… the point is just to see what you have!

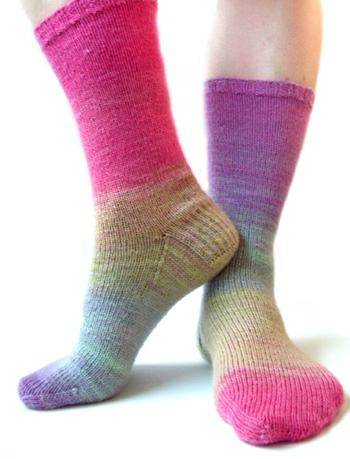
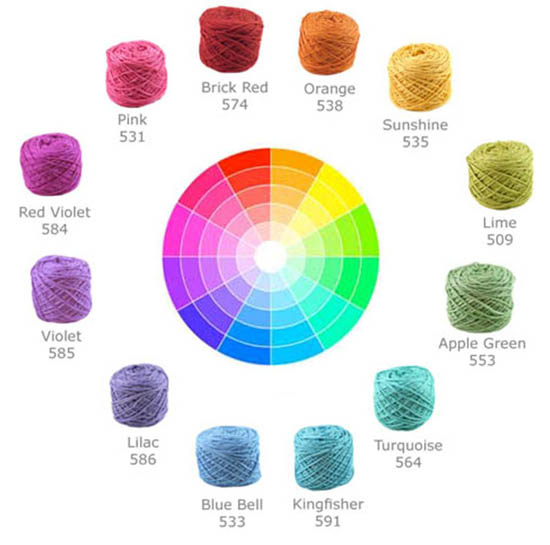
Step 5: Put together your color sequence

Now that you see all of the colors you have, you’ll want to think about how you’ll organize them in your project. Allow the colors you already have guide you… remember, we’re not trying to get more yarn!

Check out my blog post on color theory and craft your plan.

Color theory yarns

If you’re feeling particularly ambitious, you might want to make color collections for a few different projects!

Step 6: Weigh your yarn

Now you’ve got some beautifully organized yarn… let’s see how much you have!

Check out this blog post on how to calculate yardage from weight… and you’ll be able to determine how much yardage you have!

If you’re using yarn that you don’t have labels for, just find a label for a similar yarn for weight/yardage… close is good enough!

Ready?

Yay!

Once you’ve done all that… you’re ready for making your project!

In future blog posts, I’ll show you how to make a Magic Ball with your scraps, and how to join yarns while crocheting in case you want to hop right into it.

rainbow magic ball

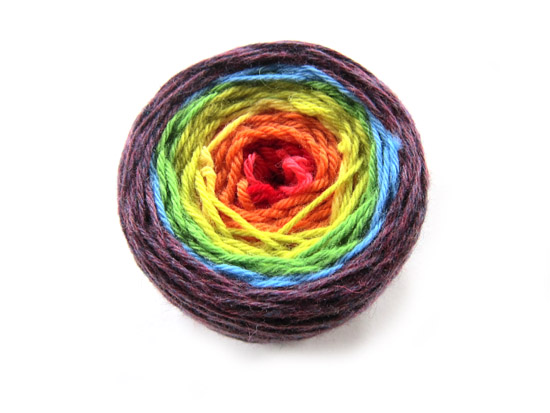
This is going to be so much fun!
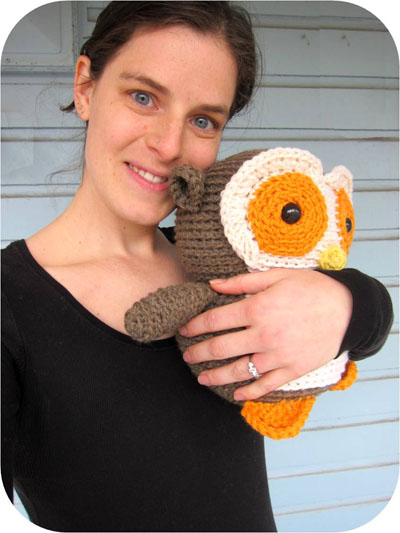
Best,
Stacey

It’s a Scrap-a-long… join us!

I’m so excited about this month’s Crochet-a-long!

The more you knit/crochet, the more you wind up with little leftover bits of yarn. It would be a pity to throw them away, but what do you do with them?

Scrap-a-long

That’s why we’re having a scrap-a-long!

Go ahead… make any FreshStitches Patternbut you have to crochet it using scraps!

rainbow cow

Join the CAL!

Joining in the CAL is easy! You’ll need to pick your pattern, gather your scraps and follow this tag to get all of the helpful crochet/amigurumi tips that will guide you along the way!

Are you in?

It’s going to be a blast… and I really hope you join us! Go ahead and leave me a comment… and tell me about your scrap-a-long plans! Which pattern will you do?

My Favorite Quilt Batting

My Favorite Batting - a Shiny Happy World review of Warm & Natural battins

What’s the one quilting supply I can’t live without? Quilt batting.

Good quality batting.

You don’t want to mess around here.

You probably just spent a couple hundred dollars on fabric and a good bit of your time making a beautiful quilt top.

You’re about to put it all together and finish the quilt.

You need good batting.

I’ve gotten a lot of questions lately asking for batting recommendations. Luckily – that’s an easy question for me to answer.

Warm & Natural 100% cotton batting.

It is – hands down – the best batting I’ve ever used. Every once in a while the place I shop runs out and I need a batting right away so I buy another brand and it’s always terribly disappointing.

Here’s what’s so awesome about it. . .

It doesn’t beard. That’s when the fibers of the batting start to migrate out the front of your quilt. It looks awful and there’s no way to fix it once it starts. 🙁

It’s the perfect weight – not too heavy, not too light.

It’s beautiful for hand or machine quilting. That’s important to me because I like to do both.

You can quilt up to 10″ apart. This is really important to me for the style of quilts I design. Lots of battings have to be quilted 2-4″ apart. All of my quilts are designed based on a 10-inch block – so with this batting you can make one of my quilts without any quilting at all within the block – just stitch in the ditch. (I always quilt inside my blocks too – but it’s because I want to, not because I have to.)

The amount of shrinkage is perfect. See the crinkly Buttonholes quilt at the top? That’s exactly the amount of crinkle I like. Quilt your quilt without pre-shrinking the batting. Bind it and toss it in the washer and dryer. When it comes out it will be perfect.

It doesn’t shed cotton. I’m lazy and often leave the batting hanging out around the edges of my quilt while I do the quilting. Some battings will shed cotton fibers all over outside of the quilt while I work – which means I have to painstakingly remove them with masking tape when I’m all done. That doesn’t happen with Warm & Natural.

It holds up to lots of machine washing and drying. I’ve had some of my quilts for many years now – and I use them. That means they’ve been washed and dried many, many, many times. The ones with Warm & Natural look like new – no shifting or bunching at all.

So there you go! Lots of independent quilt shops carry Warm & Natural. As far as big box stores go, Joann’s seems to always have it and also carries it online. It comes on a roll so you can buy yardage, but I usually get the precut battings in bags – just because it’s easier for me to store.

Do you have batting scraps you don’t want to throw away? This post shows you a thrifty tip – how to piece those batting scraps together.

These links go to all my posts about quilt supplies.

Finished with this topic?

Return to the Let’s Make a Quilt main Table of Contents.

Move on to the lessons about cutting and quilting your background blocks.

Happy quilting!

How to Give Your Softies Flat Feet and Flat Bottoms – video

How to Give Your Softies Flat Feet and Flat Bottoms - video tutorial

I love making softies with flat feet and flat bottoms.

This is Napoleon and Josephine.

Josephine the Elephant Softie from Shiny Happy World, shown with tiny felt Napoleon the Mouse

Like any self-respecting elephant, Josephine has nice flat feet at the bottom of her trunk-like legs.

She also has a flat bottom that helps her sit nicely.

Napoleon has a flat bottom too. See?

small felt mouse laying on its side so you can see the flat bottom

Franklin the Fat Cat, the Eggheads and the Oddballs all have flat feet and/or bottoms.

Nellie the Pig has a flat bottom and a flat snout.

Nellie the Pig - stuffed animal pattern from Shiny Happy World

You might be a little daunted at sewing a flat bottom to what is essentially a tube of fabric – but it’s really not that tricky.

There are two techniques – one for use with larger pieces going through the sewing machine, the other for smaller, hand sewn felt softies. I’ve got a photo tutorial for the first one and a video for the second one – because the second method involves faith and I know some of you won’t believe it until you see it. 🙂

Sewing a Flat Bottom With the Sewing Machine

Cut your round foot and sew your leg or body into a tube. Do not freak out when you think about putting them together. We’re going to break it up into sections and take it one section at a time.

grey fleece circle divided into quadrants and marked with pins

Fold the round part in half and put a pin in the fold at each side. Open it up. Fold it in half the other way, so the pins match up, and put pins in the two new folds. You’ve divided the circle into perfect fourths without using a protractor. 🙂

grey fleece tube divided into four equal sections and marked with pins

Now we’ll divide the leg into fourths. Fold it in half so the seam is at one fold. Put a pin in the opposite fold. Now refold it so the pin and the seam match up and put two pins in the new folds. See? Perfect fourths – no measuring.

grey fleece circle pinned to the end of a grey fleece tube to make an elephant leg

Put the two pieces together, matching pins.

grey fleece circle pinned to a grey fleece tube - showing how to sew a flat bottom when making stuffed animals

Now take it just one quadrant at a time, fitting the curve of the round piece to the edge of the tube. Add more pins as needed. Fleece (like I’m using in this photo) is a dream to do this with. The fleece just stretches right into the curve and doesn’t need many pins. Non-stretchy fabrics might need a few more. I like to divide the quadrant in half and put in a pin. Then if it needs more, divide each half in half and put in a pin. Keep going until you feel like it’s all held together neatly – then run the thing through the sewing machine. I like to sew with the flat part down so I can see (and control) the excess fabric in the tube.

Sewing a Flat Foot by Hand

For smaller, hand sewn felt softies it’s even easier – but you do need to have faith in your pattern designer. It looks like there’s NO WAY this the little round bit will fit on the tube – but it will. I show you the whole process in one shot from start to finish.

See? That flat bottom fits right on there – almost like I used math or something to calculate the exact size needed. Which is exactly what I did – and then I tested it a couple of times to make sure I did that math right. 🙂

(In case you’re curious, that’s whipstitch I’m using to sew the foot on. There’s a tutorial here showing how to do it.)

Ready? Go give your softies some flat feet and cute sittable bottoms. 🙂

Happy sewing!

How to Crochet an Amigurumi Wizard!

How to Crochet a Wizard - starting with a gnome pattern - tutorial from FreshStitches and Shiny Happy World

You’re in for a treat, today!

Chloe has become quite a celebrity because of her beautiful crocheting! She never ceases to post amazing project photos and animals in creative poses!

Today, Chloe is sharing with us how to transform a Forrest the gnome into a wizard! How cool is that?

And, you’ll definitely want to check out Chloe’s Ravelry page and blog to check out all of her great creations!

Amigurumi crochet Wizard, how to

Hereby is the ingredient list and instructions for the Transgnome Potion aka How-to-turn-your-gnome-into-a-wizard Serum! So, grab your quills and note the materials you’ll be needing:

formula for crocheting a wizard

Now, take you wands..oops..hooks and off we go!

Step 1. Crochet tiny stars and crescent moons. I made 12 stars and 2 moons with a 2.75mm hook and yellow yarn. You might want to crochet more or fewer according to your item’s final size.

crochet tiny stars and crescent moons

Step 2. Crochet all FreshStitches gnome parts, except for the hat. Attach tiny stars and moon onto the legs and body (mine took 7 stars and a moon). Assemble all crocheted parts together.

wizard body crocheted with stars

Step 3. Crochet the hat, according to the following instructions.

crochet wizard hat with stars (2)

Wizard hat

Crochet hook: 4.00mm
Yarn: Mouzakis Butterfly Super 10, 100% cotton, in purple

You’ll need approximately as much yarn as it’s calculated for the gnome’s hat. Crochet through back loops, except for round 24. The final hat is conical and 11 cm in height.

Ch 2
Rnd 1. sc 6 in 2nd chain from hook (6 st)
Rnd 2-3. sc each st (6 st)
Rnd 4. sc twice in each st (12 st)
Rnd 5-6. sc each st (12 st)
Rnd 7. [sc twice, sc next st] * 6 times (18 st)
Rnd 8-9. sc each st (18 st)
Rnd 10. [sc twice, sc next 2 st] * 6 times (24 st)
Rnd 11-12. sc each st (24 st)
Rnd 13. [sc twice, sc next 3 st] * 6 times (30 st)
Rnd 14-15. sc each st (30 st)
Rnd 16. [sc twice, sc next 4 st] * 6 times (36 st)
Rnd 17-18. sc each st (36 st)
Rnd 19. [sc twice, sc next 5 st] * 6 times (42 st)
Rnd 20-21. sc each st (42 st)
Rnd 22. [sc twice, sc next 6 st] * 6 times (48 st)
Rnd 23. sc each st (48 st)

progress crocheting a wizard hat

To make the brim, crochet the next round through the front loops
*Front loops* Rnd 24. sc each st (48 st)
Rnd 25. [sc twice, sc next 7 st] * 6 times (54 st)
Rnd 26. [sc twice, sc next 8 st] * 6 times (60 st)
Rnd 27. [sc twice, sc next 9 st] * 6 times (66 st)
Rnd 28. sc each st (66 st)
Fasten off with tail.

instructions for a crochet wizard hat

Now, you’ll use some stars and moons to decorate the hat!

crochet wizard hat with stars

I used 5 stars and one tiny moon!

crochet wizard hat close up

Step 4. Stuff slightly and attach the hat on the wizard’s head through round 24 of the hat.

Amigurumi crochet Wizard, how to

And you’re done! Not that difficult, right?

Suggestions

  • It’s more wizard-y using the same colour for the cloak and hat! I chose purple, which is a rather conventional choice for a wizard! Pick up your favourite colour, since magic comes in every possible colour!
  • Likewise, the stars and moons are expected to be yellow or white, but expectations are exceeded in the magical world!
  • I wanted the hat overall to look a little frail and worn-off (my wizard is doesn’t care for brand new clothes!). If, however, you want a more sturdy-looking hat, you can (a) make the brim double thick and (b) use a conical carton inside. Both these techniques are shown in the Freshstitches Leprechaun pattern that was released recently (see Hat).

Enjoy!

What do you call…

… that big, unwieldy mess of yarn that virtually spills out of the middle of your skein?

Yarn Barf
What is yarn barf?

There. Now you know.

I promise that I’m not making this stuff up.

Mike the Leprechaun wants to wish you a very Happy St. Patrick’s Day!

Mike the Leprechaun - crochet amigurumi pattern from FreshStitches and Shiny Happy World

Since I’m away at the Pittsburgh Knit and Crochet Festival, I won’t be cooking the traditional corned beef & cabbage… so if you are, could you eat some extra for me?

Best,
Stacey

Tip for Attaching Craft Eyes through Thick Layers

Inserting Craft Eyes through Tick Layers - tips from FreshStitches and Shiny Happy World
niccup crochet logo

Today’s guest post is written by Nichole of Niccup Crochet.

I’m really excited about this post, because Nichole has come up with a solution (little did I know until she mentioned it!) that has been plaguing many crocheters. When attaching craft eyes (or ‘safety eyes’) to an amigurumi, it can be really tough to get the post through multiple layers.

Nichole is sharing her clever solution with us, today!

She’s demonstrating the technique on Nel the Tiny Owl, who she’s crocheted in a St. Patrick’s Day colorway. You can find instructions for the adorable pot of gold on Nichole’s blog!

Crocheting Nel, the Tiny Owl, was a smooth-sailing until it came time to attach his eyes. Eeek! I could not get the safety eye attached securely (enough). The washer locked over the outer-most ridge of the safety eye and no amount of force could get it to lock any further.

The anatomy of the problem

problems attaching a safety eye through multiple layers

The post of the safety eye is only so long. It has locking points on the post and the washer slides over the ridges to secure the safety eye in place. The problem with Nel is that the safety eye has to be forced through three layers of fabric. Most of the post is surrounded by the fabric layers and very little is left sticking out the bottom where the washer needs to be secure.

Work Smarter, Not Harder

I attempted to secure his second eye with needle-nose pliers. That was a bad idea! The pliers slipped and I damaged poor Nel’s eye. No amount of force was going to work…the fabric was just too thick.

I took a step back and looked at all of the pieces involved. There just had to be another way.

Then, it dawned on me: the safety eye can be attached to the eye circle before sewing the eye circle onto Nel’s head. Sometimes the best solution is the simplest one.

Attach the safety eyes through the middle of the eye circle.

Then, you will sew the eye circles onto Nel’s head. As you are doing this, make sure you force the post down through the other layers of fabric. This will keep the eye from bulging out.

InsertingEye

I hope this helps you as you crochet your next Nel, Nelson or a few other FreshStitches patterns.

Nel the Tiny Owl with a Pot of Gold

Here are handy links to all the posts about amigurumi eyes. . .

Return to the main table of contents for Let’s Learn to Crochet Amigurumi.

Move on to the lessons for standing legs.

Happy stitching!

How to Whipstitch Felt – video

How to Whipstitch Felt Edges - video

I’ve already got a video showing the basics of how to whipstitch. It’s a great way to sew up a stuffing opening in a softie, and that’s what I demonstrate in the original.

When you’re working with felt, the basic mechanics of how to whipstitch are the same. But felt is a little different than regular fabric – it’s thicker and you don’t have to turn the edges under. These make it a delightful fabric to work with (especially wool felt) but they also mean that there are a couple of new things to think about when you whipstitch on it. That’s what I show you in this video.

Now here are a few examples so you can see it in use. . .

Freddie with Bean - patterns from Shiny Happy World

See that teddy bear that Bean is snuggling? He’s made entirely by hand with whipstitch – including the applique for his belly and nose.

That’s Freddie the tiny teddy bear and you can get his pattern here. It’s super simple – really easy for beginners to make and a great first felt project.

Want a fancier bear? This guy is also made almost entirely with whipstitch.

handmade felt bear with juice box

The only place I used different stitches are the flowers on his hat and the grid on his coat.

His name is Benedict and you can get his pattern here. He looks really complicated, but he’s also really easy to make. Once you’ve made Freddie, you can easily move on to Benedict.

You can see lots more felt patterns here – all hand sewing and almost all made with easy peasy whipstitch.

Happy stitching!

Play with some felt! Try the Oddballs – a fun pattern for silly monsters.

How to Write Your First Pattern in 6 Steps

You might think that you need a whole bunch of fancy software to put together a professional-looking pattern, but it just isn’t true! You can put together a great-looking pattern using what you probably already have on your computer!

I’m going to assume that you already have written a clear set of pattern instructions, and I’ll give you tips to turn those instructions into a beautiful pattern!

Step 1: Take fabulous photos

You don’t need an expensive camera! You just need your product, some good lighting and a regular point-and-shoot camera.

Rainbow socks

If you’re not rock-solid on your photography yet, check out my 5 Photography Tips and my detailed write-up of how to create a seamless white background.

The secret to good photography is taking oodles of photos. You can always delete ones you don’t like, but you want to maximize your chances of snagging that perfect one!

Don’t forget that in addition to the cover photo, you’ll want to take photos that show off any detail work or unique features of your design.

Step 2: Select your format

Chances are, you have a word processing program like Microsoft Word on you computer… great! You can use it for formatting your pattern!

Have a look at the features your program offers. Go to File > New. Is there an option of using a template? A template can be a great way to get started with the design of your pattern.

Screen Shot of Template

If you don’t want to go the route of the template, think about setting key elements of the pattern apart with simple design elements. Perhaps your materials listing could go in a colored text box. headers) to break up the text. Keep in mind that many people find a huge, solid block of text difficult to read, so use design elements (and headers) to break it up.

Step 3: Insert your photos

To insert your photo into a document, go to Insert > Picture, and pop in your selected photo.

Formatting a sock pattern

Take a look at the top of the screen after you’ve inserted your photo… do you see formatting options? In my version of Word (above), you can see a variety of picture formatting settings: such as changing the shape of the photo or adding a border. This is an easy way to add a personalized style to your photos.

Step 4: Add your information

Do you want to add copyright information? How about putting your email address on the pattern so customers with questions can contact you? Or maybe you’d like to include your website?

Don’t forget these details… remember that the pattern instructions are a way to communicate with your customer! You want to make things easy for them… don’t make them hunt you down if they have a question!

Step 5: Try a font!

Once you have your text and photos in… you’re finished (and can skip to step 6)! This step is optional, and just adds a little extra to your pattern!

I’m a big fan of fun fonts, and downloading a new font is a great way to add your own sense of style.

try a font at dafont.com

My favorite website for browsing new fonts is dafont.com. There are two things to keep in mind.

One, be sure to read the conditions on the the particular font you’re interested in: fonts designed for personal use only aren’t intended to be used for commercial purposes. (…just like patterns!)

Two, most people find fancy fonts in the text difficult to read, so keep the fun stuff to headers and titles.

Step 6: Make a PDF

PDF stands for ‘portable document format’, and it’s called that because it’s a file that shows up exactly the same on every computer. You’ll want to convert your document into this format before it’s ready for distribution.

Fortunately, this is easy! In the old days, you needed fancy additional software, but now, it’s as easy as going to Print in your Word Processor and selecting Adobe PDF as your printer.

The result is your pattern… that’s ready to distribute!

Are you ready?

You shouldn’t let fear of technology or lack of a graphic designing degree keep you from putting together a pretty pattern that you can be proud of!

I hope I’ve encouraged you to give it a shot!

Best,
Stacey

Meet the biggest owl in town!

Uh, oh. Maybe my title is too bold of a claim. Maybe there’s a bigger owl in town…

But this guy is definitely the biggest owl in my house. And probably on my block.

Check him out:

Super big crochet owl

He’s 12″ tall and can hold his own in a super-cute kiddie chair:

Crocheted owl in chair

And he’s huggable!

Big owl crocheted cuddly

I used my Nelson the Owl pattern, but crocheted it with a double strand of worsted weight yarn and a size K hook. Feel free to check out big Nelson’s Ravelry Page.

He’ll be on debut at my table at the Pittsburgh Knit and Crochet Festival!

I’m really into doing these ‘big’ guys… they don’t require any more crocheting than a normal one (since you’re just using a thicker yarn), but they turn out super-cuddly!

Upcoming Events

I’m so excited about the oodles of stuff that’s coming up at FreshStitches! Have a peek!
FreshStitches upcoming events

I hope you have an awesome and craft-filled weekend!

Tomorrow, I’m going to share all of the exciting crafty stuff I did at a workshop I went to last weekend!