


Make an easy baby gift with this free receiving blanket pattern.
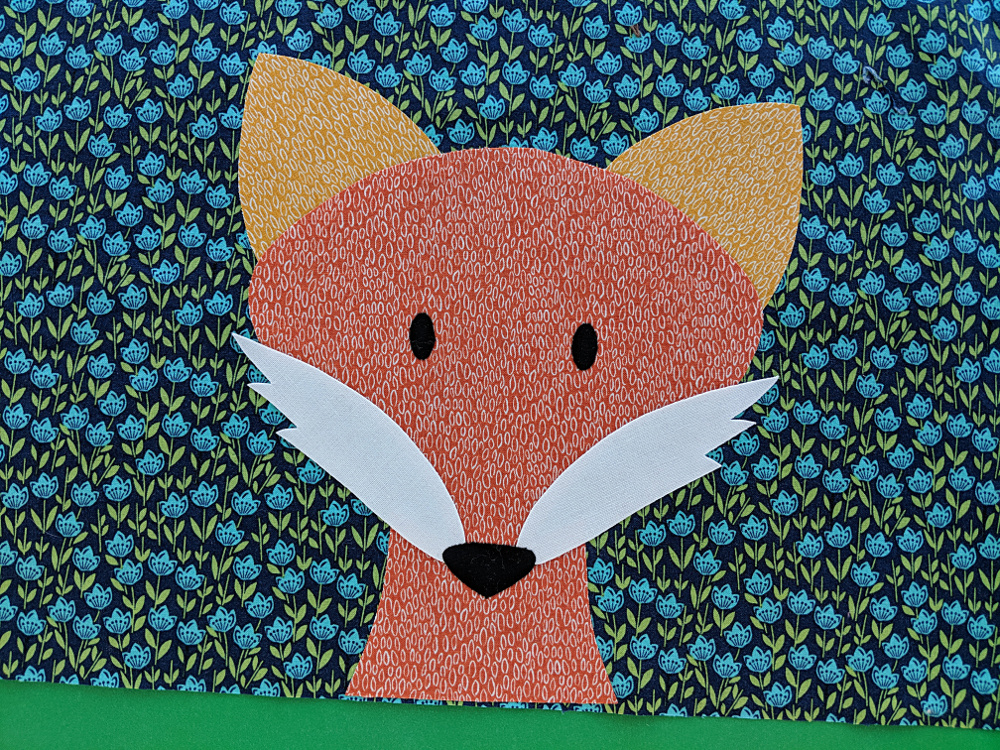
A receiving blanket is seriously the easiest baby gift you can make. Choose fabulous fabric and no embellishment and you can make one in 15 minutes. Even if you add an applique (like the fox shown) you can still make it in less than an hour.
Here’s how. . .
Step 1
Cut two squares of fabric about 36 inches square.
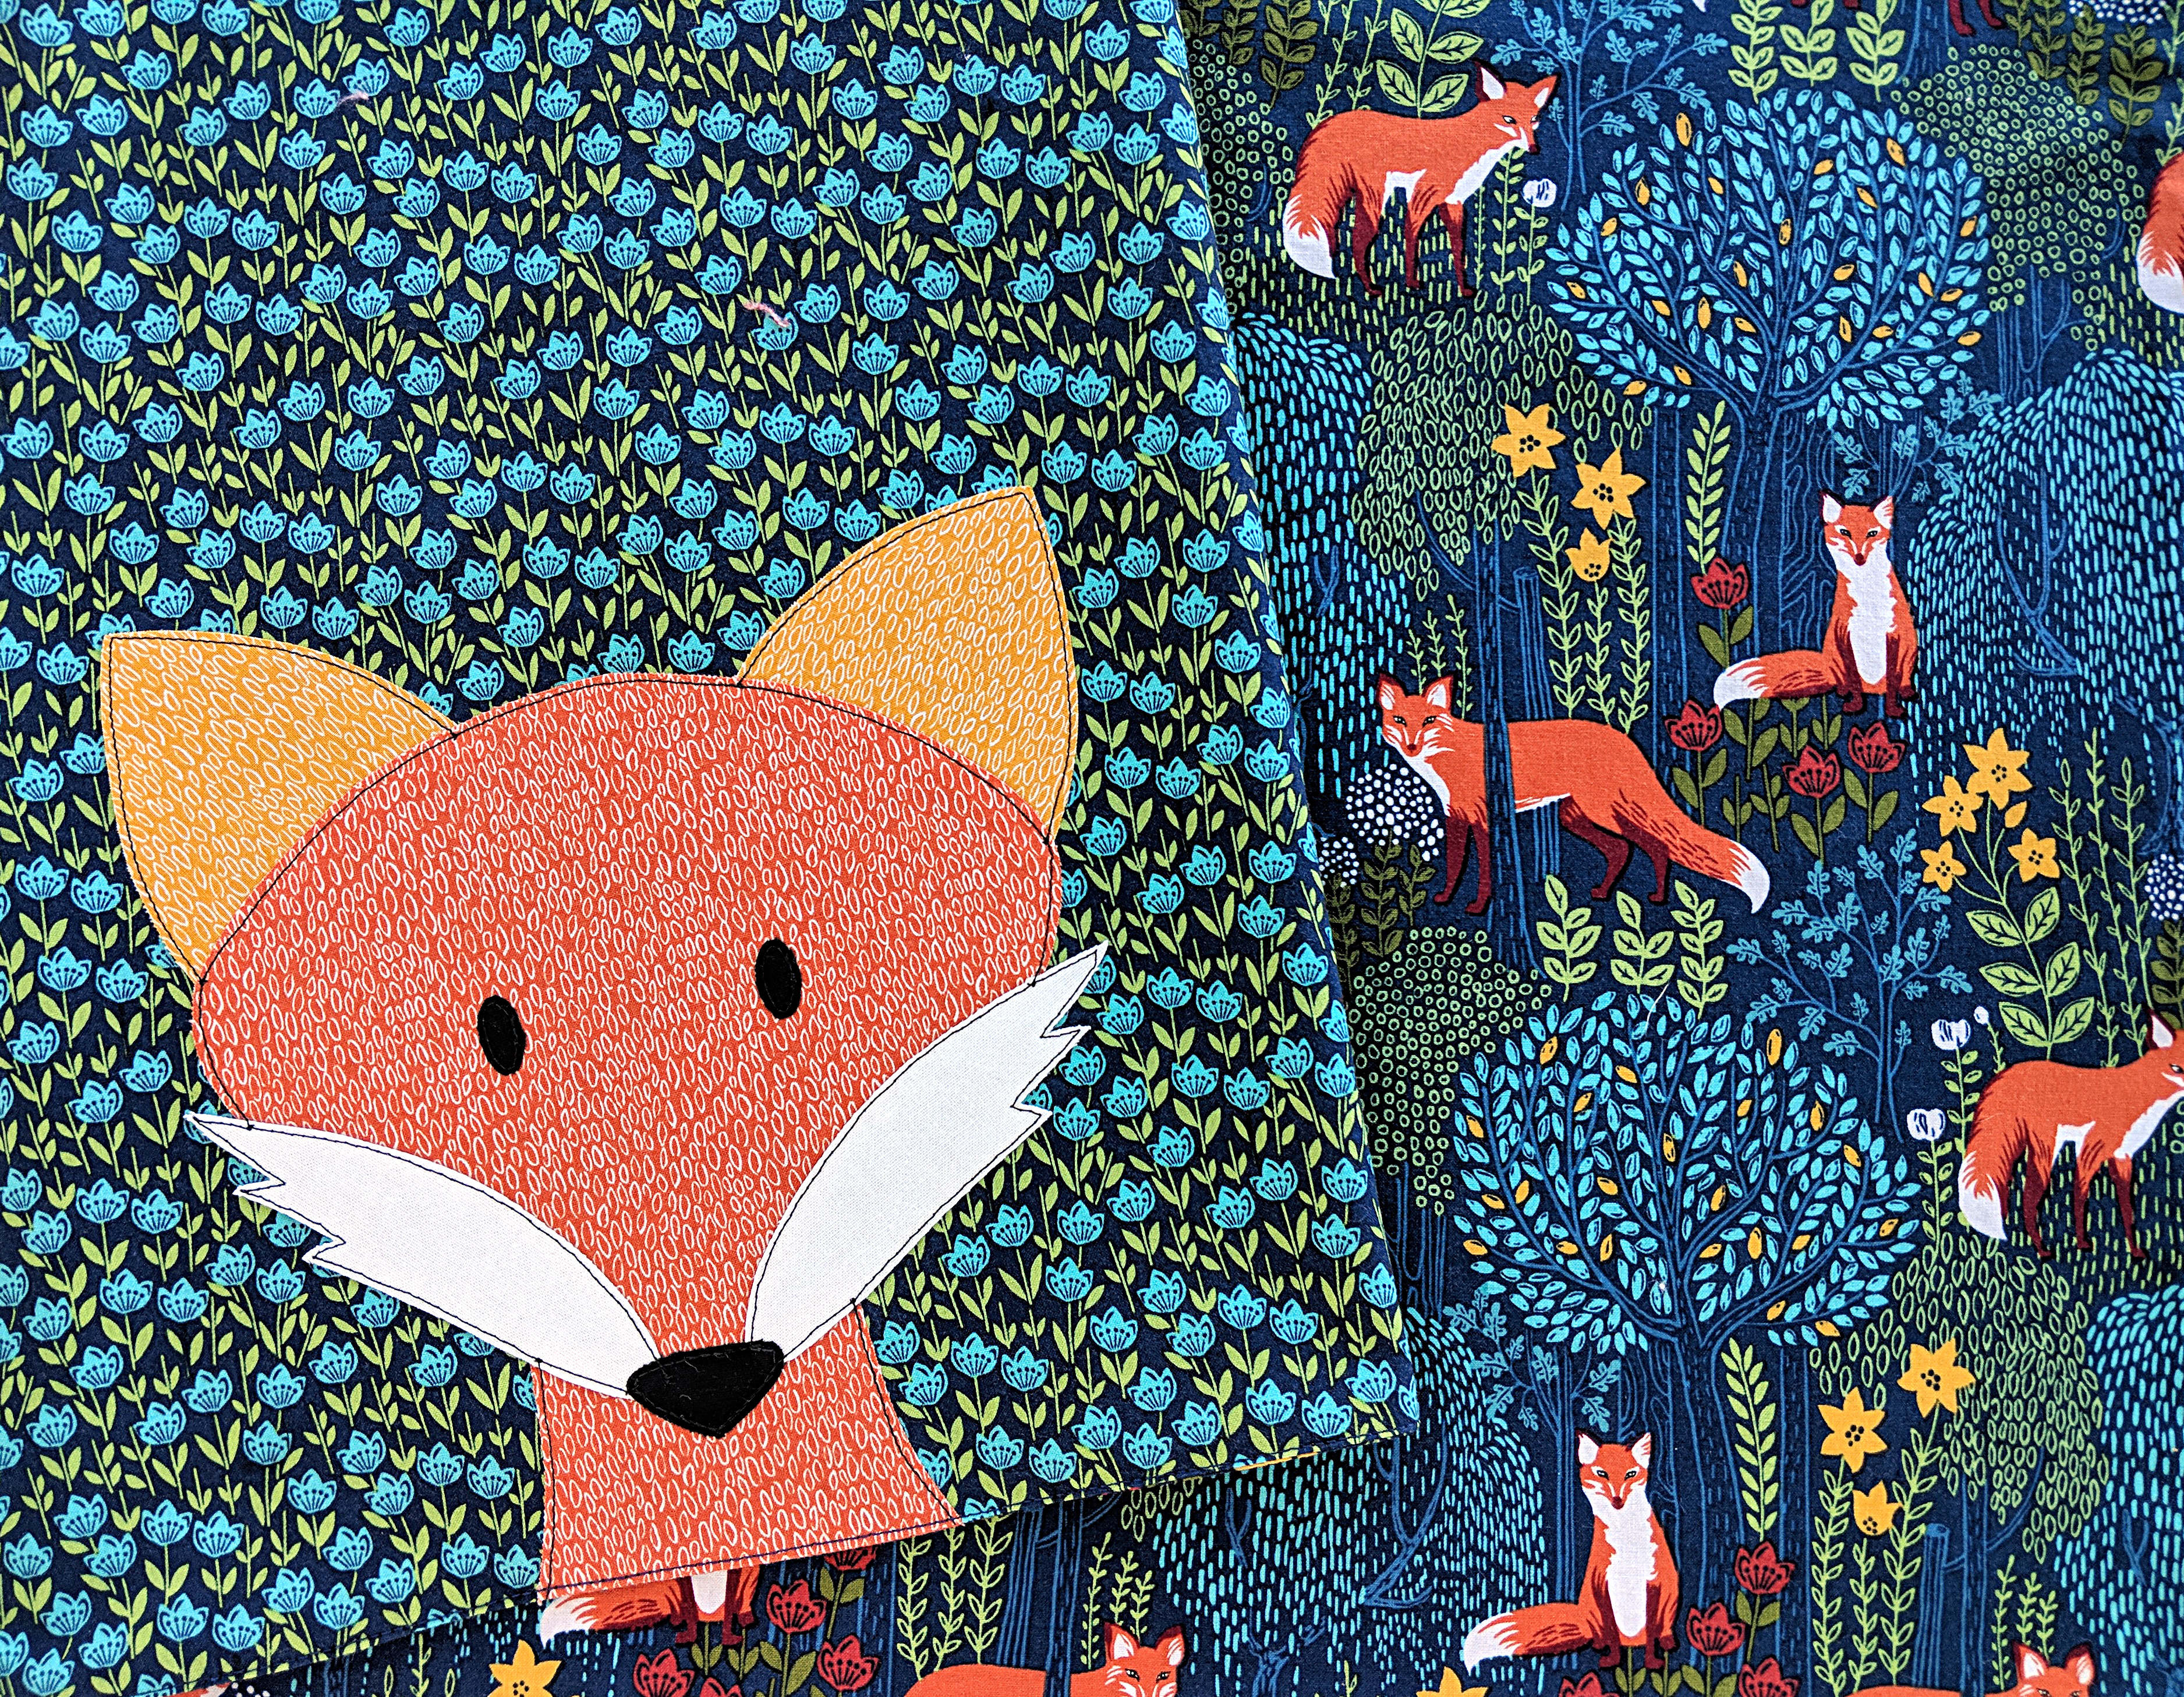
Any kind of fabric is fine. I’m using quilting cotton here (from the GORGEOUS Into the Woods collection from Michael Miller Fabrics) but I’ve also used flannel, terry cloth, baby corduroy, and more. Just about anything goes.
I like to use one fabric for the front and a different fabric for the back, but you don’t have to.
And when I say “about” 36 inches I really mean it. I bought one yard cuts of fabric, but by the time I washed them and squared off the cut ends they were more like 34 inches. So I cut two 34 inch squares. No problem.
Step 2
Put the two squares of fabric right sides together and pin all the way around the edge.
Take a little care here and make sure you get everything laid out and pinned neatly. If your squares aren’t really lined up, it will show in the finished blanket – and make the pressing in Step 5 hard.
Step 3
Sew almost all the way around the edge, leaving an opening big enough to fit your hand for turning right side out. I usually leave 4-5 inches. Use a quarter inch seam allowance – or something close. I use the edge of my favorite presser foot as a guide which makes a seam more like 3/8 inch and that’s just fine. 🙂
Step 4
Clip the corners right up close to the stitching.
This will eliminate bulk in those corners when you turn it right side out.
Step 5
Turn the blanket right side out – taking care to poke out the corners and smooth all the edges. Press the edges flat.
Step 6
Now you have a choice. You can leave the edges as they are and hand sew the opening. I like to use ladder stitch (that links to a video tutorial) for invisible stitching.
Or (if you want a no-hand-work project) you can topstitch your blanket all the way around the edge. That will make your seams extra secure and sew up that opening at the same time.
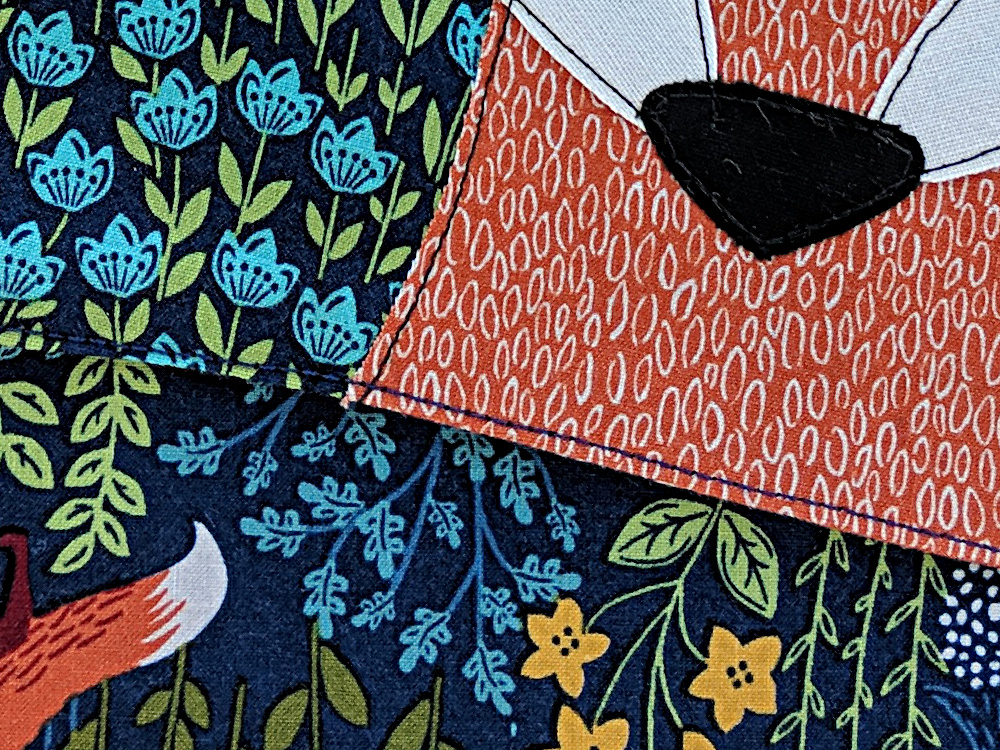
Here’s how close to the edge I typically stitch.
Finished!
But that’s not all. This receiving blanket pattern is basically a blank slate for you to play with.
Sure – you can use fabulous fabrics and make it just this simple. How beautiful is this?

Honestly – no further embellishment needed at all.
But if you want to add something fancy, you can.
You can add some embroidery. Maybe stitch baby’s name and date of birth in the corner? There’s a free alphabet pattern for hand embroidery here.
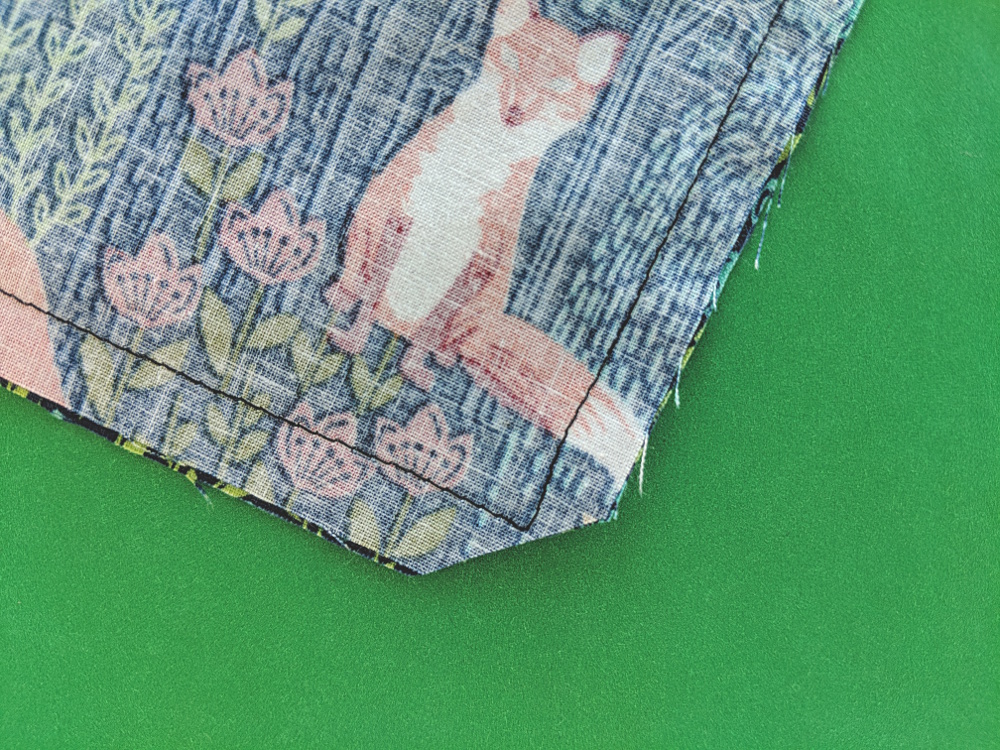
You can add some applique. On this sample I added the Fergal Fox applique pattern in the lower right corner of the blanket.
No resizing needed – and it’s a great way to get extra mileage out of patterns you already own. If you do this, make sure you place the bottom edge of the neck right up against the raw bottom edge of the blanket.
That way the raw edge will get sewn up in the stitching that sews the front and back of the blanket together and it will look like the fox is peeking into the frame rather than like a decapitated head floating in the corner. 🙂
There are lots more single block applique patterns available here – perfect for adding to this pattern. And there are a few free applique patterns here. Add a free applique pattern to the free receiving blanket pattern for a perfect low-cost gift!
Have fun with this pattern! Be sure to tag any photos of your finished work with #shinyhappyworld – or share it in the Shiny Happy People group on Facebook.

Here are several free patterns that work with my basic 10-inch applique squares – no resizing needed!
- Make a Wall Hanging with a Wonky Churn Dash Frame
- Trick or Treat Bag (medium tote bag)
- Quilted Tablet Cover
- How to Turn Any Quilt Block into a Pillow
- Fast and Easy Placemats
- Fancy Felt Frame
- Receiving Blanket
Here are several free patterns that work with just some simple resizing. This post about making coasters has info about resizing an applique pattern that can be applied to any of these projects.
- Free Bib Pattern
- Simple Christmas Stocking
- Mini Bunny Tote Bag
- Turn Any Quilt Block Patterns into Cute Coasters
- Cozy Bear Coasters
- The Big Bag (applique on the pocket)
- Cloth Book for Babies
Return to the main Let’s Make a Quilt Table of Contents.
Happy stitching!


 Like me – Stacey is fond of rainbows and cuteness. 🙂


