‘Tis the season for sniffles. Which means it’s the perfect time to pull out this cute little monster tissue pack cover pattern and whip up some cute gifts! It’s super easy and the pattern is free.
Oh – and if a little case of the sniffles turns into a full-blown cold with a cough and achy chest – take a look at this post for instructions to make a Vicks Vapo-rub scented rice bag – complete with this monstrous rice bag cover to help scare away the cough.

Here’s how to make the tissue pack cover.
Throughout the pattern, the links go to online video tutorials demonstrating the techniques used.
Materials You’ll Need
- 6″ x 7″ rectangle of fabric for the outside
- 6″ x 7″ rectangle of fabric for the lining
- two 6″ pieces of white rickrack
- 1″ colored buttons
- two 5/8″ black buttons
- sewing machine, thread, basic sewing tools
Instructions
Step 1
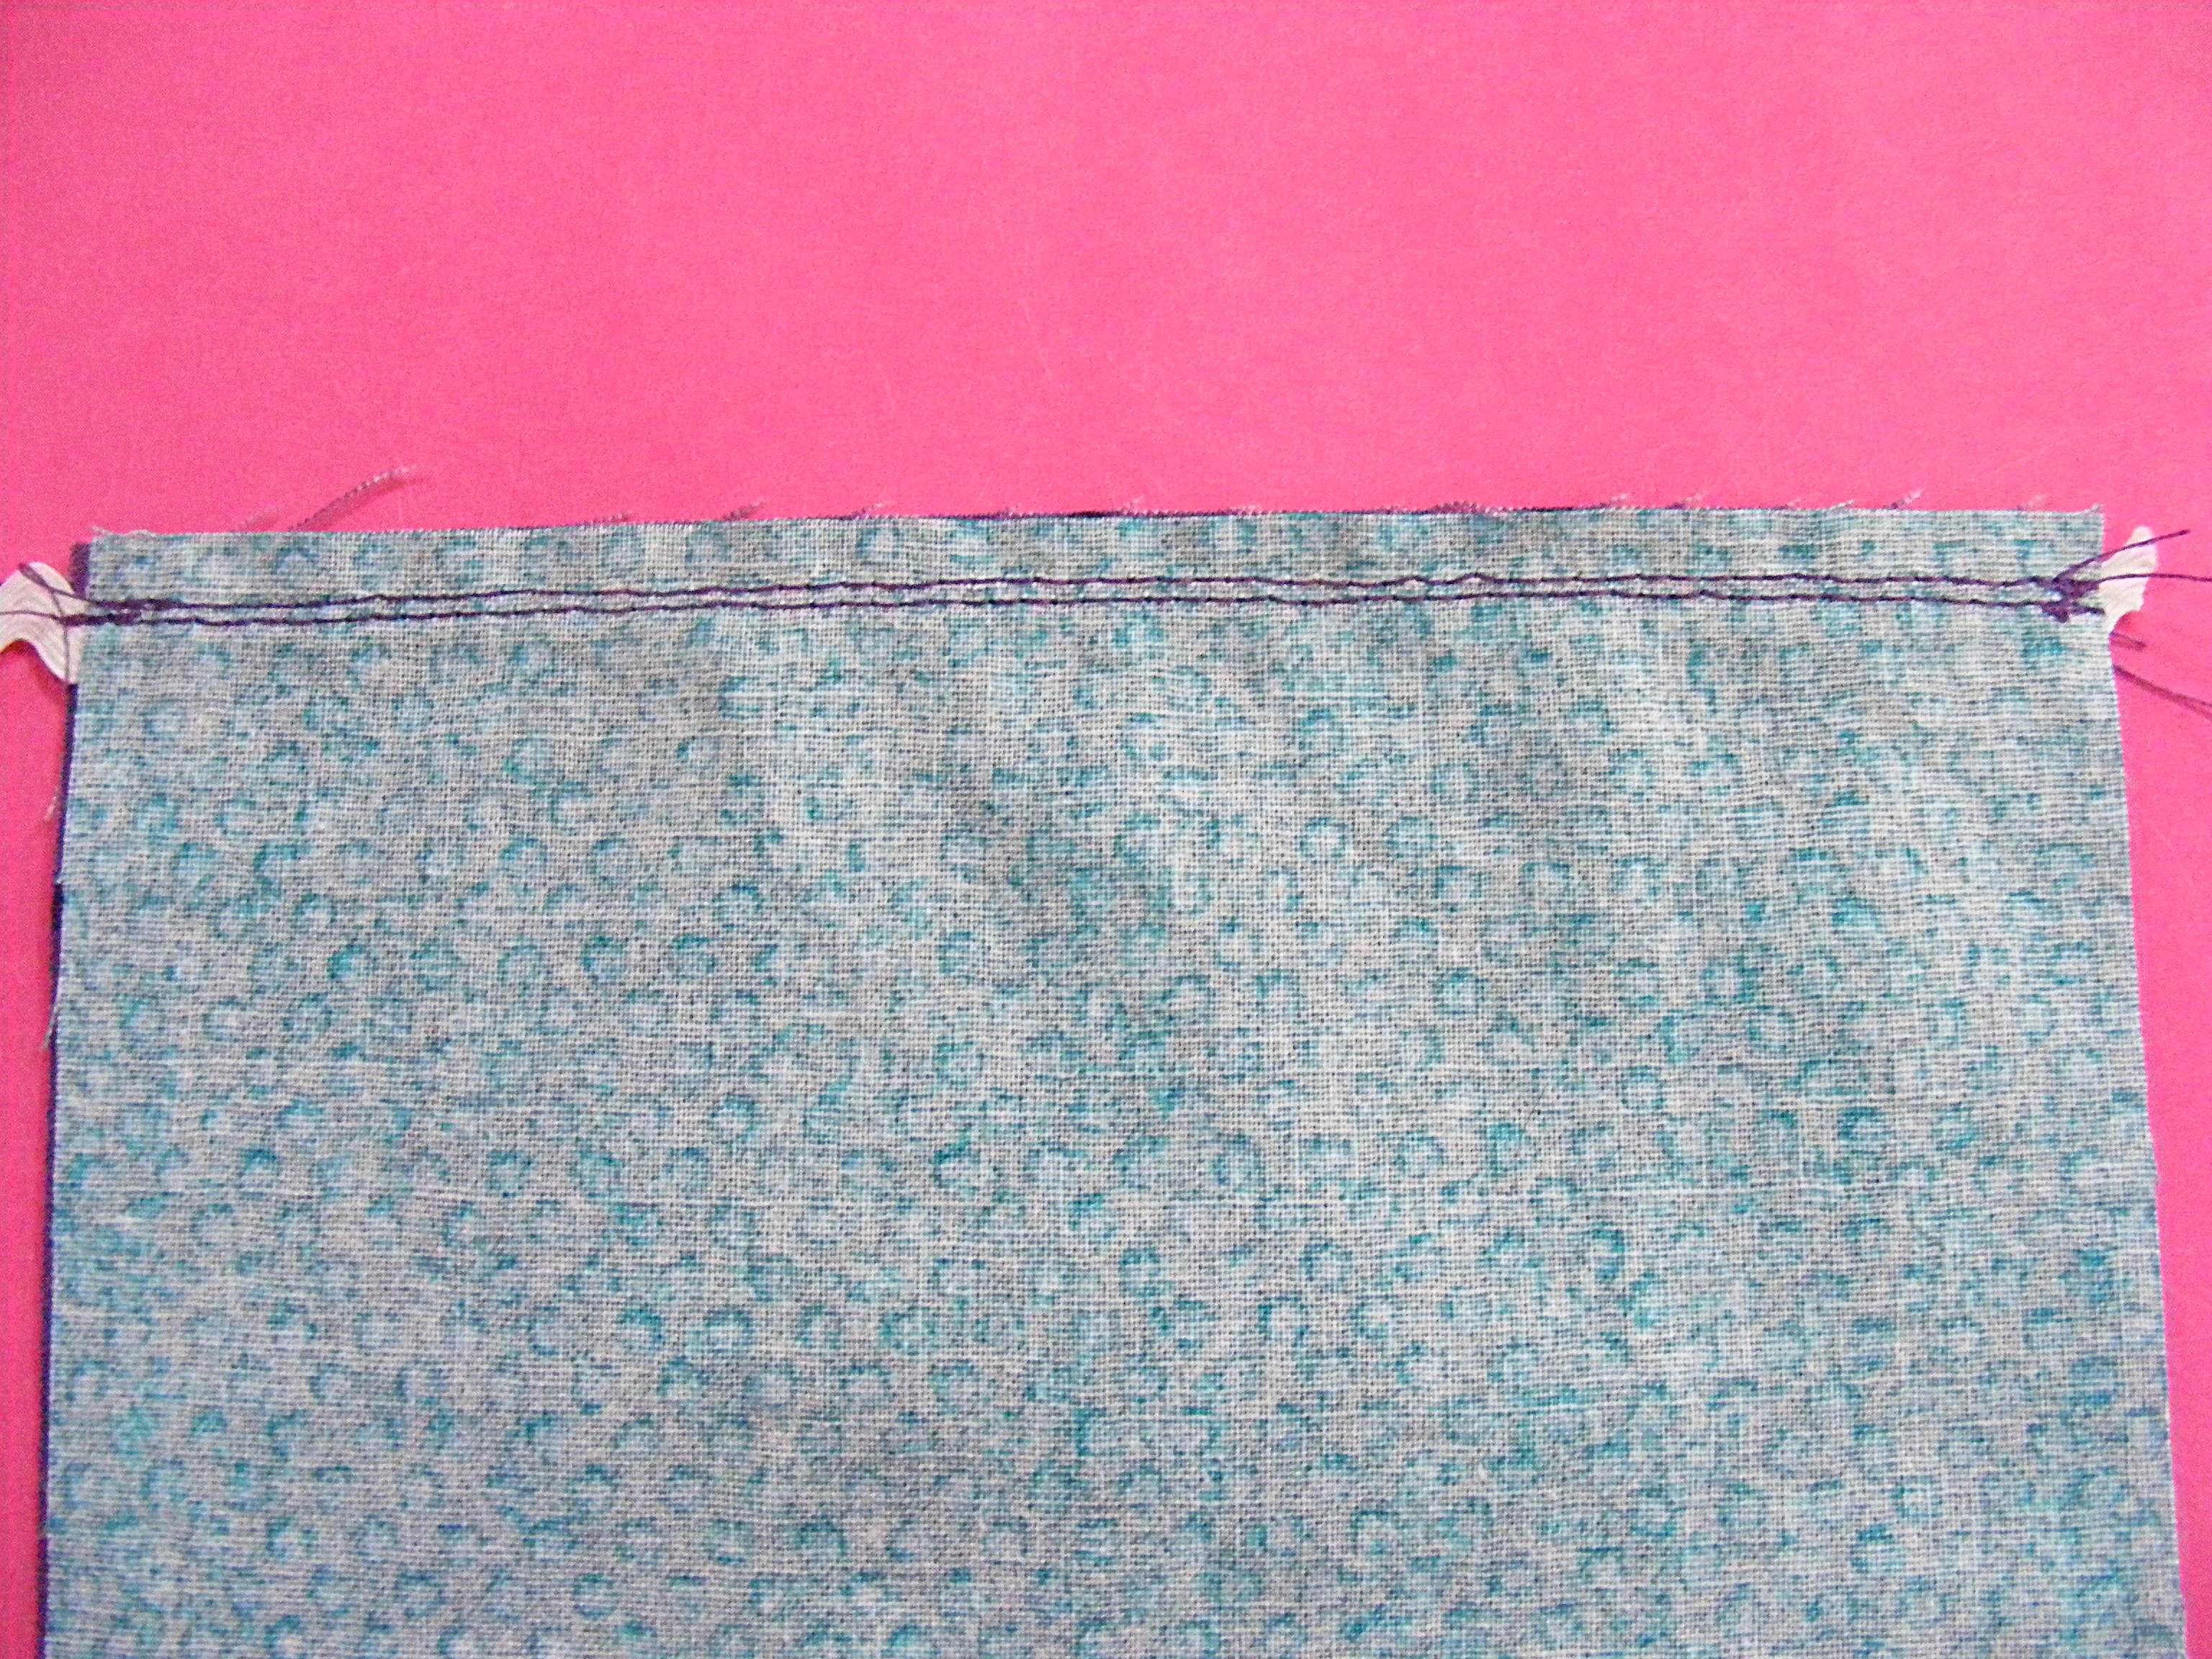
Draw a line 1/8 from the short edge on the right size one of your fabric rectangles.
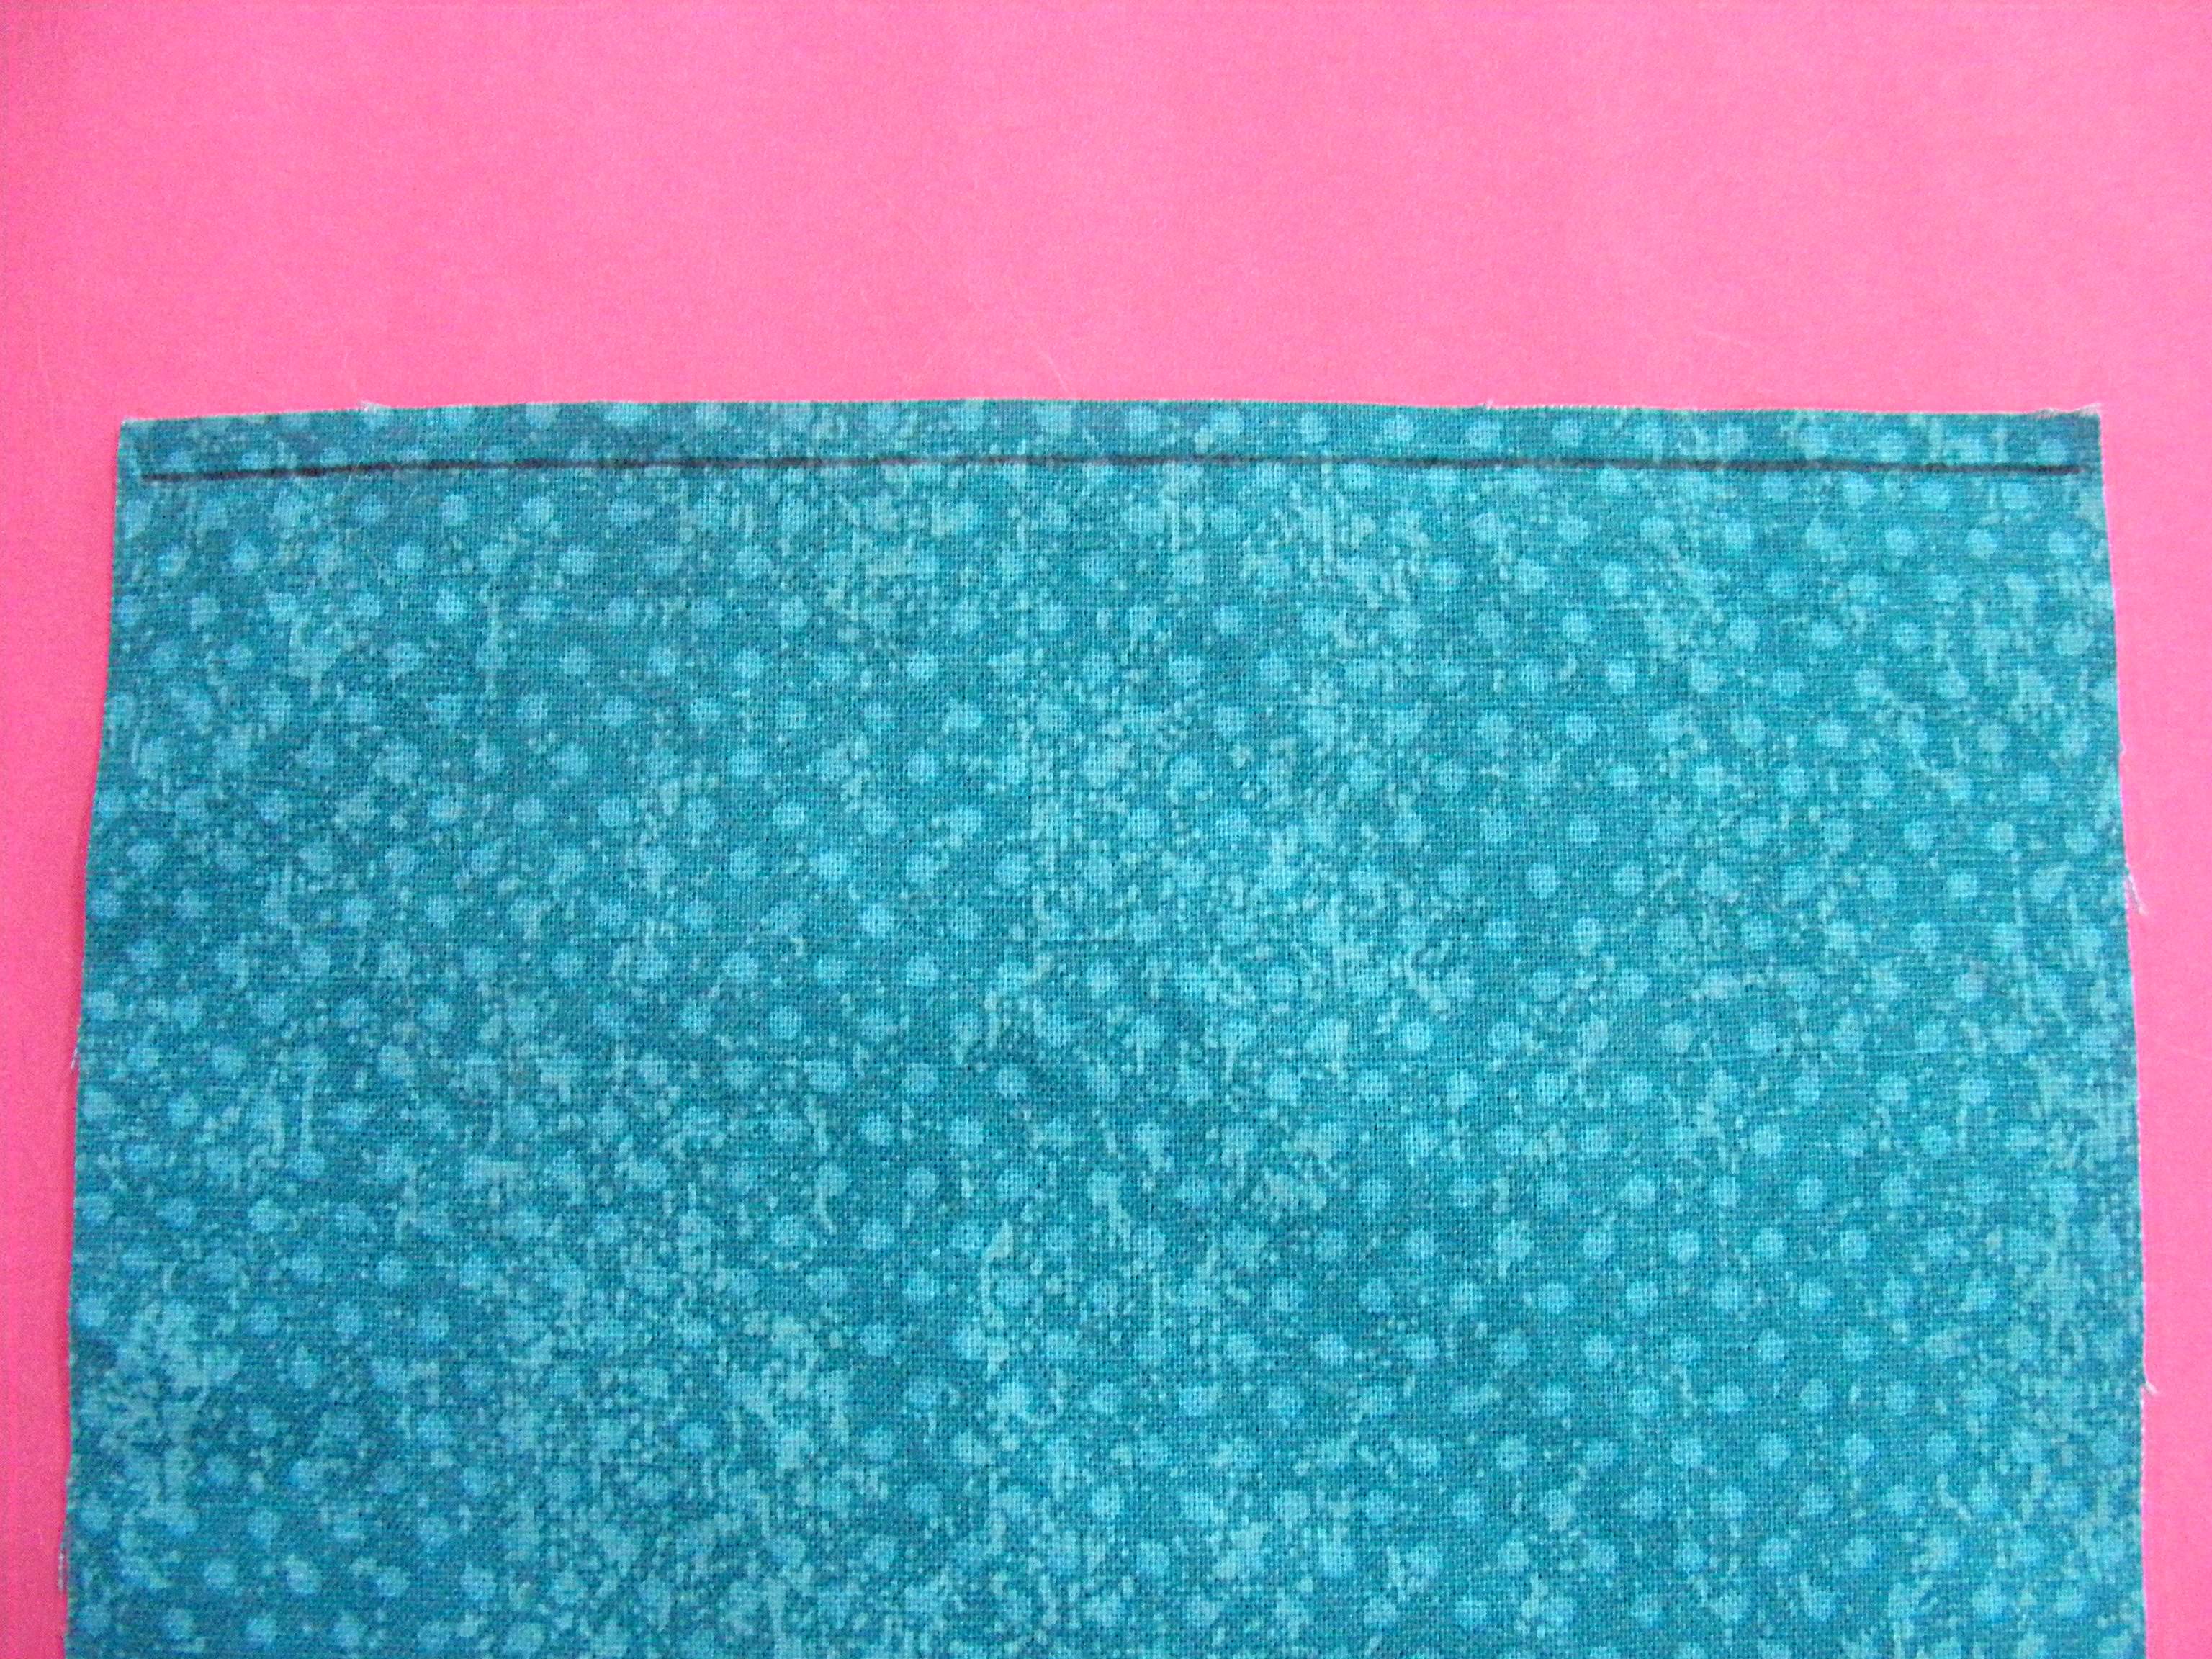
Watch a video here showing how to embed rickrack in a seam.
Step 2
Position one of the pieces of rickrack so that the line you drew in Step 1 is just barely showing in the valleys at the top edge of the rickrack.
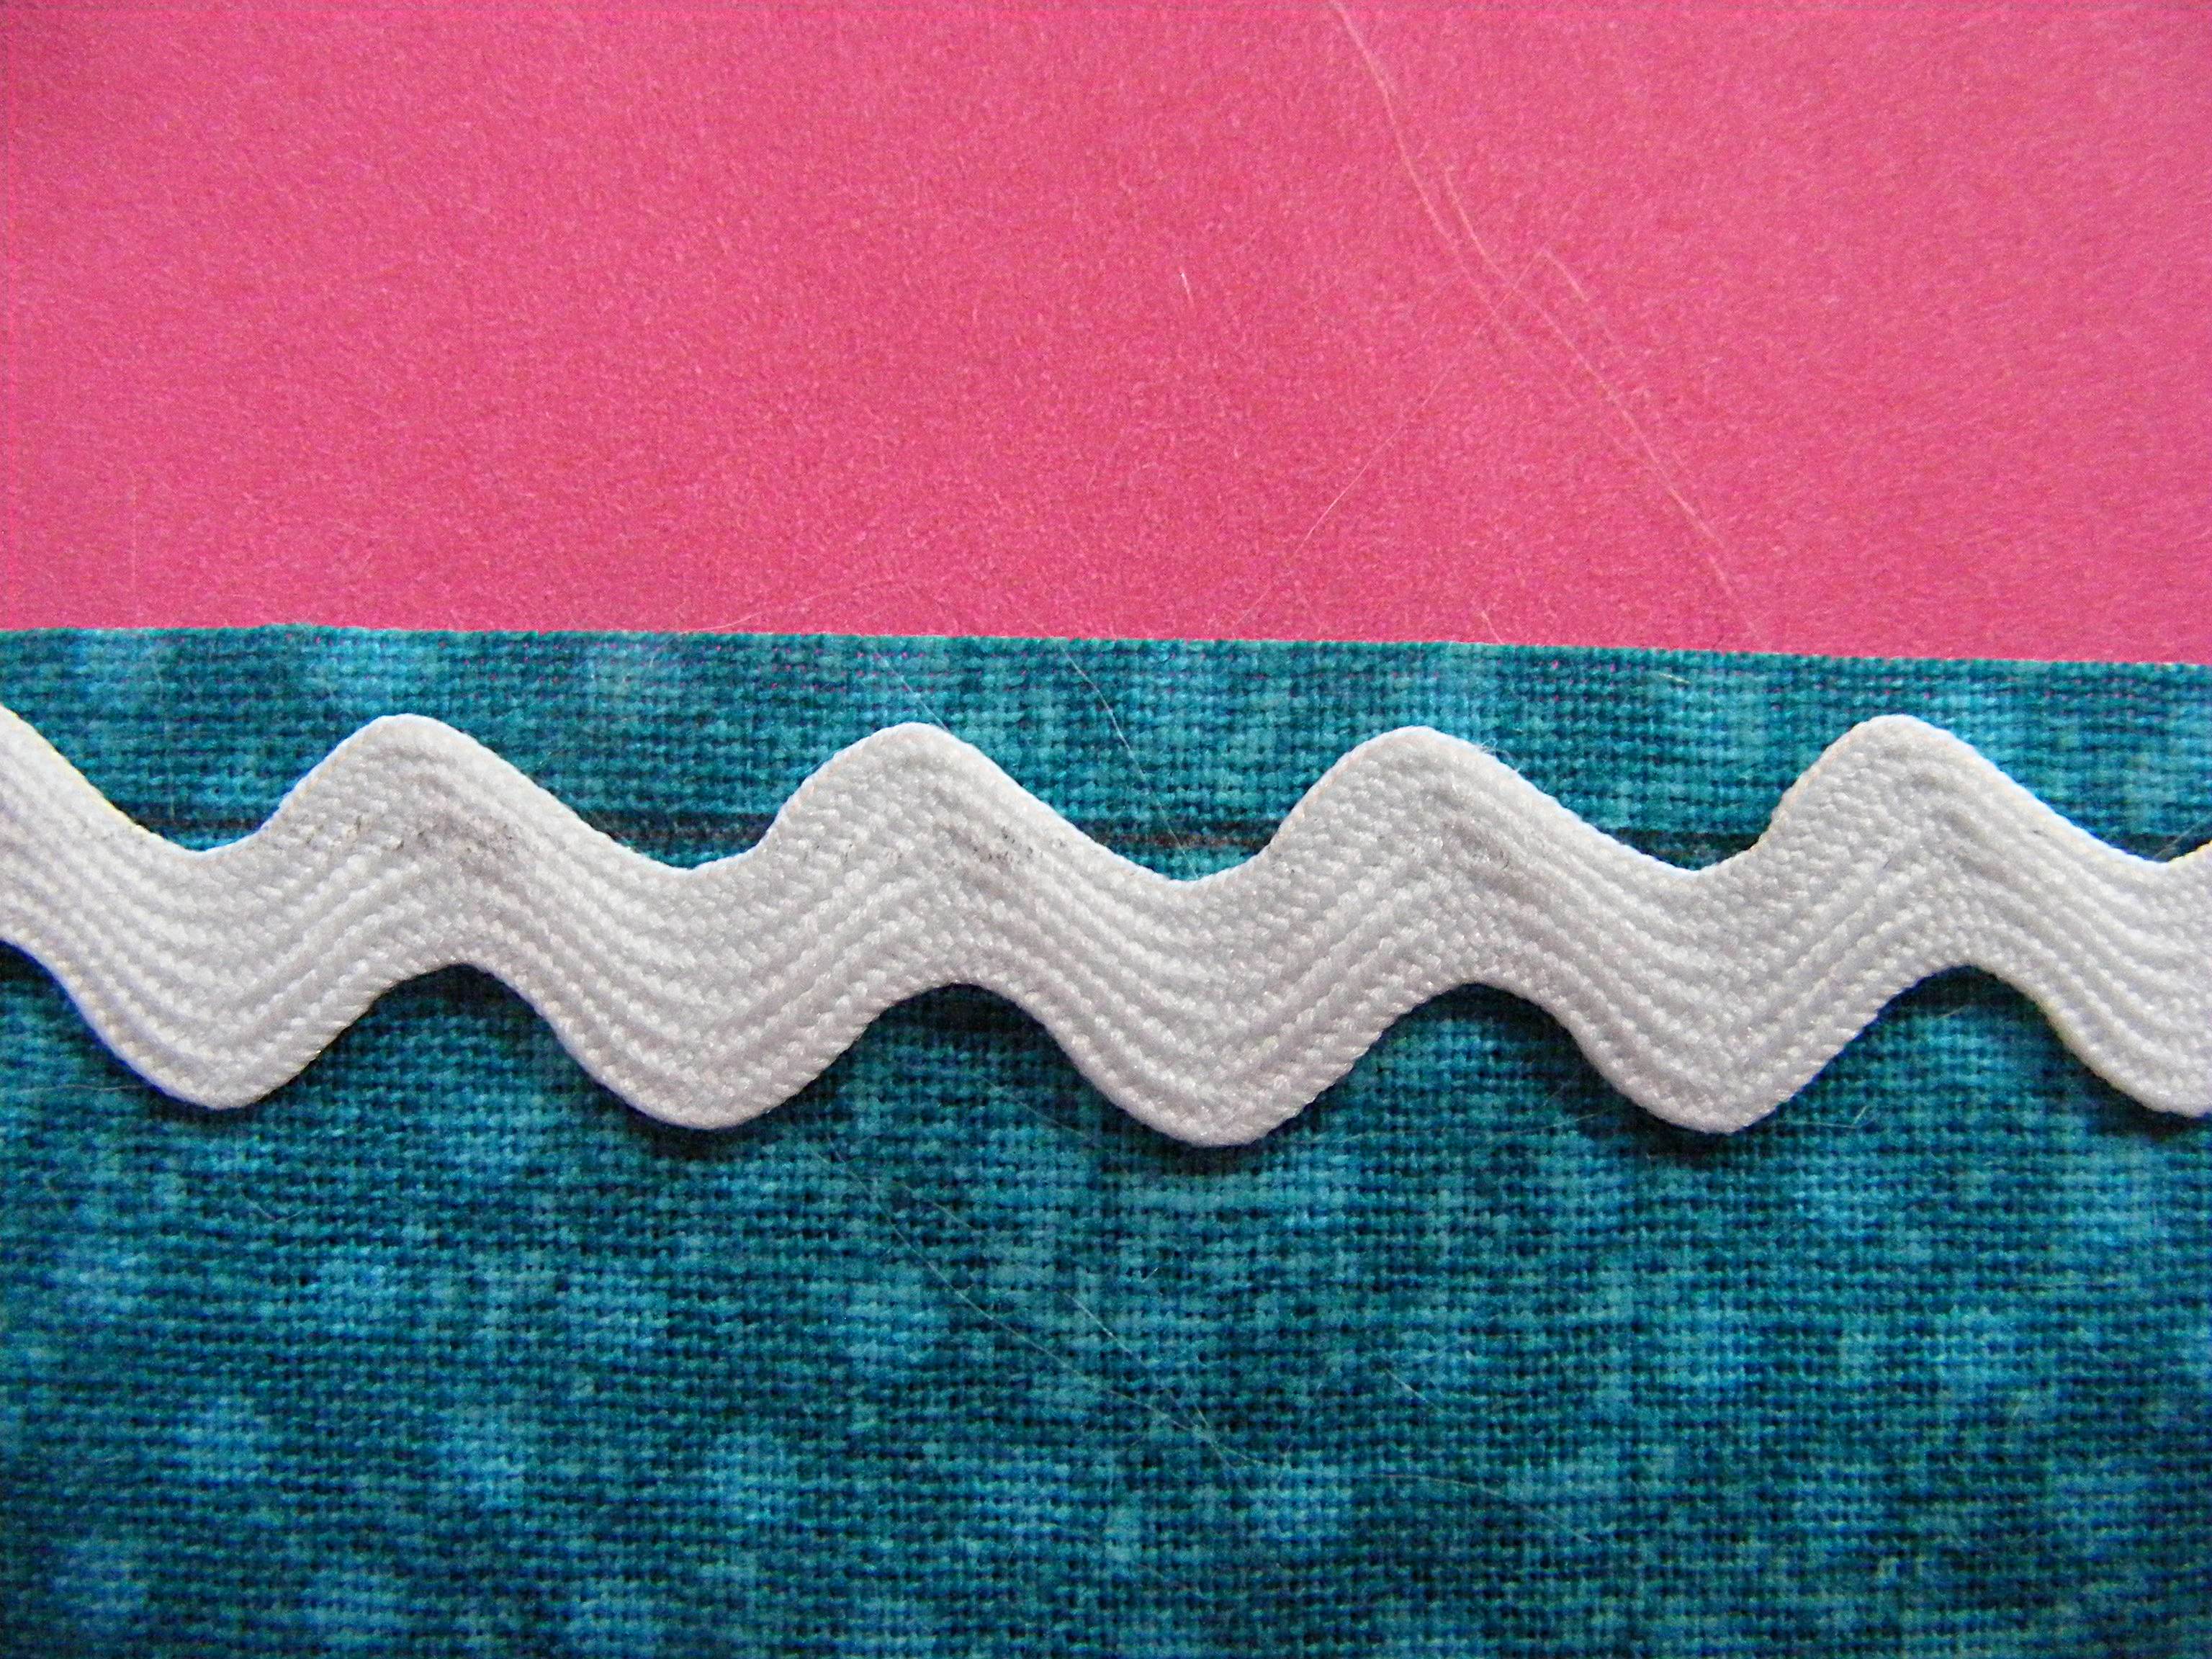
Step 3
Sew the rickrack in place, right along the line you drew.

Step 4
Lay the second rectangle of fabric face down over the first, with the rickrack sandwiched between the layers. Sew them together using a 1/4″ seam allowance.
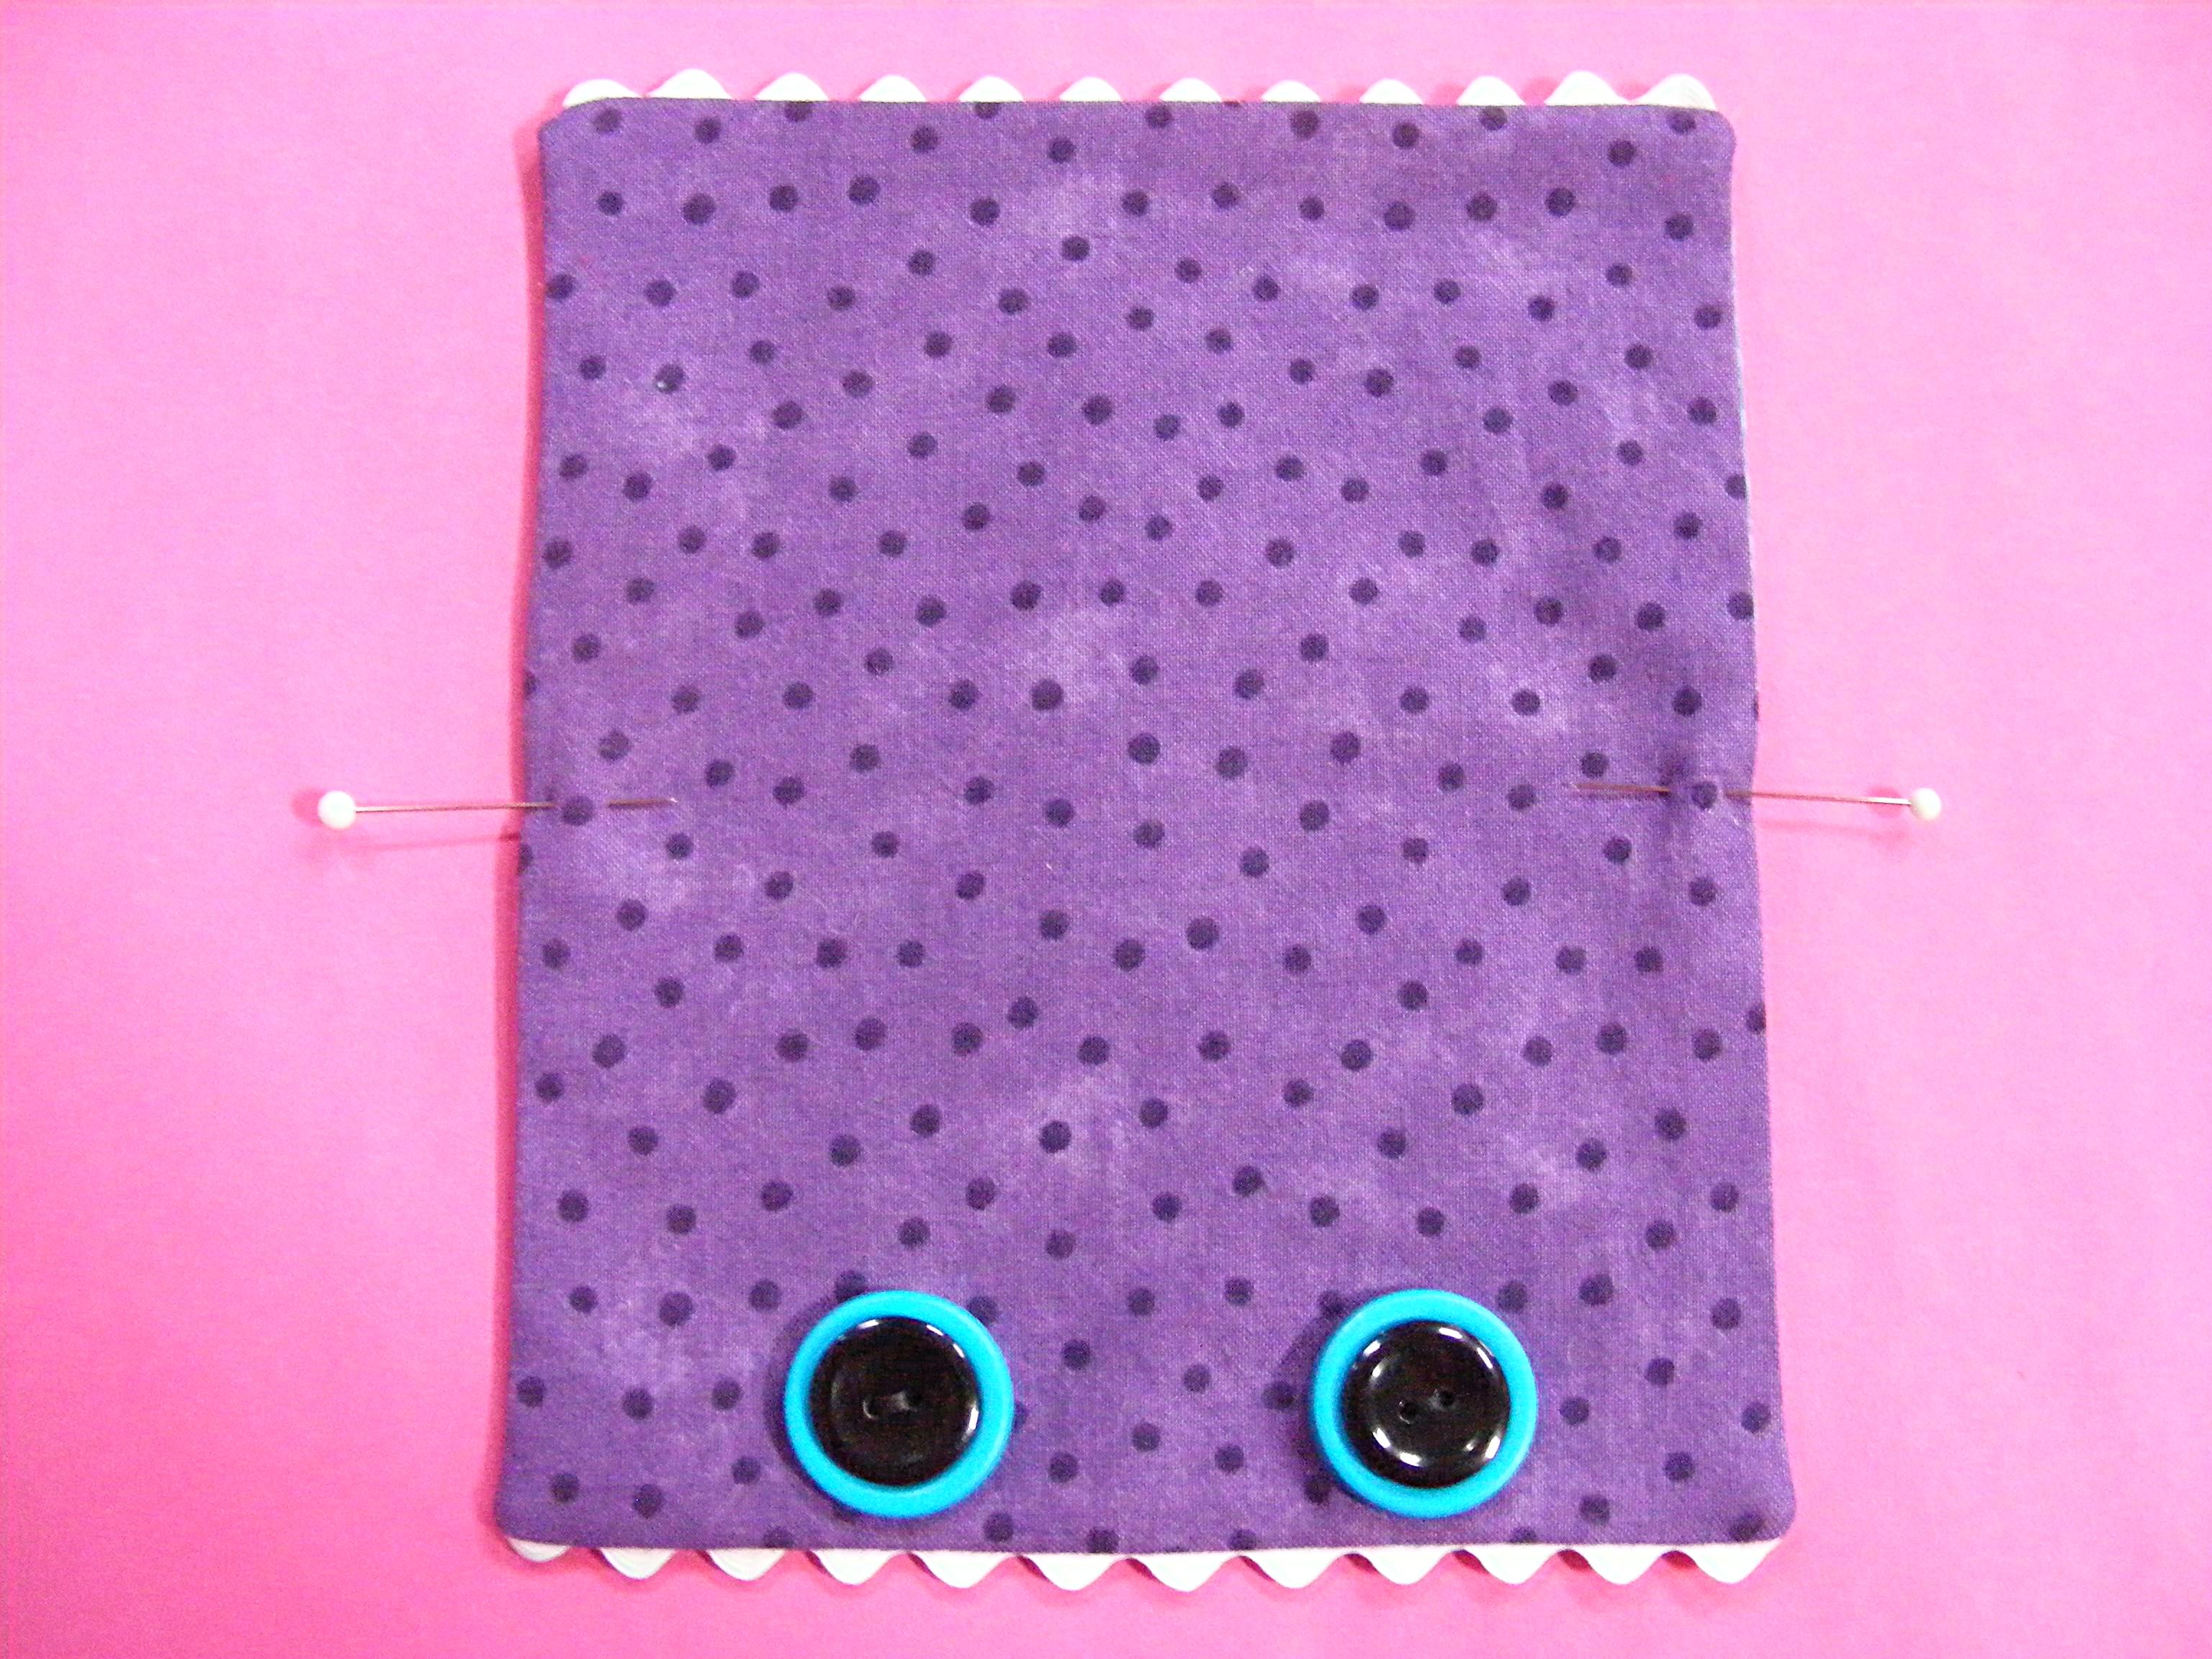
Step 5
Open the piece up and flip it right side out. Press. See how the rickrack makes nice teeth?
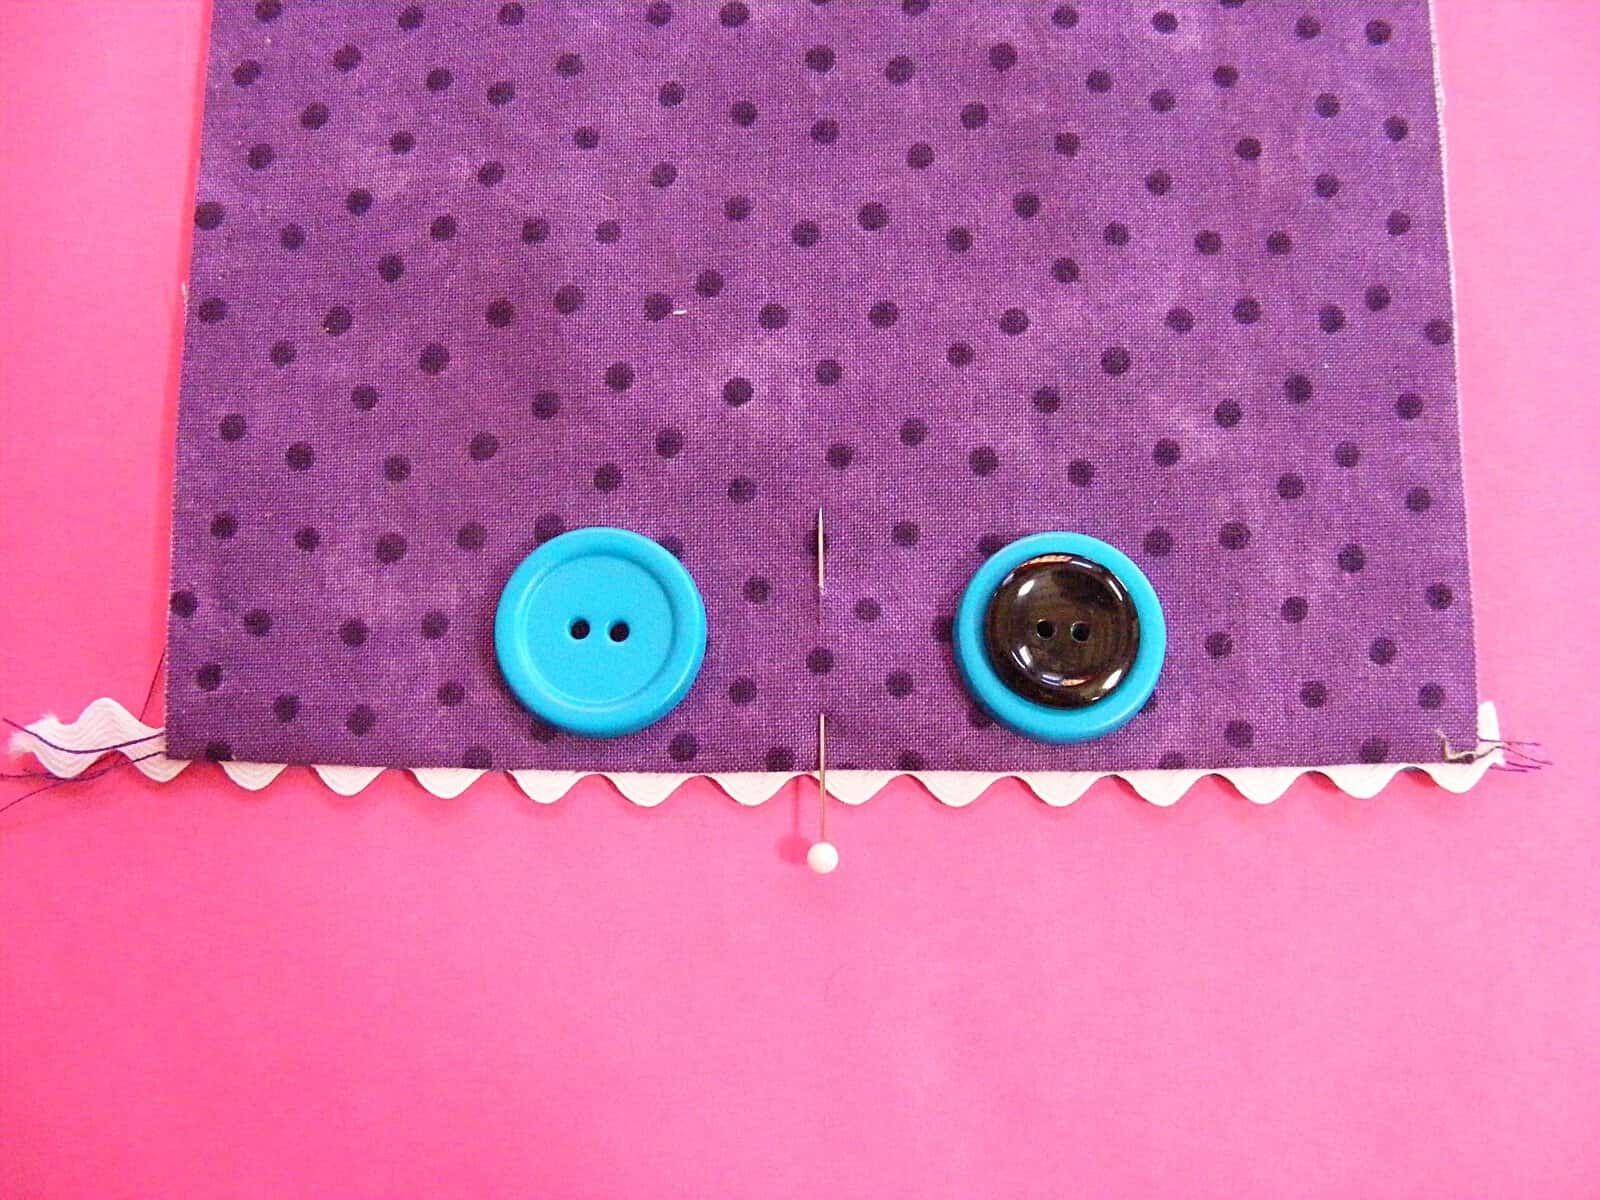
Fold the piece in half and mark the midpoint with a pin. Arrange the button eyes on either side of the center point. I’ve stacked black buttons on top of blue buttons but you can use any combination of buttons and felt you like to get the effect you want.
Sew the buttons in place, sewing only through the top (purple) layer of fabric.
Step 6
Repeat Steps 1 – 4 to embed rickrack in the seam at the other end of the rectangle.
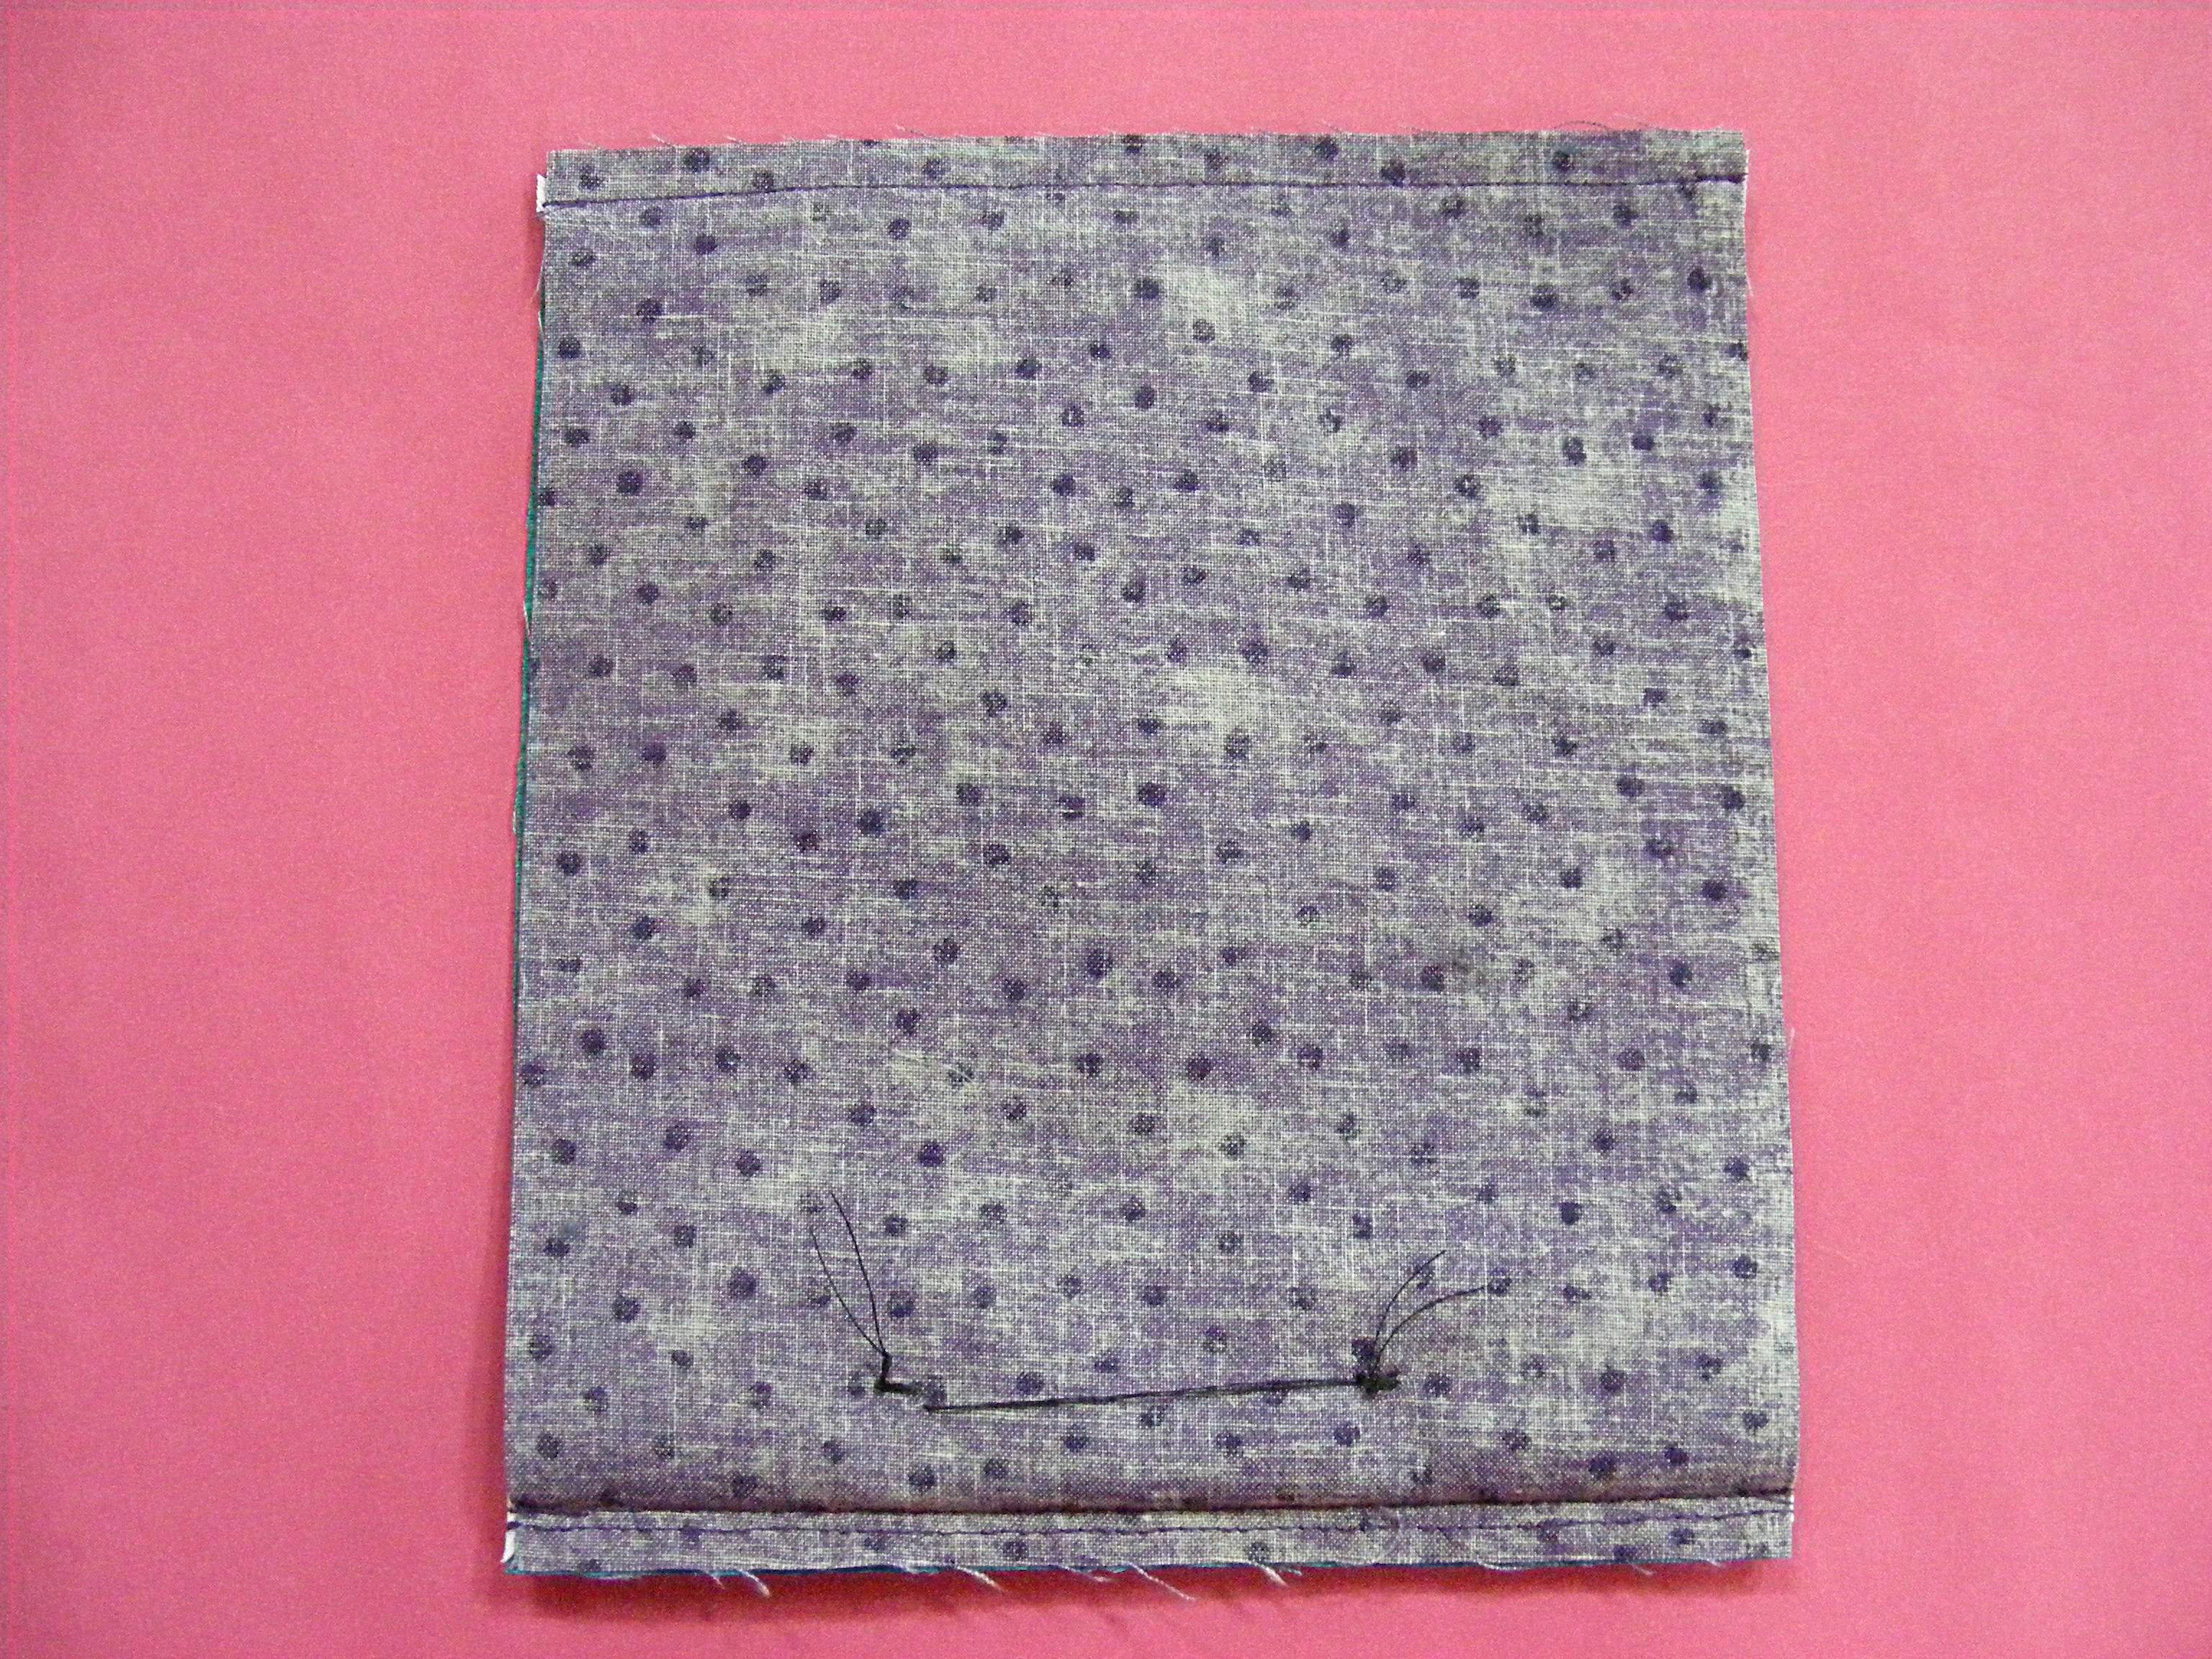
The two rectangles of fabric should be right sides facing, with both short ends sewn together (with rickrack embedded in the seams) and eyes sewn to the purple layer at one end only. At this point, the long sides of the rectangles should still be unsewn.
Step 7
Sew the long side seams. Leave a couple of inches unsewn in the center of one side so you can turn it right side out.
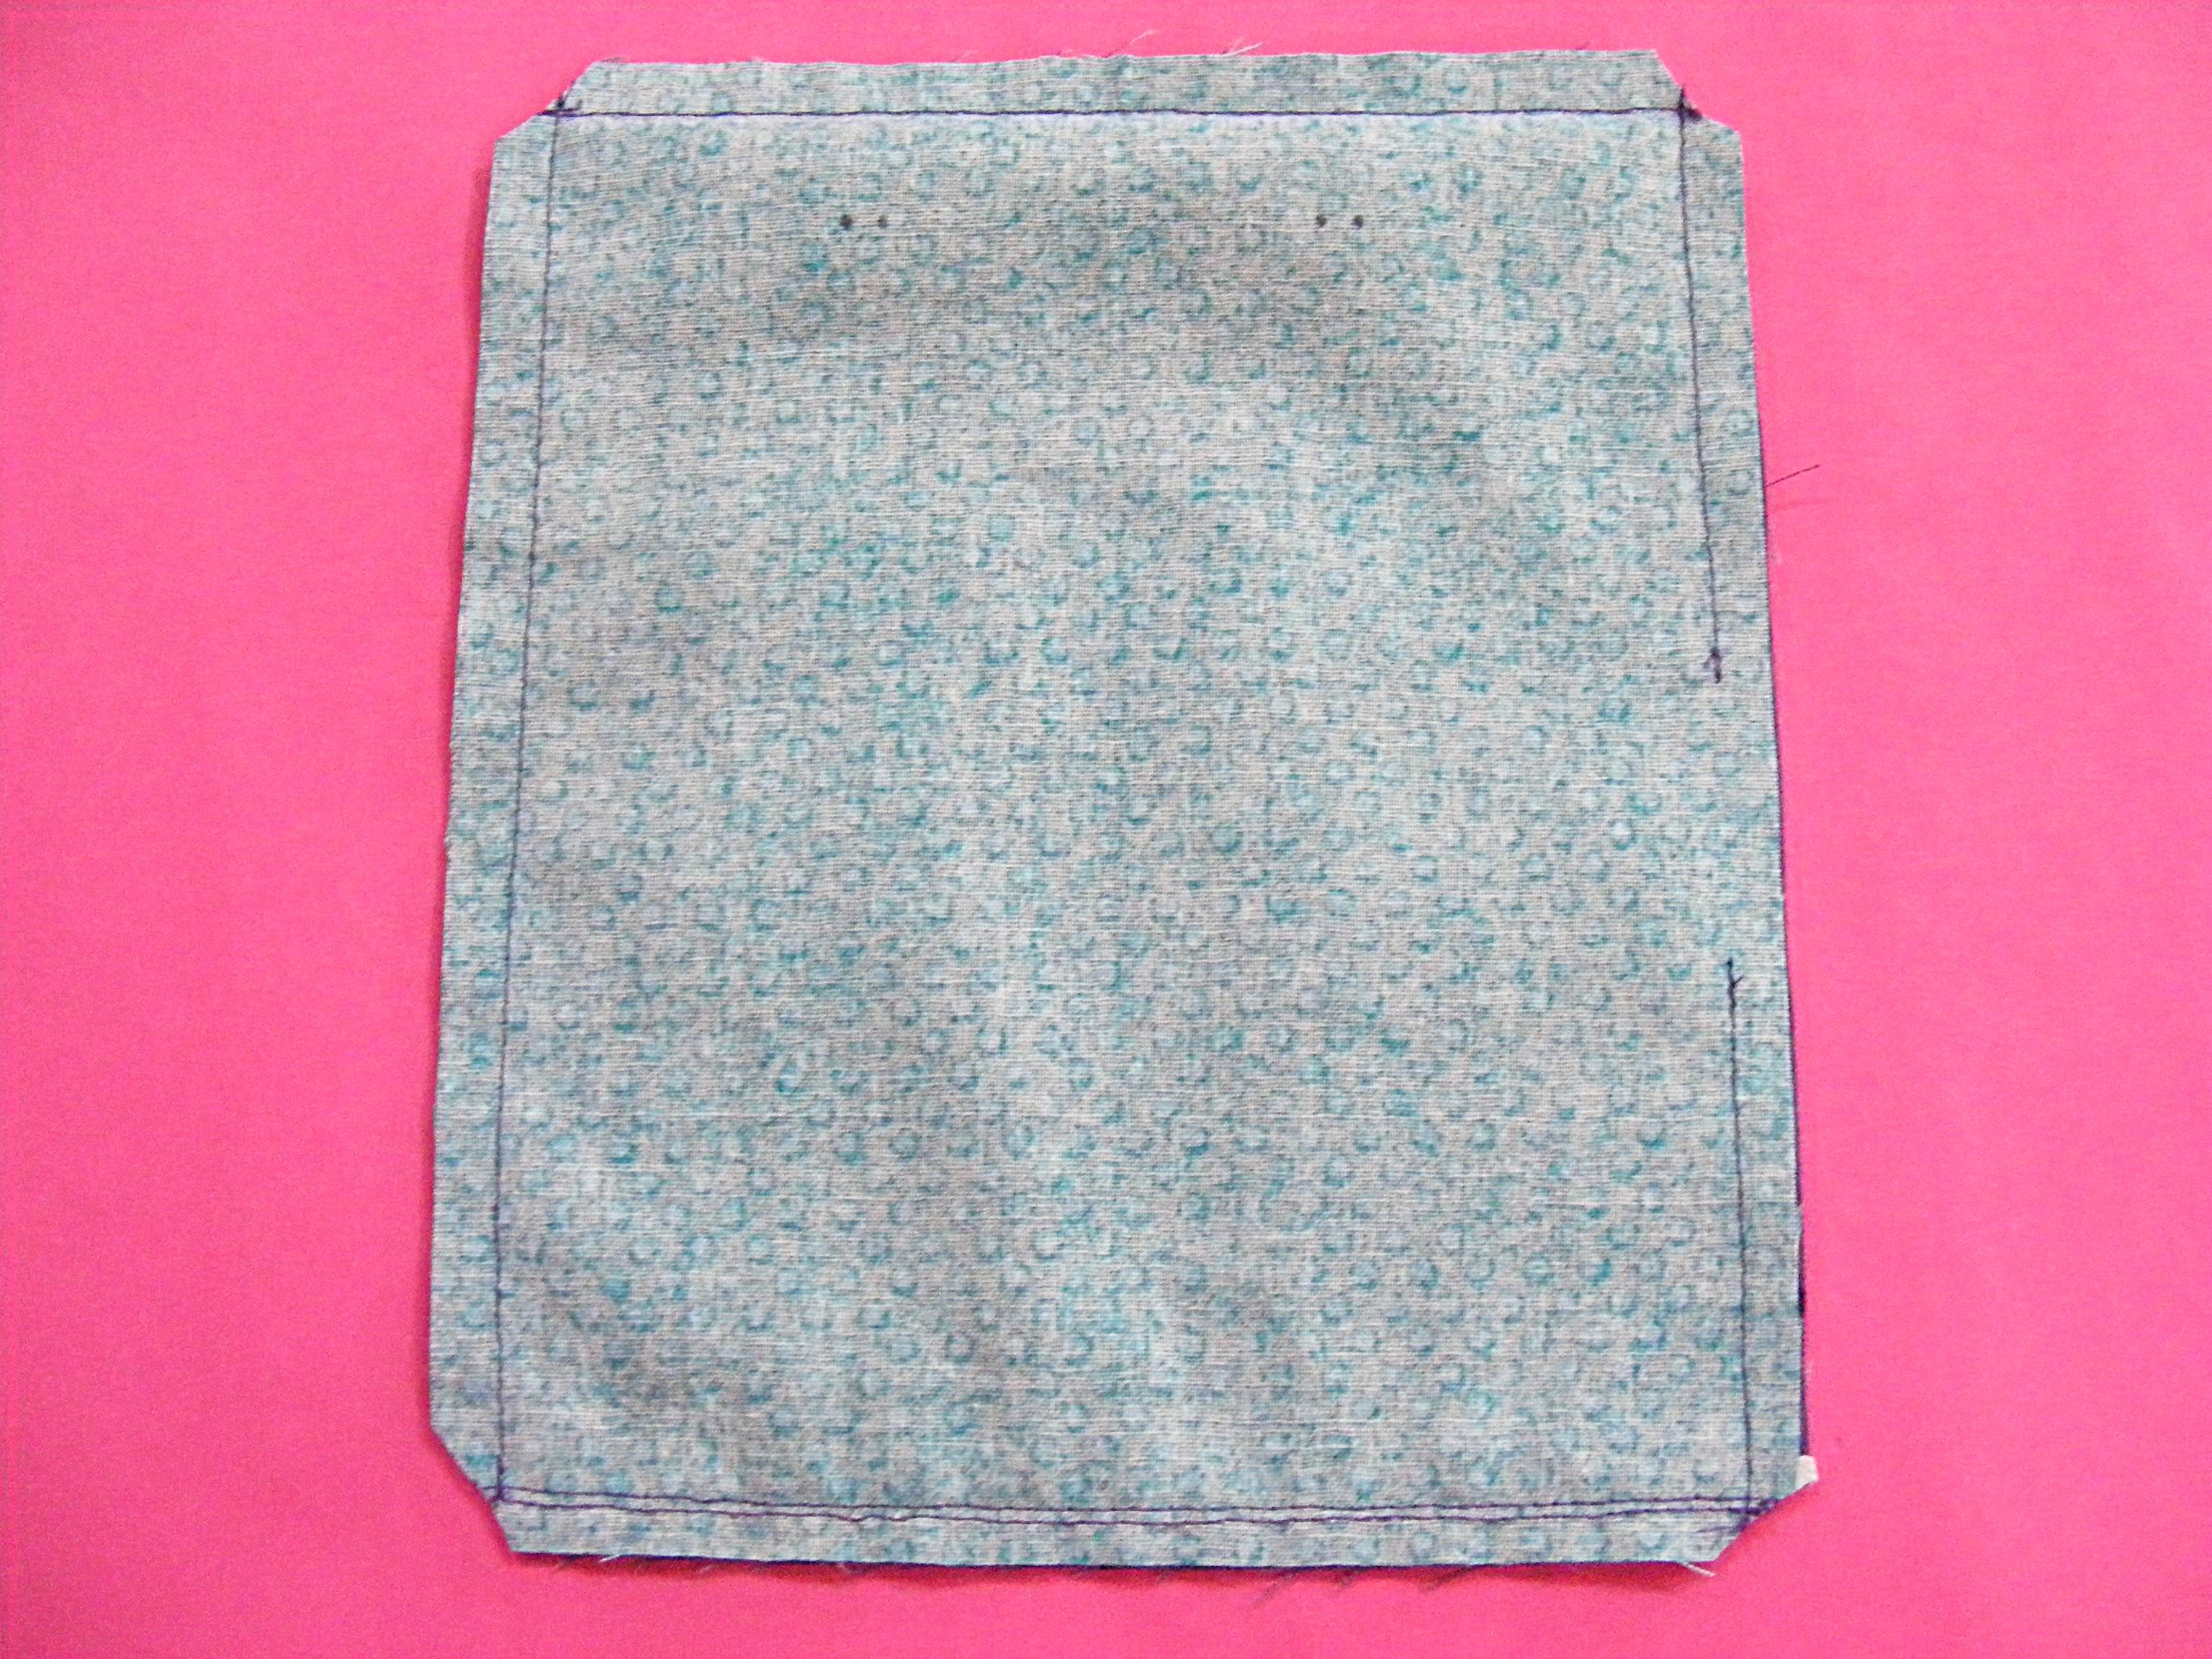
Clip the corners up to (but not into) the stitching to eliminate extra bulk.
Step 8
Turn it right side out and use a chopstick to carefully poke out the corners so they’re flat. Press the whole thing.
Fold it in half and mark the center points on both sides with pins.
Step 9
With the eyeball (purple) side facing up, fold the toothy edges into the center.
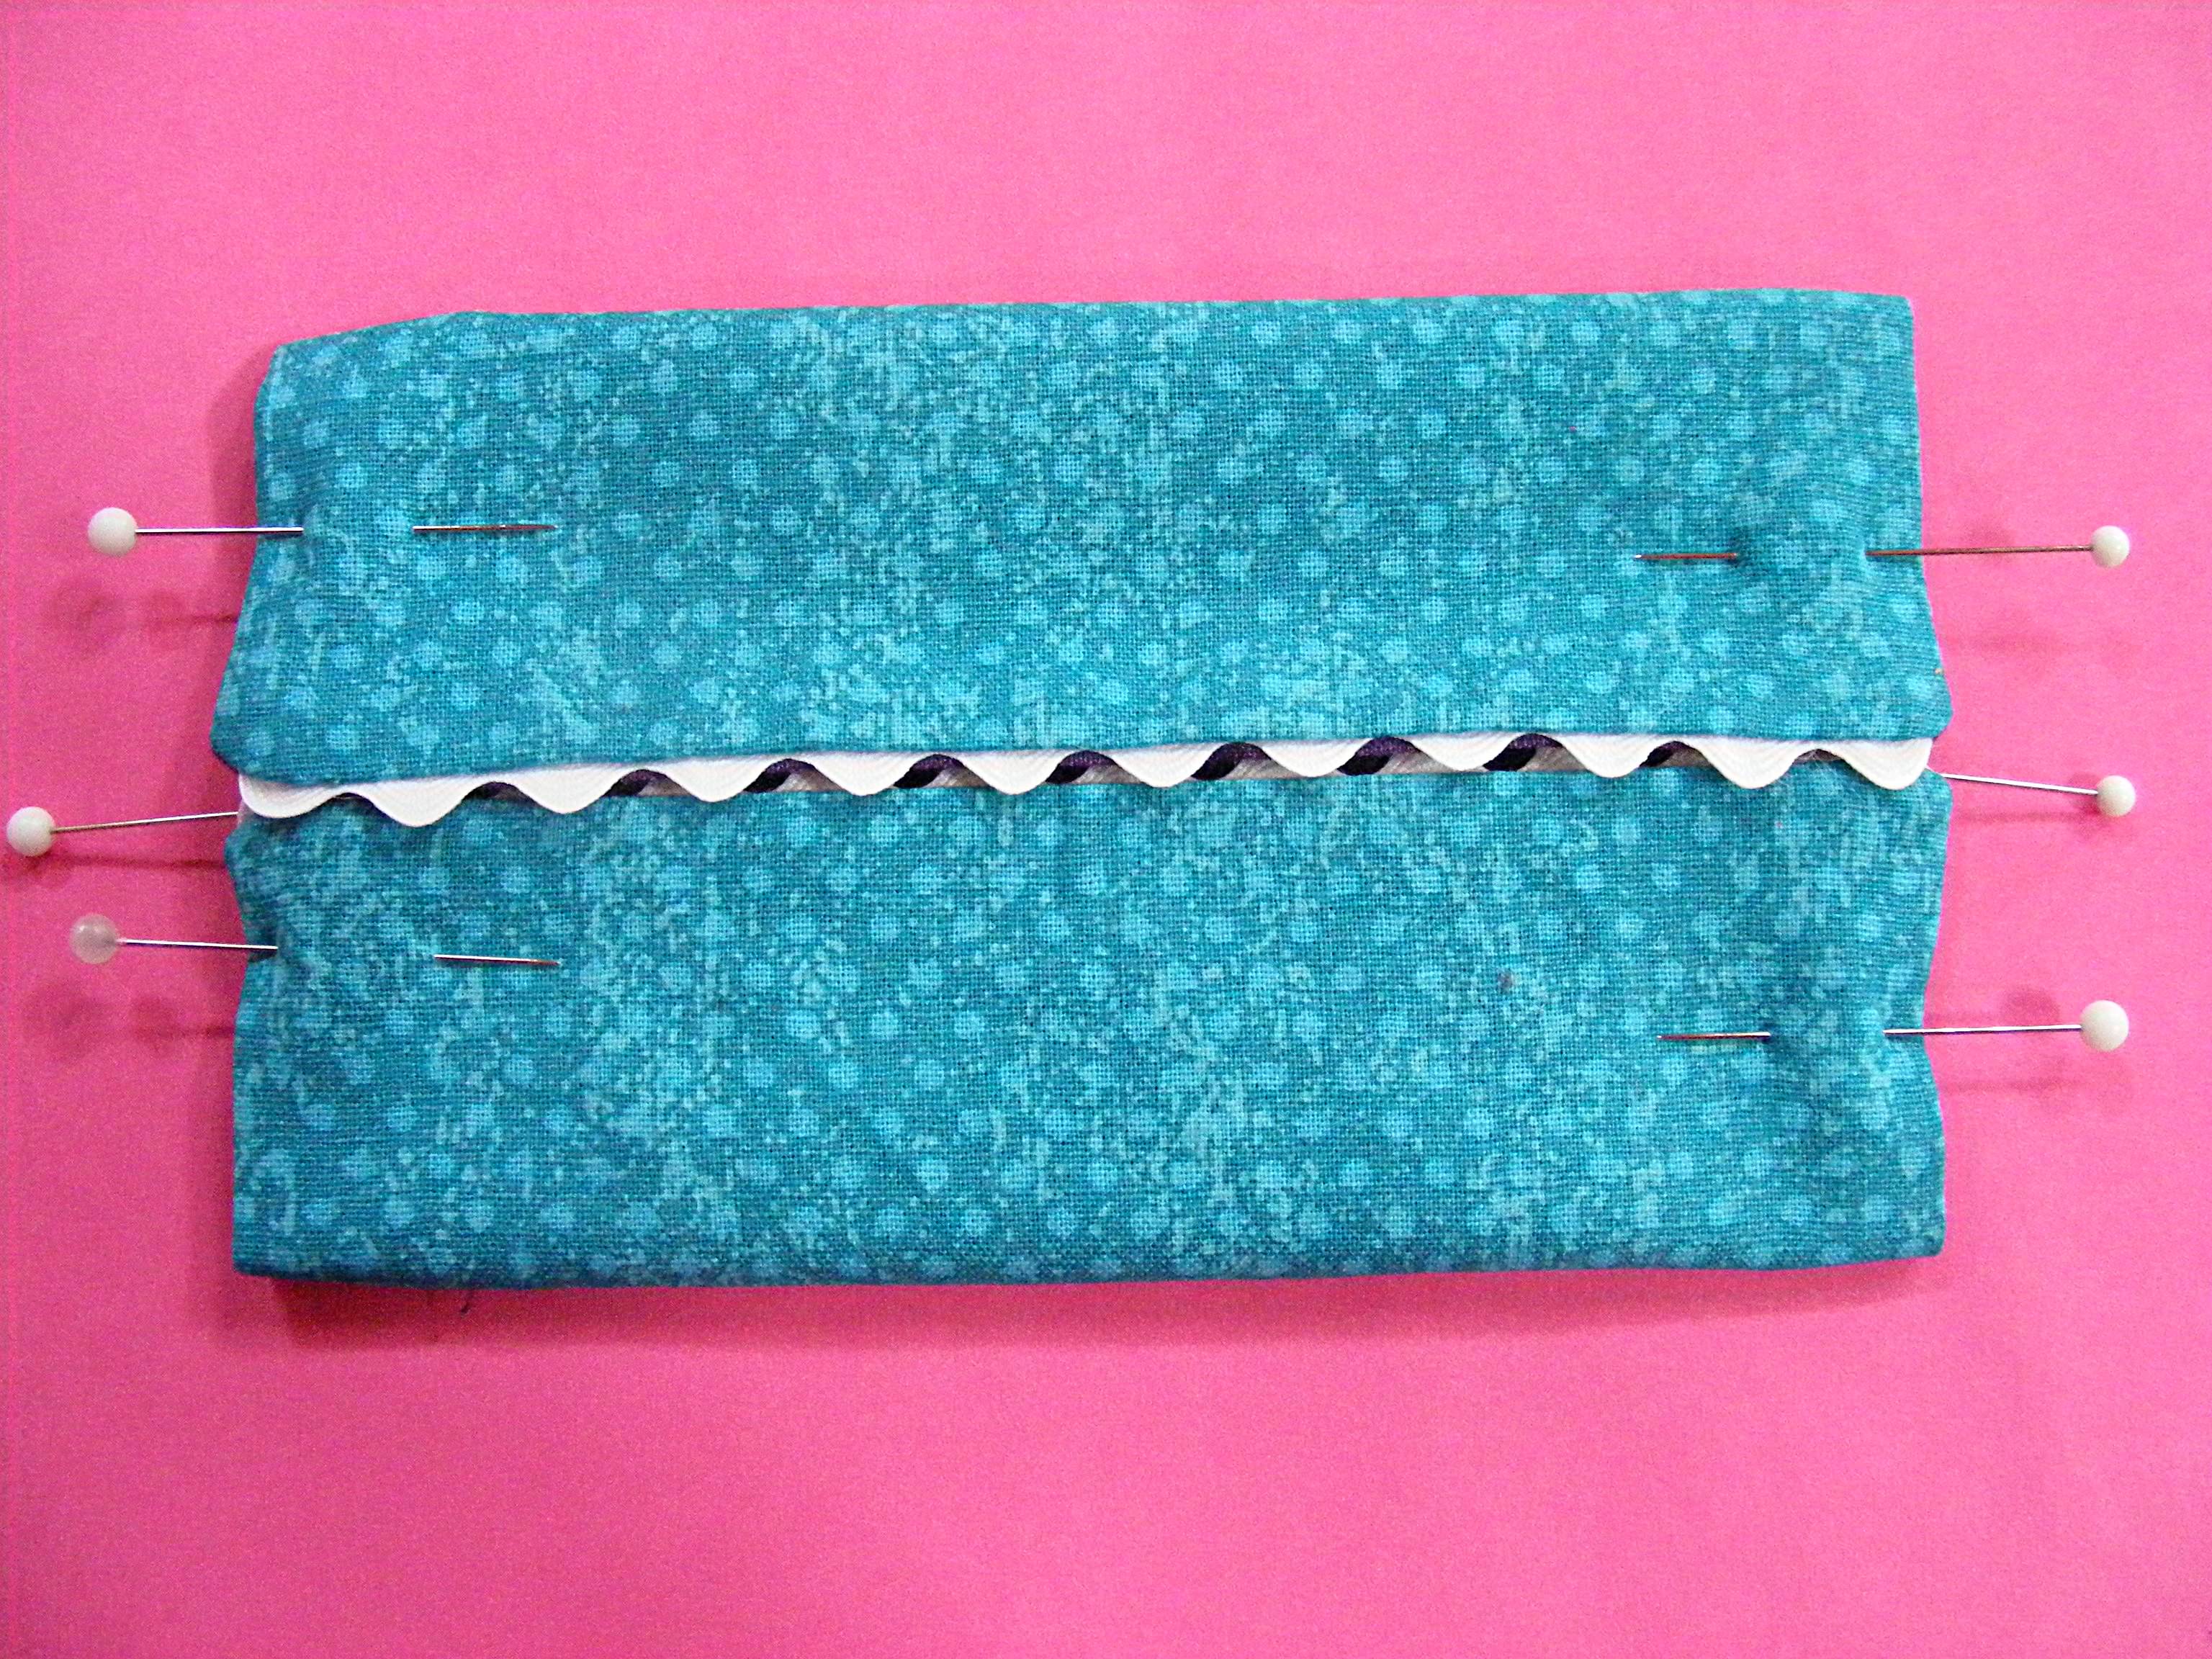
Pin in place.
Step 10
Sew the short edges using a 1/4″ seam allowance. This will close up the turning hole and sew the sides of your pack in one move.
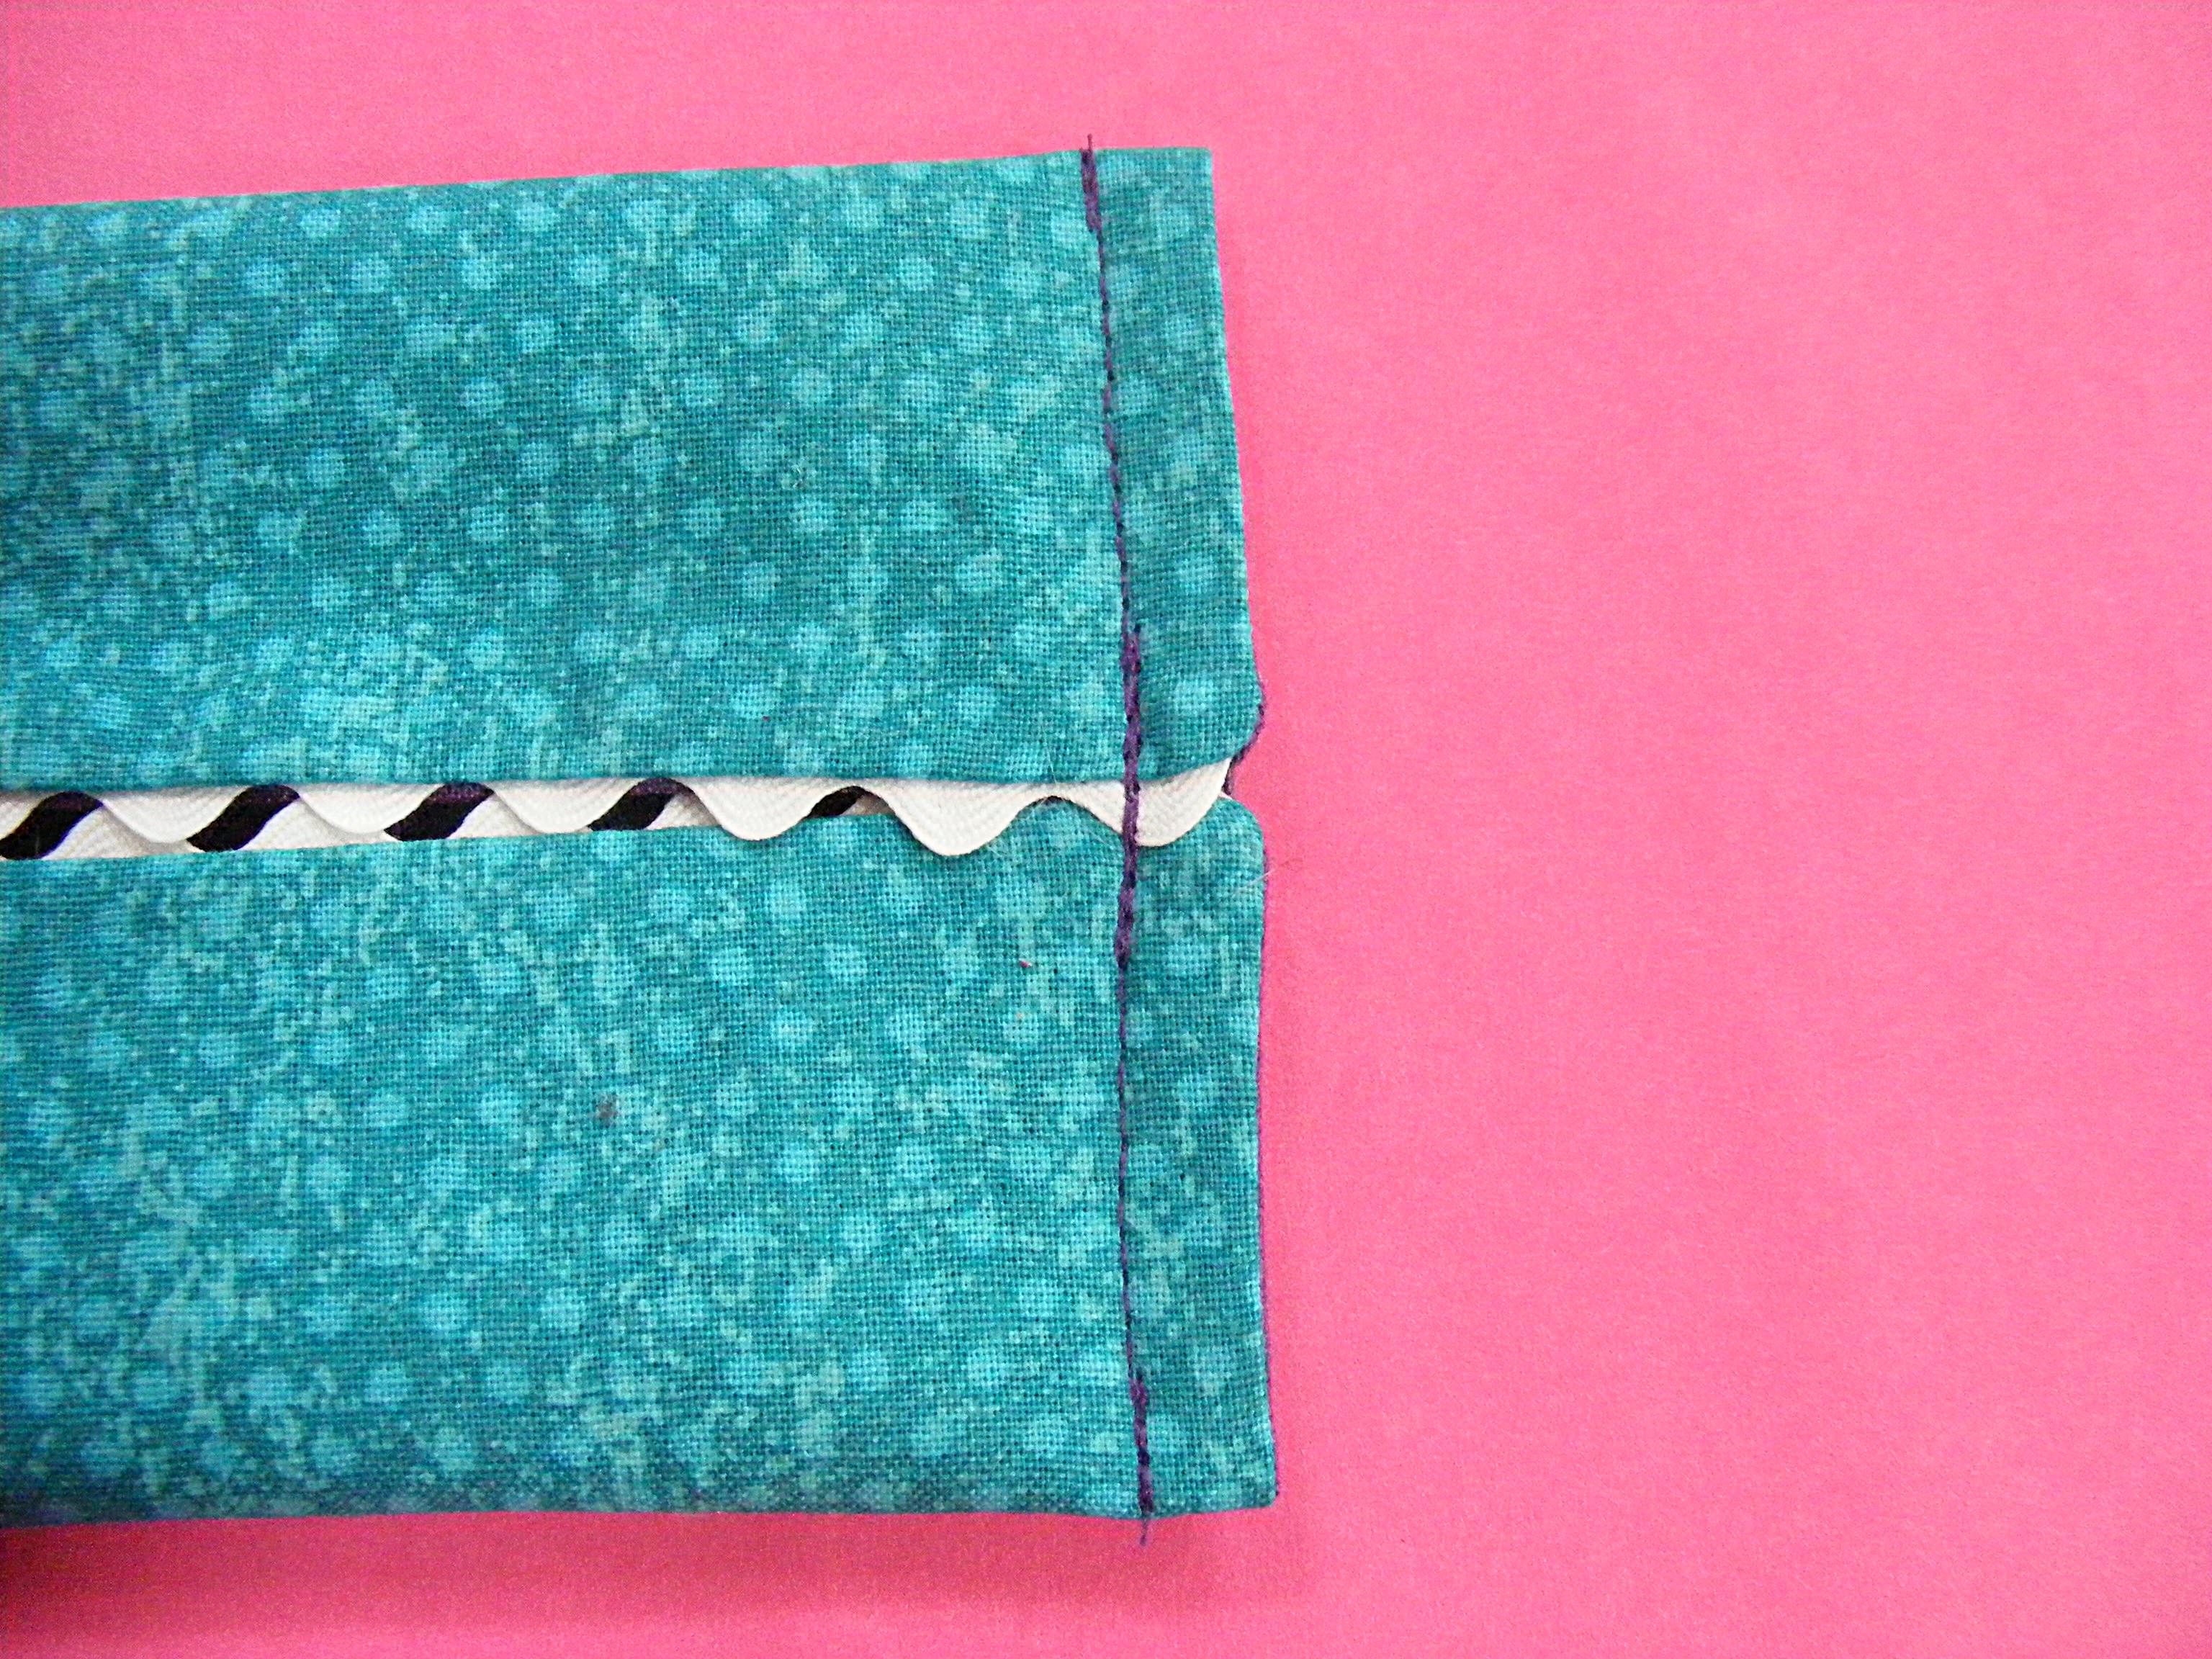
Repeat for the other side.
Step 11
Turn it right side out. Ta daa! A tissue pack! Monstrous on the outside, nicely finished on the inside.

Fill it with a pack of travel tissues (I like to take them out of the pack first - all the different brands seem to open different ways) and he’s ready to go.
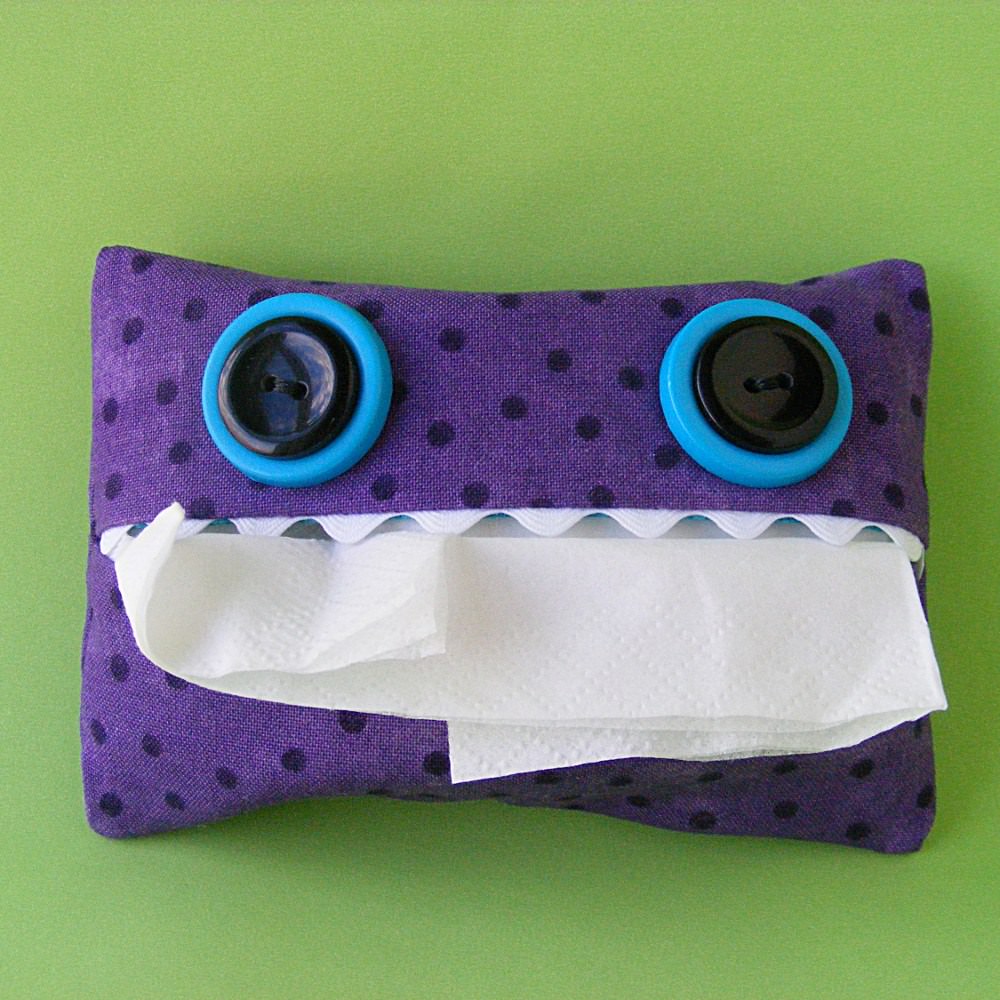
Get well soon!
If you like this silly tissue pack cover pattern, sign up for the Shiny Happy News! Members get a weekly email with crafty tips and tricks, links to free patterns, special discounts, and more. 🙂