Embroidery Tools

embroidery supplies

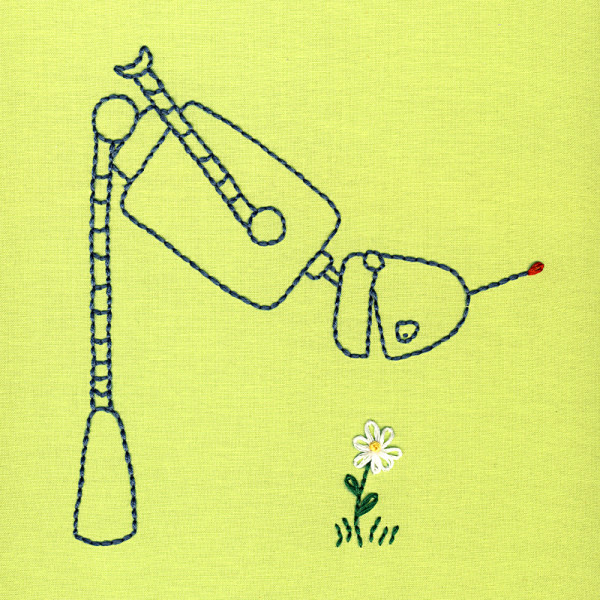
One of the great things about embroidery is that you don’t need many tools at all to get started..

Needles, thread, and some fabric and you’re good to go. Here’s a bit more info on each tool.

Needles
Sewing needles are called sharps. Quilting needles are called betweens. Tricky, no?

But embroidery needles are easy. They’re just called embroidery needles and you can find them in any fabric or craft store. They’re sharp and they have a slightly larger eye than a sewing needle – to hold the thicker thread you use for embroidery.

Start off with a pack of assorted sizes and use the smallest needle you can easily thread. You’ll probably find that you gravitate toward mostly stitching with a certain number of strands and so always use the same size needle. That’s the size you’ll end up buying more of later on.

To give you a bit of a guideline about sizes, I use a size 5 needle for four strands of floss, a size 8 needle for 2 strands of floss or Sulky Petites 12-wt. thread.

Read this post for even more info about needles.

Thread
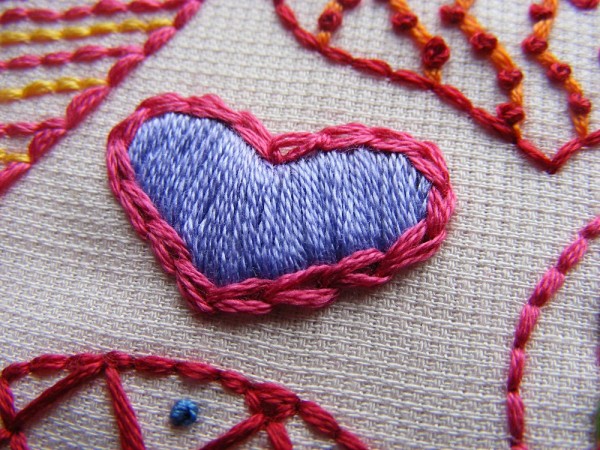
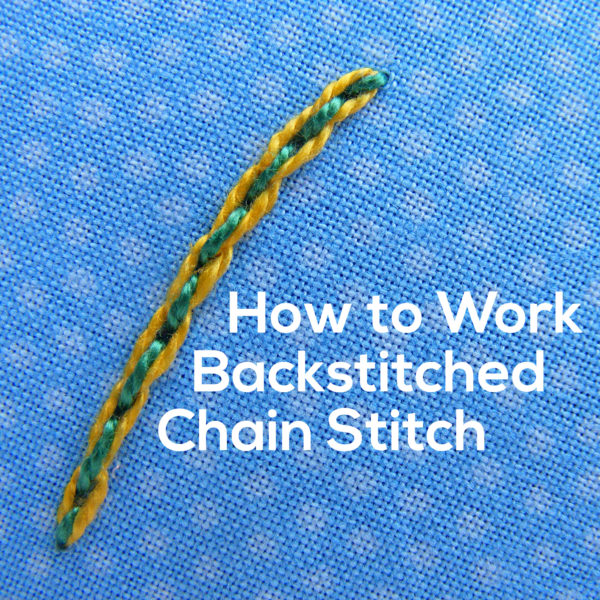
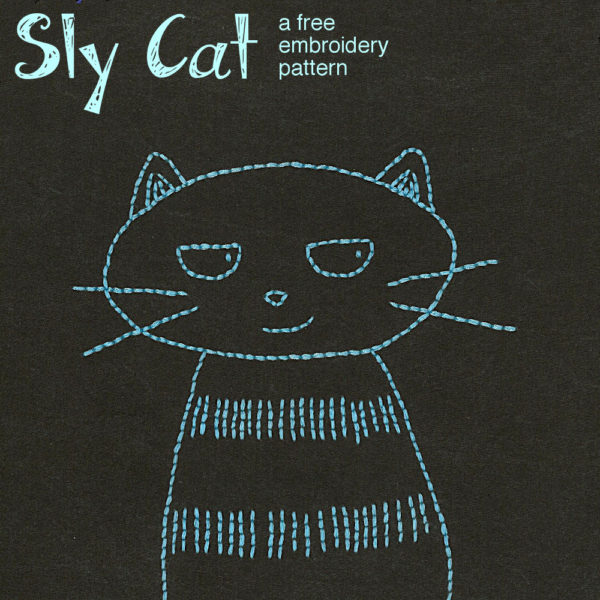
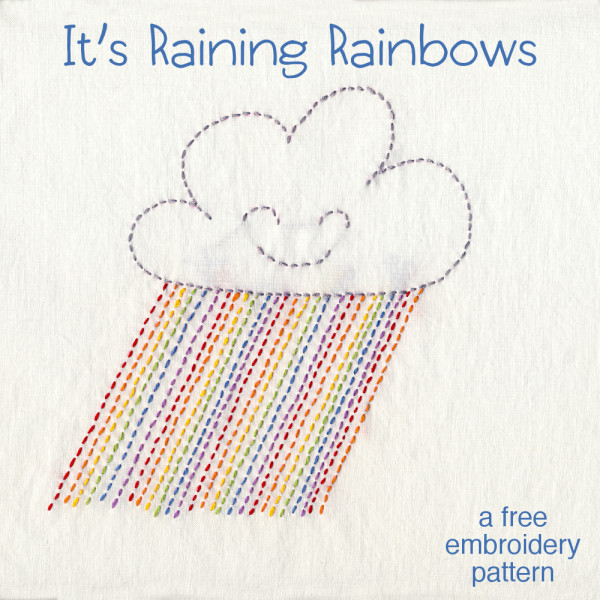
I mostly use your basic 6-strand embroidery thread. There are a few different brands, but they all reference the DMC color numbers and DMC is the brand I usually buy. It’s easy to split strands off to make the thread just the right thickness for the effect you want.

All of my patterns include a complete color and stitch guide – where I also tell you how many strands I used. If you’re doing your own designs just do a little experimenting. I’ll often stitch an inch or so of a design and then decide that my thread is a touch too thick or too thin.

There’s a post here with more info about deciding how many strands of thread to use.

Don’t be afraid to pick out your stitches and start over if you need to. I do it all the time.
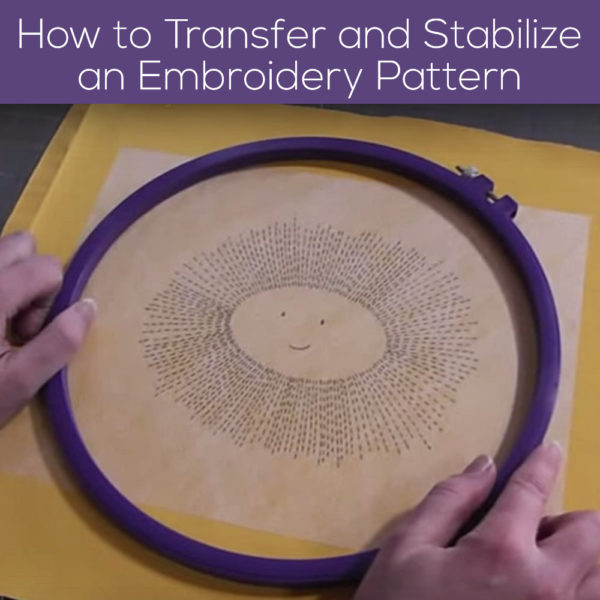
Hoop
For most fabrics you’ll want to use a hoop to hold it stretched tight while you stitch. I have several hoops in all different sizes – some are plastic and some are wood – all are fine.

Some people use square “hoops” made of PVC pipe but I find that they don’t hold the fabric as tight as I like. These are called Q-snap frames and I use them for hand quilting.

If the fabric is heavyweight and fairly stiff – like denim or thickish felt – you can probably stitch it without a hoop.

That’s it! You can set yourself up with plenty of embroidery supplies for less than ten bucks.

One thing that’s not necessary but that I won’t stitch without is Sulky Sticky Fabri-Solvy (also sometimes called Stick & Stitch). It’s a fabulous product that’s a rinse away pattern transfer and stabilizer all in one. I love it! It’s great for transferring patterns to difficult fabrics (like dark colors and napped surfaces) and it also does a super job of stabilizing stretchy fabrics – but I use it for everything I stitch. Everything.

If you use Sulky Sticky Fabri-Solvy in a hot or humid climate, you’ll also want to get in inexpensive little tub of Thread Magic. It’s a thread conditioner that completely eliminates the “sticky needle” you can get when you leave your embroidery in a hot car.

Here are links to all my posts about embroidery tools and supplies.

For Beginners

Specialty Fabrics

Threads

Stabilizers and Pattern Transfer Tools

Return to the Learn to Embroider main Table of Contents.

Move on to the posts about working with patterns.

How to Stitch a Lazy Daisy – video

How to Stitch a Lazy Daisy - embroidery video

Today I’ll show you how to stitch a lazy daisy – perfect for making teardrop shapes. Of course they make terrific daisies – like in this robot pattern.

Robot bending down to look at a flower embroidered with lazy daisy stitch - embroidery pattern from Shiny Happy World

I also used a single lazy daisy stitch for the glowing red light at the tip of his antenna. 🙂

I also used lots of them in the scales and gills of the carp in this koi banner.

Koinobori Carp Banner - embroidery pattern showing traditional Japanese carp flags in three sizes

Of course, since they make great leaves I used lots of lazy daisy stitches on the houseplants page of my book How to Embroider Almost Everything.

collection of embroidered houseplants - detail of page from the book How to Embroider Almost Everything

I love that plant in the smiling flowerpot. Alas, I’m only good with embroidered plants. All the real ones in my house die. 🙁

You’ll see lazy daisy is very similar to the chain stitch that works great for lovely textured lines. Lazy daisy is also called detached chain stitch – so that makes perfect sense!

The video has a bonus lesson on how to pull out those pesky loops that sometimes form on the surface of your fabric while you stitch!! I’ve been waiting for that to happen while I was filming and it finally did. 🙂

Want to practice your lazy daisy stitches? This tree pattern has a ton of them!

Firefly Tree embroidery pattern - stitched with lots of lazy daisy stitched and fly stitch for the fireflies

Each leaf is a lazy daisy stitch. Each firefly is a fly stitch. And I stitched both using glow in the dark thread, so the whole tree glows. Fun!

Here are my lessons for the four most basic embroidery stitches I recommend for beginners.

Return to the Learn to Embroider main Table of Contents.

Move on to the lessons teaching other options for outline stitches.

How to Chainstitch – embroidery video

how to chain stitch - video tutorial for hand embroidery

This is the last of the outline stitches we’ll be doing for a little while – and it’s definitely the fanciest so far.

Chain stitch is one of my favorite hand embroidery outline stitches, but it’s not the first one I teach.

I generally start with running stitch because that’s the easiest stitch there is. (This video shows how to do running stitch.)

Then I move on to back stitch. That’s the most versatile outline stitch and also really easy. Here’s the video showing how to back stitch.

Then I usually teach split stitch. It’s almost as easy as back stitch, and has a nice texture – almost as nice as chain stitch. Here’s the video showing how to split stitch.

Then I finally teach how to chain stitch. So here’s the video!

I just adore this stitch!

I especially like to use chain stitch for cursive letters – you can see that in this alphabet embroidery pattern.

Three pendants showing the letters JOY - showing how to chain stitch for letters. Uses the Joy ABC embroidery pattern

I also like to use it for really lovely decorative lines, like on this felt Easter Egg coaster found in this pattern.

felt Easter egg coasters embroidered with stripes - used as an example of how to chain stitch

Here’s a super close up showing how I used chain stitch to outline a satin stitched heart from this pattern.

hand embroidered heart showing purple sating stitched heart outlined with chain stitch

Want to fancy it up even more?

Here’s a stitch called backstitched chain stitch. So very fancy!

sample of backstitched chain stitch - hand embroidery

There’s a video here showing how to do it.

Here are all my lessons for outline embroidery stitches.

Return to the Learn to Embroider main Table of Contents.

Move on to the lessons teaching fill stitches.

How to Embroider Eyes – video tutorial

My No-Longer-Top-Secret-Method for Embroidering Eyes

Want to learn how to embroider eyes the way I do it?

I have a particular way I make eyes when I draw, and when I translated those drawings into embroideries I had a hard time choosing a stitch that gave me just the effect I wanted.

A French knot was too round.

A simple straight stitch was, well, too straight. And too flat.

Padded satin stitch is great for larger eyes, but I needed something that would work for small faces and eyes.

I tried a lot of different stitches, and combinations of stitches until I finally hit on something that was just right. If I had to give it a name, I guess I’d call it a padded straight stitch?

So now I’m going to show you how to embroider eyes using this special stitch. I use this for all of my doll and softie faces, as well as any other small faces I stitch.

Want to practice stitching eyes? Try this Monster Mash embroidery pattern full of monster faces.

Monster Mash embroidery pattern

Lots of eyes to embroider in there!

The Under the Sea pattern is also full of eyes for you to embroider.

Happy stitching!

Here are all my lessons for other stitches.

Return to the Learn to Embroider main Table of Contents.

Move on to the lessons about finishing your work.

How to Split Stitch – video

How to Split Stitch - close up image of a row of stitching

The split stitch is a lovely outline stitch. It’s raised a bit from the surface of the fabric, and it has a lovely, almost-braided look to it. It also forms a more continuous line – unlike the backstitch where you can see the individual stitches.

Here’s how to split stitch.

See how easy it is?

Split stitch is great for outlines where I want a little texture – but it has other uses too. I almost always use it to outline the edge of a space I plan to cover with satin stitch. It helps to give your satin stitching a sharp, raised edge.

You can also use split stitch as a fill stitch, filling in large areas with that braided texture. I used that a lot in this free Feast embroidery pattern.

Enough is as good as a feast - embroidery

You can see split stitch used as a fill stitch in the sun and the clouds, and regular split stitch used for the lettering.

Here are all my lessons for outline embroidery stitches.

Return to the Learn to Embroider main Table of Contents.

Move on to the lessons teaching fill stitches.

How to Backstitch – embroidery video

How to Backstitch - video tutorial

If you want to do hand embroidery, you really need to know how to backstitch.

The backstitch is probably THE most common outline stitch. It gives a nice, smooth, continuous line. If you’re going to be stitching tight curves make sure to use a shortish stitch length. Otherwise, just use a stitch length you’re comfortable with and try to stay consistent.

Ready to learn it? It’s easy.

Now that you’ve seen how to backstitch, you’ll want to practice!

Here’s a free cat embroidery pattern, stitched entirely with backstitch.

Sly Cat - a free embroidery pattern from Shiny Happy World

And here’s a free butterfly embroidery pattern that uses backstitch and a tiny bit of running stitch for the swoopy flight path..

free butterfly embroidery pattern from Shiny Happy World

It’s so versatile! Use it any time a pattern calls for a simple line.

Once you know the basics of how to backstitch, you can fancy it up by adding a second thread in a contrasting color. Learn how to stitch a threaded backstitch here, and a whipped backstitch here.

Here are my lessons for the four most basic embroidery stitches I recommend for beginners.

Return to the Learn to Embroider main Table of Contents.

Move on to the lessons teaching other options for outline stitches.

How to Embroider a Running Stitch – video

How to Embroider Running Stitch - a video tutorial

There are a lot of outline stitches you can use for different effects when you’re embroidering by hand – the running stitch is the easiest.

It’s a great stitch to start with – the first one I teach to beginning stitchers.

So watch the video and get stitching!

Remember – the “correct” way to do running stitch is where the length of your stitches is equal to the length of the space between the stitches. But that’s not the only way to do it!

I prefer to have more stitch and less space. Every once in a while, depending on the effect I’m going for – maybe raindrops? – I might want to have spaces longer than my stitches. It’s totally up to you!

If you want to practice your running stitch, here’s a free pattern to try. It uses just that one stitch!

Raining Rainbows - free embroidery pattern from Shiny Happy World

Get the Raining Rainbows embroidery pattern here.

You can use the running stitch for more than embroidery. It’s the stitch I use for all my Big Stitch Quilting! Here’s a little peek at a project.

Close-up of Big Stitch Quilting (using running stitch) on a colorful scrap quilt.

If you look closely you can see that the space between my stitches is WAY smaller than the stitches themselves.

If you want to practice the Big Stitch use of running stitches, here’s a free project to try.

Big Stitch Polkadot Coasters - a free pattern from Shiny Happy World

Click here to go to the Big Stitch Polkadot Coasters pattern.

Here are all my lessons for outline embroidery stitches.

Return to the Learn to Embroider main Table of Contents.

Move on to the lessons teaching fill stitches.

How To Tie a Sewing Knot – video

How to tie a sewing knot - a video showing the super easy knot I use in the tail of my thread for all hand sewing.

I know it seems silly to record a video about how to tie a sewing knot – but this knot is so awesome it’s worth teaching.

When I’m sewing in public and strangers see me tie this knot – they stop and ask me how I did that. Yes – it’s that cool.

And it’s easy. 🙂

With just a little practice you can look like a sewing superstar.

I’ve heard it called a tailor’s knot and a quilter’s knot – but I just call it my favorite knot. 🙂

I use it for any and all hand sewing that I do – sewing, embroidery, hand quilting, you name it. If it calls for a needle and thread, with a knot in the tail of the thread – this is the sewing knot I use.

Here are all my posts about knots.

Before you knot that thread you need to know how much to use, so here’s one more post that doesn’t really have a better place to live. 🙂 How Many Strands of Thread Should I Use?

Return to the Learn to Embroider main Table of Contents.

Move on to the lessons for the four most basic embroidery stitches.

How To Transfer Embroidery Patterns – video

How to Transfer Embroidery Patterns - a video tutorial from Shiny Happy World showing three different methods

In this video I show you three different ways to transfer embroidery patterns – including super tricky fabrics like black velvet.

I mention a couple of products in this video. One is Sulky Solvy. The other is an iron-on transfer pen or pencil. Both are from Sulky and both work really well. But. . .

Update – Since I recorded this video I’ve discovered a new product that is so amazingly awesome it gets its own video. You MUST watch it. It’s also from Sulky and it’s called Sulky Sticky Fabri-solvy. I call it The Magical Embroidery Stuff. 🙂 It’s pure magic! I use it now every time I transfer embroidery patterns. It works for regular fabric, for knit fabric, for dark fabric, and even for napped fabric like velvet or terrycloth. It’s fabulous!

Here are all my posts about working with patterns.

Pattern Sources

How to Resize a Pattern

Return to the Learn to Embroider main Table of Contents.

Move on to the posts about knots. Yes – a whole section about knots. 🙂

How to Hand Embroider on T-shirts

How to hand embroider on T-shirts - and any stretchy knit fabric - girl wearing a pink T-shirt embroidered with a cute dog face

Can you stitch on stretchy knit fabrics? I get this question a lot – and the answer is a resounding YES!

Here’s how to hand embroider on t-shirts.

You can’t just pop any stretchy fabric into a hoop and start stitching away.

Well – you can – but the results will be terrible. The fabric will stretch but your stitches will not, so when you take it out of the hoop you’ll have big, loopy, awful stitches.

The trick is to make your stretchy knit fabric think it’s a nice, stable, woven fabric. How do you do that? With stabilizer!

There are a lot of different stabilizers you can use to hand embroider on T-shirts, but my absolute favorite (by a LOT) is Sulky Sticky Fabri-solvy. It’s so fabulous that I have a whole post about it here.

I sing its praises in this post and video – but I don’t even mention using it to embroider T-shirts, because when I made it I hasn’t tried that yet. I’ve tested it on T-shirts since then and it’s an absolute dream. No marking on the T-shirt, totally stable to stitch, and no stabilizer bits to pick out of the back – it just rinses away like magic.

I love magic.

Print the pattern onto the rough side of the stabilizer, peel off the paper back, then stick it to the front of your t-shirt. The stabilizer is not stretchy – so when it’s stuck to your fabric it also makes your fabric not stretchy.

Hoop it up – being sure to catch the edges of your stabilizer in the hoop, like this. That way the fabric around the spot you’re embroidering doesn’t stretch either.

This isn’t a t-shirt project, but you can see what I mean about including the stabilizer in the hoop.

How to Transfer and Stabilize an Embroidery Pattern - with my very favorite product, Sulky Sticky Fabri-solvy

The stabilizer has a papery feel and you stitch right through it and the t-shirt together. It does a great job of keeping everything neat (and non-stretchy) while you stitch.

When you’re done stitching, you just soak the whole shirt and all the stabilizer disappears.

Go grab a plain T-shirt and embroider something fun on it. 🙂

If you’re looking for that cute puppy – you can find the pattern here. And that sunshine pattern is here.)

Here are links to all my posts about embroidery tools and supplies.

For Beginners

Specialty Fabrics

Threads

Stabilizers and Pattern Transfer Tools

Return to the Learn to Embroider main Table of Contents.

Move on to the posts about working with patterns.