Every week I get questions from all of you. Good questions! And I try to answer them as quickly as I can. But I figure for every one of you that actually sends a question – a bunch of other readers have been wondering the exact same thing. So I’ll still answer your questions directly – but I’ll also pick some of them to answer here on the blog too.
I’m starting out with a question I hear a lot. . .
What kind of fabric can/should I use for embroidery?
I never really addressed this in the post about embroidery tools and supplies – because the answer is anything. You can embroider on anything.
If you’re just starting out, I recommend a smooth, woven (non-stretchy) fabric. It’s easiest to transfer your pattern to light fabric, but there are tricks to working with darker fabrics. Watch this video.
I said non-stretchy, but you can embroider stretchy fabrics too. It just takes an extra step in preparation – you have to stabilize the fabric. I show you how in this video.
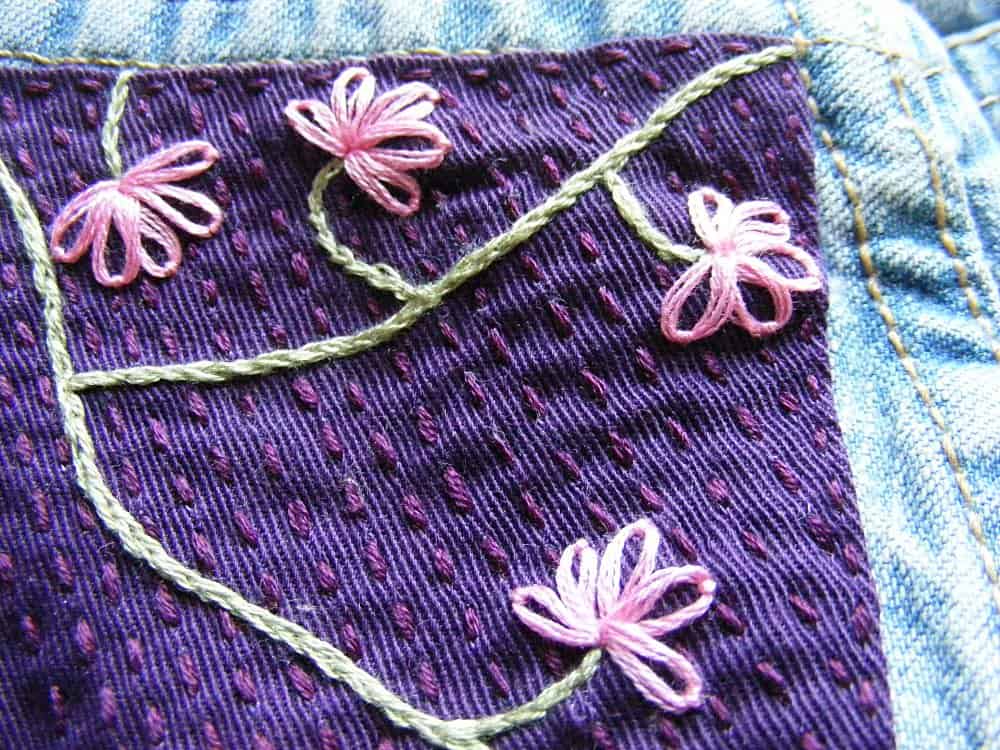
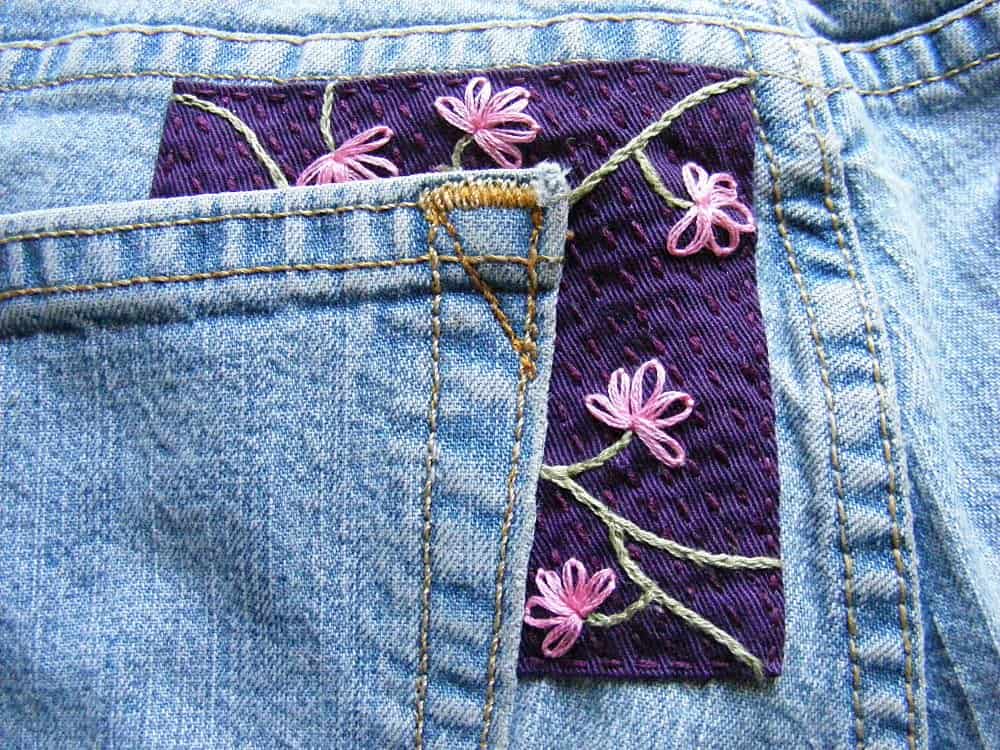
I love stitching on velvet and other napped fabrics (those are fabrics with a pile like a rug – velvet, corduroy, terry cloth, etc.) Stitching on them is easy, though you may need to use an extra strand or two in your thread so your stitching doesn’t disappear into the pile of the fabric. The real trick is transferring your image. I have used Sulky Solvy Water Soluble Stabilizer in the past. It’s a water-soluble translucent film. You draw your image on that, then hoop it together with the fabric and stitch through both layers. Swish your finished embroidery in some water and the film just melts away. Easy peasy! I show you this stuff in action in this video.
Update: Since writing this post I discovered what I like to call The Magical Embroidery Stuff. Its real name is Sulky Sticky Fabri-solvy. It’s a pattern transfer tool AND stabilizer that works on dark fabrics, stretchy fabric, and napped fabrics. I use it now for EVERYTHING! Watch this video to see it in action.
If you want to stitch on some very fine, thin fabric, I recommend stitching through a double layer. You can also fuse some lightweight interfacing to the back. It helps keep your threads in the back from showing through to the front.
Want to stitch something extra thick like paper or leather? I have some earrings that I embroidered on metal! Poke your stitching holes first and then stitch. I show you how to stitch paper in this video. The process is the same for anything thick.
You really can embroider anything!
Got any other questions? Send them to me here.
Happy Stitching!