I love crocheting stuffed animals. And do you know my favorite part? Putting the eyes in! It’s when the animal comes to life!
Eyes are what gives the animal an expression… and my heart always fills with joy when it’s time to add them!
There are lots of choices for eyes, so today, I’m going to talk about your options!
This post was originally written about amigurumi eyes – but all the tips and info apply to sewn softies too!
Plastic Craft Eyes

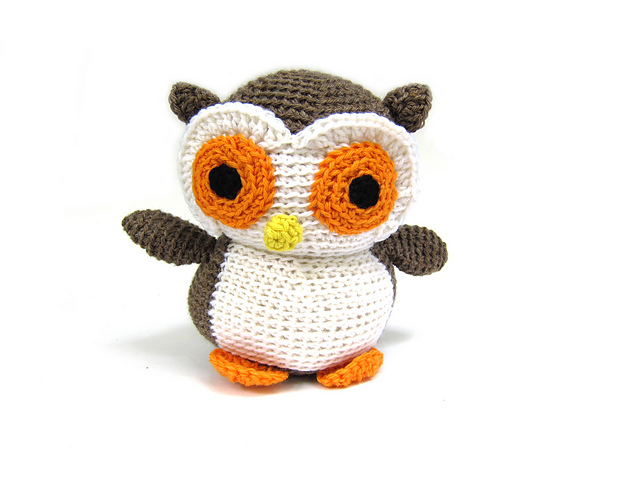
In most of my animals, I use plastic craft eyes. I think they add a ‘professional’ touch to the animal, and they’re really easy to insert!
The downside is that plastic eyes are not recommended for children under the age of three. Although the washer is nearly impossible to take off the back of the eye, the eye could come out of the fabric if the animal is chewed or fabric is torn.
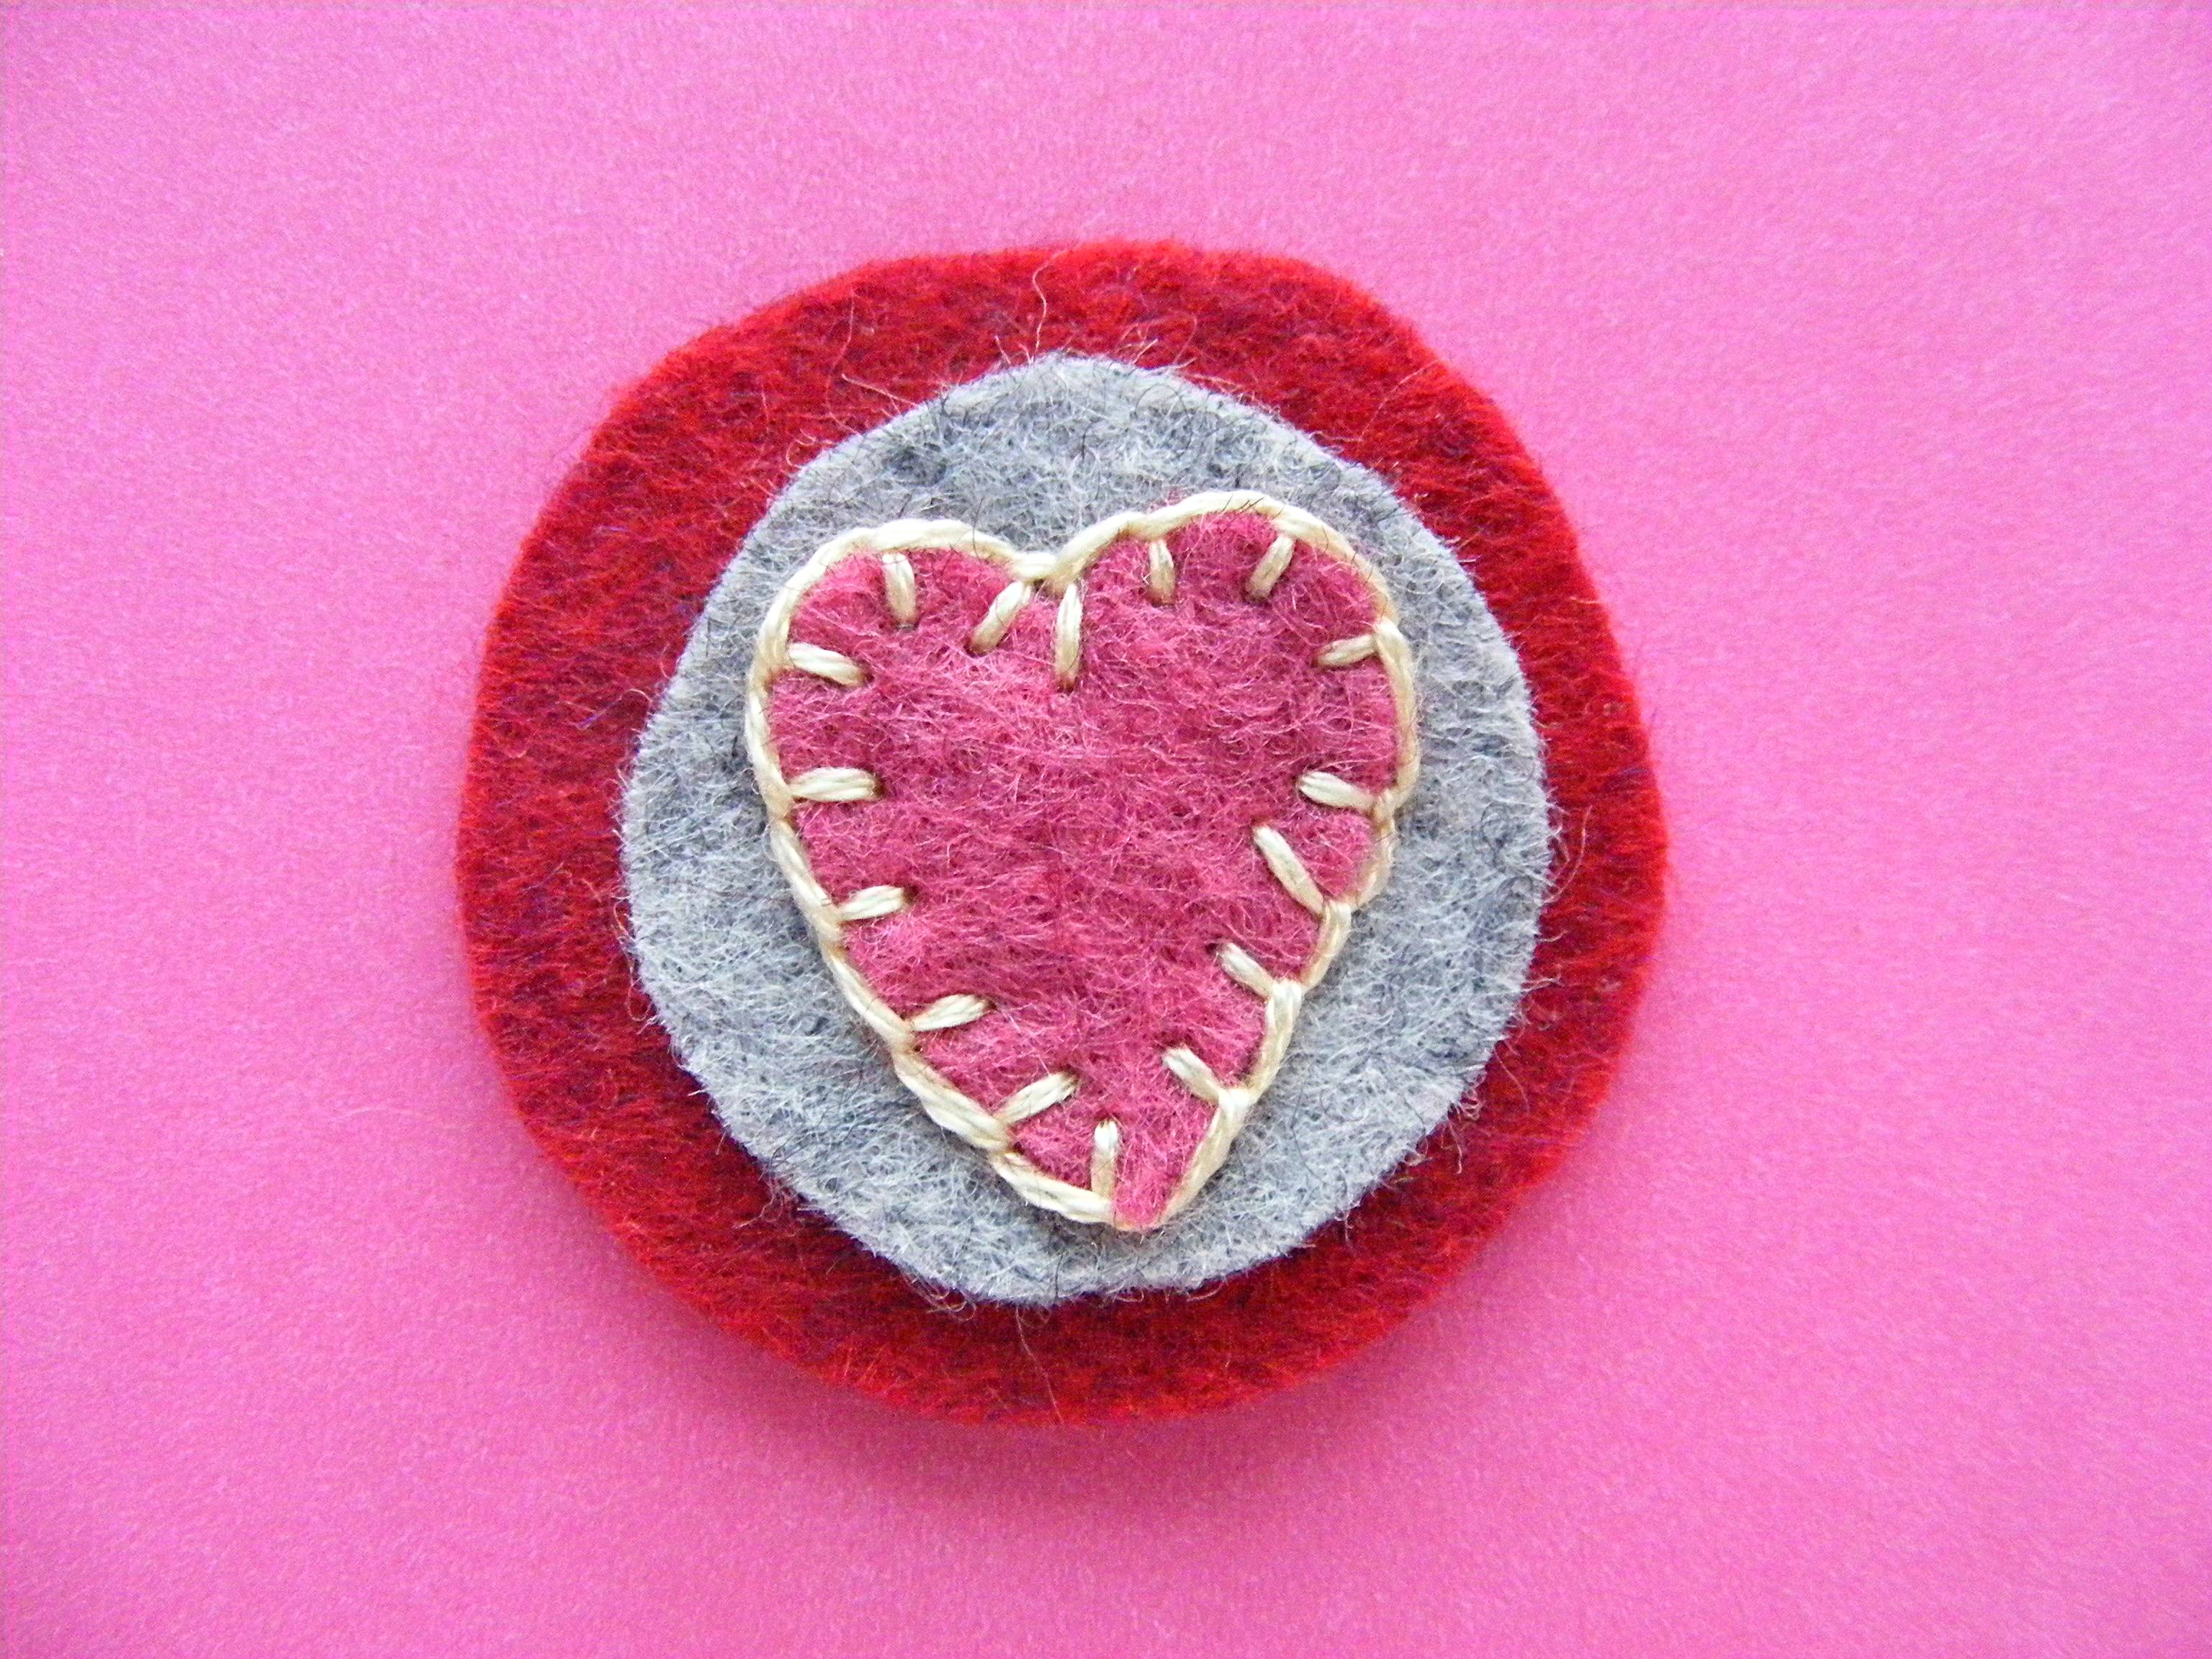
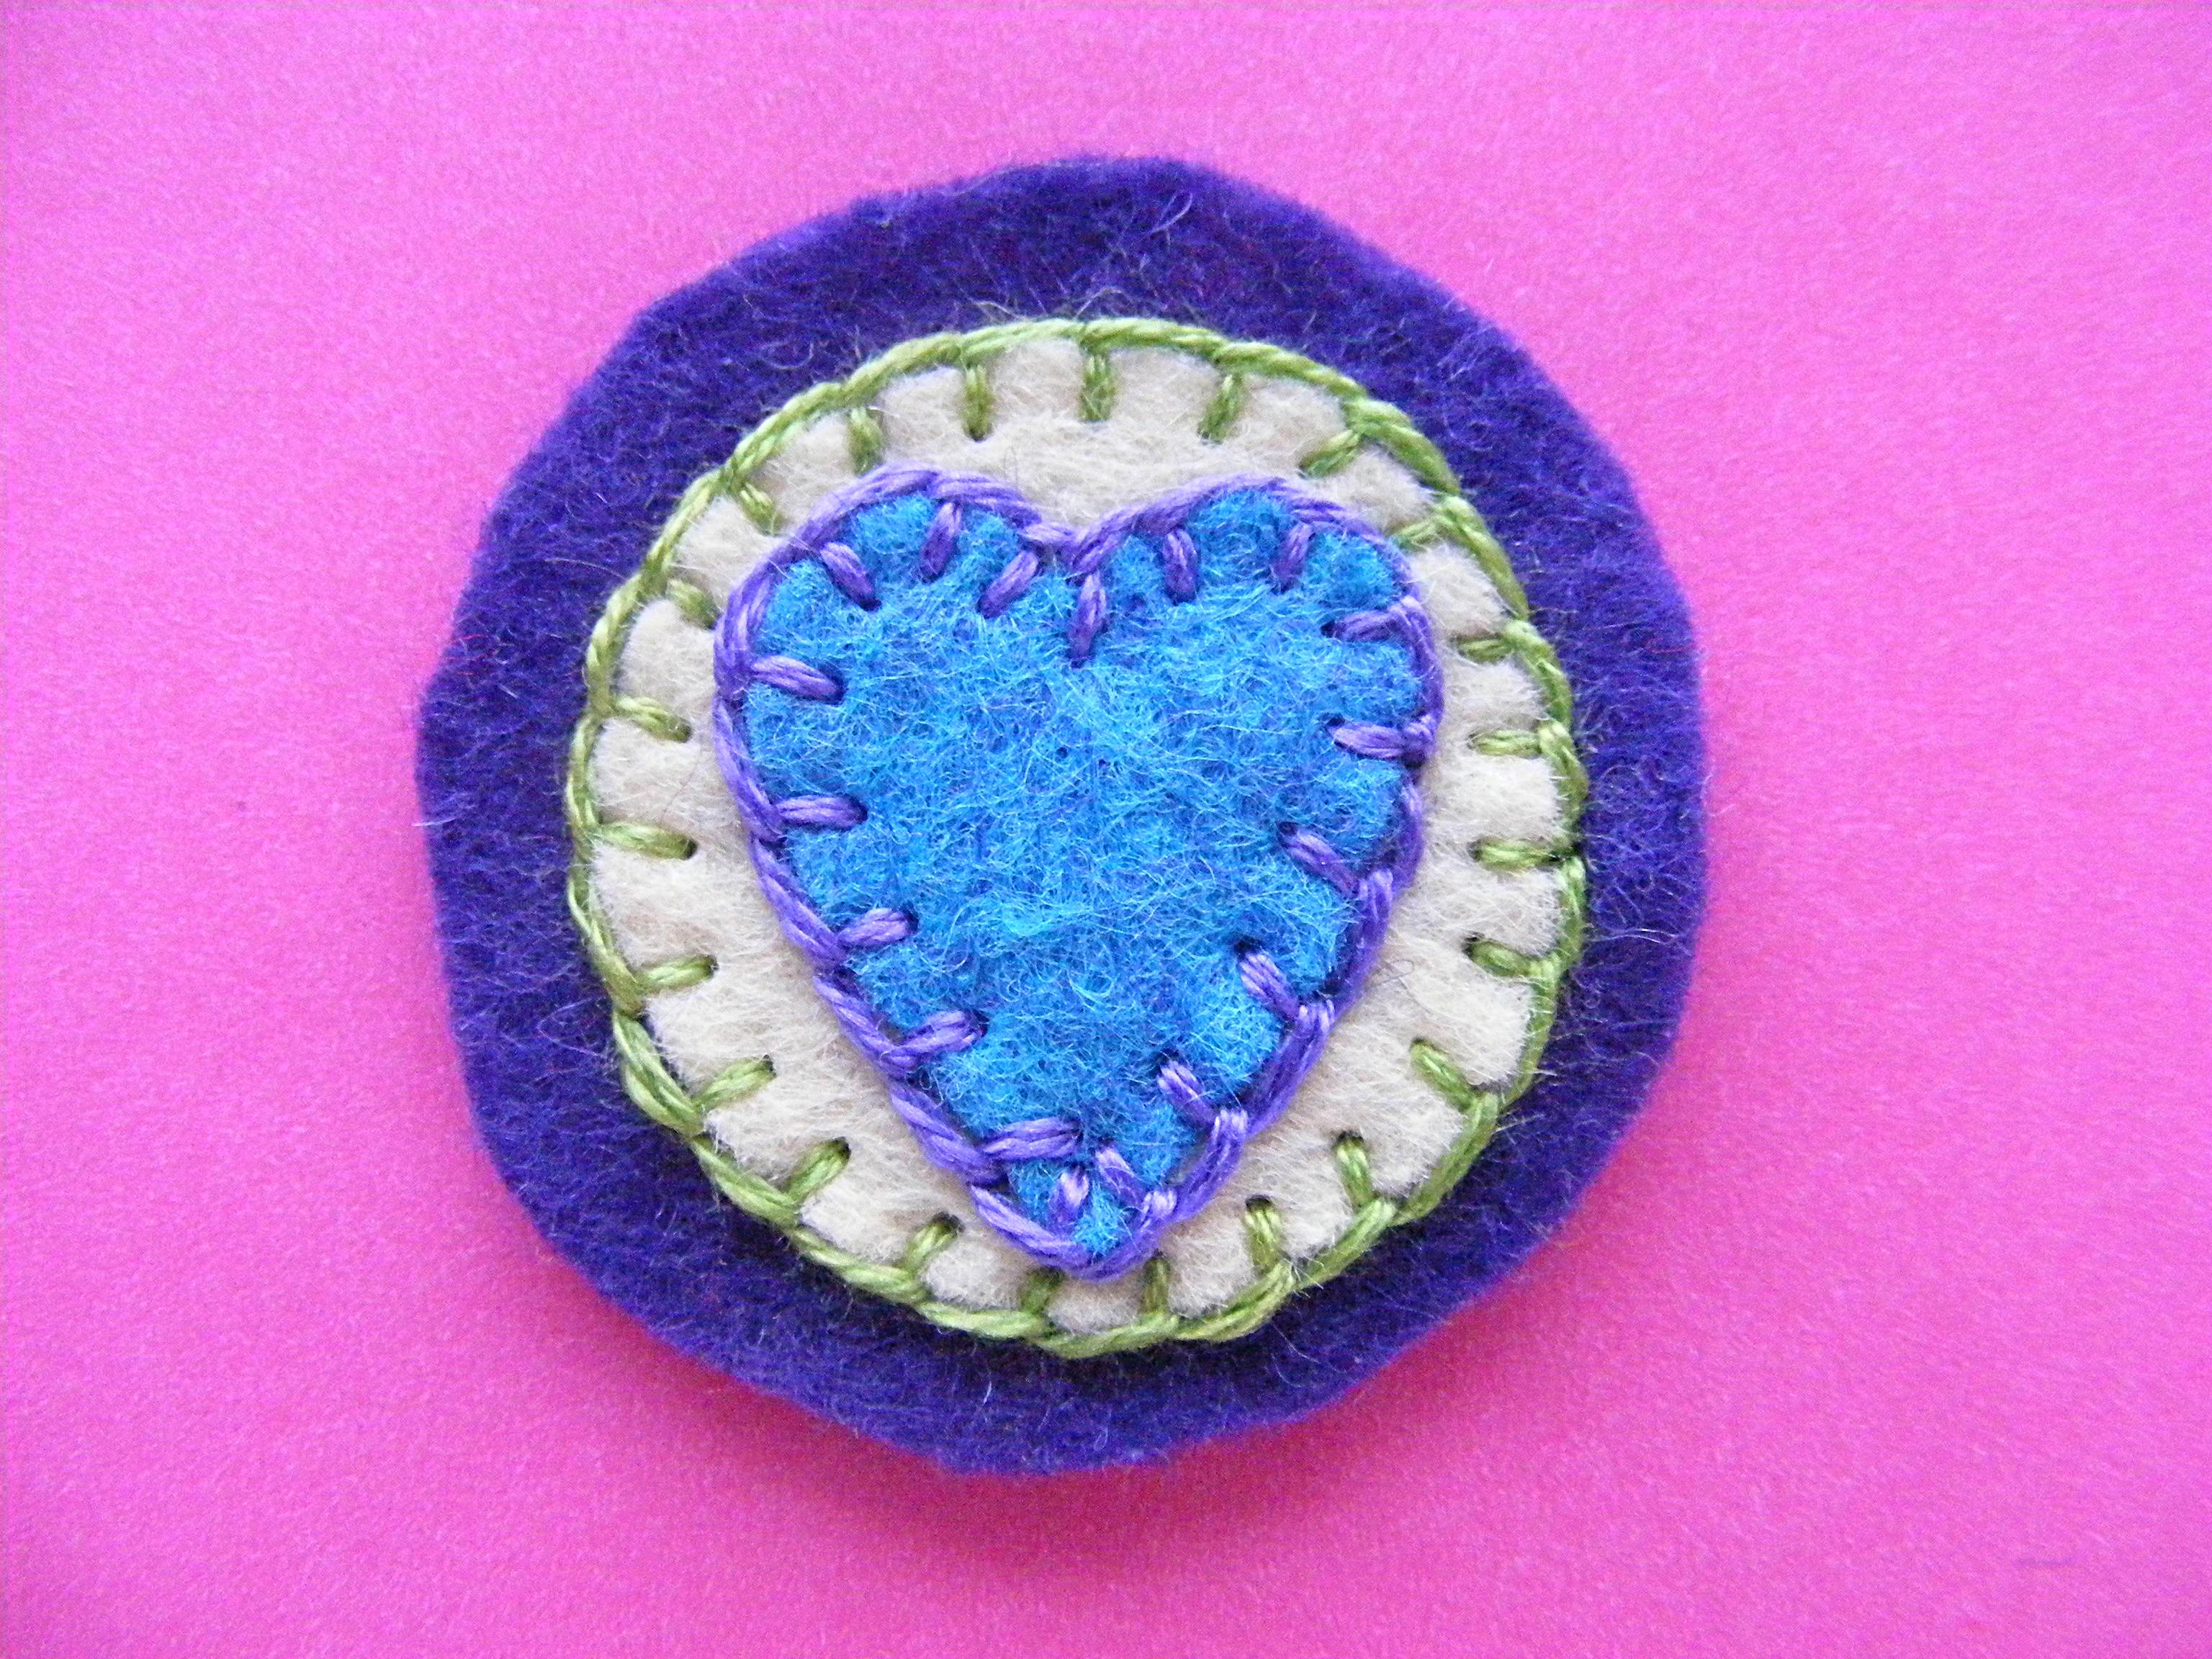
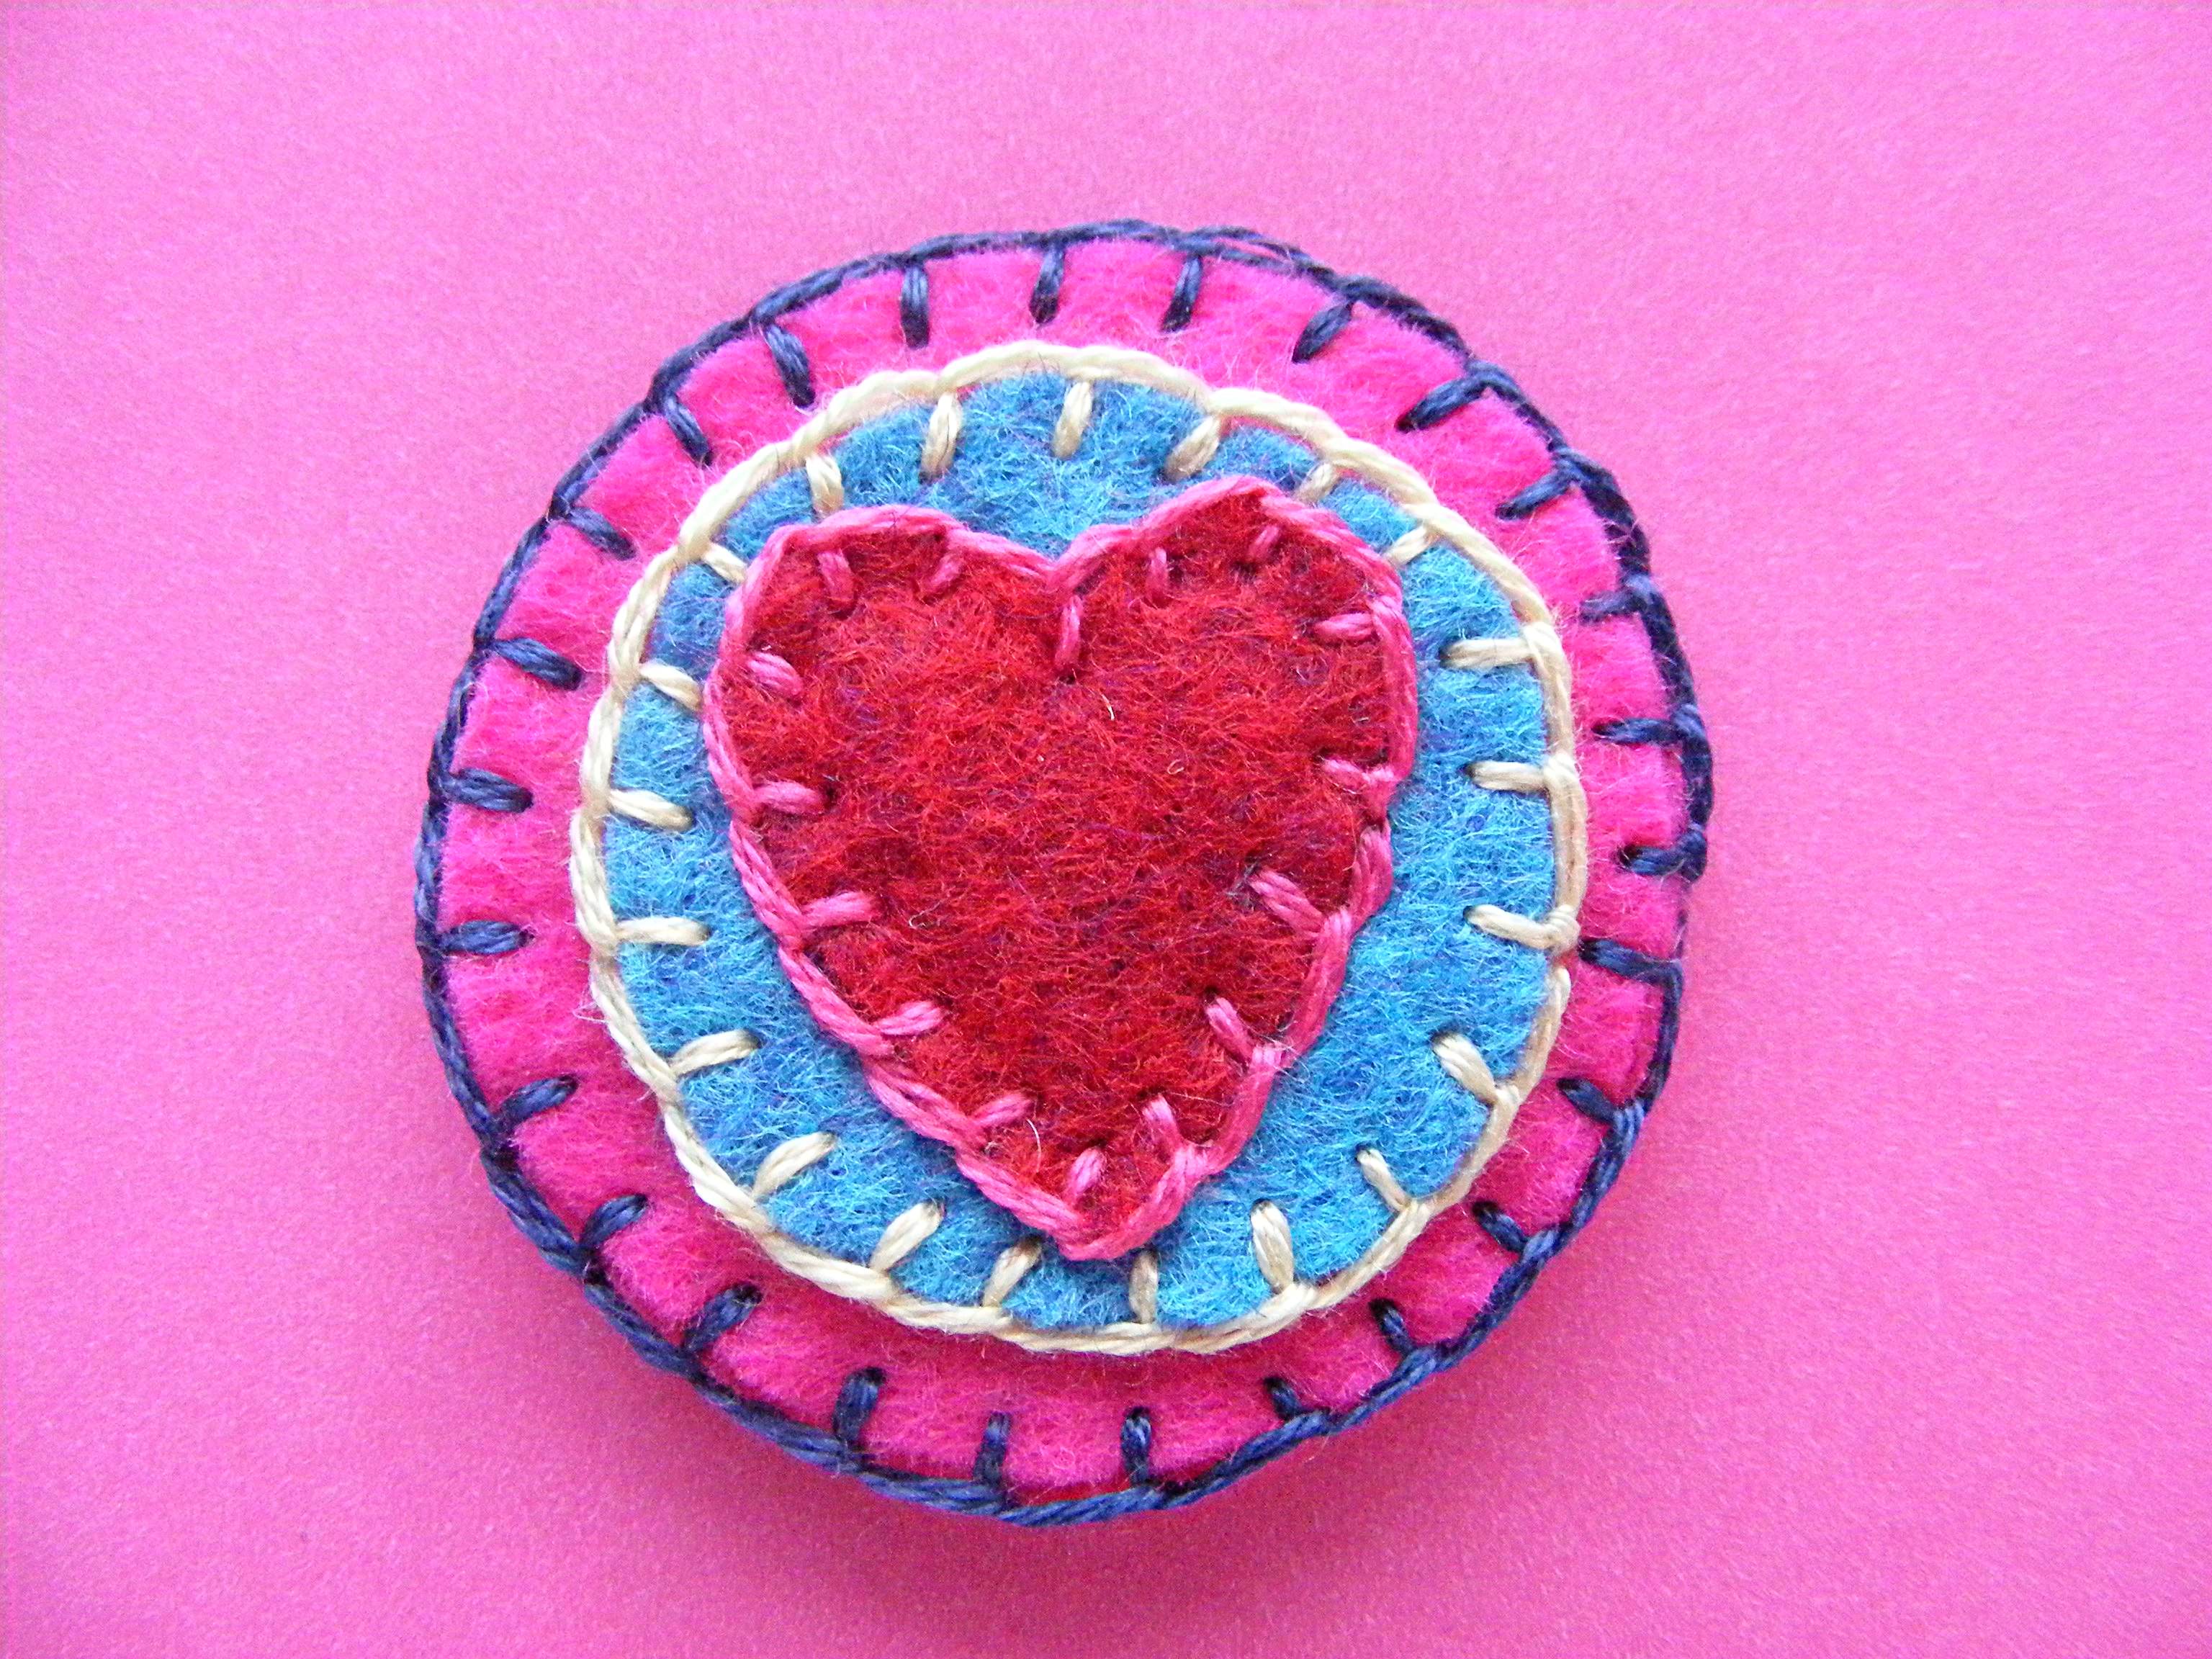
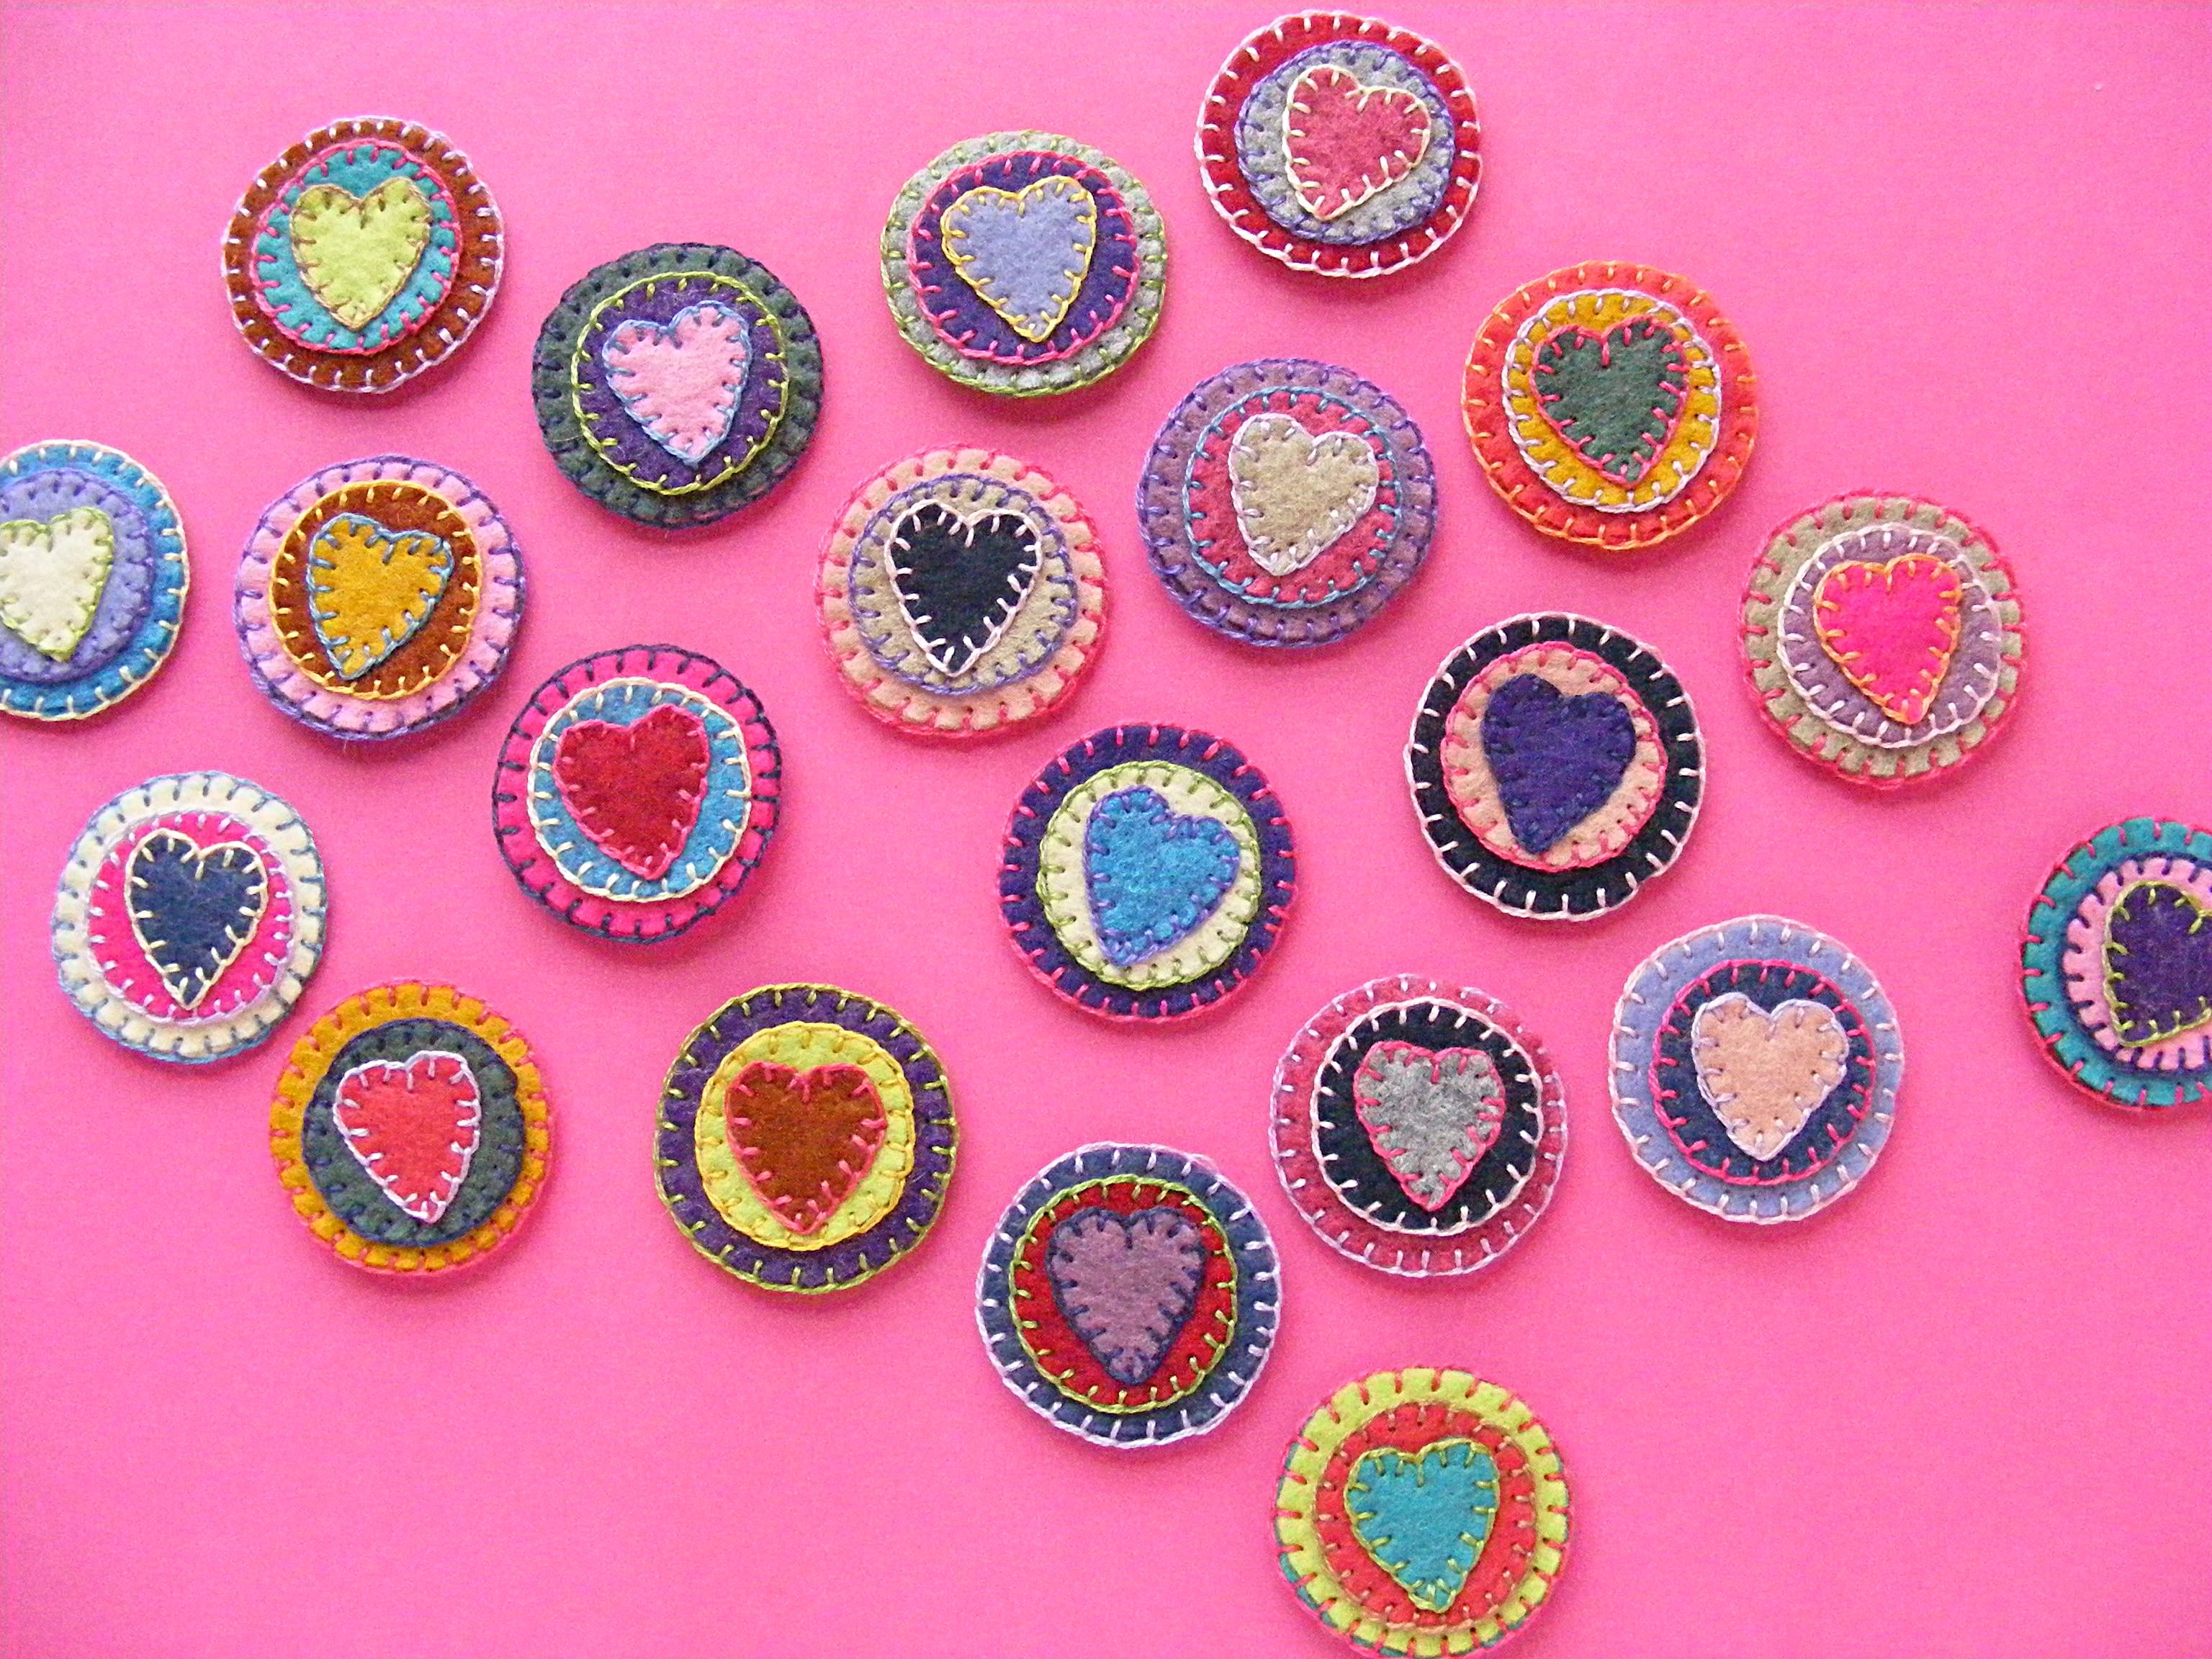
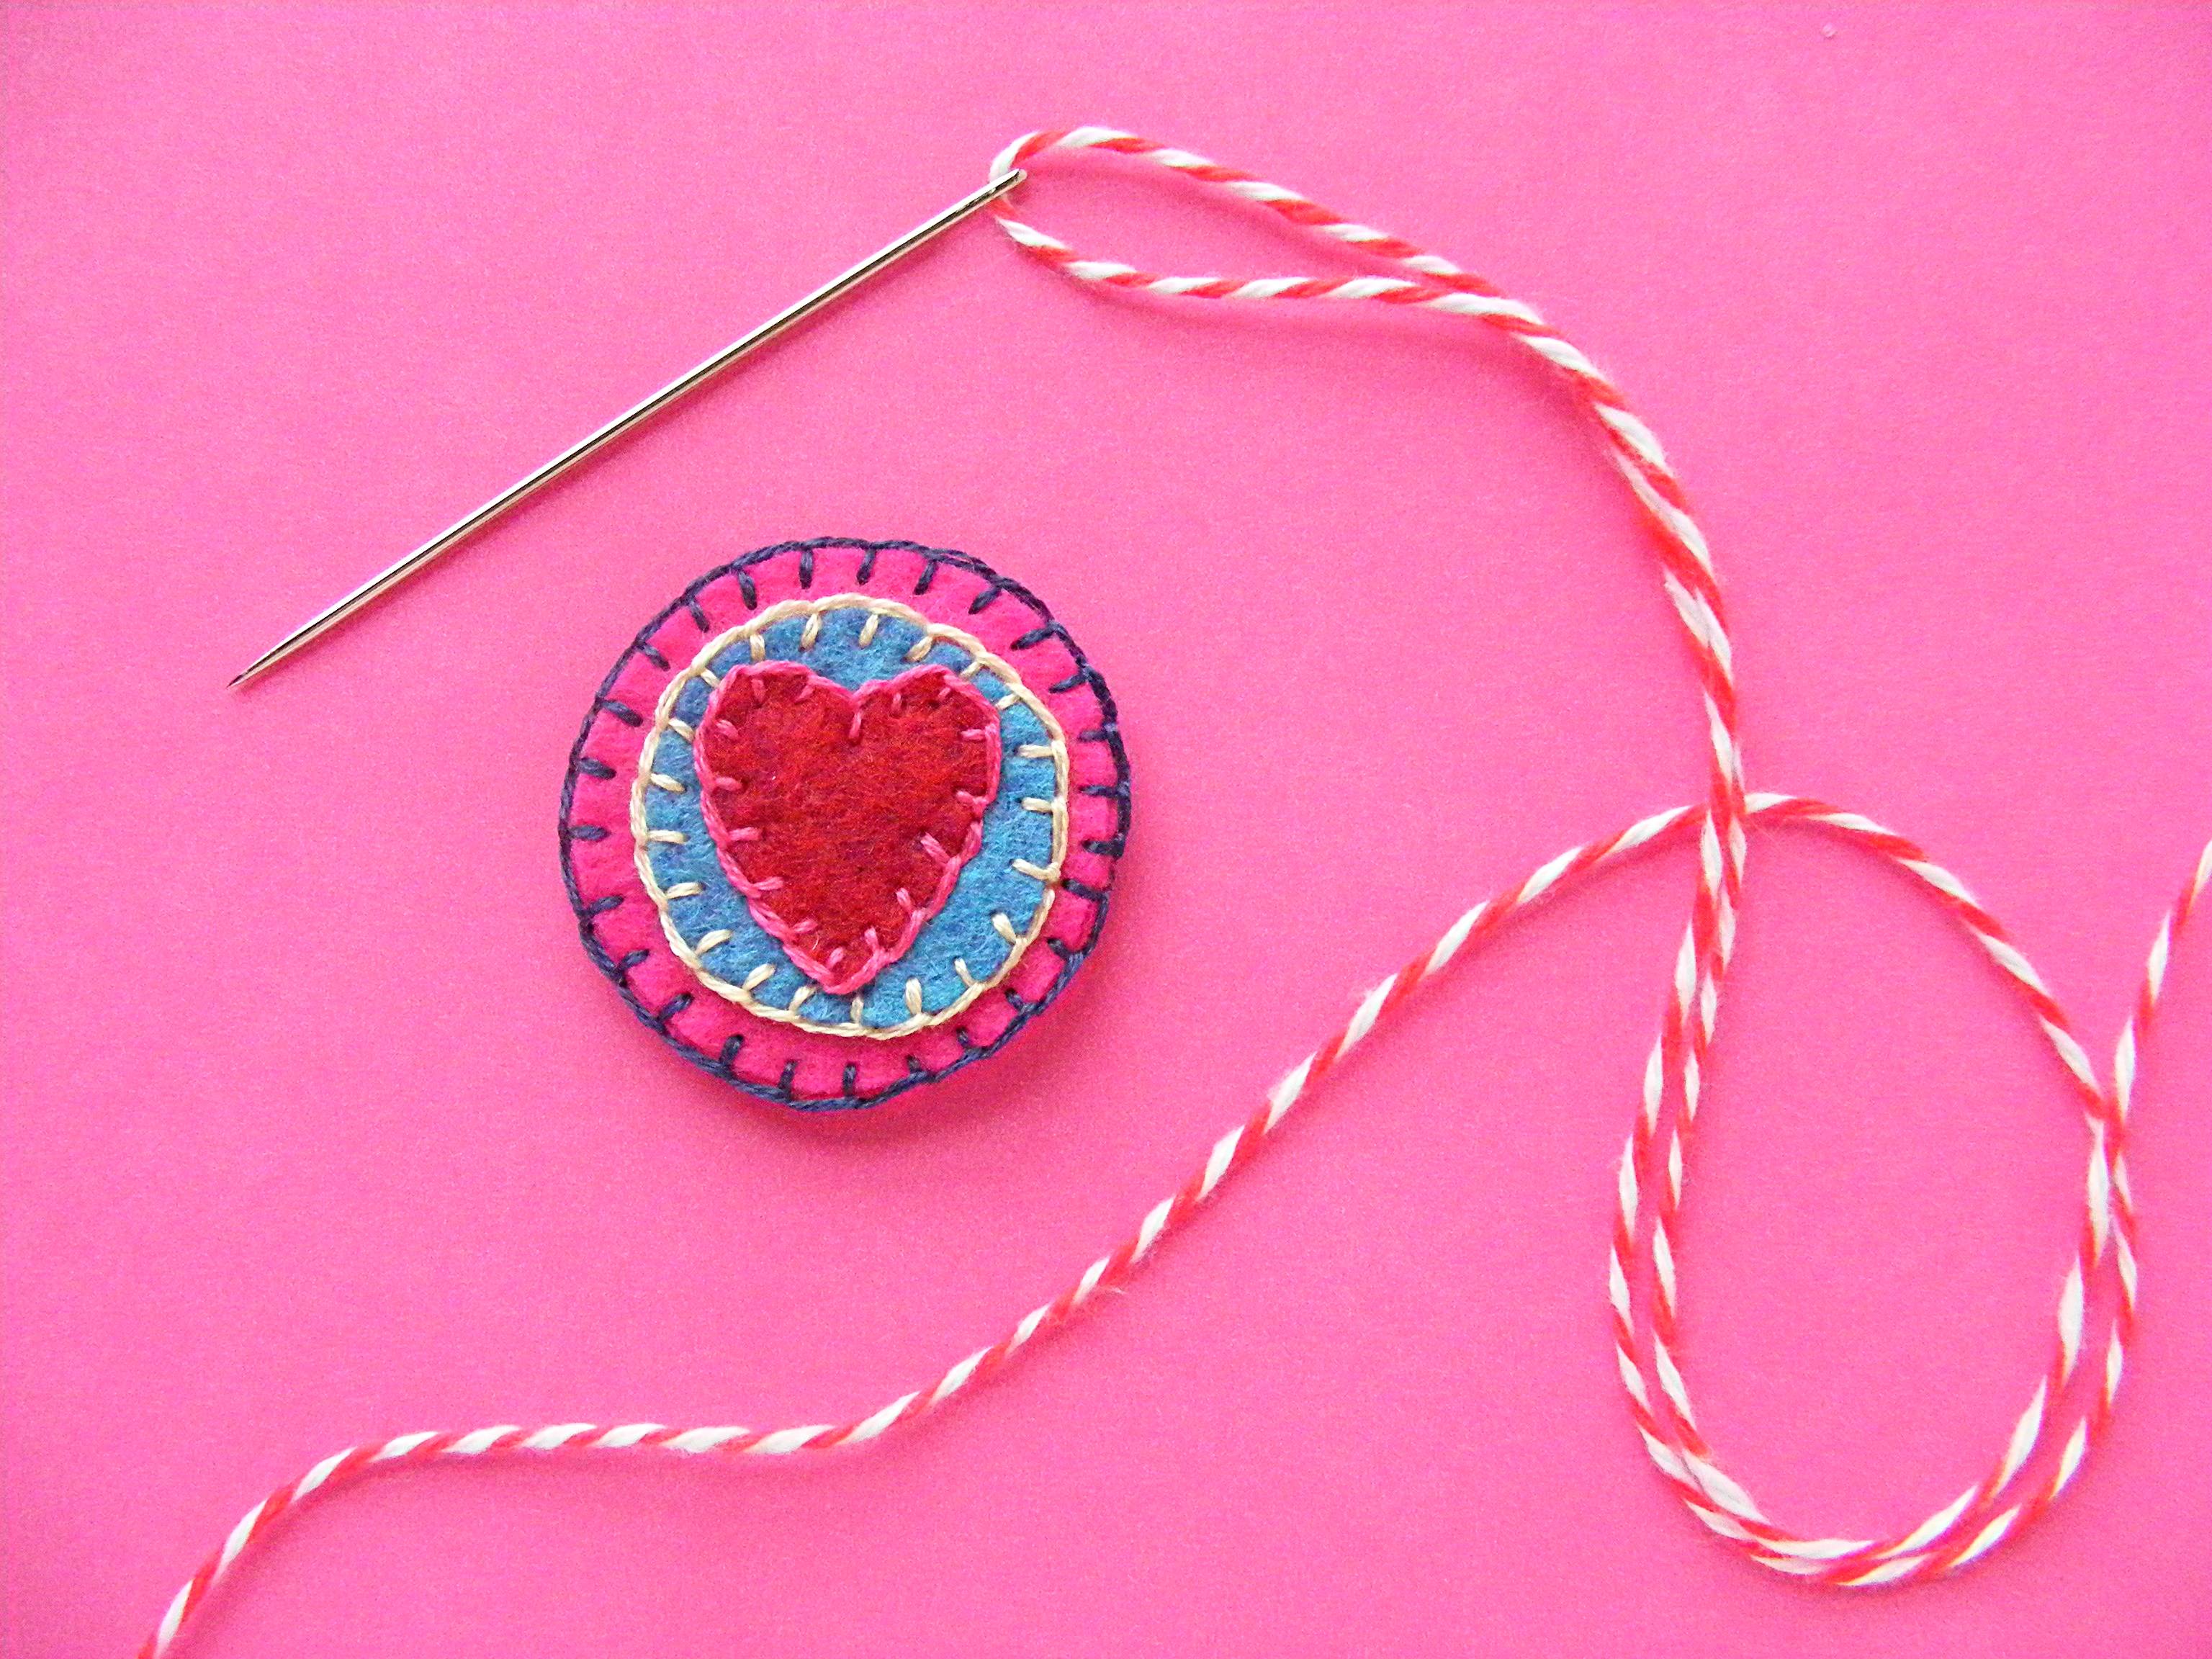
Felt

Felt eyes are a great option! They’re baby-safe and since felt comes in lots of different colors, you have lots of choices! Read this blog post for a tutorial on how to add felt eyes to your cutie!
Buttons
Any button can be sewed on for a great-looking eye! (In the photo above, I used a buttons on top of felt). I’ve seen some great monsters on Pinterest that make use of mis-matching buttons… so cute!
Some people use button eyes as a ‘safe’ alternative to plastic craft eyes, but I don’t feel comfortable making that recommendation. If a button is chewed on, it can become dislodged in the same way as a plastic eye.
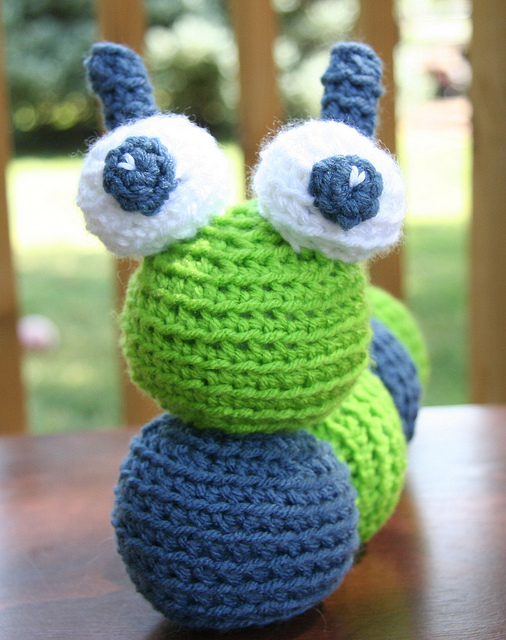
Crocheted Eyes
This is my second-favorite technique… it’s quick and easy! I mean, you already have the yarn!
For instructions, visit this blog post!
Embroidery
You can either embroider the eyes directly on the head, or use embroidery to add flecks of light to felt or crocheted eyes!
Which are your favorite?
What kind of eyes do you like to use?
And let me know if you have an idea I haven’t listed here!

Here are handy links to all the posts about amigurumi eyes. . .
- What Kind of Eyes Should I Use?
- How to Use Safety Eyes
- Tips for Dark Eyes on a Dark Softie
- How to Make Glitter Eyes
- Attaching Craft Eyes through Thick Layers
- How to Remove Safety Eyes
- How to Add Felt Eyes to Your Softie
Return to the main table of contents for Let’s Learn to Crochet Amigurumi.
Move on to the lessons for standing legs.
Happy stitching!