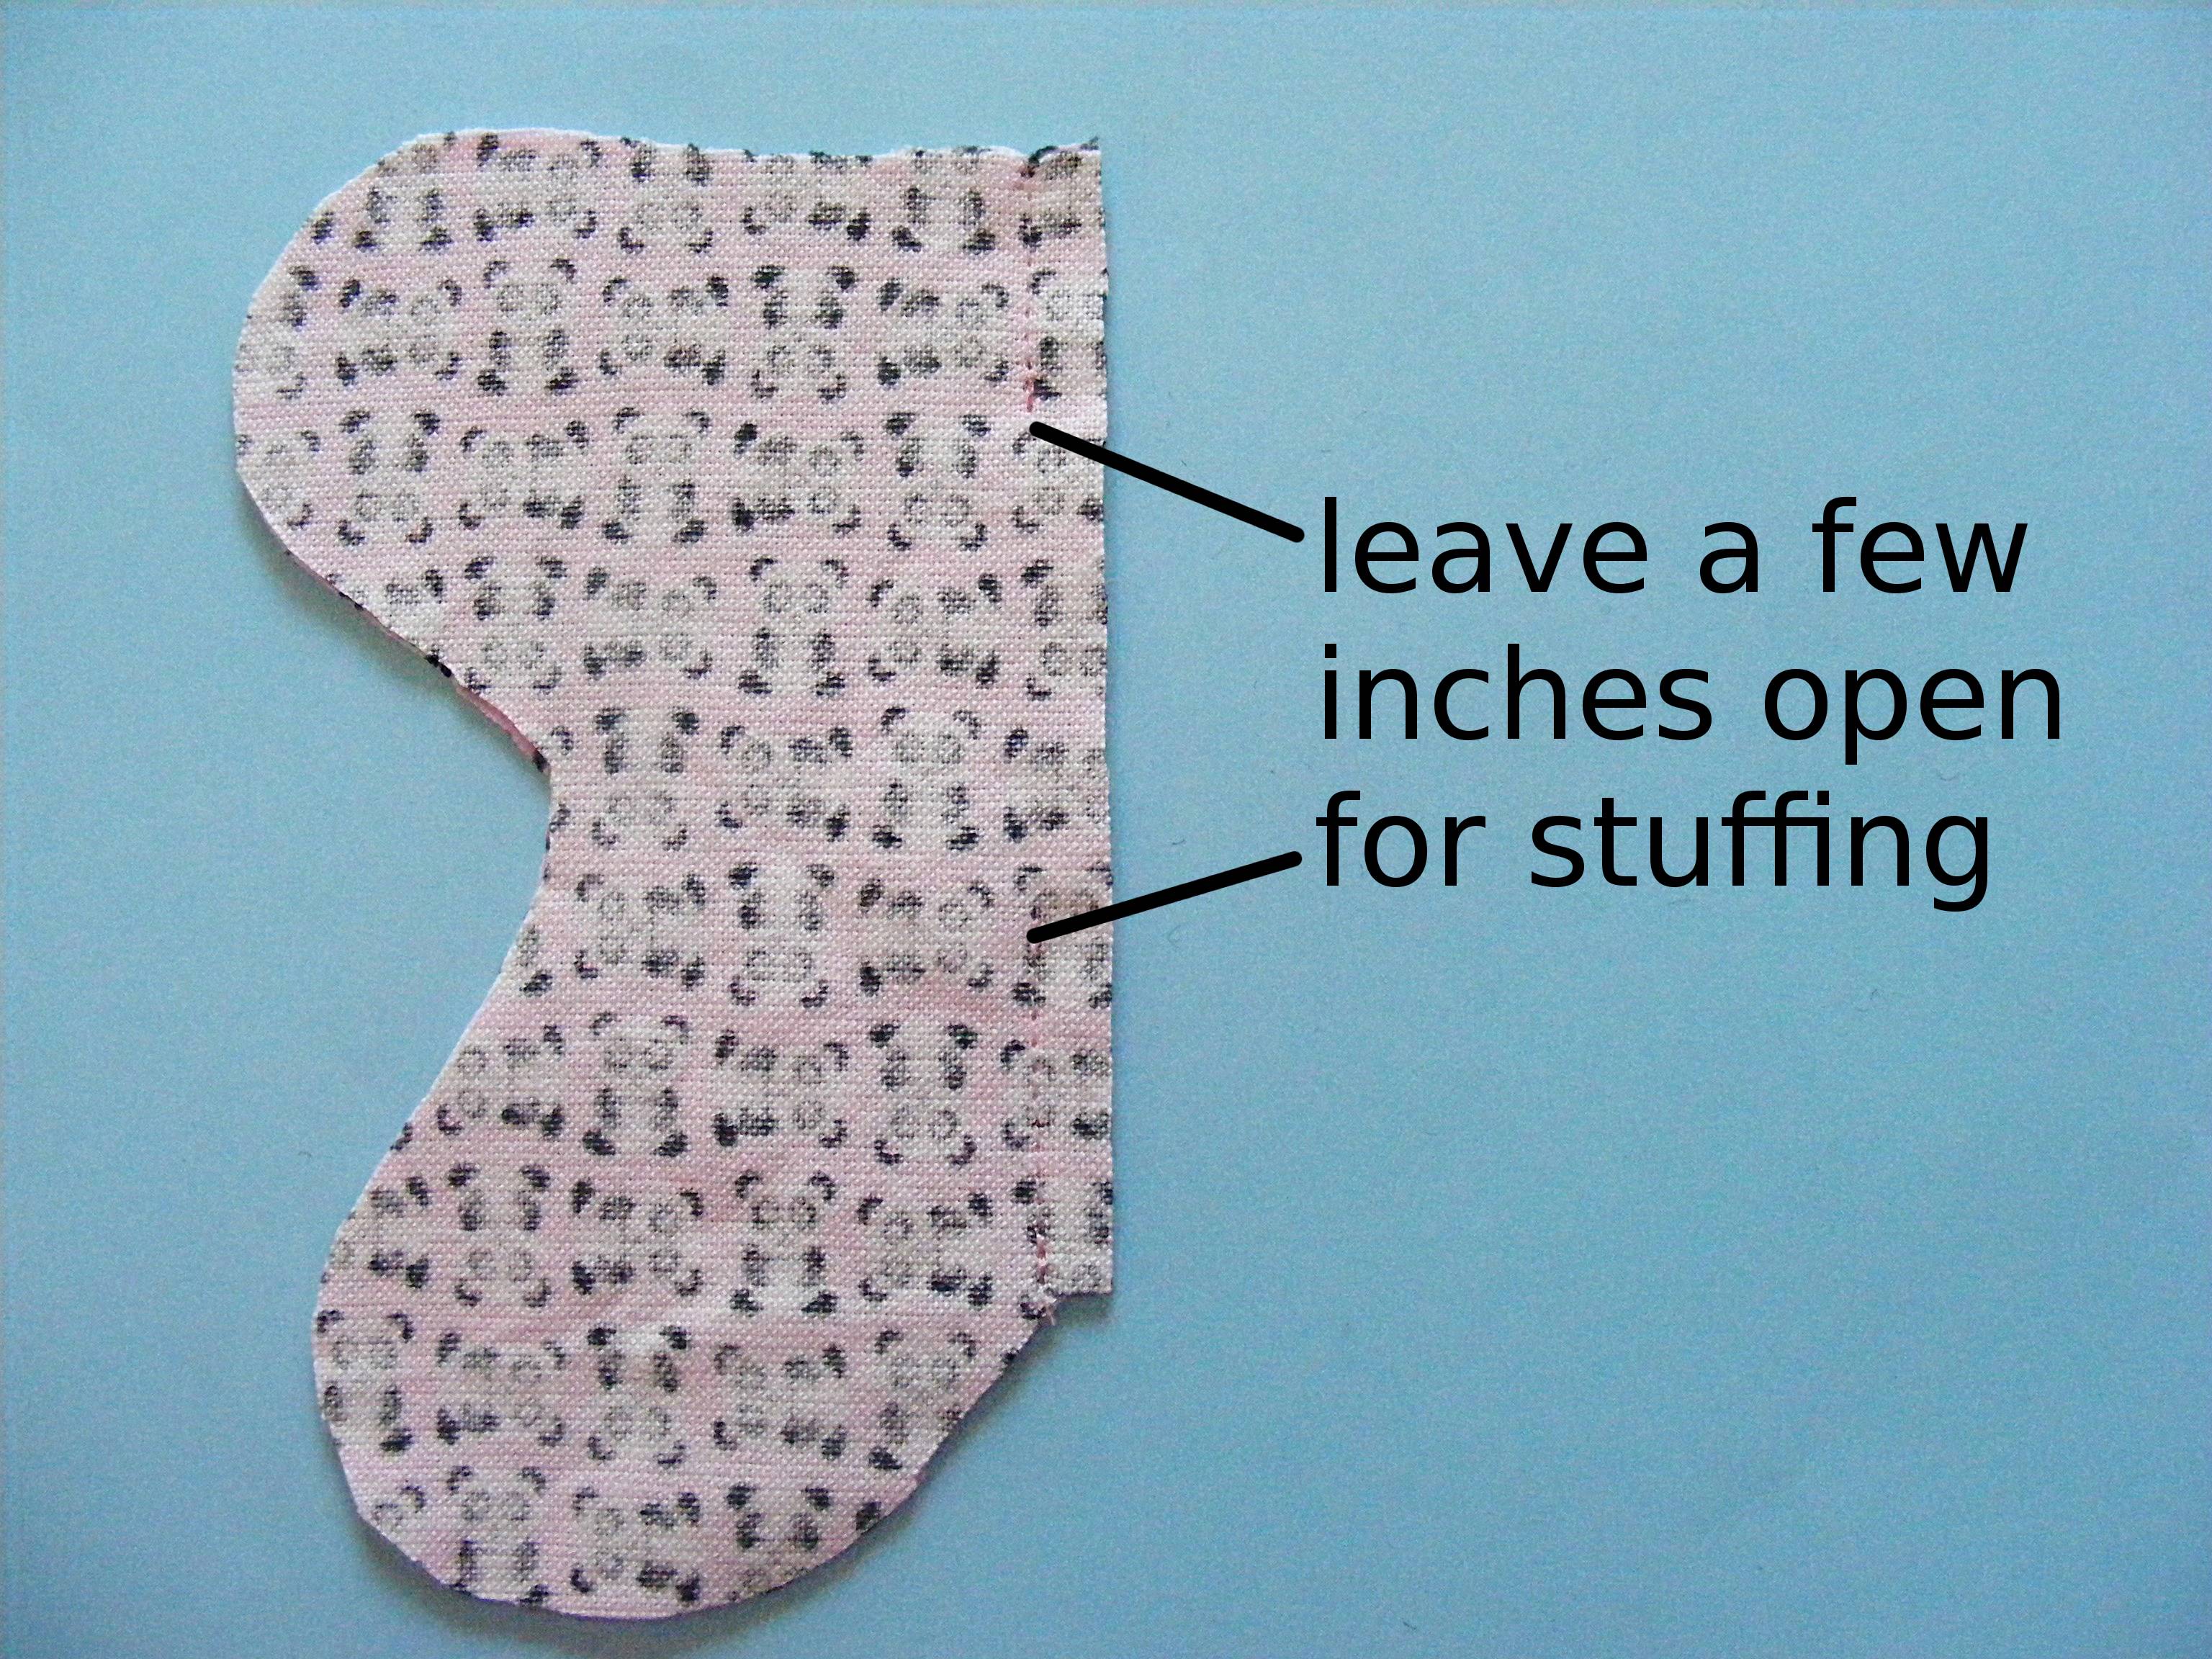
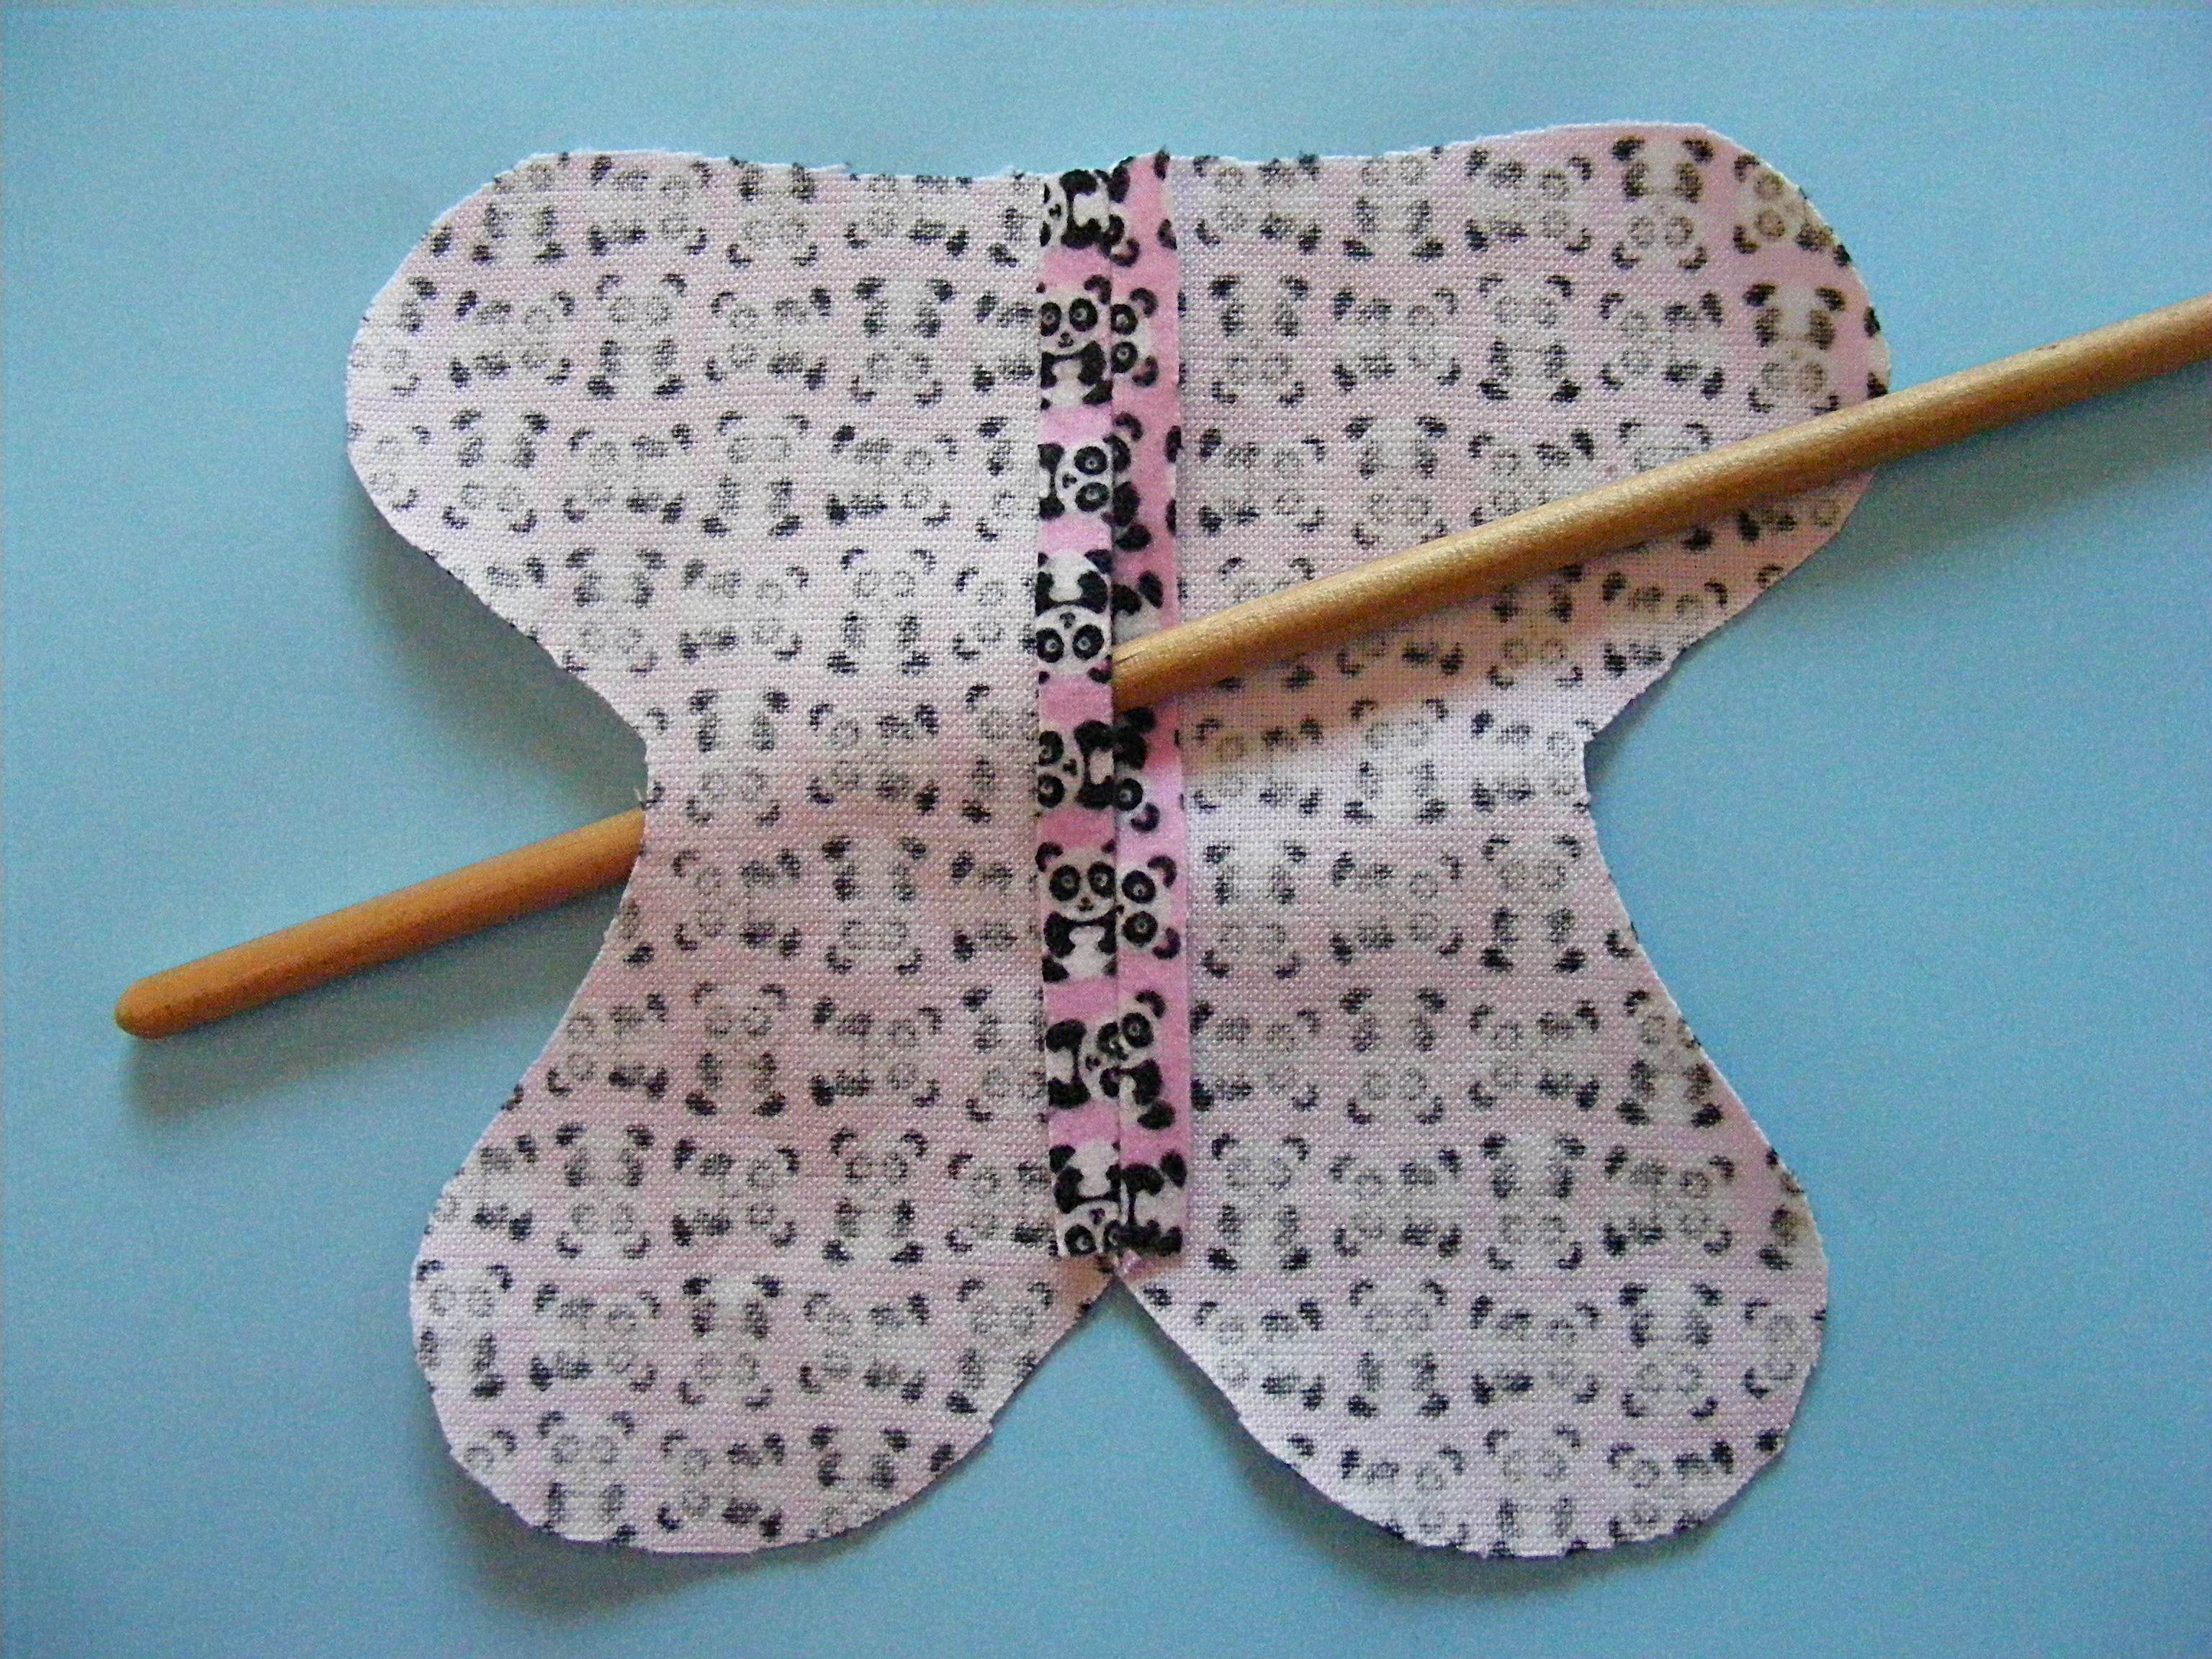
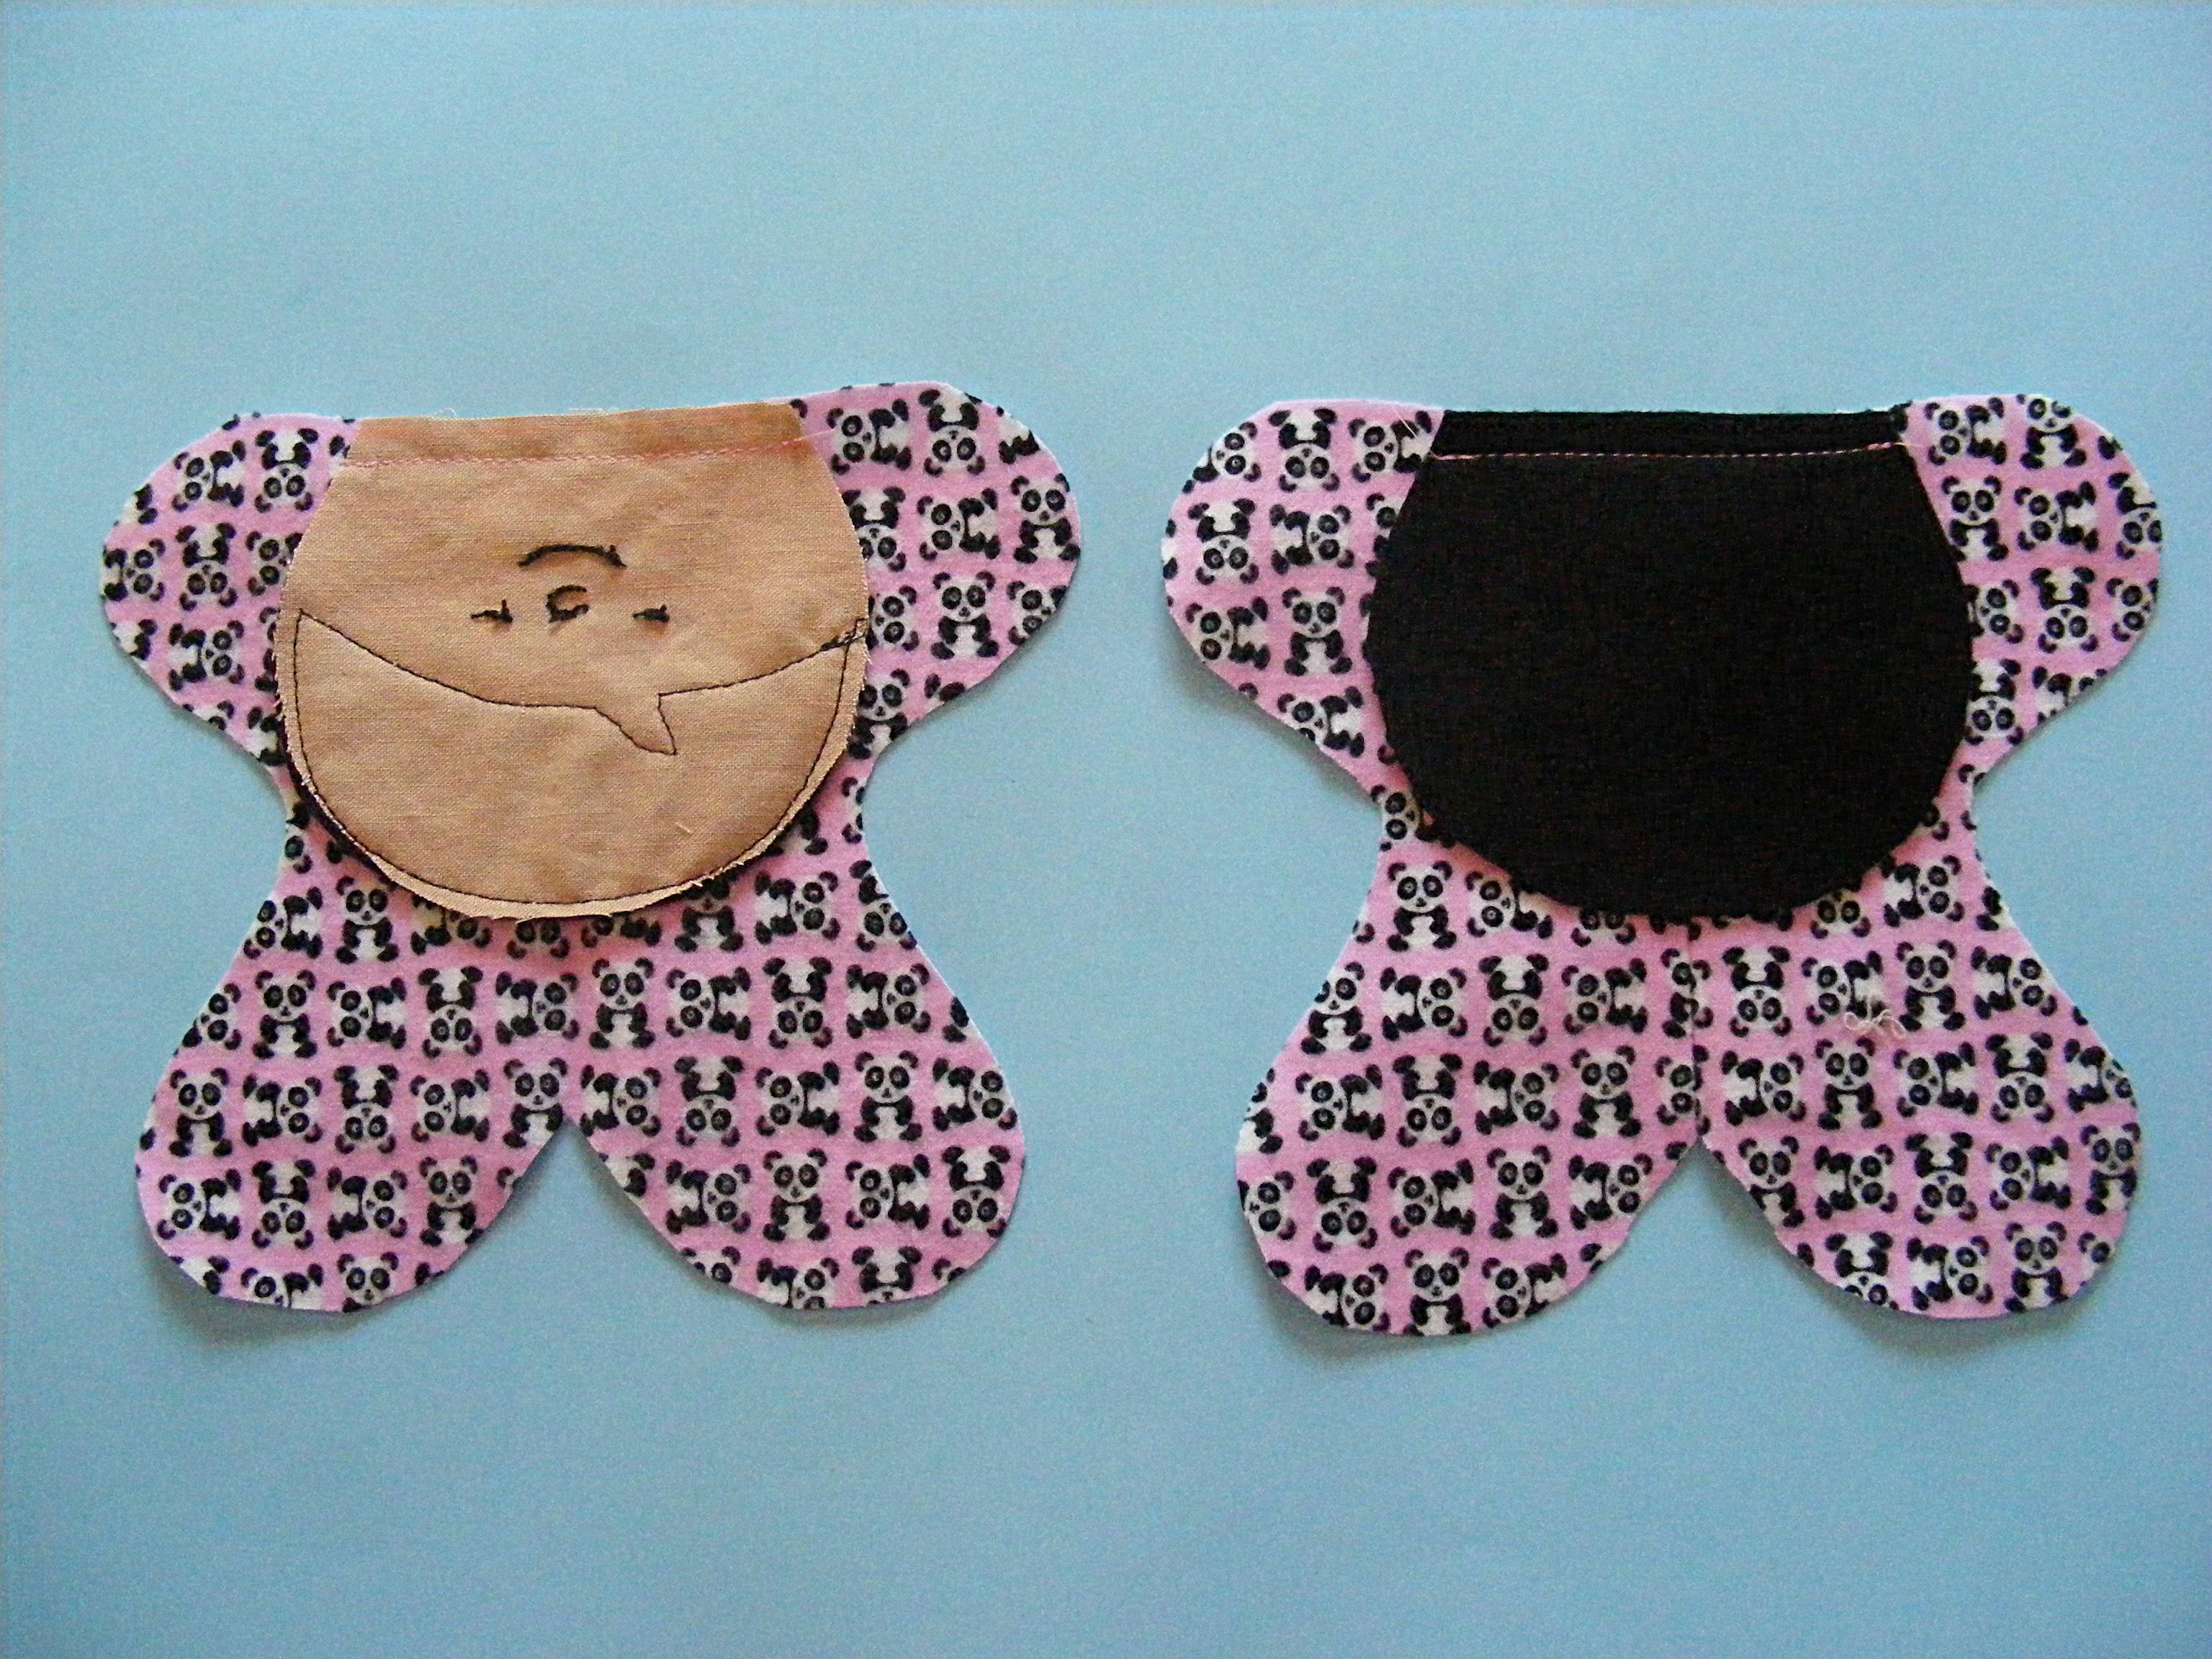
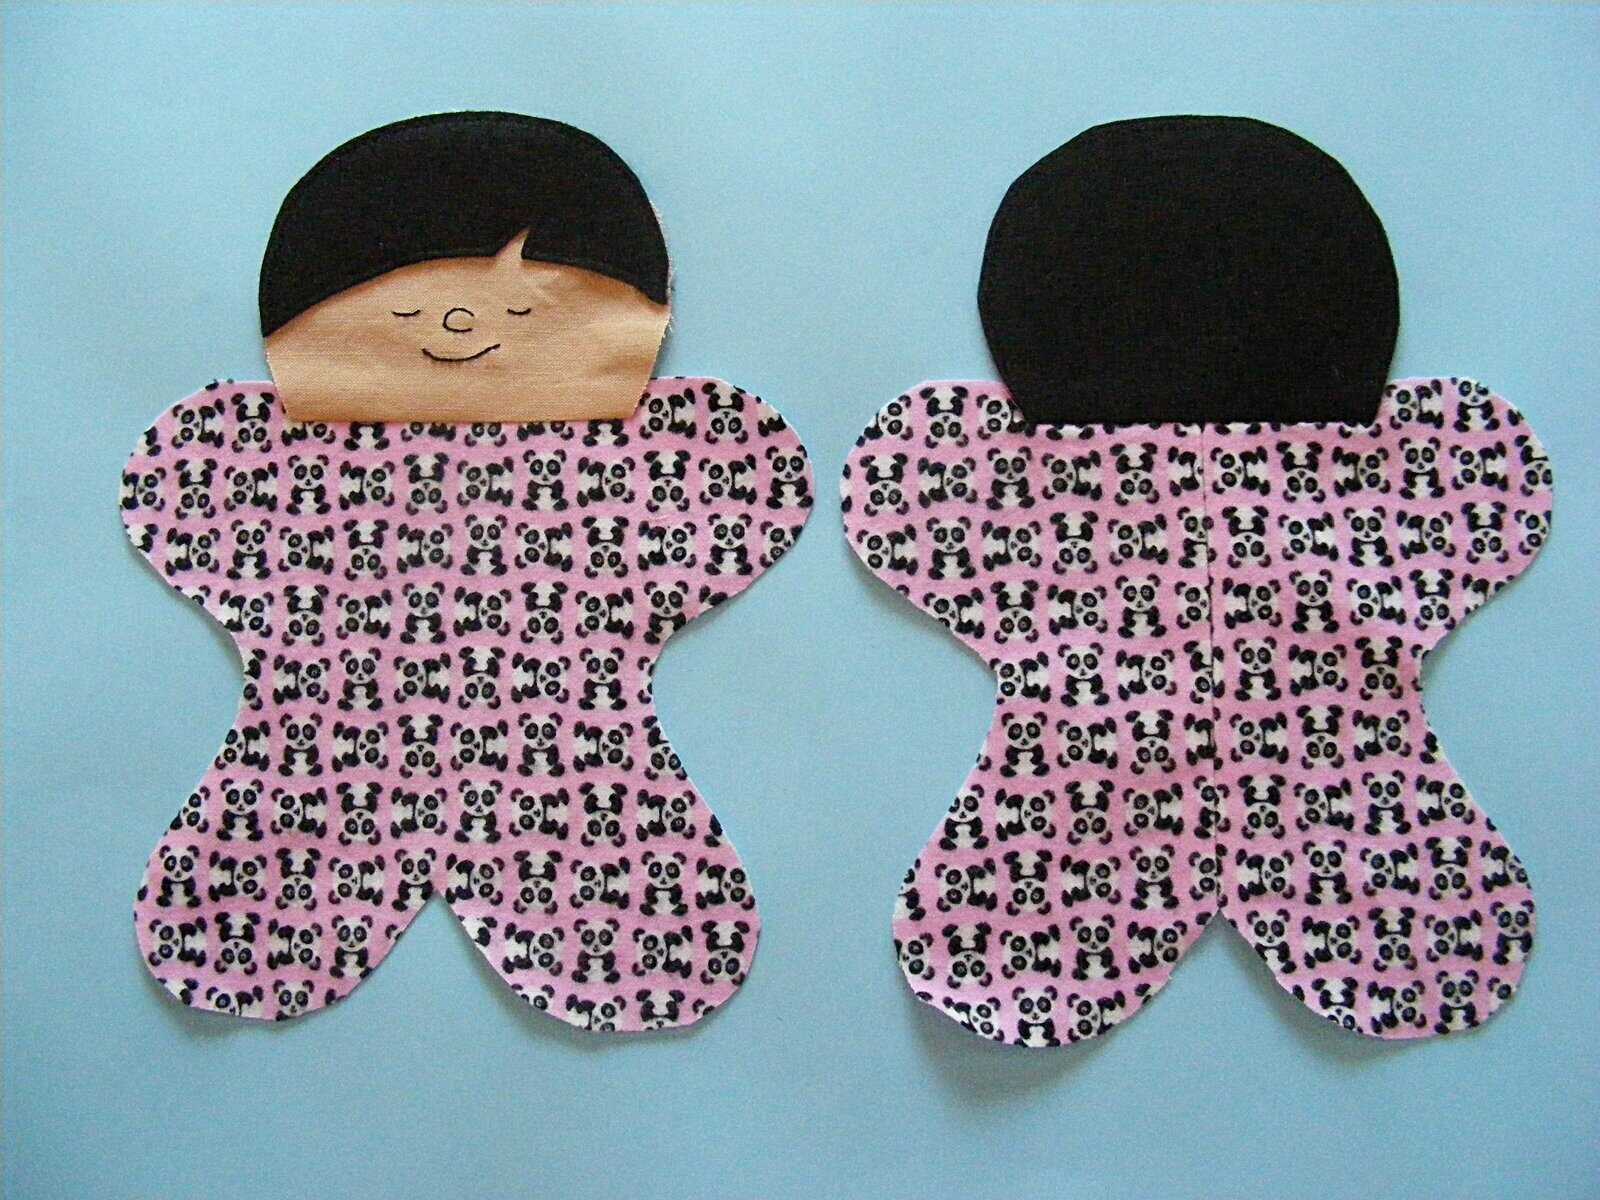
Last week’s Show & Tell post was all about quilts. This week I’m sharing the amazing stuffed animals you all have been making!
A Warren Mobile!
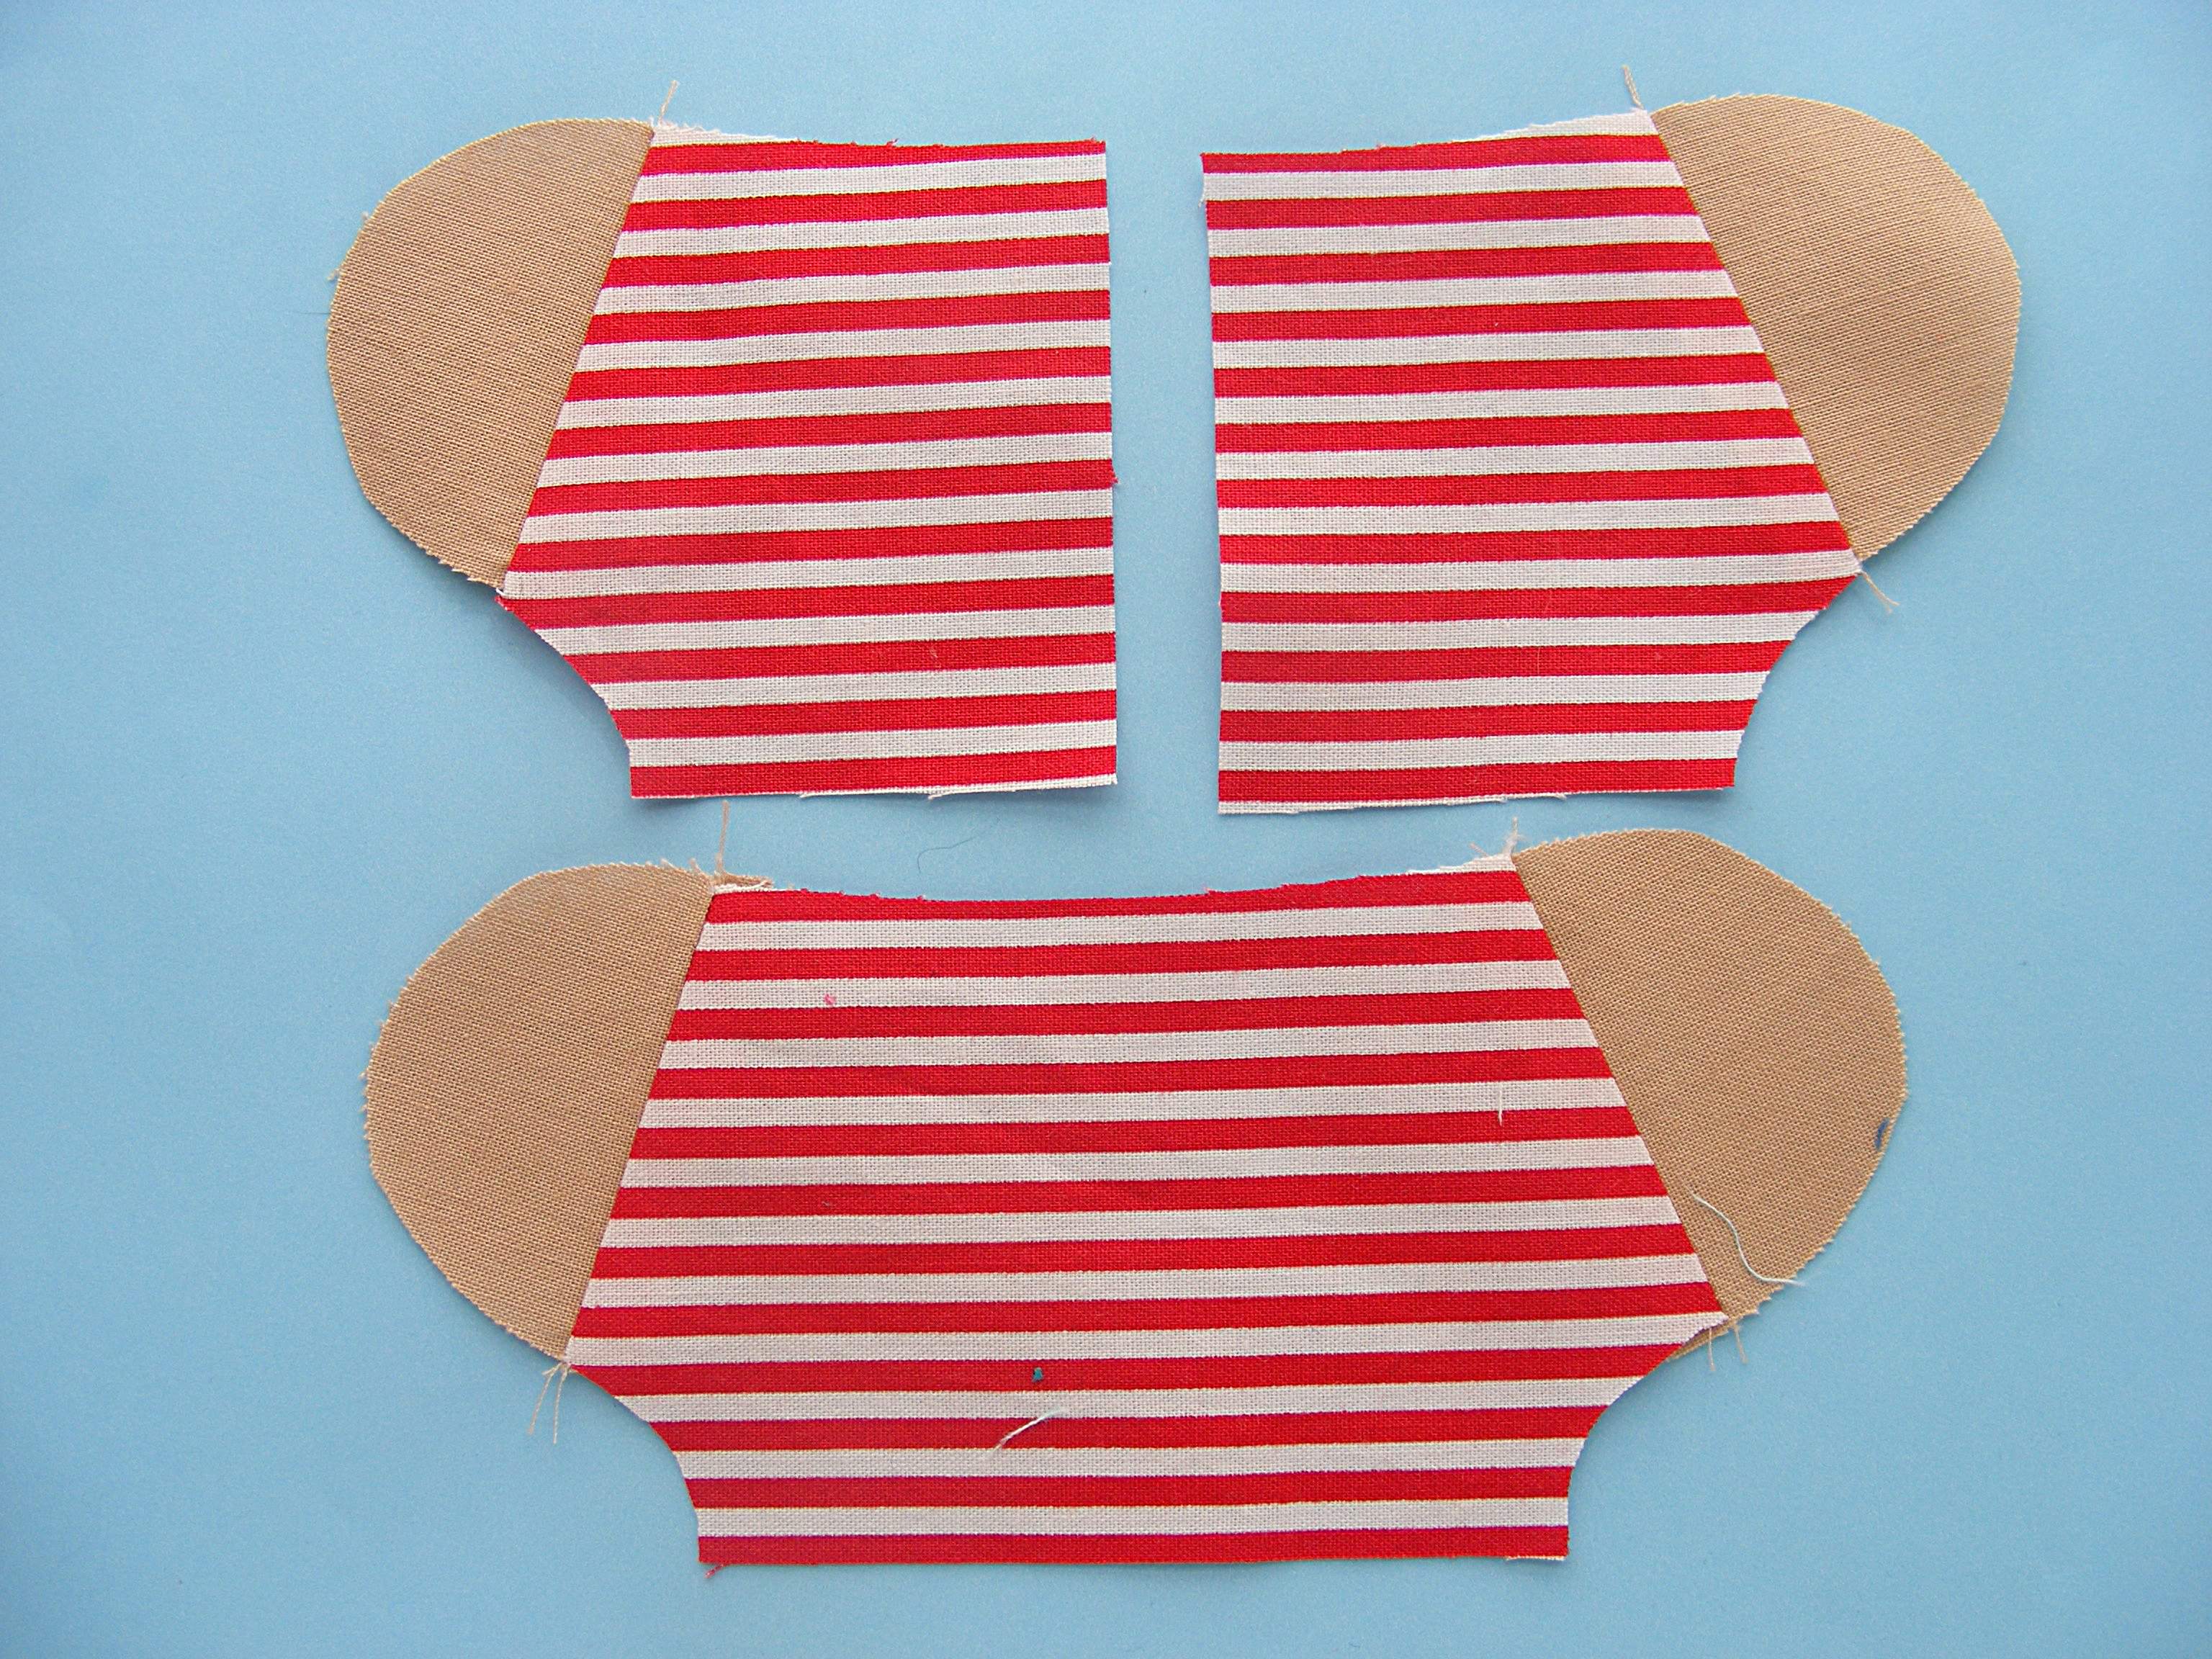
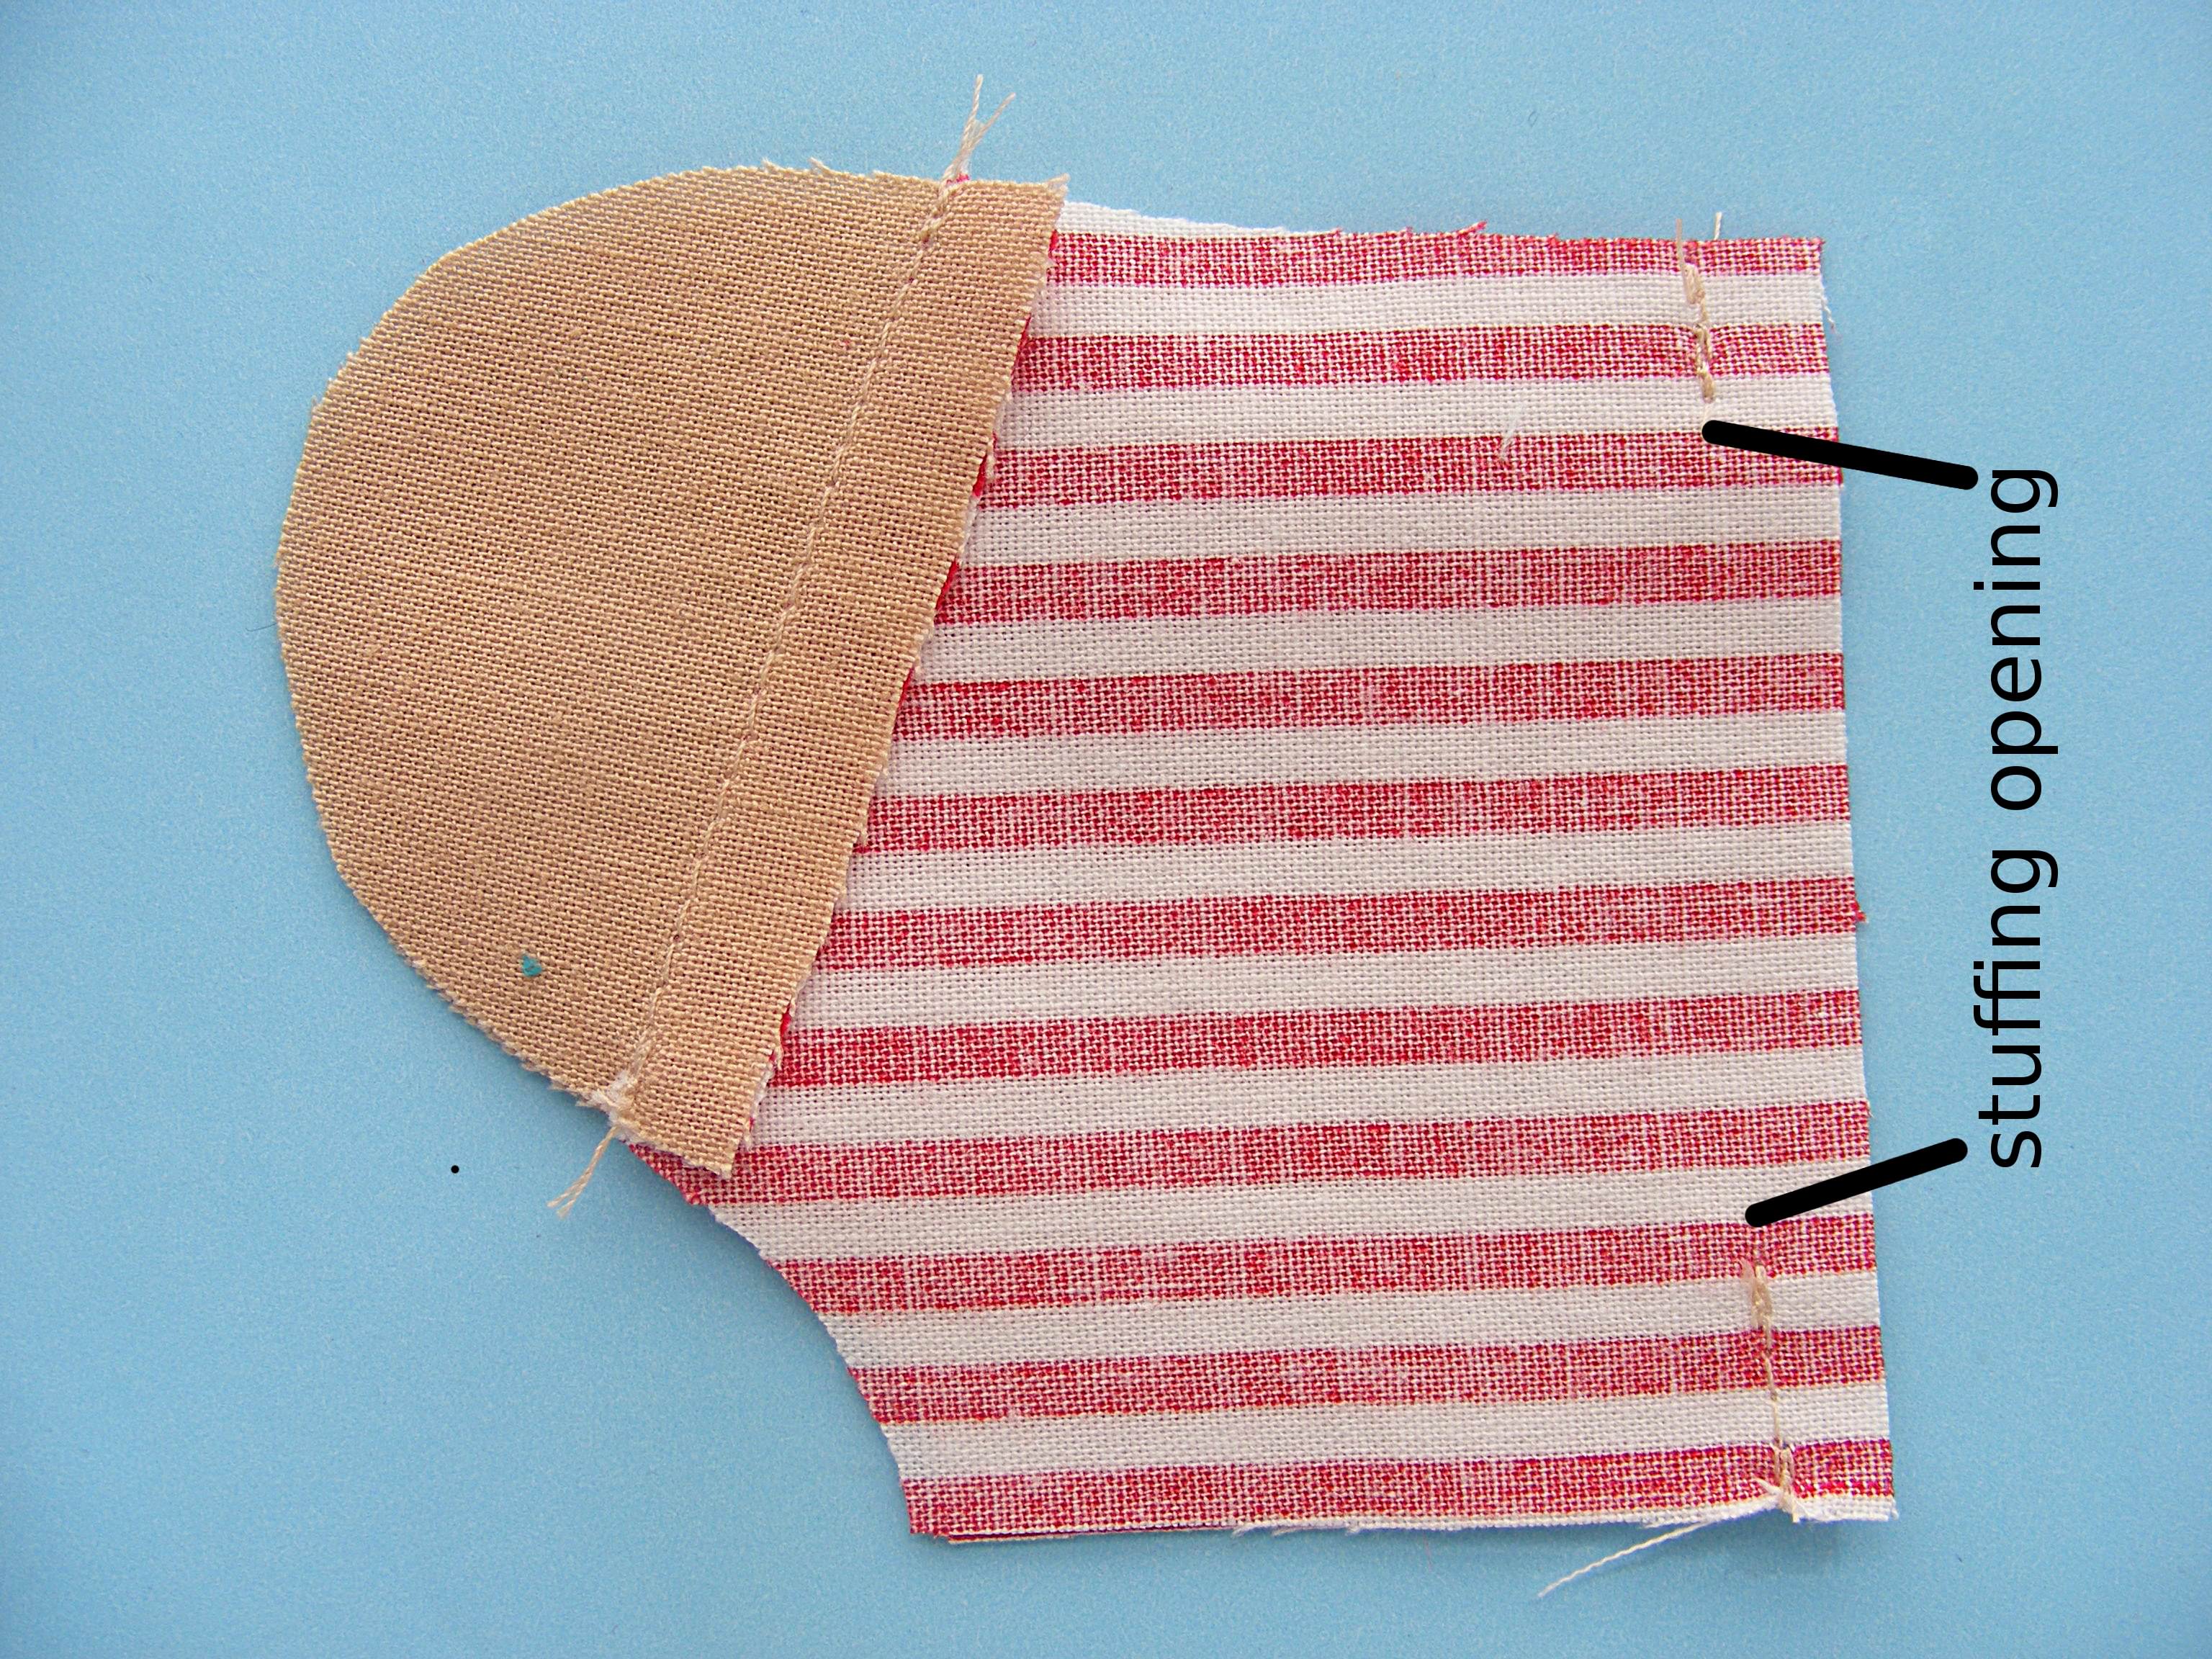
Let’s start with this incredible mobile Tess made!
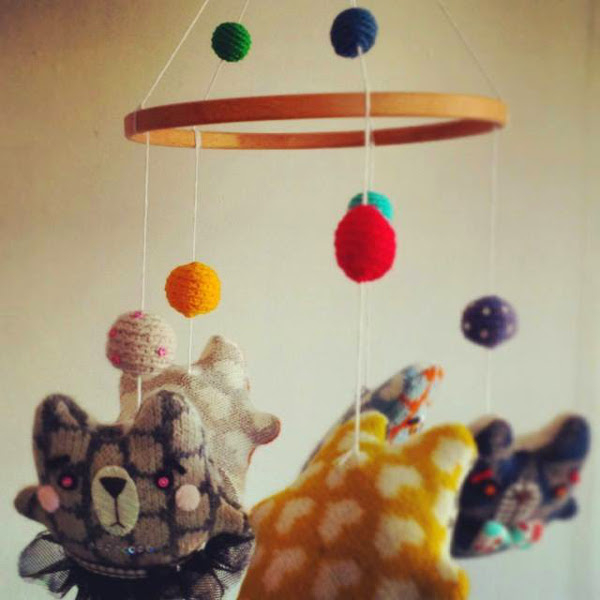
She posted complete instructions on her blog so you can make one too! Look at the details she added to the bears. . .

The beard! The monocle! The bowtie! I love them all!
Pattern: Warren the Charity Bear (free)
Sweet Softies and Adorable Kids
I absolutely love this photo that Carrie sent of her girls with the softies she’s made for them.

She writes. . .
I’m just realizing on this trip how much my girls really do love their softies! That’s Ellie all snuggled up with a Fat Cat. Kate’s favorite way to snuggle with Bertie is to use its belly as a pillow and the big feet to warm her ears!
And look at this!

Photos like this make me so happy!
Patterns: Franklin the Fat Cat and Bertie Bunny. She made the cute kids with no pattern at all!
Beautiful Blue Benson Bunny
Kim made this beautiful Benson Bunny!

She’s in the UK and couldn’t find the cuddle fleece that I used. Guess what she used instead?
I actually made my bunny out of a very soft and ‘feel-y’ baby blanket I bought in a discount store (£4 – maybe $6? – for a blanket 1m x 0.75m) – it worked well, but it was very fluffy to work with! The Soft and Stable was easy to work with and actually made the sewing a bit easier when it was that side down! Everything else I had, so he was an economical project for me. 🙂
He looks so huggable!
Pattern: Benson Bunny
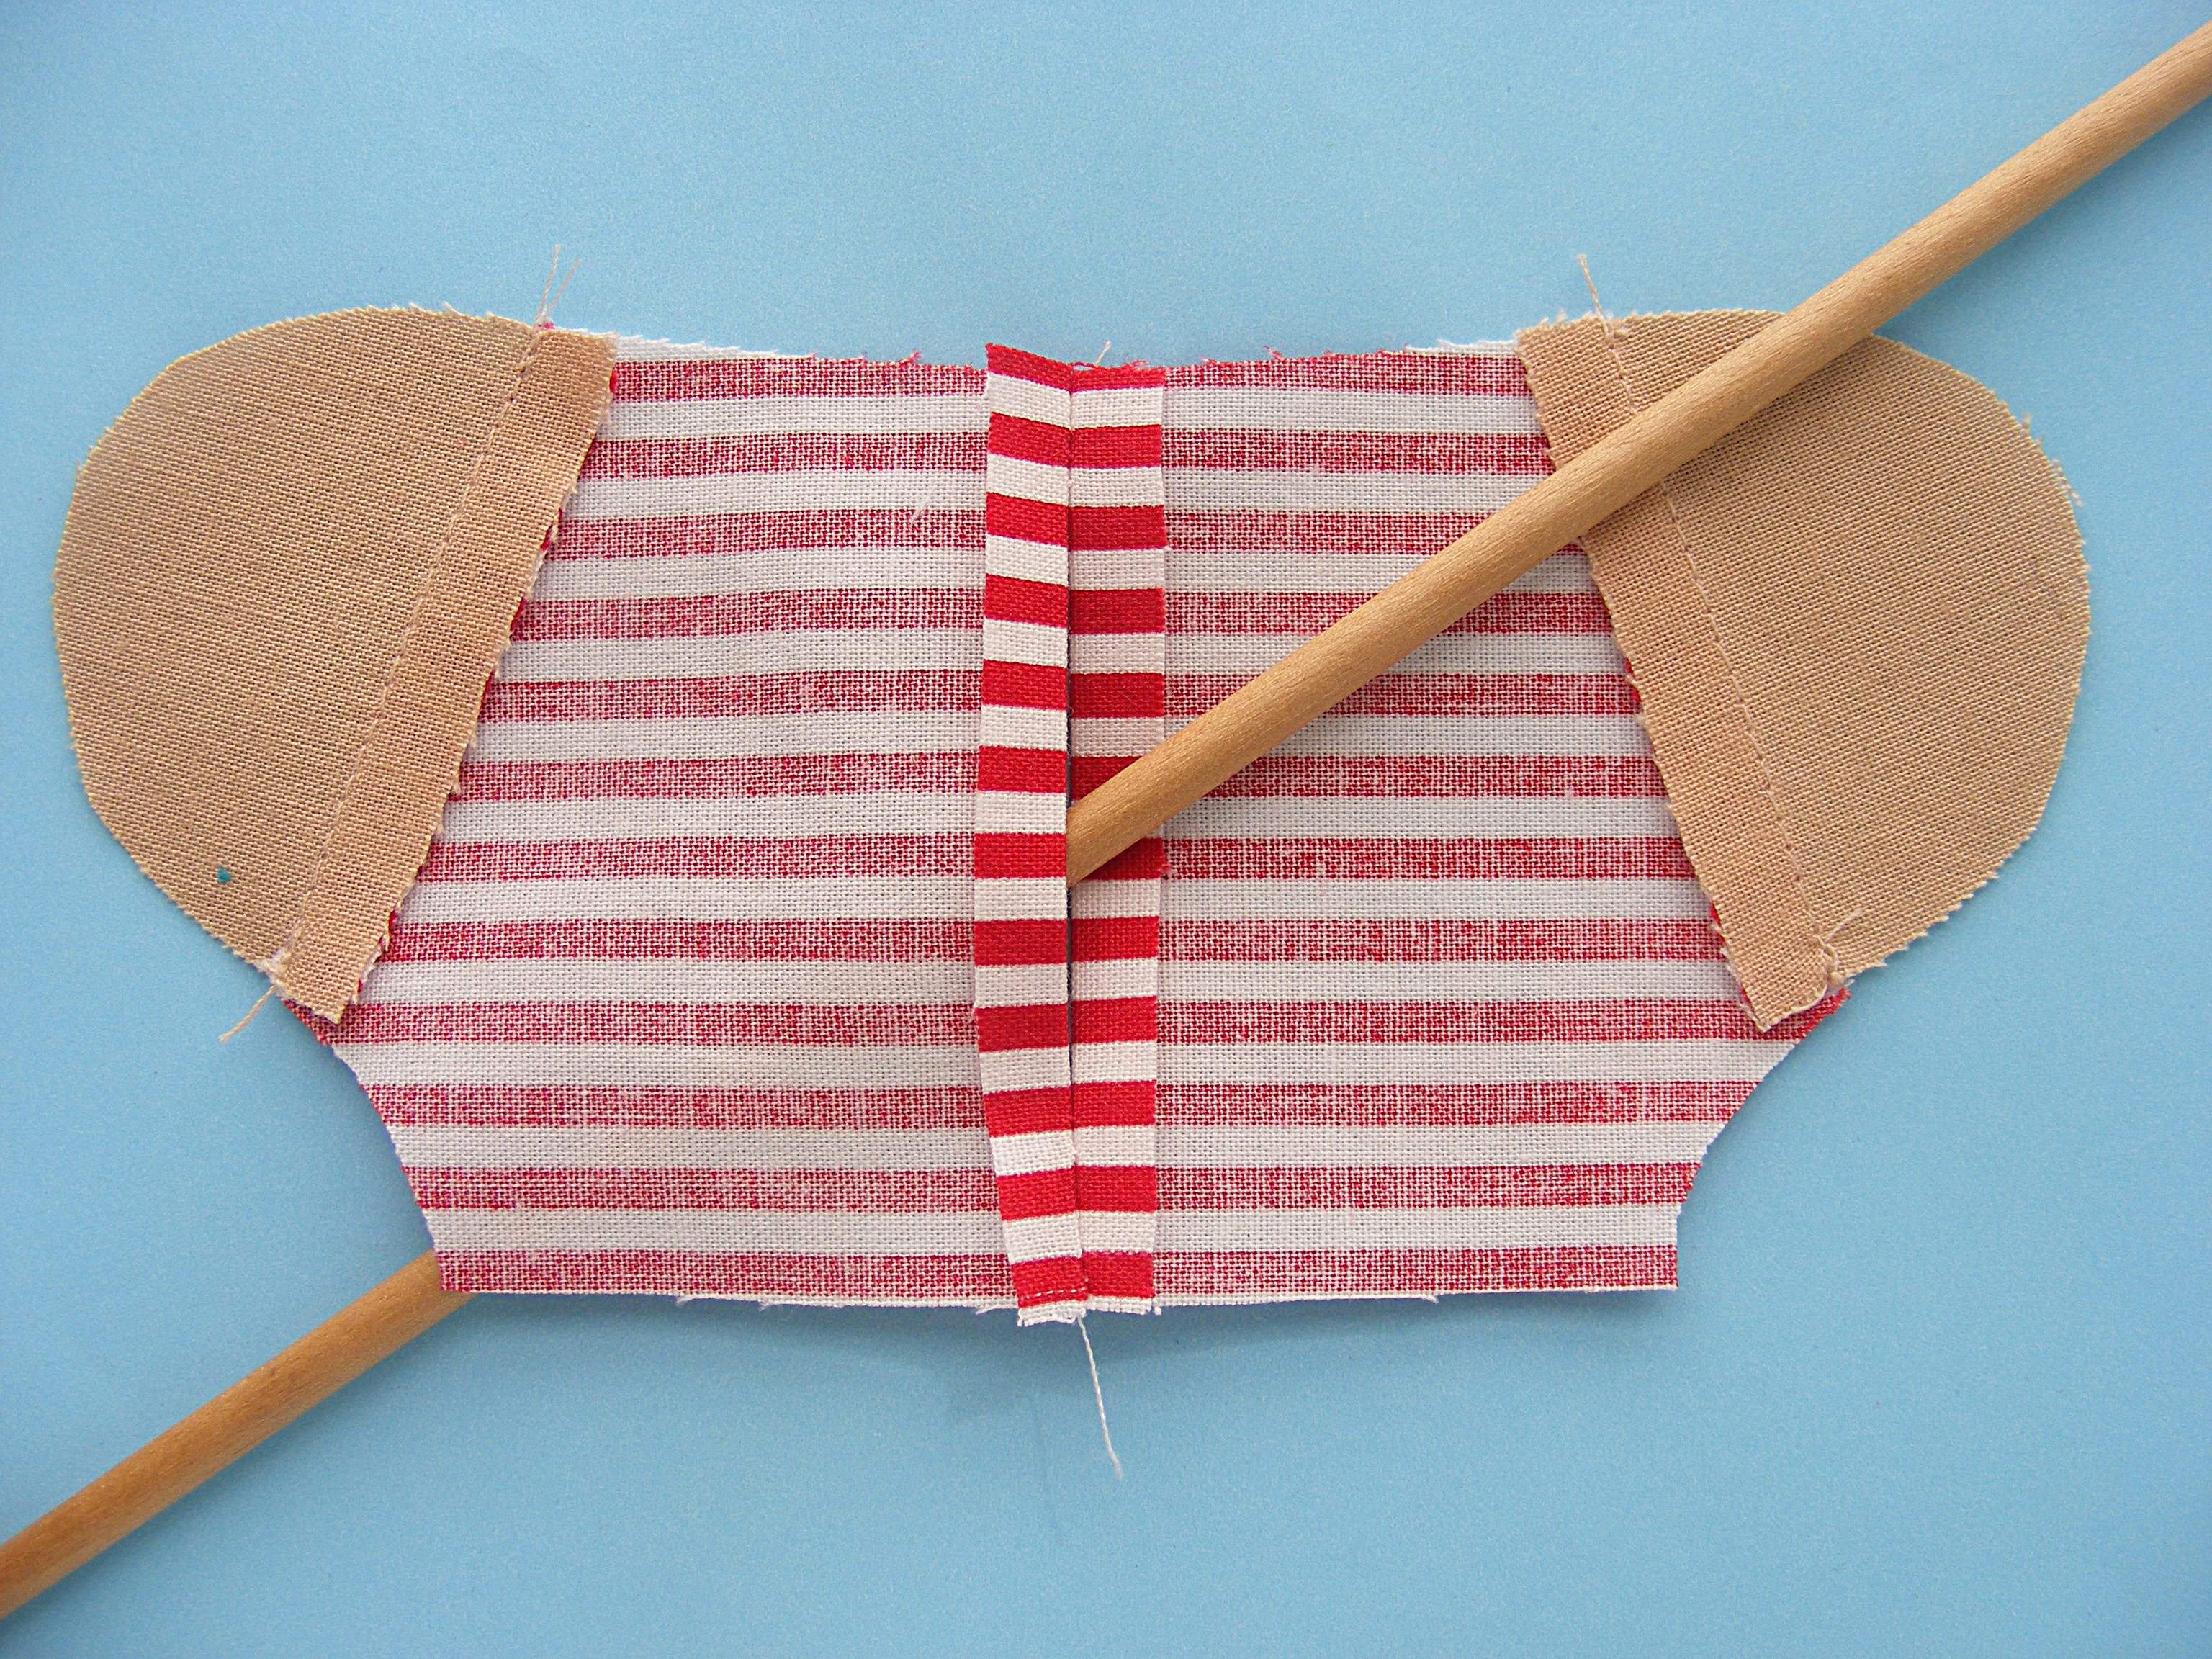
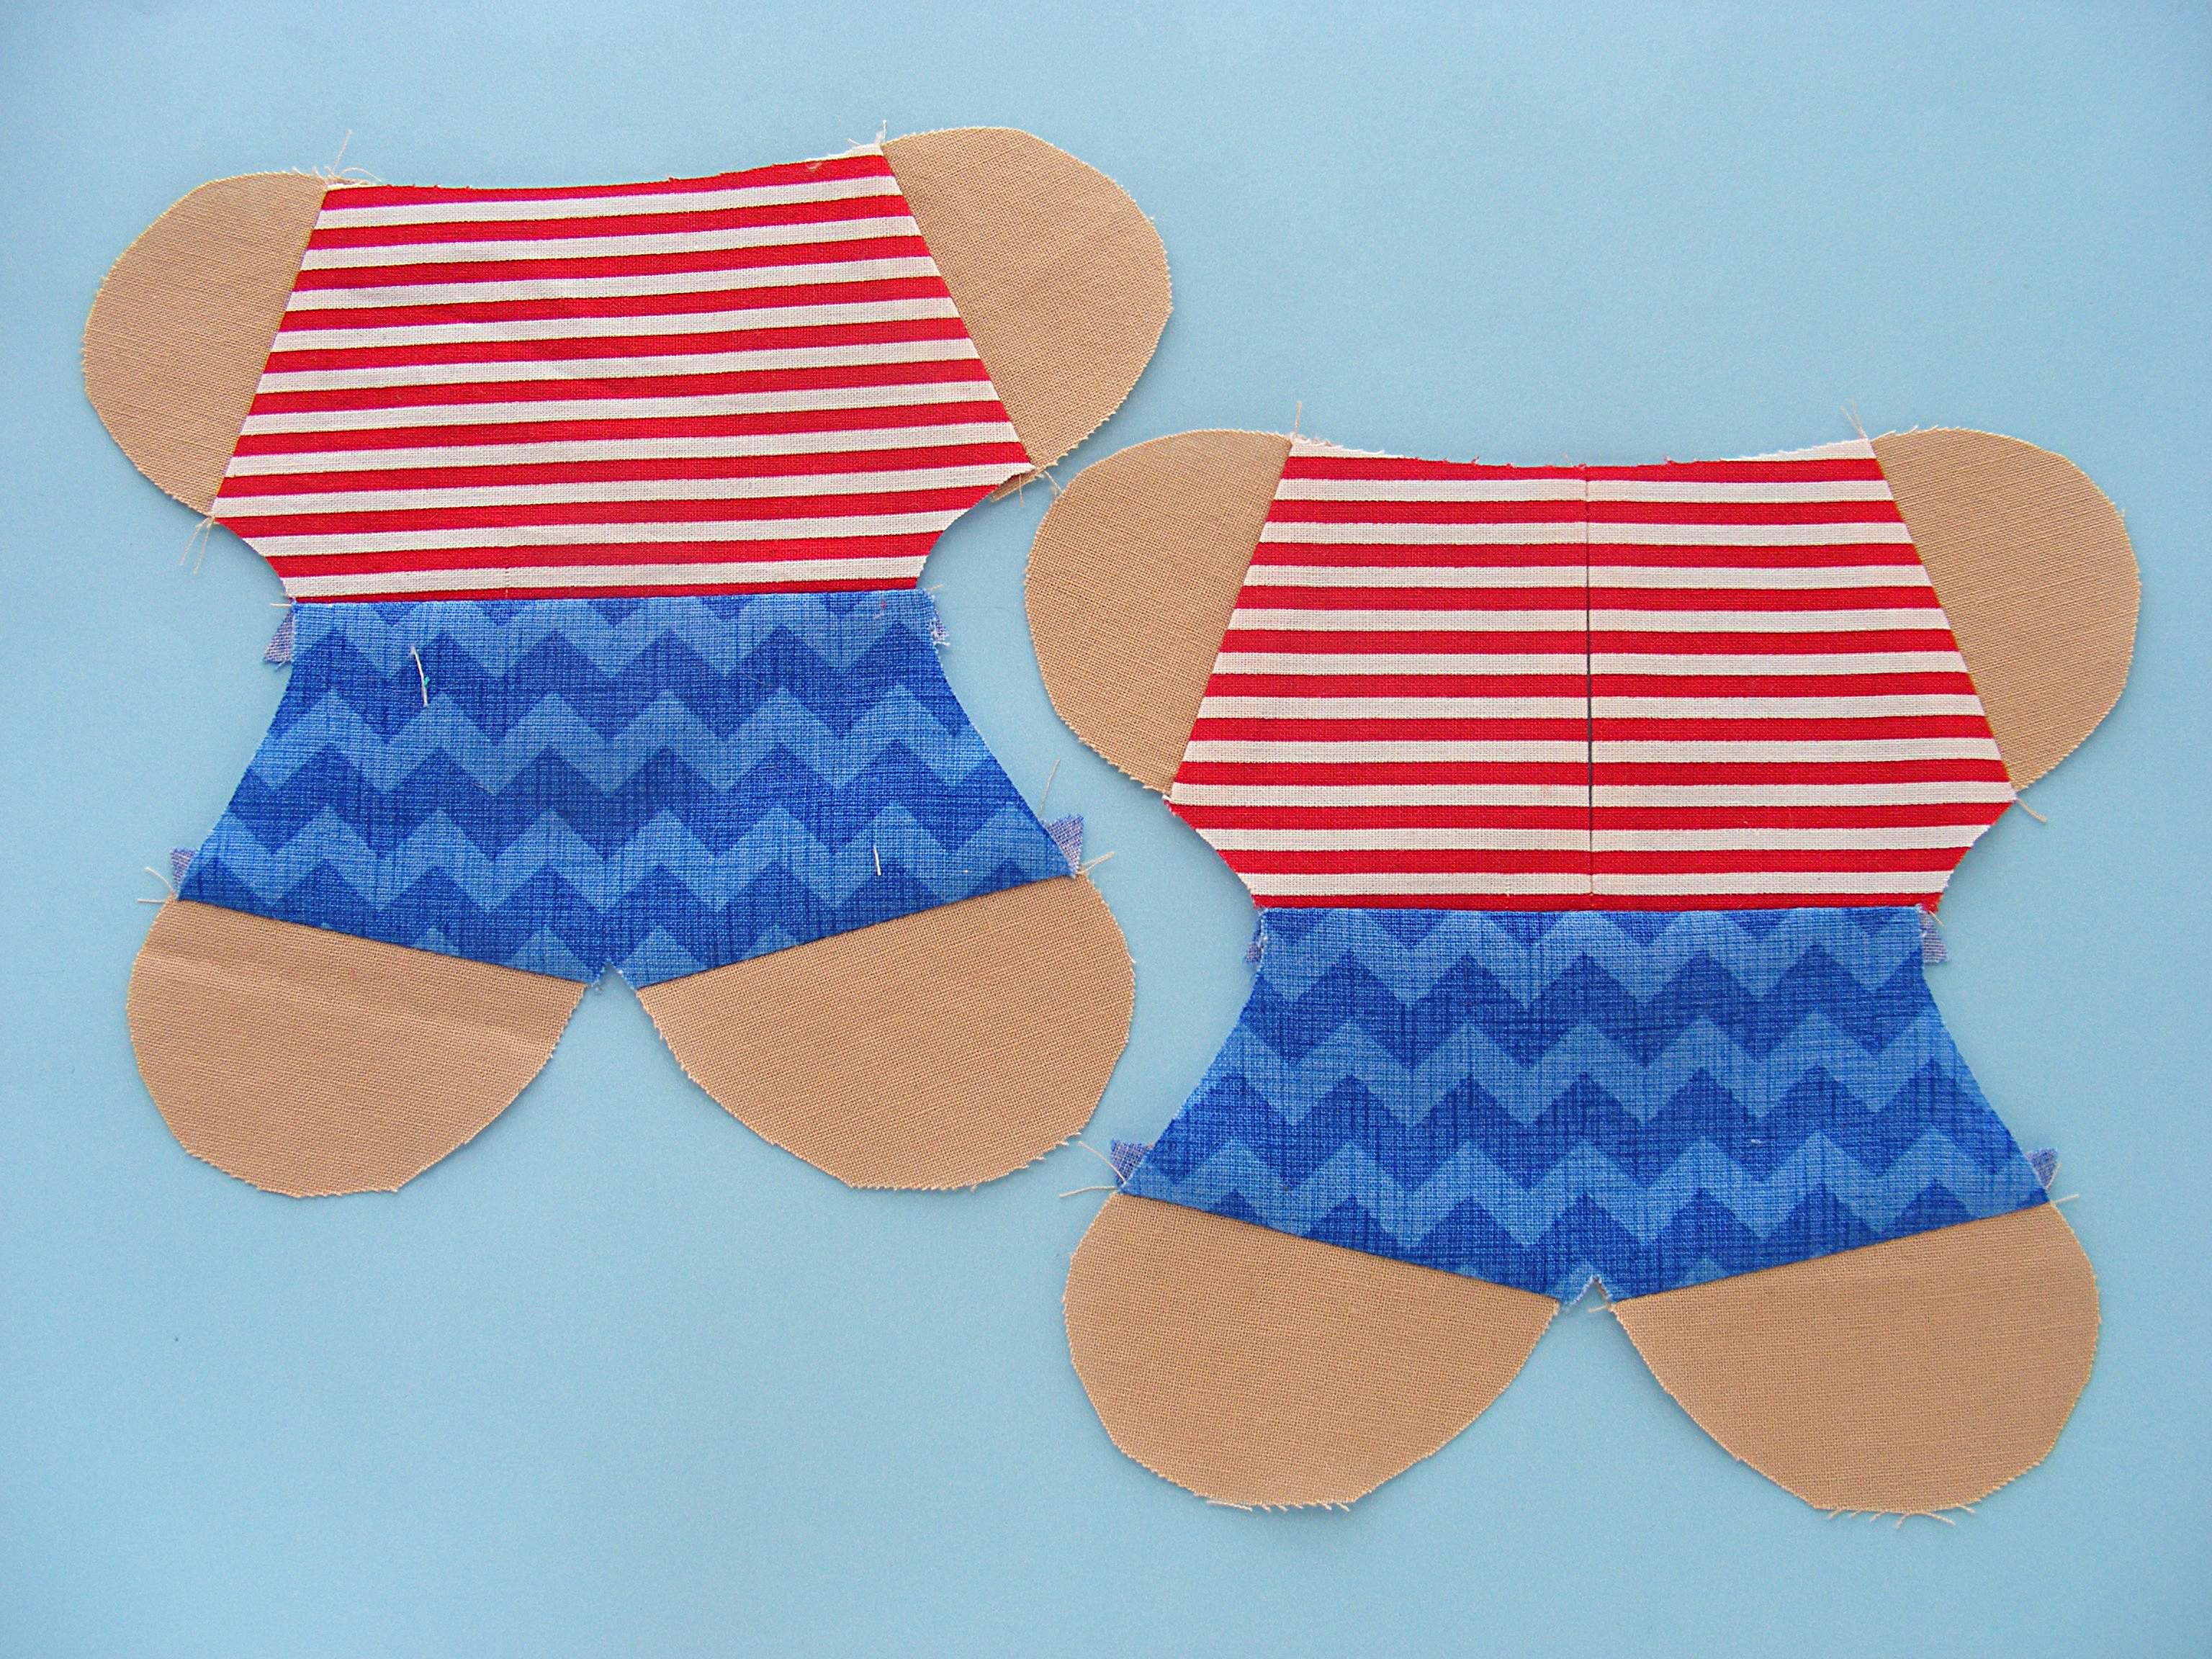
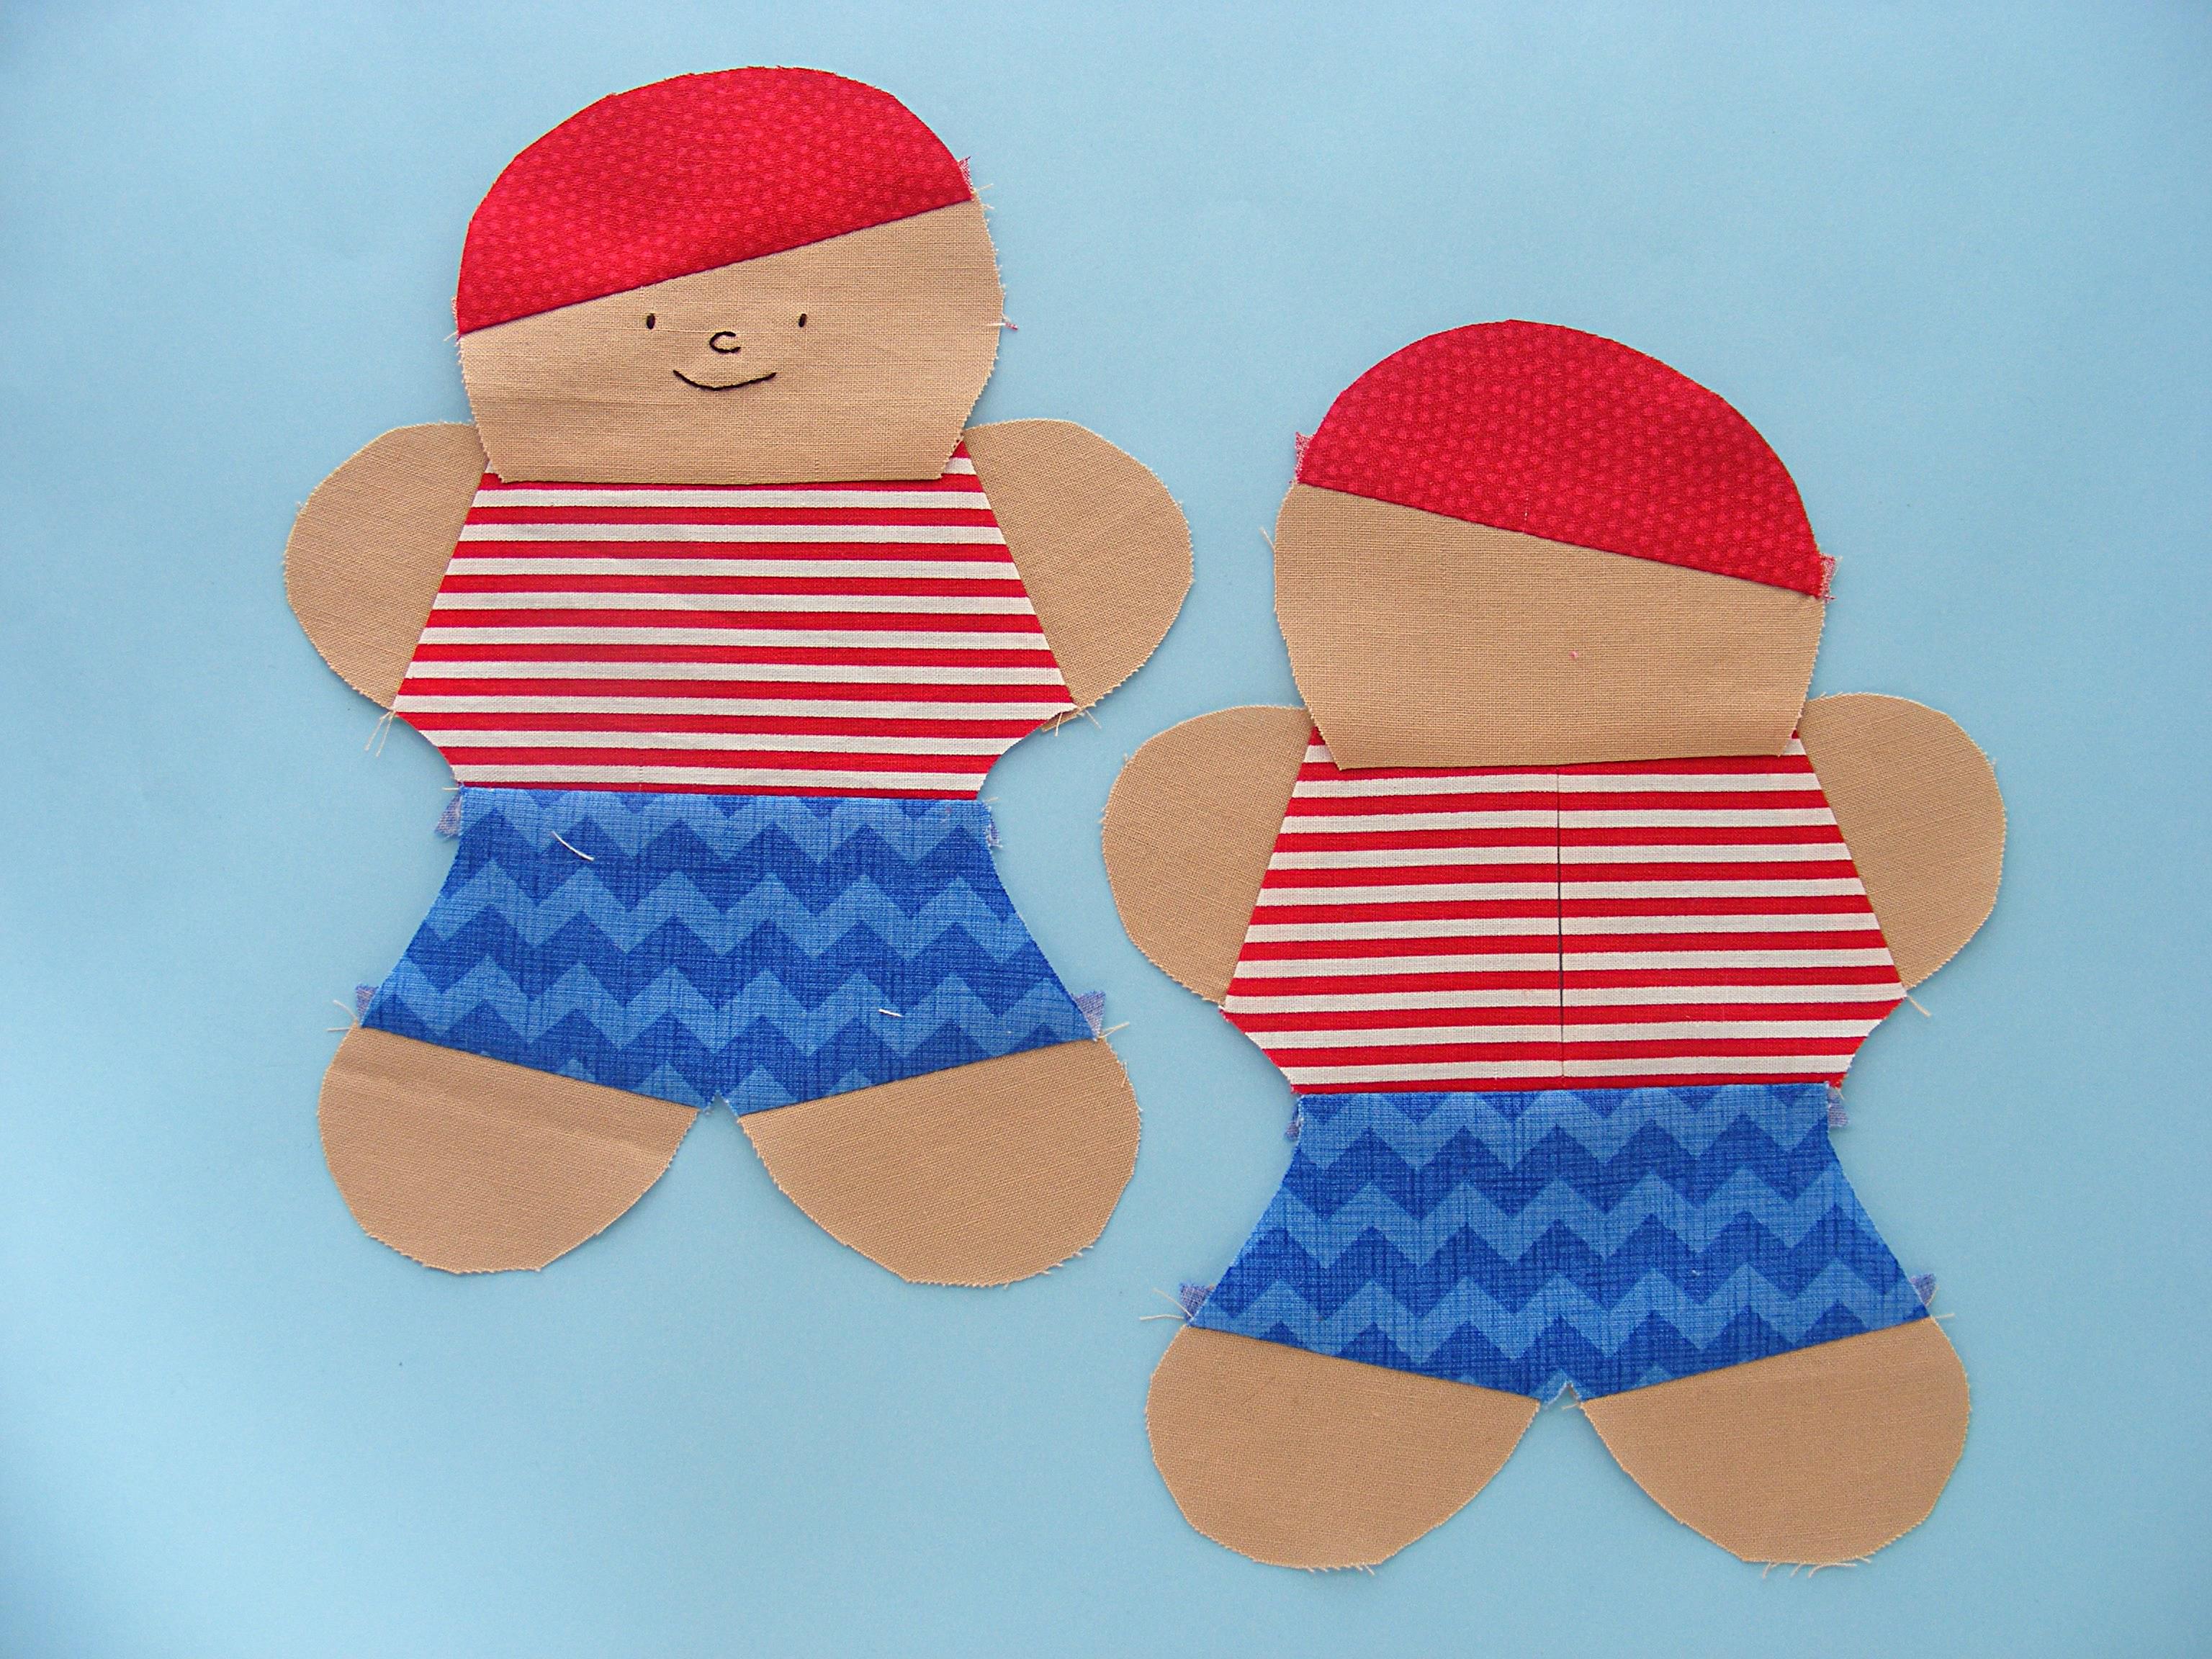
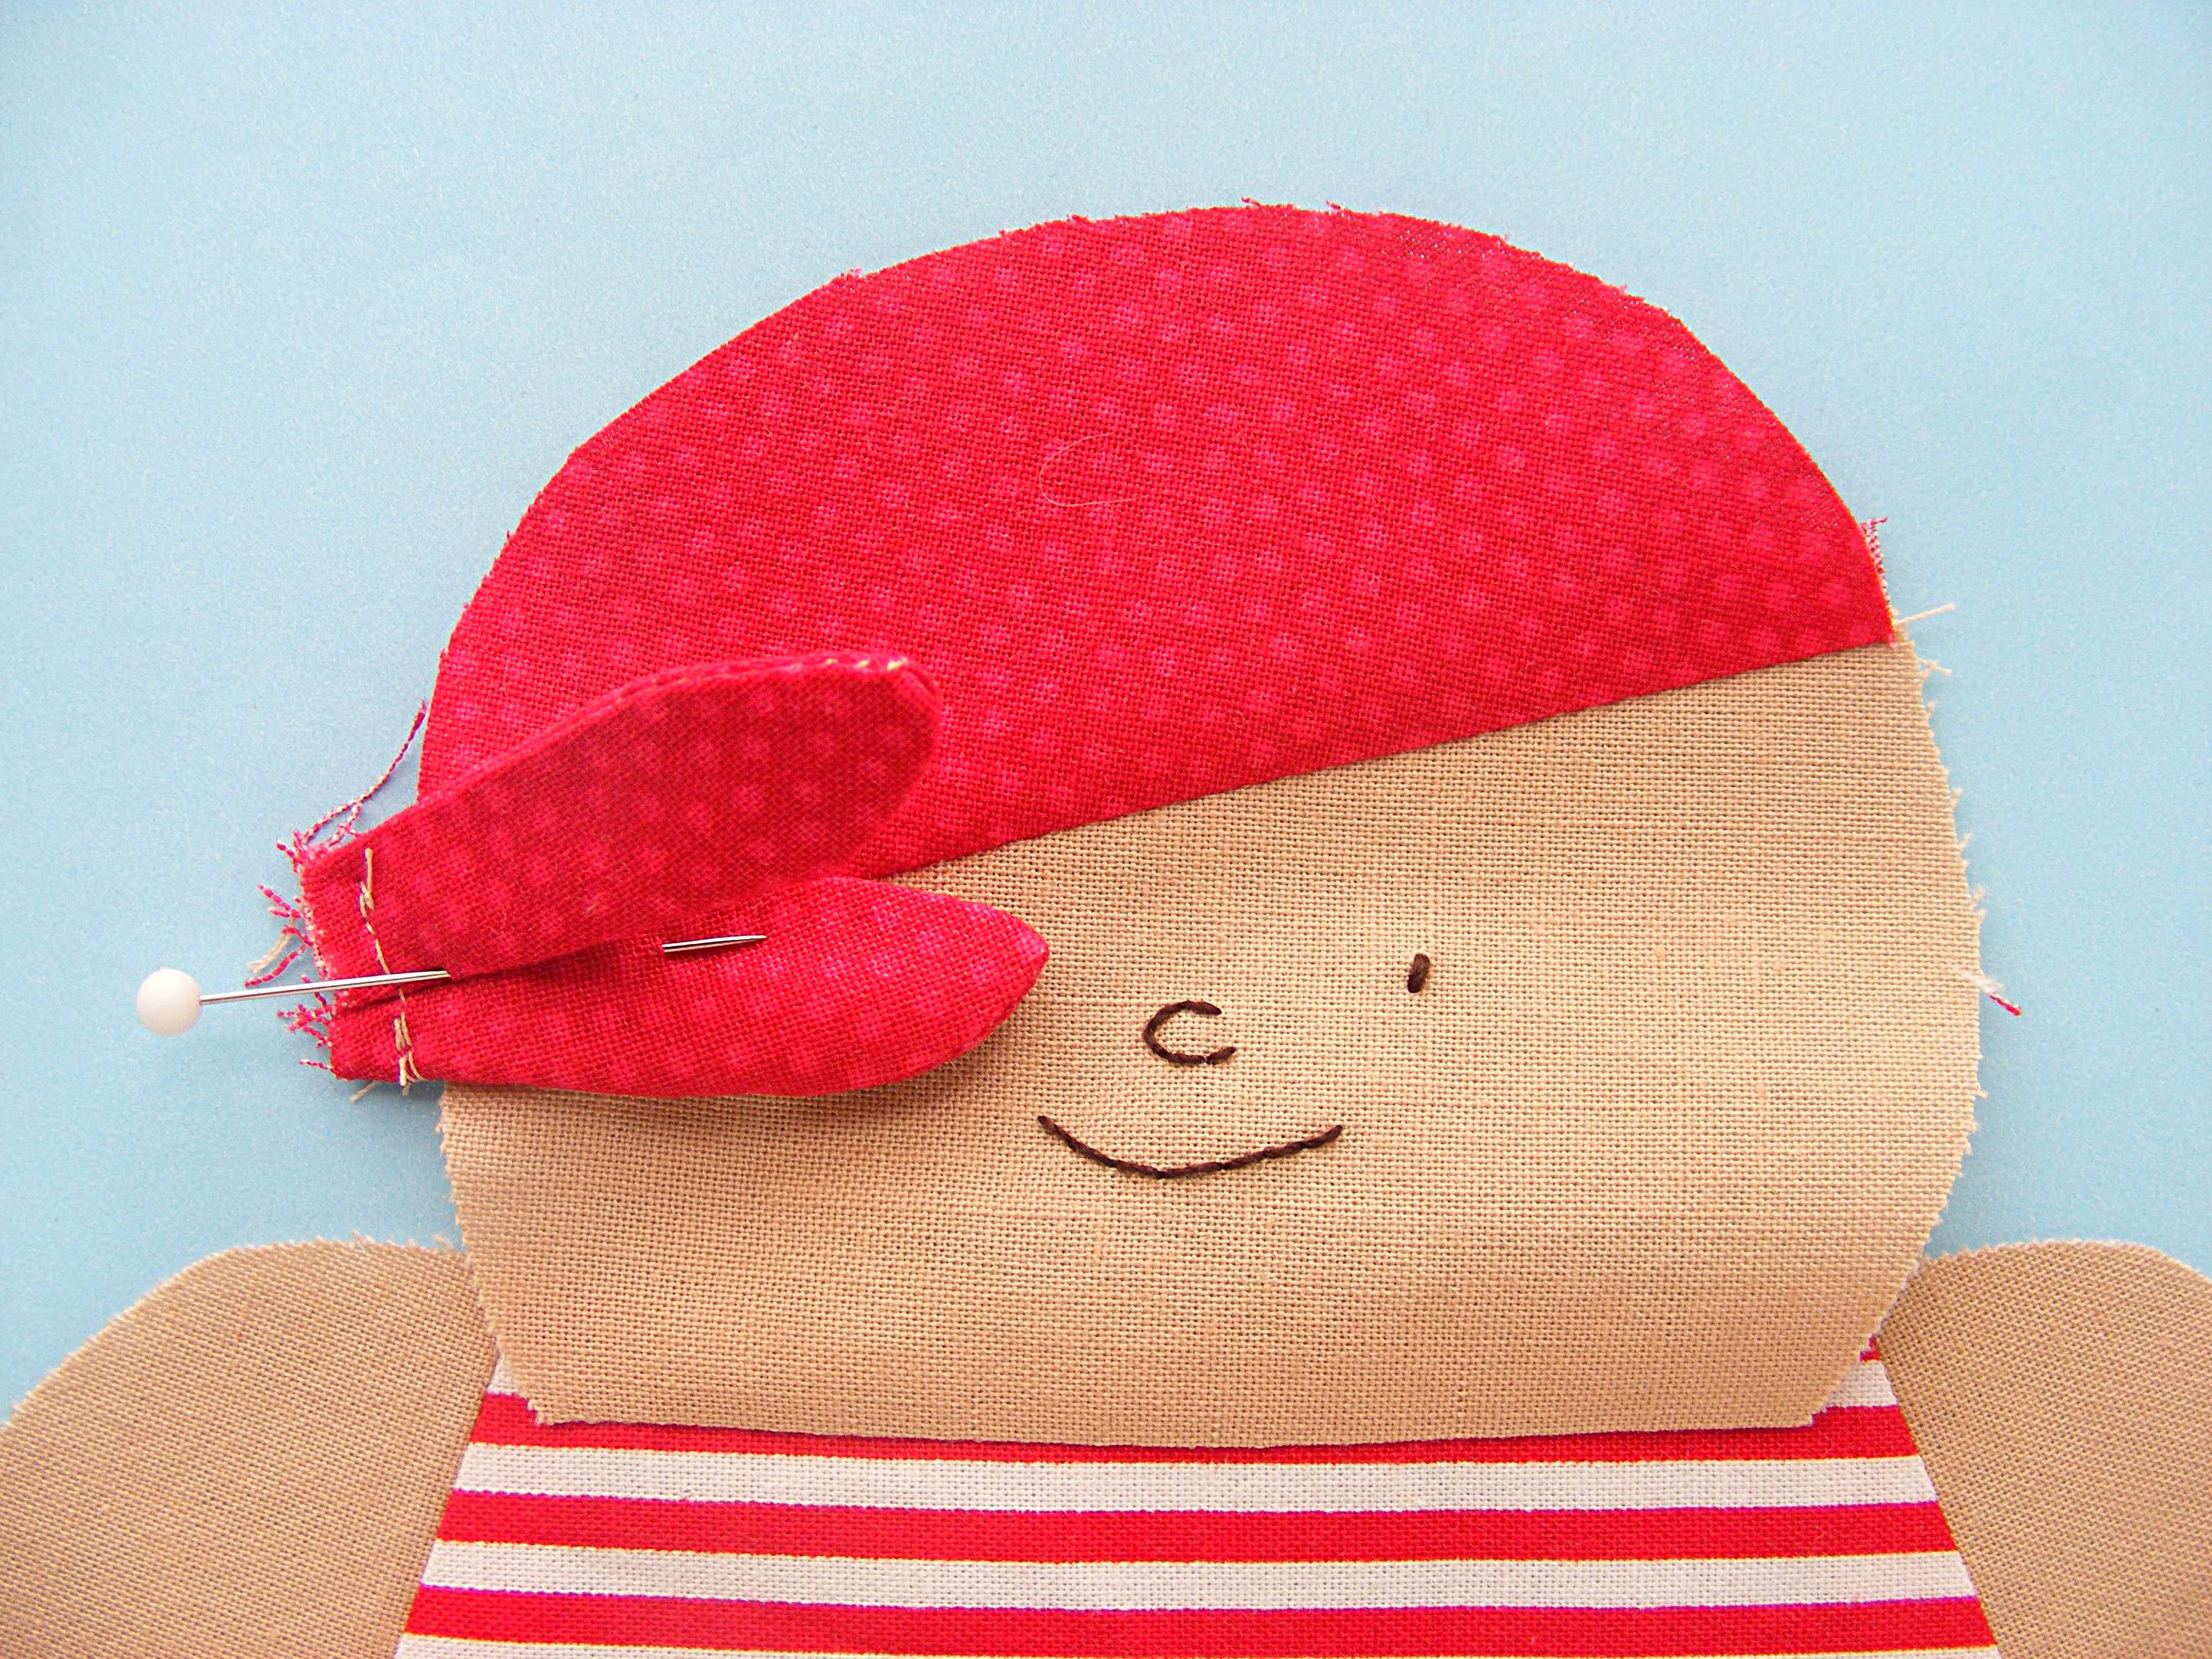
Lots of Warren Bears – All Different!
Kathy has been busy making lots and lots of Warren bears to send to Aids orphans in South Africa through the organization Knit-a-Square. Just look at them!
 I love how bright and colorful they are!
Kathy writes. . .
You can probably tell how much I love making them, and am building up supply choices so each bear is different. Then each child will feel individual and special, well I hope so anyway. 🙂
I love the addition of the stars and butterflies!
Pattern: Warren the Charity Bear (free)
More Charity Bears
Caroline also donates her bears through Knit-a-Square. Look at the pretty ones she made!

I love those soft pink ones! And the brown bear has terrific eyes!
Pattern: Warren the Charity Bear (free)
Fabulous Leonard
Leonard is one of my favorite patterns, and this version is spectacular!

I love, love, LOVE the color choices! So perfect and monstrous! And that furry back. 🙂
Pattern: Knuckleheads
A Sweet Warren
I love this bear that Laney made!

Look at that herringbone tummy patch! It matches one of the squares in the quilt!
Pattern: Warren the Charity Bear (free)
A Squishy Bertie Bunny
Look at the bunny that Patricia made!

She writes. . .
I thought you might like to see a picture of Buster in white velour. I had forgotten how tricky velour can be as it insists on curling. Happily, our fabric store did have the doll needles. I made him for my great niece’s first birthday, along with a pile of favourite books my grandsons no longer read.
That velour can be kind of a bear to work with (the curling makes me crazy) but it does make spectacularly squishy softies. 🙂
Pattern: Bertie Bunny
An Epic Pile of Charity Bears
This just takes my breath away!

Beatrice made all of these bears to donate to orphanages and cancer hospitals in Egypt, where she lives.
How many?
The photo shows 54 bears, but she’s actually made 62. 62 bears! And they’re all baby safe with sewn-on eyes.
Wow!
Pattern: Warren the Charity Bear (free)
Milton Monkey
Karen made this dapper monkey.

She writes. . .
My dog Zoey want this to be a squeaky toy sooo badly!
My dog Augie always wants to check out the softies I make – but they’re never for him. He can chew through one in minutes!
Pattern: Milton Monkey
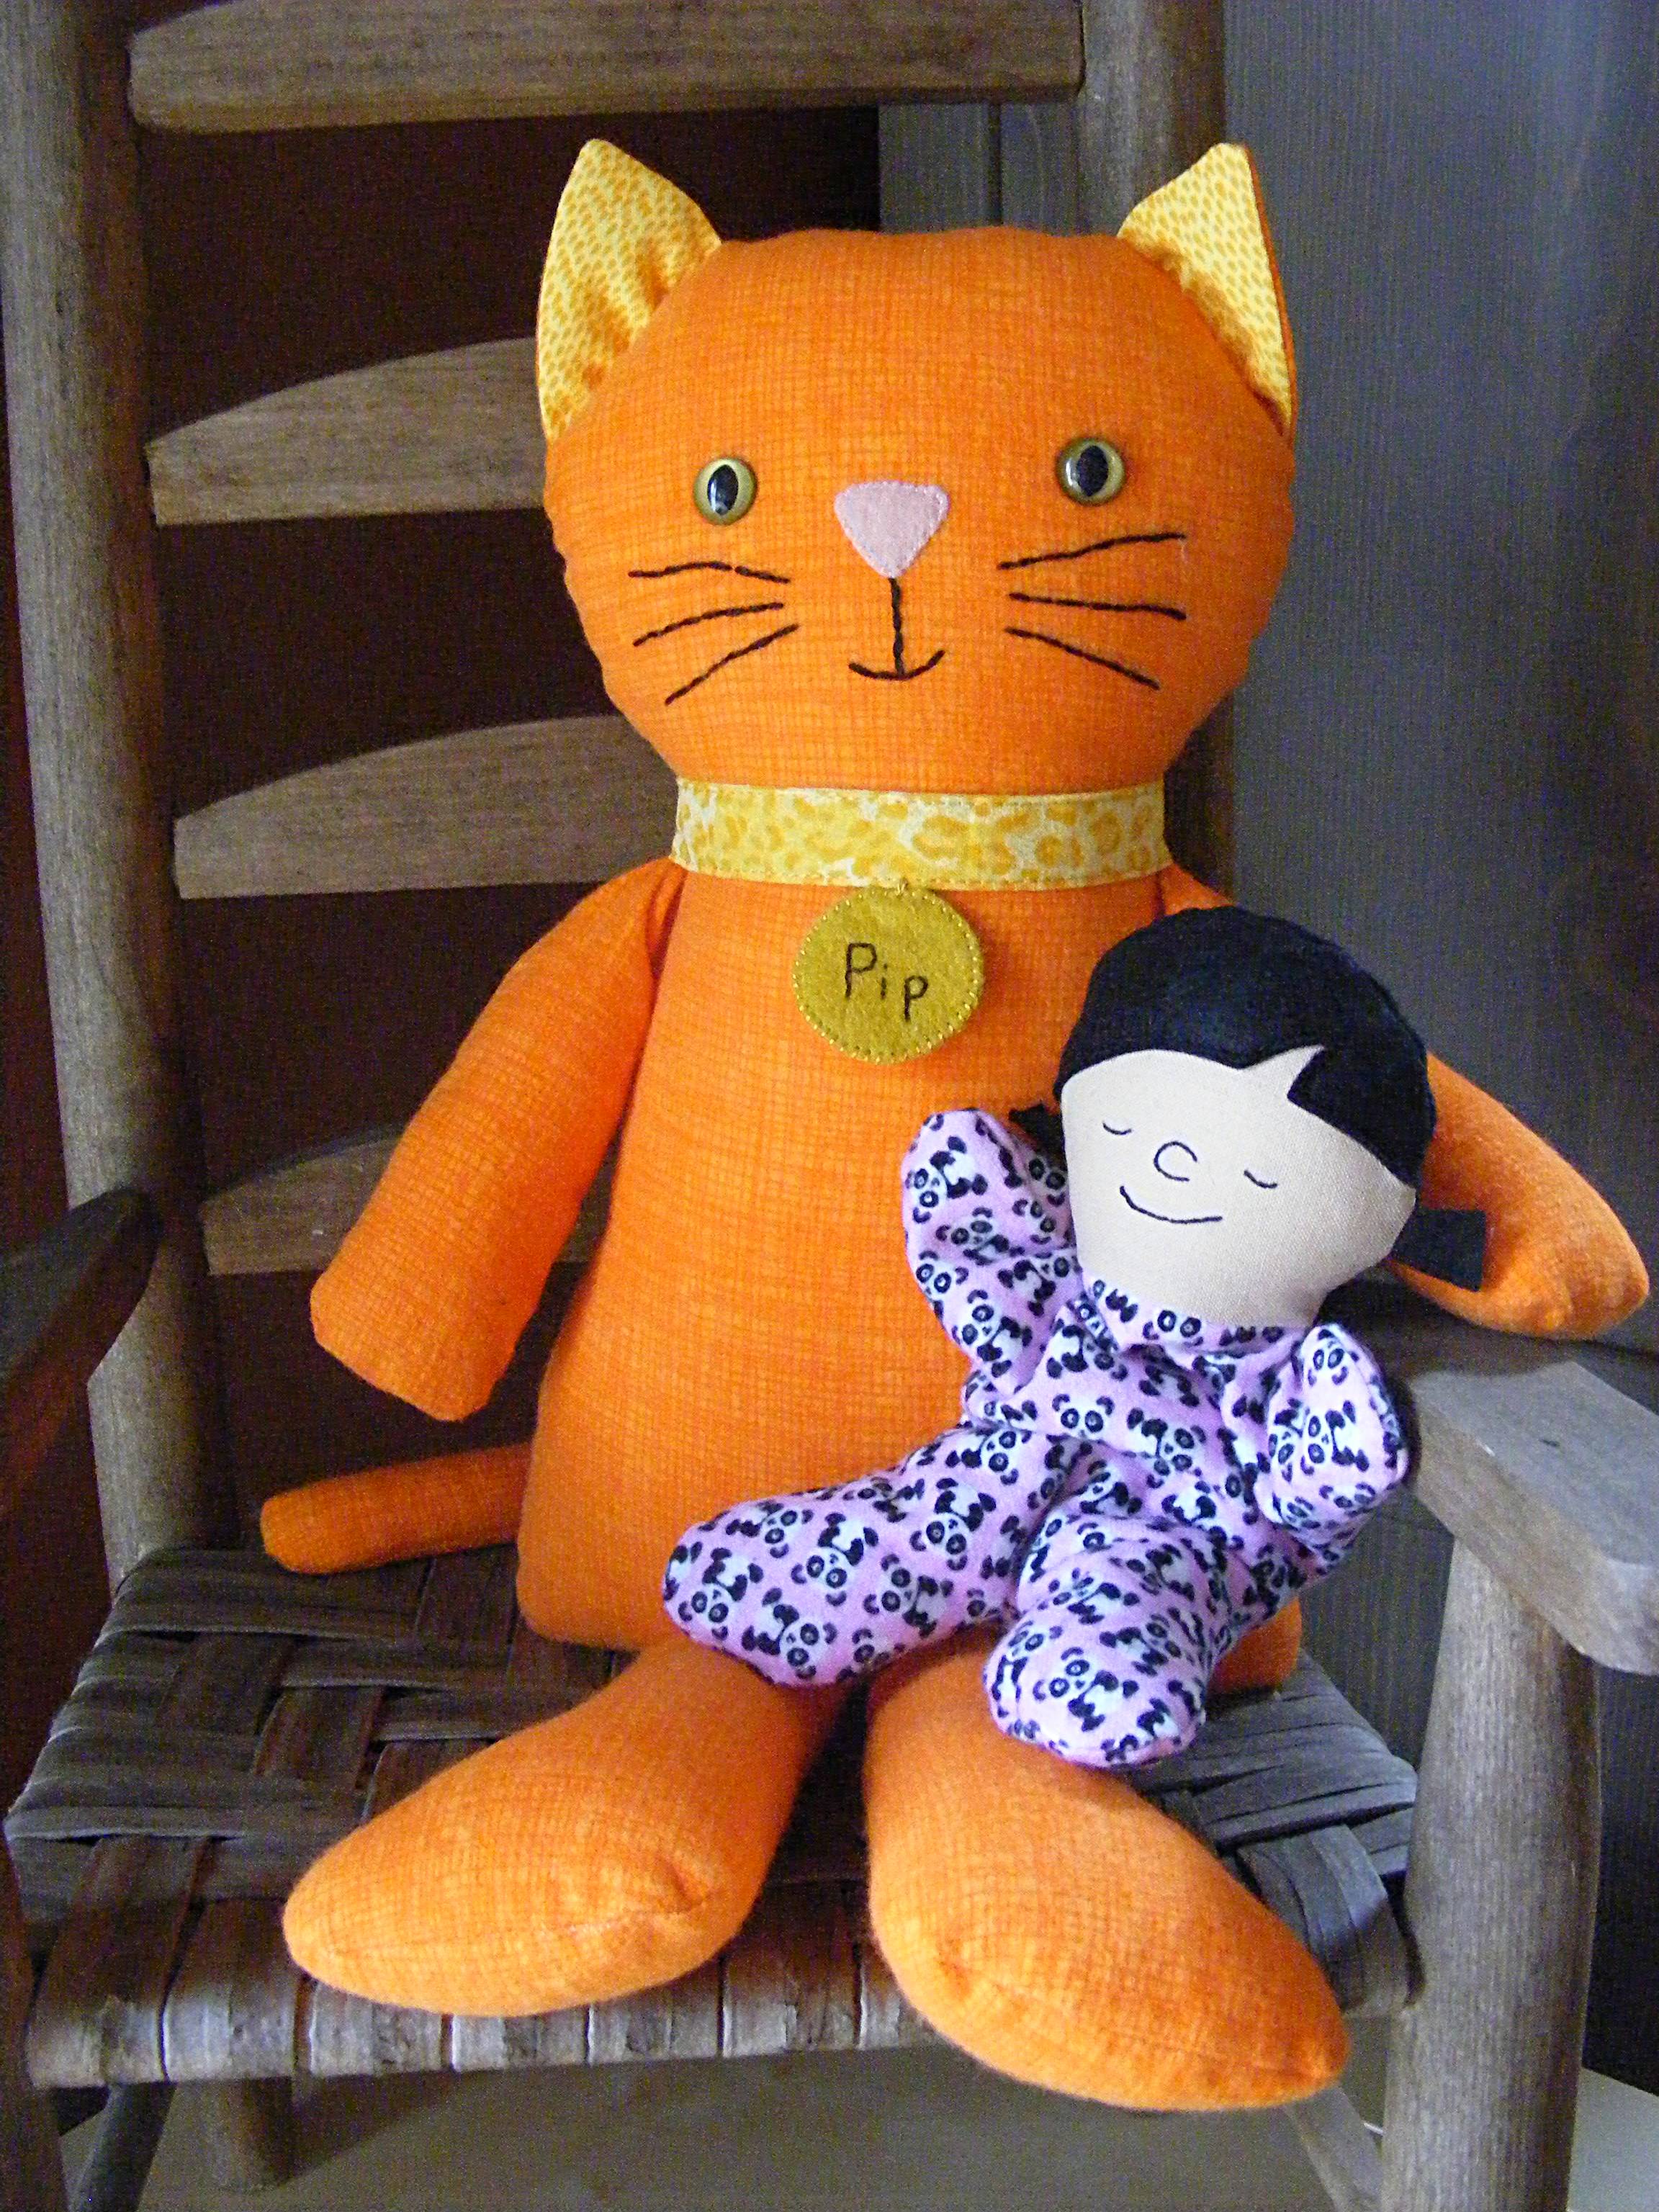
A Sweet Piggy
Terri made this adorable round piggie!

Isn’t she a cutie! Her name is Petunia. 🙂
Pattern: Percy the Piggy from the book Creature Camp
A Pair of Silly Monkeys
Brett made two monkeys!

She writes. . .
Here’s my Milton. He turned out so cute! My daughter wanted him to have a friend, so she picked out this pretty lady. Love the bow!!
I love the pink tummy! And using the bowtie as a hair bow is a great idea!
Pattern: Milton Monkey
Best Friends
Susan made this adorable Elliott and his best friend, Maurice.

Aren’t they cute together?
Patterns: Elliott Elephant and Maurice the Mouse
And a Milton
Susan made this Milton too!

I love him!
Pattern: Milton Monkey
AND a Pig AND a Puppy!
Susan made these cuties too!

Wow – she’s been busy! She writes. . .
I wanted to show you the two softies that I made for my niece and nephew in San Diego. We Facetimed with them on Christmas, and my sister-in-law said my niece loved Nellie – I also included a spiderweb and Aranea as well.
Love!
Pattern: Nellie the Pig and Buster the Dog
A Wee Mouse
Marian made this little black and white mouse as a holiday gift.

She posted about it here. You can find more info there too about that Santa. 🙂
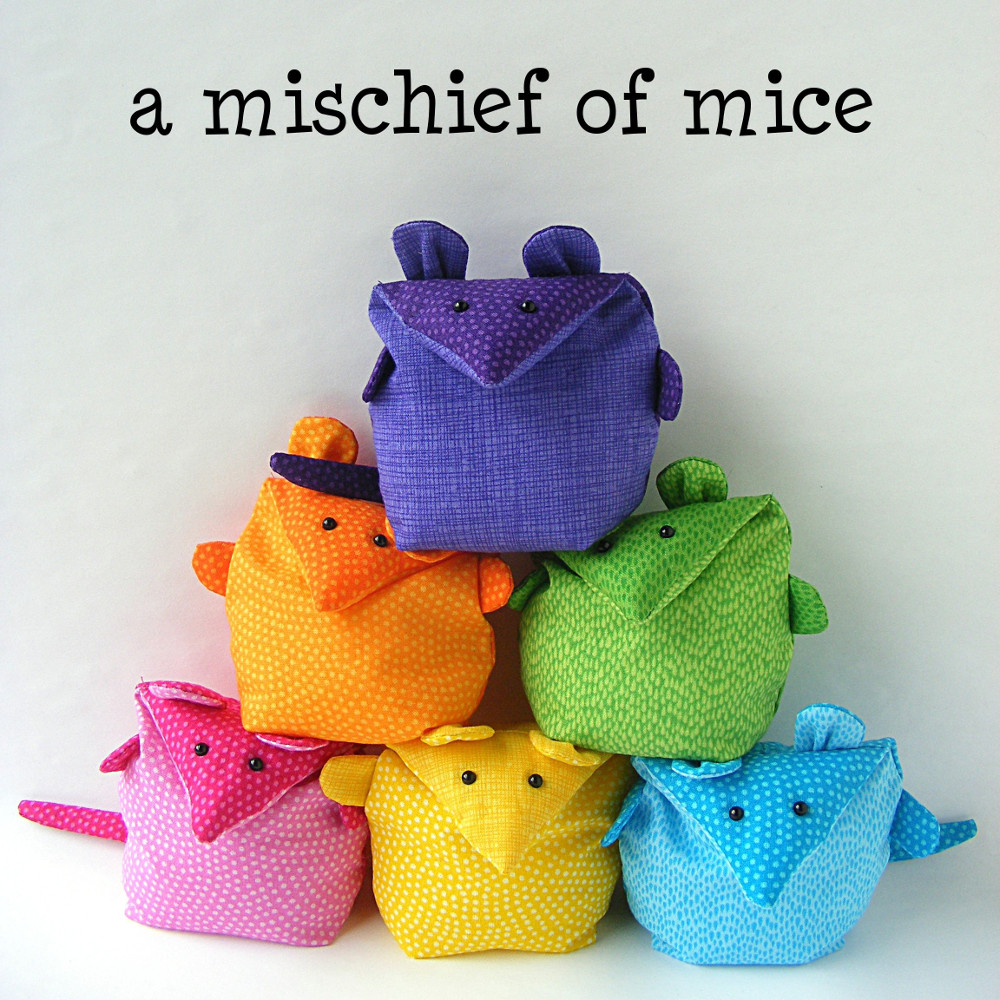
Pattern: Mischief of Mice
Silly Friends
Susan sent in this cute photo of Nellie with her best friend Aranea sitting on her nose. 🙂

Patterns: Nellie the Pig and Aranea the Spider
A Silly Snake
My little Snake Charmers pattern is often the first thing kids grab when I teach classes. I love what Emma did with it!

She enlarged it (a LOT!) and made an awesome boa constrictor!
Pattern: Snake Charmers (free)
A Spunky Puppy and Kitty
Normajean shared these incredibly cute photos of her new puppy chasing her kitty up in a tree.

She writes. . .
I bought your Buster pattern last week. You said he’s a drooly dog, but you didn’t warn us that he’s so scrappy and spunky! The phat cat is still up in the tree! That’s one spunky puppy. I didn’t have any pellets and live over an hour away from any fabric/craft store, so I put a ball of fiberfill only in the ends of his ears. I used a lighter shade of yellow for the inside of his ears and front paws. Gotta go with what you have on hand!
Love! Love! Love!
Patterns: Buster the Puppy and Franklin the Fat Cat
Can you believe I still have photos to share? Next week I’ll be sharing some of the places you all donate your creations, then I’ll be back with more Show & Tell. I think the next one may be all Dress Up Bunch dolls and clothes!
Happy sewing!
Best,
Wendi


 I’m picky about eyes – I’ve written about my obsession with eye placement