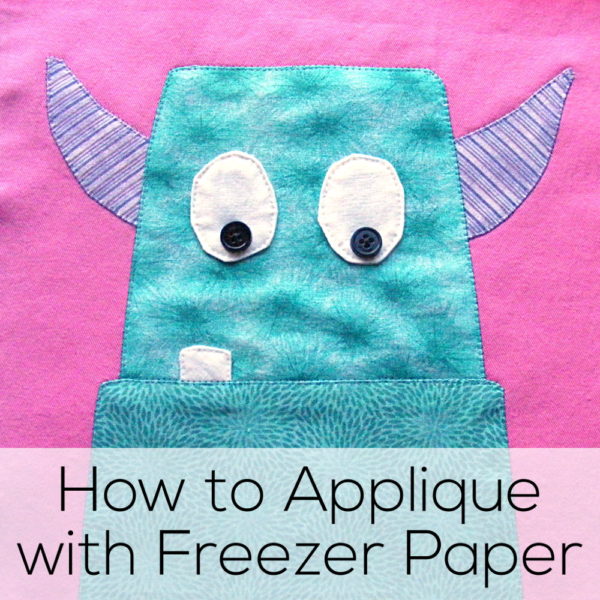
What’s 3D applique?
Well, usually when you applique, you sew the fabric bits in place around all the edges.
But sometimes it’s fun to make them flappy. 🙂 It’s a way to add a playful element to your applique!
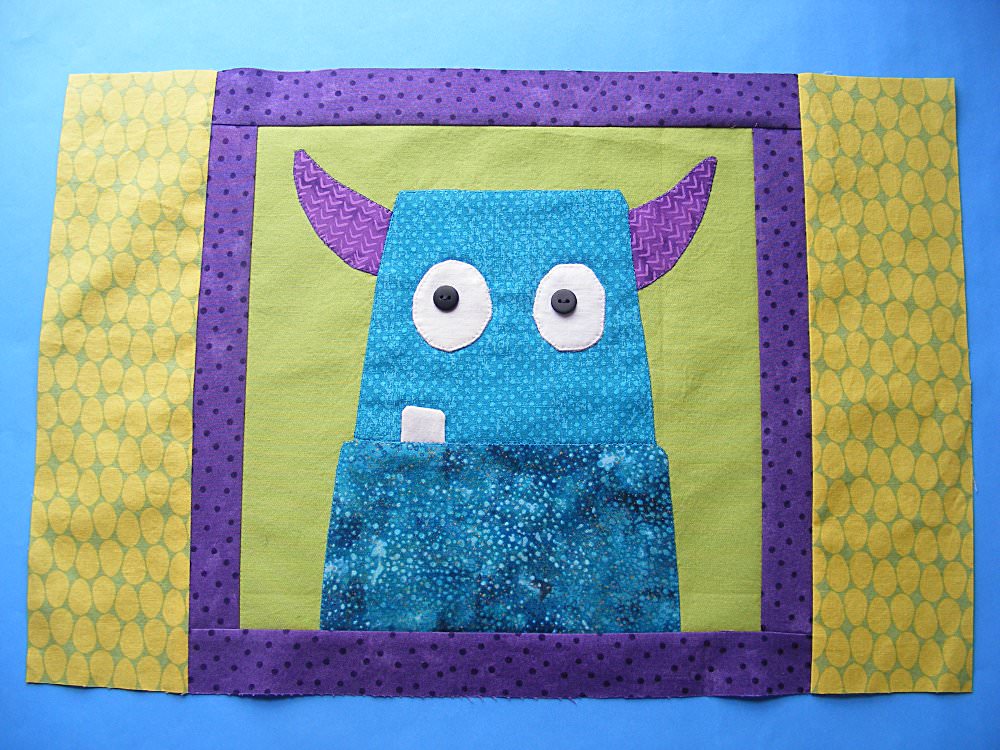
If you look closely at the spikes on that monster above, you’ll see that they’re only attached at the base. That gives them some fun dimension – and makes them fun to play with.
I did the same thing with the teeth on this monster.

Today I’m going to give you some general instructions you can use with any applique pattern.
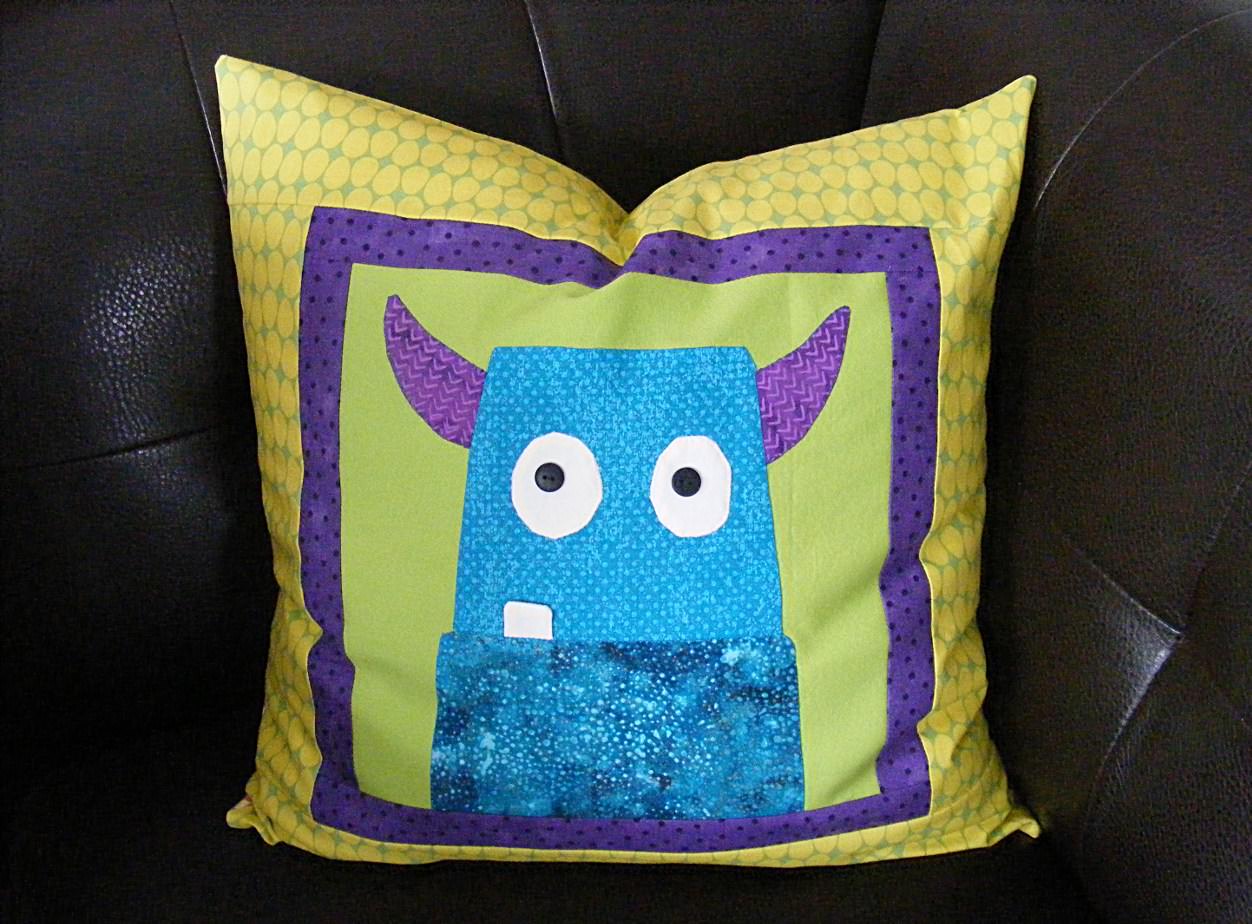
I’ve been working on refreshing the Peekaboo Bear quilt pattern and decided I needed to take new step-by-step photos. I didn’t want to make a whole new quilt, but Jo asked for a new pillow and that was just right.
I decided to make the ears flappy – with satin linings on the front. Oooh! Satin! Fancy! This would be especially fun to do on a baby quilt where that satin can be a soothing sleepytime thing. 🙂

Here’s what you do. . .

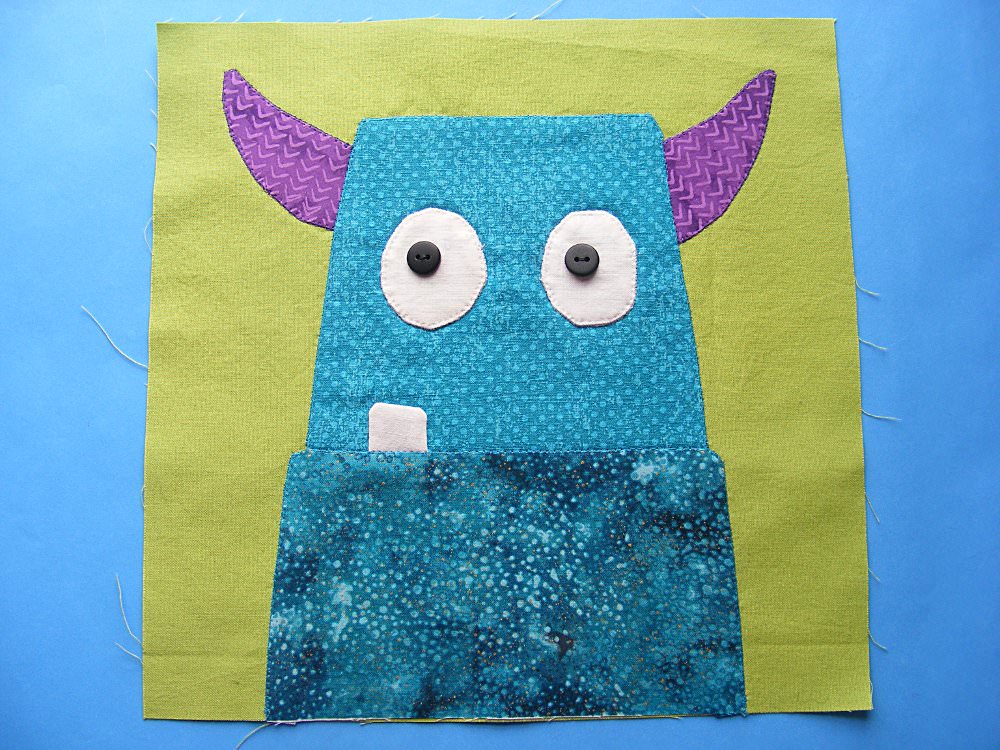
Cut out the freezer paper pattern as usual.
Fuse it to the back of a piece of fabric, as usual. But don’t cut the pieces out!
Instead, layer that piece of fabric with another one, right sides together. Sew around the freezer paper piece, leaving unsewn where it will tuck under another applique piece. In this case, I sewed around the tops of the ears and left the base unsewn. I removed the second freezer paper ear so you could see the stitching more clearly.

Now cut out the ears, leaving a little less than 1/4 inch seam allowance all around the shape.
Turn the ear right side out and press it flat.
Voila! You have a finished shape, ready for applique!

Tuck the shape in place and stitch it down. You’ll sew the larger piece (in this case the head) in place, right over the base of the ear. Since the rest of the ear edges are all finished, they don’t need to be stitched down.
You have a flappy cute ear!

I use this 3D applique technique most often on ears, hair and teeth, but it’s great for any little flappy bit. How about a lolling tongue on a puppy dog? Or a collar on a shirt? Or the wing of a bird? Or flower petals?
If you want to make a larger piece that’s flappy, but not floppy, you can use some soft foam inside. I give instructions for that here.
Have fun with it!

Here are links to all the posts showing how to applique with fusible adhesive – my favorite method. It’s fast and easy and (with the right materials) it holds up beautifully to rough use and repeated washing.
- How to Applique with Fusible Adhesive – a very basic intro
- How Durable is Applique with Fusible Adhesive?
- Fusible Applique the Easy Way – the way I currently work – use with any of my patterns that include SVG files
- How to Use a Light Box to Layer Your Applique – perfect placement every time
- How to Applique with Fusible Adhesive – photo tutorial – use with any of my patterns that do not include SVG files
- How to Applique with Fusible Adhesive – video tutorial – use with any of my patterns that do not include SVG files
- How to Window Cut Fusible Adhesive – if you’re worried about stiffness
Here are links to special posts about eyes.
- Easy Eye Options for Applique
- Using Fabric Markers and Paints for Small Eyes
- Free Embroidery Machine Files for Machine-Stitched Eyes
- How to Machine Stitch Eyes without an Embroidery Machine
- How to Minimize Show-Through on White Eyes
- How to Applique Dark Eyes on Dark Faces
- How to Add Catchlights to Eyes
- How to Change the Eyes on Your Applique Patterns (adding lashes or changing to sleepy or smiling eyes)
Here are links to some extra fun things you can do with your applique.
- How to Add a Baby Animal to Any Block
- How to Squish Two Animals into One Block
- How to Add Playful 3D Bits to Your Applique
- How to Add Soft 3D Pieces to your Quilt Block
- How to Add a Door (that Opens!) to Your Quilt Block
- How to Give Your Monster an Underbite
- Fake Trapunto (Stuffed) Applique
- Broderie Perse Applique
Other Applique Methods
Finished with this topic?
Return to the Let’s Make a Quilt main Table of Contents.
Move on to the lessons about outline stitching.
Happy quilting!