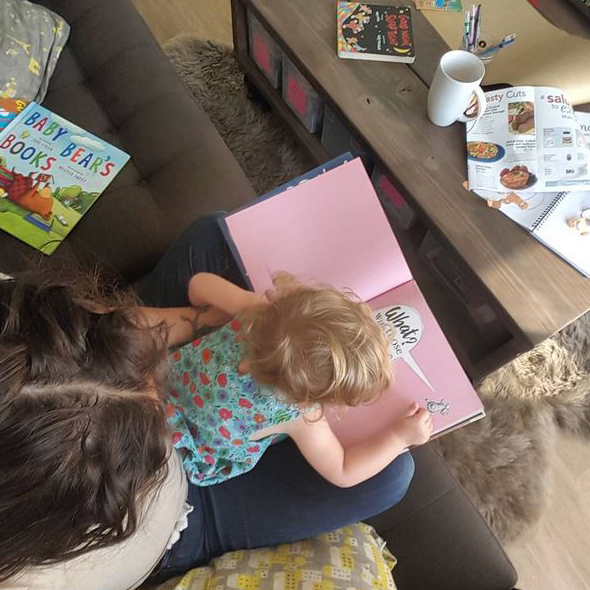
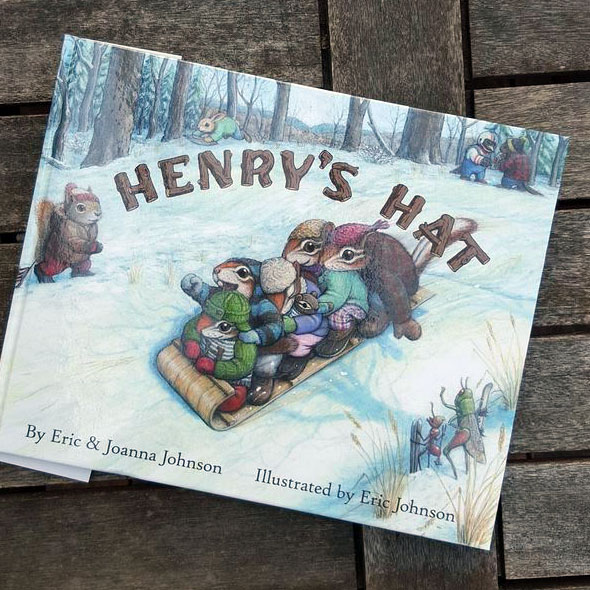
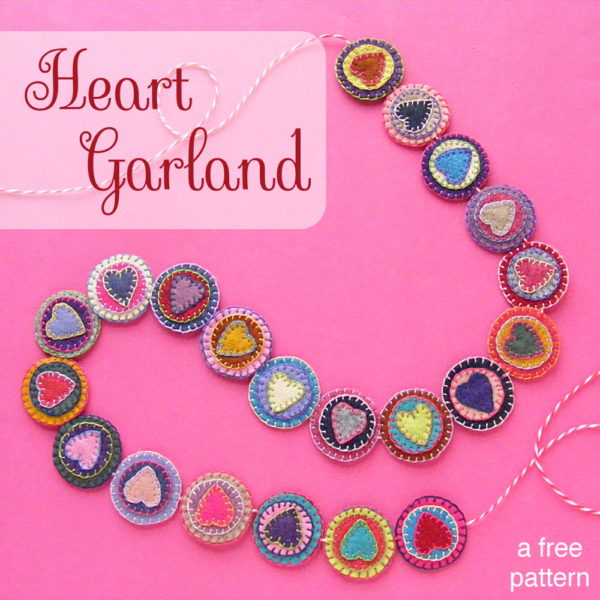
It’s gift-giving time! And I LOVE giving books as presents!
So I’ve compiled a list of Children’s books that contain knitting (or spinning or weaving or yarn… but it’s mostly knitting)! Not all of these books is about knitting, but yarn gets either a mention or an illustrated appearance!
Some of these we already own… but I’ll tell you, I added quite a few to Maddie’s Wish List! Thanks so much to everyone who chimed in on Twitter and Facebook to contribute their faves!
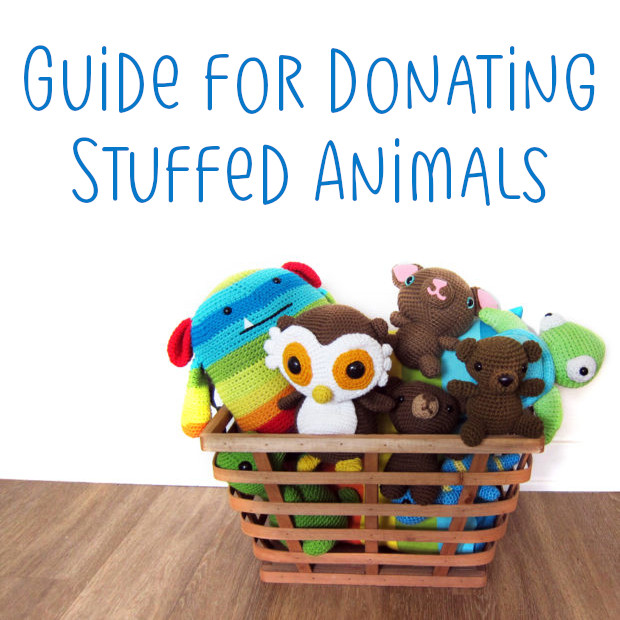
I’m incredibly passionate about sharing the love of stuffed animals with children in need.
In this post, I’ll be sharing tips for finding a local source to receive your handmade creations.
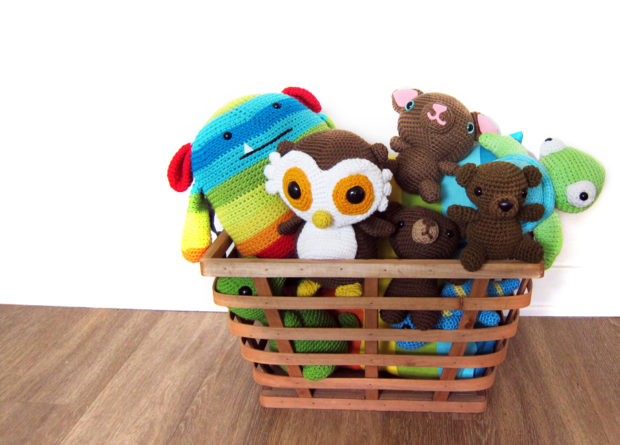
The comfort of a plush
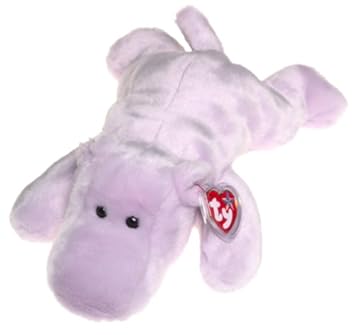
I love stuffed animals and I totally believe in their power to comfort. You had a favorite as a kid, didn’t you? One that you slept with and was like a security blanket?
I had a bear named “Teddy” (creative, huh?) and then I moved onto a purple hippo when given to me by a teenage boyfriend. (It was just like this one, but bigger. Can’t believe you can still find them! I got rid of mine along with the boyfriend).
And now Maddie has a puppy (named “Puppy”) that she sleeps with and feeds in her high chair.
There’s just something so special about having a soft toy to call your own. It’s always there to give you a snuggle.
My love for stuffed animals is why I do what I do: I think everyone deserves that special someone.
Choosing donations sites, carefully
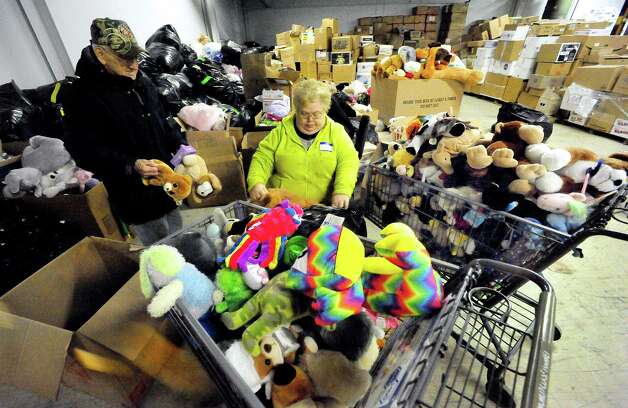
It’s heartbreaking to think about, but there are so many kids who don’t have that special toy. Kids in poverty. Children whose families have lost everything they own in a fire. Foster children who are moved from house to house without any possessions of their own. There is a need for donated plush toys. Especially handmade ones that are created with love.
However, we need to be selective in where we send our animals. After the Newtown shooting, I helped organize a toy drive of handmade animals to send to Connecticut. I was devastated to discover that pretty much everyone had the same idea, and when I visited, I saw piles of animals by the side of the road, left like trash.
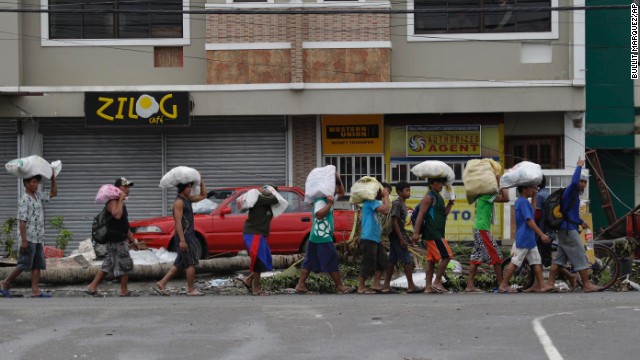
Since then I’ve learned that it’s best to NOT donate toys during a time of crisis. First responders and resources are tied up doing other things, and our best intentions often create an organizational nightmare, which of course, isn’t what we intended! For more details and my thoughts on the issue, please read An honest talk about charity, donating and the Philippines.
It can be difficult to find a charity that accepts stuffed animals. Because any item given to children has safety concerns, many hospitals have chosen to not accept donations.
How to find a place to donate locally
You don’t have to wait for an Ami Club drive to donate! I know that our drives involve shipping fees… money that could be spent making an impact in your area!
A few types of places are often eager recipients of stuffed animals. Call the chapter/office closest to you and ask if they are accepting donations and where you can drop them off. Look for:
Police and Fire Departments (first responders often distribute a toy to a child on the scene of an incident to reduce fear and anxiety)
Foster Care agencies (usually with your county’s Childrens and Family Department)
Children’s Hospitals (enquire about allergies and age-appropriateness, below)
Women’s Homeless shelters (as they often have children as well)
School counselors (either to distribute at the in counseling sessions, or they may be aware of children needing a little something extra to take home)
Questions to ask
A surprising number of charities aren’t able to accept stuffed animals due to safety or allergy concerns. So, in addition to asking whether they accept toys, ask some of the following questions:
What ages are the children you serve? (if they are mostly infants, consider making toys with baby-safe eyes)
Are there any fiber restrictions? (many places request that animals be machine-washable, and to avoid wool for allergy concerns)
Is there anything additional I can add to make the gift special? (For example, some hospitals may be thrilled with a sweet card with well-wishes)
What is your timeline? When can I drop the toys off? Do you have a minimum number of animals you need?
Note from Wendi – I’ve been told by many that their local hospitals really like Warren the Charity Bear – for reasons I didn’t anticipate when I designed the pattern. I found out that children who have chest or abdominal surgery are required to cough frequently after their surgery, and to support their incision with a pillow when they do this. Warren is just the right size and shape for that. Nurses also like that he has very short arms and legs – nothing that will get caught or snagged on the many tubes and monitors that kids in the hospital often have to deal with. So keep those tips in mind if you’re making toys for kids in the hospital – and definitely talk to someone at your local hospital to find out what restrictions/needs they have.
Use this free placemat pattern and get a little bonus use out of your favorite blocks from your quilt patterns!
I love seeing people make things besides quilts with their Shiny Happy World quilt patterns.
Don’t get me wrong. I love seeing your finished quilts!
But if you make quilts – it’s a great way to get extra use out of your patterns.
And if you’re new and a little nervous about making a whole quilt, it’s a nice small, single-block project to dip your toes in. 🙂
Today let’s talk placemats.
They’re so easy to make!
Placemat Pattern Instructions
A typical placemat – one that easily fits a standard place setting – is anywhere from 12″ to 14″ tall and 18″ to 20″ wide.
(A fat quarter is typically 18″ x 20″ so any placemat in this size range will take two fat quarters and some batting.)
I cut my rectangles (a front, a back, and a batting) 13″ x 19″ – right smack in the middle of the normal range.
If you’re going to use Quilt As You Go and you like to quilt before you applique (that’s what I do) layer your placemat top with the batting (no backing yet!) and quilt however you like. Press it flat.
Next – add your applique character.
Positioning the Applique
Almost all the characters in my quilts are designed to fit in a 10″ square, and I find they work really well with this placemat pattern without any resizing. If you’re using another designer’s pattern, just enlarge or reduce the image to be 8-9 inches tall.
I like to position my image to one side or the other. If it’s centered it gets completely hidden by the plate, plus I like things to be asymmetrical. 🙂
Look at the way the image is framed/cropped. Maurice (my favorite cat from this Cats quilt pattern) is chopped off straight at the shoulders. I designed him to look like he was in a portrait. You’ll want to be sure to position that straight cut edge flush with the bottom edge of the placemat – like he’s popping into the frame and we just snapped a photo.
This bird from the Chirp pattern, on the other hand, isn’t cropped anywhere. Position complete images like this fairly close to the bottom edge of the placemat (that will anchor the image and keep her from looking like she’s floating in space) – but not so close that any part of her gets cut off when you sew up the edges.
See the difference?
Applique your image in place using your favorite technique.
Now comes the extra fast and easy part of this placemat pattern.
Finishing Your Placemat
You can, of course, layer on the backing and bind the edges just like a quilt. I love binding and would choose this technique unless I was in a hurry.
But not everyone shares my love of hand-sewn binding. 🙂
For all of you – here’s a fast and easy finish.
Layer the placemat front and back right sides together. Pin or clip all the way around the edges.
Sew it up around the edges (I used a 1/4″ seam allowance, but you can fudge that a little) leaving a few inches open on one side for turning.
Don’t forget to backstitch at the beginning and end of your stitching!
Clip the excess seam allowance off the corners – very close to your stitching. That will allow you to get nice crisp points.
Turn it right side out, smooth and straighten all the edges, gently poke out the corners, and press. Turn the seam allowance of the opening inside (so that folded edge lines up with the sewn edges) and press that too.
I like the topstitching around the edge of the placemat to be about the same distance from the edge as my topstitching on the applique pieces. That keeps everything looking neat and unified.
Finished!
There are so many possibilities for this! You can use any applique pattern. (I used blocks from Cats, Chirp, and Noisy Farm.)
Oooh! Instead of a name, use the Paper Dolls quilt pattern to create images that look like the person the placemat is for. That would be so much fun!
Use some of my free applique patterns to make a set of holiday placemats. I have free Halloween, Easter and Christmas patterns. 🙂
Instead of applique, do some embroidery. The placemat size and construction method is exactly the same.
You can make traditionally pieced placemats too! Just start with your favorite pieced block, and add enough fabric around it to get it up to the standard placemat size. The method is just like this one for turning any quilt block into a pillow.
Have fun with it!
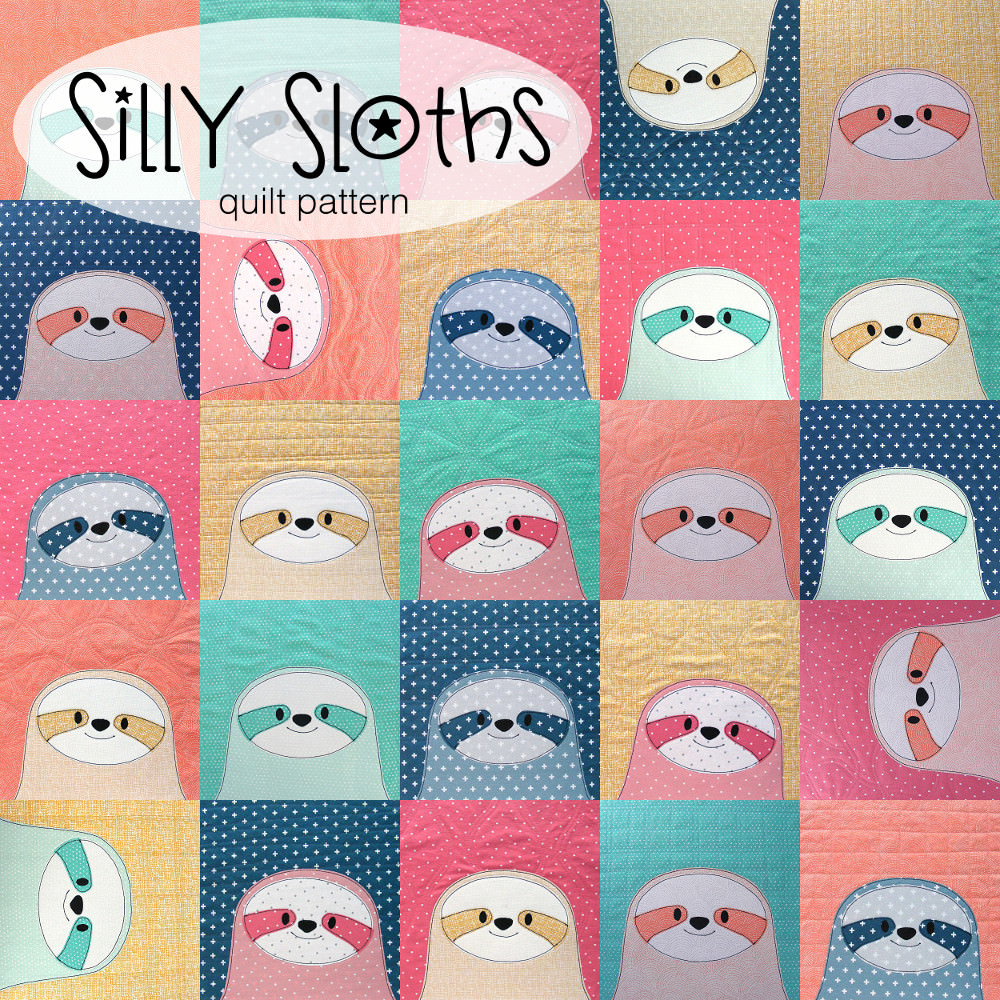
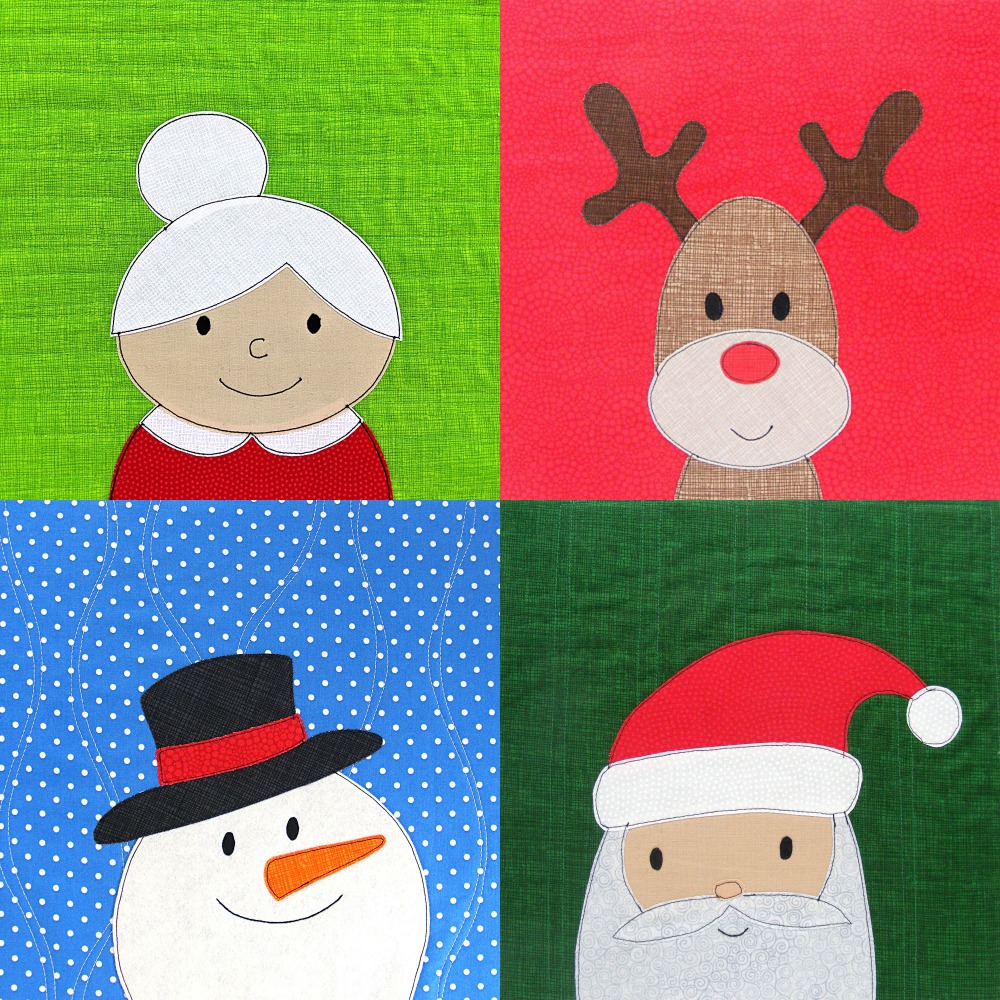
Here are several free patterns that work with my basic 10-inch applique squares – no resizing needed!
Here are several free patterns that work with just some simple resizing. This post about making coasters has info about resizing an applique pattern that can be applied to any of these projects.
I know it’s not even Thanksgiving yet, but I wanted to share this free reindeer applique pattern early enough that you would have plenty of time to make it before Christmas. 🙂
You won’t need much fabric – less than a fat quarter of everything, so you can probably find what you need in your scraps. Here’s what I used – all from Timeless Treasures. . .
Cut a piece of background fabric and a piece of batting each 11″ square. You’ll trim it down to 10 1/2” square later, so it doesn’t have to be exact. If you’re using Quilt As You Go, quilt your block now. The quilting wouldn’t really show up on the busy fabric I chose, so I just quilted a simple grid and show it here from the back (batting) side.
Trace or print the pattern onto the paper side of the fusible adhesive. I use printable Heat & Bond Lite fusible adhesive so I just print out the page. No tracing! The image has already been reversed, so just trace or print.
Step 3
Rough cut around each shape. Leave a little bit extra all the way around – a little extra extra (at least 1/4 inch) where there’s a dotted line. That’s the allowance that will tuck under other bits or into the seam allowance for a nice clean finish. Follow the package instructions and fuse each piece to the wrong side of the fabric.
Step 4
Cut out each piece neatly. Cut directly on the solid lines. Leave a little seam allowance past the dotted lines (like at the base of the antlers and the top and bottom of the shoulders). Cutting after you fuse ensures that the adhesive goes right up to the very edge.
Step 5
Trace any features onto the face. If you hold the piece up to a window, the light will make the lines very visible – even on dark fabric. I mark directly on any lines to be sewn (like the mouth) and inside the bits marking the appliqué position (like the eyes and nose).
Here it is after tracing so you can see the eyes, nose and mouth marked. I just use a fine Sharpie, but you can use something erasable if you’re worried about being able to stitch right over that line for the mouth.
Step 6
Peel off the paper backing, arrange the pieces, and fuse in place according to the adhesive product instructions. Remember – dotted line edges tuck behind other bits. The bottom edge of the shoulders should be lined up with the bottom edge of the block.
If you’re using Quilt As You Go, press your already-quilted block before adding the appliqué.
Step 7
Stitch all the edges down. You can use any stitch you like, in matching or contrasting thread. I really love the cartoony look of a simple straight stitch with black thread.
Couching is a method of sewing 3-dimensional “stuff” (cord, braid, strings of beads or sequins, etc.) to fabric by zigzagging over it. It allows you to sew down things that can’t be sewn through. 🙂
You do need a special foot for couching. I the video I show you the one I use with my Bernina, and point out the features you need to look for when you’re buying one for your machine. They’re usually pretty inexpensive and it’s a nice foot to add if you do any decorative stitching.
You could use it to add raised whiskers on cats, raised stripes on a snake, pearly snow on the ground, and lots more. I can’t wait to see what you do with it!
I LOVE working with felt! The edges don’t fray, it’s delightfully warm, it takes embroidery beautifully, and it comes in the most luscious colors.
But it’s different than regular fabric.
These tips will make it super easy to work with.
Why wool felt?
It’s way more durable that the cheap acrylic stuff you can buy at any craft store! I wrote a post about the difference here.
One important thing to know – it doesn’t need to be 100% felt to get that quality boost. The main thing is that it’s NOT acrylic. That’s what makes cheap craft felt pill. The felt I use is only 20% wool and 80% rayon and it’s lovely. If you have allergies and can’t work with wool, try bamboo felt instead. It can be harder to find, but it’s WONDERFUL!
How to Mark on Felt?
The trickiest thing about wool felt is that it’s hard to mark on it. It’s so thick that you can’t trace a design through it, and drawing on the felt tends to lift the fibers and make it look messy. I use two products that really help – freezer paper and Sulky Sticky Fabri-solvy. There’s a video here talking about both – but here are the details in a nutshell.
Freezer Paper
I use freezer paper when I just want to cut out small shapes. Trace or print the templates on the paper side of freezer paper, fuse it to the felt with an iron, and then cut the pieces out through the paper and the felt together. Peel the freezer paper off and it doesn’t leave even a trace behind. It’s the perfect way to cut out small shapes very precisely!
If I need to mark dots (usually for eyes) I punch a hole in the freezer paper before I fuse it down, then mark through the hole for very precise placement.
Sulky Sticky Fabri-solvy
If I need to transfer anything more complex than a dot I use Sulky Sticky Fabri-solvy. I love this stuff so much! You print or trace onto the stabilizer, peel off the paper back, and stick it to the felt. Stitch right through the felt and stabilizer and then rinse away the stabilizer. Every trace dissolves in water and you’re just left with beautifully stitched felt. I show a lot of process photos demonstrating this in action in this post.
I can’t say enough how much I love this product. It has opened up a whole world of possibilities!
Whipstitch
I mostly use whipstitch to applique on felt and to sew felt pieces together. It’s called whipstitch for both uses – but the stitch actually looks a little different for the two applications.
This free felt coaster pattern is a great way to get started working with felt. You’ll do a little applique and a little embroidery and you’ll end up with a pretty set of coasters.
If you’re got a lot of random felt scraps, try this free felt garland pattern. It teaches you a different way to applique and join pieces together – the blanket stitch.
All my ornament patterns have solid felt backs – no applique or embroidery. That makes it the perfect spot to add a name or date using this free alphabet embroidery pattern!
In my family and in my husband’s family, it was a tradition to give handmade ornaments to the kids every year. Having our names on them somewhere was absolutely necessary since we both have siblings. 🙂
Now that I’m a grown-up with my own daughter it’s fantastic to have those dates too. She loves knowing how old we were when we got each ornament and who made them for us. 🙂
It’s easy to add a bit of embroidery to the back of your felt ornaments. Here’s how.
Download the free alphabet embroidery pattern I used here. You can also choose to type up your name and date and adjust the size and choose the font – but be sure to choose a font that’s mostly straight lines with minimal tight curves so it’s easy to embroider.
Now grab a piece of Sulky Sticky Fabri-solvy.
This is a great use for any small scraps you’ve saved. 🙂
Draw a straight line to use as a guide to line the letters or numbers up, then trace them onto the stabilizer.
Peel off the backing, stick the stabilizer to the felt, and stitch right through it.
I used backstitch with three strands of white thread.
I traced the date in pencil. It can be a bit hard to see, but there’s NO chance of it bleeding on the white thread. Most pens bleed a lot – test yours or use a pencil.
After you’re done stitching, soak off the stabilizer in cold water and lay the piece flat to dry.
Whoa! That monster is silver! Shiny, metallic silver!
When I want a bright, metallic look to my applique, I always grab some tissue lamé.
This surprises a lot of people, because tissue lamé is a notoriously fragile fabric and kind of a pain to work with. But I have tricks!
One of the main problems with it is that the edges fray like crazy.
Seriously. All you have to do is look at it and it does this.
But you can reinforce the fabric with fusible interfacing and it makes it much stronger and controls the fraying. Once the interfacing is applied you can treat it just like any other fabric.
Awesome!
Except that some tissue lamés melt at the temperatures required to melt the fusible adhesive on the interfacing. But you can use a press cloth – just like you do for the satin I talked about in this post.
Here’s a piece all ready to cut and applique.
And here are the steps I went through to get to this point.
Lay the tissue lamé out on your ironing board.
Layer a piece of fusible interfacing over the lamé. I use Pellon light weight interfacing.
Layer a press cloth over that and press, following the instructions on the interfacing for time and steam/no steam.
Rough cut your paper-backed fusible adhesive pieces and layer them over the interfacing. Cover that with a press cloth and fuse according to the fusible adhesive instructions.
Now you’re ready to cut out the pieces and fuse them to your applique – again keeping a press cloth between the metallic lamé and your iron.
Here’s a block where I used those hexies for shiny windows.
I just stitched around the edges as usual. The combination of fusible interfacing and fusible adhesive keeps the edges from fraying in every lamé I’ve tested – but the fiber content can vary quite a bit so I recommend testing before you use it for a full size quilt that you’re planning to wash a lot.
A little pop of metallic shininess can add so much to a lot of quilts. And tissue lamé comes in lots of fun colors!
Don’t be afraid to explore the fabric store beyond the quilting cottons section! A lot of those fabrics can be used in applique with just a little special handling. 🙂
Here are links to all the posts about choosing fabric.
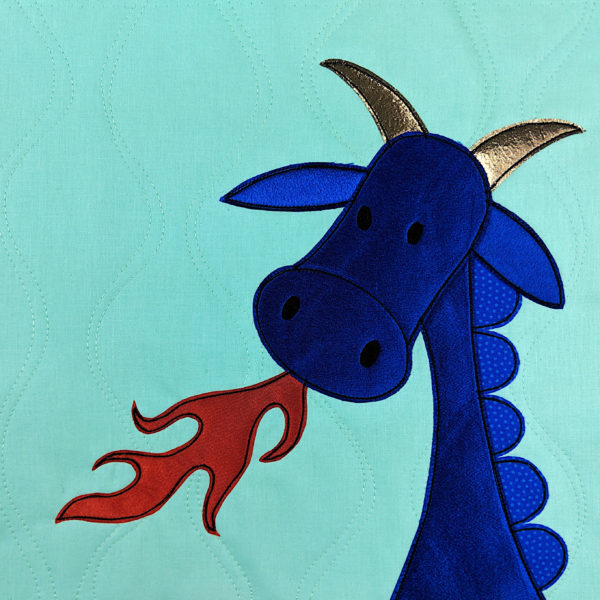
Satin applique is just perfect for getting shiny smooooth things like this blue dragon.
Usually when I use satin in a quilt I use it for soft 3D pieces – like the lining on these fun, floppy ears in my Mix & Match Monsters quilt.
But you can do satin applique too – even if you use fusible adhesive!
Like fleece – the big problem is heat. The heat required to melt your fusible adhesive will melt most satins too.
The answer is simple.
Use a press cloth!
A press cloth isn’t anything fancy, and it isn’t anything you need to buy. It’s just a piece of regular woven cotton that you put between the potentially melty thing you’re ironing and your iron.
That fall tree in the top photo is satin. Here’s how I did it.
Fuse your paper-backed adhesive to the back of the satin, just like you would with any fabric except. . .
. . . top it all with a press cloth before you fuse.
Use the press cloth again when you fuse the tree top (or whatever) to your block.
After that just stitch around the edges as usual. The fusible adhesive keeps the edges from fraying in every satin applique I’ve tested – but the content of satins can really vary so you might want to make up a quick sample yourself and test it before you use it for a full size quilt that you’re planning to wash a lot.
Wouldn’t it be super cute to make all the cars and trucks in the Beep Beep quilt out of satin, so they’re shiny and smooth like real cars?
Have some fun adding satin applique to your next quilt project!
Here are links to all the posts about choosing fabric.