This is another BIG embroidery I did for the Sulky booth at Spring Quilt market – a pretty embroidered mandala sun.
I love how it turned out! And guess what?
I did it all with no pattern. 🙂
A lot of people have really enjoyed this tutorial showing how to stitch a mandala with no pattern.
![]()
But I’ve heard from people who want a teeny bit more guidance. They liked the improv style, but had a hard time visualizing the “spokes of the wheel” – especially if they were making a bigger piece.
I hear ya!
So I designed a simple radial grid that could be printed on Sulky Sticky Fabri-solvy and used as a guide for any mandala.
Here’s how I stitched the sun. 🙂
First I appliqued a circle and some rectangle rays around the sun. I used fusible adhesive and machine-stitched the edges down with matching thread because that’s not the stitching I want noticed on this piece.
I printed the circle grid from my Continuous Stitches pattern onto Sulky Sticky Fabri-solvy, cut it out, and stuck it over the sun.

Time to start stitching!

I always like to stitch around the edges first, so I started with a very simple zigzag that repeated every two spaces.
I created a grid with 96 total spaces because that’s evenly divisible by a LOT of numbers. I can create any pattern I like as long as it fits into 2, 3, 4, 6, 8, 12, etc. spaces. As long as the number of spaces used for the repeat goes evenly into 96, I’ll end up with a perfect match as I make my way back to the beginning of the circle.

Here’s the next round. I added some French knots to the first zigzags, and then stitched a much bigger zigzag. The repeat on this row is 8 spaces.

I liked how the second row of stitching created flower shapes, so I filled in the middle of each flower with a little heart detail.

Another deeper zigzag – another 8-space repeat. Now I feel like I need to fill up those new spaces I created.

I like it! It makes me think of peacock feathers.
Remember – all of this is unplanned. Just keep stitching in circles and then filling in the spaces created.
I went back to smaller repeats for the center of the mandala.

For the rays I used the regular square grid graph in the Continuous Stitches pattern.

I just stitched some simple diamonds and French knots on each ray.
All of this is stitched with a single strand of dark orange Sulky Petites thread and the only stitches I used are back stitch and French knots. Easy peasy.
Time to soak off the Sulky Sticky Fabri-solvy.

Ewwwww.
But also yay because this soaks away all those grid lines. You get the comfort of having a “pattern” but you don’t have to stick to it to cover up your lines. The lines all disappear! Meditative, almost-freestyle stitching at its finest.

Iron it dry (here’s how to do it without smooshing your stitches) and frame it in a quilting hoop.
Done! A pretty embroidered mandala sun!
I love stitching this way!
You don’t have to make a sun or do any applique – you can just stick on the grid and hoop up any fabric in a round hoop and start stitching! It would be fun to do a bunch of 3 – 4 inch hoops for Christmas ornaments. 🙂
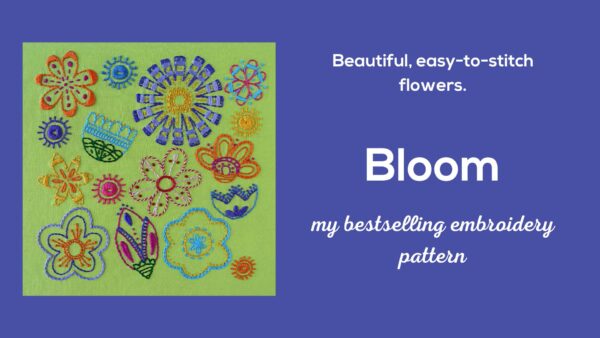
Here are the other BIG pieces I stitched for the same project.
Primavera – an Embroidered Springtime Girl
Happy stitching!
Best,
Wendi


 I’ll show you!