When it comes to embroidery, the thread is like the gorgeous silk blouse hanging in your closet. It’s pretty. It’s colorful. It’s touchable. It’s lovely.

But try wearing that silk blouse without the right undergarment and – unless you’re a very lucky woman – the results will be. . . not so lovely. 🙂
Stabilizers are the undergarments of the embroidery world.
Different outfits require different undergarments. Sometimes a little chemise or a slip are all you want. Sometimes you need a supportive bra. Some outfits call for head-to-toe Spanx. 🙂 It all depends on what you’re wearing and the look you’re trying to achieve.
Same with stabilizers, so here’s a little overview of which stabilizers serve what purpose.
Let’s start with my favorite, shall we?

It’s Sulky Sticky Fabri-Solvy – which is quite an unwieldy mouthful. Sulky also offers it as Stick & Stitch, so you’ll find both names in shops.
It’s my everyday bra – good for just about any situation. 🙂
It’s a pattern transfer and stabilizer all in one – and you can print directly on it, which is awesome for all of us who use a lot of digital patterns. I recorded a whole video showing it in action and what’s so great about it, but here’s how I use it. . .
- To transfer a pattern to any fabric. That includes fleece, felt, and dark colors – all the tricky little buggers.
- To stabilize stretchy fabric for stitching. That’s mostly T-shirts, but could be any stretchy fabric.
It’s my go-to stabilizer. I’ll tell you right now – I rarely use anything else. But I admit it’s a little pricey. It costs a little bit more than $1 a sheet. I’m totally ok with spending that – just like I’m happy to spend $40 on a bra that’s well made, won’t fall apart in the wash, fits right, doesn’t pinch, doesn’t itch, and will work under almost everything I wear. Heck – I’d happily pay $100 if I could find all that.
But maybe you want some less expensive (though also less all-purpose) alternatives?
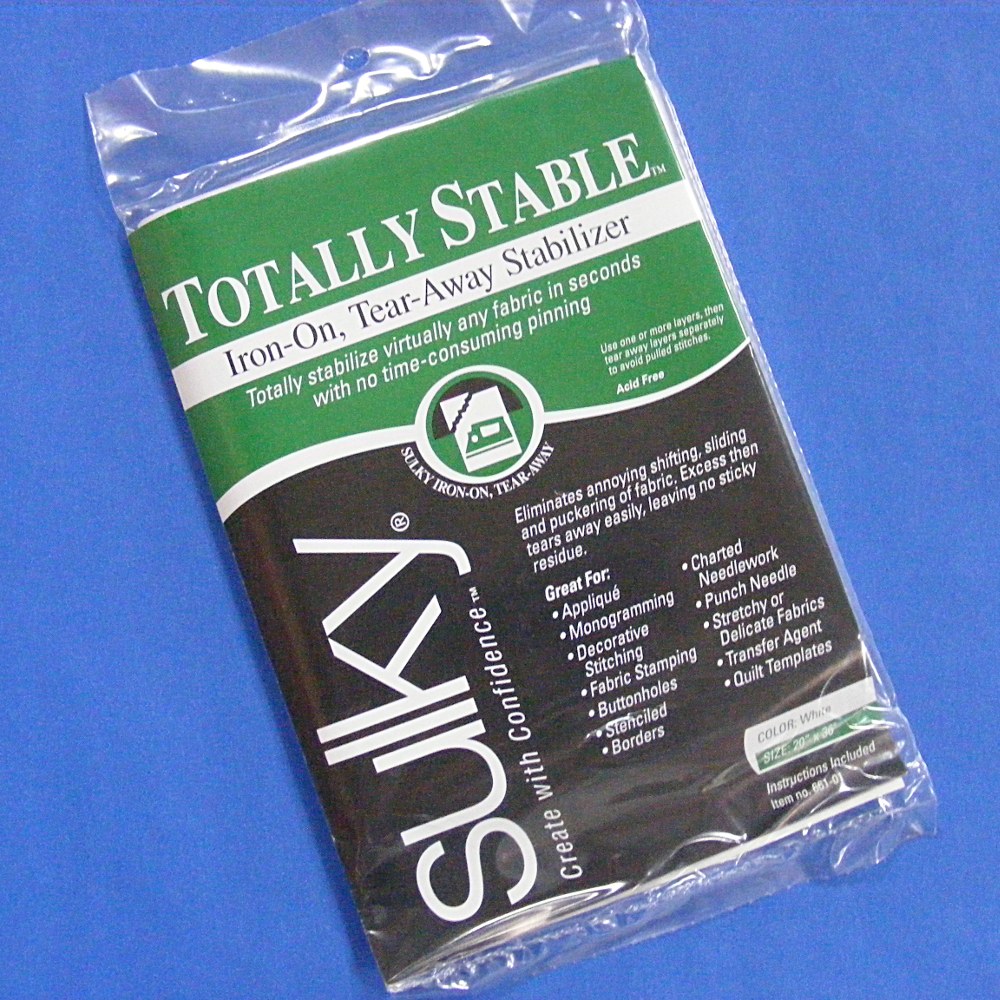
Sulky Totally Stable is great for stabilizing stretchy knits and only costs $5 for a pack. You can see it in use in this video.
This is the girdle of the bunch – all about control and not really meant to be seen.
You’ll need to transfer the pattern separately – this is a stabilizer only. It goes on the inside of the shirt. You stitch right through it and then tear away the excess after you’re done stitching. It works very well and I used it on lots of T-shirts before I fell hard for The Magical Embroidery Stuff.
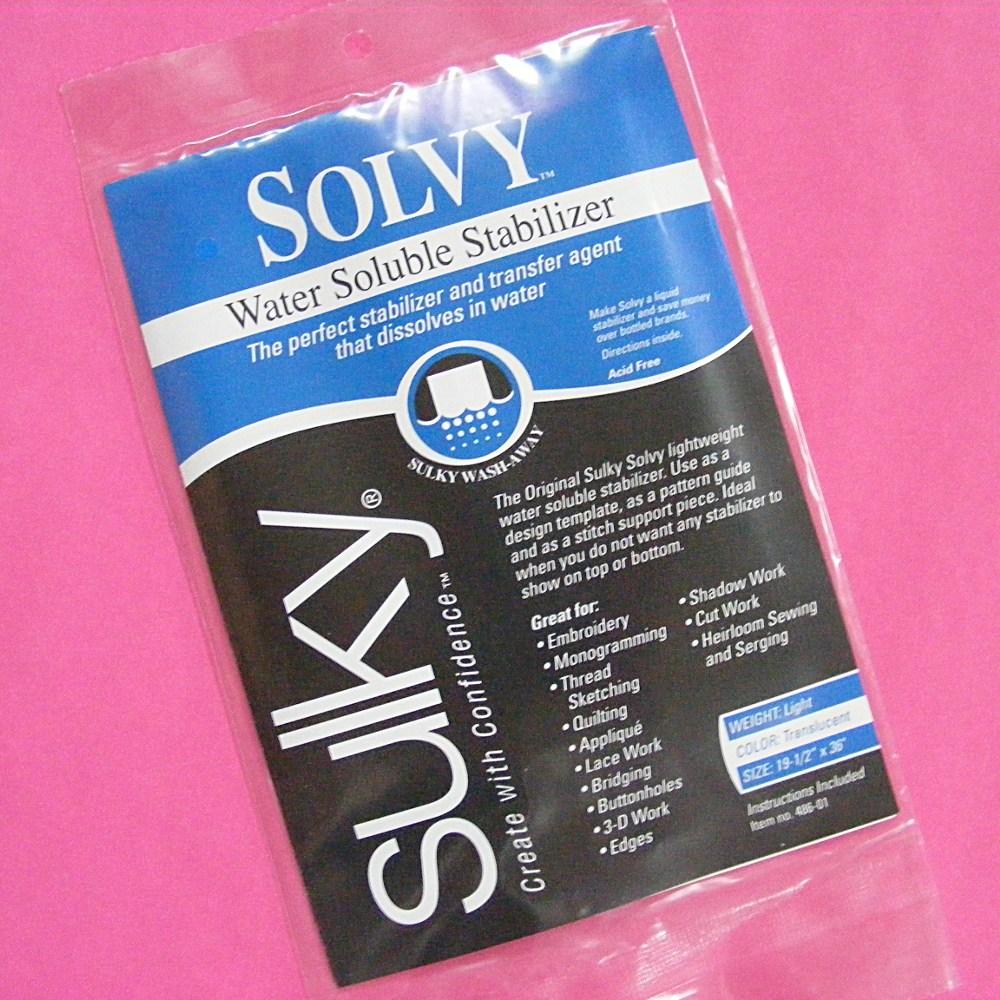
Sulky Solvy is technically a stabilizer, but I’ve always used it for pattern transfers. (It’s also a great deal at $5 a pack.) Like a slip under a sheer skirt, this can help you with tricky fabrics.
It’s a clear film – not sticky.
You can easily trace your design onto it, then hoop it right over the surface of your fabric.
You stitch through it, then rinse it away. I used it on all dark-colored T-shirts (in combination with the Sulky Totally Stable) and also on fleece and felt if I didn’t want to use iron-on transfer pens. You can see it in use in this video.
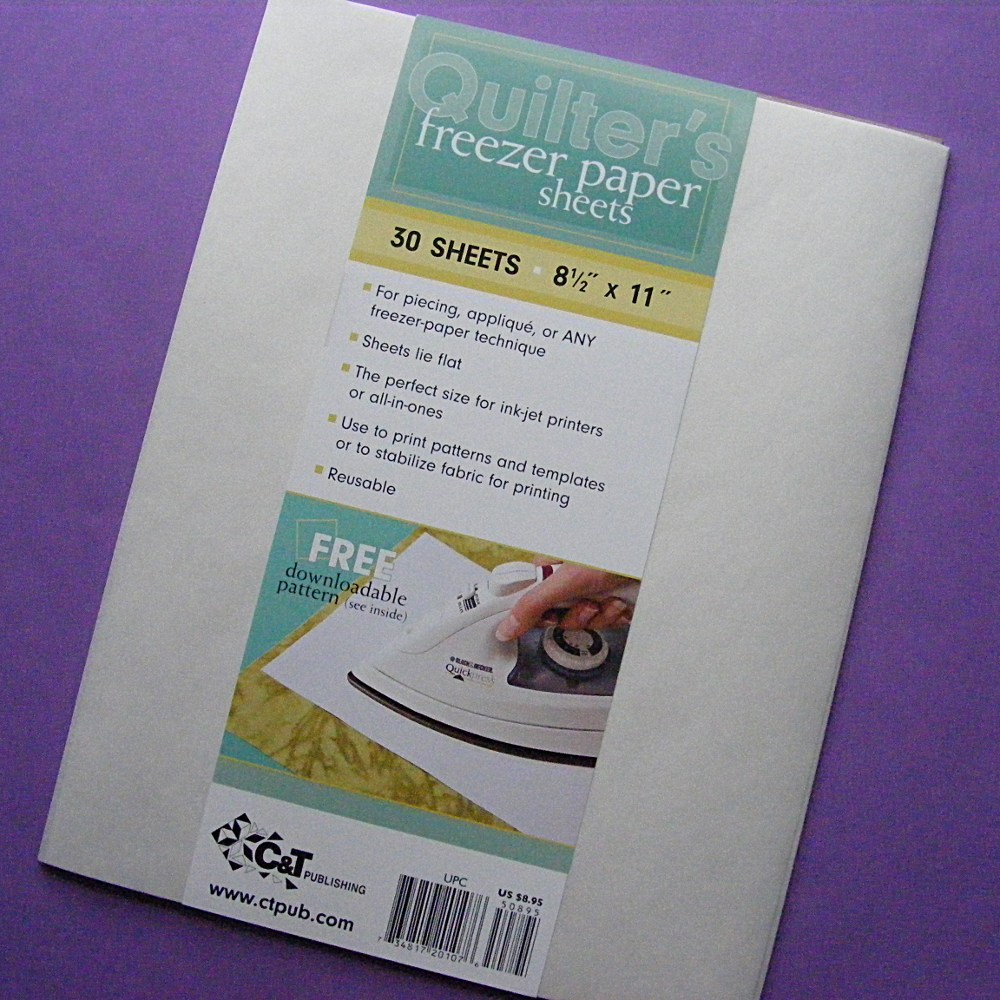
Printable Freezer Paper does replace my Magical Embroidery Stuff sometimes.
It’s like a chemise or tank that you can wear under your most casual clothes instead of a bra. You’re not asking it for much – it just makes your day a little more comfortable. 🙂
I use this occasionally for freezer paper applique and all the time for cutting out felt pieces that don’t require any embroidery.
Easy. Fast. Accurate.
And no tracing! You can see it in a video here.

I’m also throwing hoops into the list.
I don’t think they’re what most people think of when they talk about stabilizers, but they certainly stabilize your work and improve the look of your stitching.
I can’t imagine stitching without them – does that make them the underpants of the embroidery world? 🙂
So there you have it! A rundown of all my favorite stabilizers – and probably too much information about my underwear. 🙂

Here are links to all my posts about embroidery tools and supplies.
For Beginners
Specialty Fabrics
Threads
- 12 wt. Sulky Petites
- How I Store and Organize My Embroidery Thread
- Working with Glow in the Dark Thread
Stabilizers and Pattern Transfer Tools
- Why the Right Stabilizer Is Like a Good Bra
- Sulky Sticky Fabri-Solvy
- What Product to Use When (Freezer Paper, Fusible Adhesive, and Sulky Sticky Fabri-Solvy)
Return to the Learn to Embroider main Table of Contents.
Move on to the posts about working with patterns.