You might think that you need a whole bunch of fancy software to put together a professional-looking pattern, but it just isn’t true! You can put together a great-looking pattern using what you probably already have on your computer!
I’m going to assume that you already have written a clear set of pattern instructions, and I’ll give you tips to turn those instructions into a beautiful pattern!
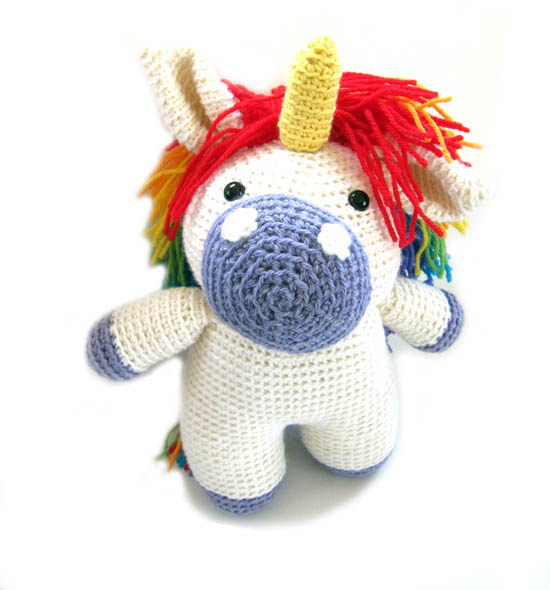
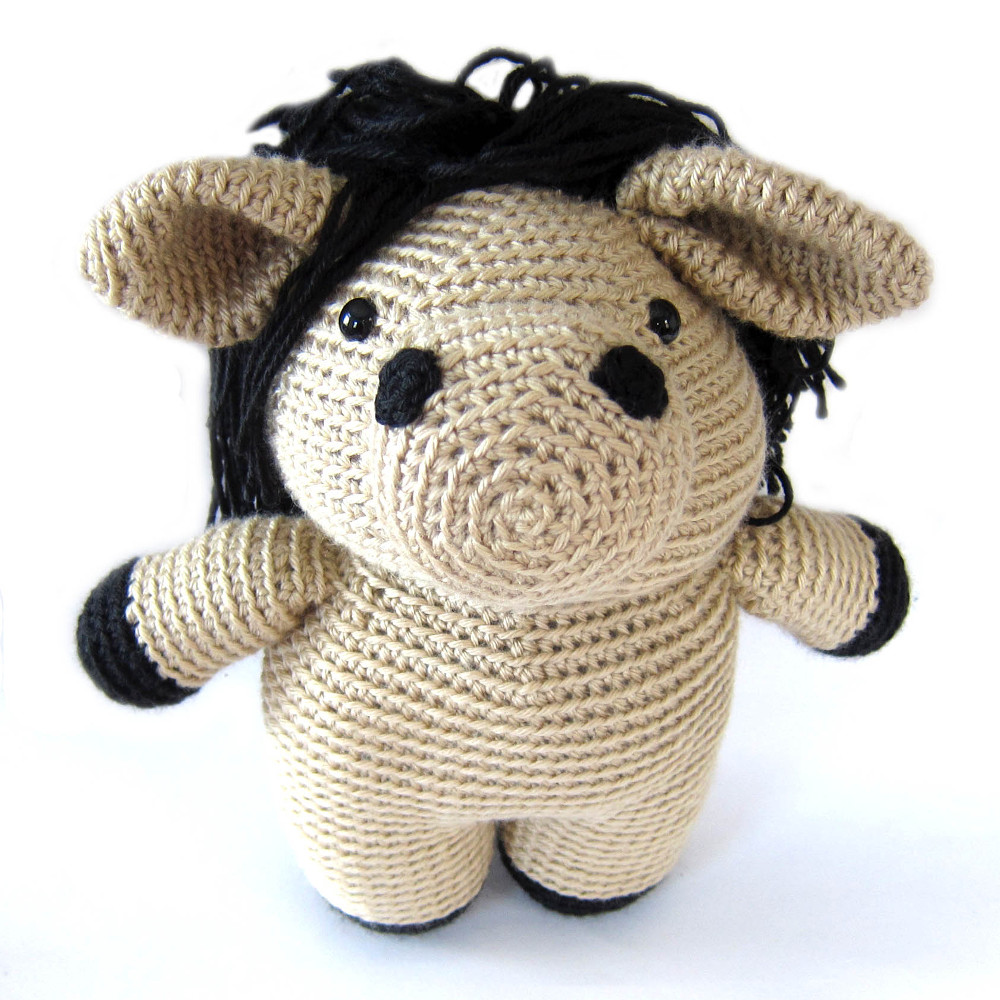
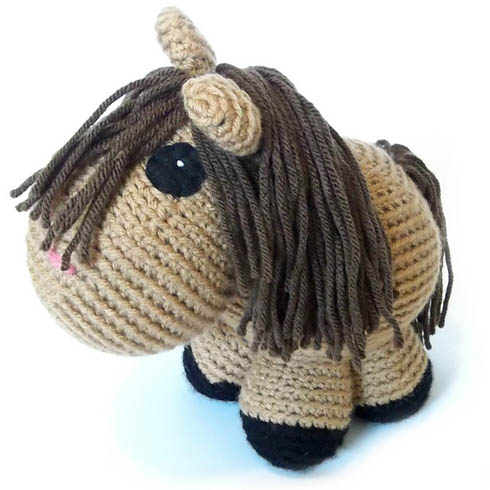
Step 1: Take fabulous photos
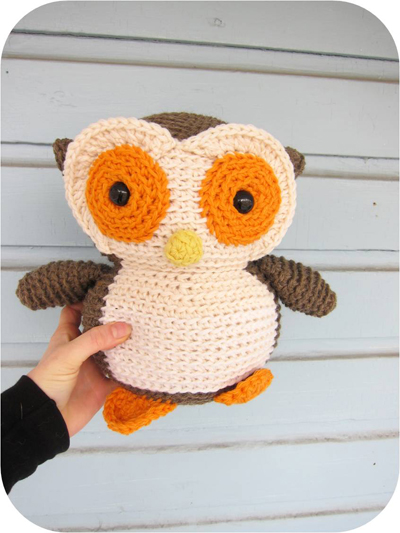
You don’t need an expensive camera! You just need your product, some good lighting and a regular point-and-shoot camera.
If you’re not rock-solid on your photography yet, check out my 5 Photography Tips and my detailed write-up of how to create a seamless white background.
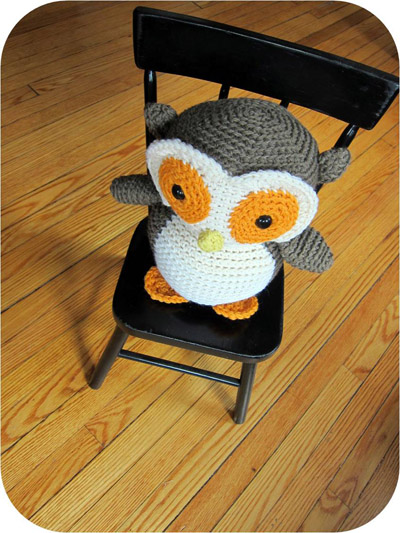
The secret to good photography is taking oodles of photos. You can always delete ones you don’t like, but you want to maximize your chances of snagging that perfect one!
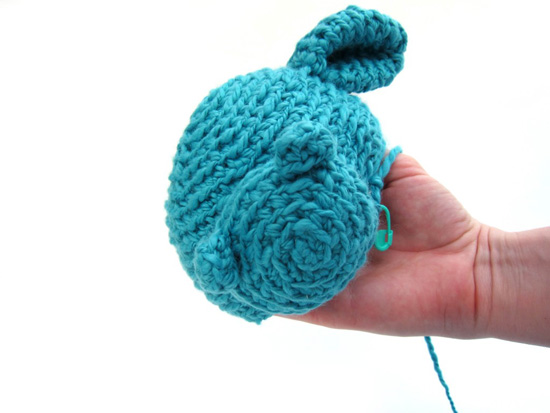
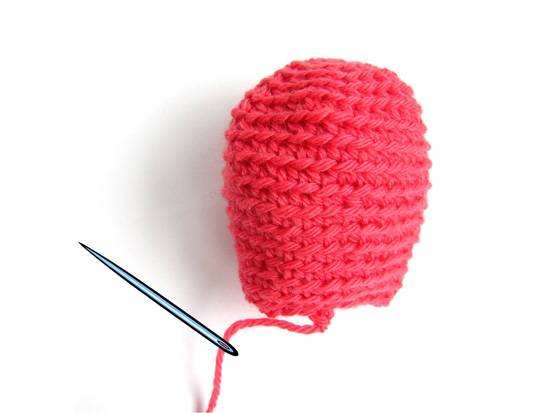
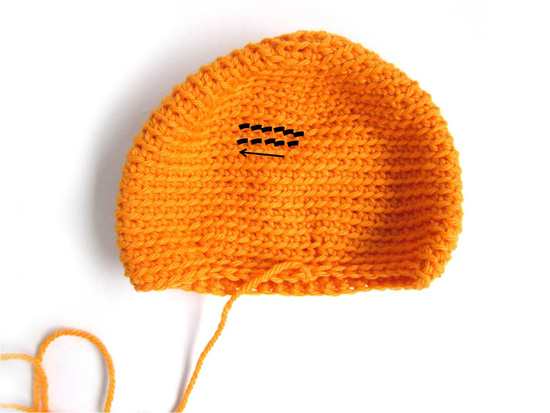
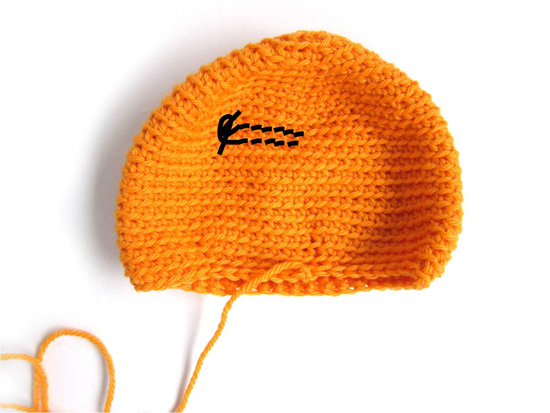
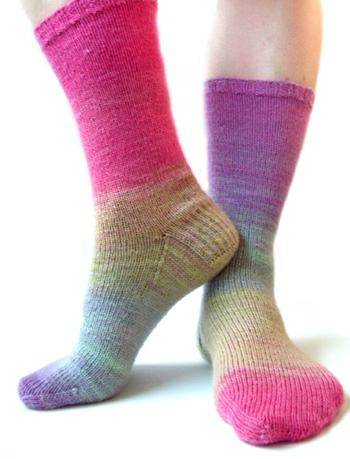
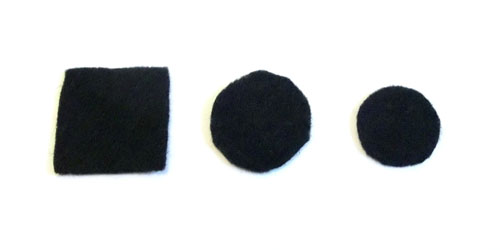
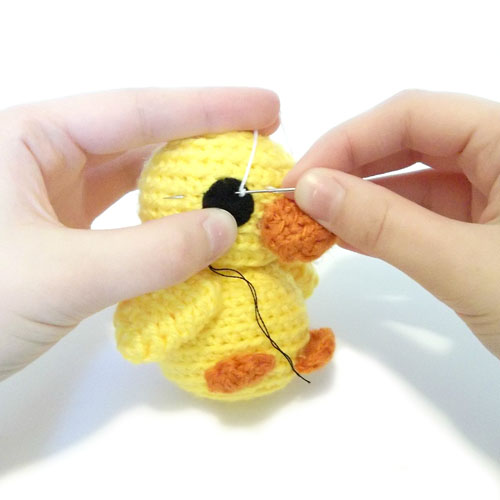
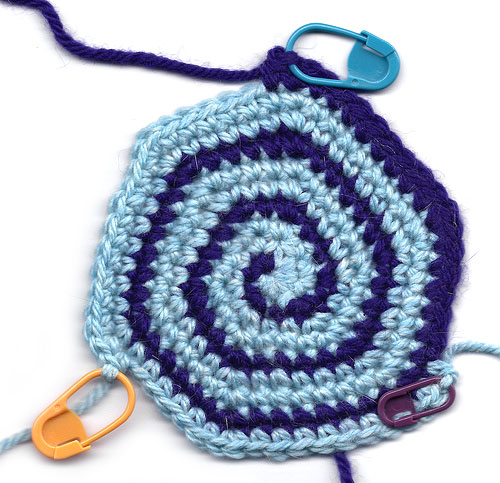
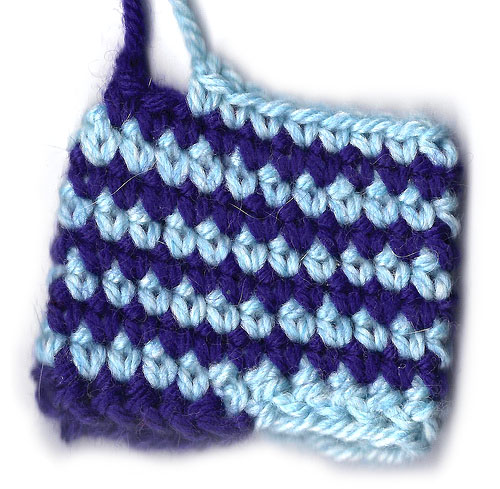
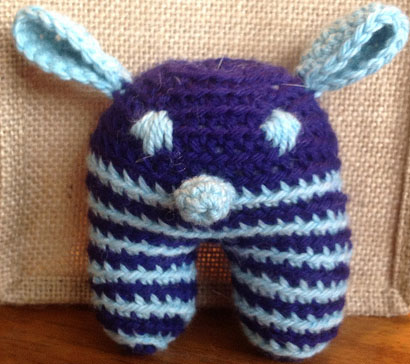
Don’t forget that in addition to the cover photo, you’ll want to take photos that show off any detail work or unique features of your design.
Step 2: Select your format
Chances are, you have a word processing program like Microsoft Word on you computer… great! You can use it for formatting your pattern!
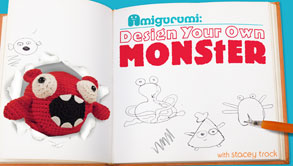
Have a look at the features your program offers. Go to File > New. Is there an option of using a template? A template can be a great way to get started with the design of your pattern.
If you don’t want to go the route of the template, think about setting key elements of the pattern apart with simple design elements. Perhaps your materials listing could go in a colored text box. headers) to break up the text. Keep in mind that many people find a huge, solid block of text difficult to read, so use design elements (and headers) to break it up.
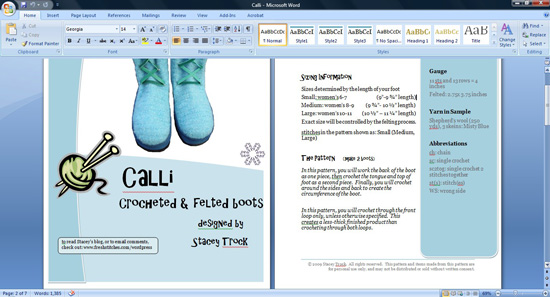
Step 3: Insert your photos
To insert your photo into a document, go to Insert > Picture, and pop in your selected photo.
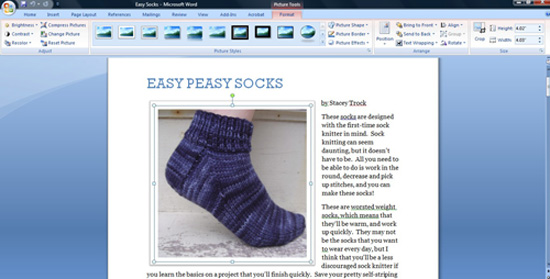
Take a look at the top of the screen after you’ve inserted your photo… do you see formatting options? In my version of Word (above), you can see a variety of picture formatting settings: such as changing the shape of the photo or adding a border. This is an easy way to add a personalized style to your photos.
Step 4: Add your information
Do you want to add copyright information? How about putting your email address on the pattern so customers with questions can contact you? Or maybe you’d like to include your website?
Don’t forget these details… remember that the pattern instructions are a way to communicate with your customer! You want to make things easy for them… don’t make them hunt you down if they have a question!
Step 5: Try a font!
Once you have your text and photos in… you’re finished (and can skip to step 6)! This step is optional, and just adds a little extra to your pattern!
I’m a big fan of fun fonts, and downloading a new font is a great way to add your own sense of style.

My favorite website for browsing new fonts is dafont.com. There are two things to keep in mind.
One, be sure to read the conditions on the the particular font you’re interested in: fonts designed for personal use only aren’t intended to be used for commercial purposes. (…just like patterns!)
Two, most people find fancy fonts in the text difficult to read, so keep the fun stuff to headers and titles.
Step 6: Make a PDF
PDF stands for ‘portable document format’, and it’s called that because it’s a file that shows up exactly the same on every computer. You’ll want to convert your document into this format before it’s ready for distribution.
Fortunately, this is easy! In the old days, you needed fancy additional software, but now, it’s as easy as going to Print in your Word Processor and selecting Adobe PDF as your printer.
The result is your pattern… that’s ready to distribute!
Are you ready?
You shouldn’t let fear of technology or lack of a graphic designing degree keep you from putting together a pretty pattern that you can be proud of!
I hope I’ve encouraged you to give it a shot!
Best,
Stacey


 Today’s guest post is written by Tammy Powley, crocheter and blogger at