Let’s tiptoe down memory lane to see what I was doing during the eleventh week of every year since the start of Shiny Happy World. 🙂 Click on the images to go to the posts.
Want this round-up delivered to your inbox every Friday? Click here to sign up for the Shiny Happy World newsletter!
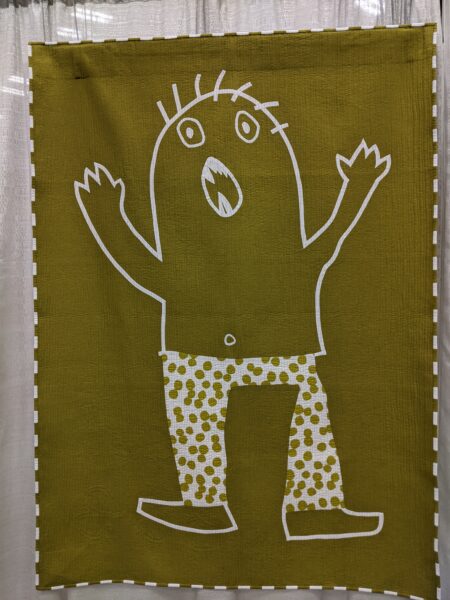
2011
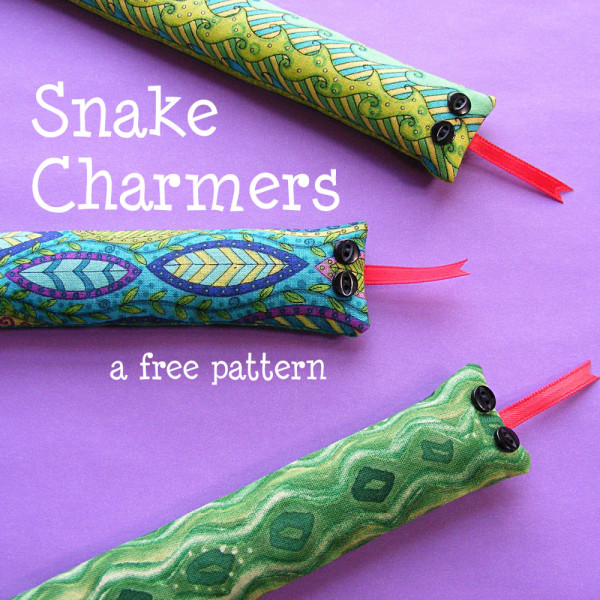
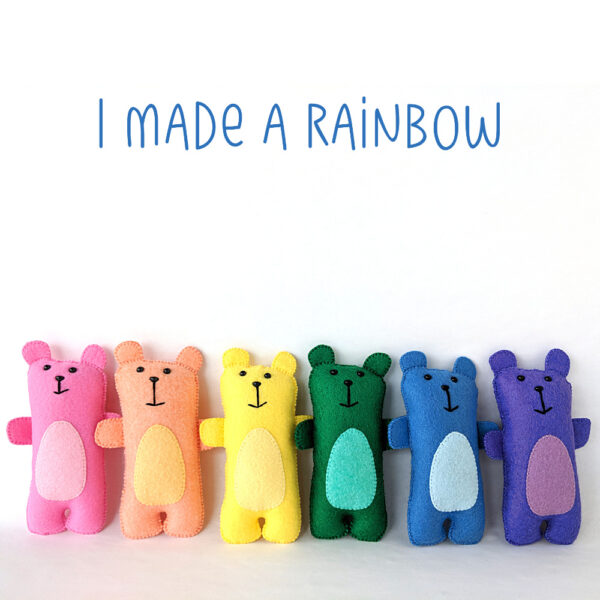
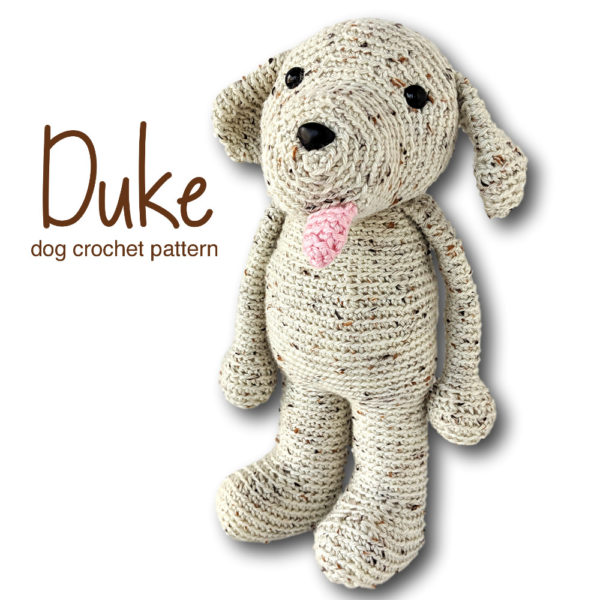
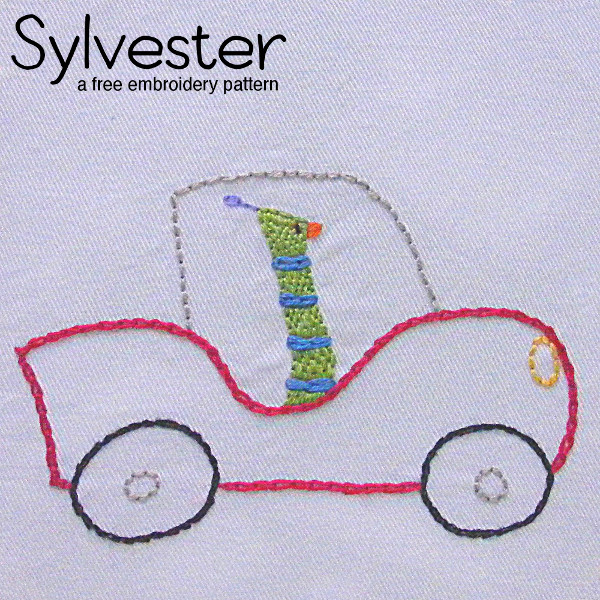
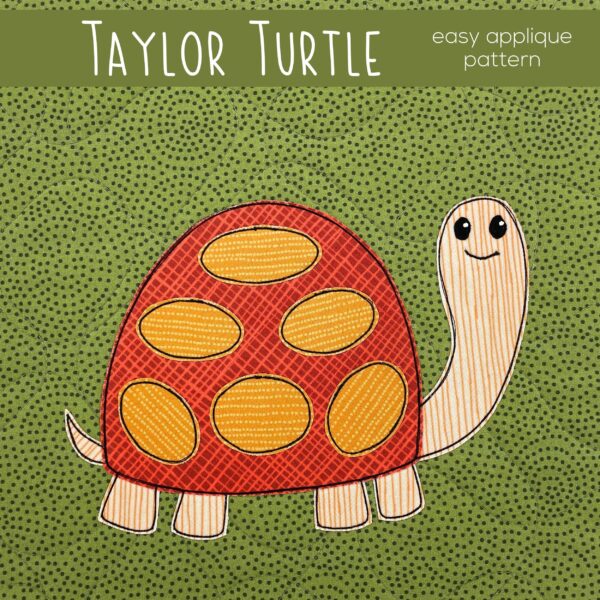
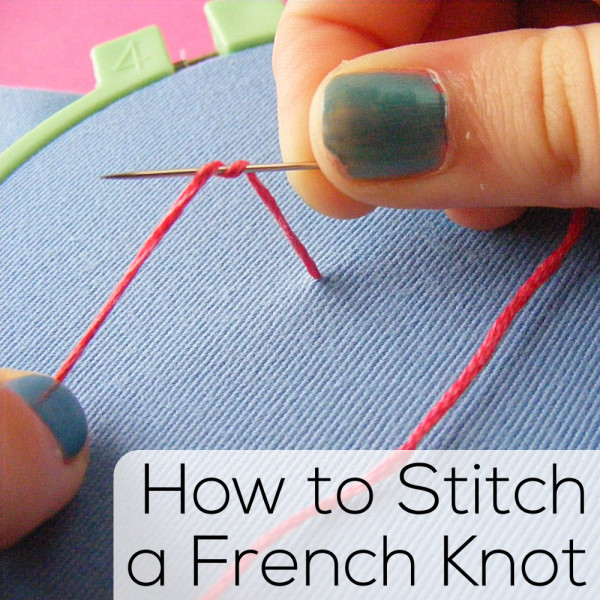
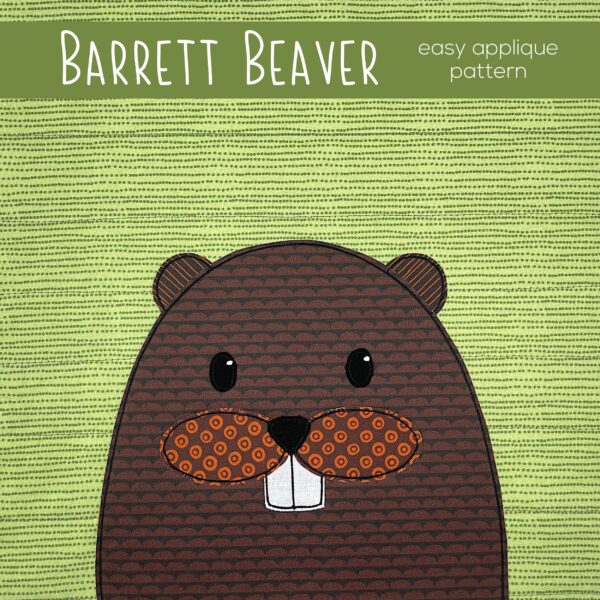
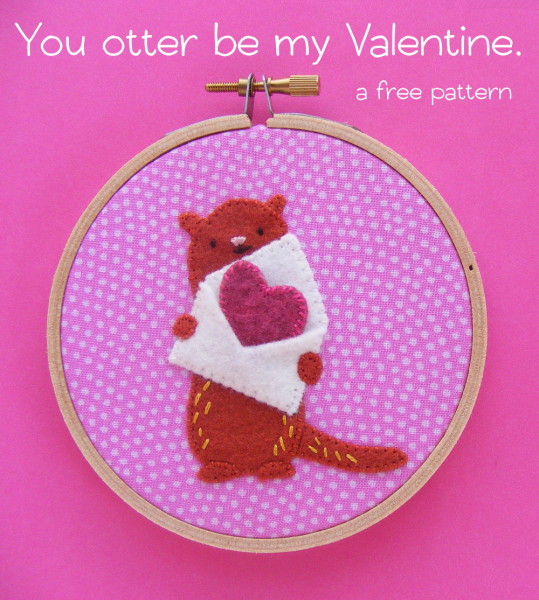
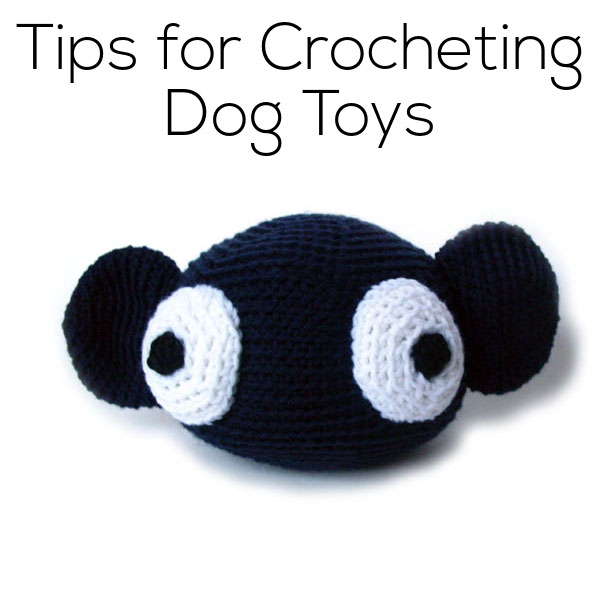
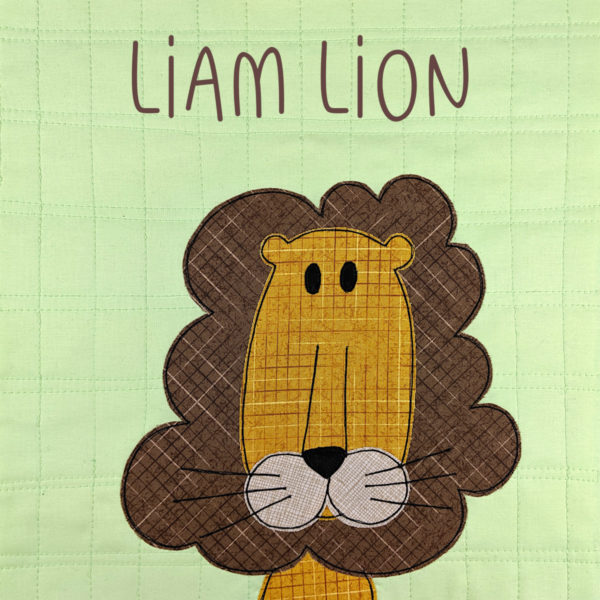
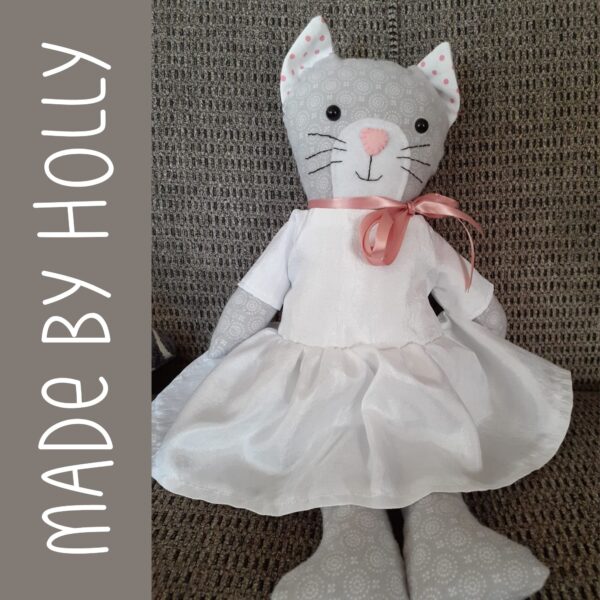
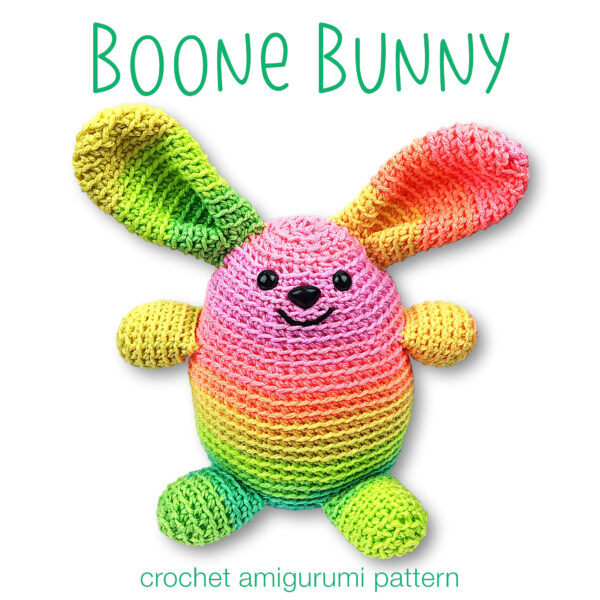
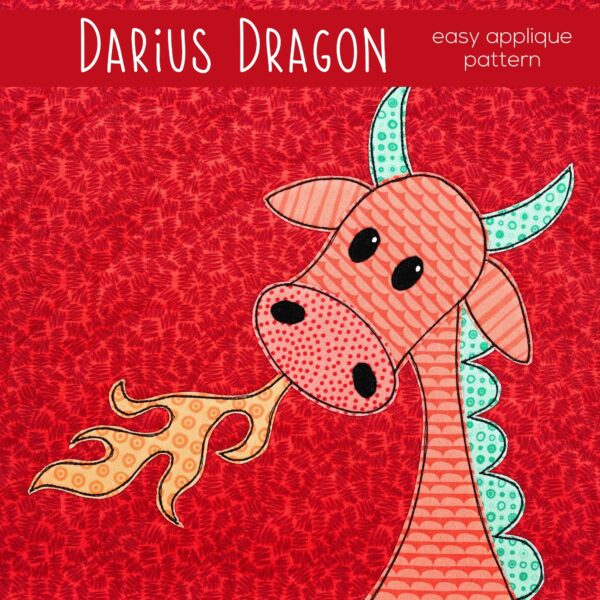
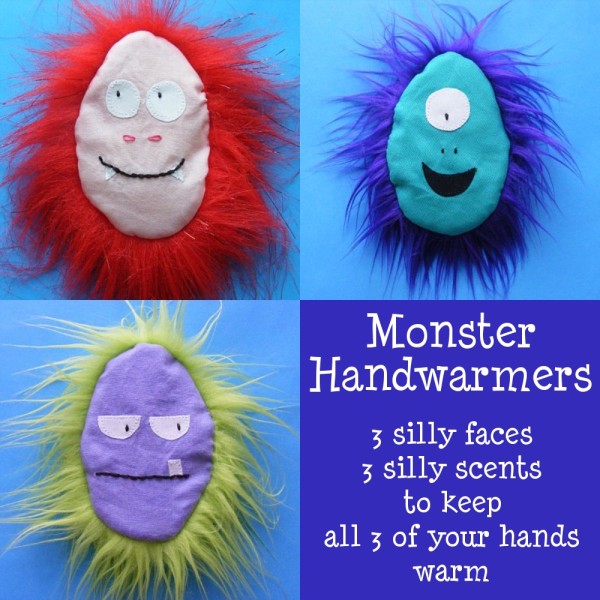
Hee hee! I love this little guy!
2012
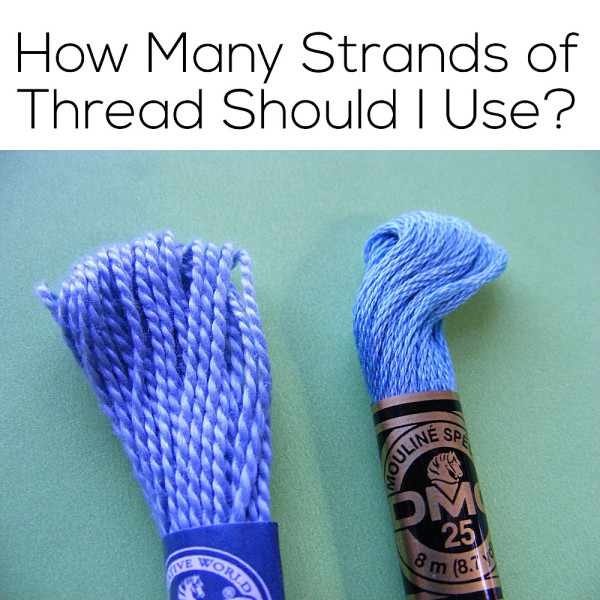
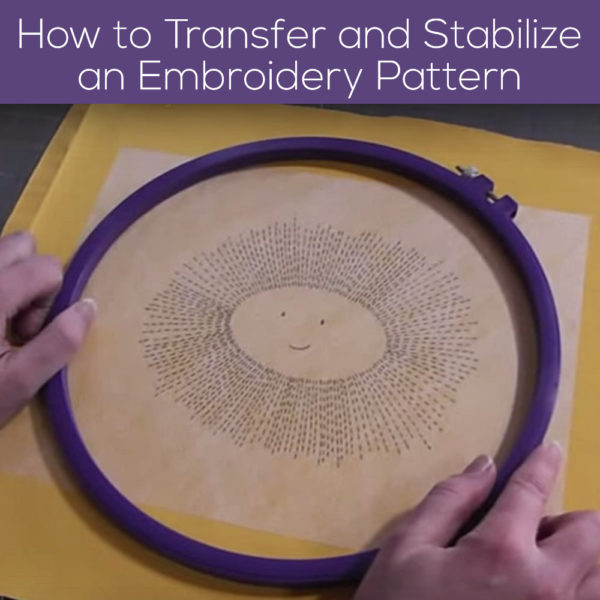
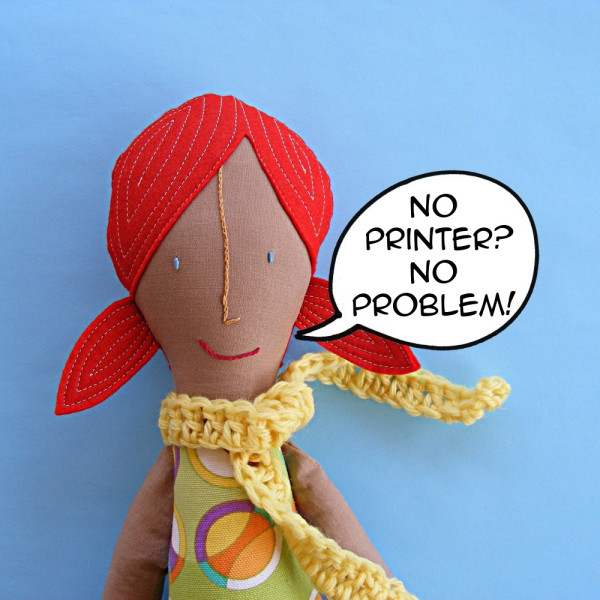
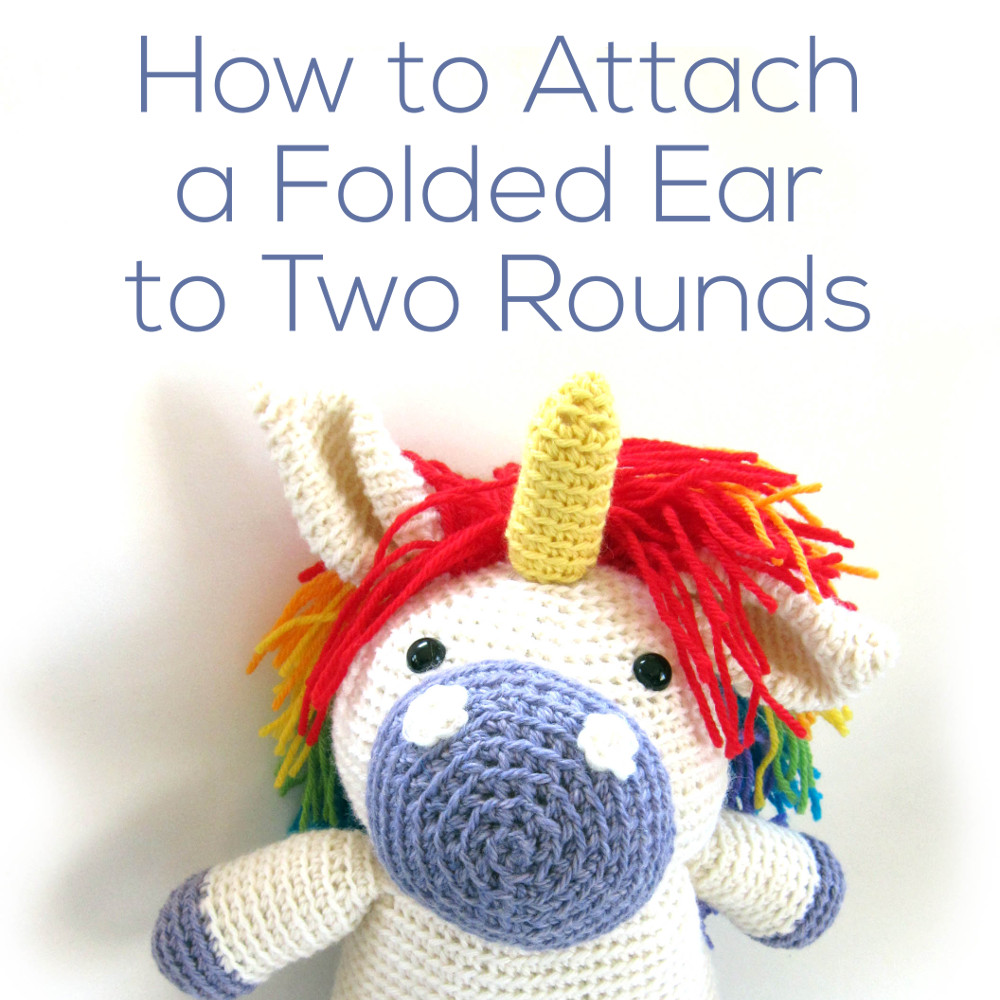
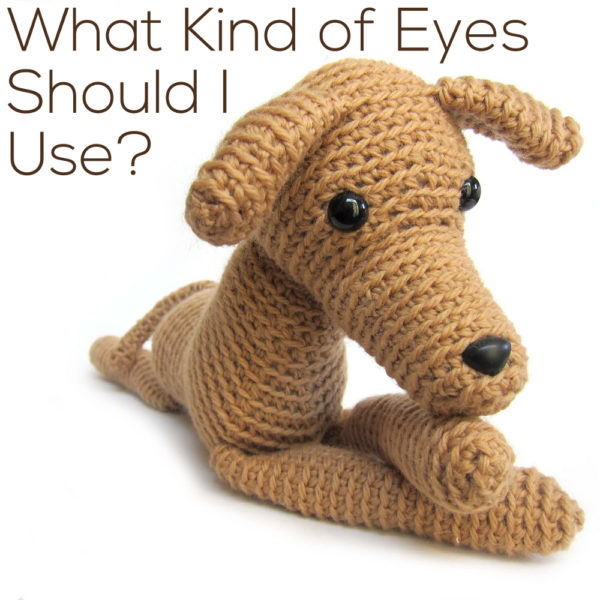
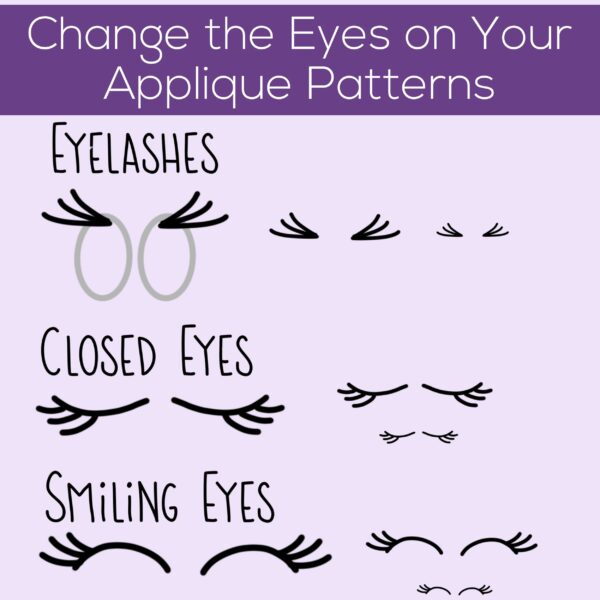
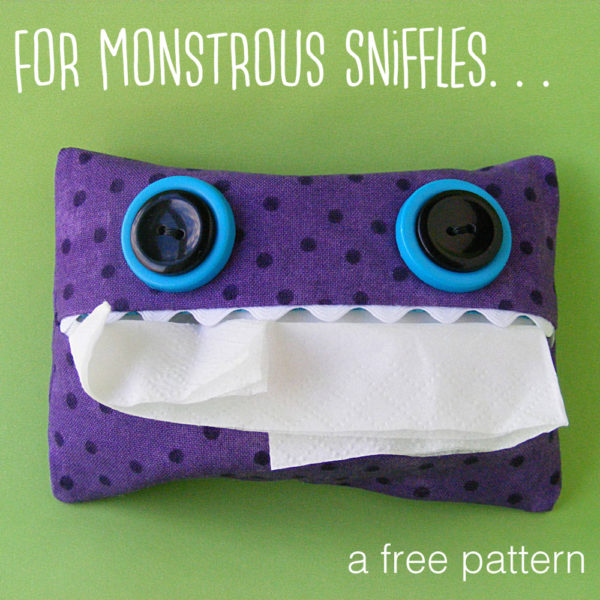
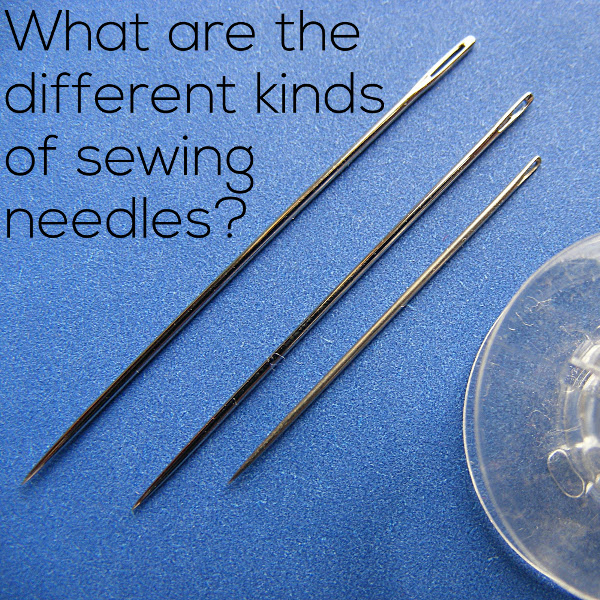
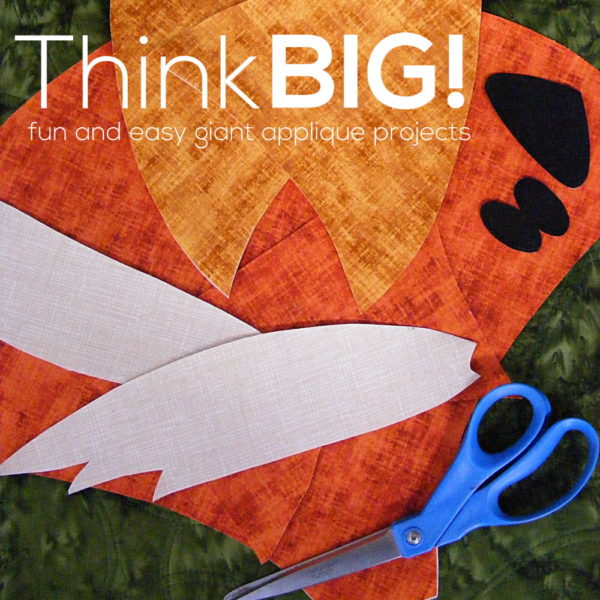
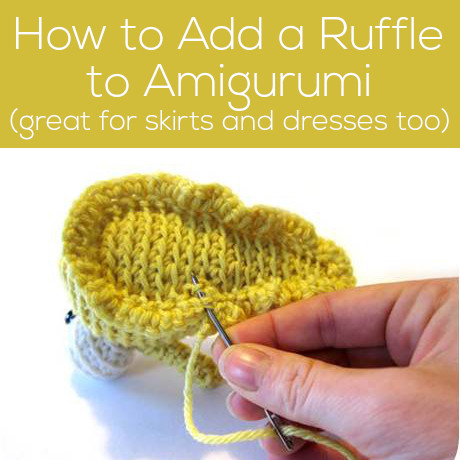
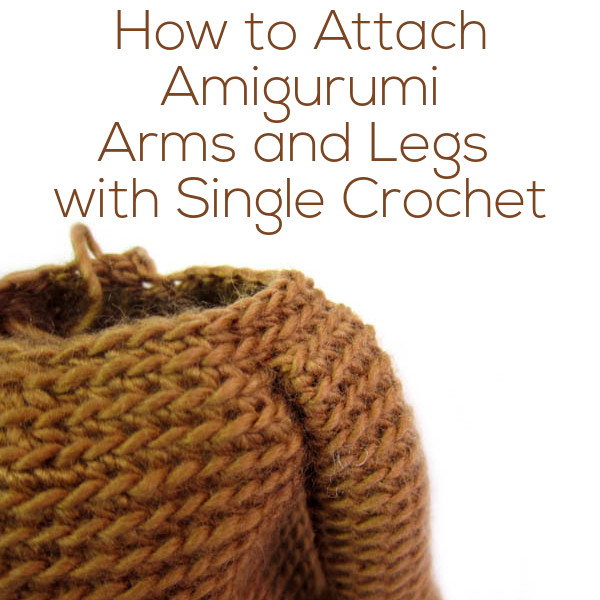
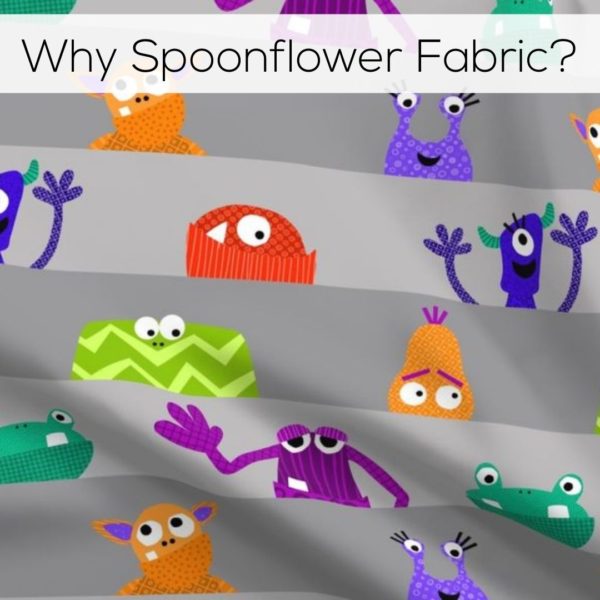
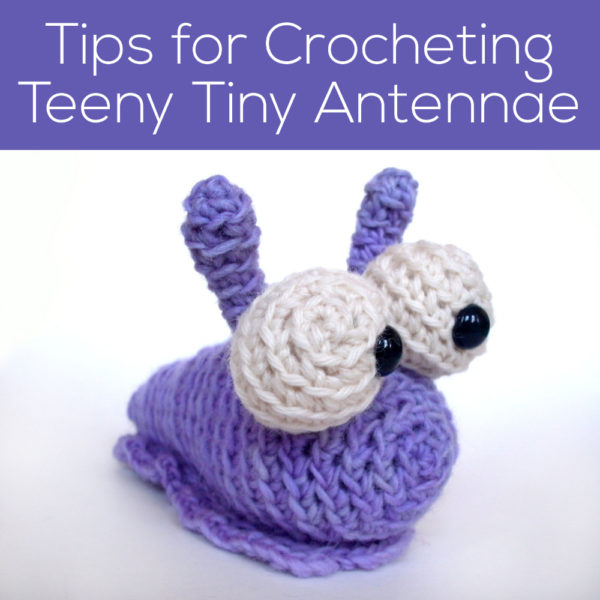
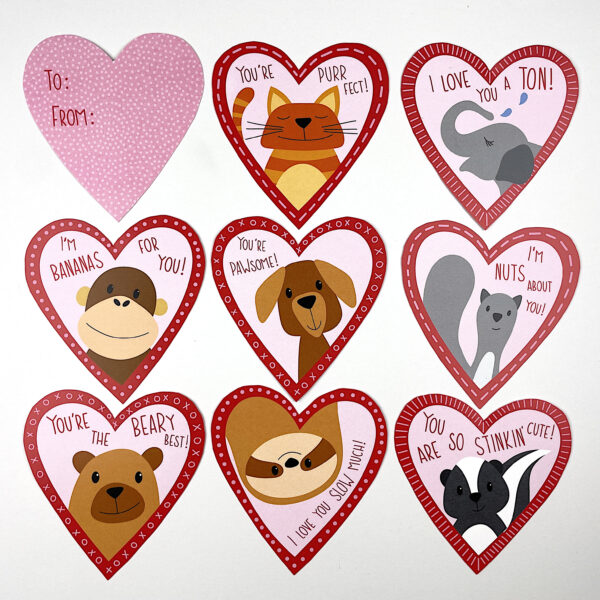
One of my most frequently asked questions.
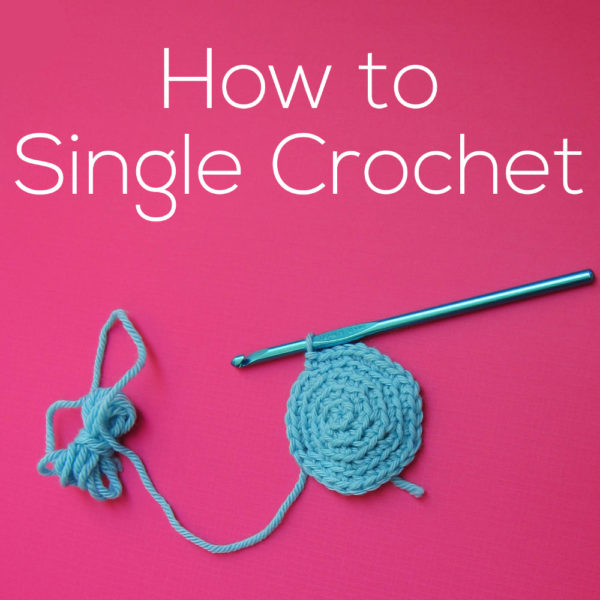
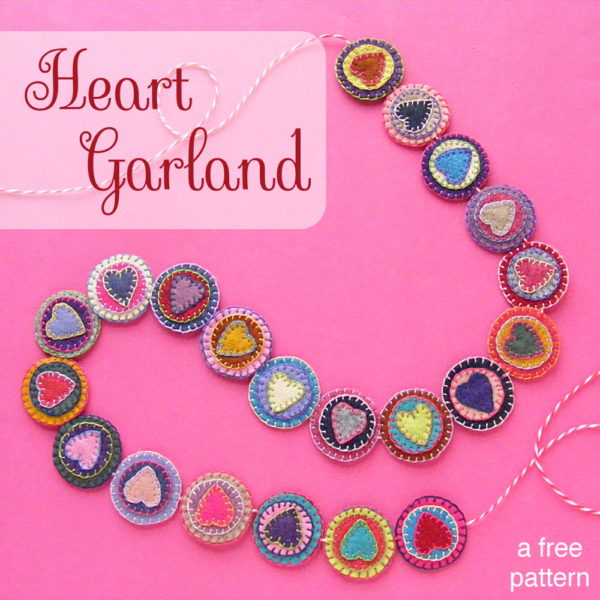
2013

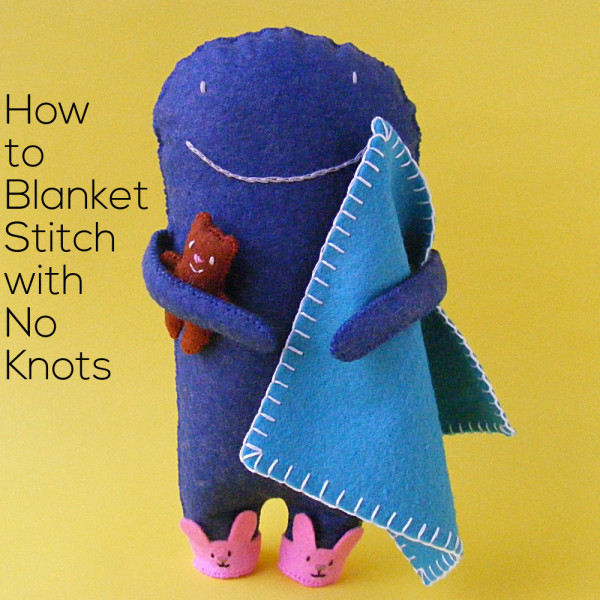
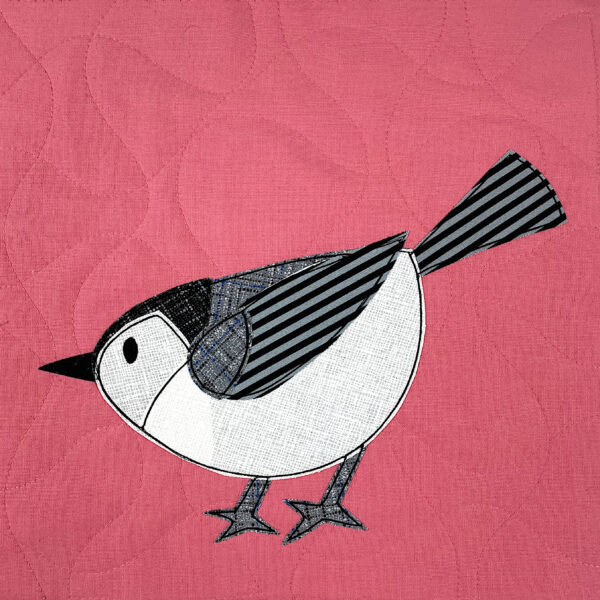
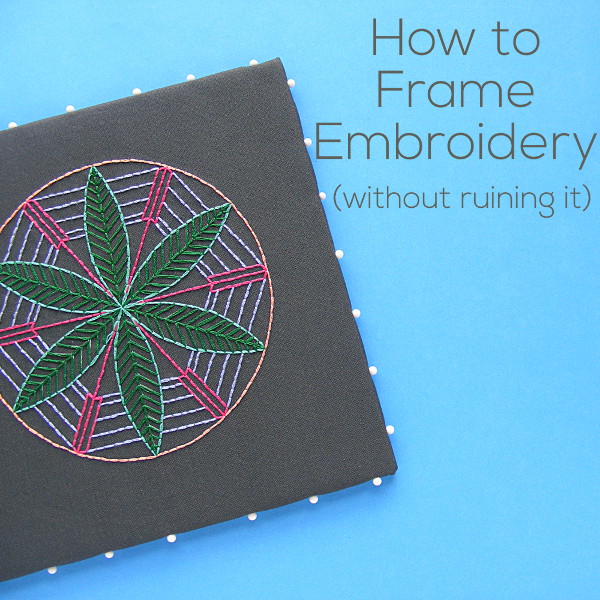
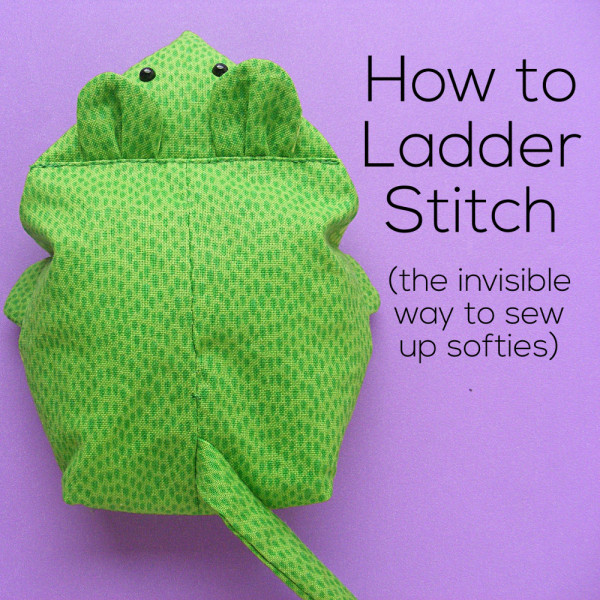
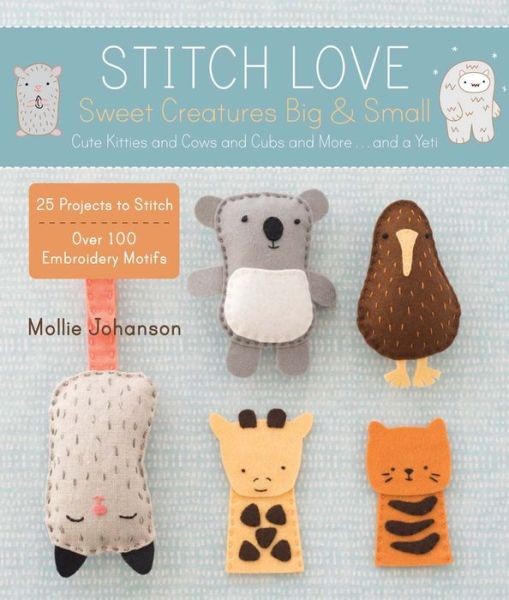
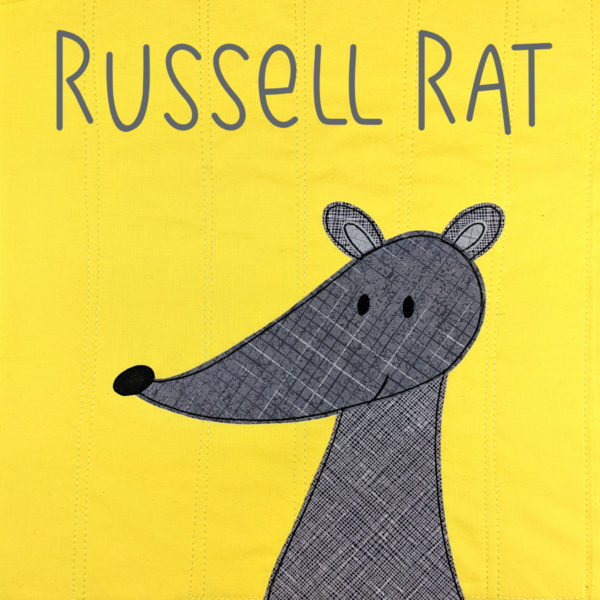
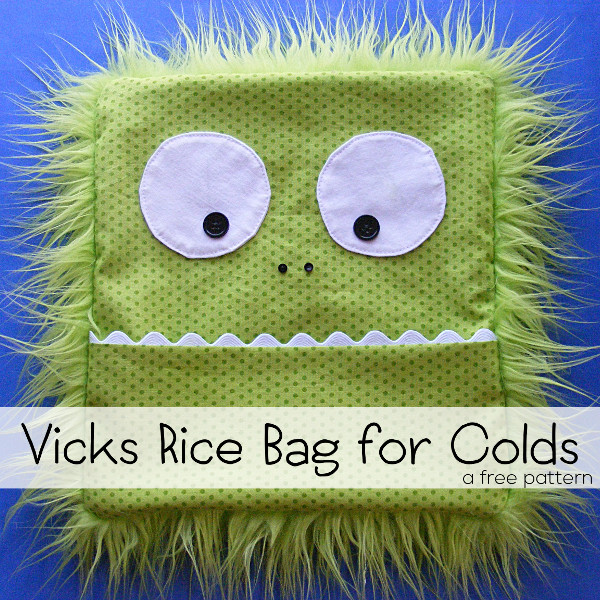
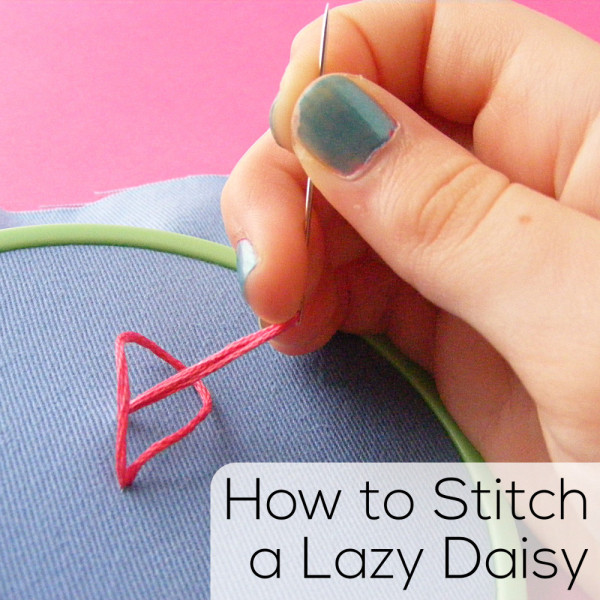
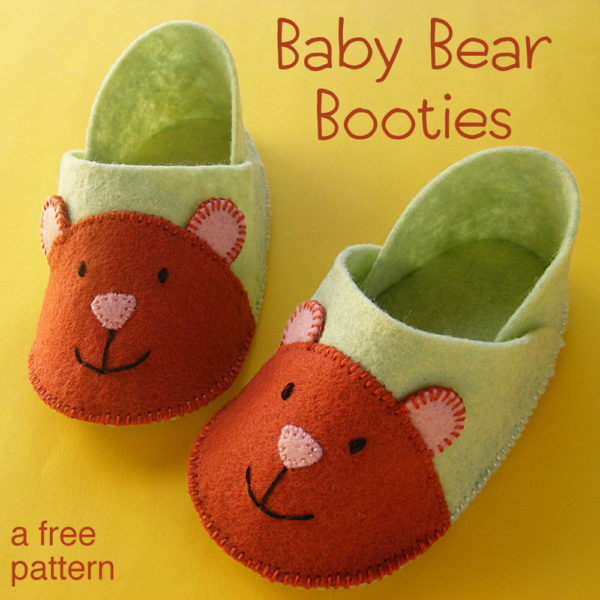
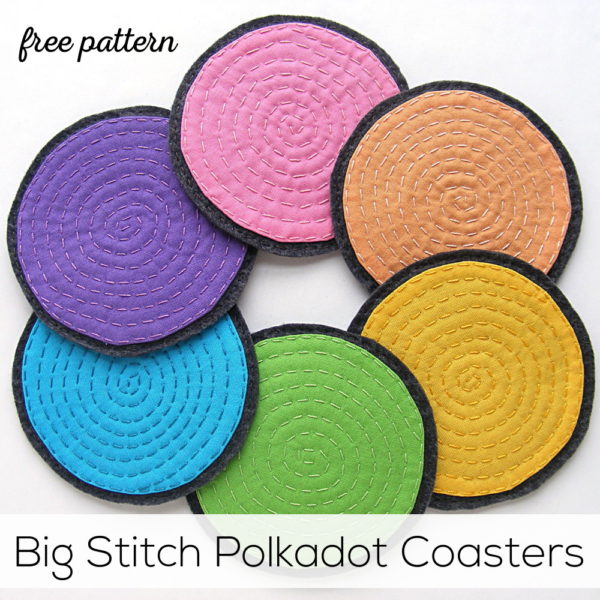
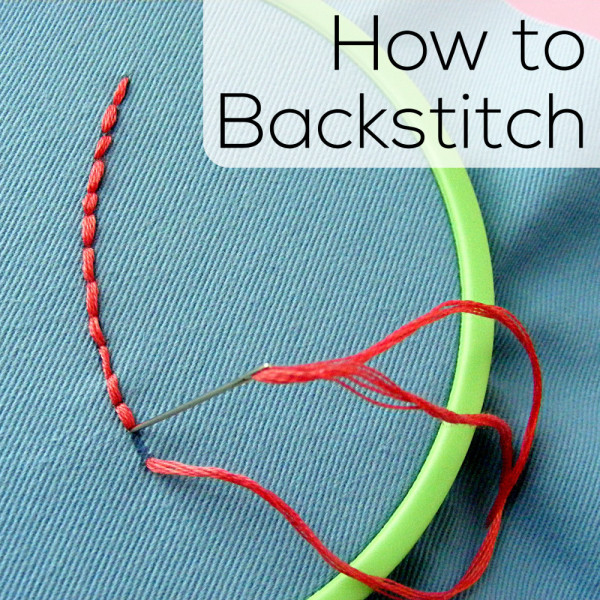
My favorite stitch for sewing felt pieces together.
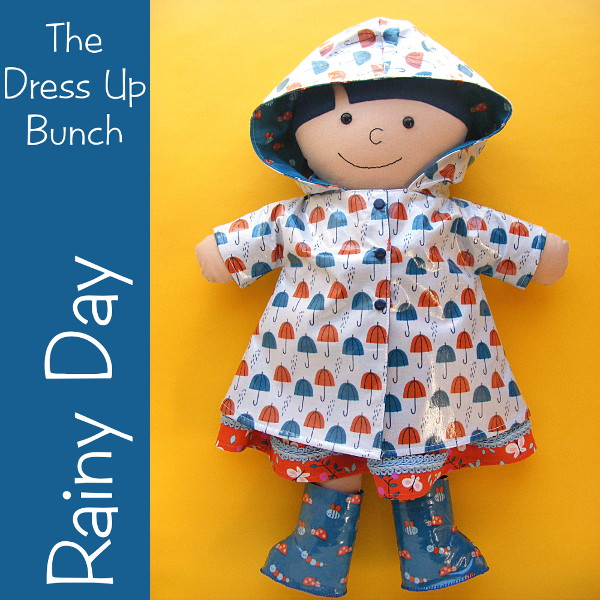
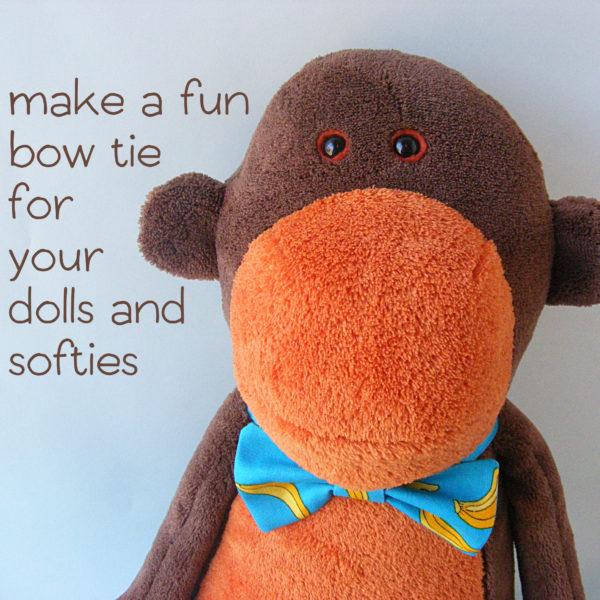
2014
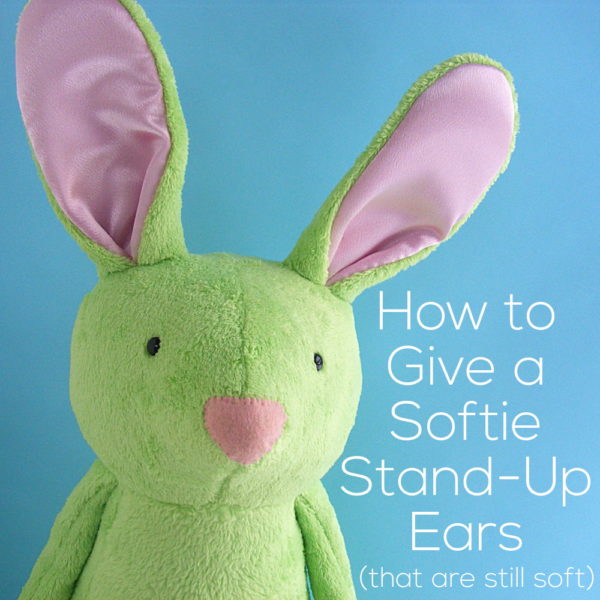
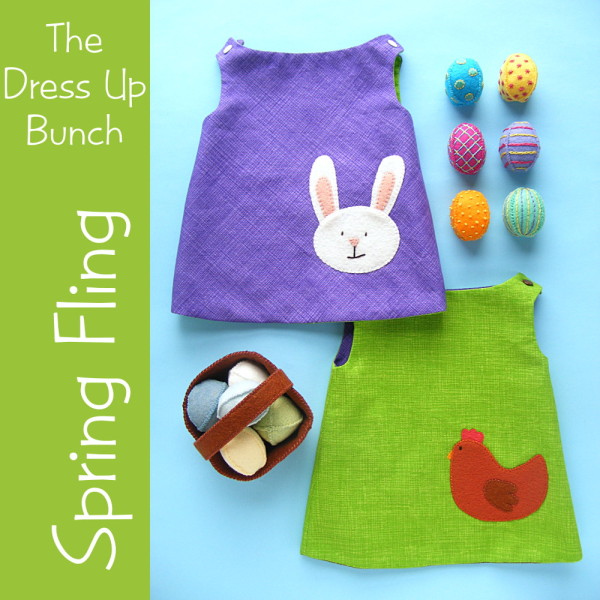
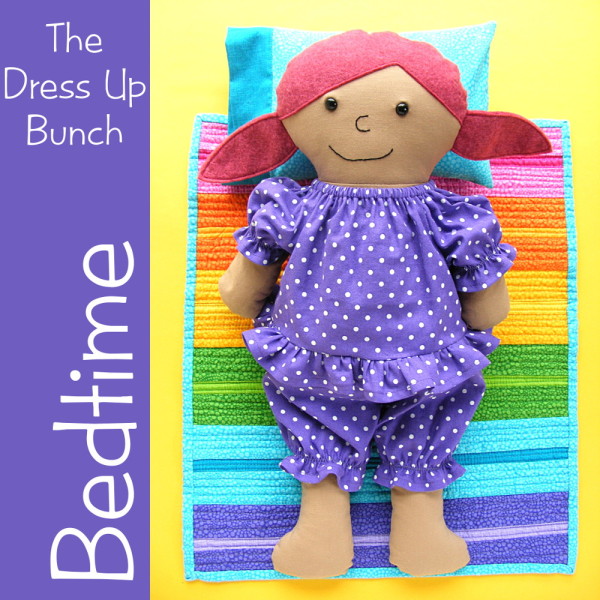
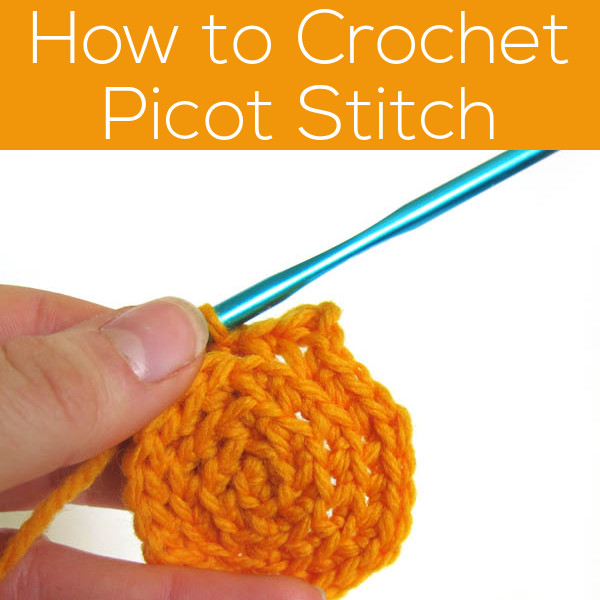
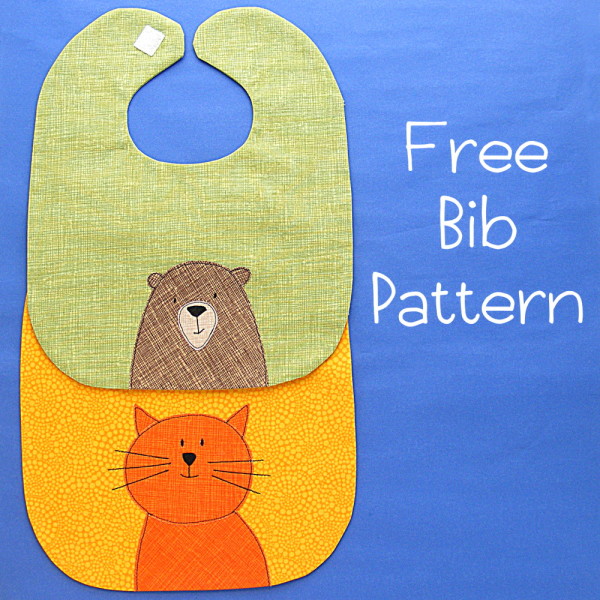
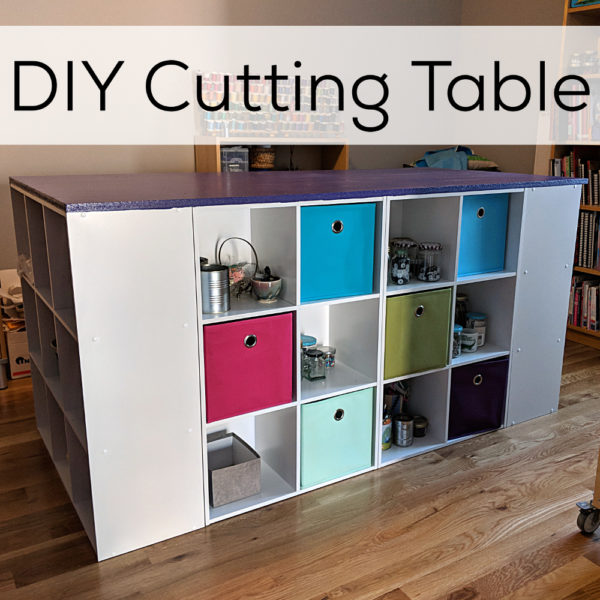
Make some bunny ears and fancy eggs for all your stuffed toys!
2015
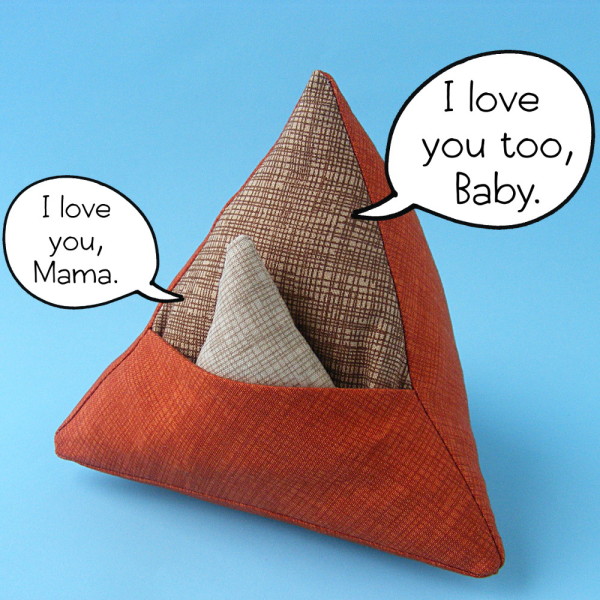
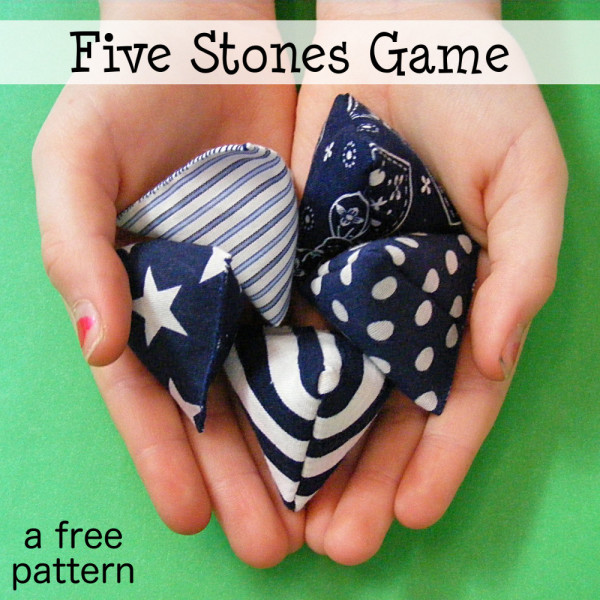
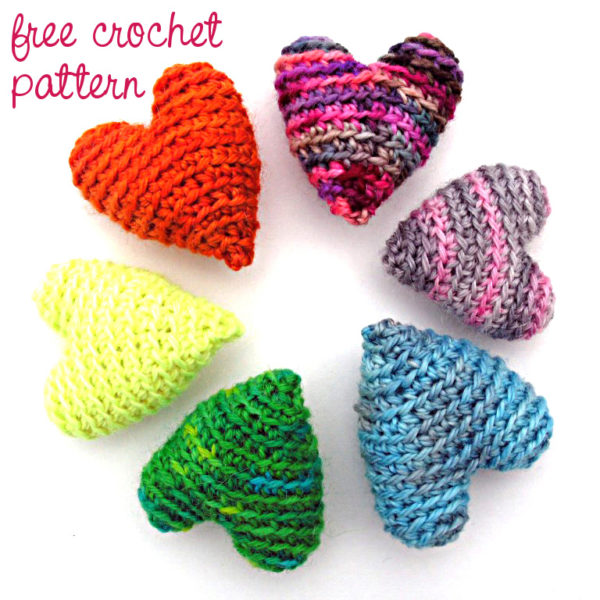
A free pattern for some fun baby toys made entirely of triangles.
2016
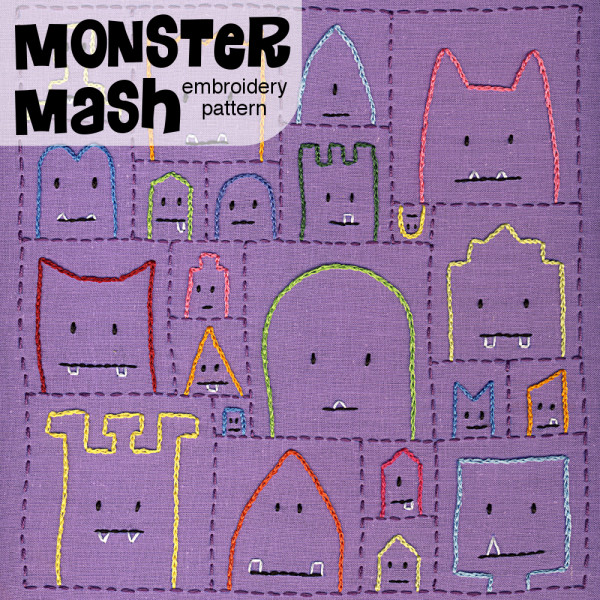
One of my very favorite free patterns – a gorgeous stitched Easter egg.
2017
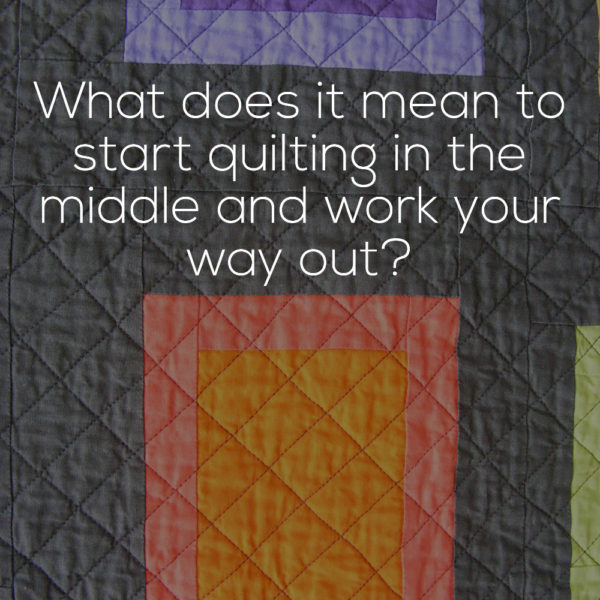
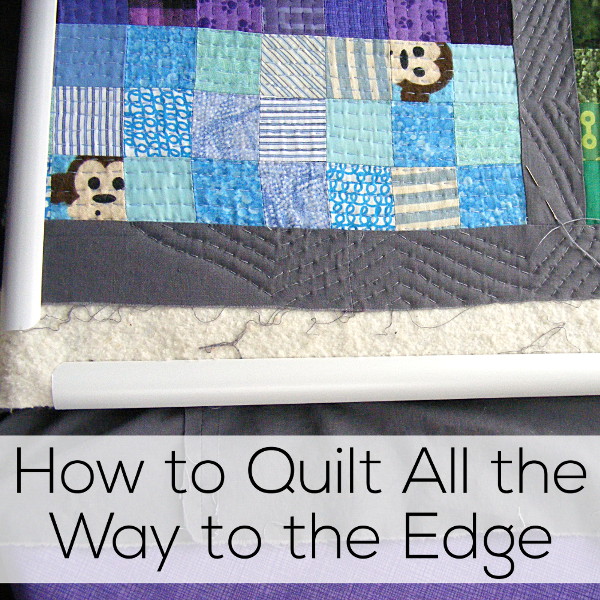
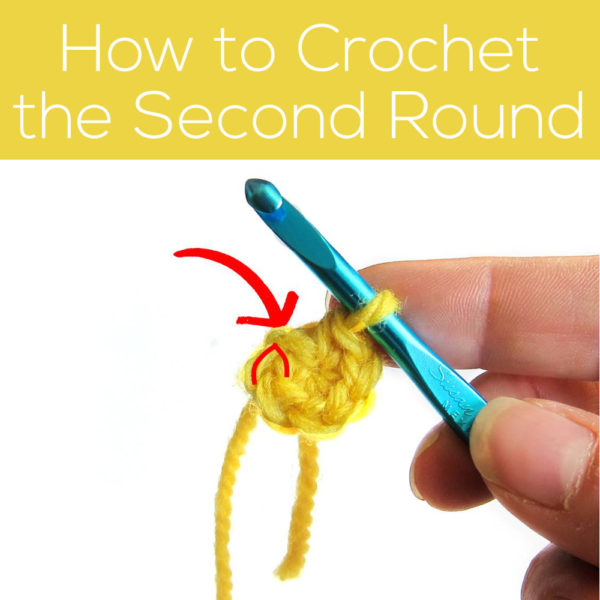
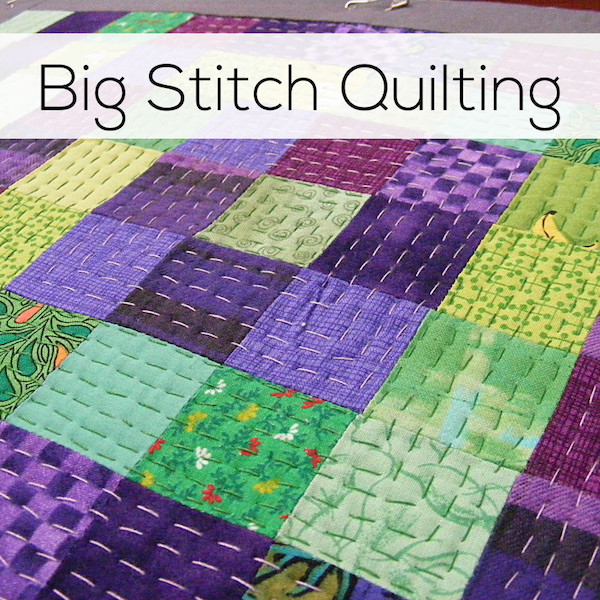
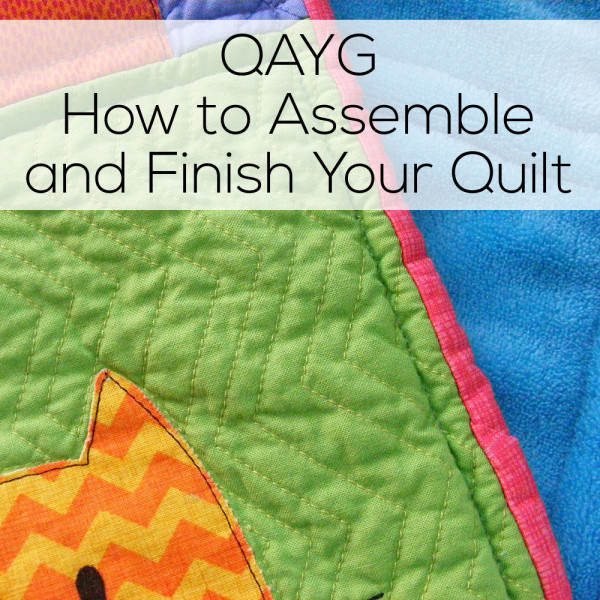
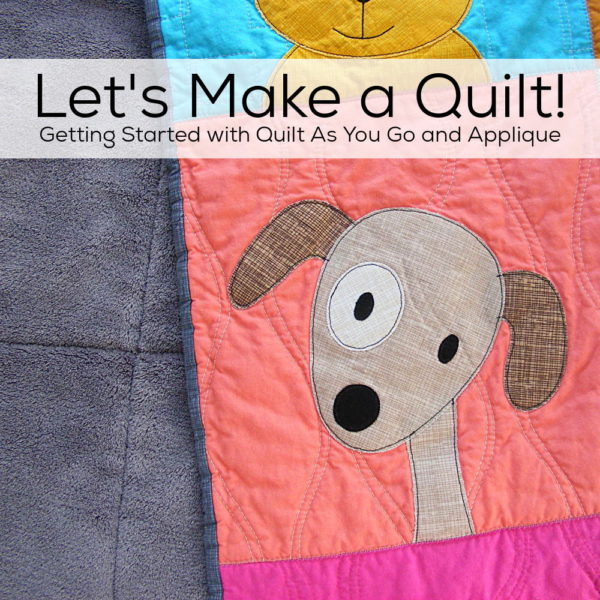
I always start quilting in the middle and then work my way out – but that means something different depending on whether you’re machine or hand quilting. In this video I explain both options.
2018
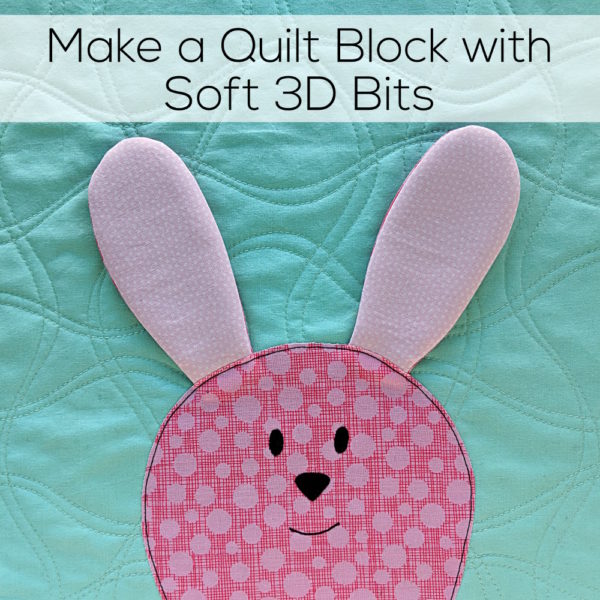
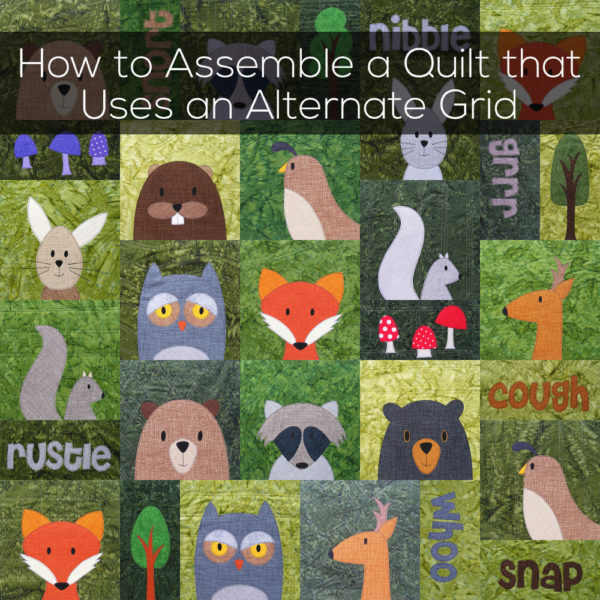
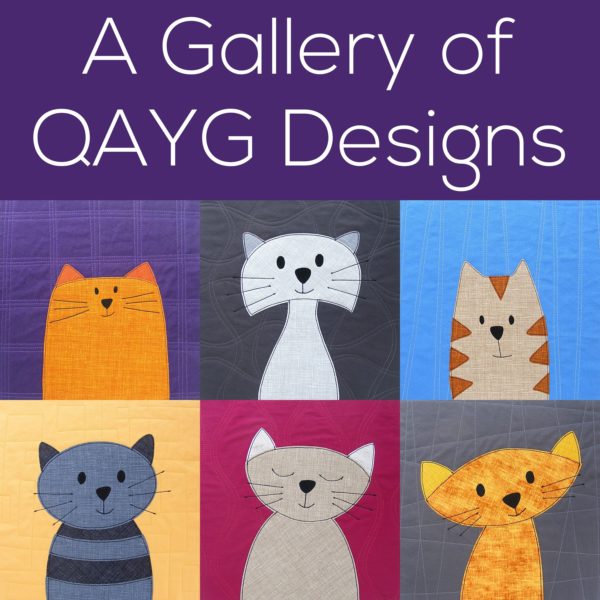
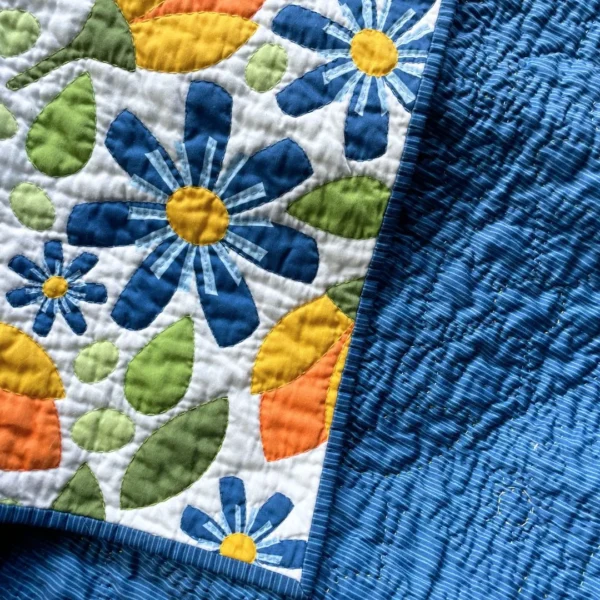
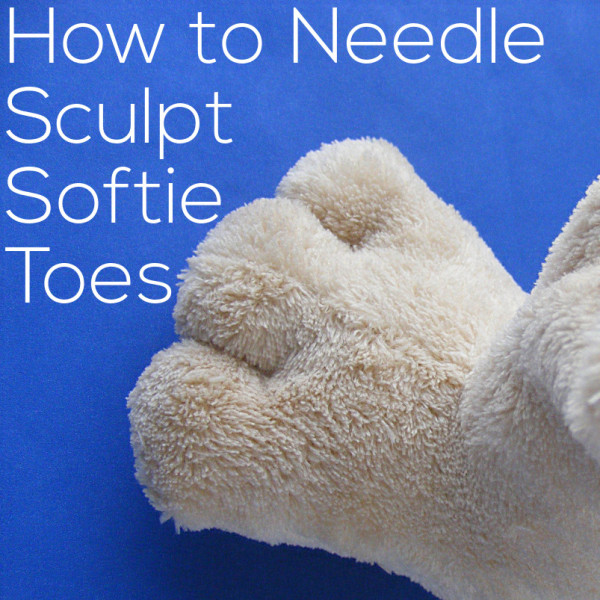
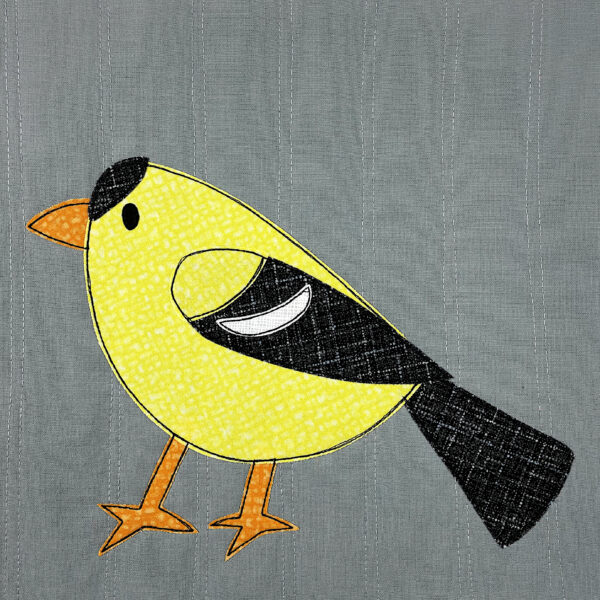
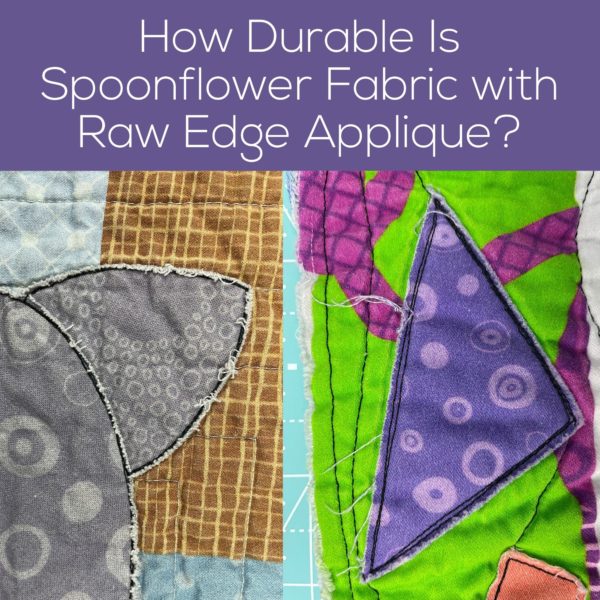
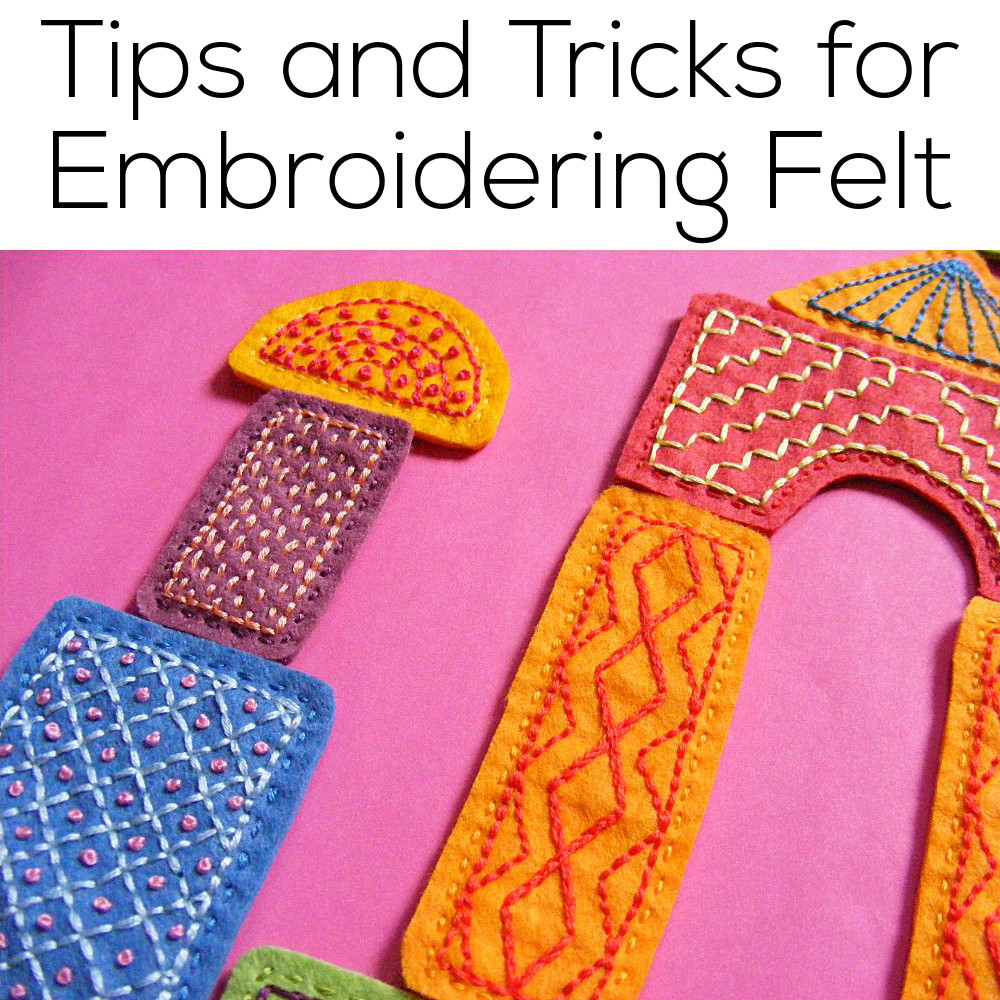
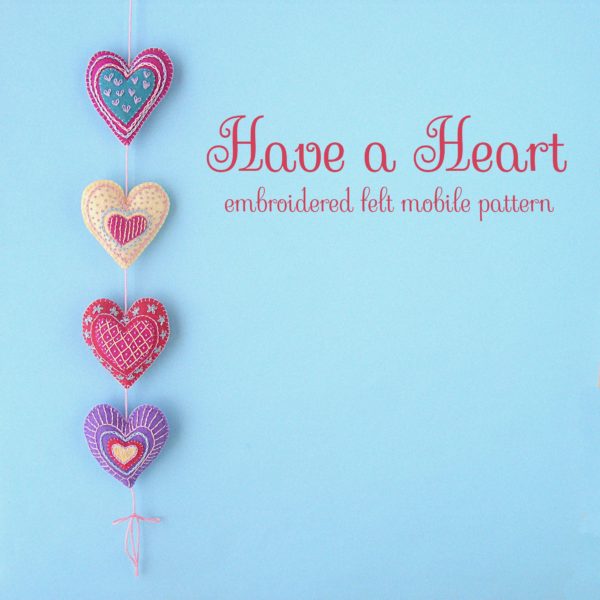
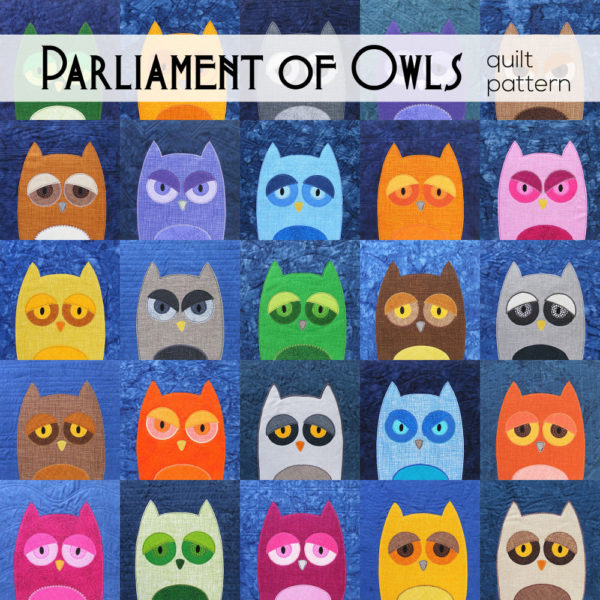
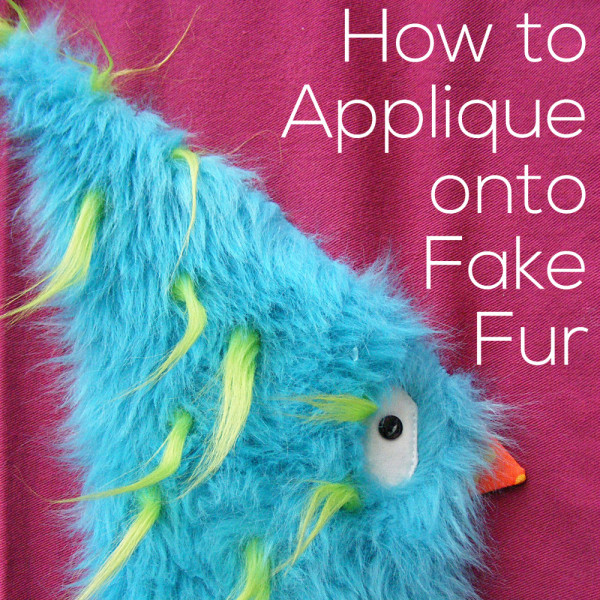
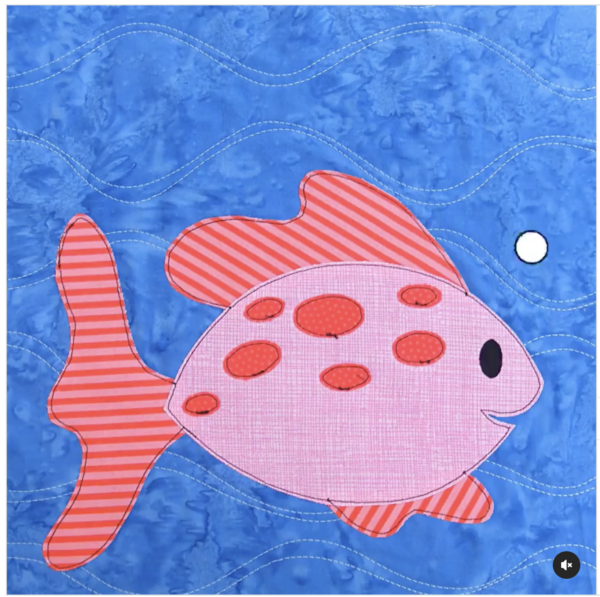
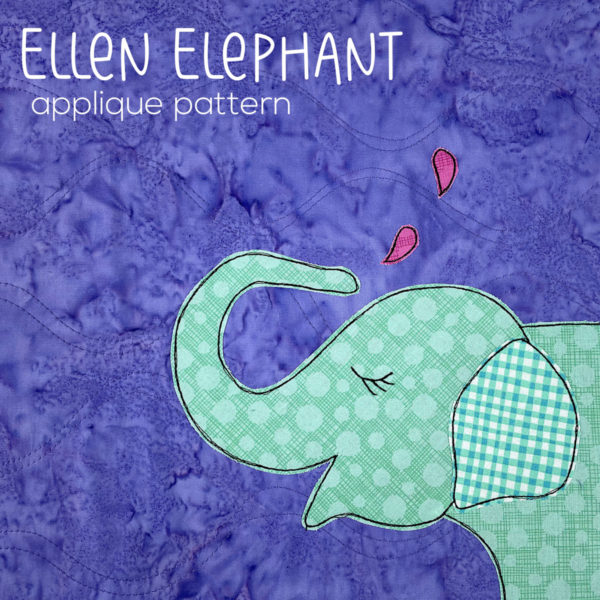
This is the same technique and materials I use for softies – adapted to use in quilt blocks!
2019
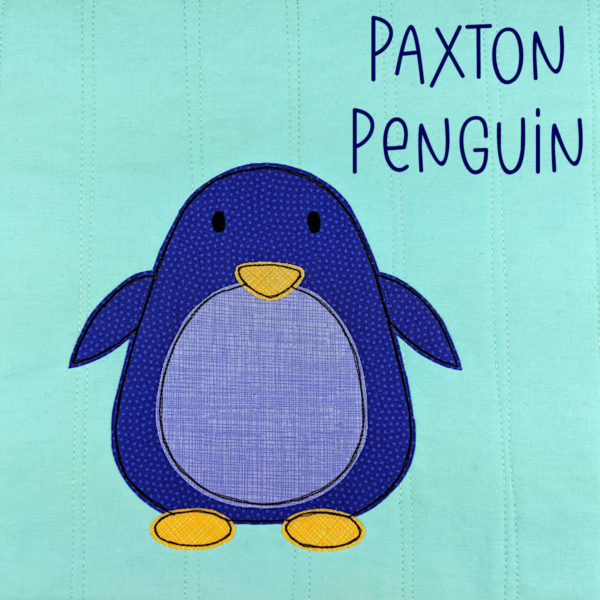
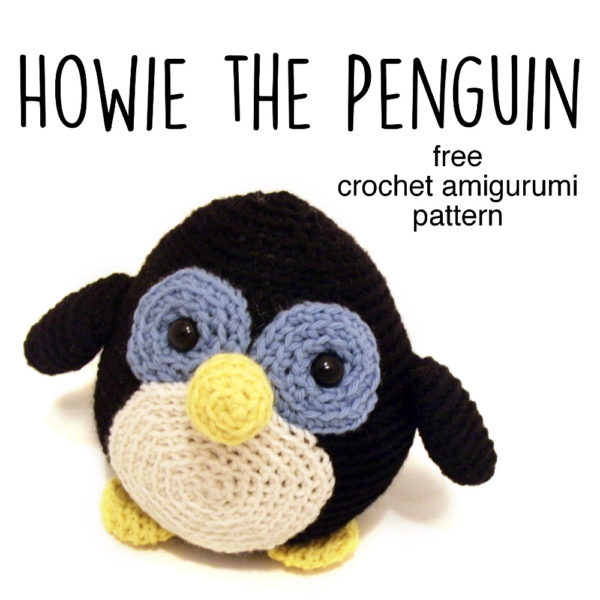
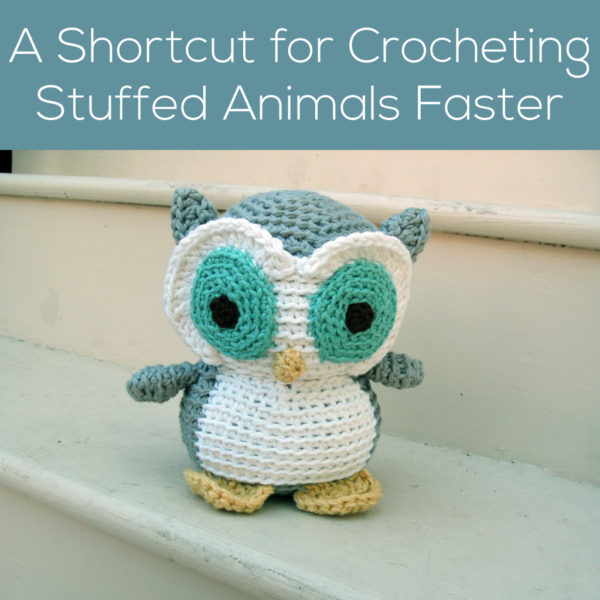
An adorable chubby penguin.
2020
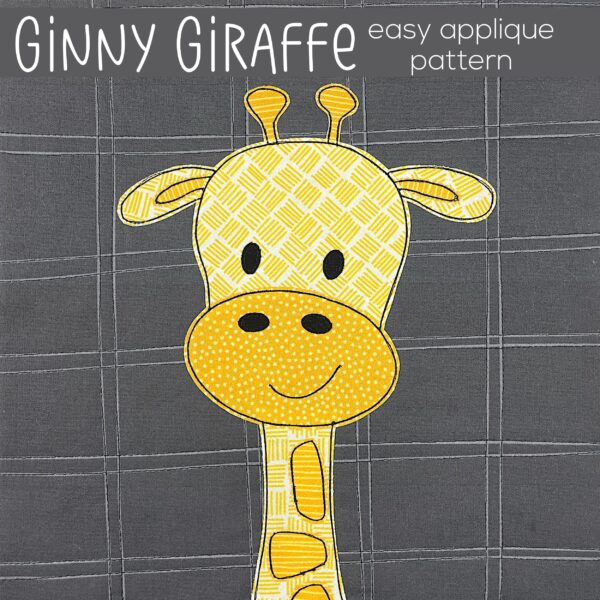
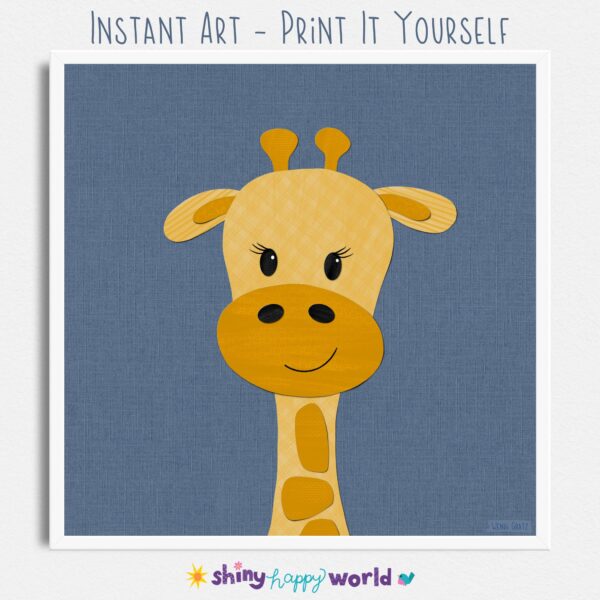
A sweet giraffe.
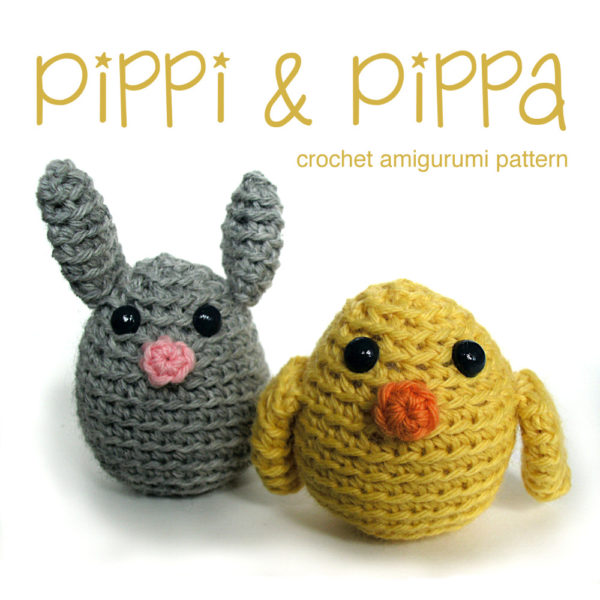
2021
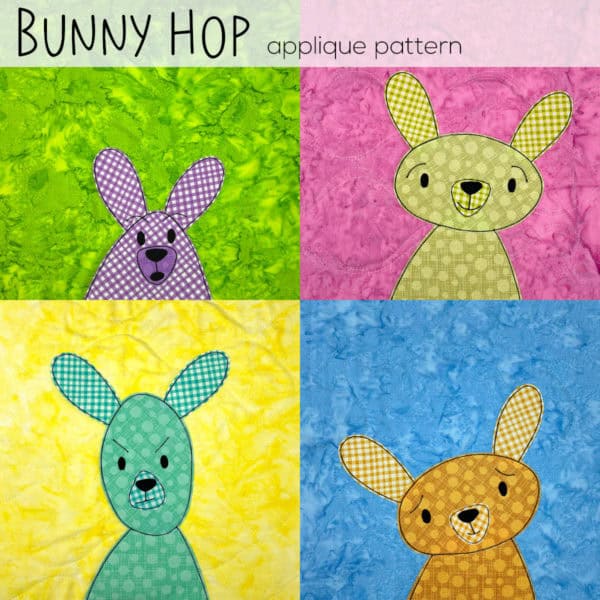
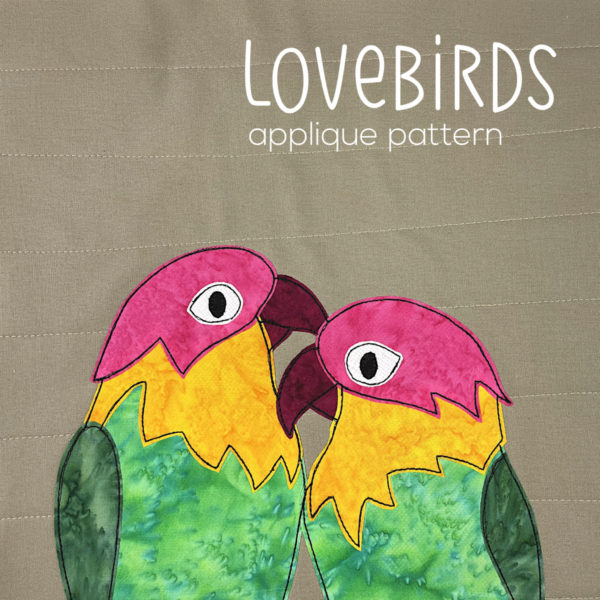
Adorable mix & match bunnies with many moods.
2022
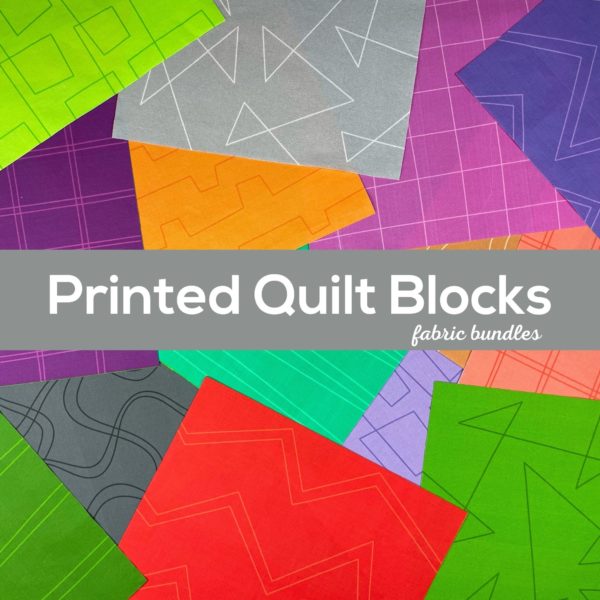
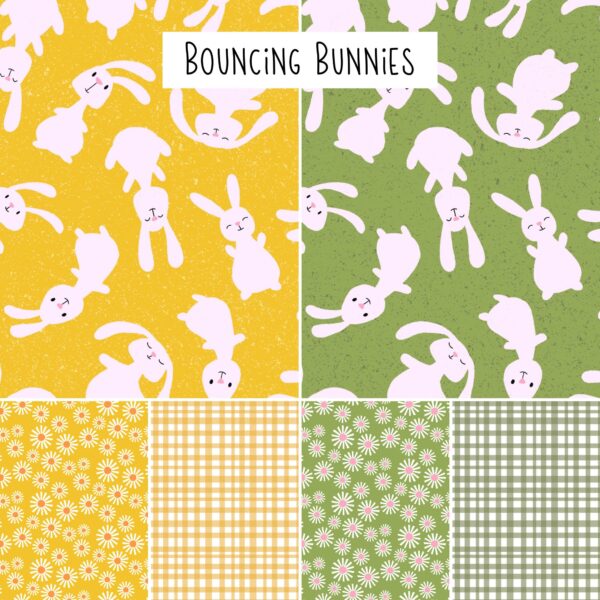
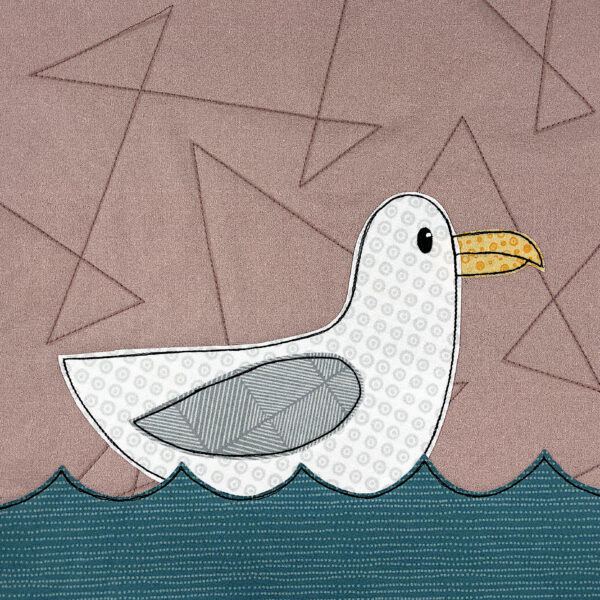
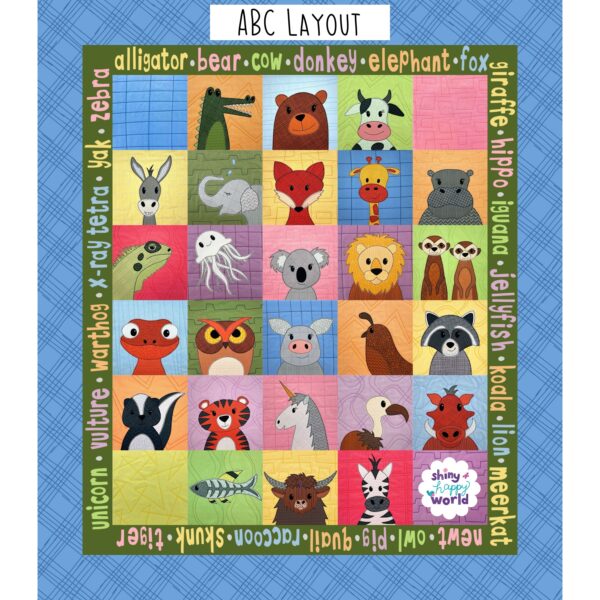
The quilting lines are printed right on the blocks, and they’re in color-coordinated bundles. An easy peasy way to get started!
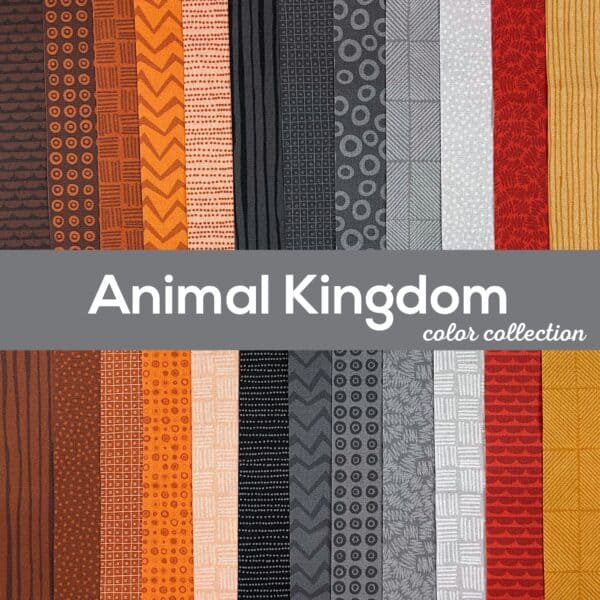
2023
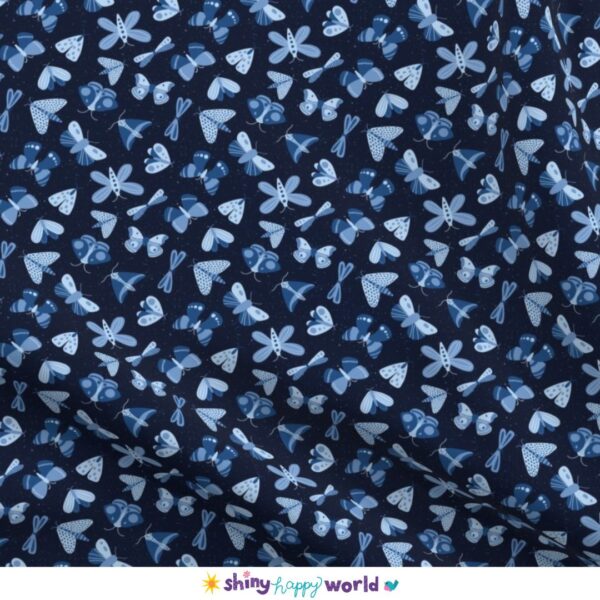
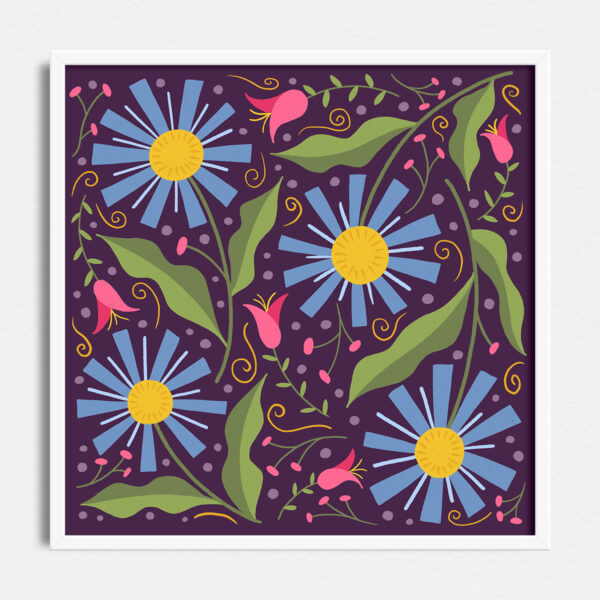
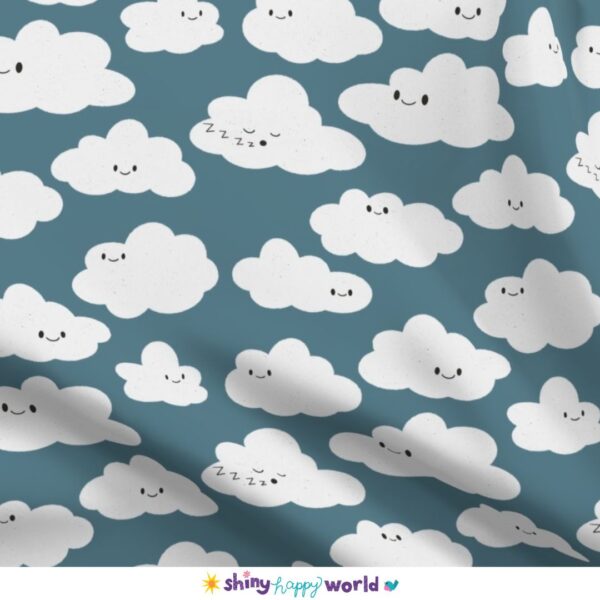
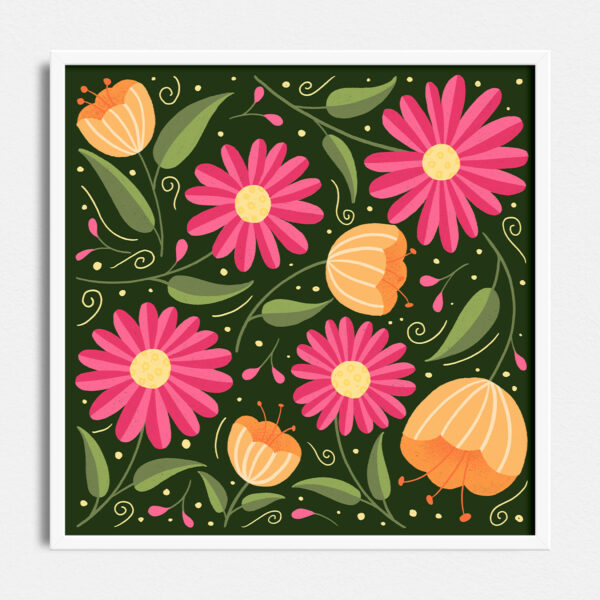
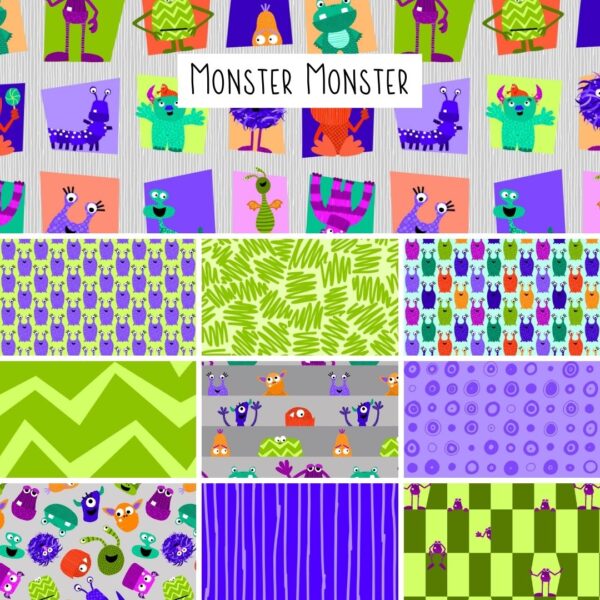
Just one of the options in the lush Moths and Butterflies collection. The same design is available in every color of the rainbow, and scales that will work for everything from bedding to baby clothes.
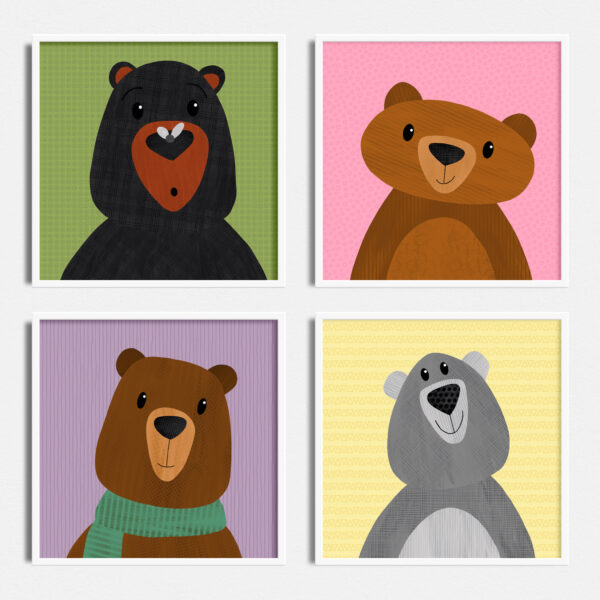
2024
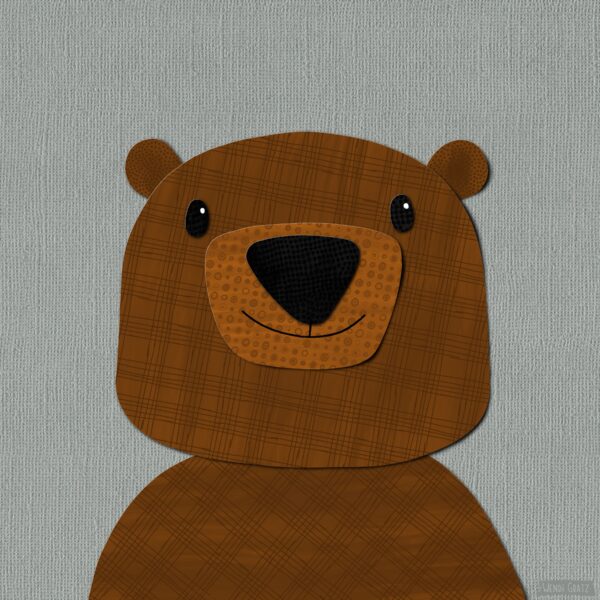
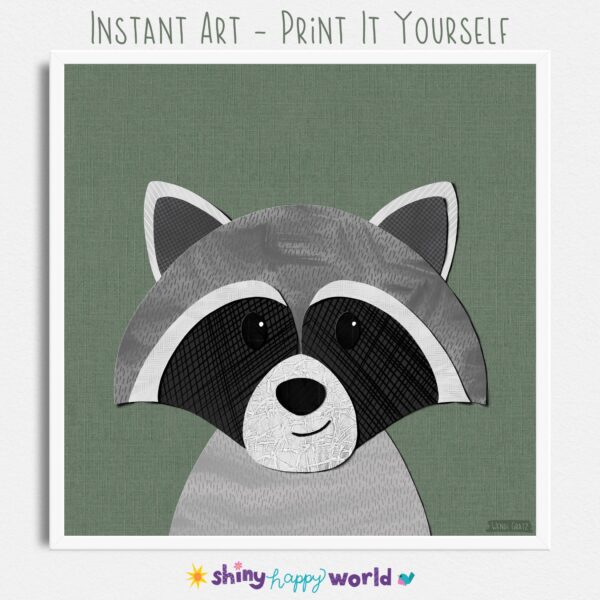
An adorable paper collage version of Beckham Bear and a discussion of musical and artistic covers.
2025
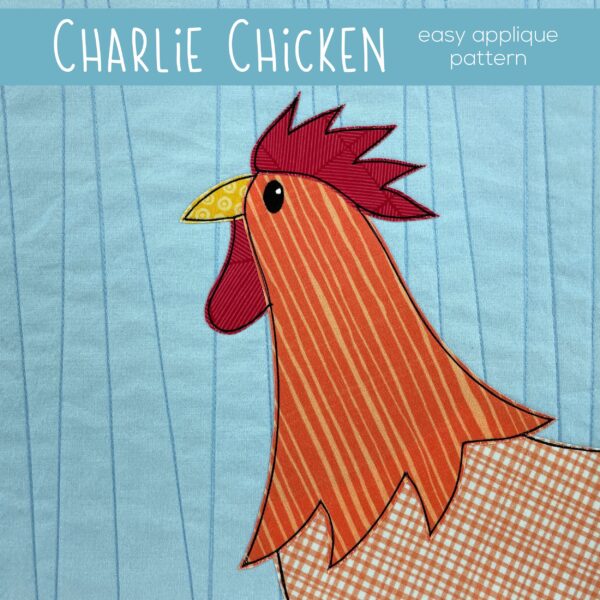
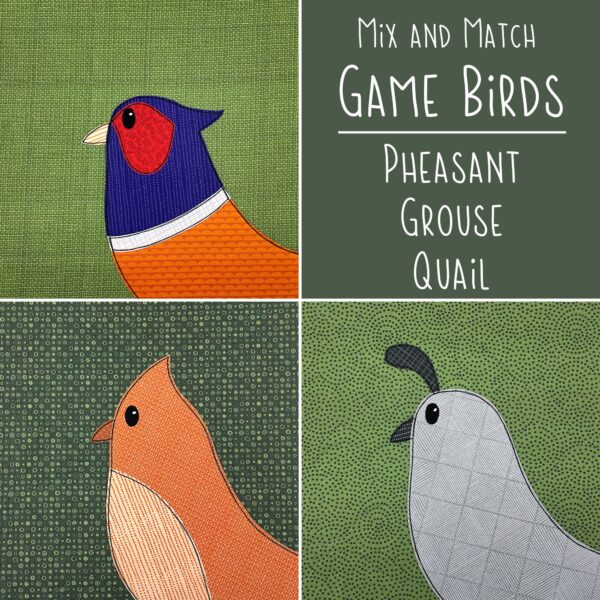
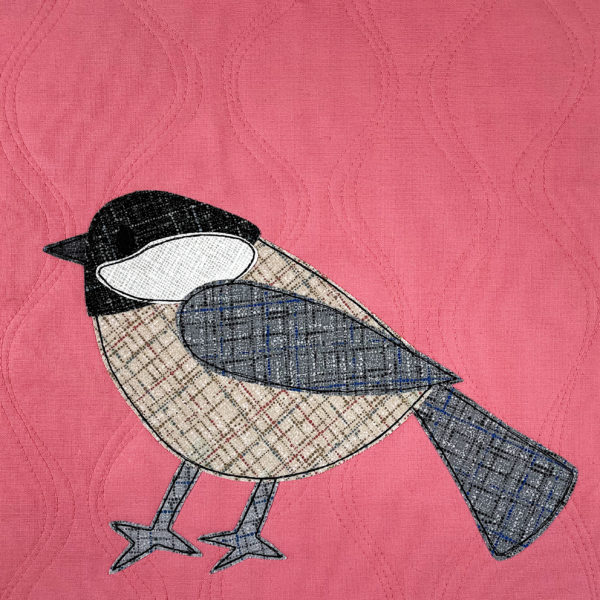
The chicken pattern includes templates for both a rooster and a hen. 🐓