The heart and soul of Shiny Happy World is in the archives. There are hundreds of free patterns and tutorials and it’s easy to be overwhelmed by all the information. Every Friday I share just a manageable sliver – a peek at what was happening during the same week of every year since the start of Shiny Happy World. This is Week 21.
Want this round-up (along with a discount code to use on the sale patterns) delivered to your inbox every Friday? Click here to sign up for the Shiny Happy World newsletter!
Click on the images to go to the posts.
2011
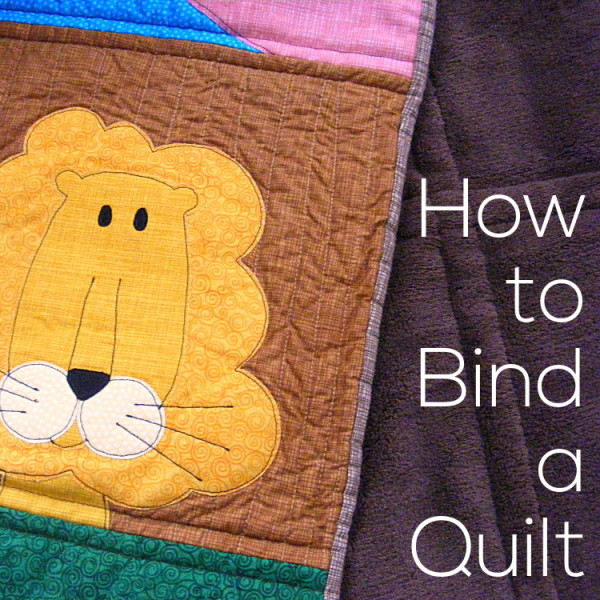
Some people hate binding. I absolutely love it! I use a combination of machine and had sewing and I adore those last couple of evenings with my beautiful new quilt in my lap.
2012
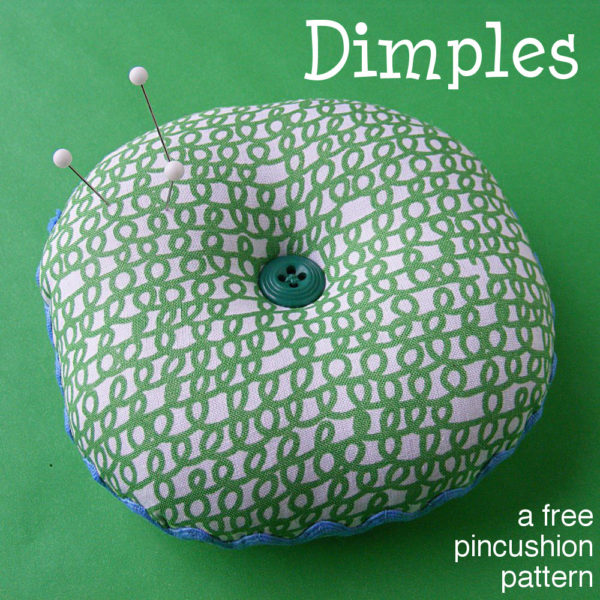
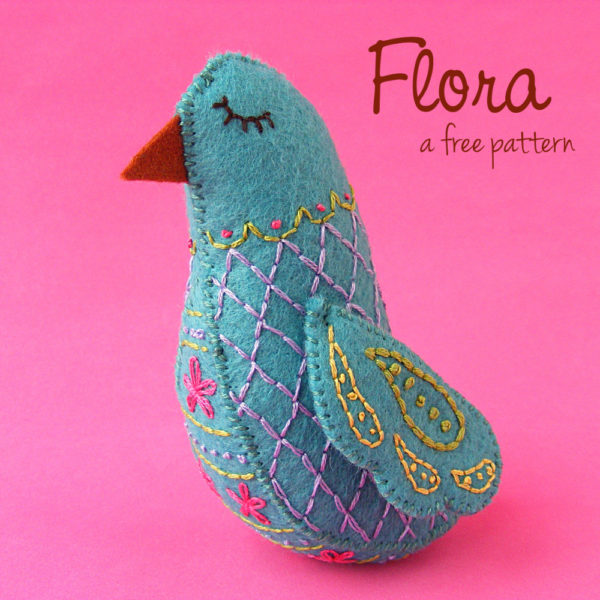
My favorite pincushion shape! I have multiples and keep one at my sewing machine, one at my ironing board, and one to rove around with me wherever I’m working.
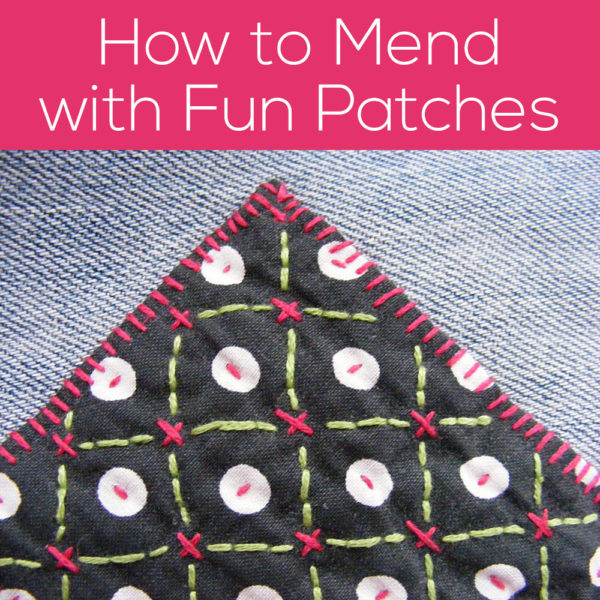
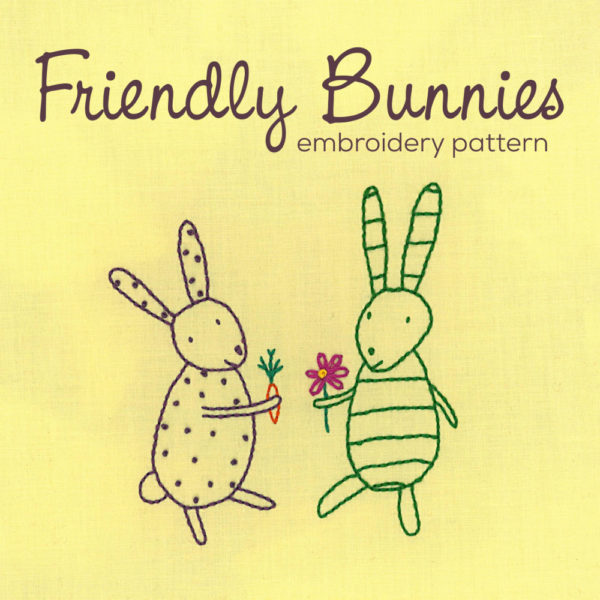
2013
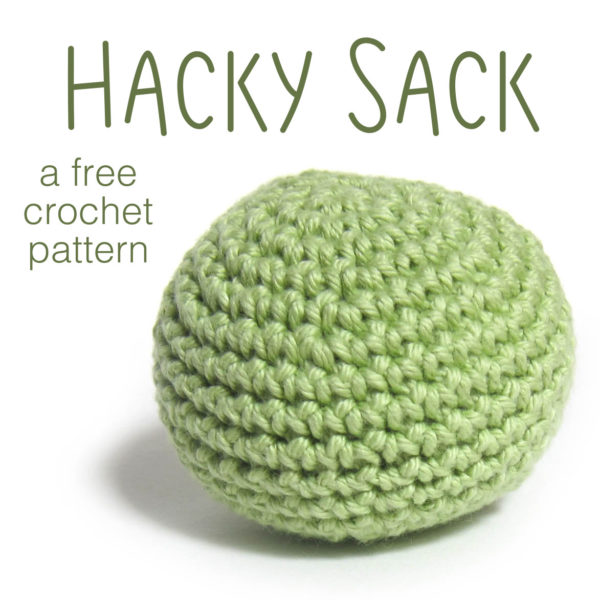
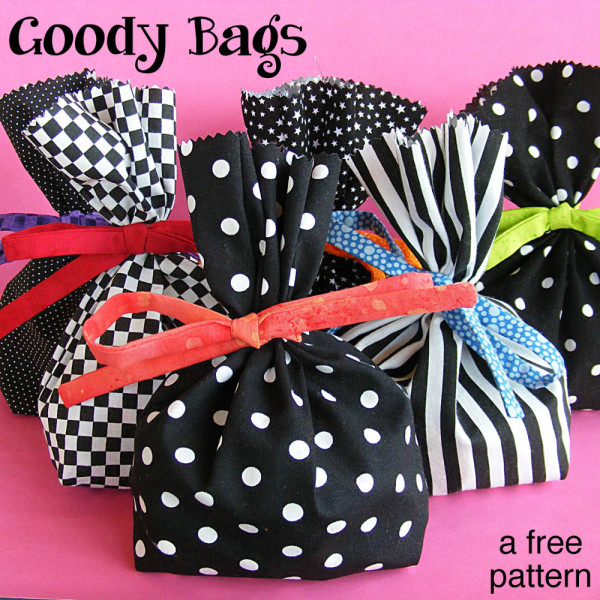
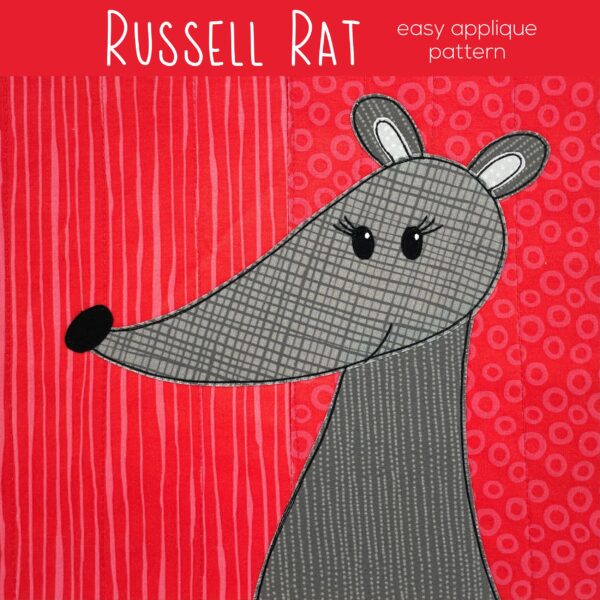
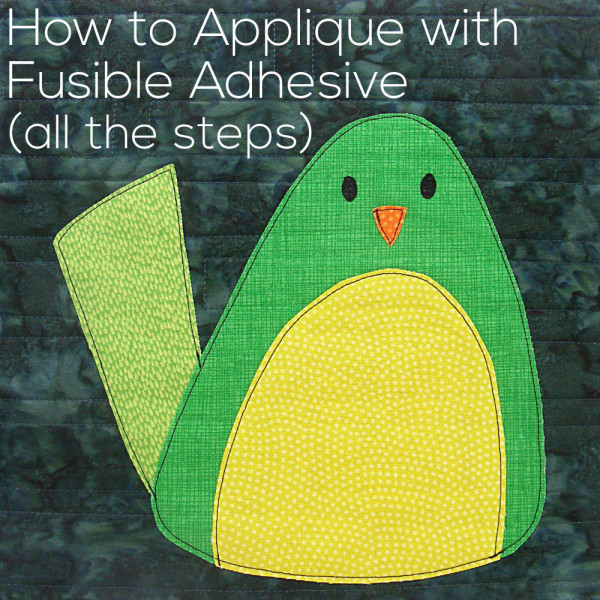
An easy beginner pattern and a great way to use up scraps.
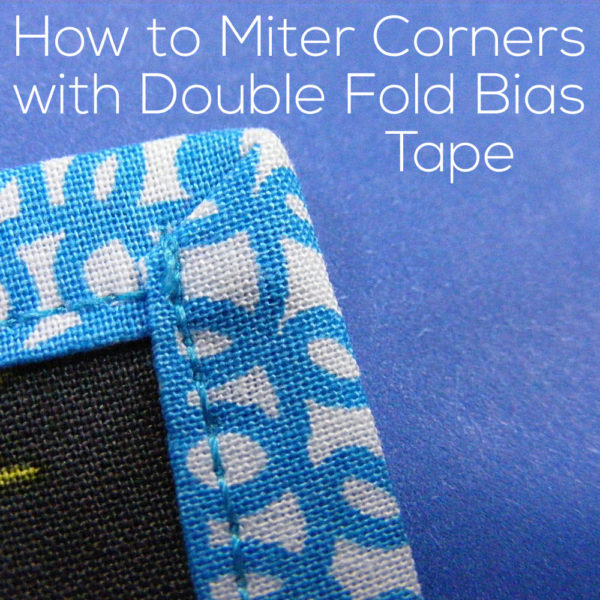
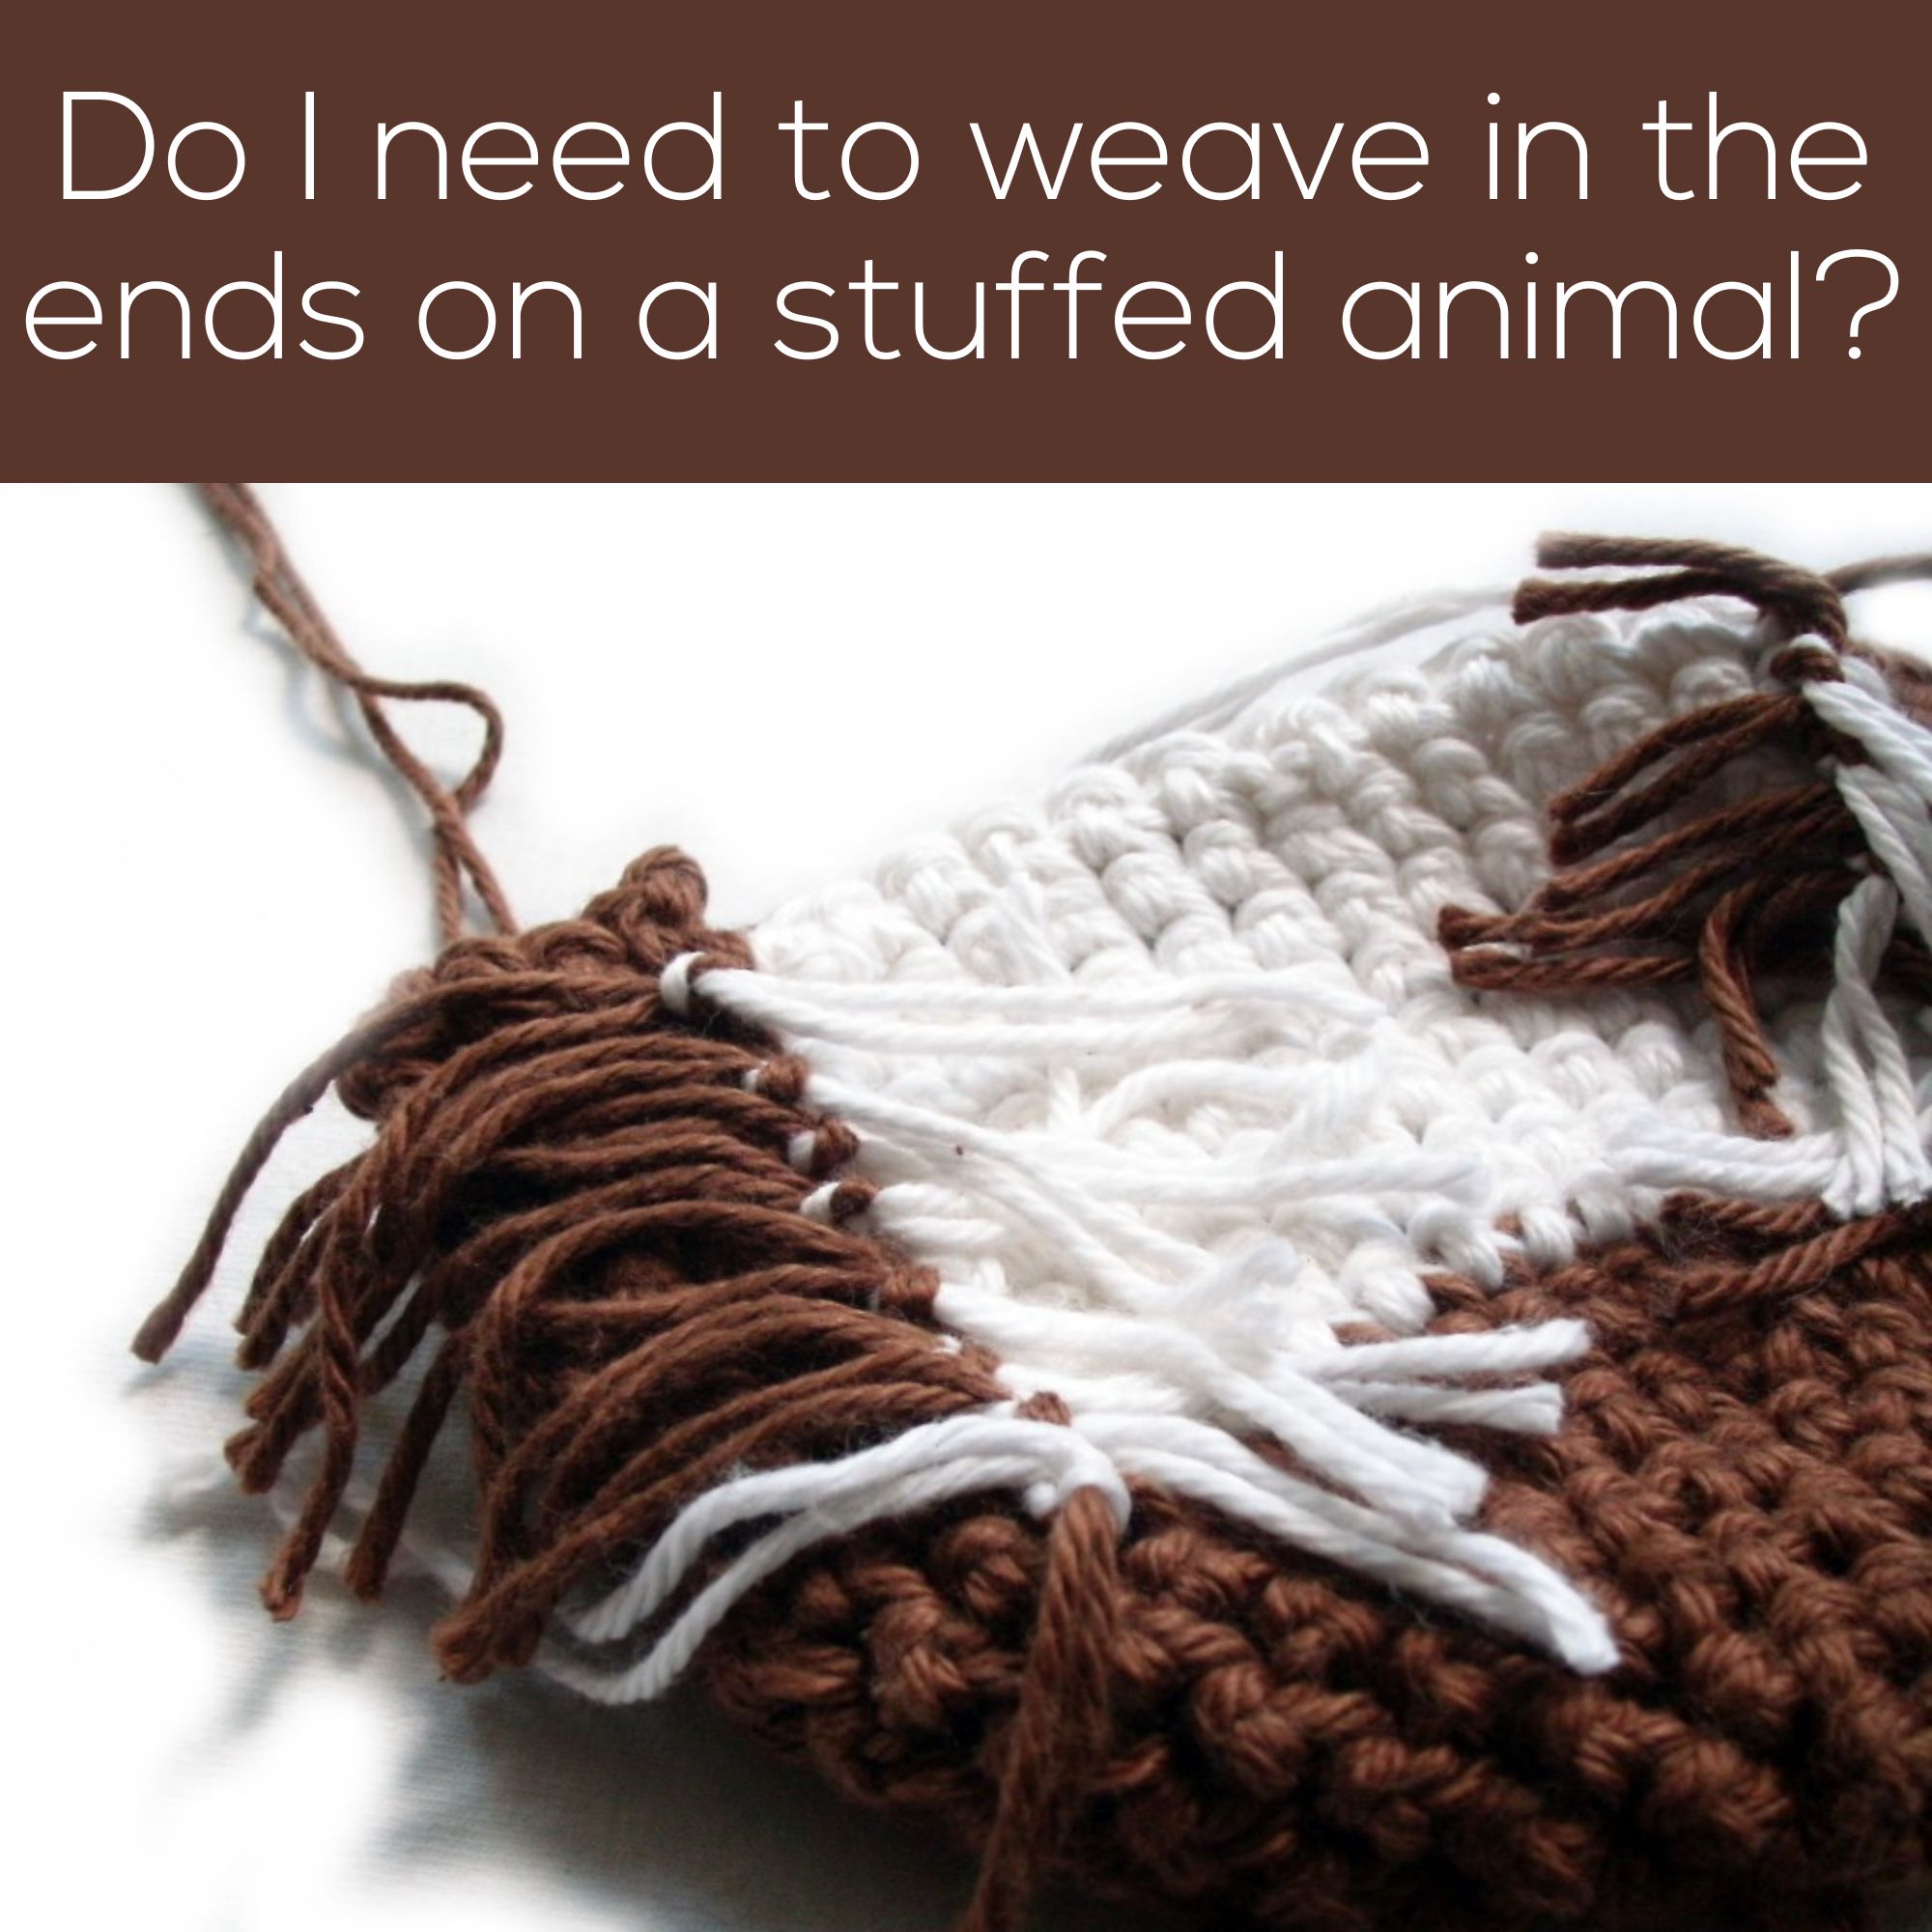
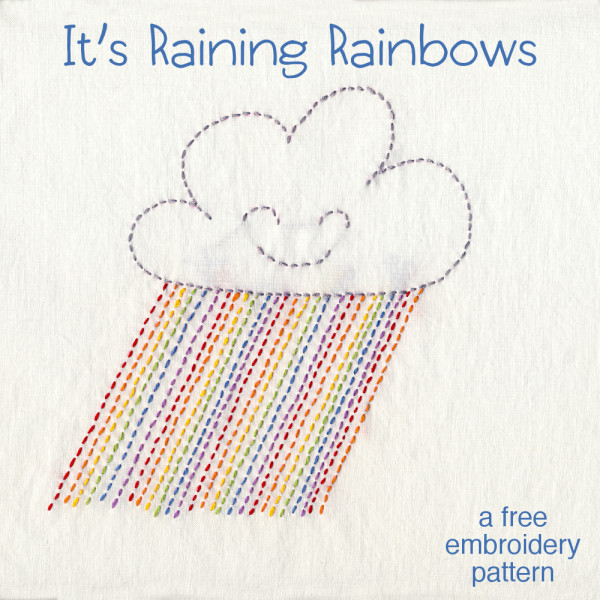
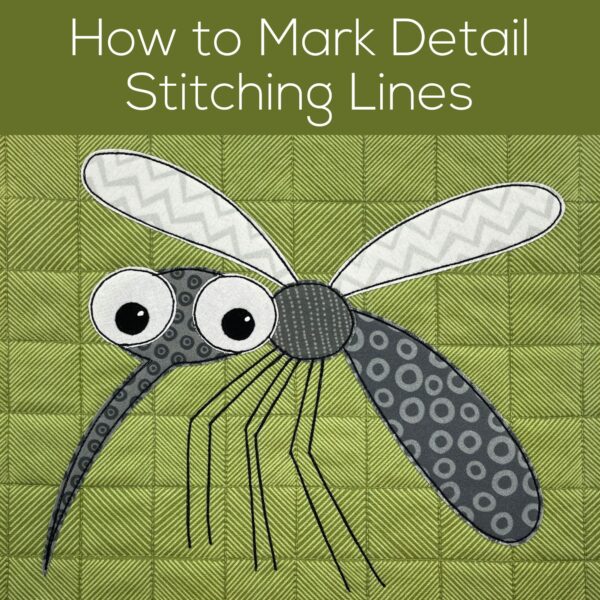
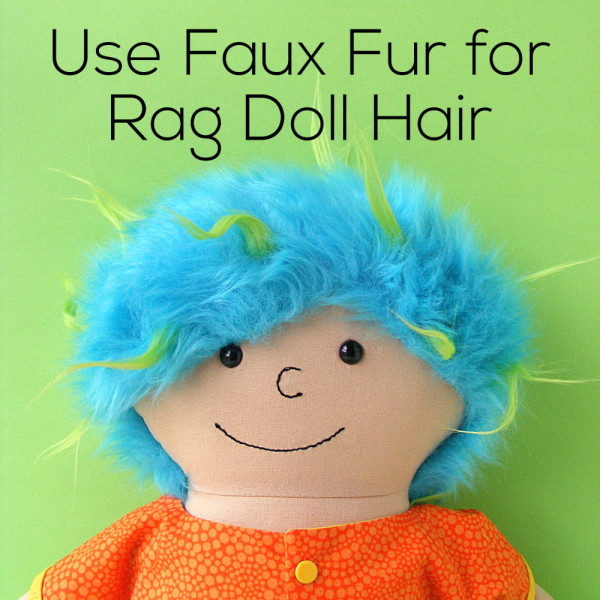
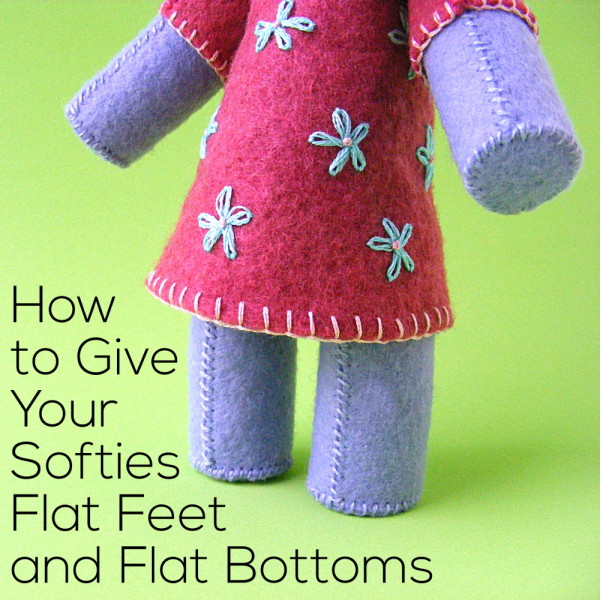
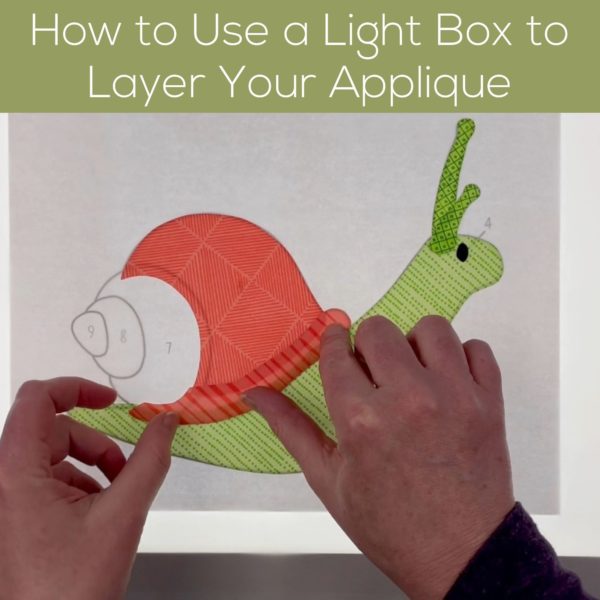
2014
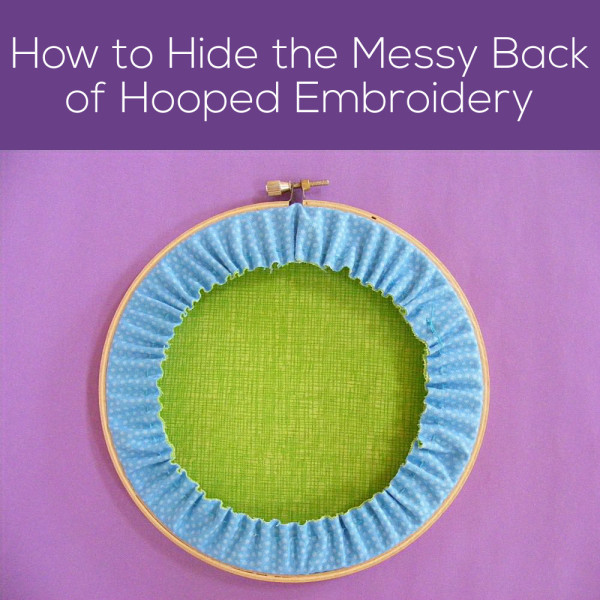
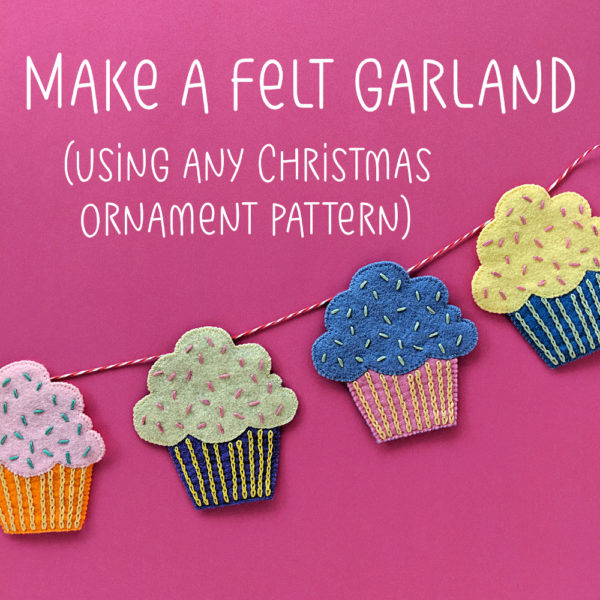
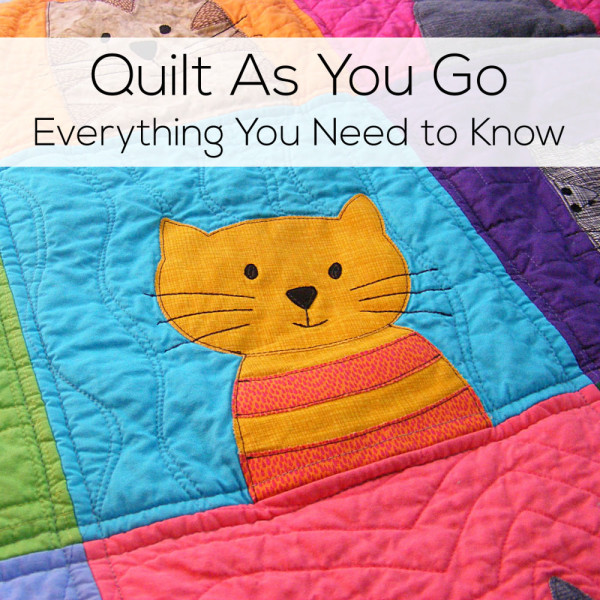
If you care about that sort of thing. 😁 I normally don’t, but if I’m making something like a Christmas tree ornament where both sides may be visible, I’ll often finish the back this way.
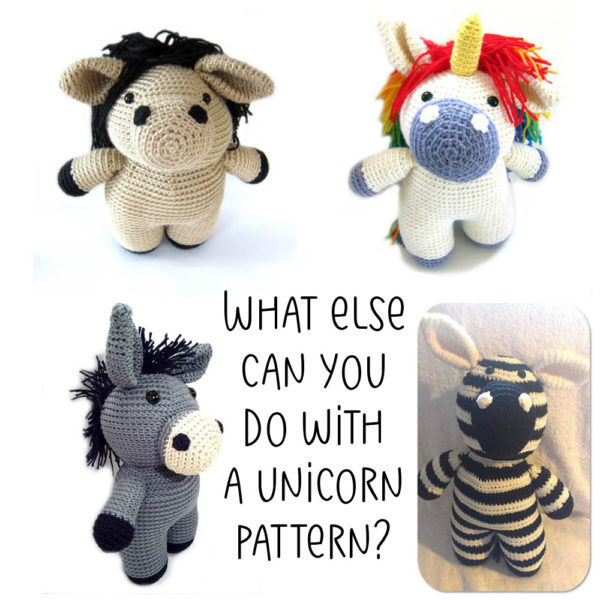
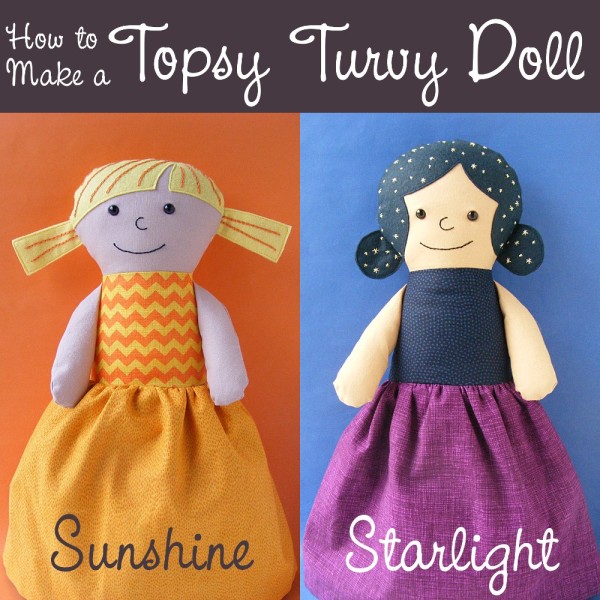
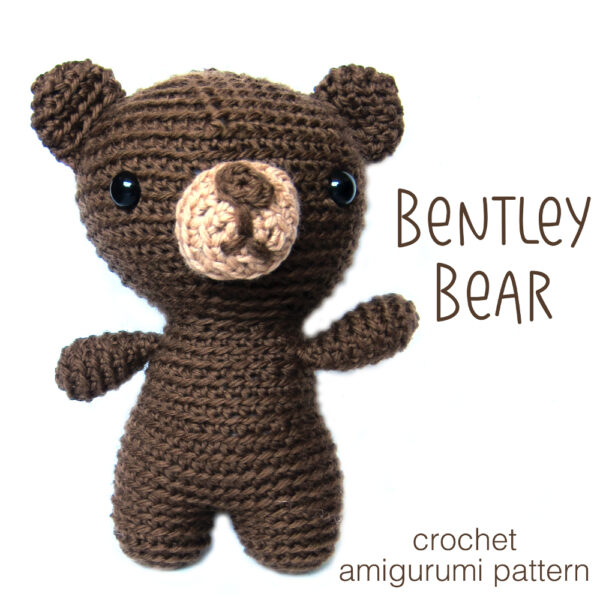
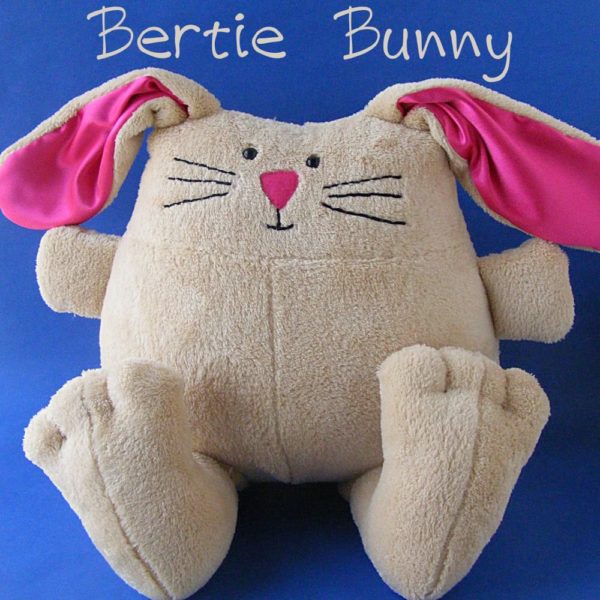
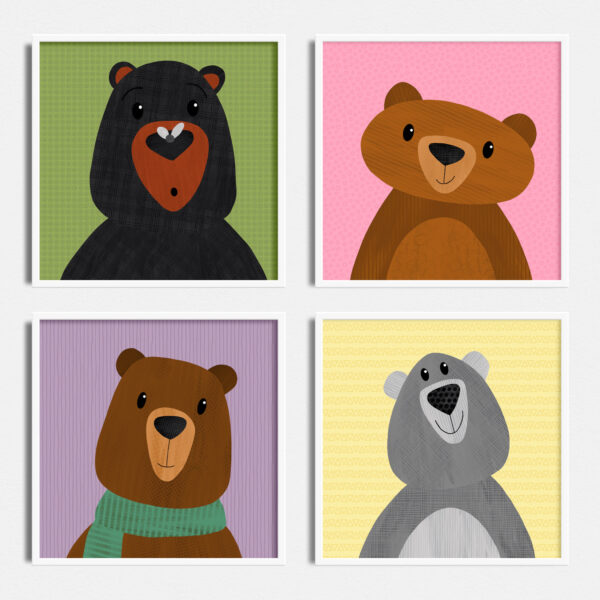
2015
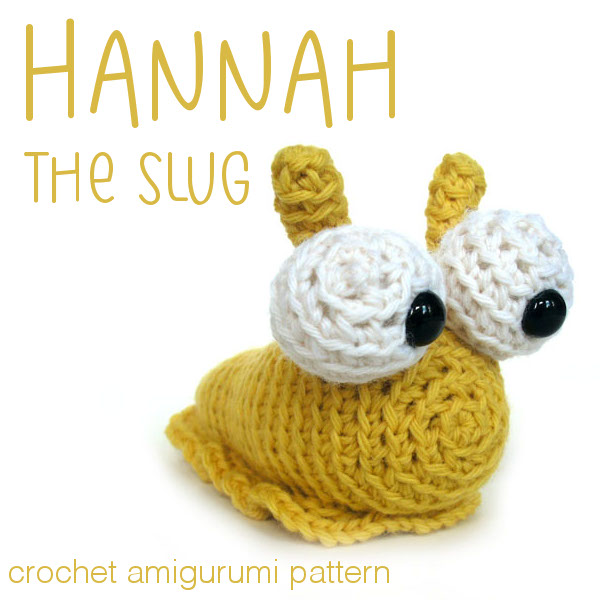
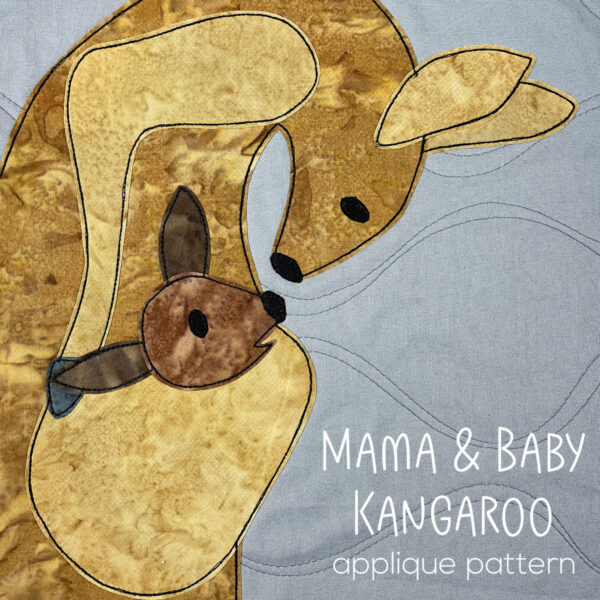
Super cute! But fair warning – this is my most difficult stuffed animal pattern.
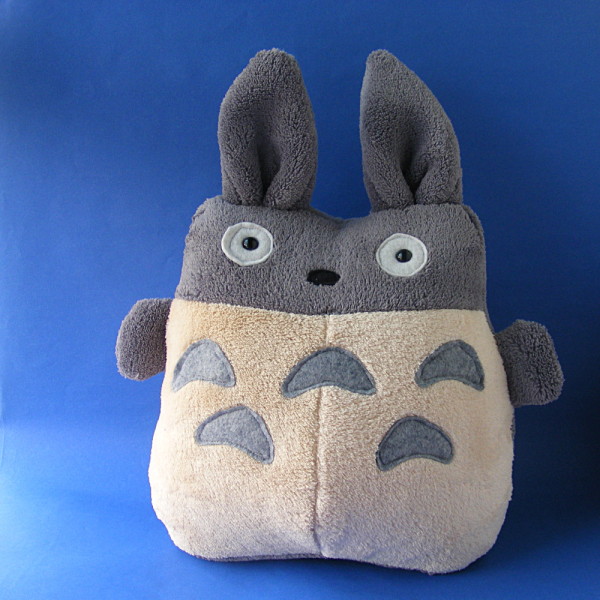
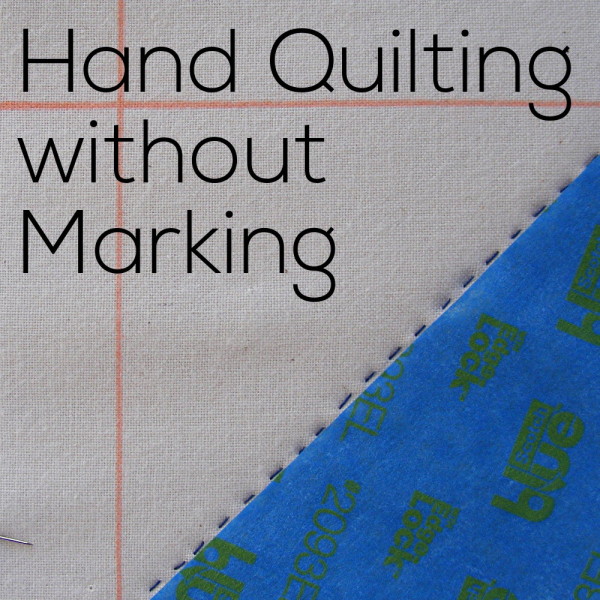
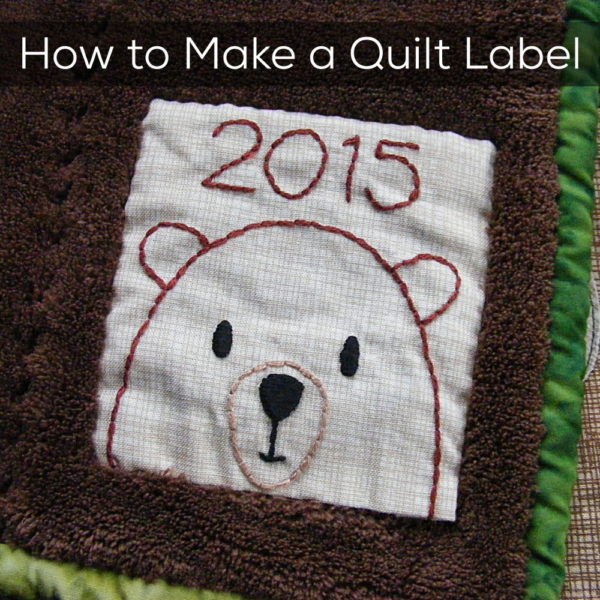
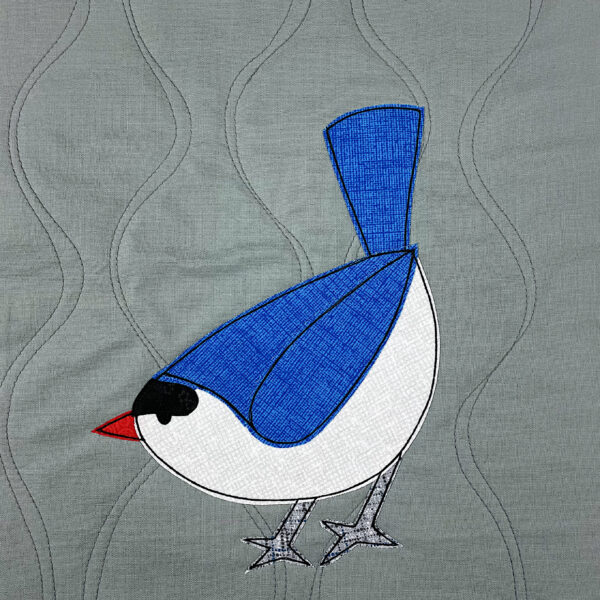
2016
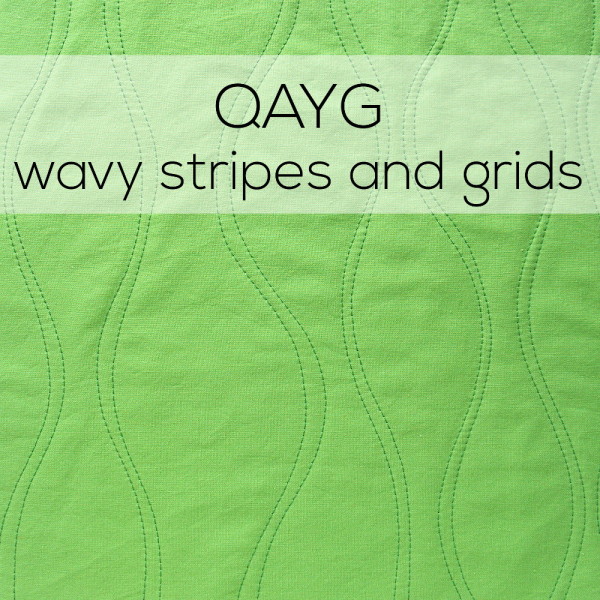
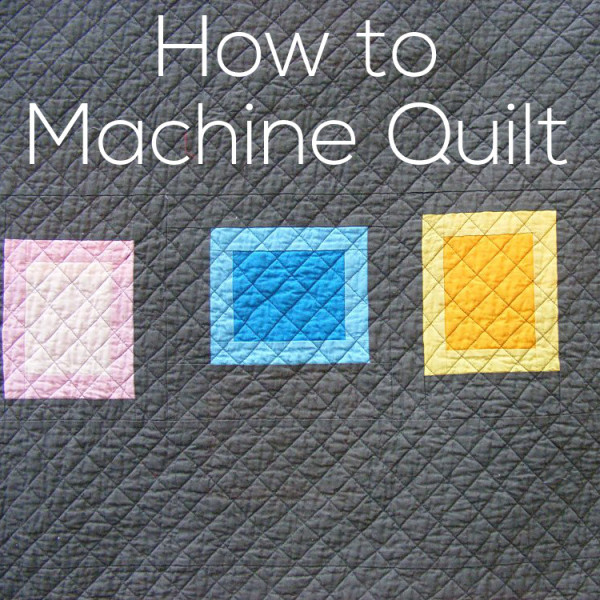
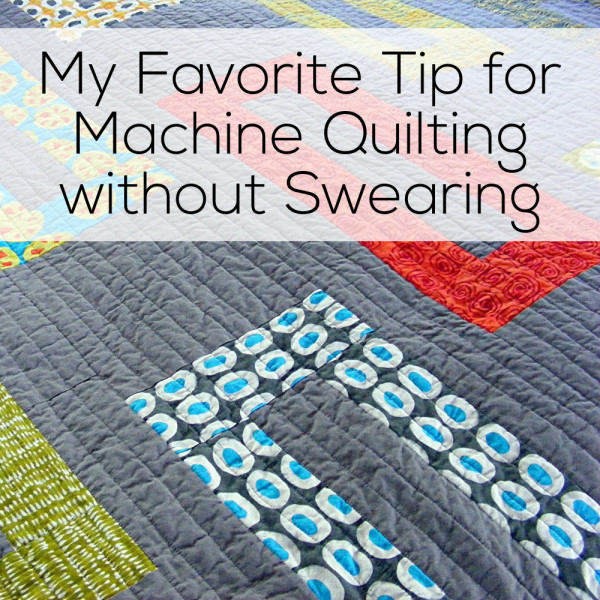
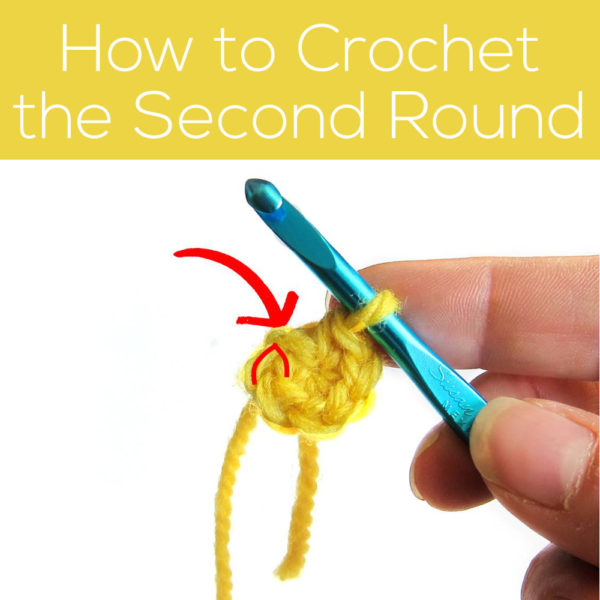
A video showing how I do all my favorite wavy line quilting. I use these designs ALL THE TIME.
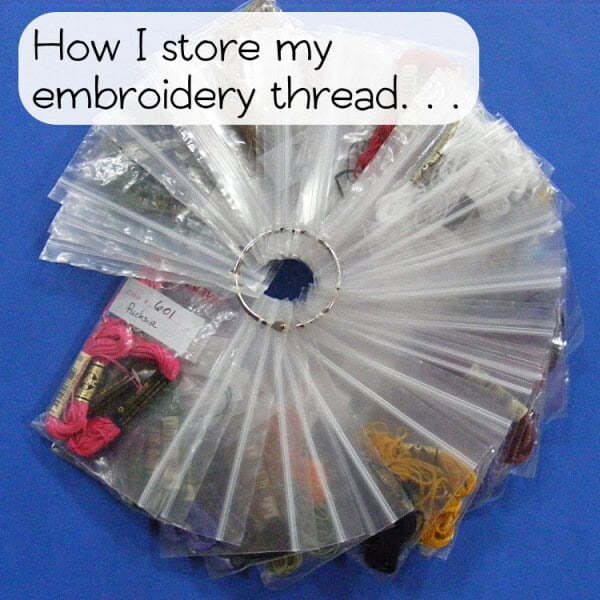
2017
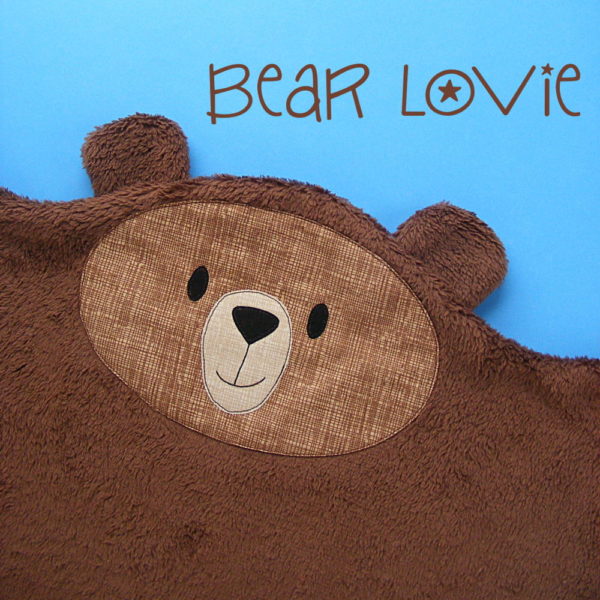
My very favorite project for quick and easy (and cuddly!) baby shower gifts.
2018
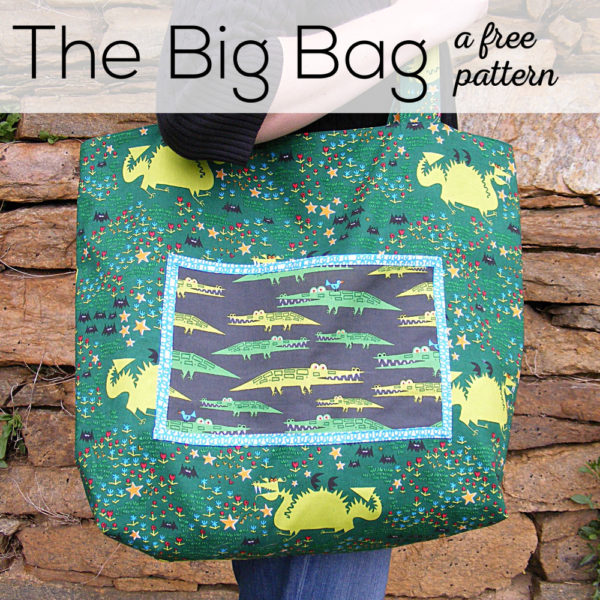
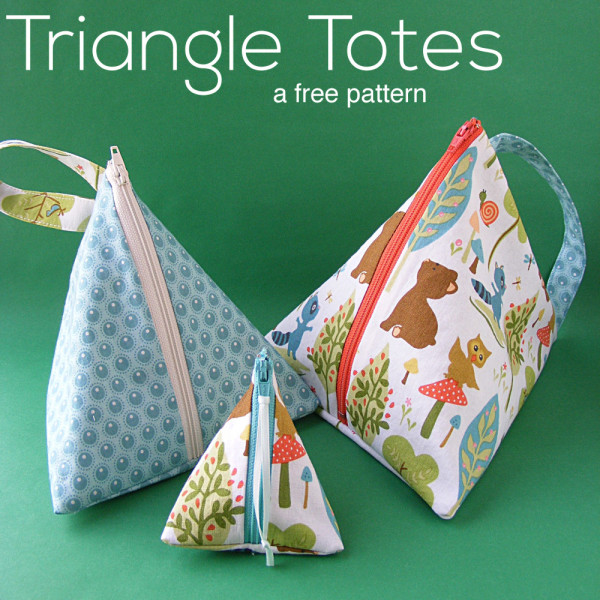
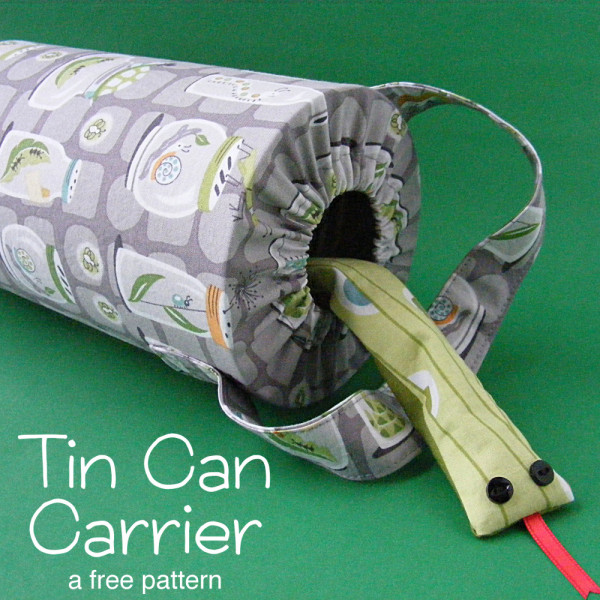
I based the size and shape of this bag on a tote I got IN HIGH SCHOOL and still use decades later. It is, in my opinion, the perfect bag.
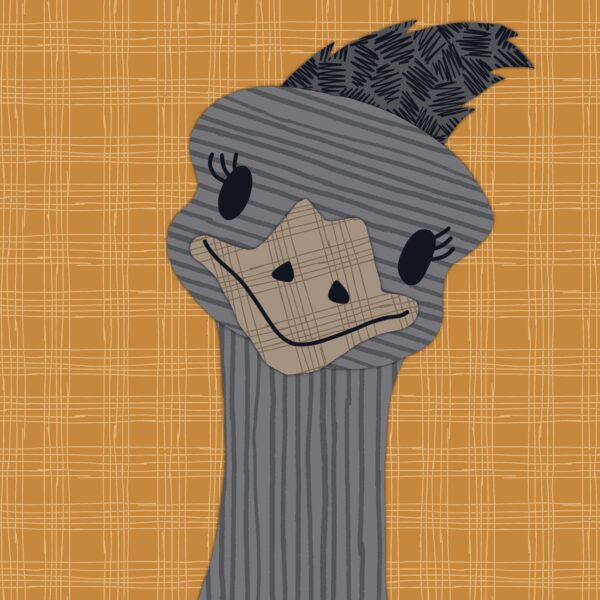
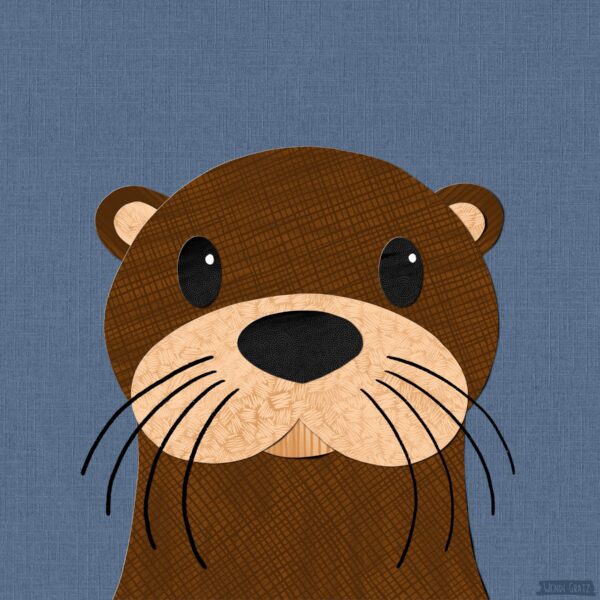
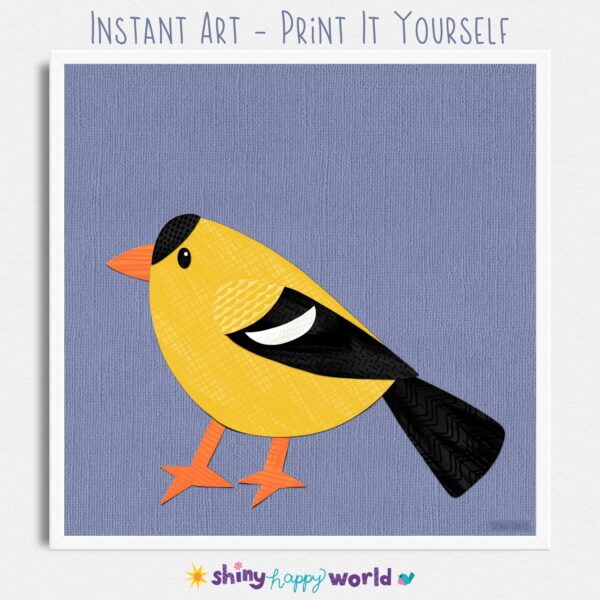
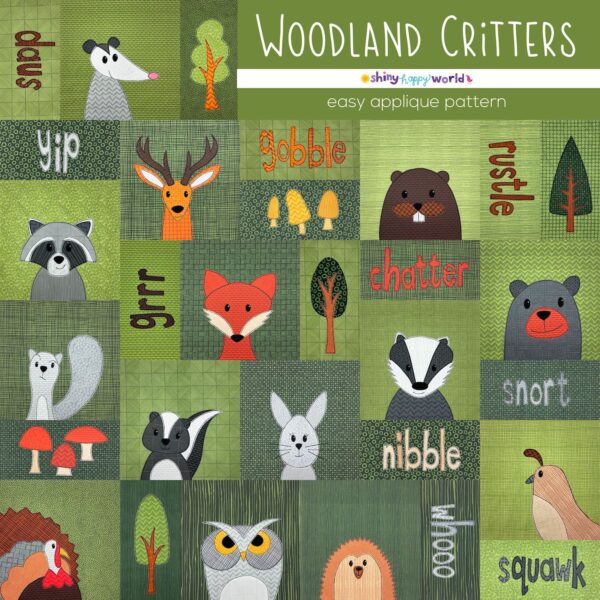
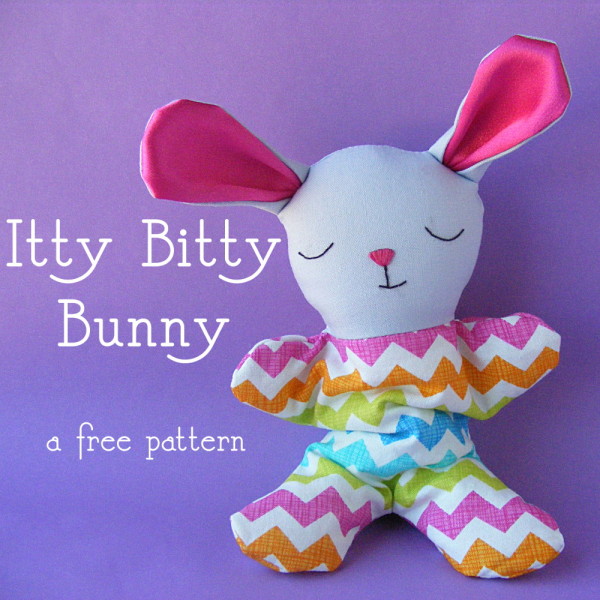
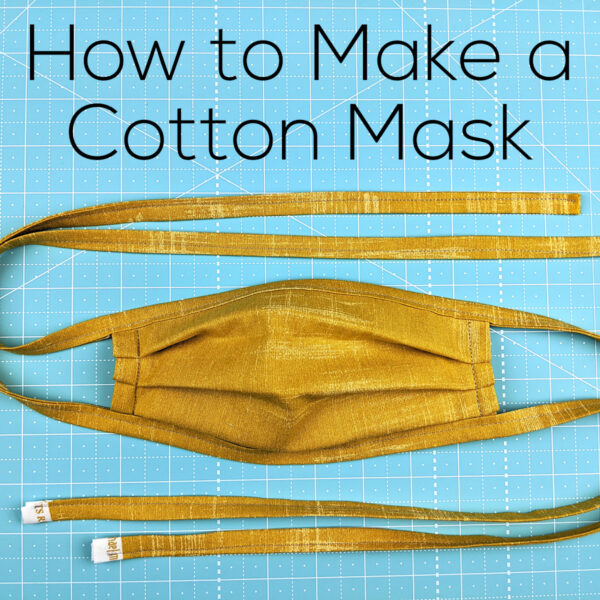
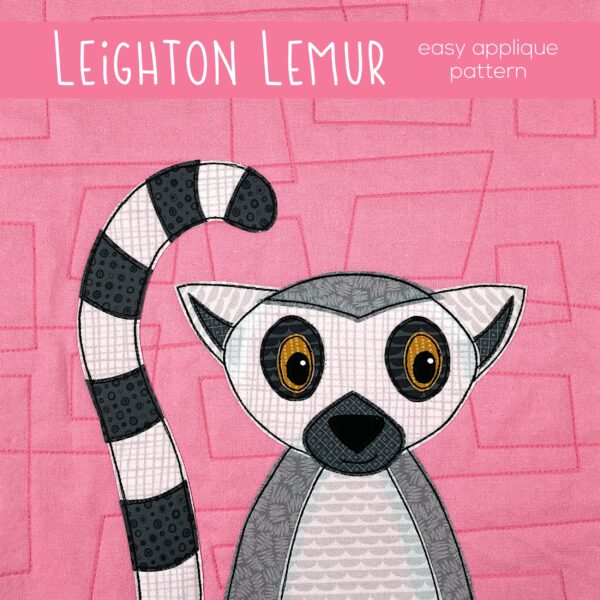
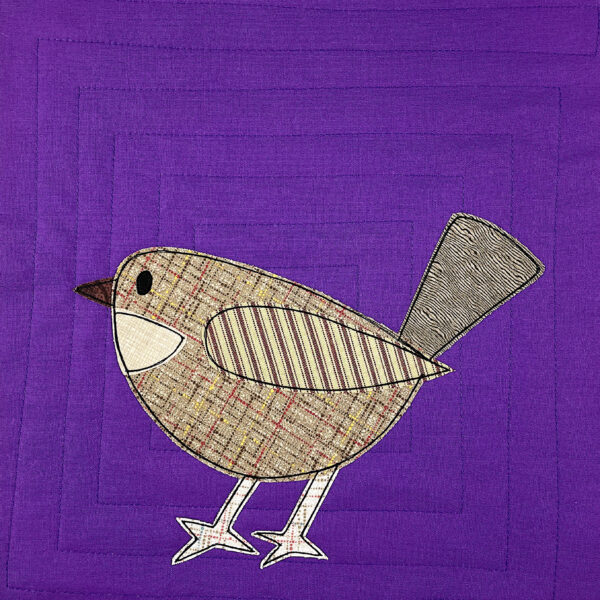
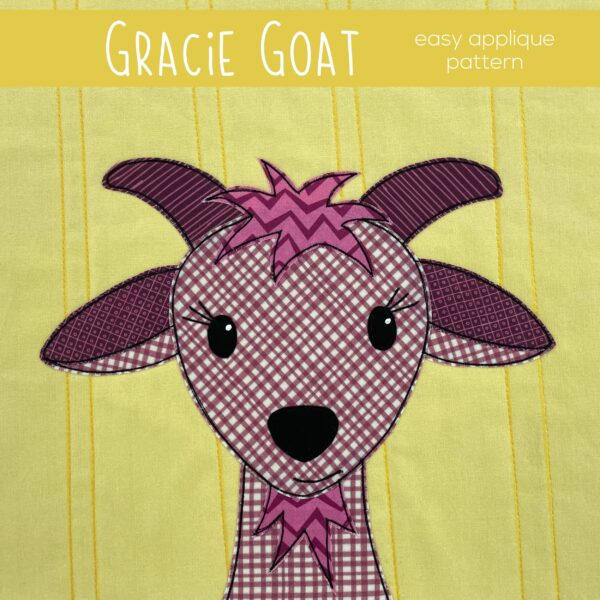
2019
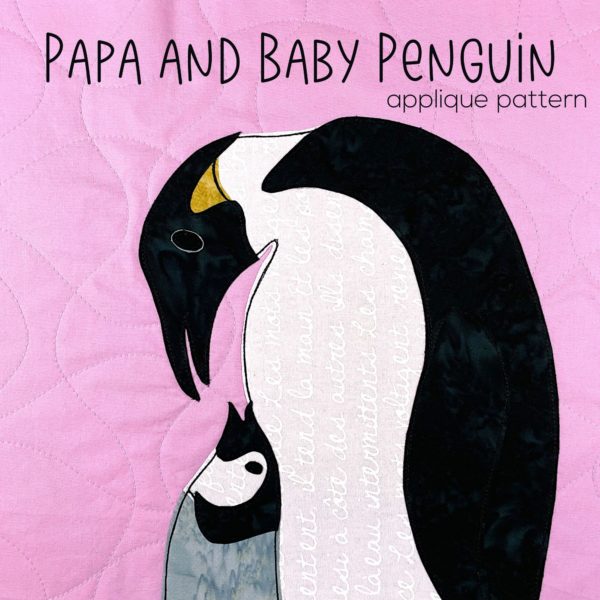
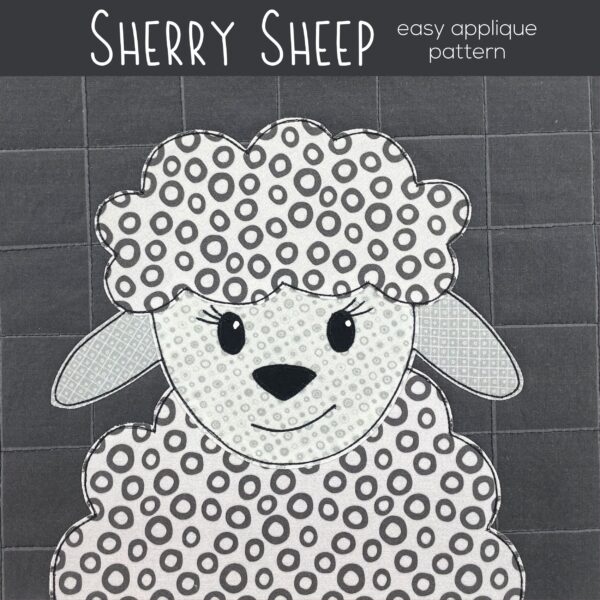
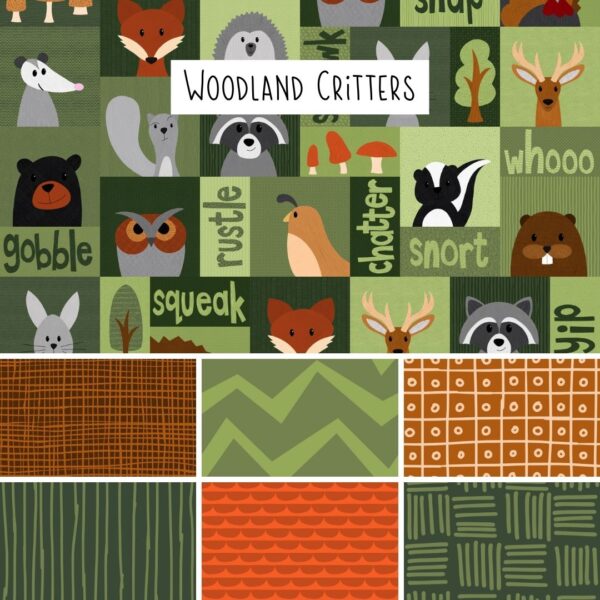
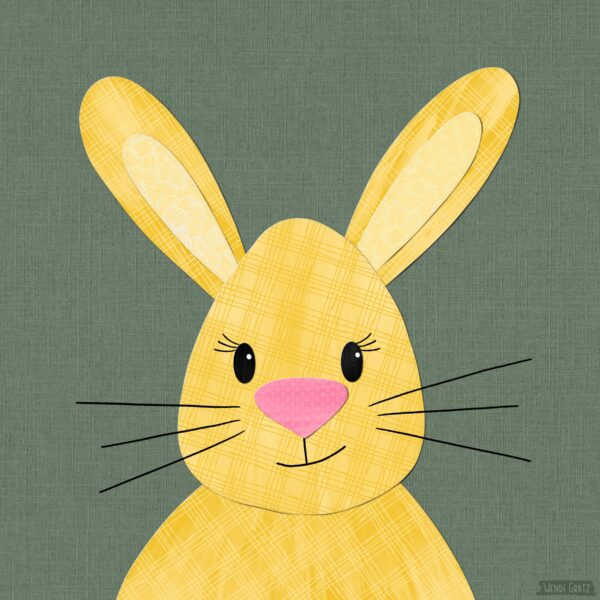
One of my most popular woodland critters.
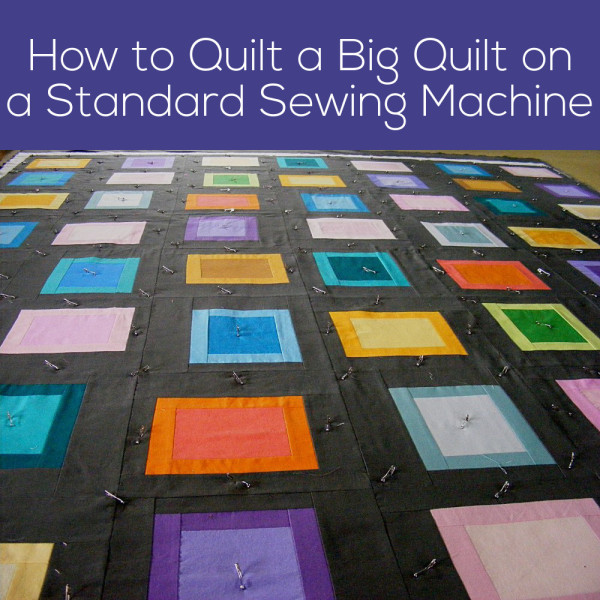
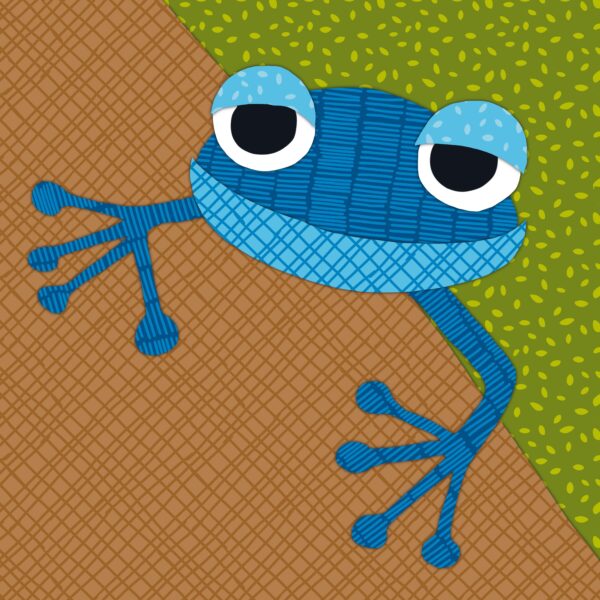
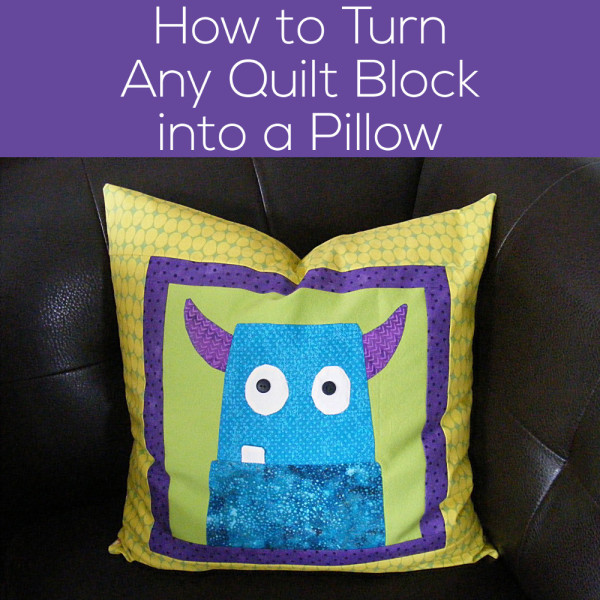
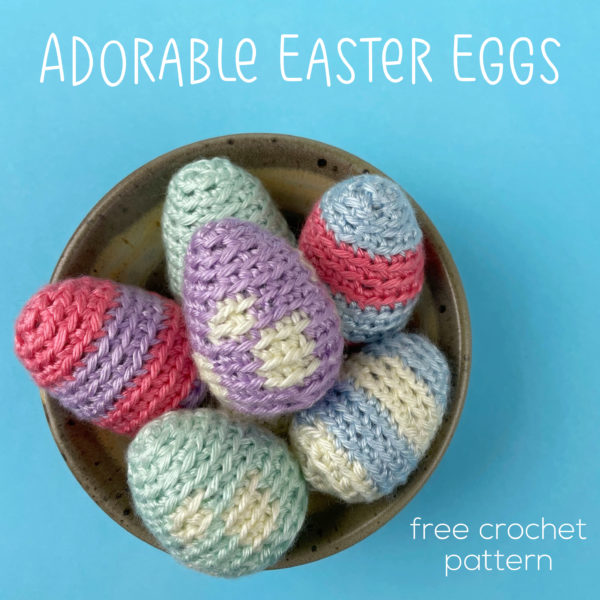
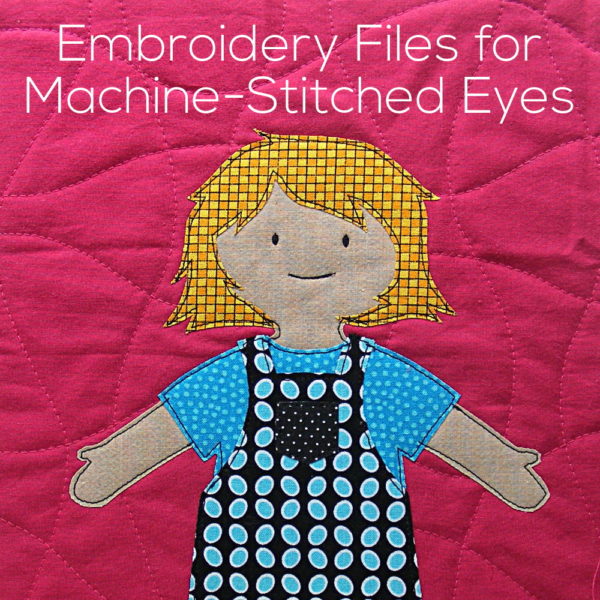
2020
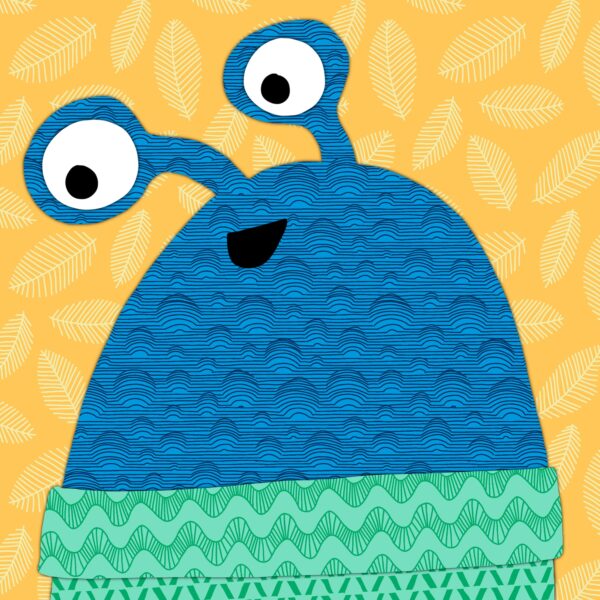
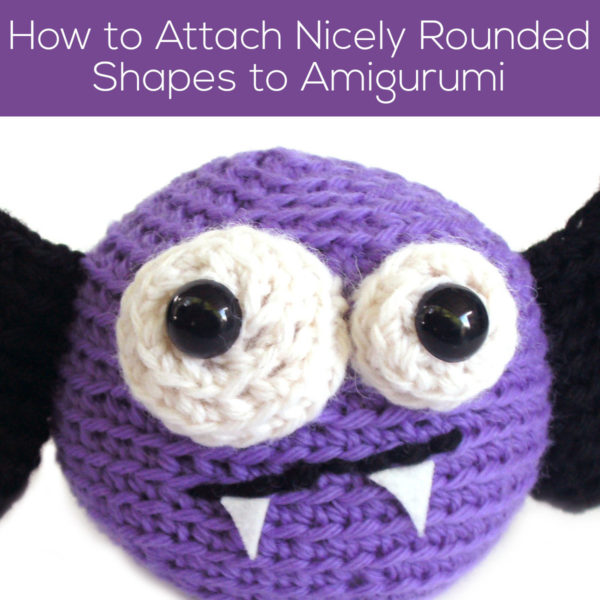
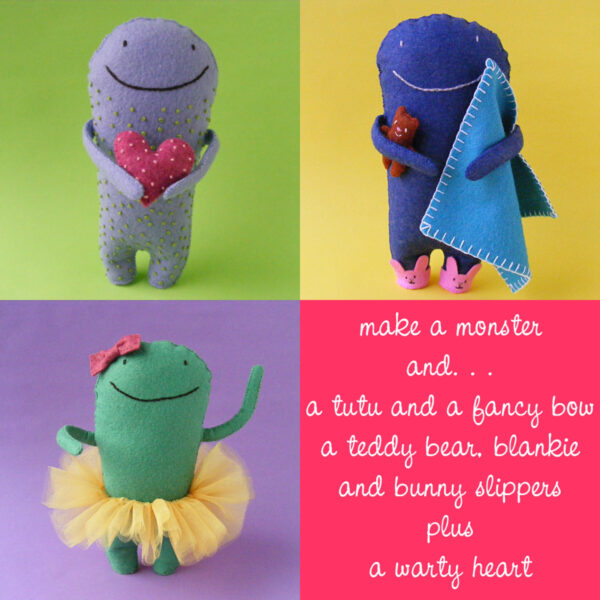
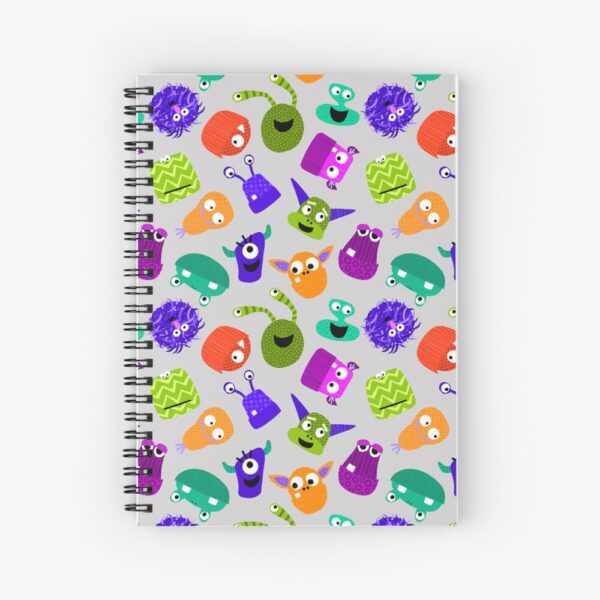
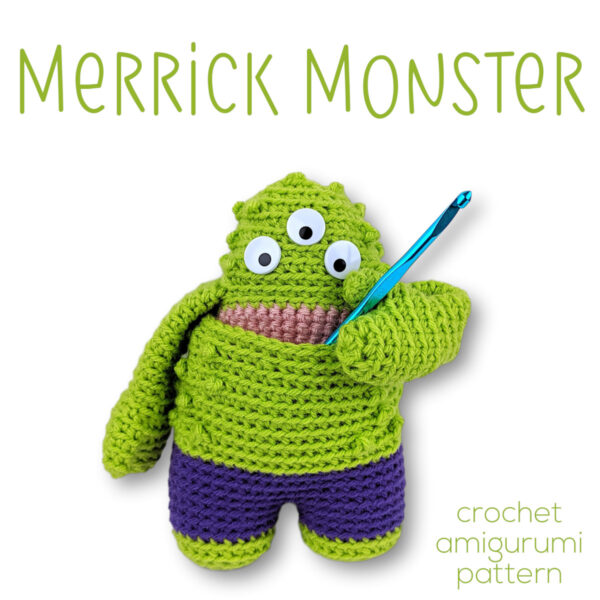
A silly monster as part of my 100 Day drawing challenge. I love the bumps on his skin and his groovy turtleneck.
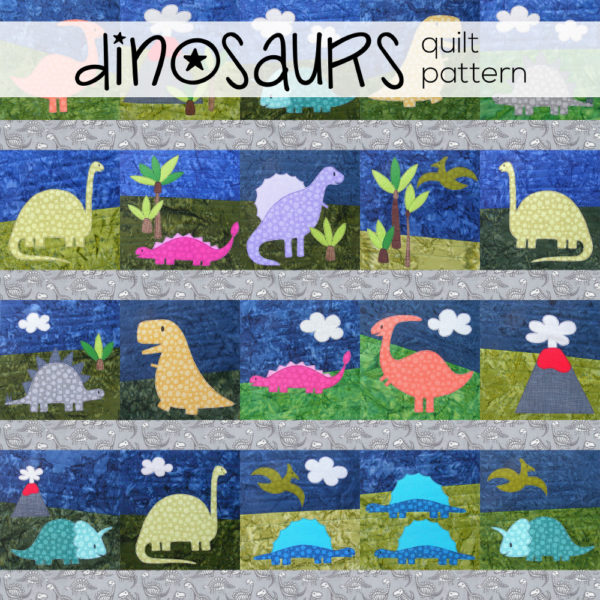
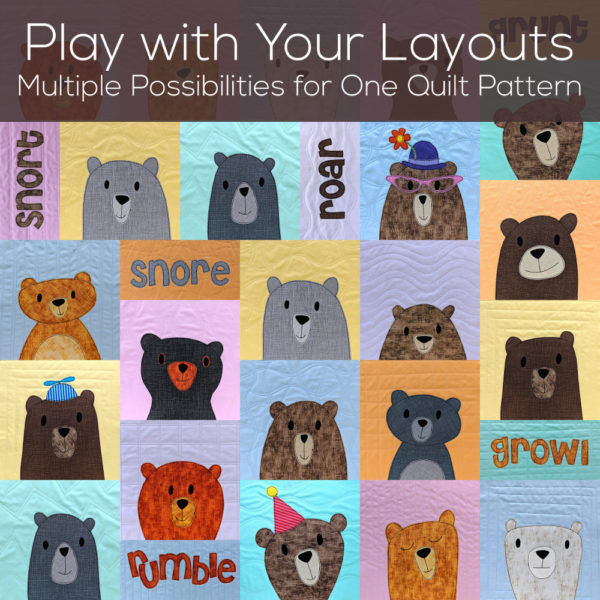
2021
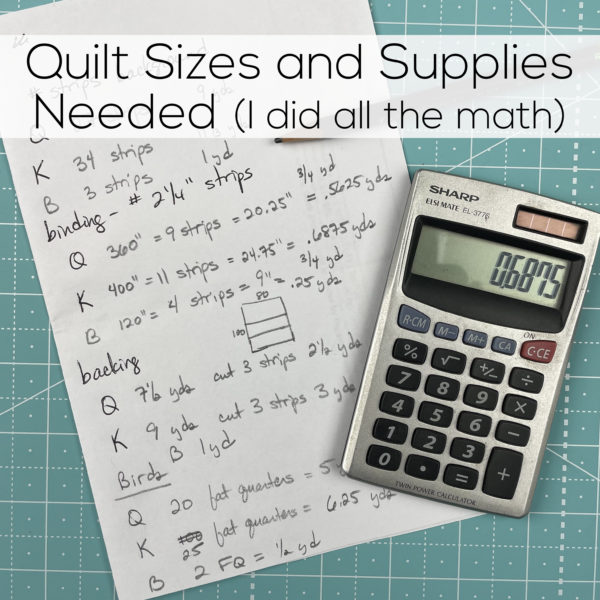
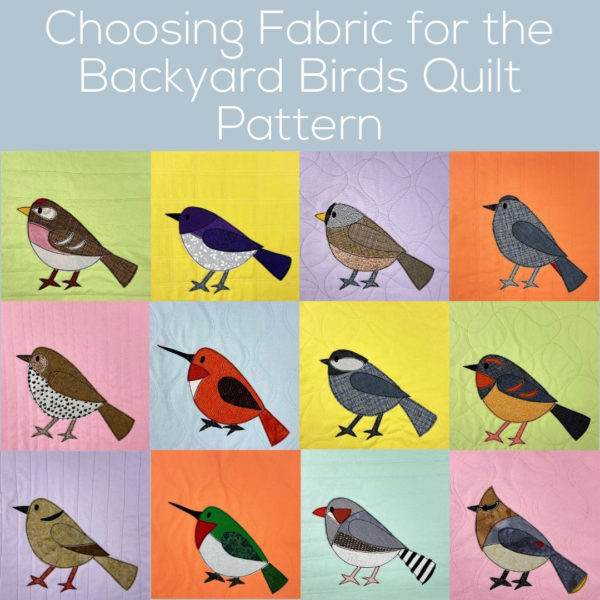
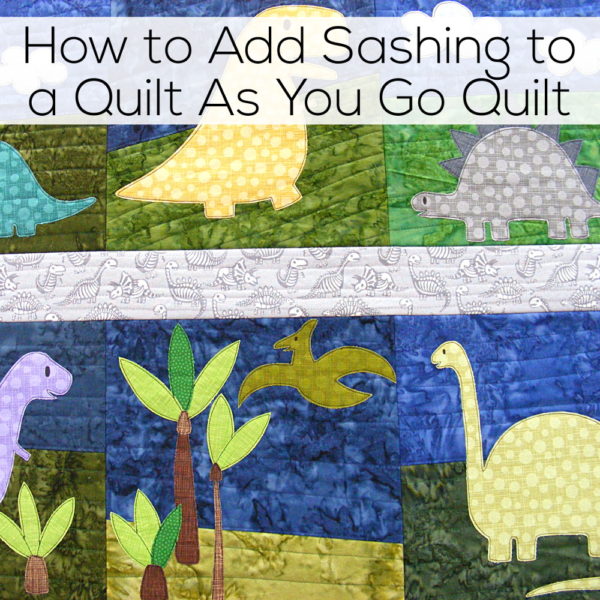
The start of a terrific work in progress – calculating the fabric needed for my quilts in ALL the common sizes and as many different layout possibilities as I can think of.
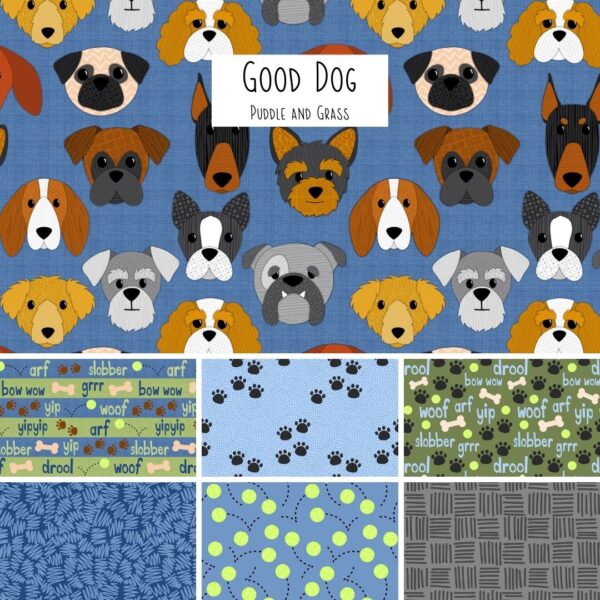
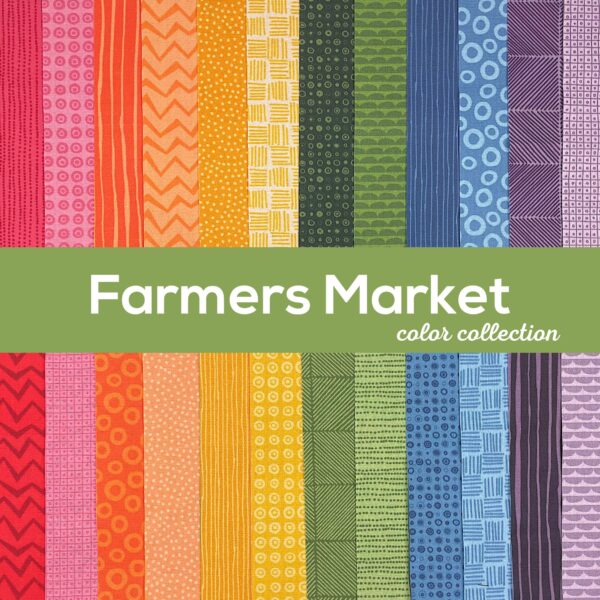
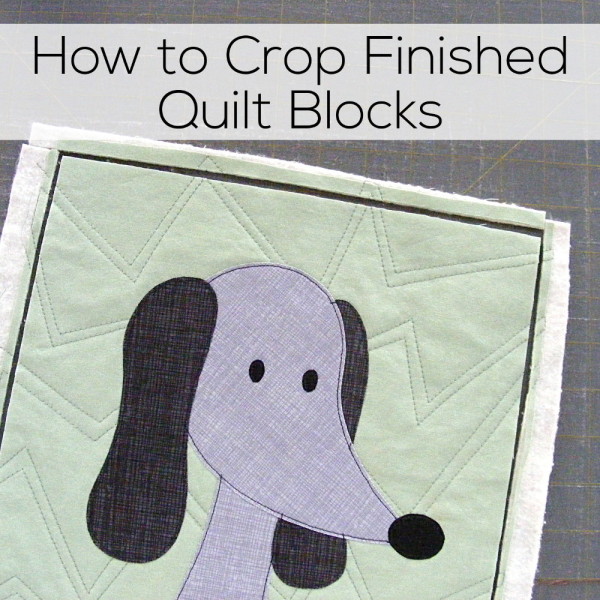
2022
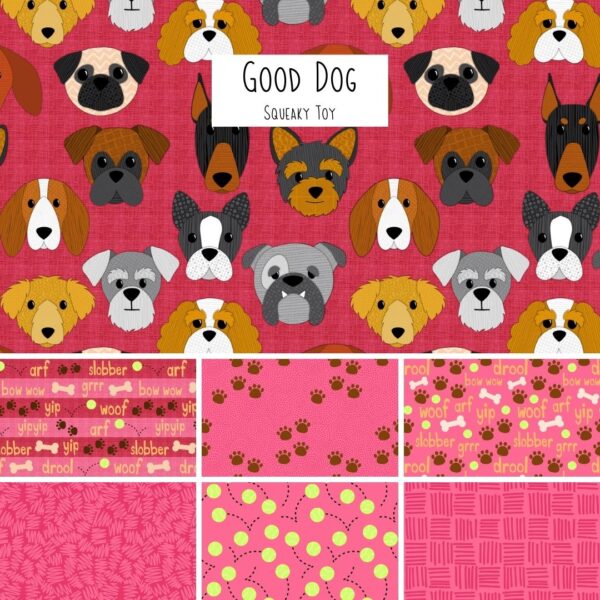
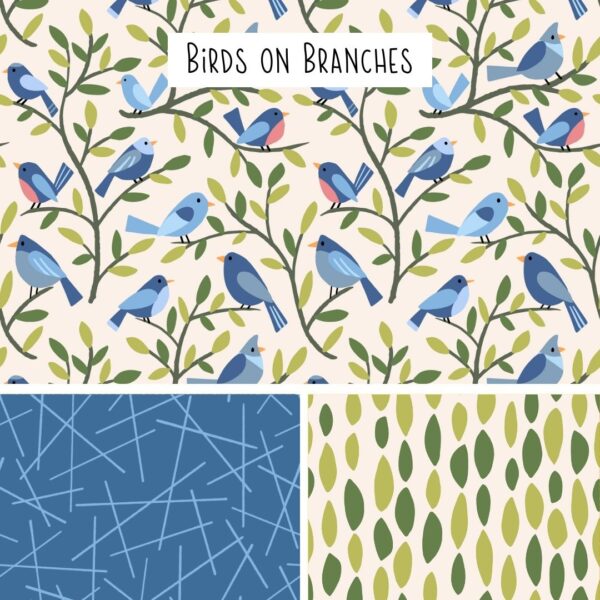
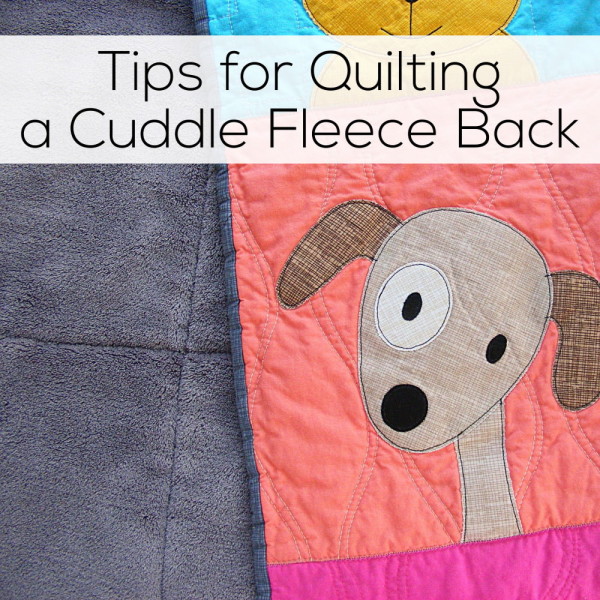
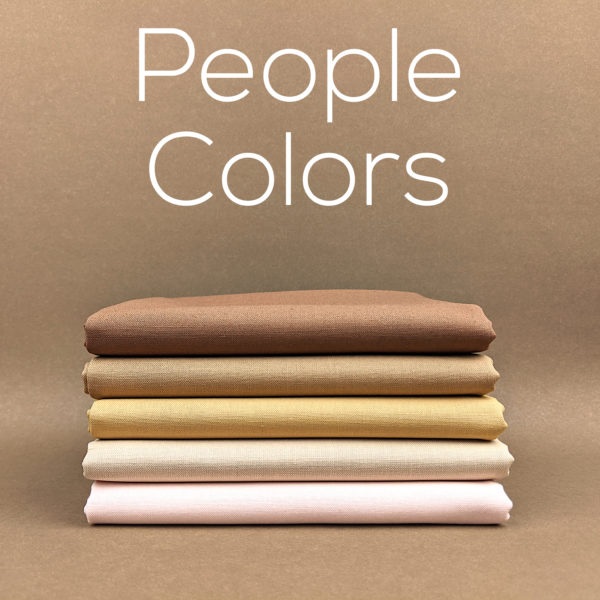
My fun Good Dog fabric collection in a pretty pink palette.
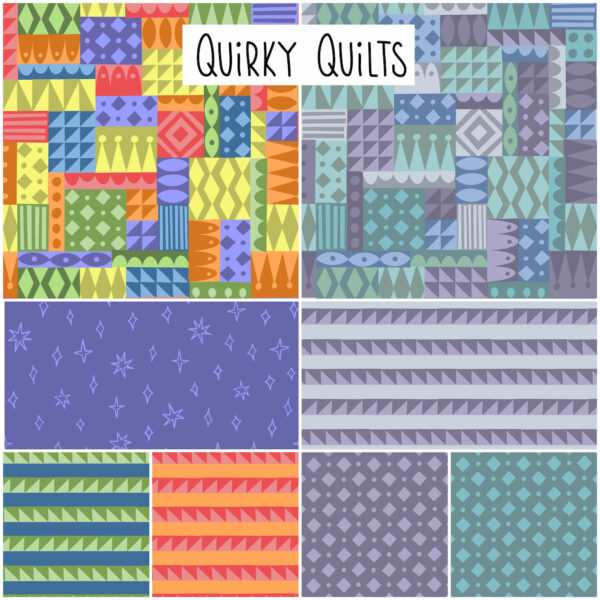
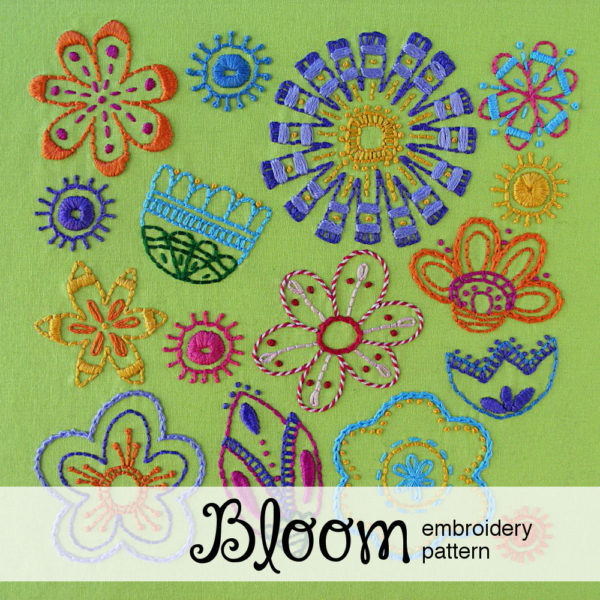
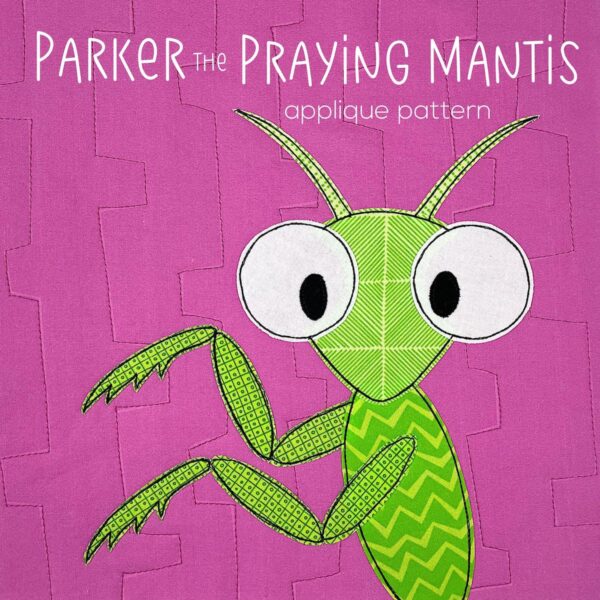
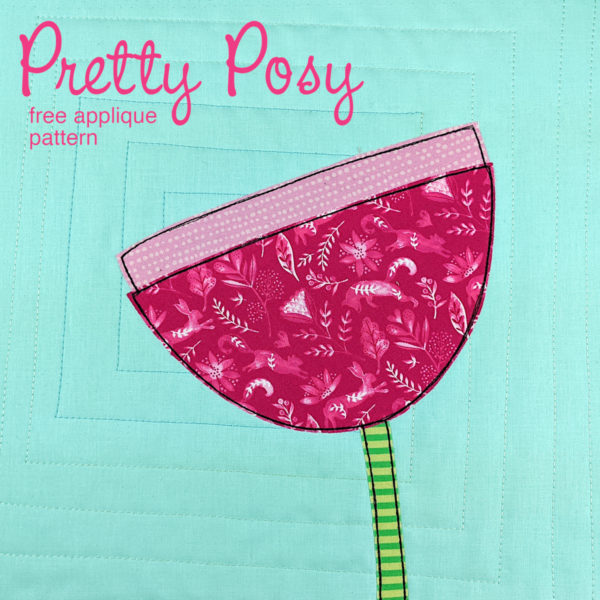
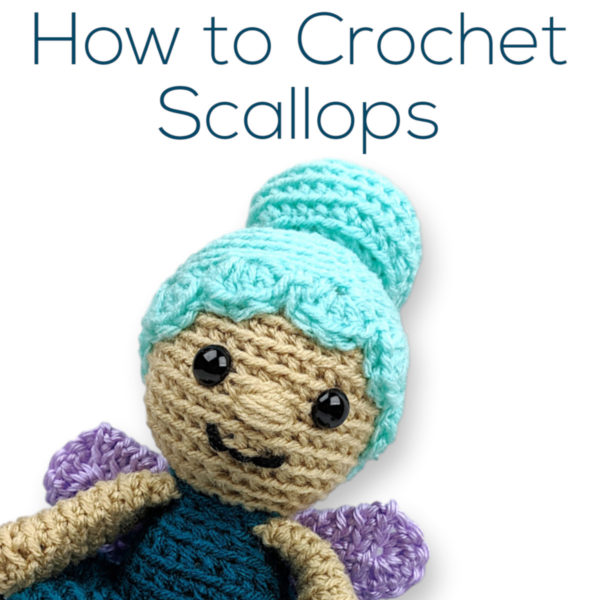
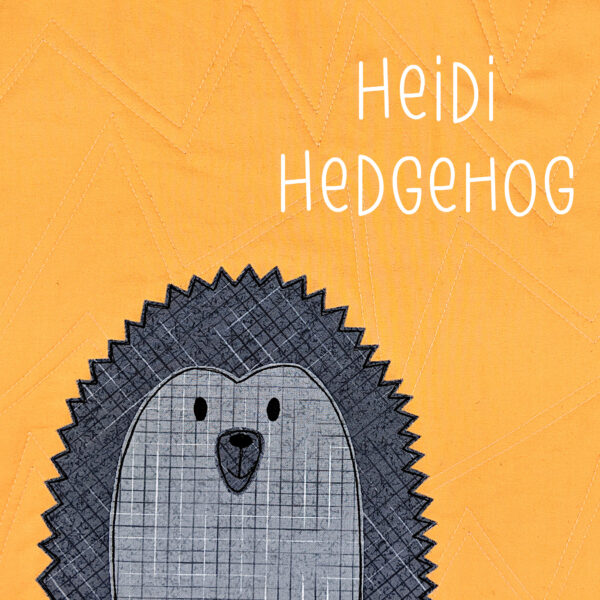
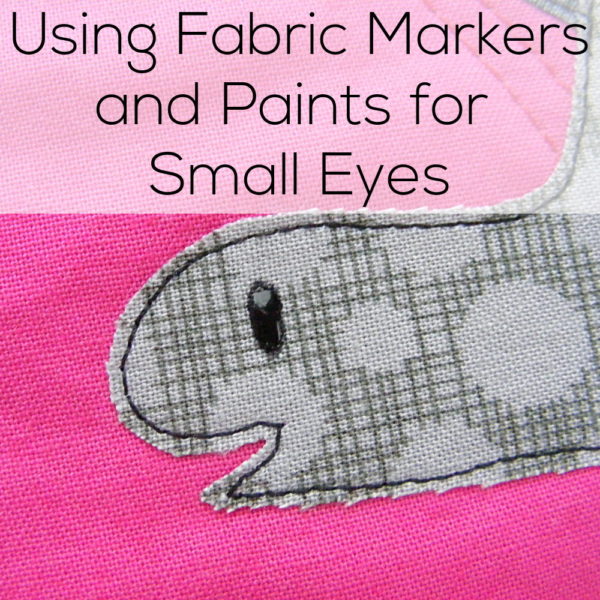
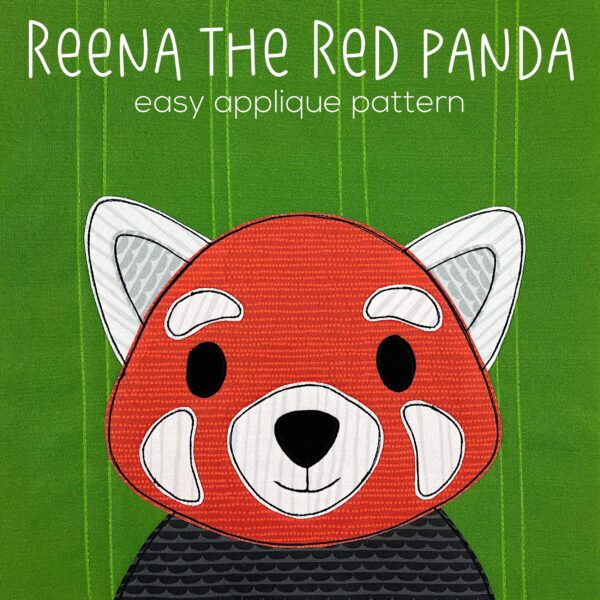
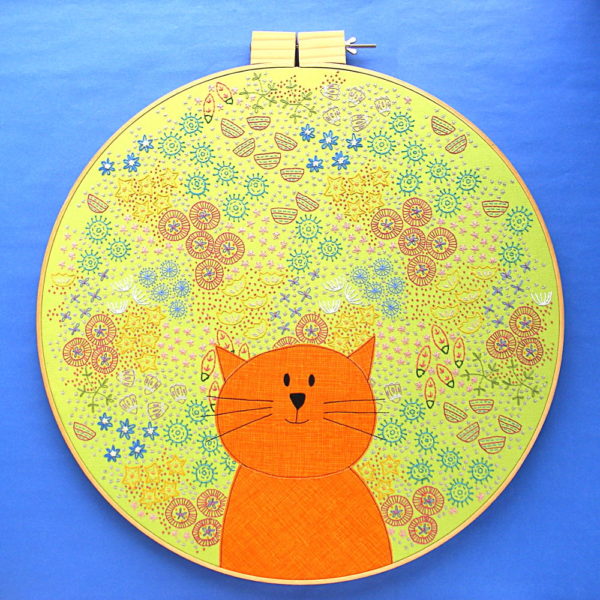
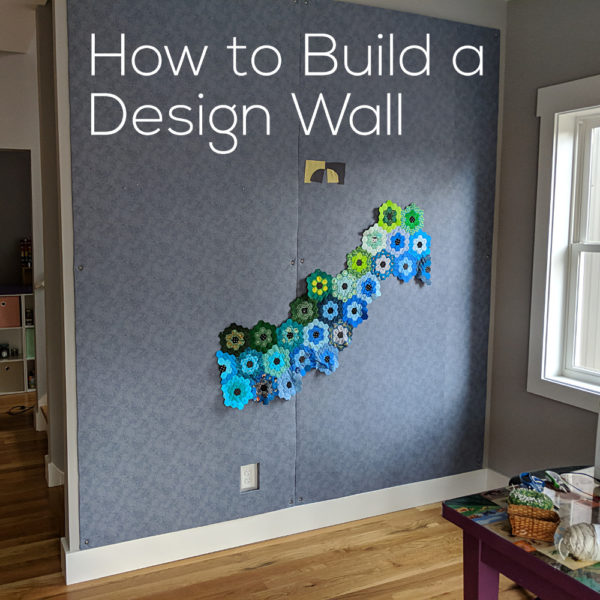
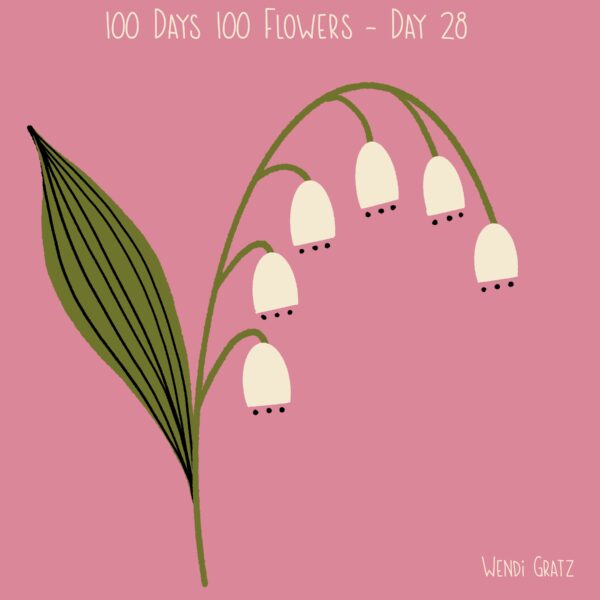
2023
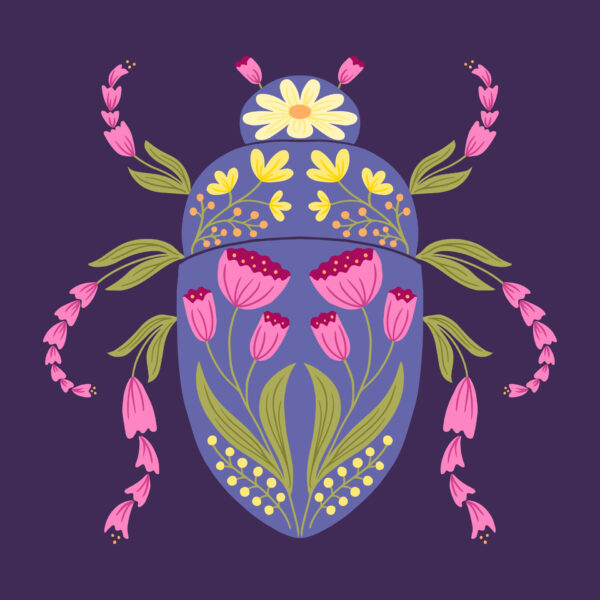
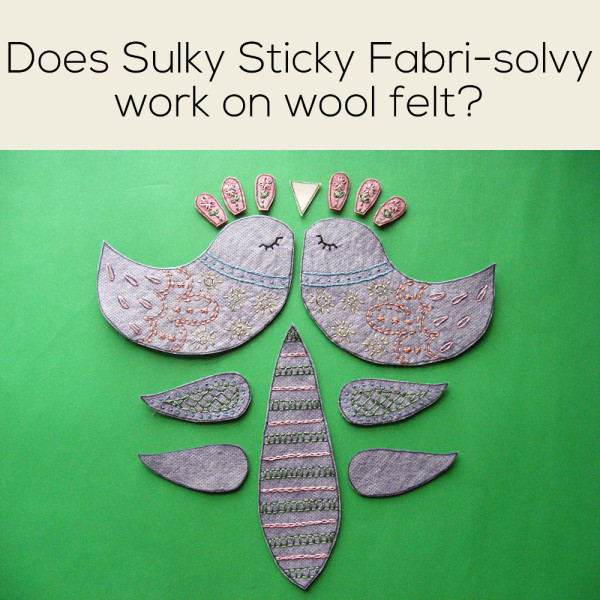
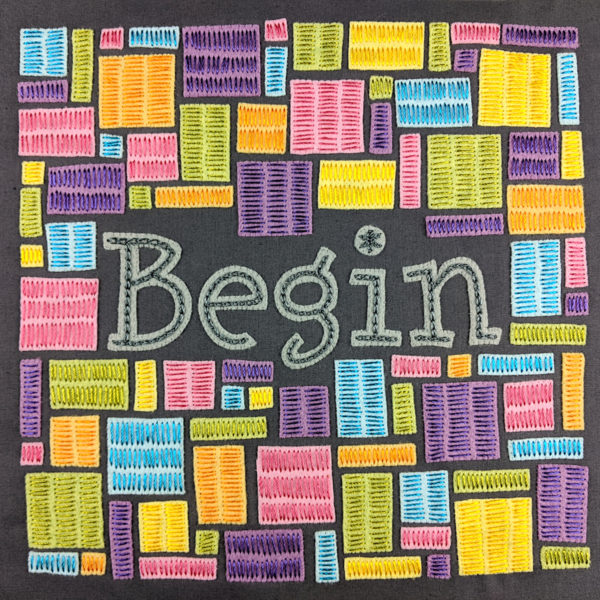
A very pretty experiment. I need to make more of these!
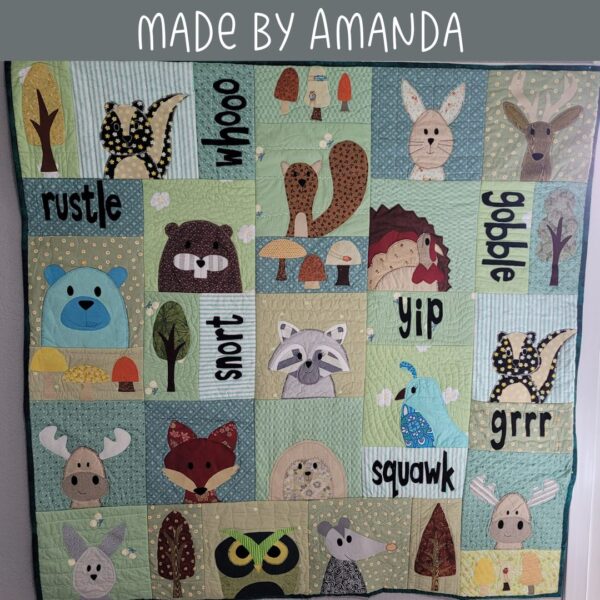
2024
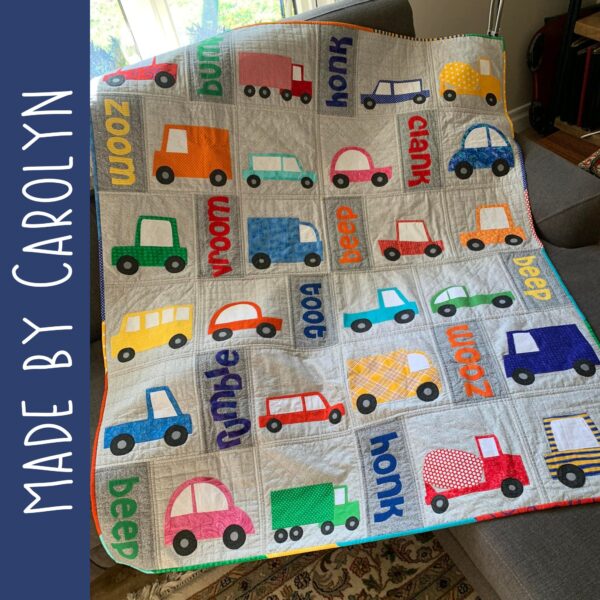
Look at this fantastic quilt that Carolyn made with the Beep Beep pattern! I love that pieced binding! And the plaid van!!!
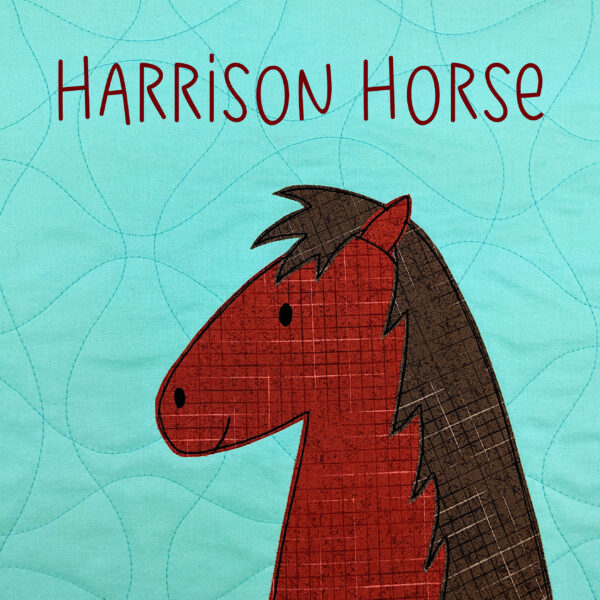
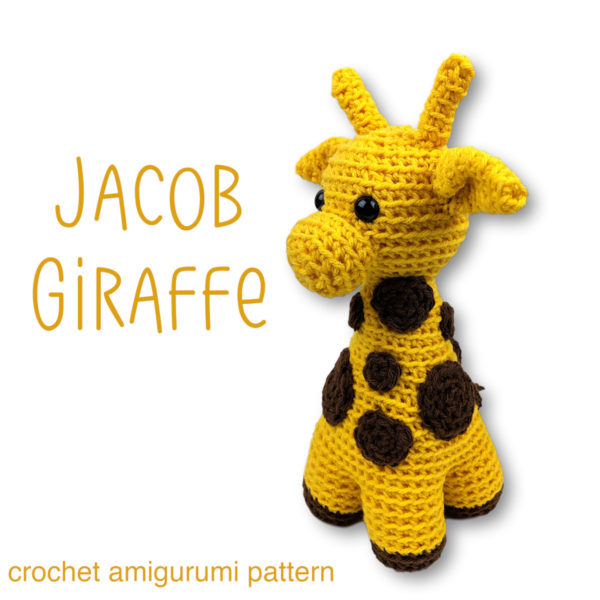
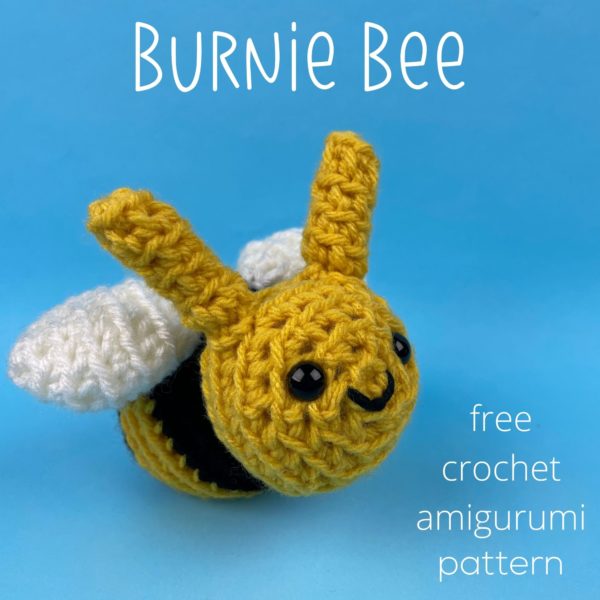
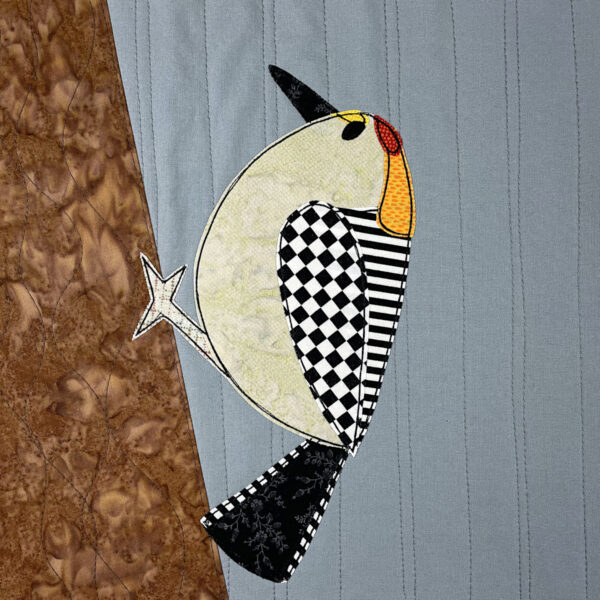
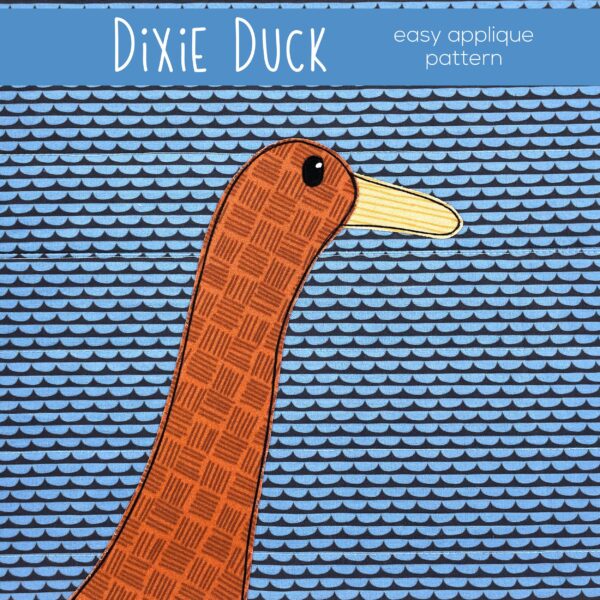
2025
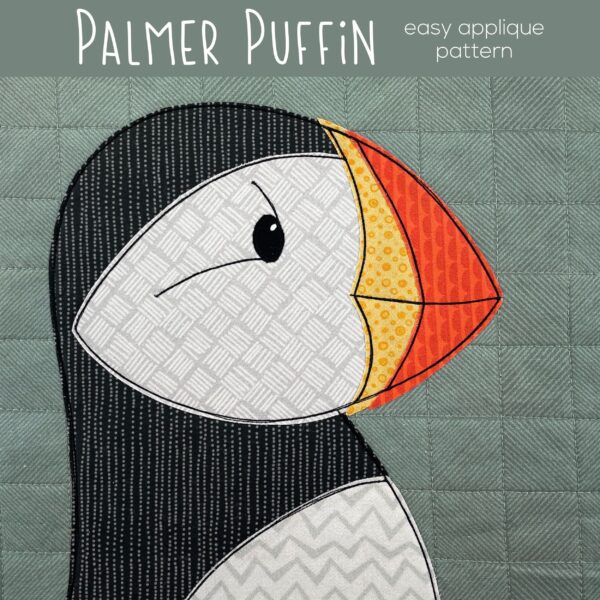
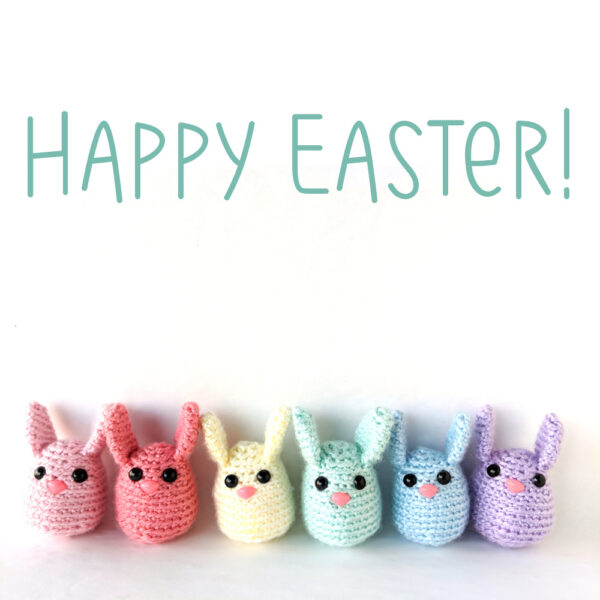
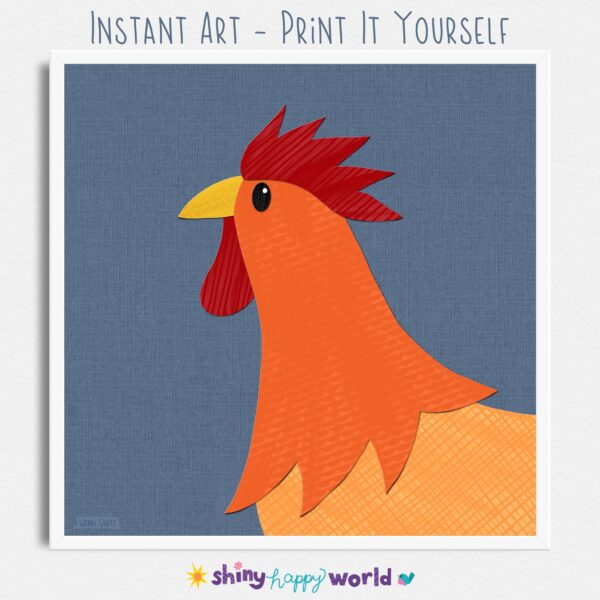
New! Palmer Puffin! I just love his colorful beak, and I imagine a whole quilt full of black and white puffins, each one with a different color beak. 😂