Ugh! How on earth do you applique eyes? They’re so small!
The eyes are definitely the trickiest part of any of my applique patterns, but I have several posts that show you easy ways to deal with them!
Applique
I usually applique eyes using solid black fabric. I like the look of it, and (after some practice) I don’t think it’s too tricky to outline those eyes. Plus I use black thread on black fabric so if my line gets wonky, nobody really sees it. 🙂

For tips on outlining those small eyes, watch this video.
If you want to applique the eyes but you don’t want to do the outline stitching, use Heat & Bond Ultrahold fusible adhesive.

The Heat & Bond Ultrahold is too stiff for the main applique, but you’ll never notice the stiffness on such small pieces as the eyes.
Careful! If you choose this option, you need to be sure to dry your quilts on a less hot setting. If your dryer gets as hot as the wool setting on your iron, that’s hot enough to re-melt the adhesive and the eyes could come loose.
Machine Embroidery
I’ve got two different posts showing how you can embroider eye shapes by machine.

This one shows a “cheater” way to do it using a regular sewing machine. It only works for small eyes, like those on the Paper Dolls and Dinosaurs quilt patterns.

If you want to satin stitch larger eyes and you have an embroidery machine, this post includes a file for embroidery machines to embroider eyes in a wide range of sizes.
Hand Embroidery
Of course, you can also embroider the eyes by hand. If you go with that option I recommend using satin stitch for larger eyes.

Here’s a tutorial showing how.
For smaller eyes, I recommend this stitch.

It gives a nice, rounded oval.
Markers or Paint
You don’t have to sew the eyes at all! You can use fabric markers or fabric paint for them!

I tested a bunch of different markers and paints and in this post I shared my favorites.
See? Lots and lots of options for those pesky eyes. 🙂

Here are links to all the posts showing how to applique with fusible adhesive – my favorite method. It’s fast and easy and (with the right materials) it holds up beautifully to rough use and repeated washing.
- How to Applique with Fusible Adhesive – a very basic intro
- How Durable is Applique with Fusible Adhesive?
- Fusible Applique the Easy Way – the way I currently work – use with any of my patterns that include SVG files
- How to Use a Light Box to Layer Your Applique – perfect placement every time
- How to Applique with Fusible Adhesive – photo tutorial – use with any of my patterns that do not include SVG files
- How to Applique with Fusible Adhesive – video tutorial – use with any of my patterns that do not include SVG files
- How to Window Cut Fusible Adhesive – if you’re worried about stiffness
Here are links to special posts about eyes.
- Easy Eye Options for Applique
- Using Fabric Markers and Paints for Small Eyes
- Free Embroidery Machine Files for Machine-Stitched Eyes
- How to Machine Stitch Eyes without an Embroidery Machine
- How to Minimize Show-Through on White Eyes
- How to Applique Dark Eyes on Dark Faces
- How to Add Catchlights to Eyes
- How to Change the Eyes on Your Applique Patterns (adding lashes or changing to sleepy or smiling eyes)
Here are links to some extra fun things you can do with your applique.
- How to Add a Baby Animal to Any Block
- How to Squish Two Animals into One Block
- How to Add Playful 3D Bits to Your Applique
- How to Add Soft 3D Pieces to your Quilt Block
- How to Add a Door (that Opens!) to Your Quilt Block
- How to Give Your Monster an Underbite
- Fake Trapunto (Stuffed) Applique
- Broderie Perse Applique
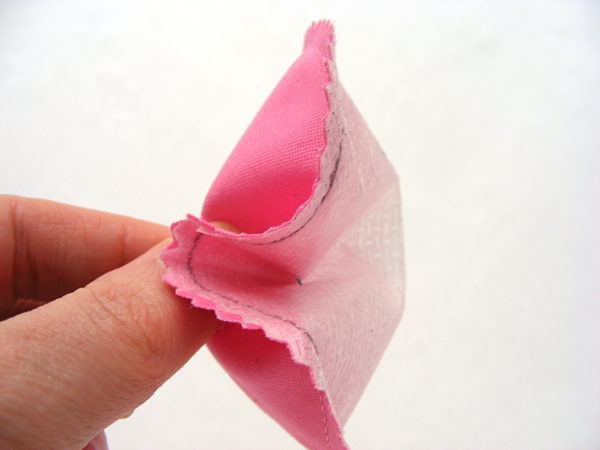
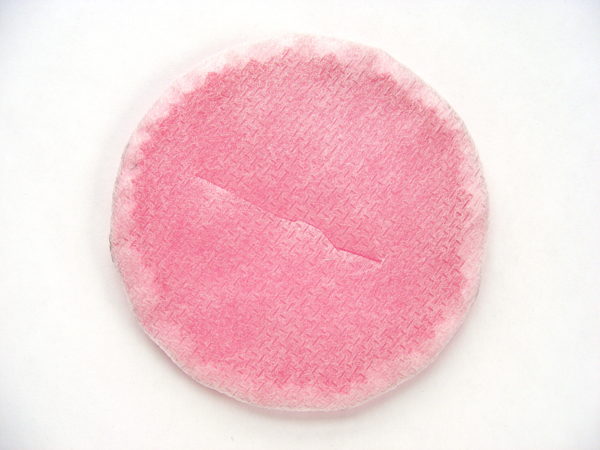
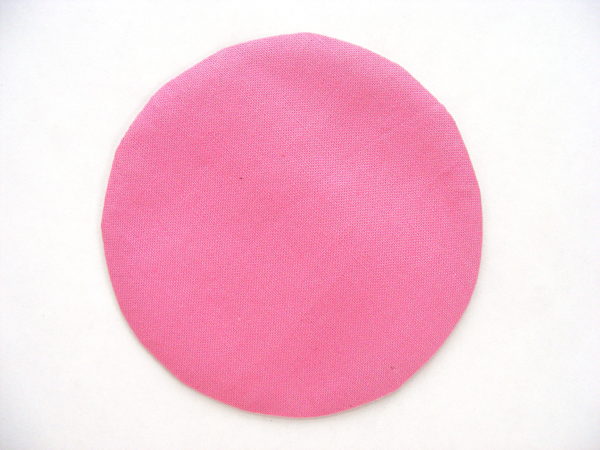
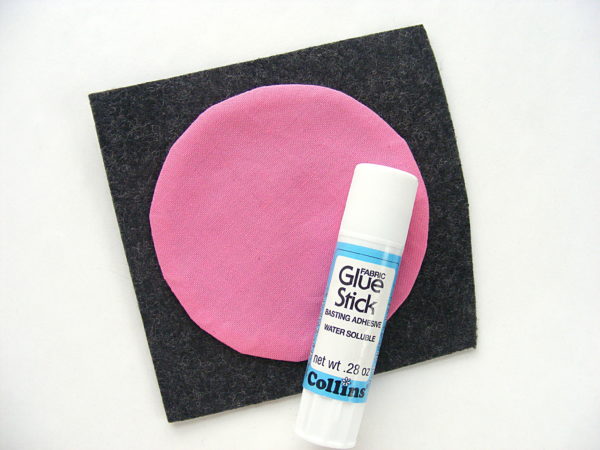
Other Applique Methods
Finished with this topic?
Return to the Let’s Make a Quilt main Table of Contents.
Move on to the lessons about outline stitching.
Happy stitching! Or not-stitching – depending on the method you choose. 🙂