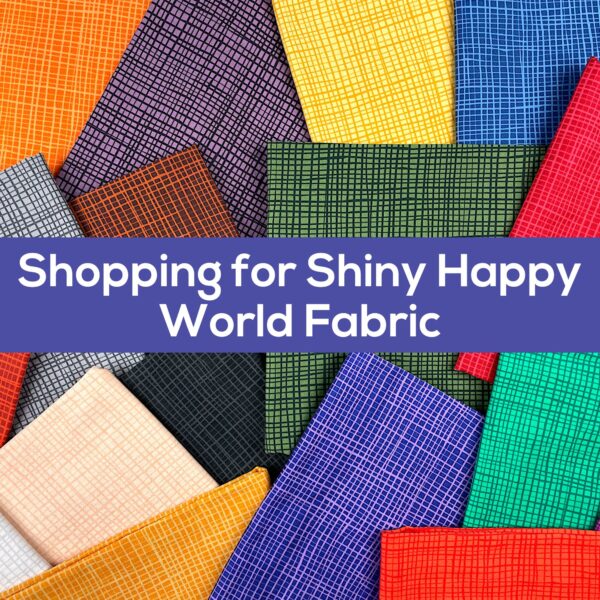
Back when I sold fabric bundles, I created several color palettes that I used over and over again. When particular fabrics went out of print (which they did with annoying frequency) I found new fabrics in those same palettes, so that even when the specific fabrics changed, you (and I) could still get a pretty consistent palette of colors.
Now all the fabrics I use come from Spoonflower (and they’re my designs, so they don’t go out of print!) but I still use the same approach to creating color palettes. I create a palette that really works well, and then use it in lots of different projects.
The only problem is that Spoonflower’s search engine is abysmal at shopping for blenders. If you’re looking for fabric with raccoons (or rockets, or popsicles, or any other easily identifiable motifs), Spoonflower’s search engine has you covered. But if you’re searching for wiggly stripes in a very specific color, their search engine just isn’t designed for that. 🙁
So I’ve created the links that you need here in my Shiny Happy World!
If you go to the fabric section of my shop (the pink menu in the banner) you’ll find the following options:
In this post I’m going to break down each of those categories and tell you how best to use them. But first a quick note! When you find something you like in my shop, the button takes you to the fabric or that collection in Spoonflower. You will actually make your purchase through Spoonflower – not through me – so you’ll need to use Spoonflower coupons or sales. They’re almost always having a sale of some kind!
Also – you can always use my palettes as a guide to shop at your own local fabric store! Just go to the Fabric by Color Palette section and pick the palette you like, then print out the main image (the one that shows all the colors lined up) and use it as a guide to pick your own tone on tone blenders.
Fabric by Color
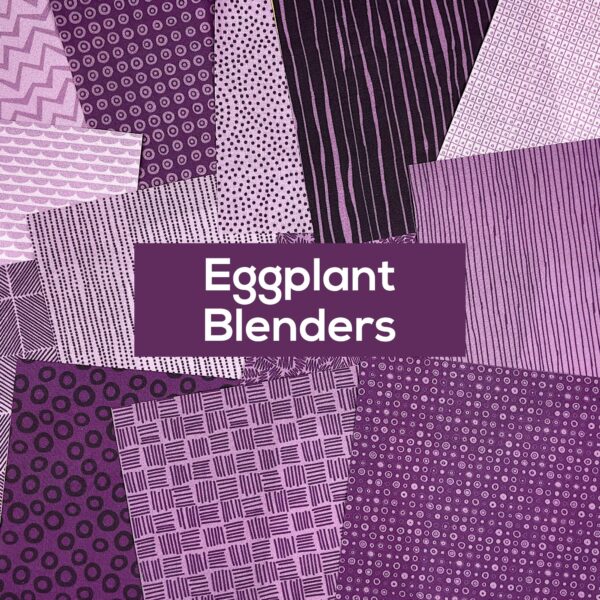
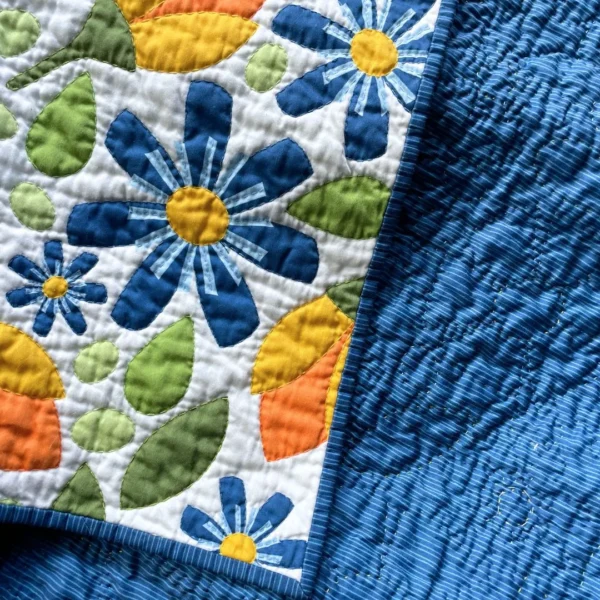
Fabric by Color is the most straightforward. It’s where you’ll find all my blenders, sorted by color. Here’s one of my favorites.
The link takes you to a collection on Spoonflower of every blender I have using all the shades from light to dark of that particular hue of eggplant purple, so if you shop within that collection you know you’re getting colors that work perfectly together.
The colors on the Fabric by Color page are not alphabetical. Instead they’re grouped by color collection, so all the Farmers Market blenders are together, all the Animal Kingdom blenders are together, etc. Which brings me to. . .
Fabric by Color Palette
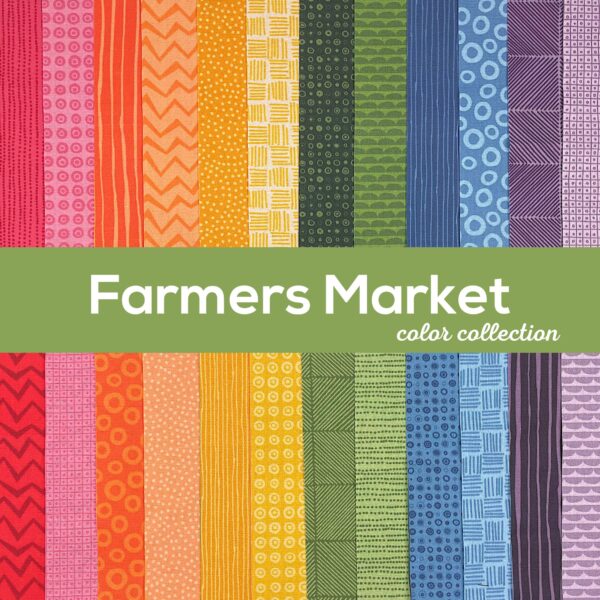
Fabric by Color Palette where you can find links to take you to collections for each color palette. Here’s the Farmers Market collection where you’ll find those eggplant blenders.
All of the colors in that collection are named for things that make sense for the collection. These are the color collections I have so far:
- Farmers Market (colors inspired by and named for fruits and vegetables)
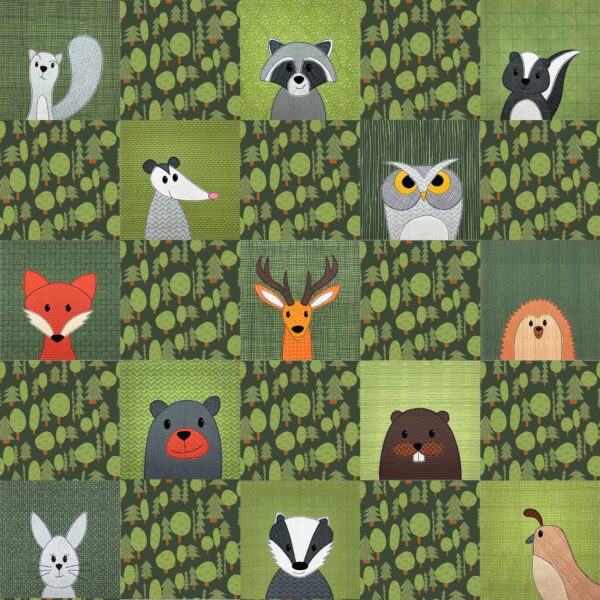
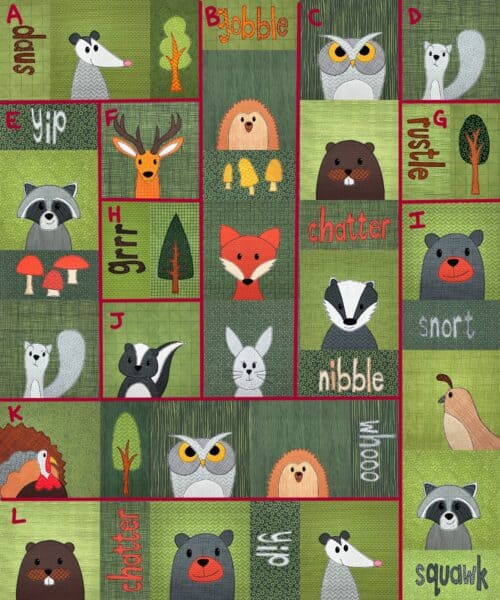
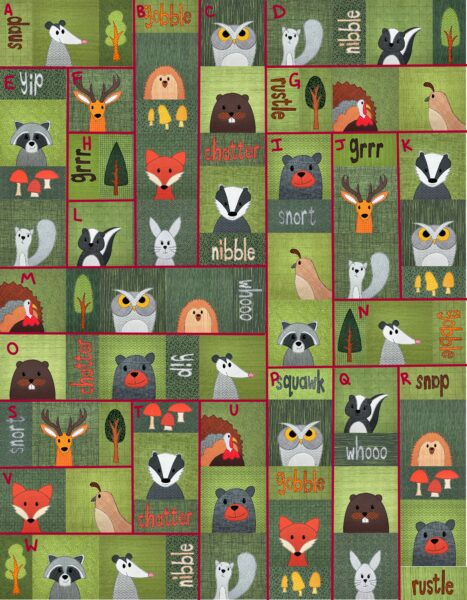
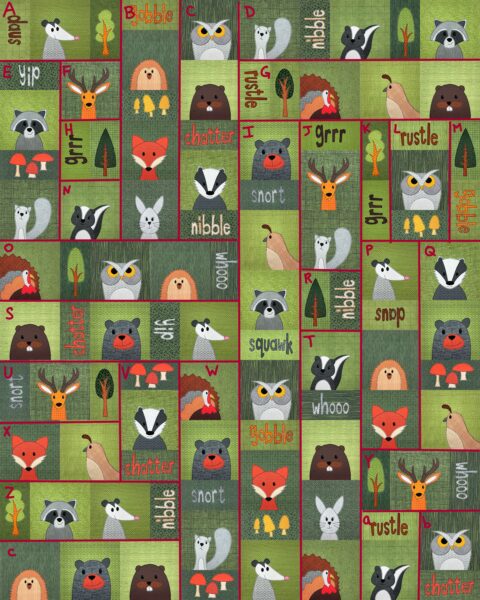
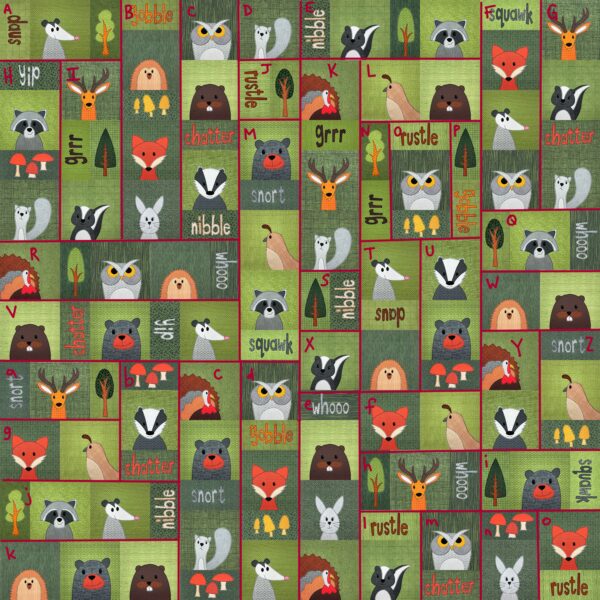
- Animal Kingdom (colors inspired by and named for animals)
- Classic Rainbow (bright, saturated primary and secondary colors, named for those colors)
- Gemstones (bright, saturated tertiary colors named for gemstones)
- Sea Breeze (soft, weathered colors inspired by and named for the beach)
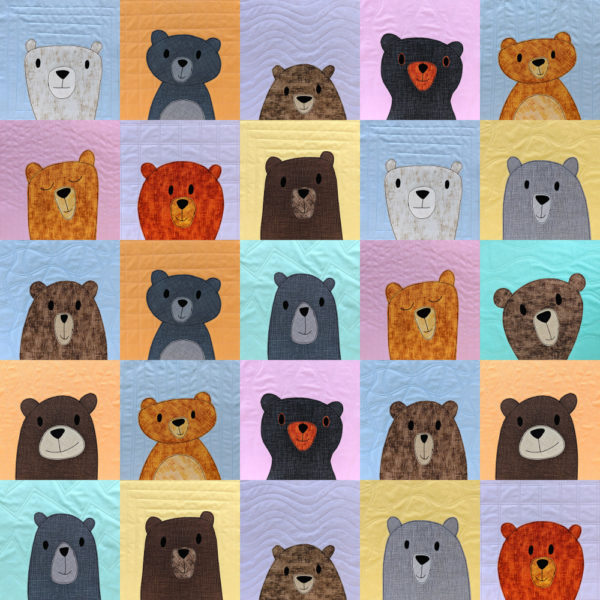
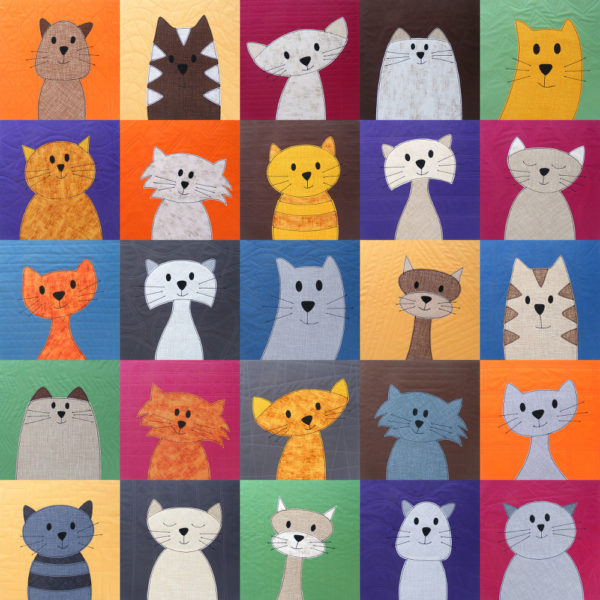
I’ll be doing additional posts with more information about each color collection – including lots and lots of photos showing how I’ve used it in various quilts, because nothing is more helpful than seeing it in actual use. For now just know that these are very large collections because they have every single blender in every single color of that palette. It adds up to a lot, and can easily be overwhelming, which is why I also have Fabric by Color and Fabric by Design options.
Fabric by Design
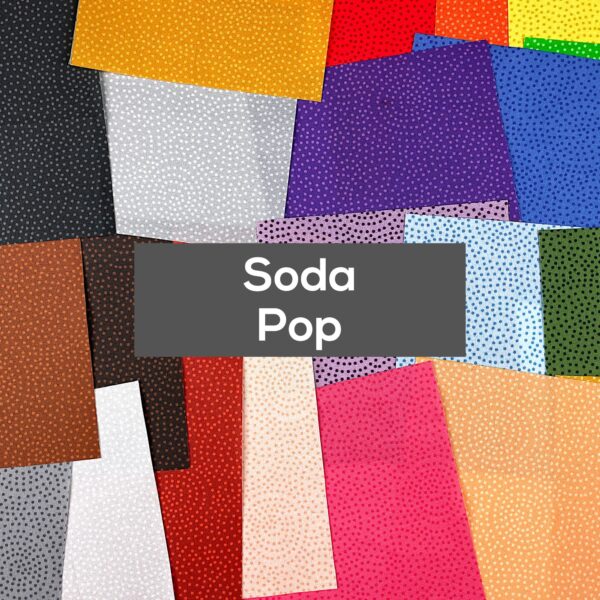
Fabric by Design is where you go if you know exactly what kind of pattern you’re looking for. For example, you know you want those swirly small polka dots I use in so many of my samples. I call that print Soda Pop.
If you click on that link, you’ll go to a collection on Spoonflower of every version of the Soda Pop print I have, from every color collection. How do you know which ones coordinate? That’s when you look at the color names. So if you know you’re using the Famers Market color palette for all your appliques, and you want those tiny dots, go to that collection and pick the ones named Strawberry, Cantaloupe, Corn, Avocado, Blueberry and Eggplant. They will all coordinate beautifully together.
So that’s the blenders – what I use most often. But I also have a few other ways to shop for fabric.
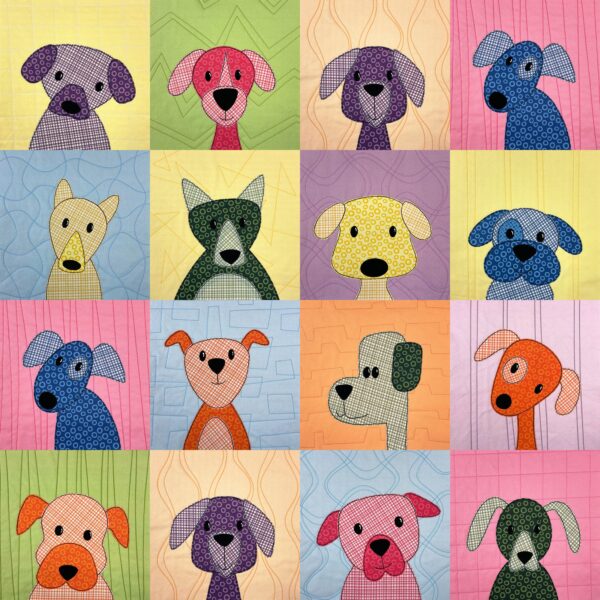
Fabric by Theme
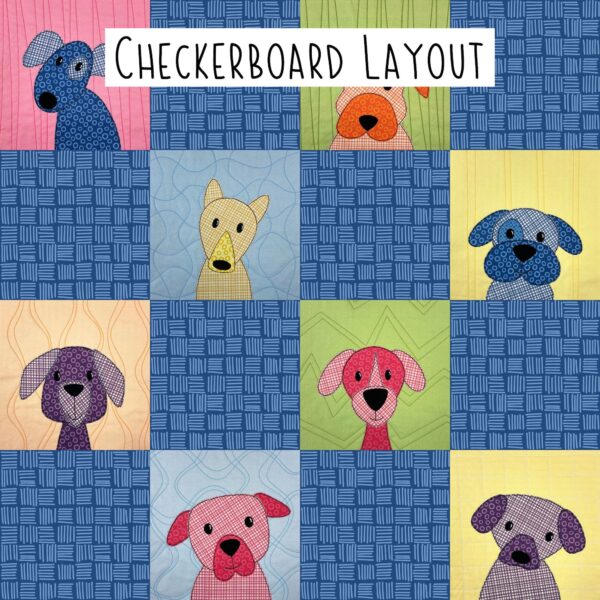
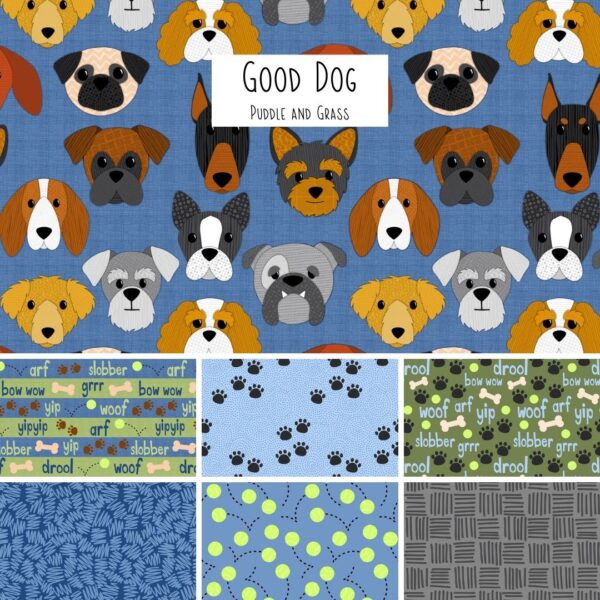
Fabric by Theme is where you’ll find collections that go beyond blenders, like the Good Dog collection.
These collections usually include blenders, but they also include other fabrics.
Cheater Quilts
Cheater Quilts is where you’ll find large-scale designs that work great for cheater quilts, pillows, duvet covers, and more. My favorite thing to do with these prints is buy a few yards and then hand-quilt with big stitches around each motif, like I did here.
That’s the Meadow print in blue and yellow.
Cut & Sew
I don’t have much in the Cut & Sew section yet, but there will be more. Right now it’s just a few holiday projects.
I LOVE Spoonflower, but I’l be the first to admit that the all the fabric choices can be a little overwhelming. I’m going to give you a little bit of info here, but know that in every single fabric listing on my site, there are tabs with tons of additional info about how to order, and how much fabric you’ll need.
In a nutshell, my favorite fabric for quilts is the Organic Cotton Sateen. No contest. The colors are very bright and crisp – and stay bright and crisp through multiple washings. It’s a lightweight, very tight weave so there’s almost no fraying on raw-edge applique. And it gets softer with every wash! My bedsheets are this fabric from Spoonflower and I adore them.
For backing and binding I get full yards, but for applique I almost always get two yards of the Fill-a-Yard layout that can get you 48 different designs. I purchase two blocks of each color so I only get 24, but I’m getting very close to a fat eighth of each, and I love getting a wide variety prints in one go. I also love being able to pre-wash it as one piece of fabric (so no fraying) and then easily cut the pieces apart after washing.
Hope that helps with your fabric selection! More info (and loads of sample photos!) soon for each color collection.
Here are links to all the posts about choosing fabric.
And here are links to posts about using specialty fabrics.
Finished with this topic?
Return to the Let’s Make a Quilt main Table of Contents.