It’s puffy and fat – like traditional trapunto applique.
You can read more about traditional trapunto here. It’s. . . a lot of work. Seriously. A lot.
So I didn’t use the (crazy labor-intensive) traditional trapunto technique. I used a fun and easy fake trapunto applique technique I developed to give the monsters in this quilt googly eyes, like this. . .
So much fun!
(It’s the button pupils dimpling the eyes in that really make them extra cute.)
Here’s the video tutorial showing how to do it.
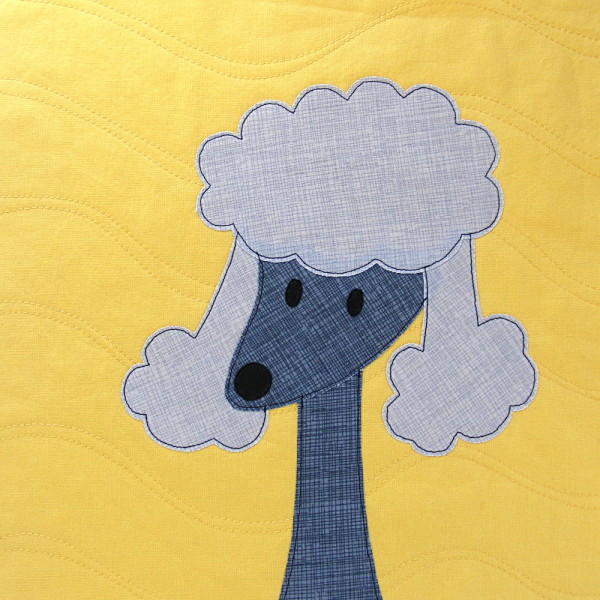
You can use this technique for clouds and trees, like I show in the video, but also for any relatively simple shape. Just choose something big enough to be able to turn it right side out after sewing, with an outline that’s primarily gentle curves or wide points.
You can also use this technique without the puffy stuffing. It’s not really trapunto applique anymore, but it’s a great way to get easy turned edges for applique into shaggy or fluffy fabric – like cuddle fleece.
Here are links to all the posts showing how to applique with fusible adhesive – my favorite method. It’s fast and easy and (with the right materials) it holds up beautifully to rough use and repeated washing.
I’ve been sharing little peeks of what to expect from the new Craftsy class on Facebook and Instagram and then gathering them all up every week here on the blog. There are so many fun things in this one class!
You can read the first round up here. Googly eyes, scrappy pieced backgrounds, silly eyelids, a kajillion uses for a triangle – it’s all there. 🙂
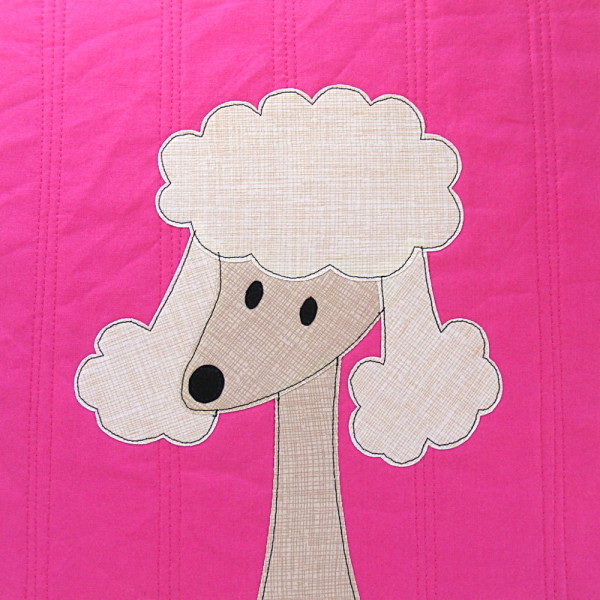
This week we started with silly hair.
I mean, seriously. Those curls have elastic inside so they spring back when you pull on them. How silly is that?
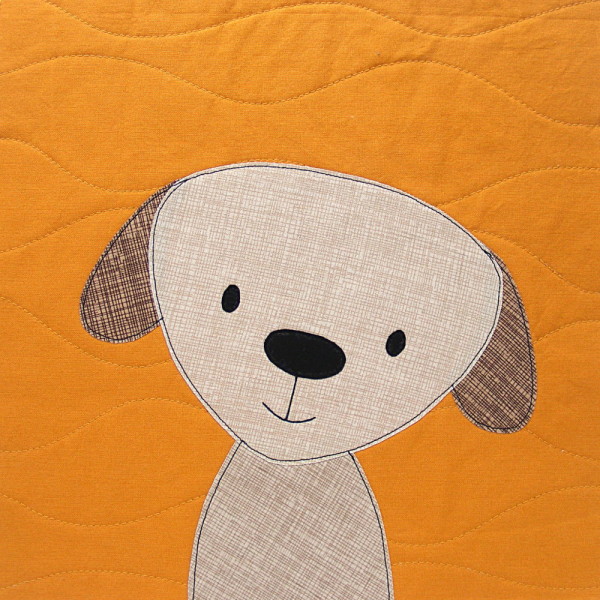
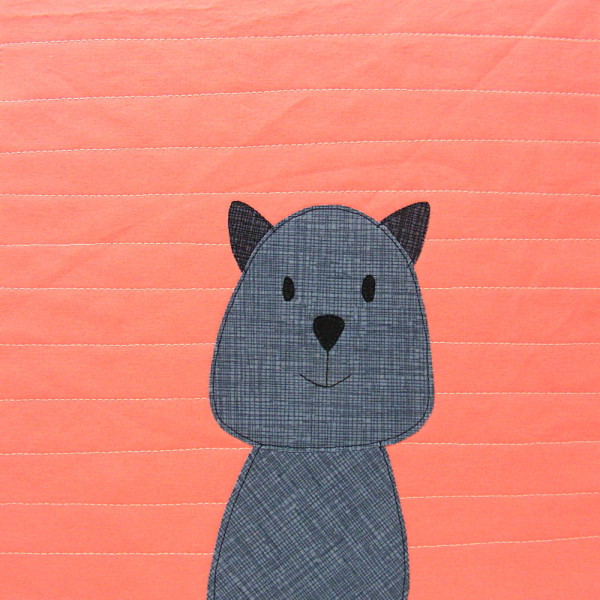
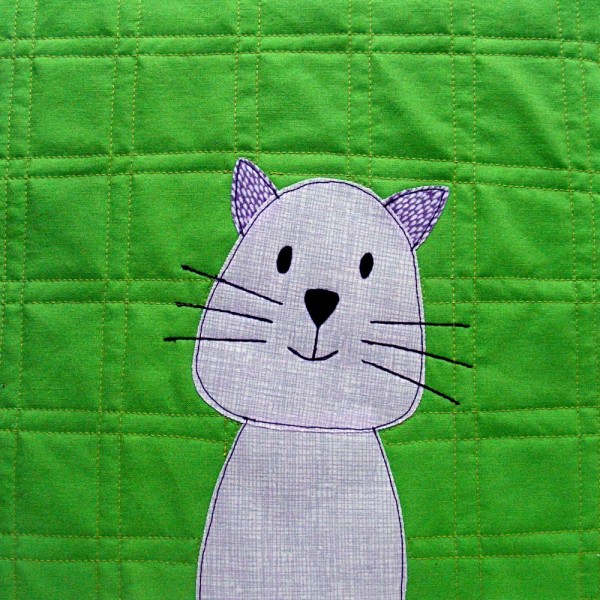
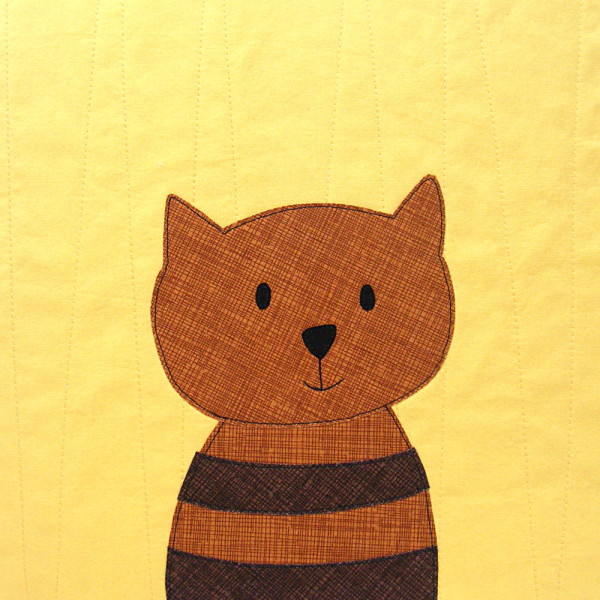
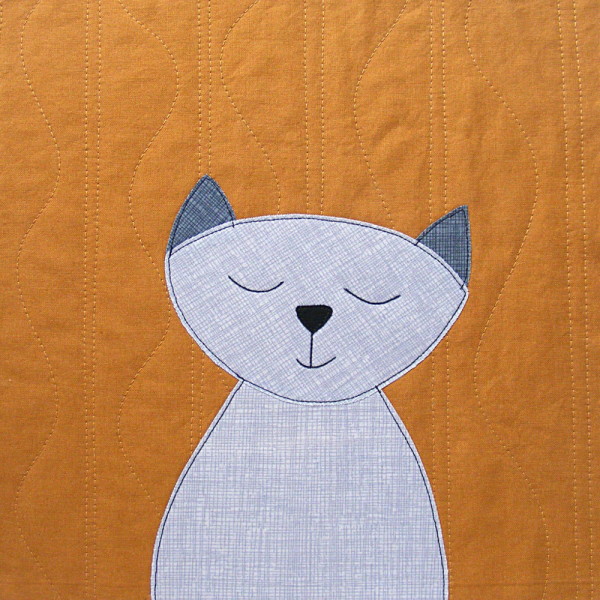
And then I showed how one simple body shape can look totally different, depending on the other bits you add.
My favorite is the one with the purple toenails. 🙂
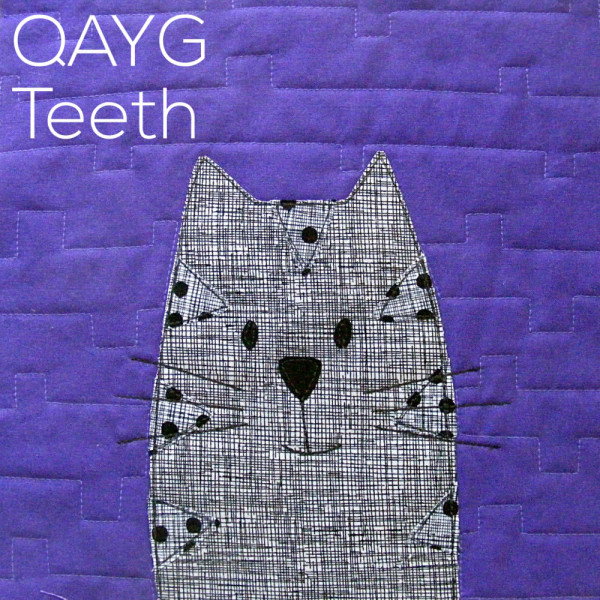
More fun 3D parts with these teeth.
So easy!
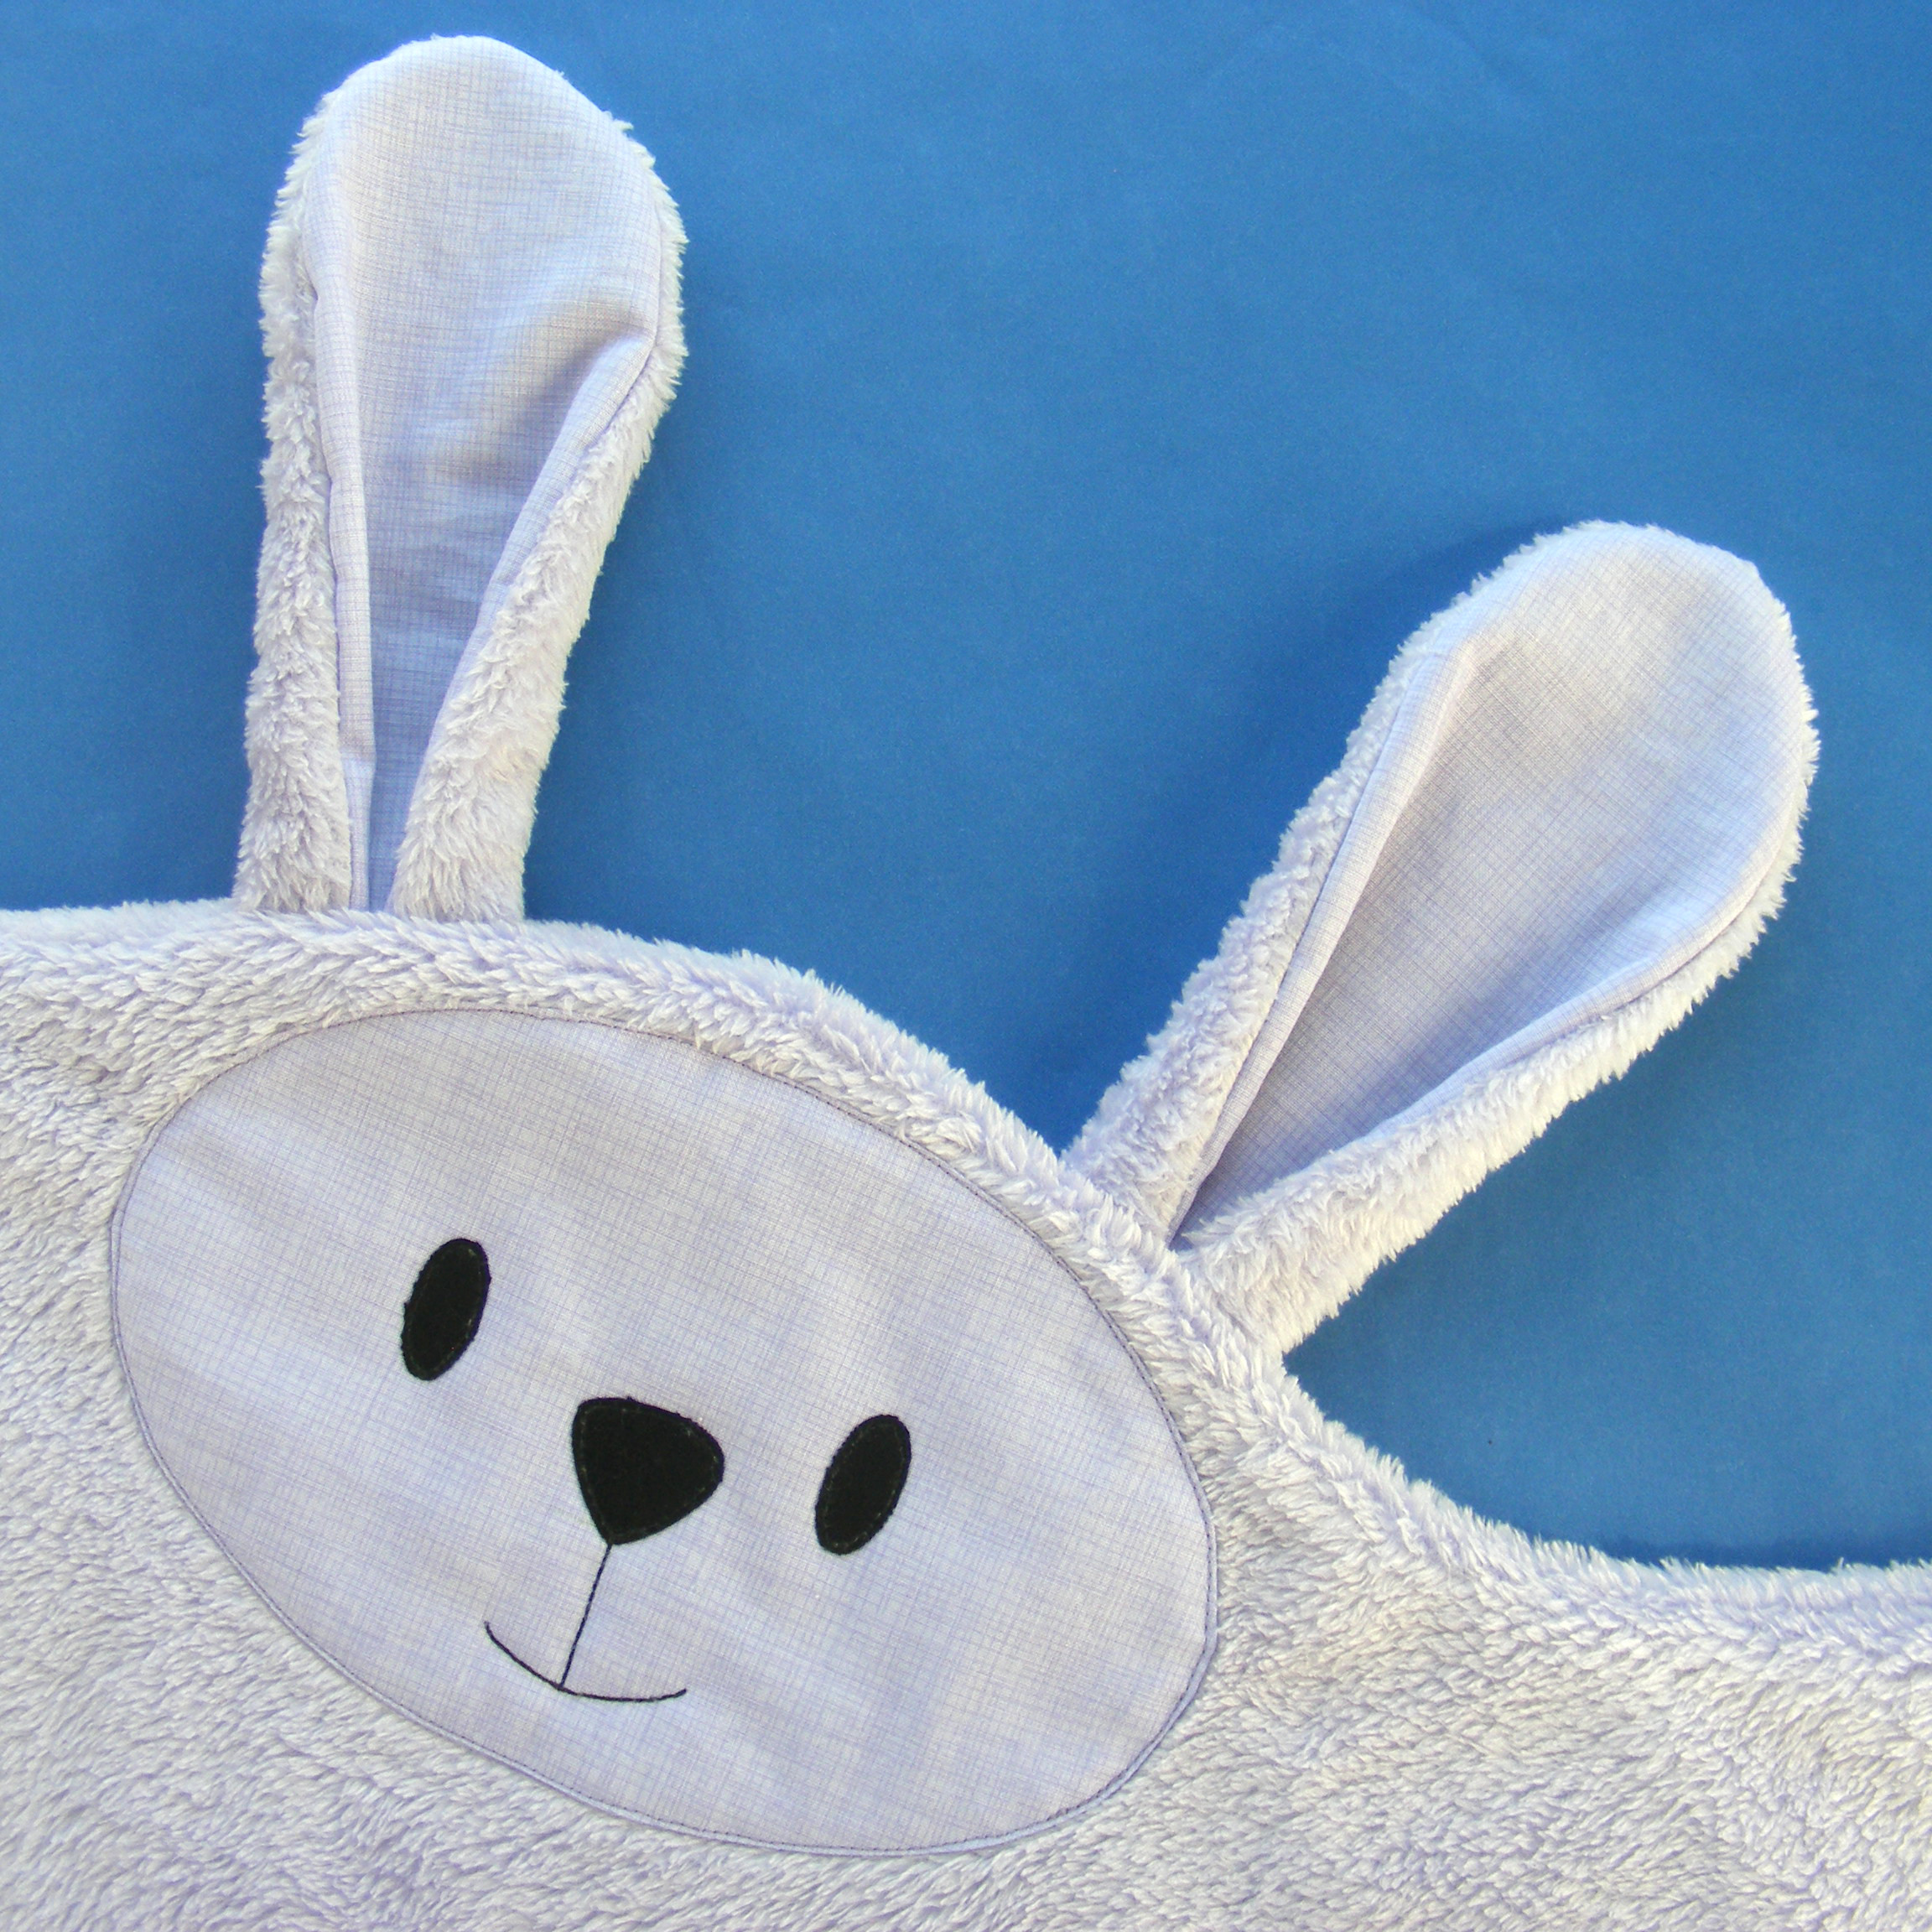
And then I went really crazy with the 3D additions with these floppy, satin-lined ears. . .
Enter the giveaway for a free spot here. Even if you don’t win – just by entering you’ll be notified when the class goes live (so soon!) and you’ll get a special discount coupon.
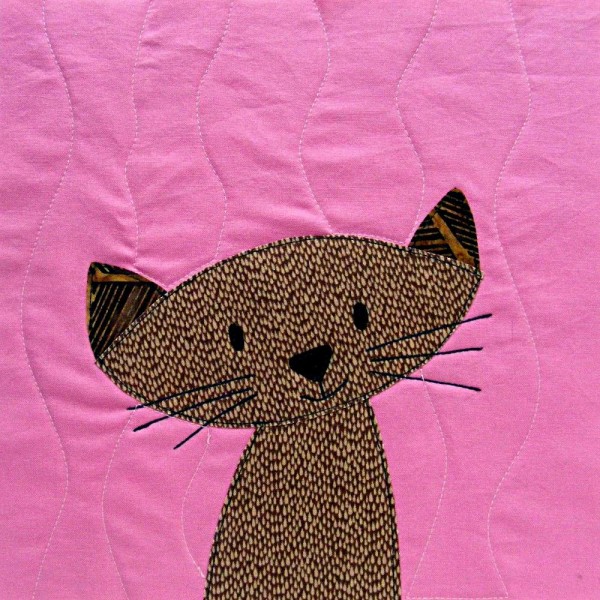
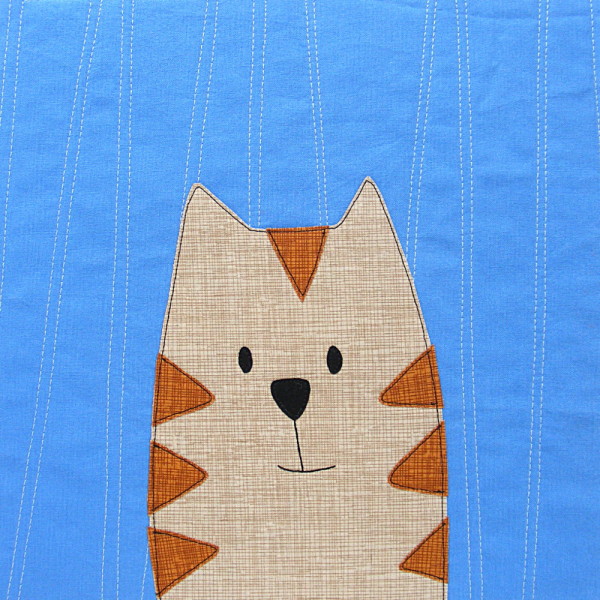
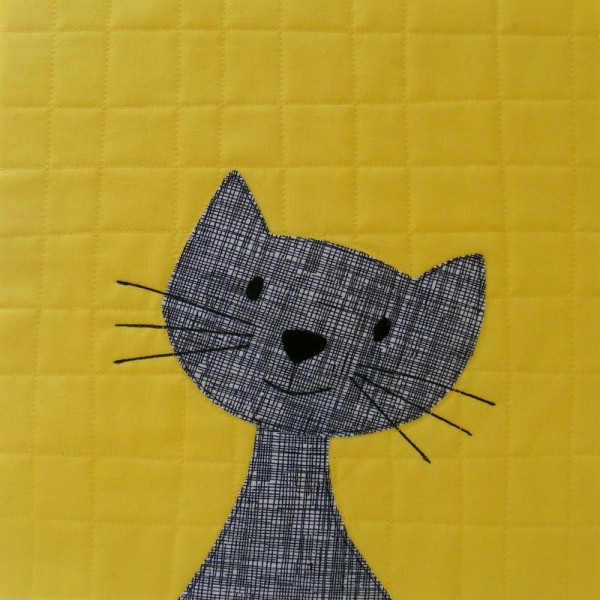
When I made the first cat quilt for my daughter Jo, she asked for cuddle fleece on the back. Until then I had only used it for stuffed animals, but she thought it would make an exceptionally cuddly quilt.
She was right.
After sleeping under it the first night she came to me and very seriously said, “Mommy. You should never use anything else on the back of your quilts.”
She was right again. 🙂
Wonderfully – I’ve found that it’s no harder to work with than a woven fabric on the back!
Note – I’ve heard from a few people with Brother machines that they do NOT like pulling the cuddle fleece through. We think it might be that the Brother feed dogs are less “grabby” than other manufacturers? Just be aware – if you have a Brother machine you may need to give it some extra help to get it to move through the machine.
A lot of people have asked me whether they have to do anything special to use cuddle fleece on the back of their quilts.
Do they need to use a special needle?
Do they needle to use a particular thread?
Do they have to use a walking foot?
Can I show actually doing some of the quilting?
Can I show what it looks like from the back?
I can show you all of that!
I’ve made a bunch of these now and I’ve found that I don’t really need to treat it any different from using a woven fabric background. In fact – I think it’s even less likely to get tiny folds or puckers in it. 🙂
A note about the fluff. . .
By the time I get to the backing/quilting/binding step of a project I’m always super excited to finish – and I don’t take the time to tumble the backing in the dryer to get rid of the fluff on those cut edges. 😛 If you’re more patient than me. . .
Cut the backing to size
Toss it in the dryer on air dry for 15-20 minutes. That will pull almost all of the fuzz off the edges and catch it in the lint trap.
Proceed as normal – baste, quilt and bind wearing whatever you want and not worrying about getting too messy. 🙂
Cuddle fleece makes an extra cuddly quilt with (in my opinion) the perfect weight. And it washes and wears beautifully!
Here are all my posts about layering and basting your quilt, and the final round of quilting.
Here are all my posts about hand quilting and Big Stitch quilting. I don’t use these techniques with fusible applique or Quilt As You Go, but I LOVE using Big Stitch Quilting with my cheater fabric.
I think a lot of the questions come from people who just can’t believe how easy it is. Like, there’s this nagging feeling that they must be missing an important, fussy step. For example – trimming the excess batting out of all the seam allowances. I can’t imagine anything more tedious or less fun and I’ve had several people ask if they have to do that. *shudders at the thought*
It really is dead simple and super easy. Have fun with it!
I usually follow these steps to make any of my Quilt As You Go applique quilts. . .
cut quilt blocks (and batting) 11 inches square
quilt the blocks
applique the blocks
outline stitch the applique
trim quilt blocks 10 1/2 inches square
sew the quilt blocks together
press seams open
baste to backing
quilt
bind
I’ve had several requests for more information about step 5 – specifically a video showing how to square and trim quilt blocks. It’s actually really easy – if you have the right tools.
Here’s how. . .
I don’t have very many rotary cutting rulers – but this is one that I really can’t imagine doing without. I highly recommend it if you do any quilting at all.
This is the exact ruler that I use to trim quilt blocks – the one you see in the video. It’s not inexpensive, but Joann’s always seems to have a good coupon and that can make a big difference. 🙂
For bigger quilt blocks (like the ones in this free Polaroid Quilt Block Tutorial) I use an even bigger ruler – one that’s a whopping 20 1/2 inches square! It’s a little unwieldy, so I only use it for the bigger blocks.
The Quilt As You Go lessons, videos and patterns are the most popular pages here at Shiny Happy World. That makes sense! It’s a super easy and fun way of quilting, and I don’t know of anyone else who does it quite the way I do.
Over time I’ve added a bunch of tutorials to answer questions, demonstrate specific steps, and make things as easy as possible. It’s time for one page to corral all those Quilt As You Go instructions!
If you want to work through these lessons in a systematic way, you can find them all here.
Every single lesson is free, and you can use any pattern to practice all your new skills!
I’m currently rewriting all of my patterns to these cutting instructions. . .
Cut the blocks and batting 11 inches square (or even a smidge bigger – it doesn’t have to be exact). This will give you a little wiggle room and I like wiggle room.
For half blocks (like adding words to your quilt) cut the initial blocks 11 x 6 inches. After quilting and applique, trim to 10 1/2 x 5 1/2 inches. Finished blocks will be 10 x 5 inches – exactly half the size of a full block. (Quilt Block Sizes for Alternate Grid Layouts has lots more info about half blocks and double blocks.)
Quilting Patterns
I get a lot of questions about how I quilt my blocks. Here are some specific answers. . .
I don’t baste the batting to the block. I find that the cotton fabric clings just fine to the cotton batting and I don’t have problems with shifting.
I don’t mark any of my quilting patterns – I just jump in and start doodling on the machine and it’s lots of fun.
I don’t use a special needle or thread – just a universal 80/12 needle and regular all-purpose thread.
I do set my stitch length a little longer – a 3 on my machine. I like the look of the bigger stitches and it makes the quilting go faster. 🙂
I do use a walking foot. All the quilting patterns I currently use work fine with the feed dogs and walking foot engaged – through I think this method would also work very well for people learning free motion quilting. That will be me someday. 🙂
You can watch how I do it and see a gallery of quilting pattern ideas in the following videos. . .
Piecing or Applique?
You can use QAYG for piecing or applique – but I especially love it for applique. I quilt all my blocks first, and then I applique over the quilting.
A lot of people ask – don’t the quilting lines show through your applique when you do the quilting first?
I’ve done a lot of experimenting with that and I’ve gotten to a place where that almost never ever happens. Here’s what to do. . .
Use 100% cotton fabric. The worst show through I’ve had is when I’ve accidentally used a piece of mystery fabric that turned out to have synthetic content. 🙁
Iron your quilted block nice and smooth and let it cool without moving before adding your applique. It’s an extra step, but it only takes a few seconds and it makes a big difference.
If you’re really worried about it, you can do the quilting after you applique. I give tips on that for lots of different patterns in these videos.
I usually outline all my pieces with all-purpose black thread and a simple straight stitch. I love the slightly cartoony look and I think it works well with the style of my applique designs.
Of course, you can use any decorative stitching you choose if that’s the look you want! I’m more likely to stick with the straight stitch and use a thicker thread if I want a heavier line. Read more about playing with different thread weights here.
I press my seams open to eliminate bulk. You do NOT need to trim the batting out of the seam allowance. That would very quickly turn this into a not-fun technique. 😛
Baste your finished quilt top to your back using whatever method you like. I have had nightmare experiences with spray basting, so I stick to pins. You can see how I baste a quilt here.
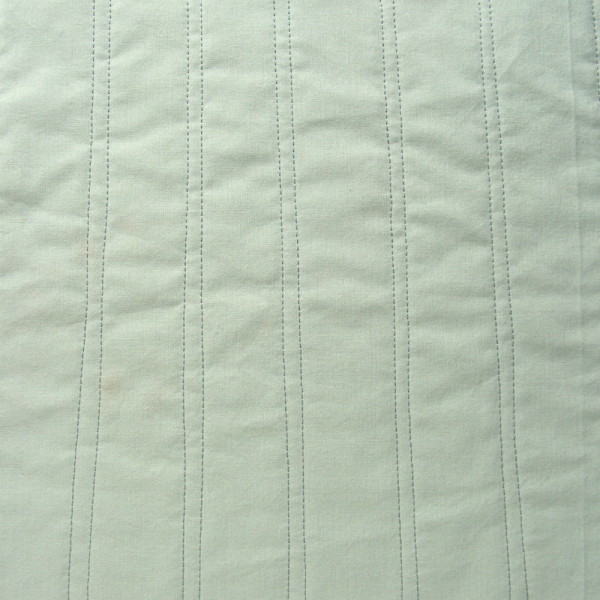
Quilt the top to the backing just along the major seam lines. Sometimes I stitch in the ditch using a straight stitch, sometimes I stitch 1/4″ to each side of my major seams. Sometimes I use a zigzag or decorative stitch to quilt those seams. All of those options work equally well.
In these Quilt As You Go videos I showed the lines I was stitching on paper. I did this so you could get a bird’s-eye overview of the whole block, and also so you could see how to quilt around the applique, in case you choose to do things in that order. (I like to do my quilting first, then applique over it – but you can do it either way.)
But I’ve had several people ask for a video showing exactly how I sew these patterns at the machine. They want to know. . .
What kind of needle are you using?
How are you basting the block? Pins? Spray baste?
Are you using special thread?
What stitch length are you using?
What are you using to mark the lines?
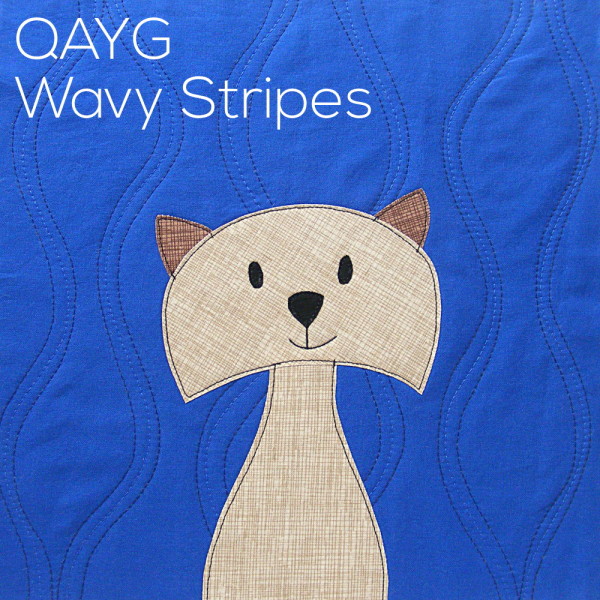
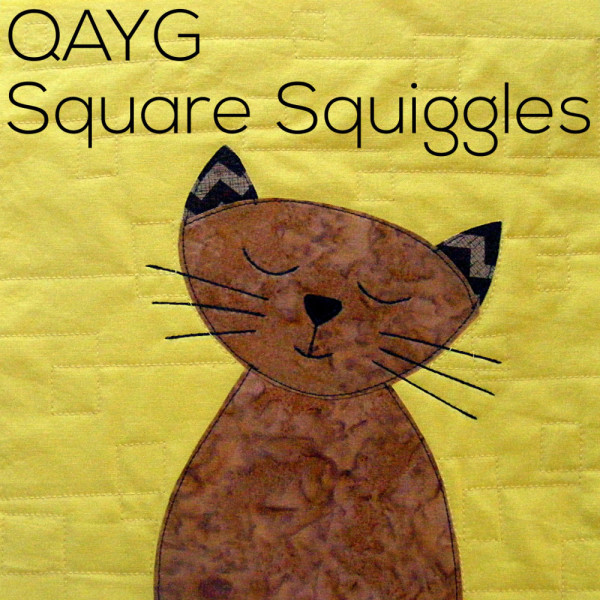
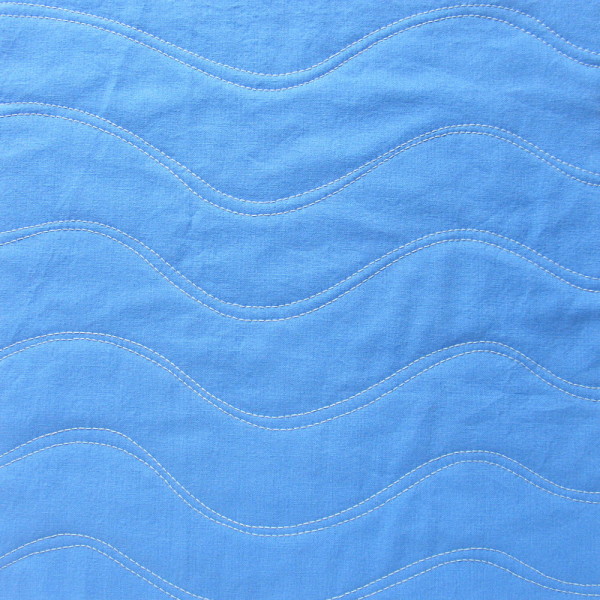
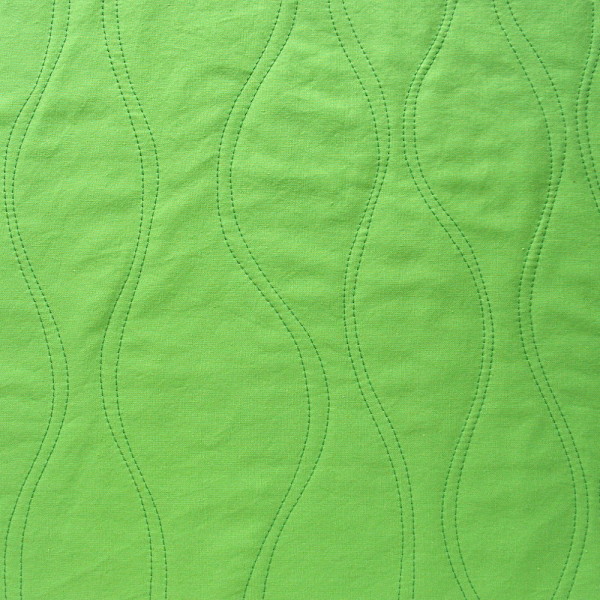
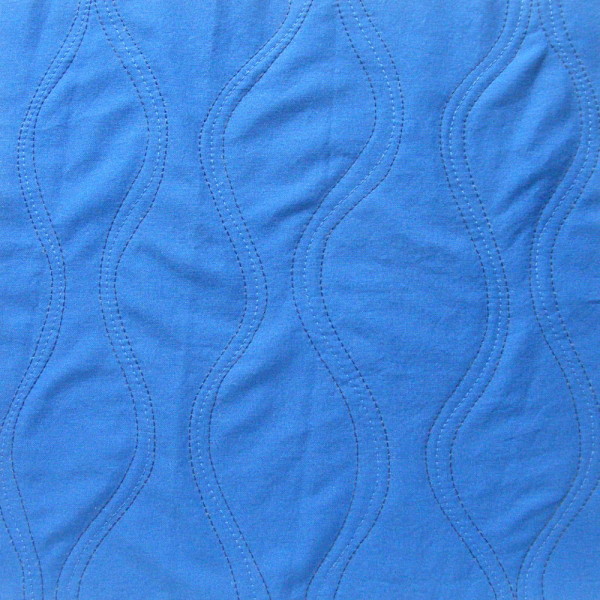
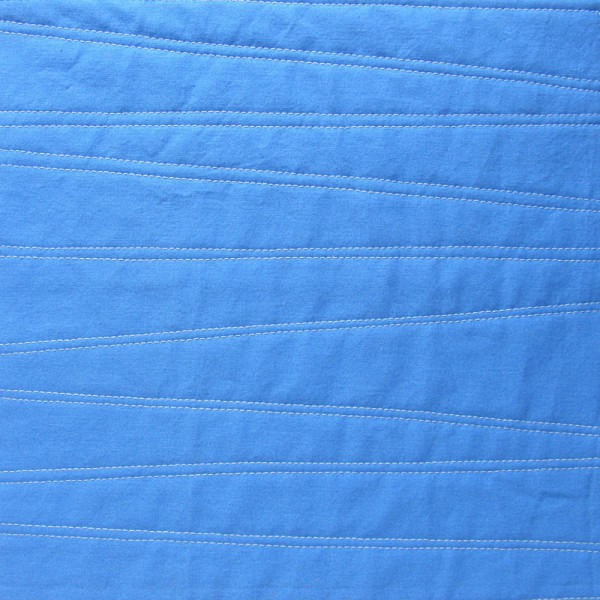
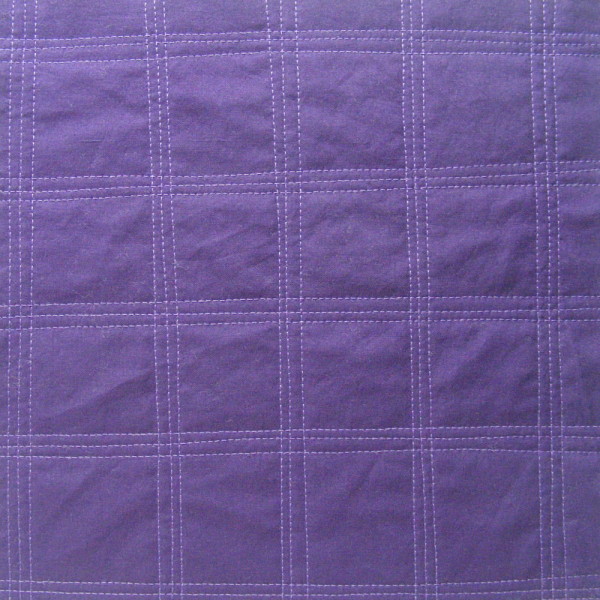
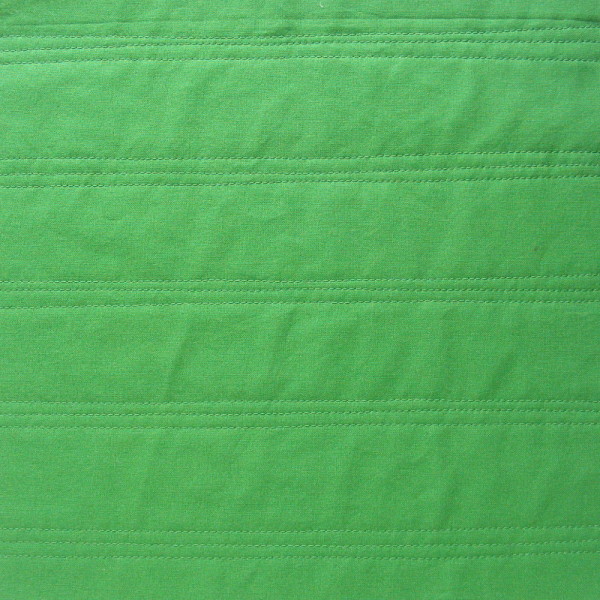
So here’s a video with all those answers! This one shows how I do Quilt As You Go with wavy lines – all the wavy stripes and grids that I love so much.
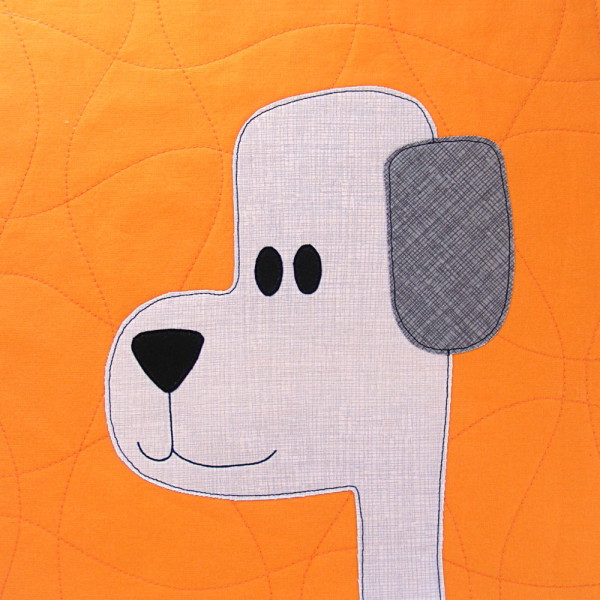
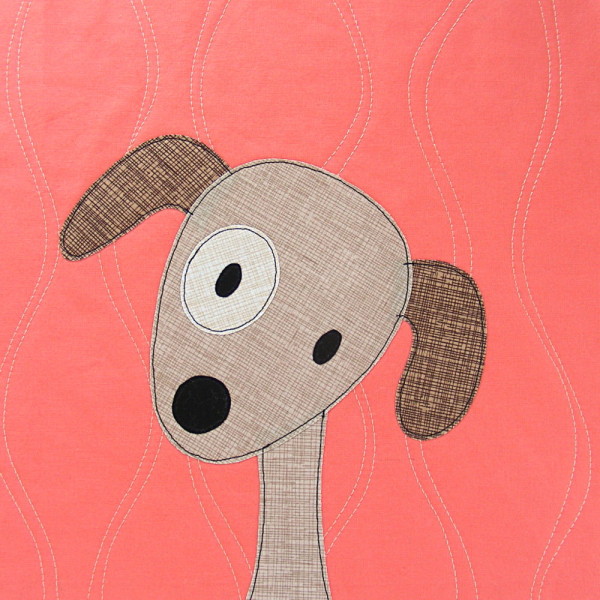
In the video I promised to show a gallery of quilt as you go designs – a menu of sorts that you can refer to when you’re looking for ideas. Here that is. If you click on any image you can see it a little bigger.
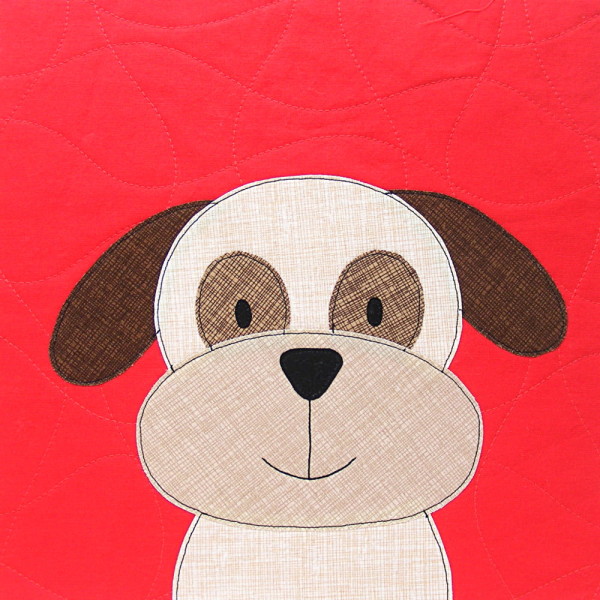
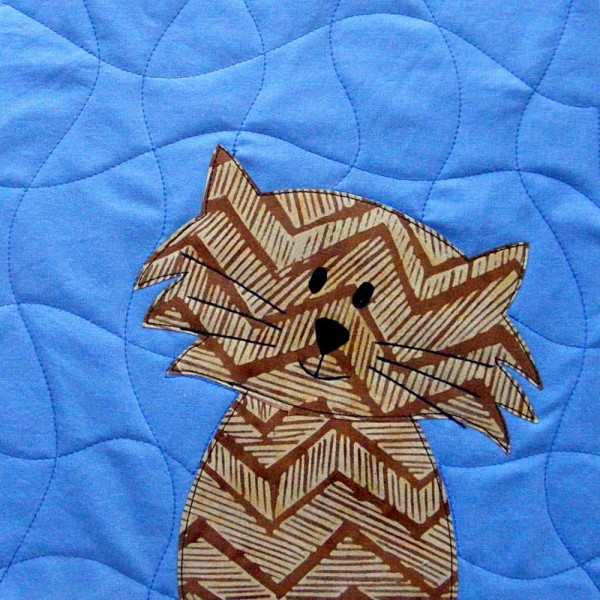
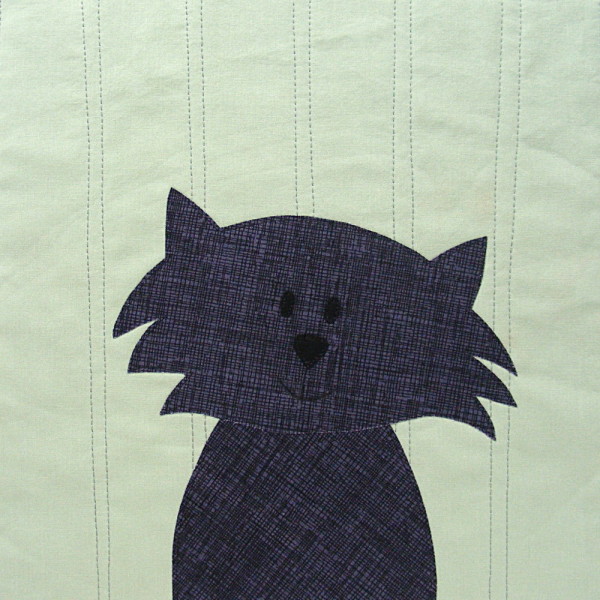
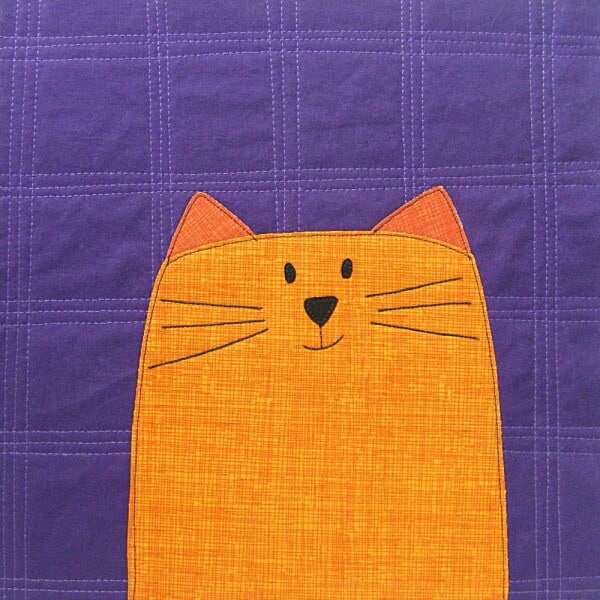
I almost always quilt my blocks before I applique. Some of these blocks are shown after the applique is added, but I did the quilting first. You can do it in any order you like, but if you quilt after you applique you have to go around the shapes.
Ready? Jump in and have fun! Quilt as you go makes your quilting super fun and easy.
But I’ve had several people ask for a video showing exactly how I sew these patterns at the machine. They want to know. . .
What kind of needle are you using?
How are you basting the block? Pins? Spray baste?
Are you using special thread?
What stitch length are you using?
What are you using to mark the lines?
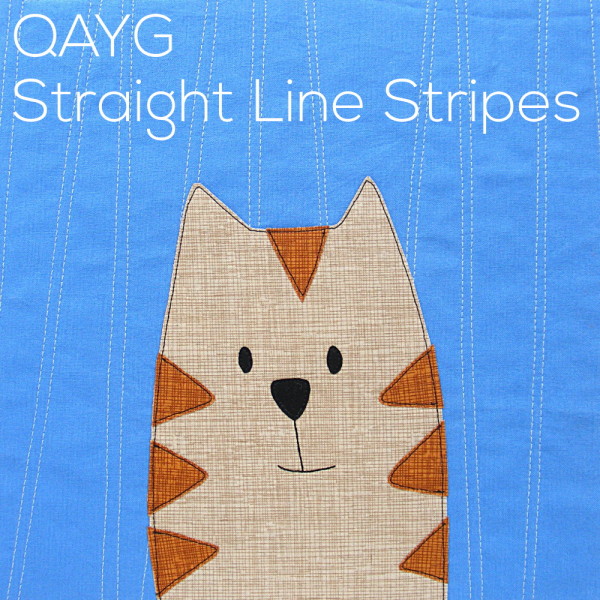
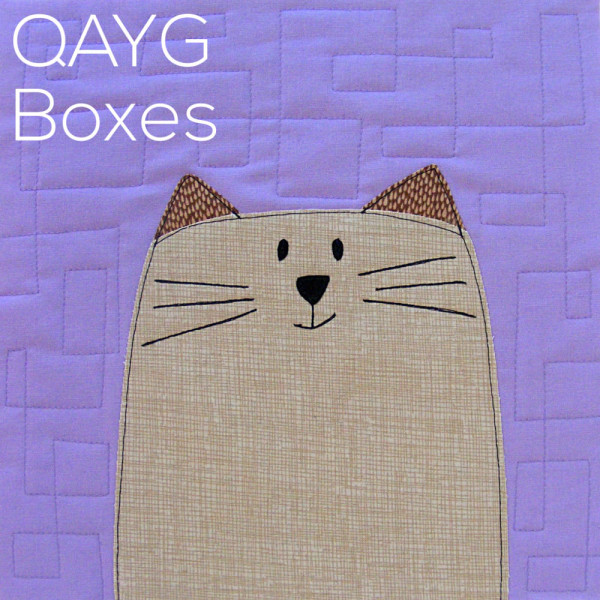
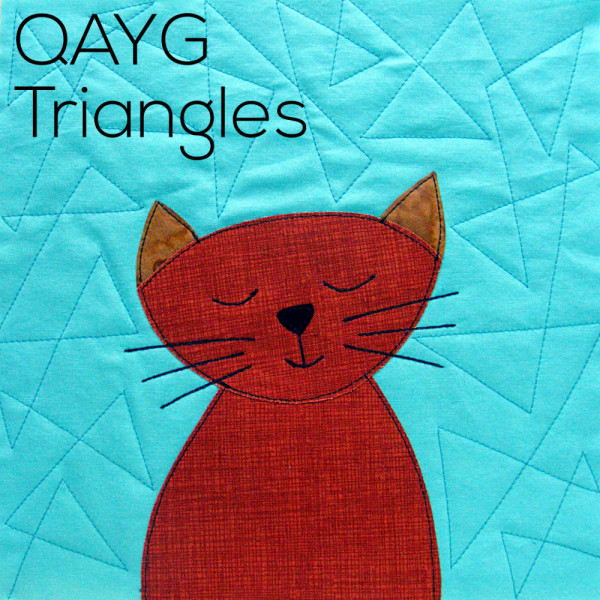
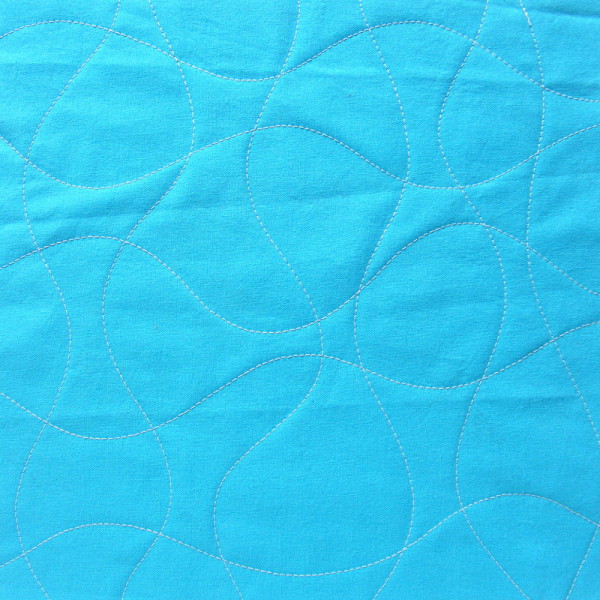
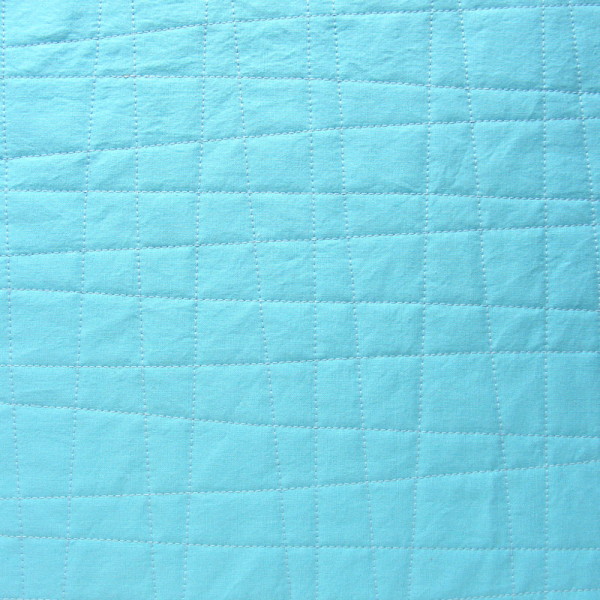
So here’s a video with all those answers! This one shows how I do Quilt As You Go with straight lines – all the basic stripes and grids that I love so much.
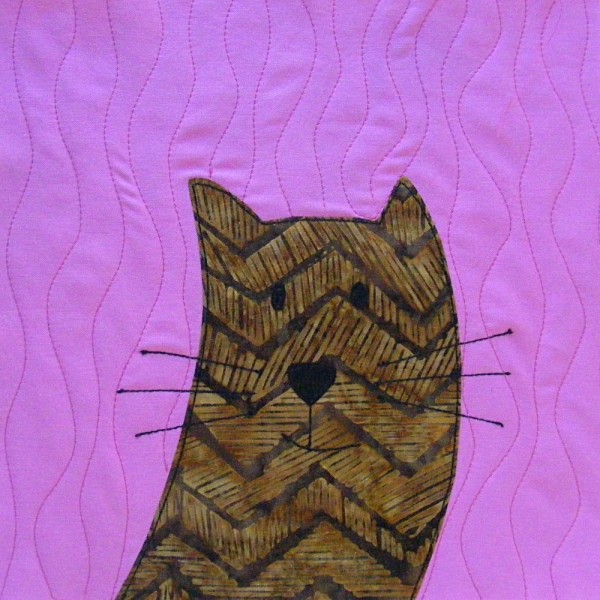
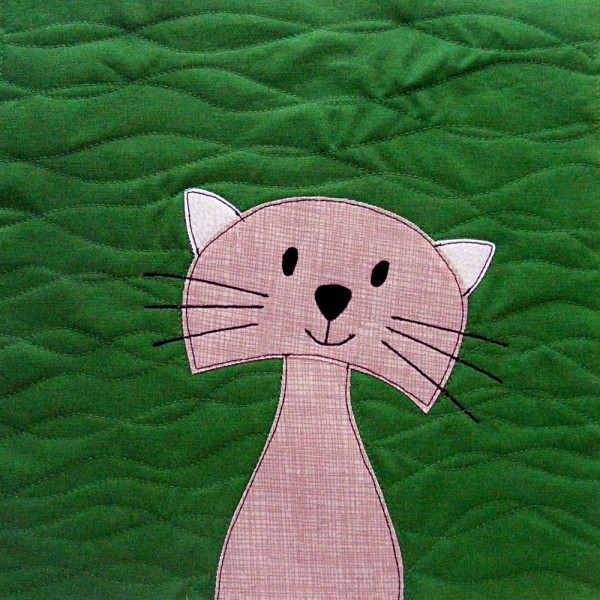
In the video I promised to show a gallery of quilt as you go designs – a menu of sorts that you can refer to when you’re looking for ideas. Here that is. If you click on any image you can see it a little bigger.
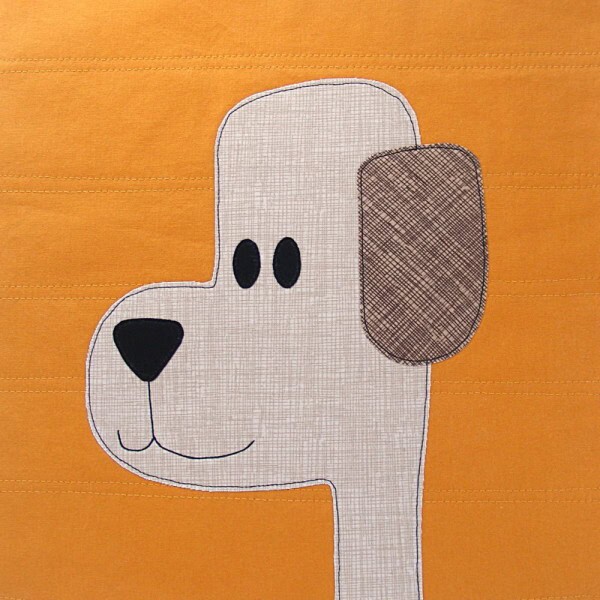
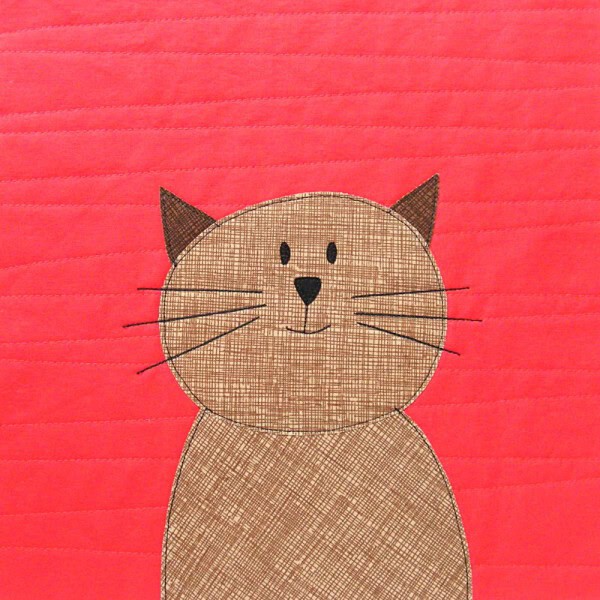
I almost always quilt my blocks before I applique. Some of these blocks are shown after the applique is added, but I did the quilting first. You can do it in any order you like, but if you quilt after you applique you have to go around the shapes. I show more about how to do that in this gallery of QAYG videos.
Ready? Jump in and have fun! Quilt as You Go stripes and grids are super fun and easy. 🙂
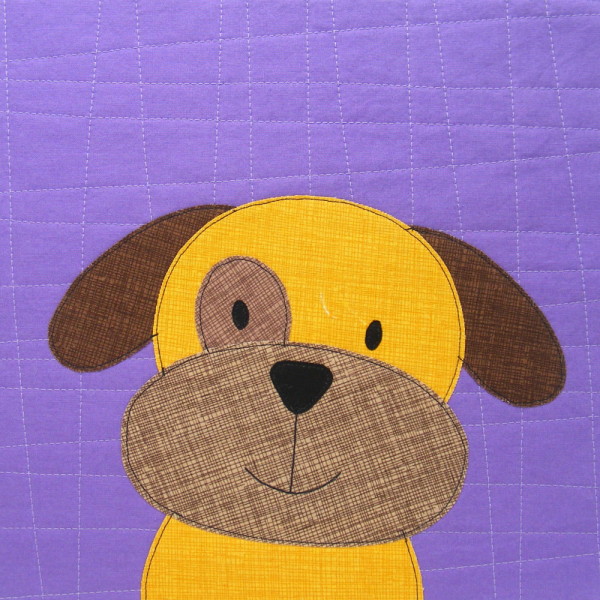
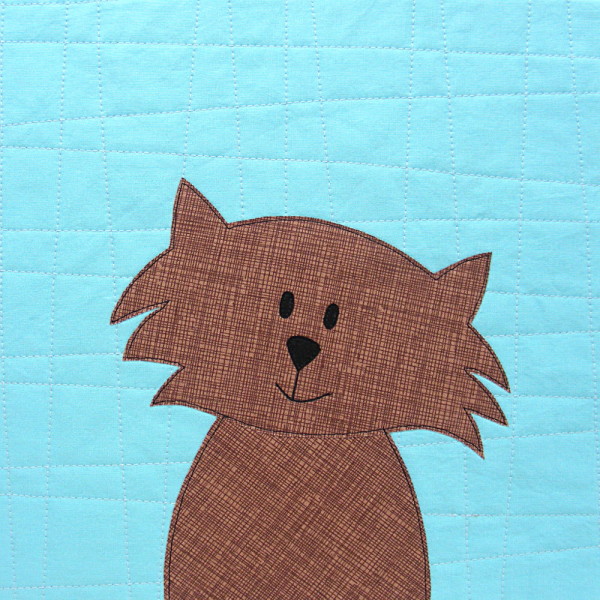
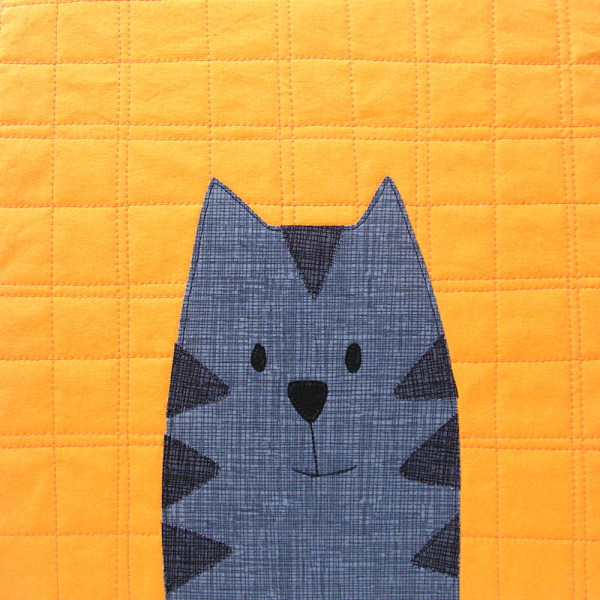
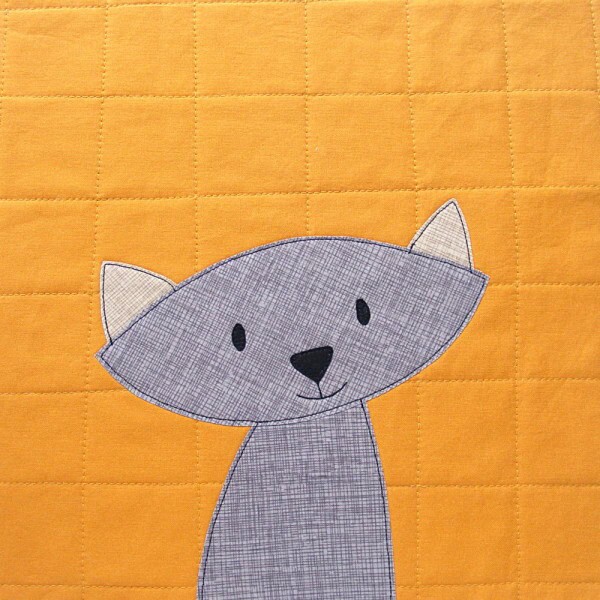
Did you know I have a class on Craftsy? (now called Bluprint) It’s called Fusible Applique Made Easy. You get the pattern for the Woodland Critters quilt you see behind me. That pattern on its own is a $14.99 value! But you also get videos showing . . .
How I choose fabric
How I true up my fabric and cut background blocks
How I quilt my blocks before adding applique
Fusible applique basics – my favorite products and how to use them
How I assemble every single block in the pattern
My tricks for marking faces and how to handle overlapping bits
Lots and lots of options for doing the eyes (the hardest bit)
How I outline stitch all the pieces
Fancy stitching options
How to appliqué on knits (you’ll see me appliqué a fox on an adorable baby onesie)
How to join those already-quilted blocks
How to back the quilt and finish quilting it
How to bind the quilt
It’s a terrific value!
Instead of showing you the quilts I made with the pattern, I thought I’d share some outstanding finished quilts and comments from students in the class. It has an average rating of 5 stars!
Suebee made this beauty. She writes. . .
Thank you so much for this class! I had a blast and am sure that I will using the techniques you have taught many more times! In fact, I have already started one of your flower quilts for my granddaughter!
Starbank64 made this lovely quilt. She writes. . .
So LOVED this class! I finished and learned a lot of nifty techniques. Thanks Wendi for sharing. I now have the knowledge and confidence to proceed with different appliqué quilts. ps thanks for the moose design will definitely go into the next woodland quilt, there will be another!
Look at the Woodland Critters quilt France Houde made! She even used the fox block as a starting point to create a skunk block! She writes. . .
This was so wonderful to have done this quilt. My first one in my life, and my daughter loves it very much. Thank you!!! When we went to the store to choose the backing & the binding, the person at the store asked us to participate to a quilting exposition, as they never saw a quilt like this before.
I love this quilt that gorillamama made. She added the moose, Buzz and the butterfly (three free applique patterns) and the mouse from the Noisy Farm quilt. I love it when people mix and match like that! She writes. . .
Best. Class. Ever! Learned so much, had tons of fun, and ended up with a project that I feel so happy to have made! Thank you so much, Wendi! You’re the bee’s knees!
If you want a tiny taste of what the class will be like and what kind of view you’ll have – watch this video.
Click here to read about why I love online craft classes – and the Craftsy platform in particular. In a nutshell – you can take the class any time you like and watch it as many times as you need to – and you always have a front row seat with a terrific view. 🙂
I’m especially proud of how many people made their very first quilt with this class!
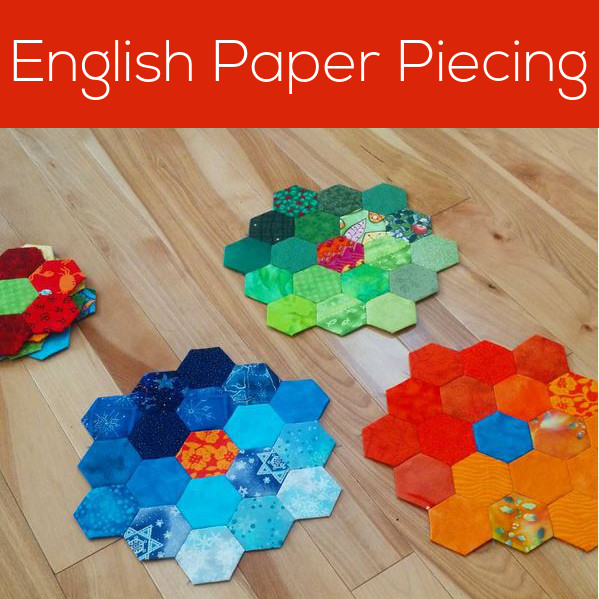
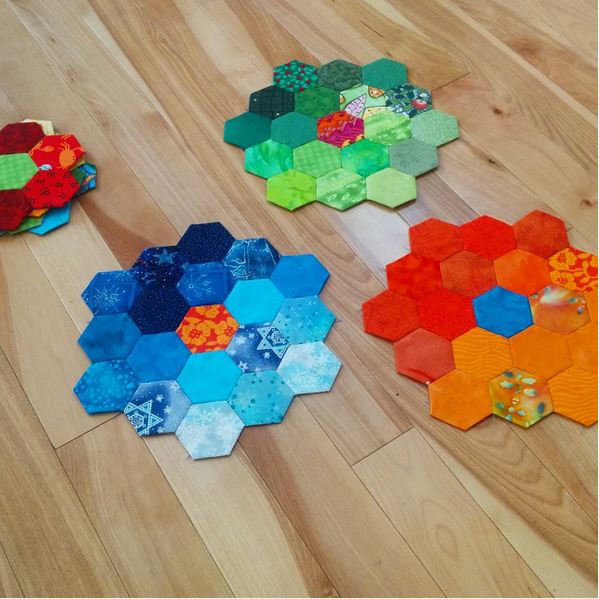
I’m obsessed with English Paper Piecing (EPP). And because I want to you to share in the love of this awesome craft, I’ve put together two video tutorials so you can learn to do it too!
Watch them and then start stitching! You’ll probably end up addicted to these little hexagon-shaped fabric pieces of candy… but that’s okay!
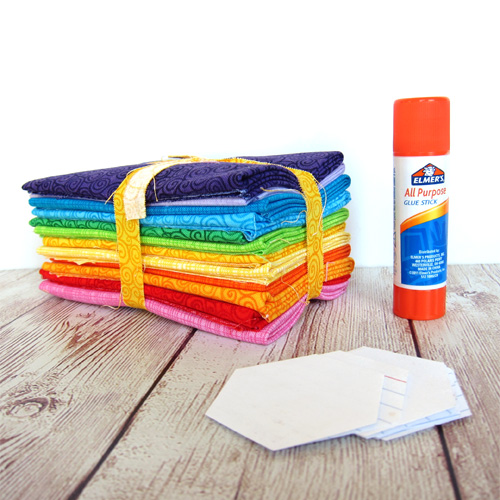
Video one: how to prepare your fabric and baste the hexagons
Video two: how to sew hexagons together and remove template
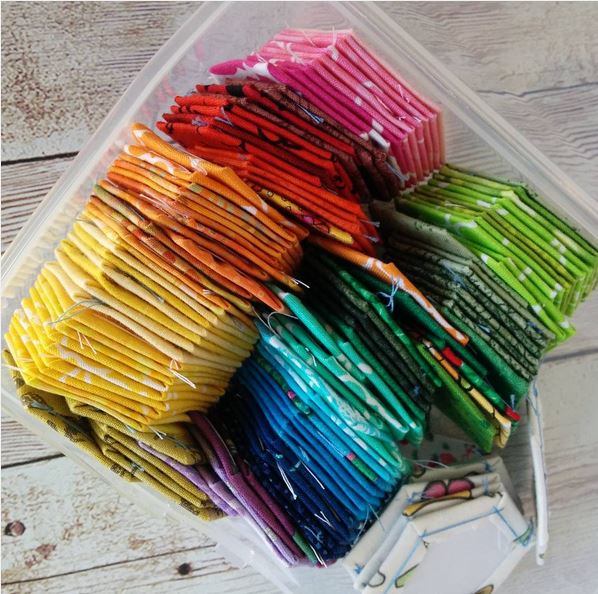
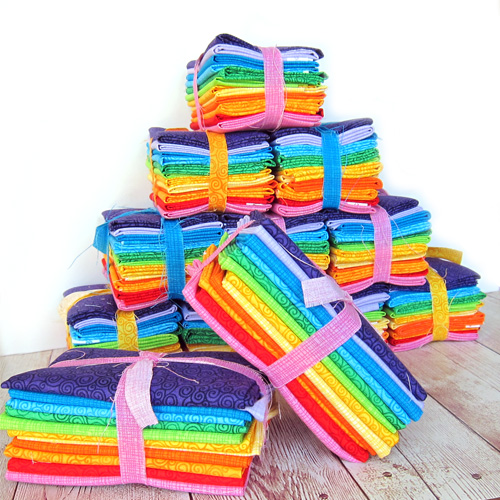
I also love rainbows. So… I teamed up with Shiny Happy World to put together a kit that’s great for beginners or old hats!