When you’re hand quilting in a hoop, how do you quilt all the way to the edge?
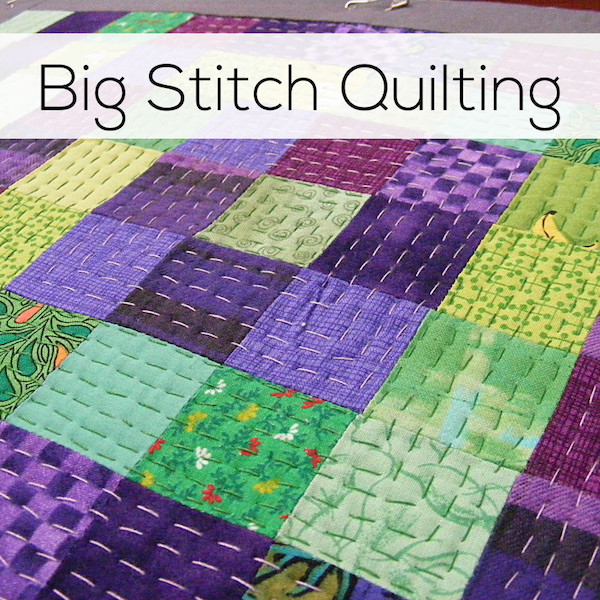
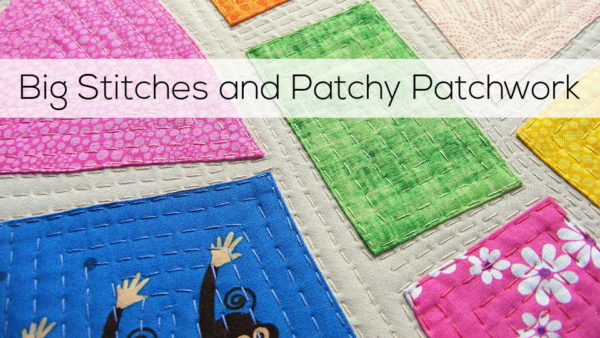
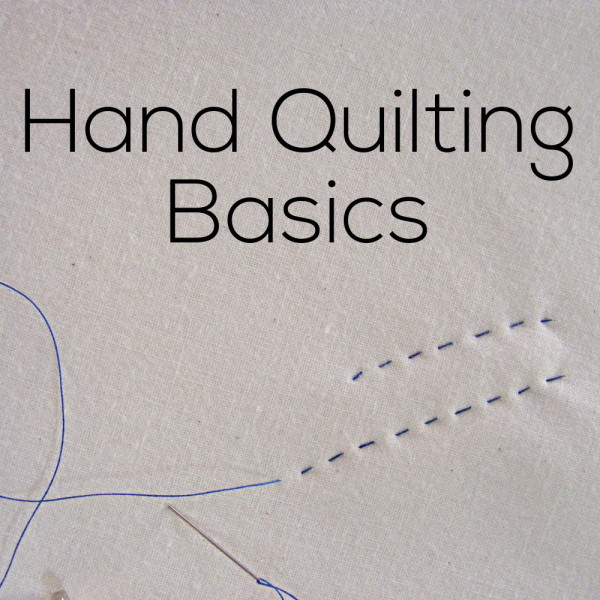
This is a question I’ve gotten several times in the last few weeks since I posted this video about hand quilting and this one about big stitch quilting.
It’s a good question, and the answer goes all the way back to one of my earliest videos – this one about how to layer and baste a quilt.
In that video I showed how the batting layer needs to be bigger all around than the top layer, and the backing needs to be bigger than the batting.
One of the main reasons for that is because – even with basting – the fabric layers can shift a bit when you’re quilting. If you start with all the edges perfectly lined up, you can have a situation where the batting or backing shifts to be smaller than the top – and then you have a problem on your hands.
The other reason to have the other layers be longer is so that you can hoop it up for hand quilting and stitch right up to the edges.
Let’s take a look at my current hand quilting project – the Controlled Chaos quilt. (It’s a free pattern.)
I’m working on one of the edges here.
You can see that the quilt edge is the edge of that narrow grey border around the blue block. It’s mostly quilted here – right up to the edge.
The batting extends beyond that edge – enough to be captured in the square frame I use so it gets held tight for quilting.
The backing is the grey fabric that extends beyond the batting – also held in the frame.
Having the batting and backing layers extend several inches past the edge of the quilt allows me to hoop them up with the actual quilt still within the quiltable area of the frame. Everything is held nice and tight for easy hand quilting.

Here are all my posts about layering and basting your quilt, and the final round of quilting.
- How to Layer and Baste a Quilt Sandwich
- How to Machine Quilt
- My Favorite Tip for Machine Quilting without Swearing
- How to Quilt a Big Quilt on a Standard Sewing Machine
- What Does It Mean to Start Quilting in the Middle and Work Your Way Out?
- How to Quilt Perfectly Parallel Lines
- Tips for Quilting a Cuddle Fleece Back
- Quilting with Decorative Stitching
Here are all my posts about hand quilting and Big Stitch quilting. I don’t use these techniques with fusible applique or Quilt As You Go, but I LOVE using Big Stitch Quilting with my cheater fabric.
- How to Tie a Knot
- Hand Quilting Basics – traditional hand quilting
- Hand Quilting without Marking
- Big Stitch Quilting
- How to Quilt All the Way to the Edge
Finished with this topic?
Return to the Let’s Make a Quilt main Table of Contents.
Move on to the lessons about binding and finishing your quilt.
Happy quilting!

