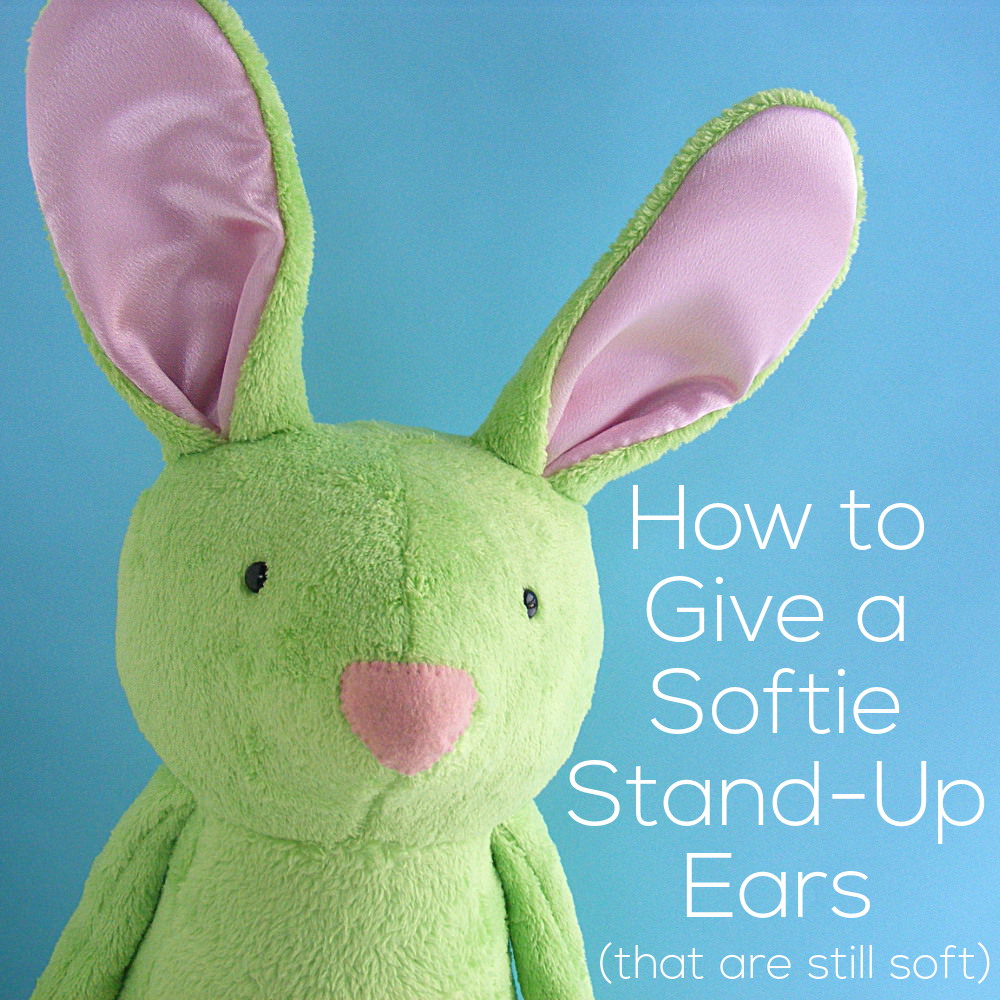
It’s to give a stuffed animal ears that stand up!
I usually design my softies with floppy ears – often with a satin lining. I’ve known SO MANY kids who use softie ears like a blankie – clutching them or rubbing them as they fall asleep – that making blankie-like ears is kind of my default setting.
Bertie Bunny and Bartholomew Bunny both have floppy ears, and so does Elliott Elephant.
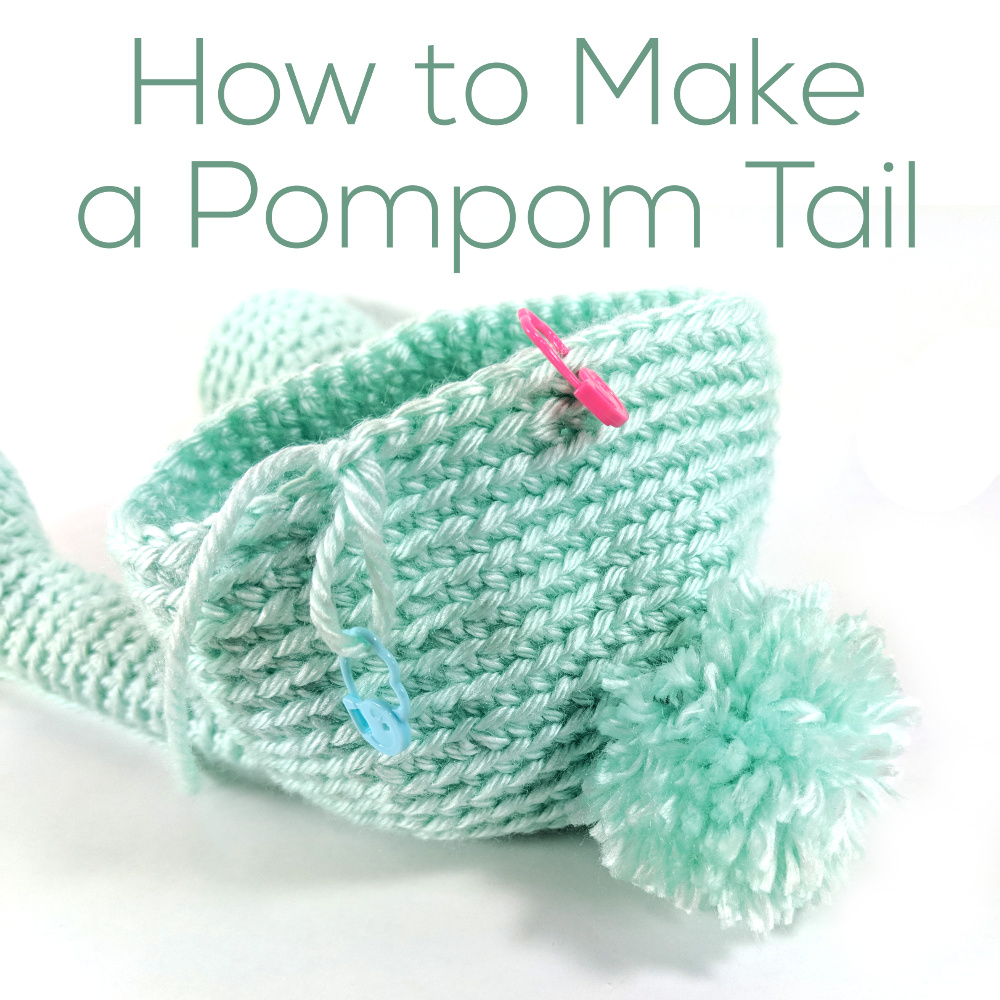
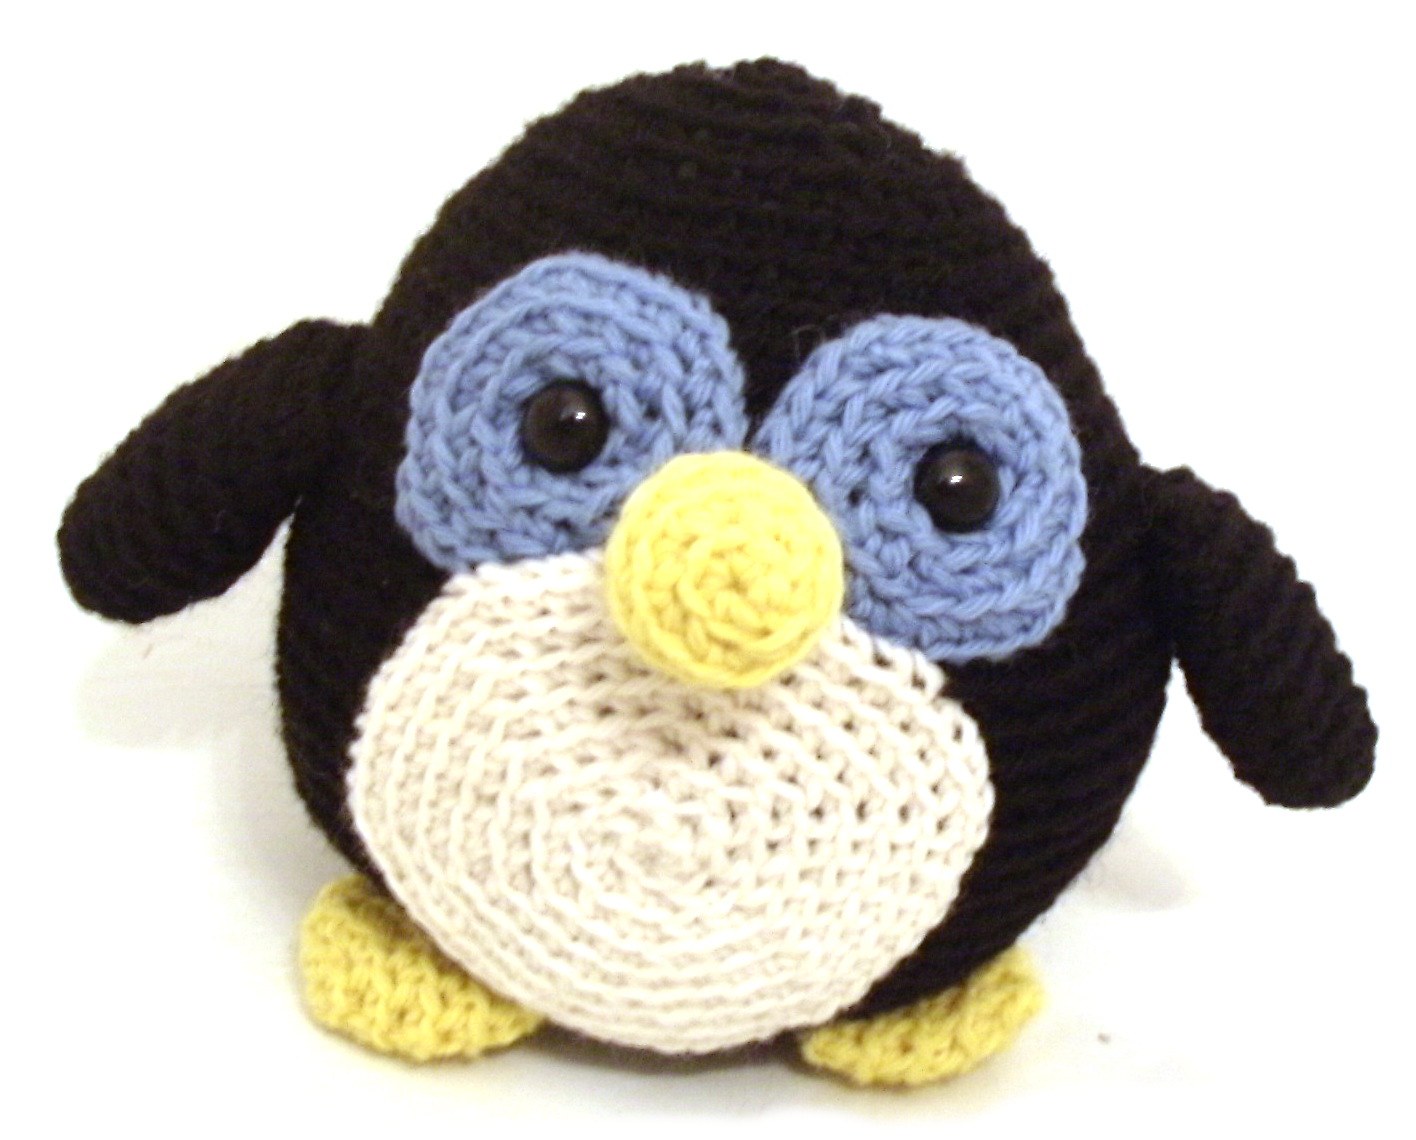
When I designed Benson Bunny (that spring green bunny you see in the top image) I wanted him to have ears that stood up straight.
I realized I had never made a stuffed animal with ears that stand up and I wasn’t sure how to do it!
Every stabilizer and interfacing I tried was either too floppy – or downright crunchy and hard. In desperation I turned to Betz White – bag-maker extraordinaire – and she suggested a product called Soft & Stable right away. She even sent me a sample to try and it was perfect!
Here’s what I love about it. . .
- It’s easy to work with. You can sew right through it.
- It’s stiffer than batting and really maintains its shape – but is still soft and cuddly. You can fold those ears over and they’ll spring right back up.
- It’s very lightweight.
- It’s machine washable and dryable.
- It gives a really professional look to your finished softies.
I included instructions for using it in Benson’s pattern. But I realized I never posted general instructions for it here.
The thing is – you can use this with ANY pattern – even one that I designed with floppy ears!
So – here’s how to give any stuffed animal ears that stand up – but are still soft and cuddly.
First – there’s a link to a source for Soft & Stable on this page of my favorite tools and supplies.
Any pattern will have you cut an ear front and an ear back for each ear. They’ll always be cut from the same pattern piece so they go together. You need to cut an extra layer of Soft & Stable from that same ear pattern piece.
So for each ear you’ll have an ear front (I do love making that piece satin or other contrasting fabric), an ear back (usually out of the main fabric), and a third piece that will be hidden inside the ear cut from the Soft & Stable.
The sometimes mind-bendy part is assembling the layers. You want the front and back sewn together with the foam in between, but how do you stack the layers so when you turn it right side out it works?
Easy.
Stack the front and back ear pieces just like you normally would – right sides together. I like to start with the main fabric piece face up, then the lining fabric piece face down. Now just add the foam piece to the stack.
That’s it!
Sew around the edge of the ear just like the pattern says.
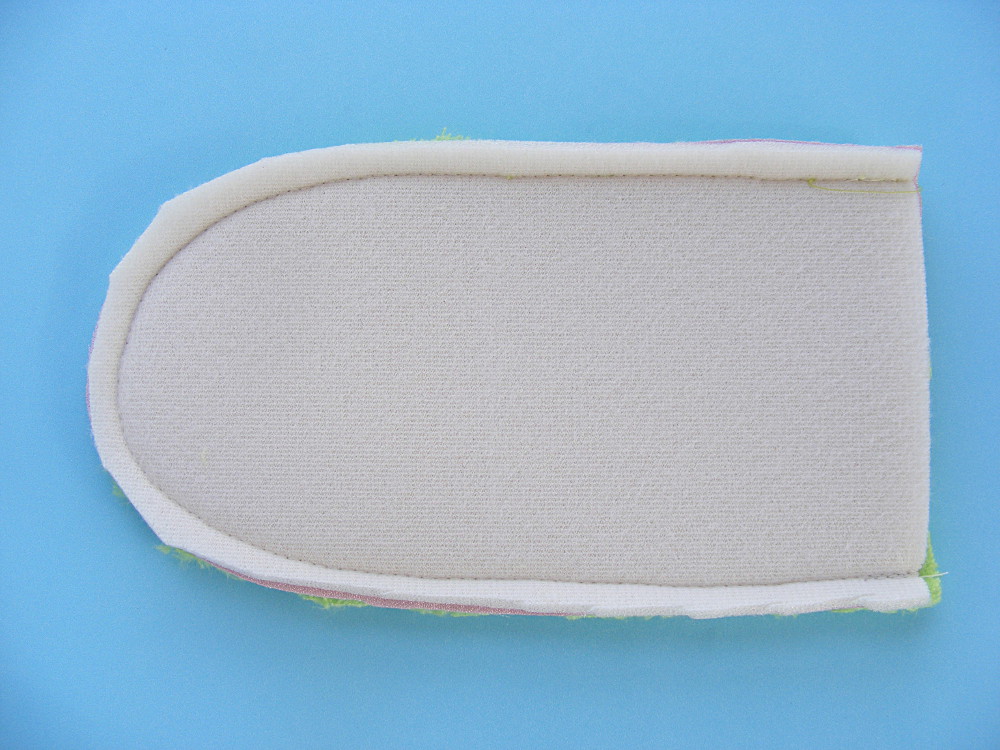
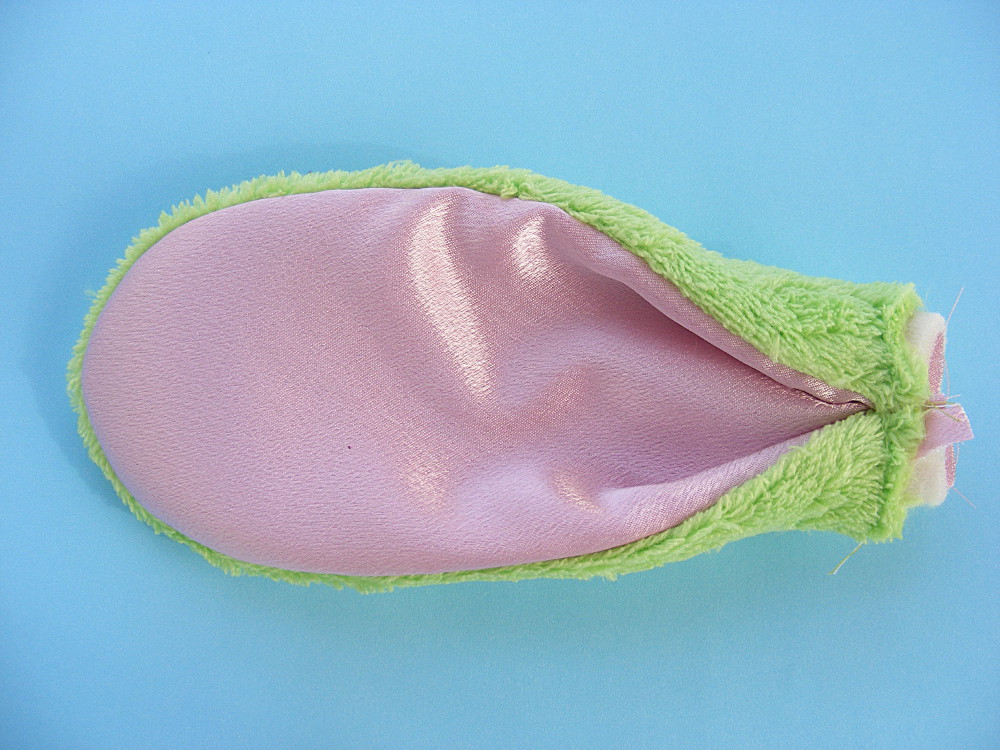
Here’s Benson’s sewn ear from the foam side of the stack.
And here it is from the main fabric side of the stack.
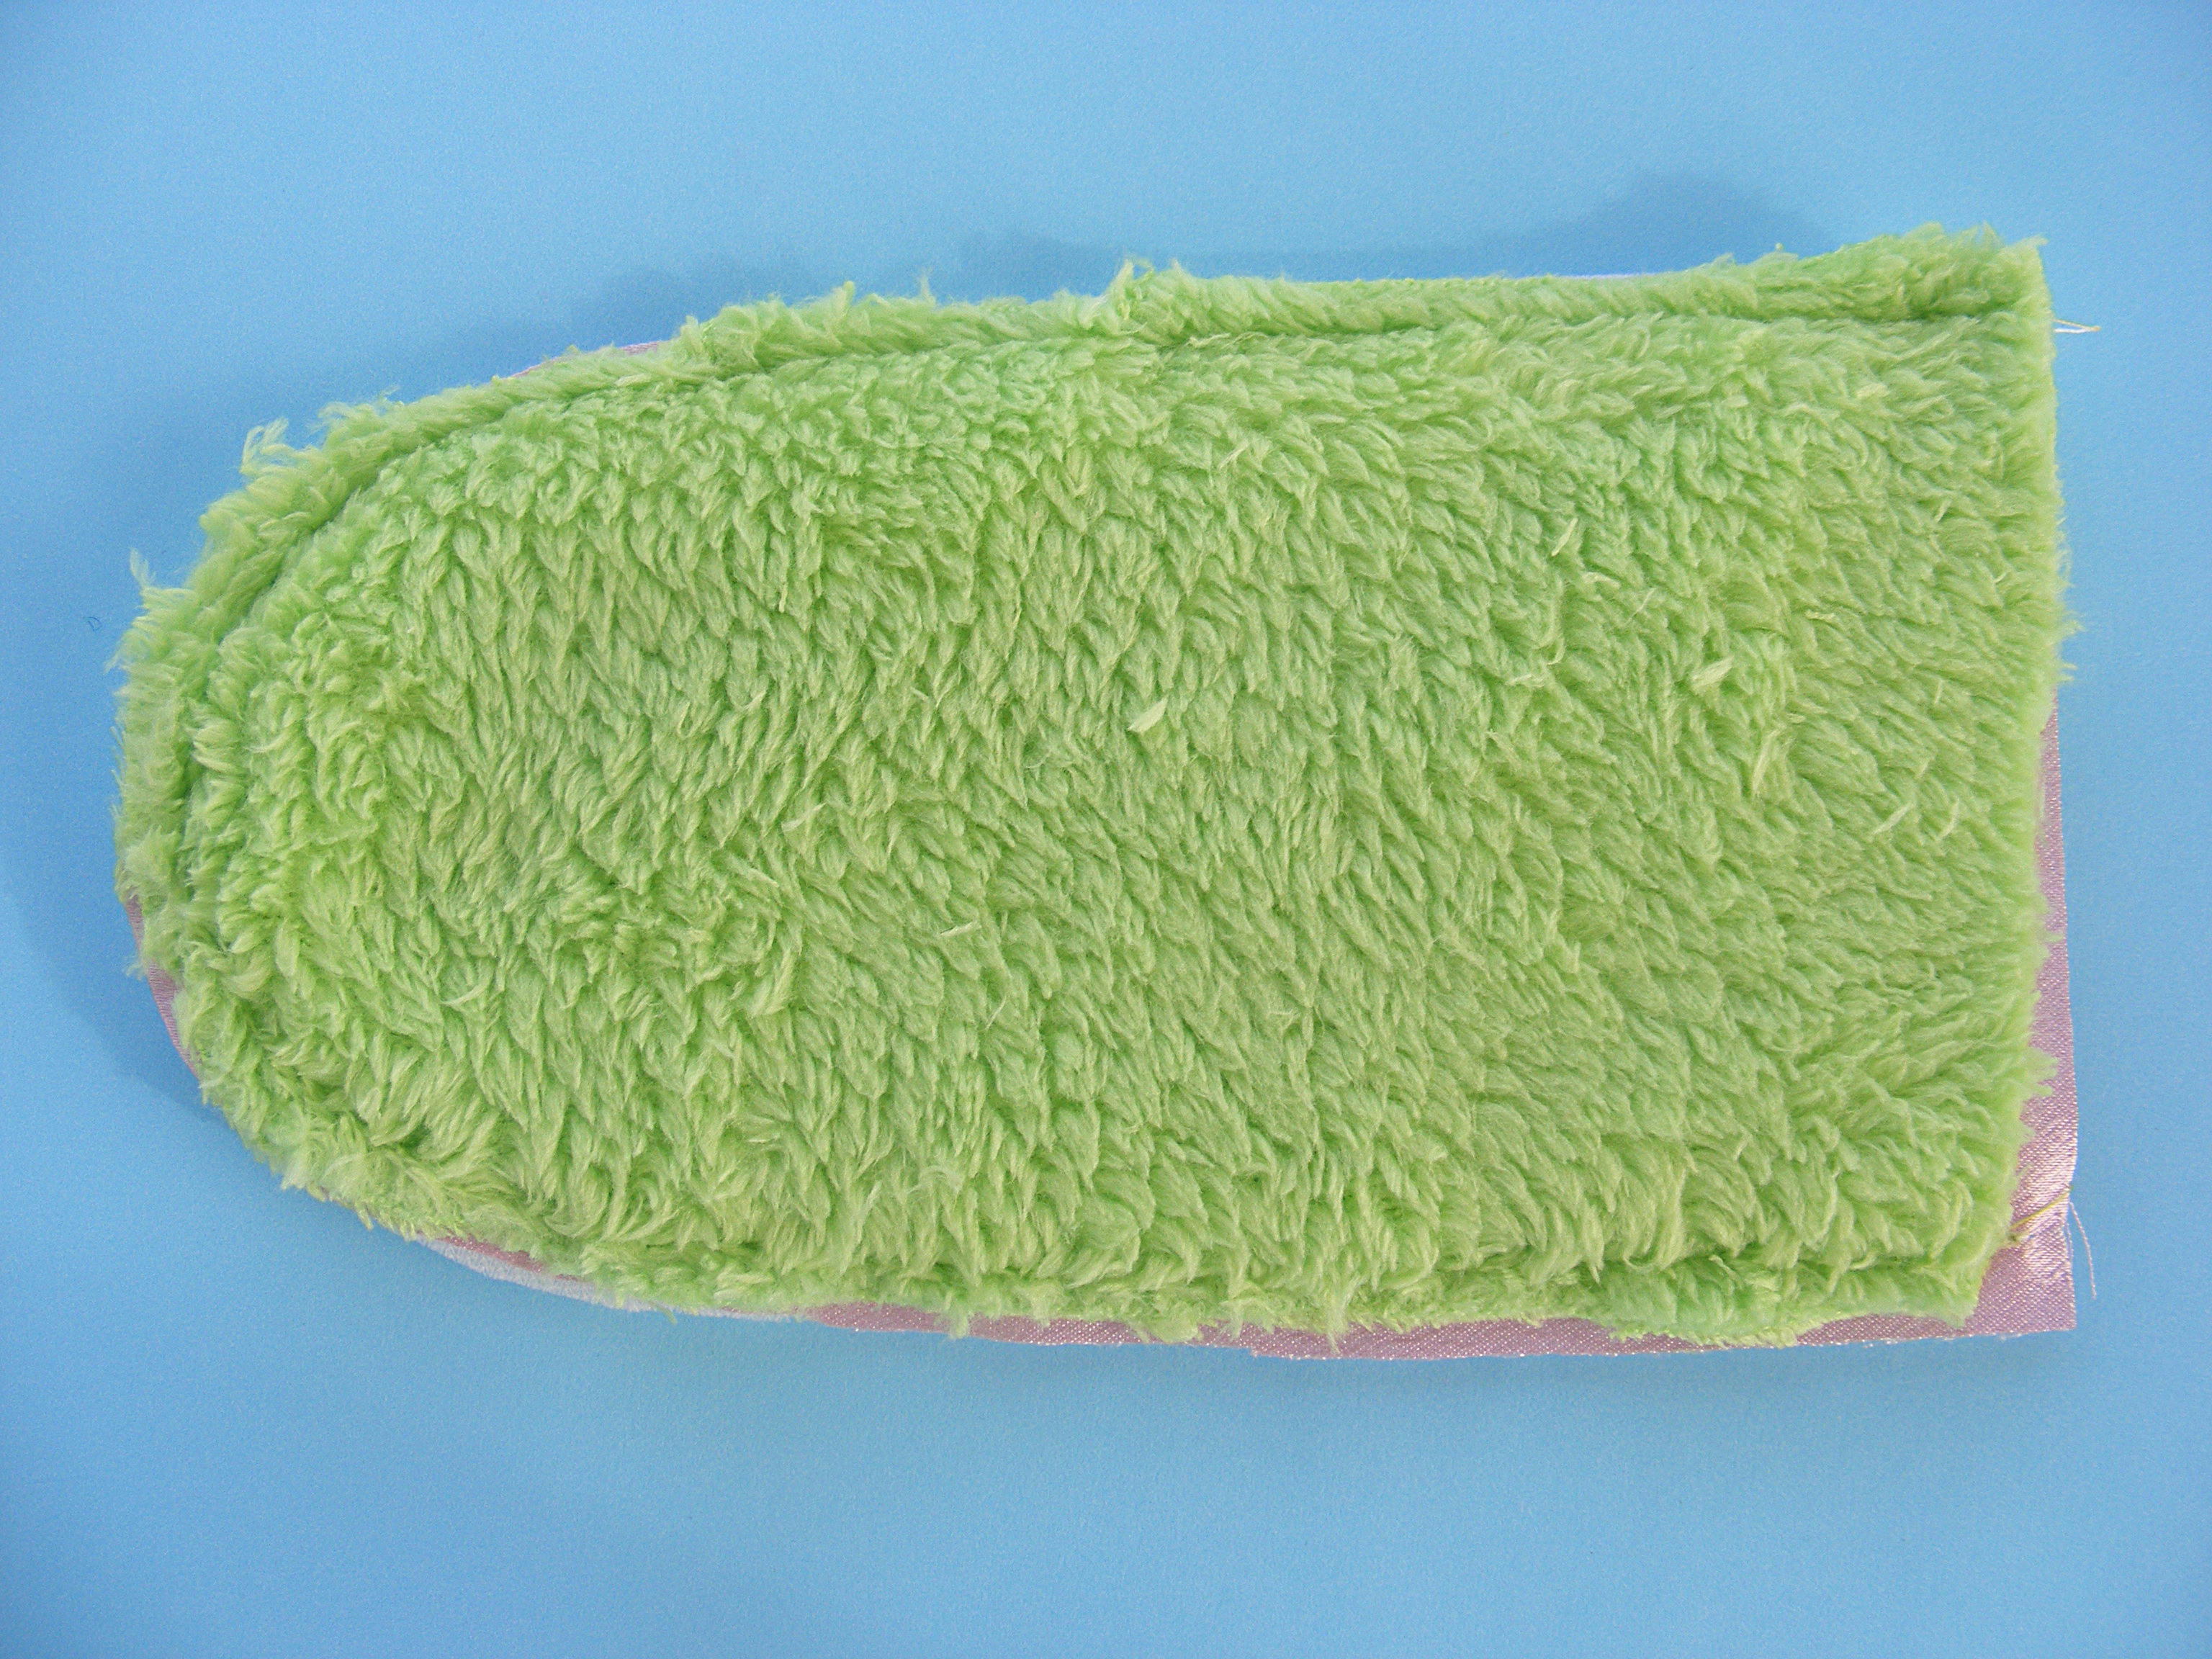
See the pink lining fabric peeking out between the green and the foam?
When you turn it right side out (I love to use turning tubes) make sure to reach in and turn between the main layer and the lining layer. That way you’ll end up with the foam between the two layers. 🙂
Done!
Now treat it just like an ear that doesn’t have the layer of foam in there.
If the pattern says to fold the sides in – that’s fine!
You can fold and sew through the foam just like batting or almost any other stabilizer. It’s beautiful stuff!
You can use the same method to add 3D parts to quilt blocks! See that tutorial here.
Happy stitching!