How to crochet with 2 colors, stranding

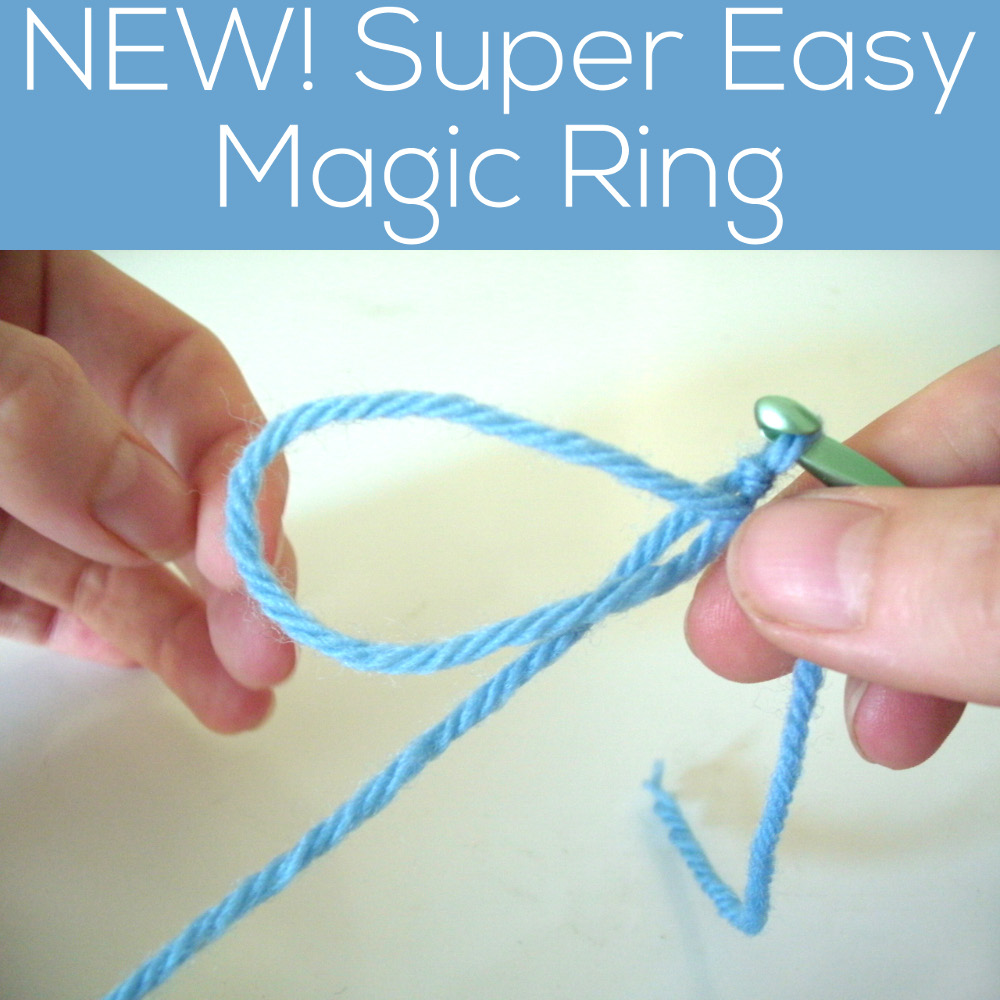
Hi everyone! On this Tip Tuesday, I’m going to talk about how to crochet with 2 (or more) colors by stranding the unused color along the back of the work. This is a great technique to use for crocheting vertical stripes, or other patterns where there aren’t many stitches between color changes. Since I know a lot of you are visual learners (and sometimes photos just aren’t enough!), I’ve filmed a video tutorial. Scroll down to see it!

Last week, I received a custom order in my Etsy shop to crochet a zebrafish, a fish with black and white stripes. I used the Wal the Tiny Fish pattern, and instead of crocheting in one color, crocheted black and white stripes.

Since these stripes are vertical (with respect to the direction of crocheting), I needed to change colors every couple of stitches. Now, you can imagine how annoying it would be to cut the yarn and tie a knot every couple of stitches to change yarn… which is why I didn’t do that! Instead, I did something called ‘stranding’, which is carrying the unused color along the back of the work. Stranding is a great technique to use anytime there aren’t more than 4 or so stitches between color changes.

Here’s how it’s done:

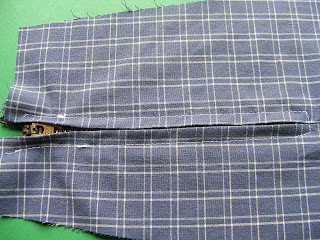
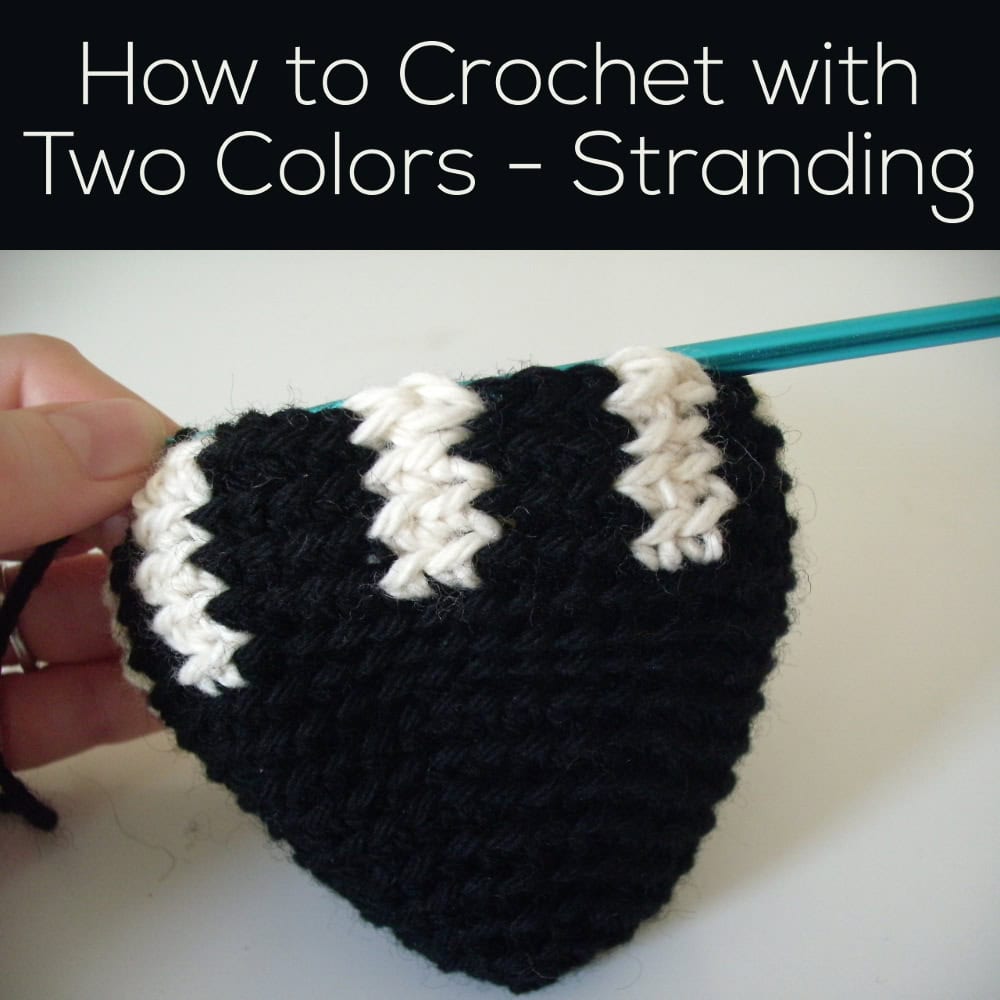
Above is what the first half of my little zebra fishie looked like! You can see that there are vertical stripes, with the white stripes 2 stitches wide and the black stripes 3 stitches wide.


Okay, now it’s time for me to change colors (I’m at the end of a black stripe). If you’re unfamiliar with how to change colors cleanly, check out my tutorial on clean color changes. Now that it’s time to use the white yarn, I pick it up (it’s dangling in the back from the last time I used it) and pull it across the back of the work.


Now, using the yarn I just picked up, I’ll begin crocheting with it!


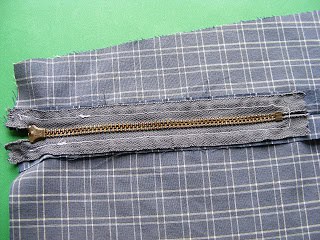
As you can see, when you look at the back of the work, you’ll have lots of little horizontal lines between each color change. Beautiful!

If you’d like to see this in action, check out my video:

As I said, this technique is best for when there aren’t too many stitches between color changes. So, what do you do when there are lots of stitches between changes, like for Nelson the Owl? I show you that in this post about working long color changes in crochet.

Vibrant handmade crochet toys and patterns from Shiny Happy World.

Here are handy links to all the posts about changing yarn color in crochet. . .

Return to the main table of contents for Let’s Learn to Crochet Amigurumi.

Move on to the lessons about crocheting stuffed animals in different sizes.

Happy stitching!

Vibrant handmade crochet toys and patterns from Shiny Happy World.

How to Frame Embroidery in a Hoop (Without Glue!) – video

I really like to frame my embroidered pieces in a hoop – you’ve seen it on several pattern covers. A couple of people have asked how I do this, so I put together a video showing you.

My husband is out of town – which means my daughter was holding the video camera. Hope you don’t mind a bit of shakiness and a couple of close-ups of the backs of my hands! πŸ™‚

I went ahead and used it because she was proud to help me and, in spite of the shakes, you could still easily follow along. I even have a spectacular failure that made me have toΒ start all overΒ – and I know how much you all like it when I leave those in!

You can find the Firefly Tree pattern here.

And if you want to hide the messy back of your stitching when you hoop-frame like this – I show you a nifty trick here.

Vibrant handmade crochet toys and patterns from Shiny Happy World.

Here are all the posts about finishing embroidery projects.

Basic Finishing

Other Ways to Use Embroidery

Return to the Learn to Embroider main Table of Contents.

Happy stitching!

Vibrant handmade crochet toys and patterns from Shiny Happy World.

New, Super-Easy Magic Ring!

NEW! Super Easy Magic Ring for Starting Amigurumi - a video tutorial from Shiny Happy World and FreshStitches

Update! If you want the easiest method for starting your amigurumi (easier than any version of the Magic Ring) try a sloppy slip knot. I started using it a few years ago and I’ll never go back to a Magic Ring.

Has the magic ring method for beginning to crochet in the round gotten you all tied up in knots? No worries! I’m going to show you a new and super-easy method for getting an adjustable (magic) ring to begin crocheting your amigurumi. First, I’ll show you in photos, but scroll down if you’d rather just watch the video!

In this technique, you begin by making a slip knot, then creating the adjustable loop. With this method, there are less loops flying around, so it’s more accessible to beginners. Who knows, it may become your favorite!

Step one: make a slip knot
Start off by getting the hook and yarn called for in your pattern.

Then, make a slip knot with about 6 inches remaining at the tail, and insert the hook into the slip knot.

Step two: make a loop
With that 6 inches you left in in the tail, make a loop, as pictured:

Step three: crochet into the loop
Pretend that GIANT loop is just one crochet stitch. Crochet into it six times (or do however many stitches called for in your pattern). To single crochet one stitch into the loop: insert your hook into the loop, wrap your yarn over the hook and pull through the loop, then wrap your yarn over your hook again and pull through the two loops on your hook! Repeat this until you’ve crocheted all of your stitches! Your piece will look like this:

Step four: pull, and you’re done!
To close up the hole, pull on the tail!

You’re done! Hooray!

If that went by too fast, have a look at the video I recorded of the technique:

I hope you found today’s post useful for demystifying the magic ring!

If not – seriously – just use the sloppy slip knot. πŸ™‚

Vibrant handmade crochet toys and patterns from Shiny Happy World.

Here are handy links to all the posts about working the first round of your crochet pattern. . .

Return to the main table of contents for Let’s Learn to Crochet Amigurumi.

Move on to the lessons for round two and beyond of your pattern.

Happy stitching!

Vibrant handmade crochet toys and patterns from Shiny Happy World.
Handmade crochet Pippi & Pippa amigurumi toys for beginners.

How to Embroider with Glow in the Dark Thread – video

How to Embroider with Glow in the Dark Thread - a video tutorial from Shiny Happy World

There are some tricks to working with Glow In The Dark embroidery thread. I show you how to make it “shine” in this video tutorial!

The embroidery pattern in the video is my Firefly Tree Embroidery pattern.

The thread I’m using in the video was from the awesome Jenny Hart at Sublime Stitching, but she doesn’t make it anymore. I’ve seen others from Sulky and DMC, but I haven’t tried them yet. They do seem less “crunchy” than what I used. πŸ™‚

Jo’s a big fan of this stuff (I think all kids love glow in the dark anything) and she’s asked me to use it on one of her nightgowns.  What will you use it for?

Vibrant handmade crochet toys and patterns from Shiny Happy World.

Here are links to all my posts about embroidery tools and supplies.

For Beginners

Specialty Fabrics

Threads

Stabilizers and Pattern Transfer Tools

Return to the Learn to Embroider main Table of Contents.

Move on to the posts about working with patterns.

Vibrant handmade crochet toys and patterns from Shiny Happy World.

Finding yarn stores in Bermuda

As many of you know, last week, I went on a fabulous cruise to Bermuda! And as with anywhere I travel, I’m on the hunt for yarn stores, with locally-crafted or somehow unique fine yarns as my ultimate goal.

I’ll skip to the chase: you’re not going to find any beautifully-crafted lovely yarn in Bermuda (or, if you do, please let me know, because you deserve a sleuth-award!). However, I found three places to buy yarn (big-box store brands like Lion Brand, Red Heart and Patons), and I found visiting these shops to be revealing about Bermudans and their yarn culture. And isn’t that what traveling is about?

The research

Before I set out, I always do a bit of research… I google for yarn stores (isn’t that how we find everything, these days?), I check Knitmap.com for listings, and check out the LYSs listed in Ravelry. Not much popped up on the radar.

After lots of poking around, I found one blog post mentioning a yarn store in St. George’s, Bermuda and one forum post mentioning a department store that had a yarn/fabrics department. So, off I went!

Gibbons
Location: 21 Reid Street, Hamilton, Bermuda

Gibbons is a brightly-colored (as are most buildings in Bermuda) department store in Hamilton, Bermuda. The city isn’t very big, so if you’re ‘in town’ (as the Bermudans say), you’ll be within a couple blocks of the store. It’s one street off of the main shopping street (Front Street).

Head downstairs, and you’ll find that about a third of the lower level is dedicated to crafts, yarn and fabrics.

The yarn selection contains a fair bit of what you would expect to find in a JoAnn’s in the US: Red Heart and a variety of acrylics. Because it’s so warm in Bermuda, there’s not a large selection of wools.

Like the buildings, you won’t have any trouble finding a selection of great, bright colors! And, you’ll certainly find a selection of crochet hooks, needles and pattern books at Gibbons… everything you’d need for a project!

Betty’s Needle Crafts
Location: 17 Duke of York St, St. George’s, Bermuda

I stumbled upon Betty’s while walking around in St. George’s… it had eluded me in my pre-vacation internet search. Inside, it was a quaint (read: sorta crowded, sorta old-skool knitting) yarn shop that also contained some additional crafting materials, like sequins and the like.

There wasn’t a table to sit & knit, so I got the feeling it was a ‘stop and pick up your yarn’ sort-of shop.

Needles Etc
Location: 22 Clarence St, St. George’s, Bermuda

I had found Needles Etc online during my research, but unfortunately, they were closed when I arrived (at about 11am on a Wednesday… the store hours didn’t help to clarify the situation). I grabbed some photos from the window:


The store looked really beautiful, clean and bright (well… would have been if the lights were on), and I think it would be my favorite spot of all the yarn shops I found. I spotted some Paton’s yarn, but because I couldn’t go inside, I didn’t get a good survey of what other brands they carried.

And, in the Commonwealth tradition of yarn shops, they carried needlepoint/cross-stitch as well as crochet/knitting supplies.

Funniest Product Award

I also found a product that made me giggle (especially since I’m an amigurumi-lover…

So, you can have a knitted amigurumi creation without any actual knitting! *giggle*

What do Bermudans do with all that yarn?
Safe to say that the knitting/crochet tradition in Bermuda isn’t the same as in the US… but they do something utterly fabulous with all those bright colors of acrylic yarn!

Bermuda is home to the tradition of Gombeys, a dance that dates back to African slaves who were moved to the island. They dance and wear fantastic bright costumes…

… which wouldn’t be complete without yarn-fringe!


Aren’t they fantastic?!?

Of course, I don’t mean to imply that Bermudans don’t knit or crochet… they do (I’ve seen them on Ravelry, and I saw knitted and crocheted finished items for sale in the Bermuda Craft Market in King’s Wharf, Bermuda. But, the Gombeys really stand out as being different!

Have I said that I love traveling?

A Question About Scissors

Michelle Erfurt wrote in with a question about her scissors. . .

I’m having an issue with a pair of my scissors and I’m hoping you can help. They are becoming difficult to open/close and are even starting to squeak a little. Otherwise they are cutting fine. What do I do?

It took me a while to answer this because I had to wait for my next trip to the Farmer’s Market, where I asked the guy who sharpens my knives.

He doesn’t sharpen my scissors because (for my main cutting shears) I buy cheap scissors that aren’t worth sharpening. My routine is to buy new scissors about once a year. My old scissors become my paper scissors, and my old paper scissors move to the kitchen, the garden, or the toolbox. You can read more about The Great Scissor Rotation here.

He told me it sounded like you have something caught up in the joint between the two blades – maybe some thread or some gunk from cutting something with a residue on it? Are your scissors joined together with a screw? If yes, this will be an easy fix. Take them apart and give them a good cleaning. If there’s gunk, use some fine steel wool to help clean it out. Put them back together and adjust the screw so that you can hear the blades working against each other for the whole length. He said that action actually helps keep them sharp – the blades sharpen each other if everything is lined up right.

If you can’t take the blades apart, it’s going to be harder – but you need to do the same thing. Clean out anything that might be wedged in the joint. He suggested a steel brush to get in the crack, or running a fine wire around the joint like dental floss, trying to work out anything in there. He also thought you might need to spray it really heavily with WD40. Let the stuff sit for a while to dissolve any gunk, then work the blades and brush or floss out anything you can.

If you end up using WD40, don’t forget to really clean that oil off before cutting good fabric. He suggested cutting through something really absorbent (like flannel) several times to make sure every trace of the oil is gone.

Does anyone else have any suggestions for Michelle?

Help! Crocheting in the back loop is too hard!

Today’s tip is inspired by a customer question!

Recently, I received this email from Nicole:

I saw that your recommend stitching in the back and it looks a lot nicer. I can do it but it is very difficult. I find it very hard to get my hook into that stitch. For some reason that back stitch is very tight. Is that normal? Is there a trick? Thanks appreciate any insight you have.

After some further emails, Nicole and I figured out that she wasn’t actually crocheting in ‘the back loop’, but picking up a loop that is even further back, and quite tricky to grab!

I’ve written blog posts about crocheting through the back loop before, but I haven’t taken up-close photos to help you figure out which loop is the back loop! So, here it is!

If we’re working in the round, we’ll have the piece below after the 3rd round.

The back loop is the loop that I’ve highlighted with a blue line:

As you can see, when you’re looking at your work, it’s right along the top of the piece, and should be relatively easy to stick your crochet hook into.

Now, what was that tricky loop that was giving Nicole trouble? Let’s look at our crochet from the side to find it… so we’ll rotate our piece a bit…

Then, a little more, until we can see the piece from the side:

If you look at your crochet from this angle, you can see that there is another loop back there, which I’ve highlighted with a blue line:

This is the loop giving Nicole all of her trouble!

So, to crochet through the back loop, go for the easy one shown in the first photos, instead of that super-tricky loop on the side. Then, you’ll be crocheting with ease!

Thanks so much for your question, Nicole!

Vibrant handmade crochet toys and patterns from Shiny Happy World.

Here are handy links to all the crochet troubleshooting posts. . .

Return to the main table of contents for Let’s Learn to Crochet Amigurumi.

Happy stitching!

Vibrant handmade crochet toys and patterns from Shiny Happy World.
Handmade crochet Pippi & Pippa amigurumi toys for beginners.

How to Sew a Zipper in a Seam – video

How to sew a Zipper in a Seam - a video tutorial from Shiny Happy World

I didn’t try using zippers for a LONG time because I thought they’d be too hard. Looking back, it’s astonishing to me how many things I avoided because I thought they’d be too hard. Seriously – how long did I think I could make clothing without using any closures? And then when I did venture into closures – I tried sew-on snaps (Yuck! What a pain!) and velcro. Velcro! Anyway – when I finally learned out how to sew in a zipper I couldn’t believe how easy it was. It’s three straight lines and some work with a seam ripper. Don’t believe me? Watch the video. You’ll be putting zippers into everything you sew.

I never pulled back in the video to give you a shot of the finished zipper, with all the loose threads cleaned up and the tape pulled off the back. (Yes, tape. Watch the video and you’ll see.) Here’s the front. . .

Zipper sewn into plaid fabric for sewing projects.

. . . and here’s the back.

Garment with brass zipper on checked fabric, sewing project fabric.

This zipper is kind of hidden behind two flaps of fabric. If you want your zipper to be visible, take a look at this video instead.

Happy sewing!

Best,
Wendi
Applique Wendi (with fabulous hat)

How to Fasten Off Thread on the Back of Your Embroidery – video

How to tie off the tail of your thread on the back of your embroidery - video tutorial

So – one of the very first videos I made showed how to tie a knot in your thread, for sewing or embroidery. A reader recently asked me how I knot off the thread on the back of my embroidery. Good question! Here’s the answer.

That’s the back side of my Firefly Tree embroidery pattern you see me working on. πŸ™‚

Vibrant handmade crochet toys and patterns from Shiny Happy World.

Here are all my posts about knots.

Before you knot that thread you need to know how much to use, so here’s one more post that doesn’t really have a better place to live. πŸ™‚ How Many Strands of Thread Should I Use?

Return to the Learn to Embroider main Table of Contents.

Move on to the lessons for the four most basic embroidery stitches.

Vibrant handmade crochet toys and patterns from Shiny Happy World.

5,4,3,2,1 Things About Me

Makezine has a really fun series of profiles using a 5,4,3,2,1 format and Wild Olive invited her readers to join in. And now Makezine has invited everyone to join in. So here goes. . .

Wendi Gratz from Shiny Happy World with her first quilt

One Project You Are Particularly Proud Of

1: My very first quilt. I had almost no sewing experience at that point and I designed this enormous quilt with insane needle-turned applique letters and hand quilting. I figured it out as I went along (this was – ahem – before the internet) and just took it one step at a time. And it turned out fine! That experience really informed what I do now – I think beginners can tackle just about anything if they take it one step at a time. The most important thing is to make something you’re excited about making.

Two Mistakes You’ve Made in the Past

1: Not studying art in college. I was a good student and good students don’t go to art school, right? Plus, I thought that artists were painters and I’ve always been intimidated by painting. I wish I had known back then just how many different careers there are for artists.

2: Doing too much production work in the first iteration of Shiny Happy World. For me the joy is in the designing, figuring out the kinks, making the construction as simple as possible to achieve the look I want. Once I figure all that out, assembly-line construction of 100 bunnies isn’t much fun – though they look cute all stacked up. πŸ™‚

Colorful fabric and towel stack with cute smiley face, perfect for crafting and sewing projects.

Three Things That Make Your Work Unique

1: There’s a deliberate asymmetry and hand-drawn quality to all my designs that I think (hope) gives them personality and charm.

2: My color choices might look wild, but I actually have a very specific palette of bright, true colors I go to again and again.

3: Almost everything I do is designed to be made by beginners.

Four Tools You Love to Use

1: Needle and thread. I LOVE sewing and quilting by hand.

2: My Pfaff sewing machine with built-in walking foot.

3: My extra large cutting mat.

4: My extra-wide ironing board.

Five Inspirations

1: The Muppets

2: Ed Emberley

3: Eric Carle

4: Lauren Child

5: vintage toys (especially Fisher Price Little People)

Want to join in? Post your own profile 5,4,3,2,1-style and put a link in the comments so we can all read it!

Best,
Wendi

Applique Wendi (with fabulous hat)

SHARE THIS