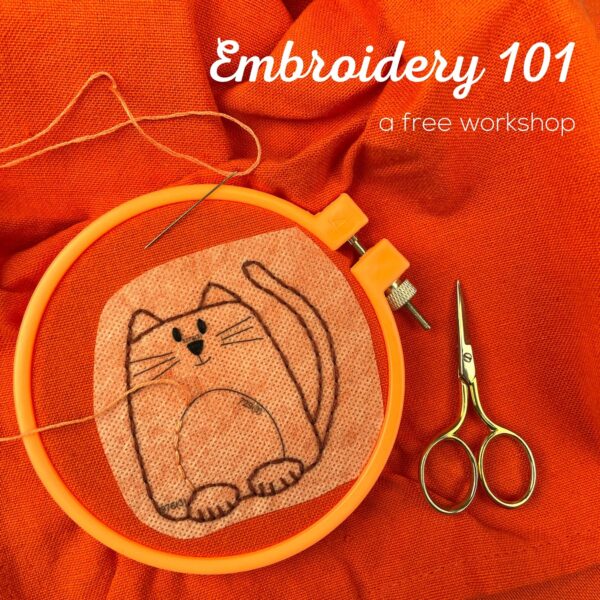
Embroidery is a fabulous craft – inexpensive, portable, and as easy or complicated as you want to make it.
I’ve organized here all the embroidery tutorials on Shiny Happy World into groups that walk you through every step of the process – from choosing materials to transferring your pattern, lots of different stitches, and suggestions for finishing and displaying your work. Think of this page as the table of contents linking out to all the info you’ll need.
If you’re just getting started, you’ll be able to work systematically through these posts with any Shiny Happy World pattern. So jump right in!
Each of these links will take you to a page with more info on that topic – usually including links to other pages with more detailed info and tutorials.
Each of those pages will have suggested links to keep moving you through the lessons. There will also always be a link back to this – the main Learn to Embroider page – so you can refer back to the main Table of Contents as needed and jump to any topic you like.
Here are several free patterns that work with just some simple resizing. This post about making coasters has info about resizing an applique pattern that can be applied to any of these projects.
Once you have your quilt top all sewn together, it’s time to finish your quilt. At this point it’s just like finishing a traditionally-constructed quilt.
Here are all my posts about layering and basting your quilt, and the final round of quilting.
Here are all my posts about hand quilting and Big Stitch quilting. I don’t use these techniques with fusible applique or Quilt As You Go, but I LOVE using Big Stitch Quilting with my cheater fabric.
This is my favorite part! I love seeing all the cute animals and faces come to life!
Here are links to all the posts showing how to applique with fusible adhesive – my favorite method. It’s fast and easy and (with the right materials) it holds up beautifully to rough use and repeated washing.
I like to quilt my blocks before I add applique. It makes the process so easy and fun! Just zoom back and forth on the sewing machine and you’re done. 🙂
Some people prefer to applique first and then quilt around it – that’s fine too! The quilting lines CAN show through the applique pieces – especially if you’re appliqueing with a light-colored or solid fabric.
All of my applique quilts except Paper Dolls are built on a 10″ finished square block. The Dinosaurs quilt has the option of making special two-color landscape blocks.
If you’re making Paper Dolls, follow that pattern’s instructions for cutting your blocks.
If you’re making Dinosaurs and want to use the landscape blocks, get those instructions here.
For everything else, cut your main squares 11 inches. That doesn’t have to be a perfect cut, it just needs to be bigger than 10 1/2″ square, because that’s the size you’ll trim down to after you finish your applique and quilting.
If your quilt includes half blocks (like the word blocks in Beep Beep or Noisy Farm) cut those 6 inches x 11 inches.
If your quilt includes double blocks (like in Sea Creatures) cut those blocks 11 inches x 21 inches.
Cut a piece of batting the same size for each block. Again – this doesn’t have to be exact. I often cut my batting just a smidge bigger than my background fabric. I like being able to see it all the way around when I layer the pieces together.
You do not need to prewash your batting, but I recommend pressing your squares (with steam) and letting them cool before layering them with your fabric.
Layer a square of fabric over the batting, quilt those two layers together (no backing!), then press them again (with steam) and set them aside to wait for applique.
Here are links to all the posts about cutting your blocks.