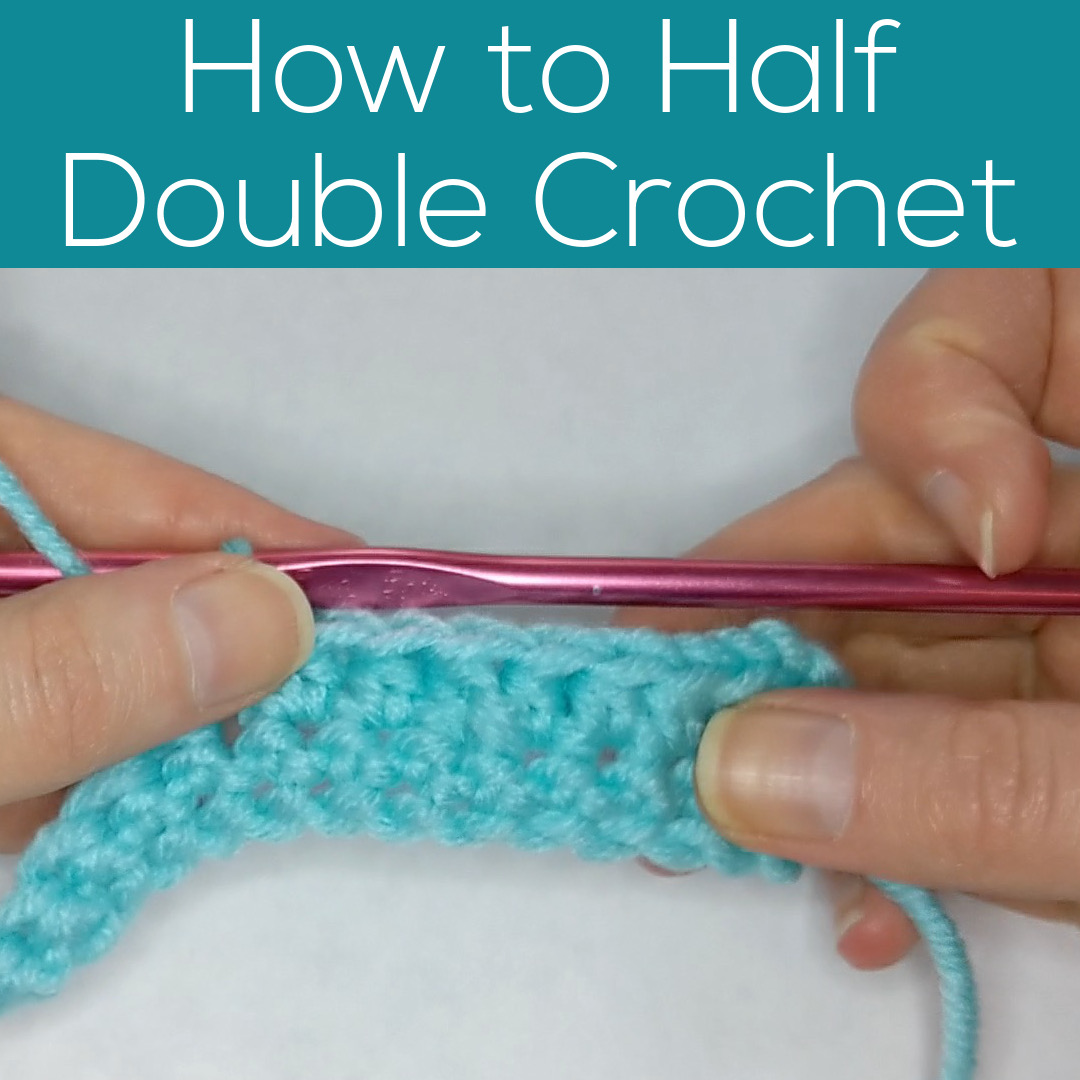
It’s easy to do, a little taller than single crochet.
It’s great for hats and afghans – but we don’t use it very often for amigurumi. Ami are mostly single crochet.
So why am I posting it here?
Well, next month’s Ami Club pattern uses a tiny bit of double crochet, so I wanted to make sure to have a double crochet tutorial video ready on the blog.
And it’s kind of silly to teach double crochet without teaching half double crochet first, so here’s a half double crochet video!
Just a heads up for our friends across the pond – this stitch is called half treble crochet in British patterns. I don’t know why. 🙂
Here are handy links to all the posts teaching the basic crochet stitches. . .
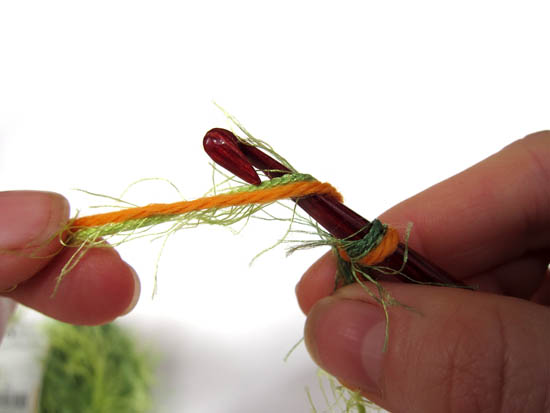
I’ve used eyelash yarn on exactly one project before.
The process was so awful that I didn’t pick up my crochet hooks again for a year.
Yes – I hated it that much. The finished result was adorable – but I couldn’t see my stitches while I was working. I couldn’t even find my loop again if my hook fell out!
That project was just using eyelash yarn on the bottom border of a toddler dress – straight crochet with no shaping. The thought of using the stuff to crochet an amigurumi was unthinkable.
Except that I’ve been thinking about it for a few years. 🙂
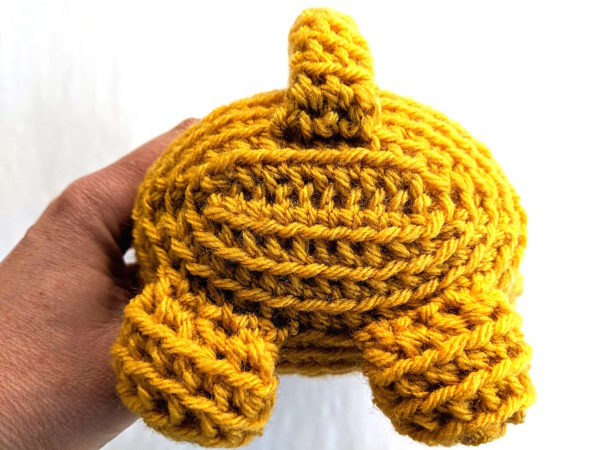
You see, I had this idea for a little hedgehog. A really cute little hedgehog with soft prickles made of eyelash yarn.
For years I set the idea aside because – eyelash yarn! *shudders*
Counting stitches? Increasing and decreasing? With eyelash yarn?
Nope. Nope. Nope.
But I kept coming back to it and thinking there has to be a way to crochet with this stuff without going crazy.
I looked at all the tutorials. Most of them suggest crocheting it together with a smooth yarn to help you see your stitches, like this. . .
That’s what I did on the dress, and while that made the project possible, it wasn’t even a little bit fun.
I think this suggestion works a lot better for knitting, where the knitting needle tells you right where your stitch is.
Some of the tutorials suggested using a bigger hook. I tried that and it was still impossible to see the stitches. The thought of counting rows and doing increases and decreases was not going to happen.
Inconceivably – The Internet was no help.
So I got out some yarns and hooks and started to play.
And I came up with a solution!
At one point I was thinking about Turkey work embroidery (that’s the stitch I used to make the mane on this lion) and how the finished effect is similar to what I was trying to achieve with this yarn. For Turkey work on stuffed animals you make the animal first and then embroider onto the surface.
That’s it!
Instead of crocheting the actual body of the project with the eyelash yarn – where you have to be accurate with your counts and it’s really important to be able to see your stitches – I decided to crochet the body with smooth yarn and then surface crochet the prickles on top of that using eyelash yarn.
It worked!
Not only was it painless – it was fun! And easier and faster than Turkey work embroidery, for what it’s worth. 🙂
Here’s how.
Now you can add furry yarn to any crochet project! Just make the body first in regular yarn and then add the fur later.
And – it works with other specialty yarns too! I used it with a bouclé yarn to make the fuzzy pajamas that Pippa Puppy is wearing.
Handy dandy links. . .
I tried a few different yarns, and by far my favorite was Lion Brand Fun Fur. My Joann’s had a pretty limited selection of colors, but if you buy online directly from Lion Brand you can get the full range. Look at all the fun colors!
That hedgehog I show in the video is a great pattern to start with – very simple and fast to make. Get the pattern here.
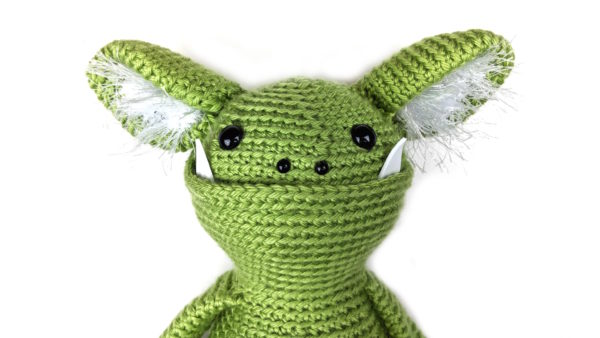
You can also use this method to add little accents using eyelash yarn – like Maxwell Monster‘s hairy ears.
I can’t wait to see what you make!
Happy stitching!
Here are handy links to all the posts about yarn. . .
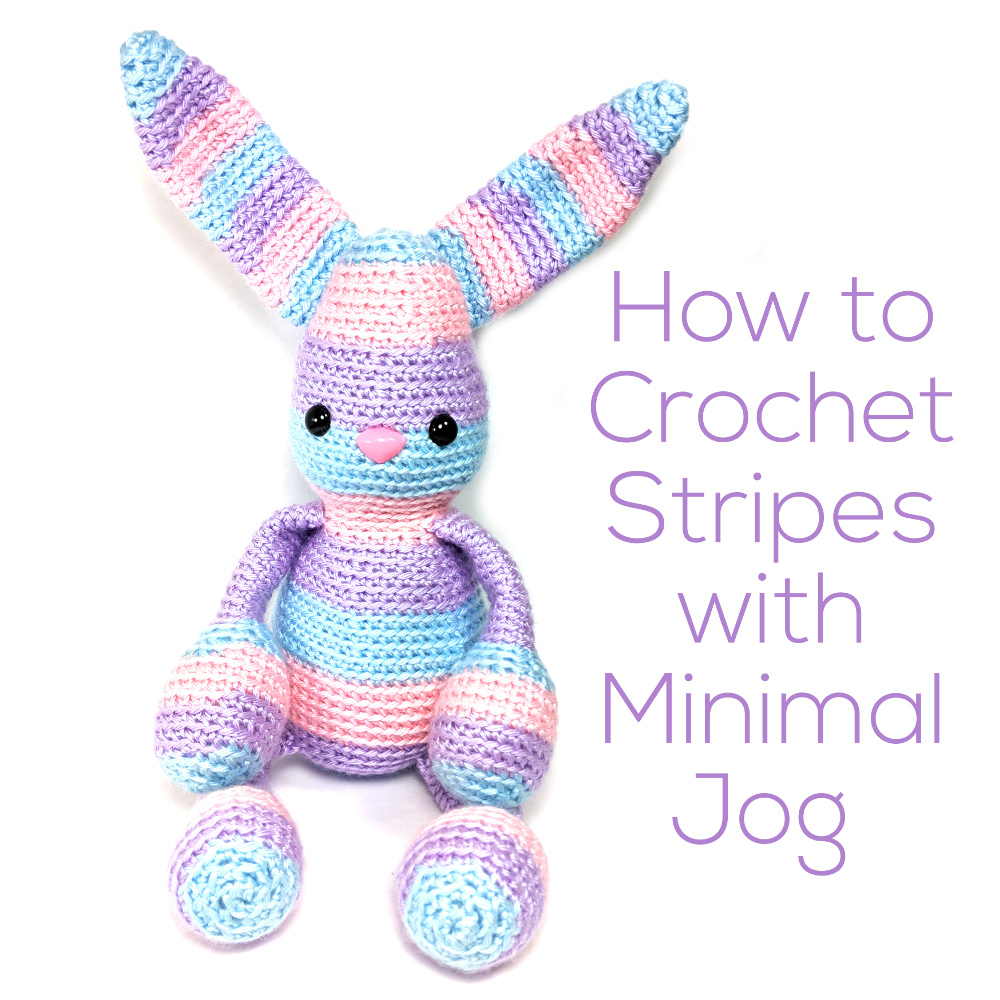
Crocheted stripes, sewn stripes, quilted stripes, embroidered stripes, sewing with striped fabric – I love it all!
When you change color in crochet, it leaves an abrupt step between the colors. That’s called a jog.
Most of the time that doesn’t bother me at all, but sometimes I want to make it smoother. There are a lot of ways to do that – including some pretty crazy complex methods – but I’ve found a very simple method that’s super easy. It’s not perfect, but it smooths that abrupt step between crocheted stripes into a gentle ramp. Much better!
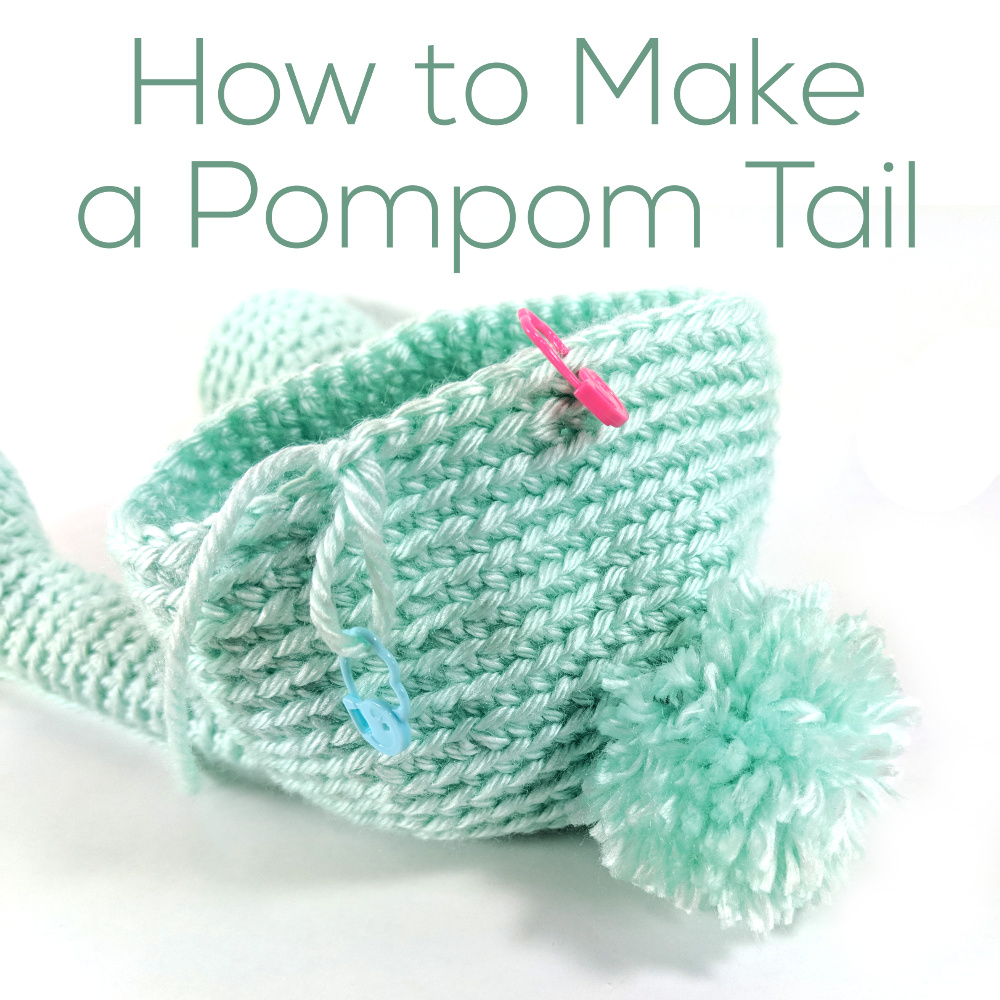
We’re hopping into spring – which means it’s a useful time to know how to make a quick and easy pompom tail. 🙂
There are lots of great pompom tools out there (I especially love this adorable llama-themed one from Betz White) but sometimes you just have your hands and a pair of scissors on hand. That’s all you need for this method. 🙂
Be super careful not to cut those long tails! You saw how useful they are for attaching your bunny tail. 🙂
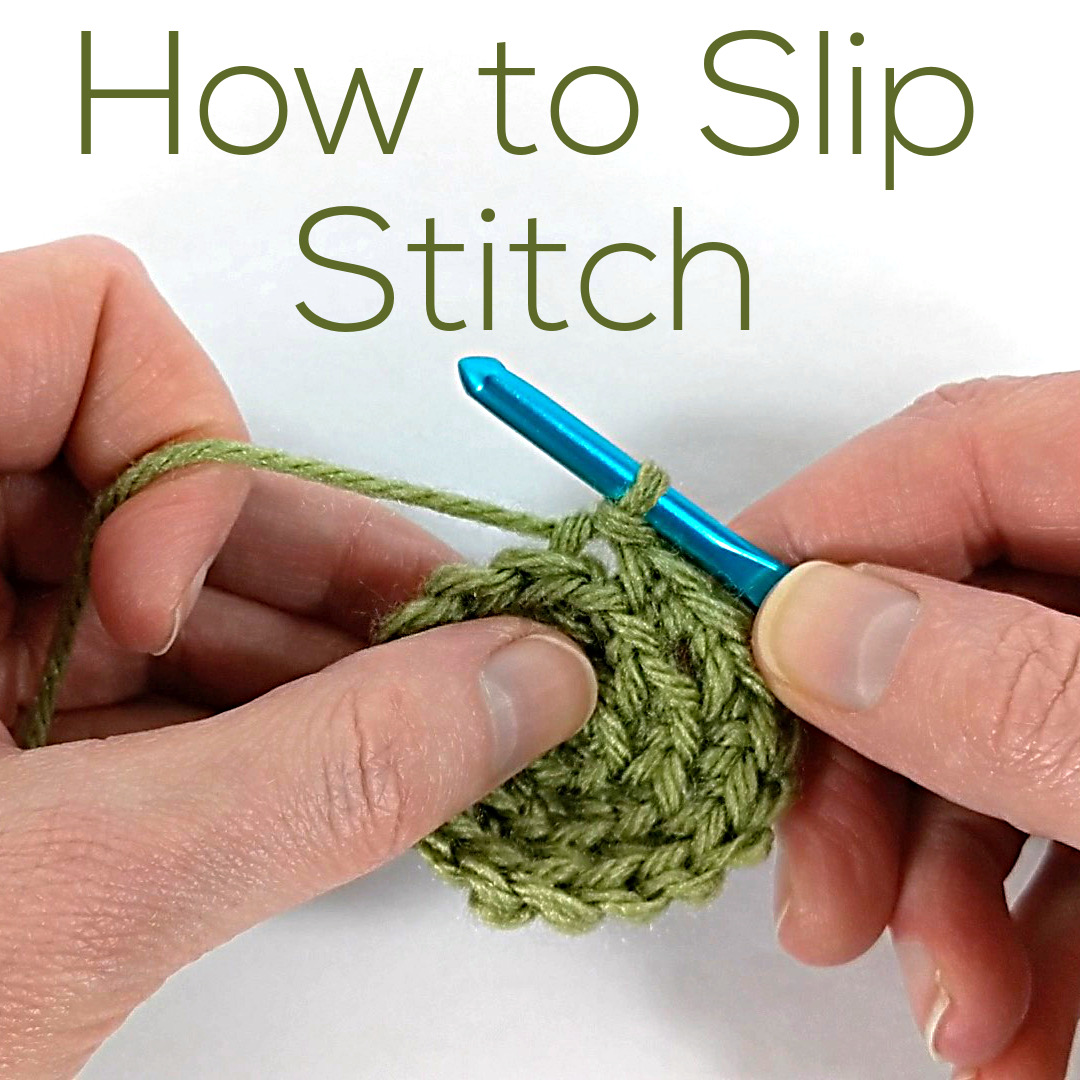
Slip stitch is a really easy – and very handy – stitch to have in your toolbox.
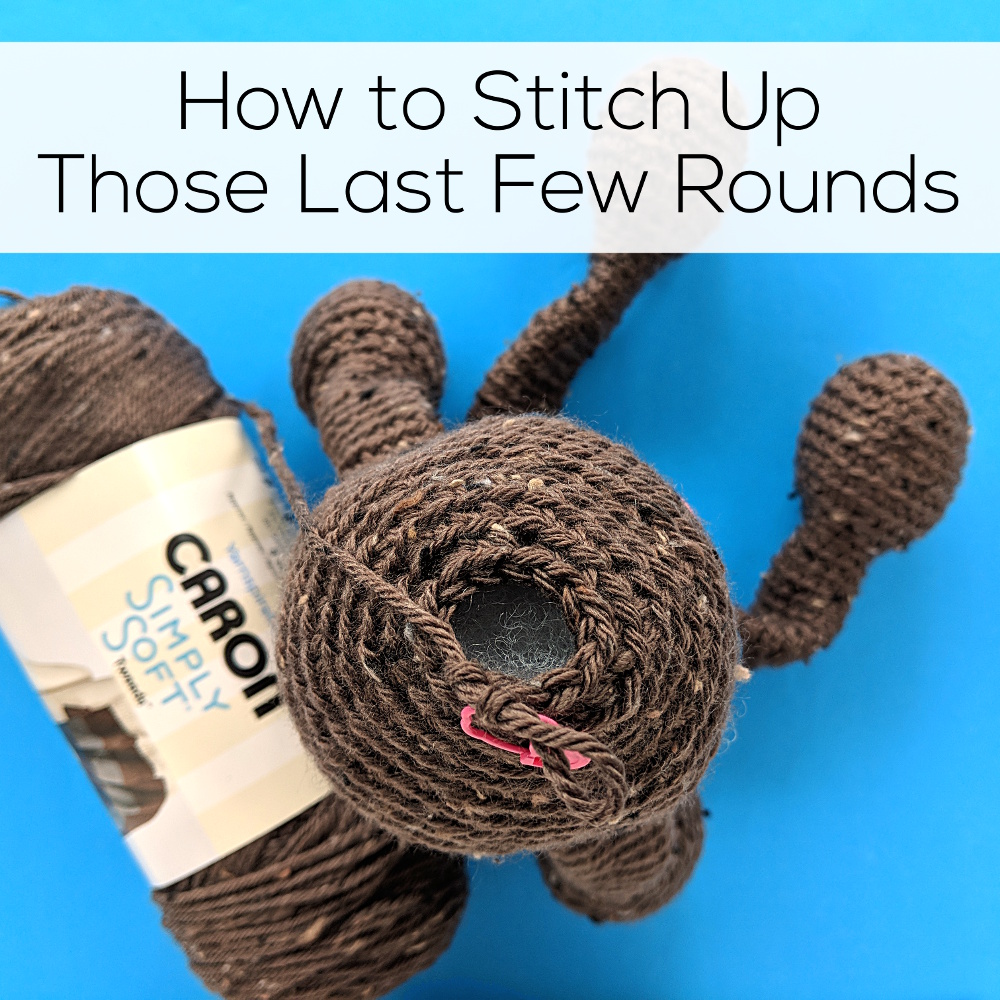
It’s one way to close up the very final tiny hole in the top of an amigurumi.
I also use it any time I want to shift from the “step” of a single crochet stitch, to a more gradual “ramp.” You’ll see what I mean in the video – and also how to do it. 🙂
See how easy that is?
Here are handy links to all the posts teaching the basic crochet stitches. . .
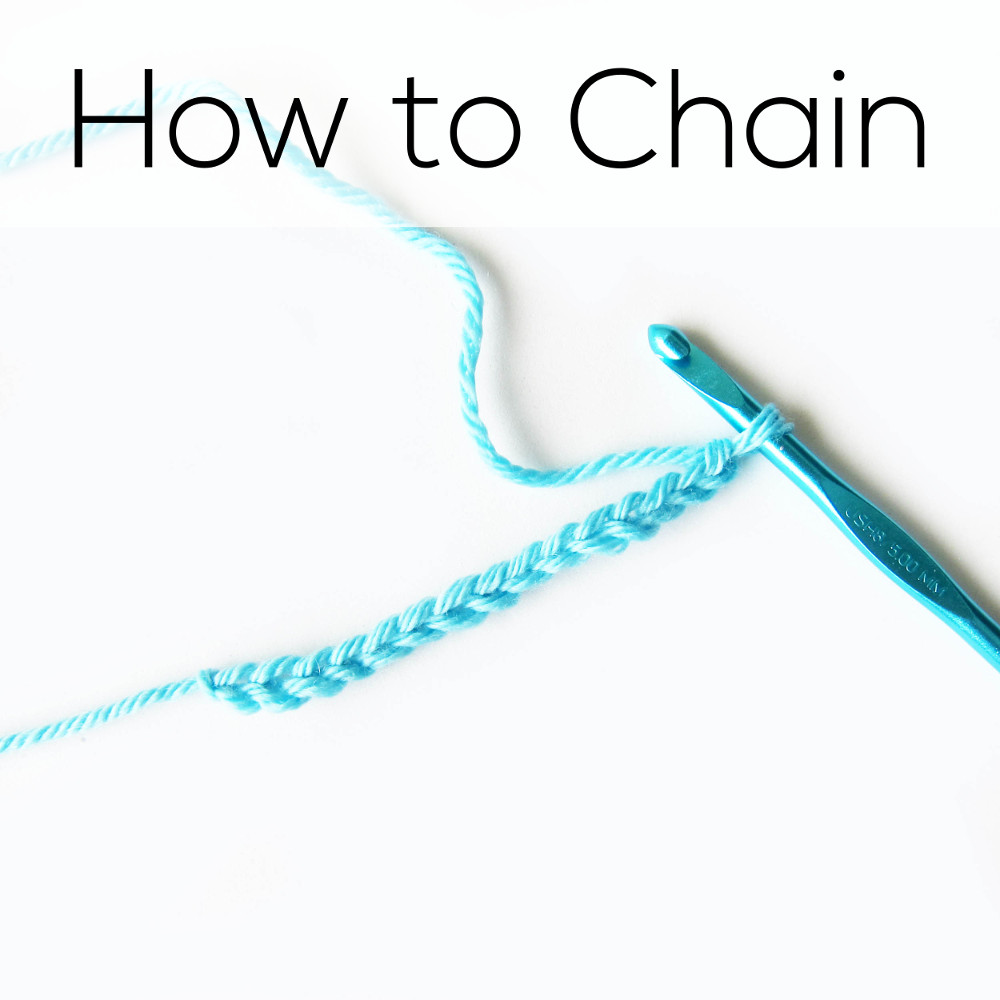
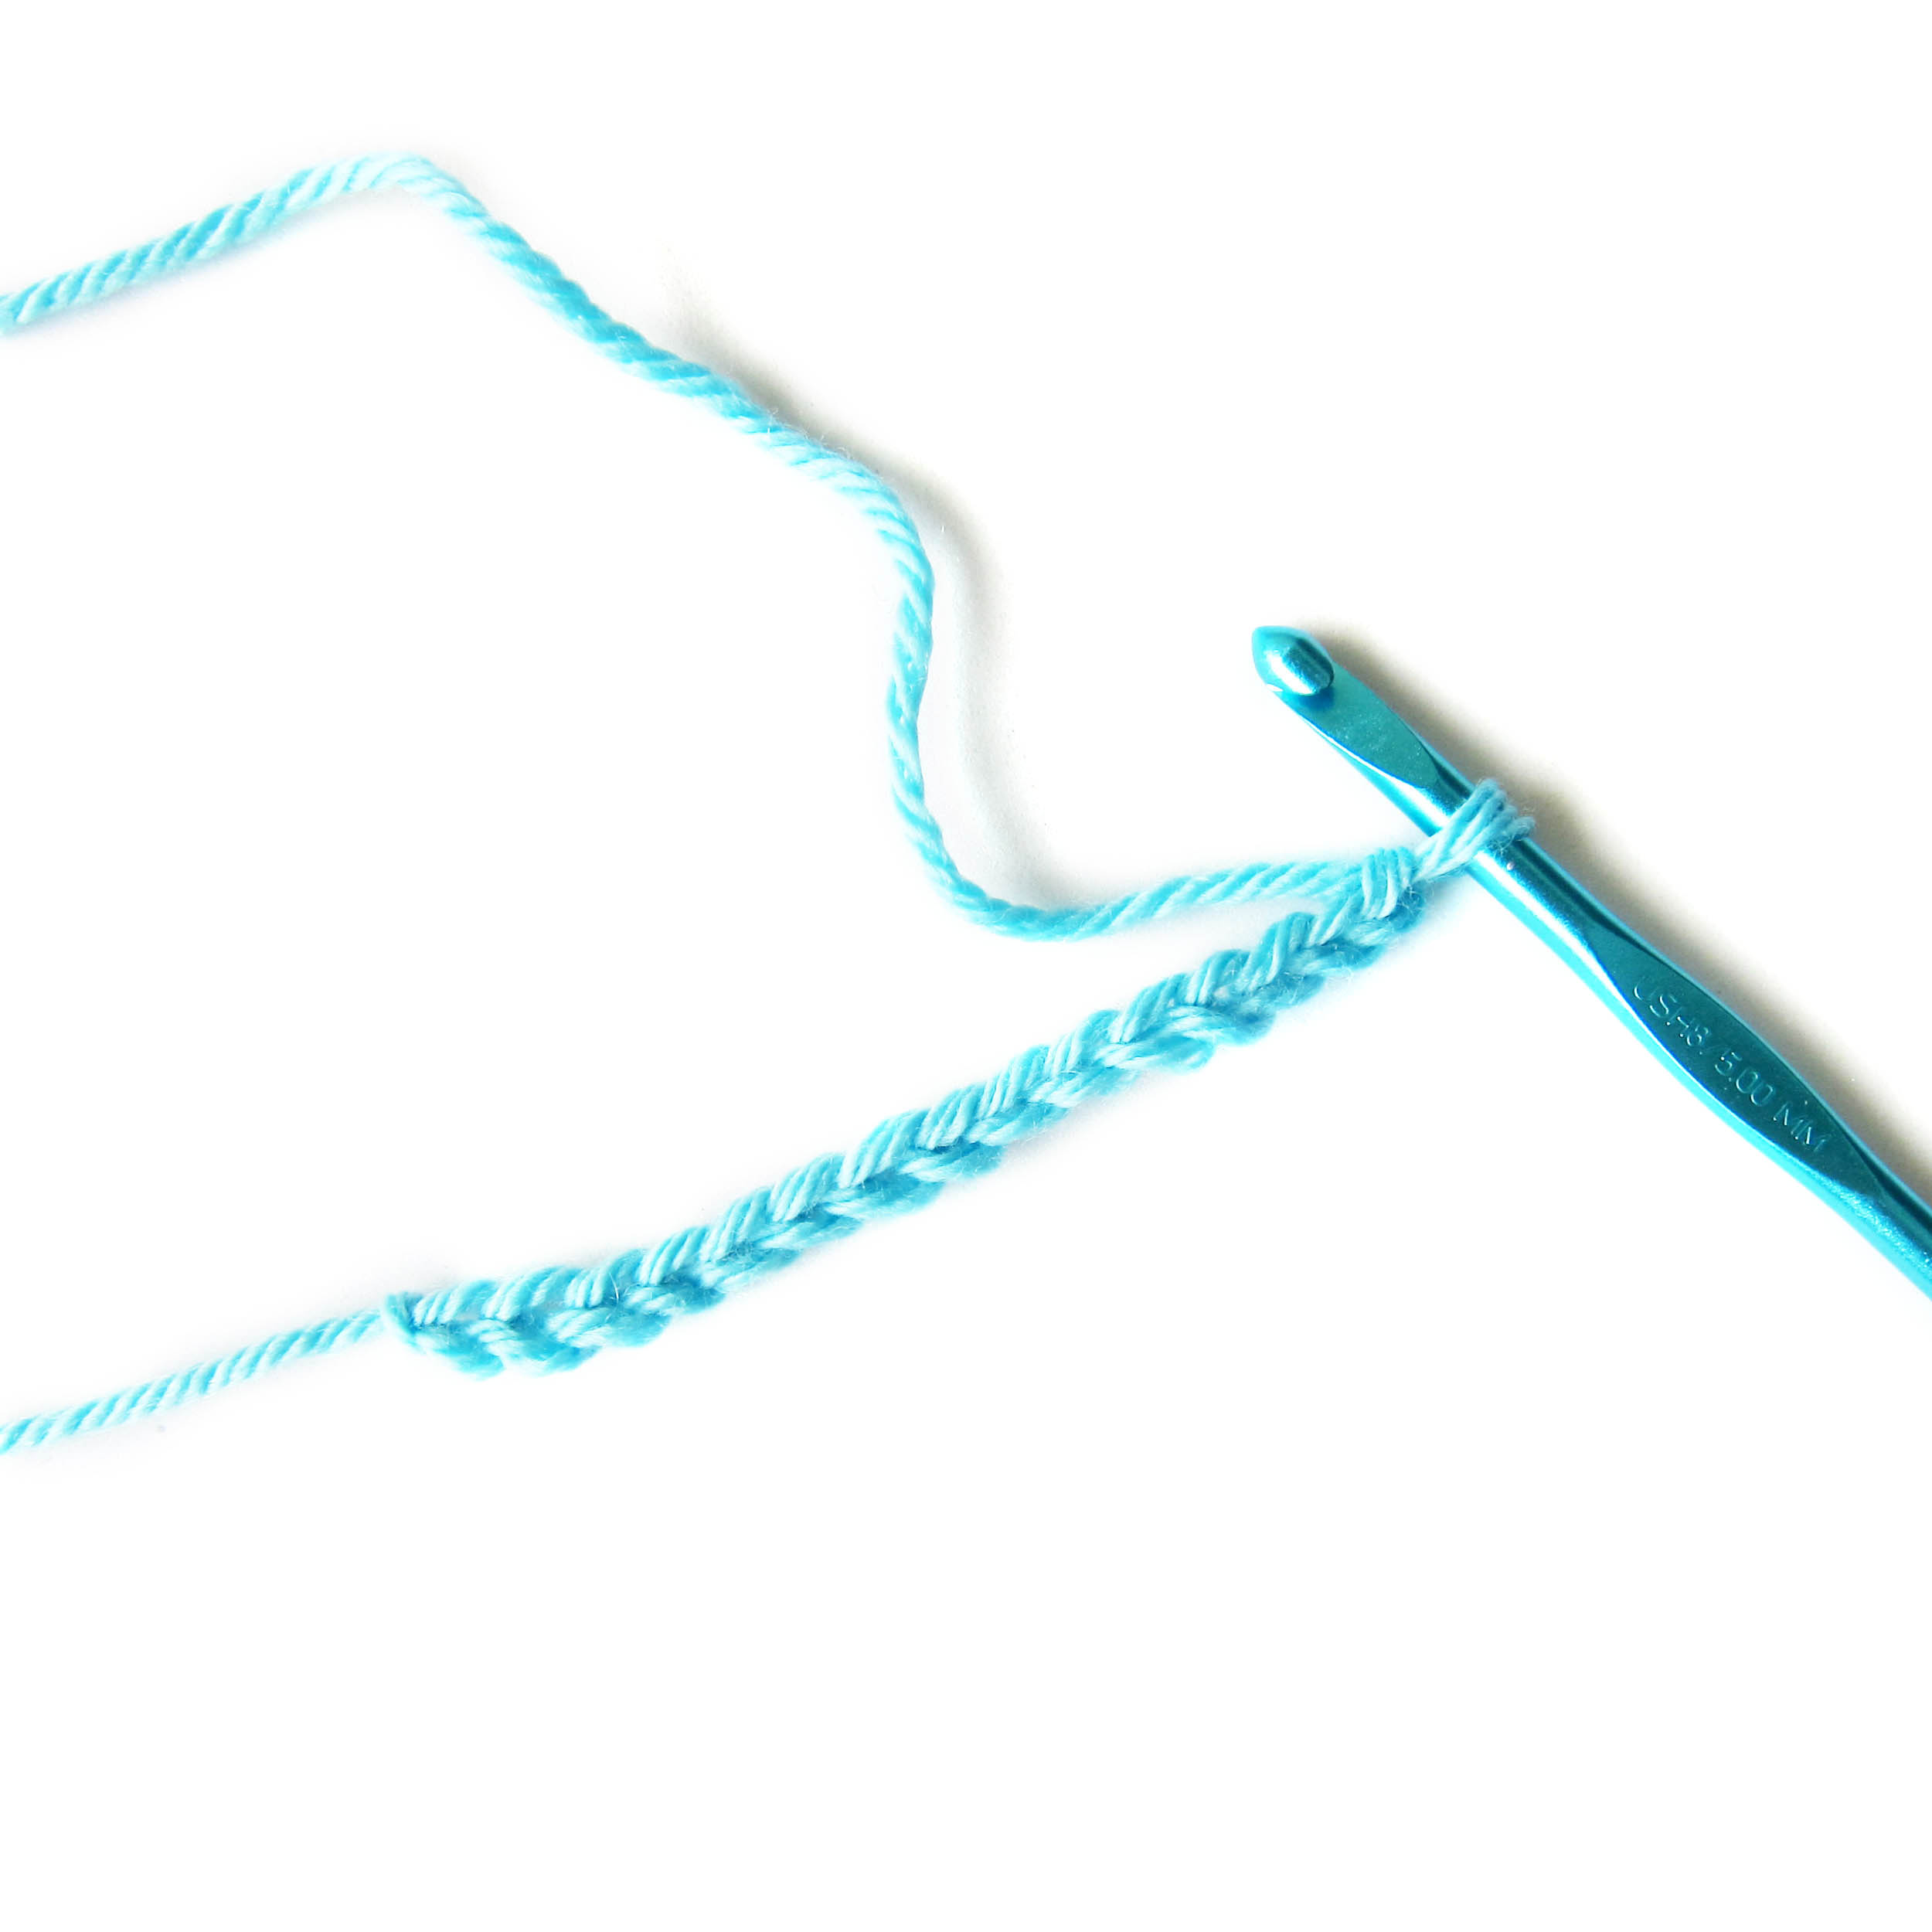
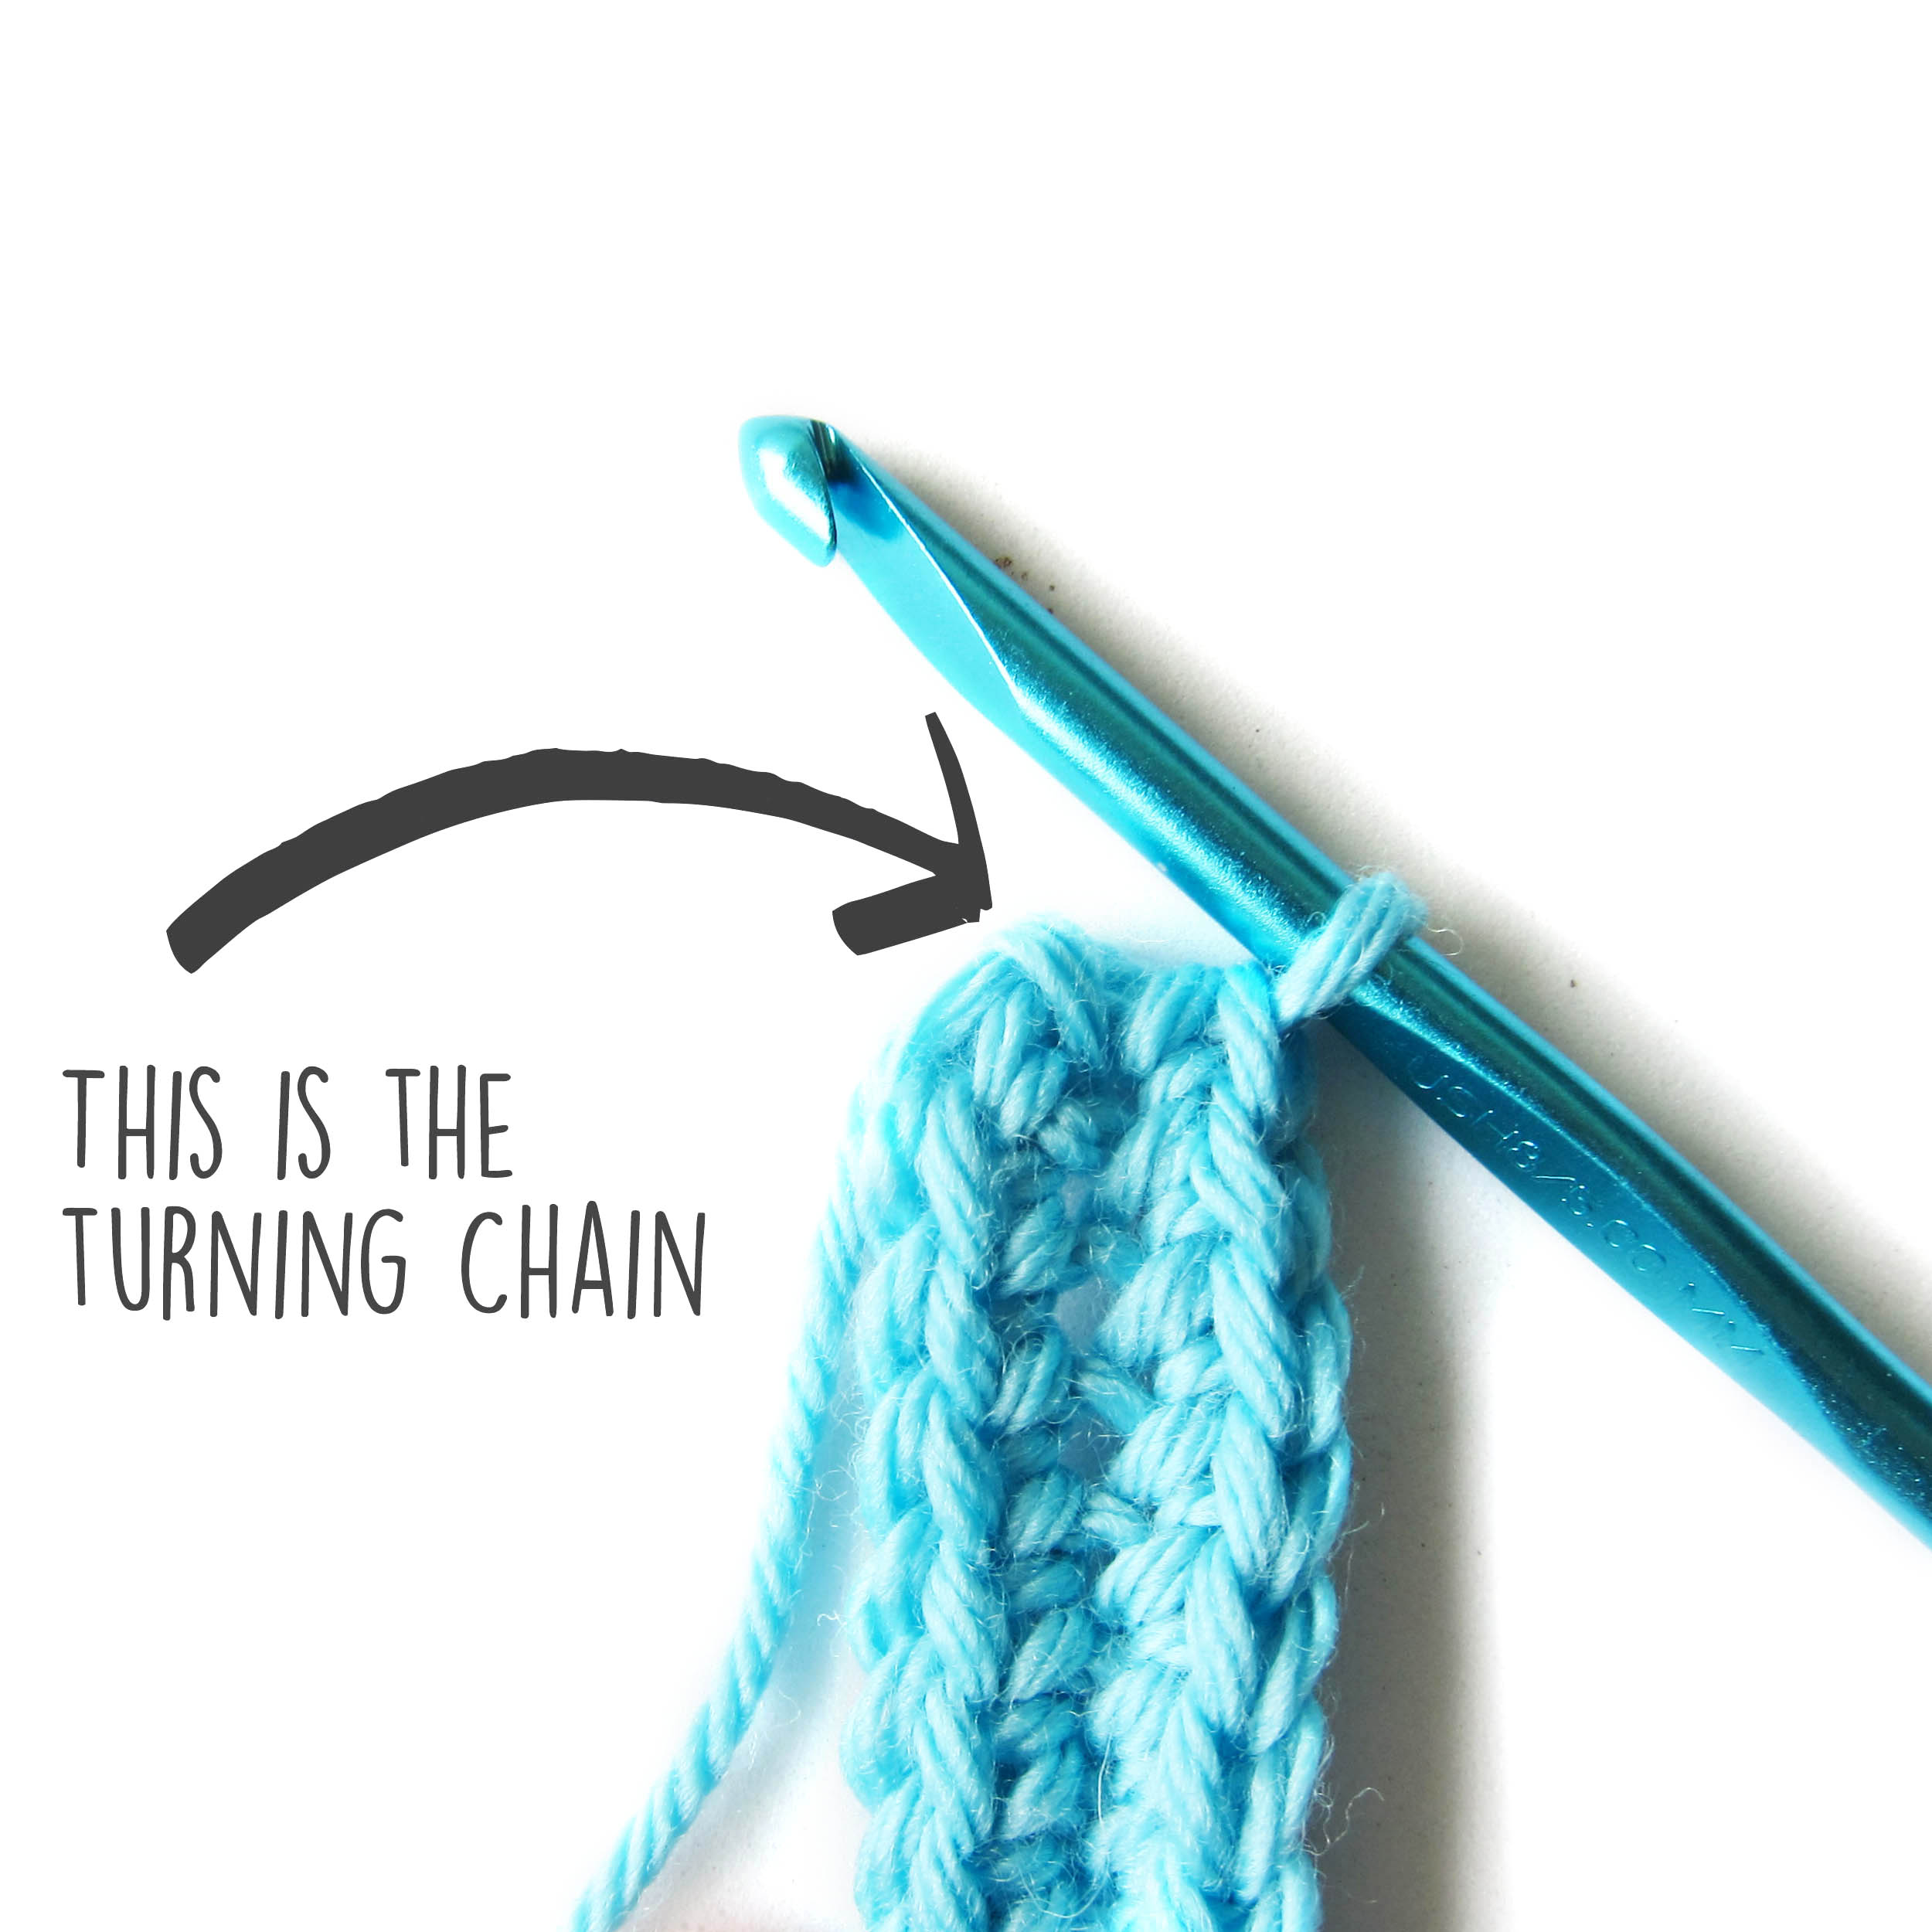
Chain stitches are the foundation for most crochet work – and they’re really easy to do.
Watch this video – Stacey will show you how to do it.
It’s kind of crazy that all crochet is just one long, continuous piece of yarn wrapped and looped around itself. 🙂
If you’re just getting started with crochet and want to really get a feel for how to hold your hook, just starting crocheting a chain. Keep chaining until the hook feels natural in your hand!
You can either unravel the finished chain or use it like bulky yarn to crochet something else. 🙂
Here are handy links to all the posts teaching the basic crochet stitches. . .
Why would you need to learn how to crochet an oval?
Well, I love making softies with oval bases. They require shaping that’s a little different than your usual amigurumi rounds – but they’re not hard to do.
There are two basic techniques for creating an oval. Each one gives you a slightly different look, so I’ll show you both.
Start with a Chain
Chain until the piece is as long as you want. You’re creating the center of the oval, so keep in mind that this piece will grow in all directions!
Crochet around the Chain to Grow Your Oval
Turn and sc in 2nd stitch and each remaining stitch.
You will end up with one stitch fewer than the number of chains you started with. (That’s because one of those chain stitches became a turning chain.)
That grew one side of your oval. To grow the other side you’ll need to work the bottom side of the foundation chain
Now we’re going to start looking at the two different ways to crochet an oval. Each results in a slightly different shape.
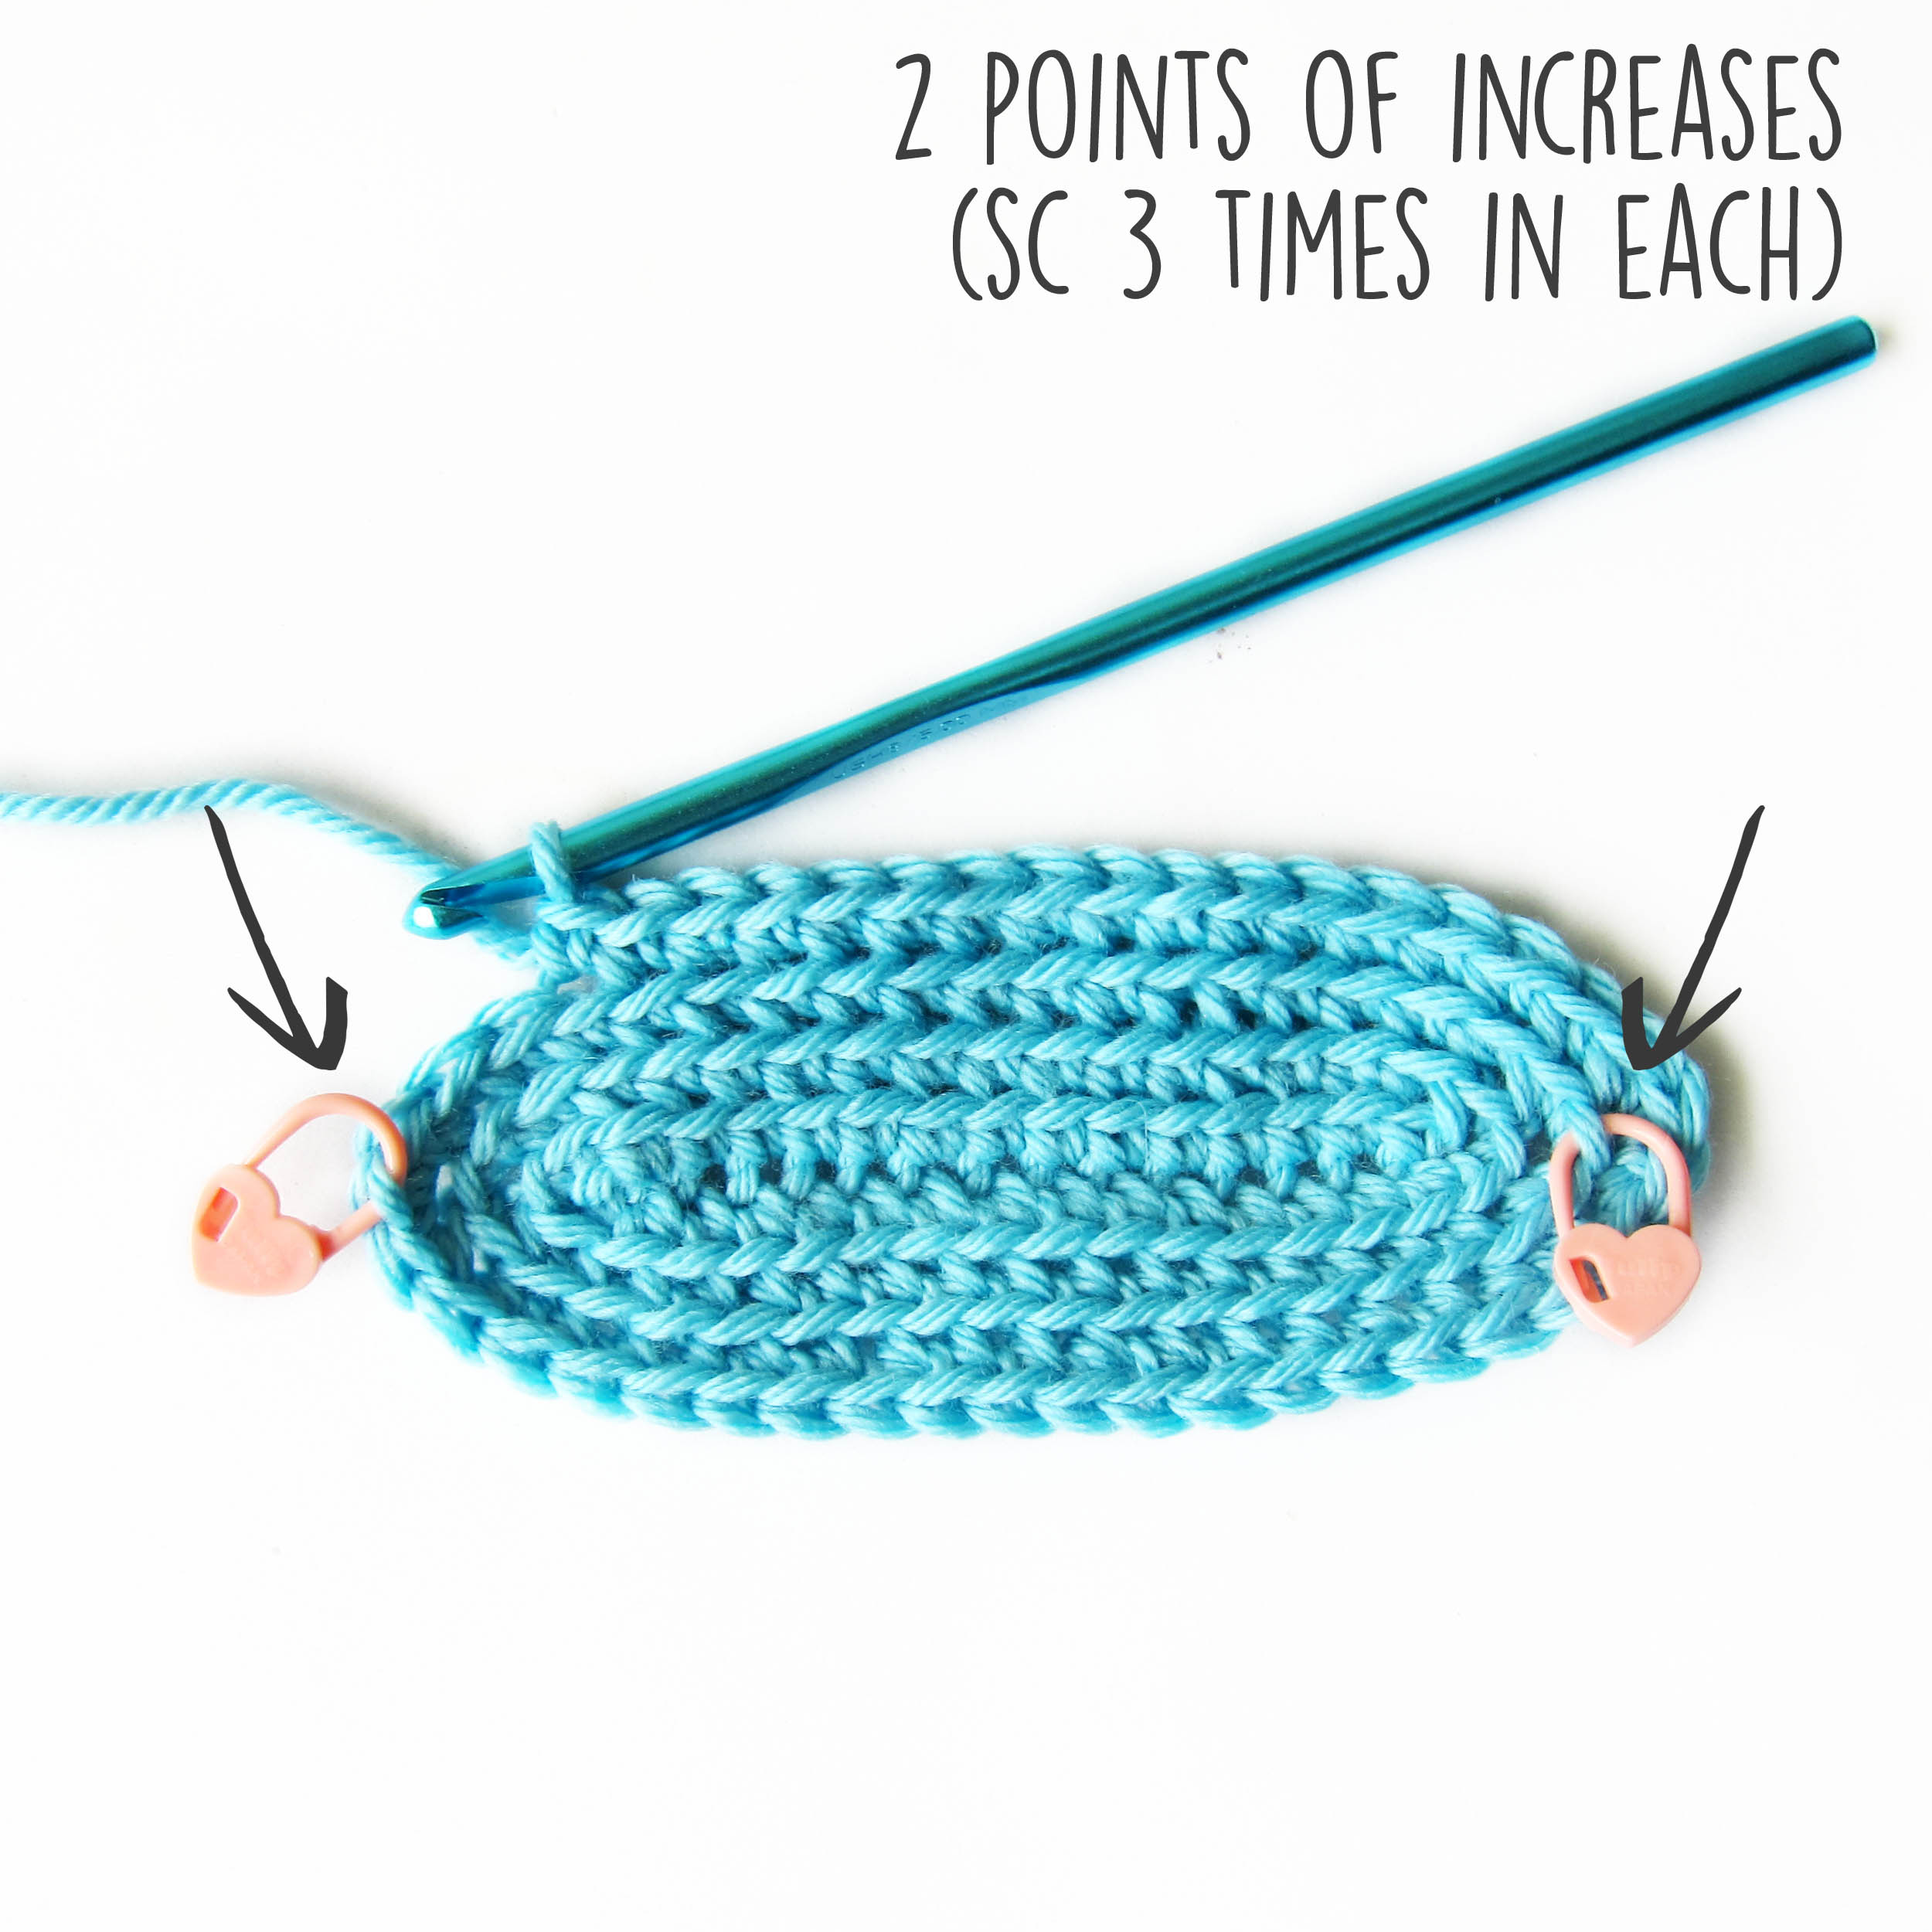
Technique 1: Increase at ends
One way to achieve an oval is to sc 3 times in each of the end stitches. You want to use stitches *directly* on the ends to get an even oval.
To do this, single crochet into the turning chain and the starting knot (unusual, I know!)
Put a locking stitch marker in the center of the 3 single crochet stitches, and increase (3 stitches in 1) on each side every round.
You increase 4 stitches each round. The result is a flatter oval with more pointy-looking ends.
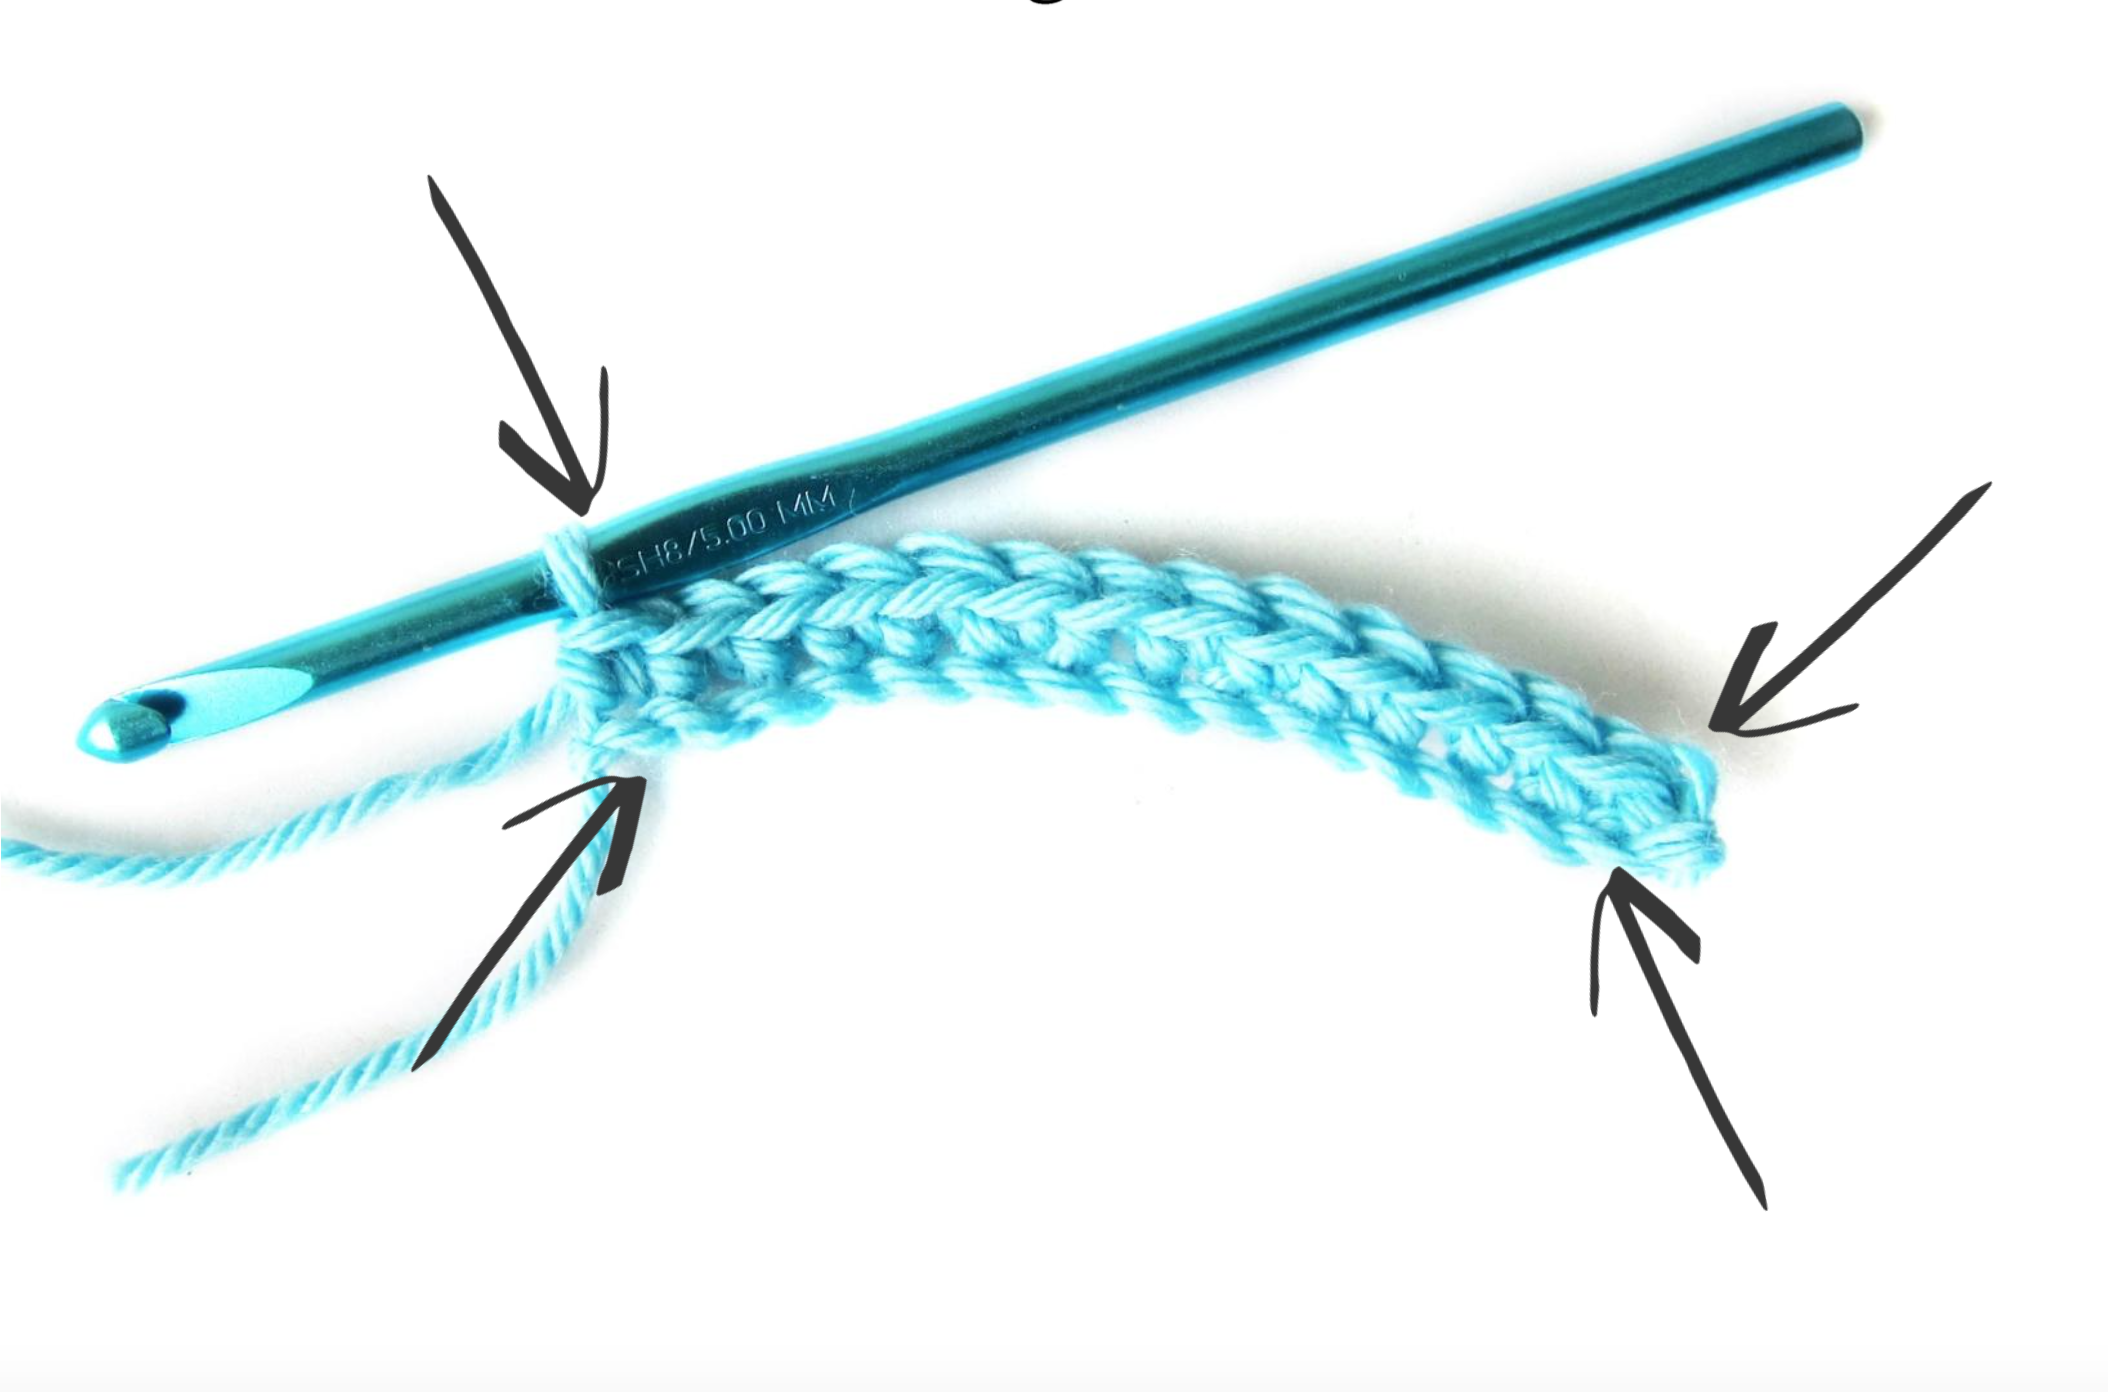
Technique 2: Increase at ‘corners’
To begin this technique, sc twice in each of the 4 ‘corners’ of your piece, that is the first and last stitch of each side.
Do not work the turning chain or knot.
Place a locking stitch marker in the increase stitch furthest away from the end points.
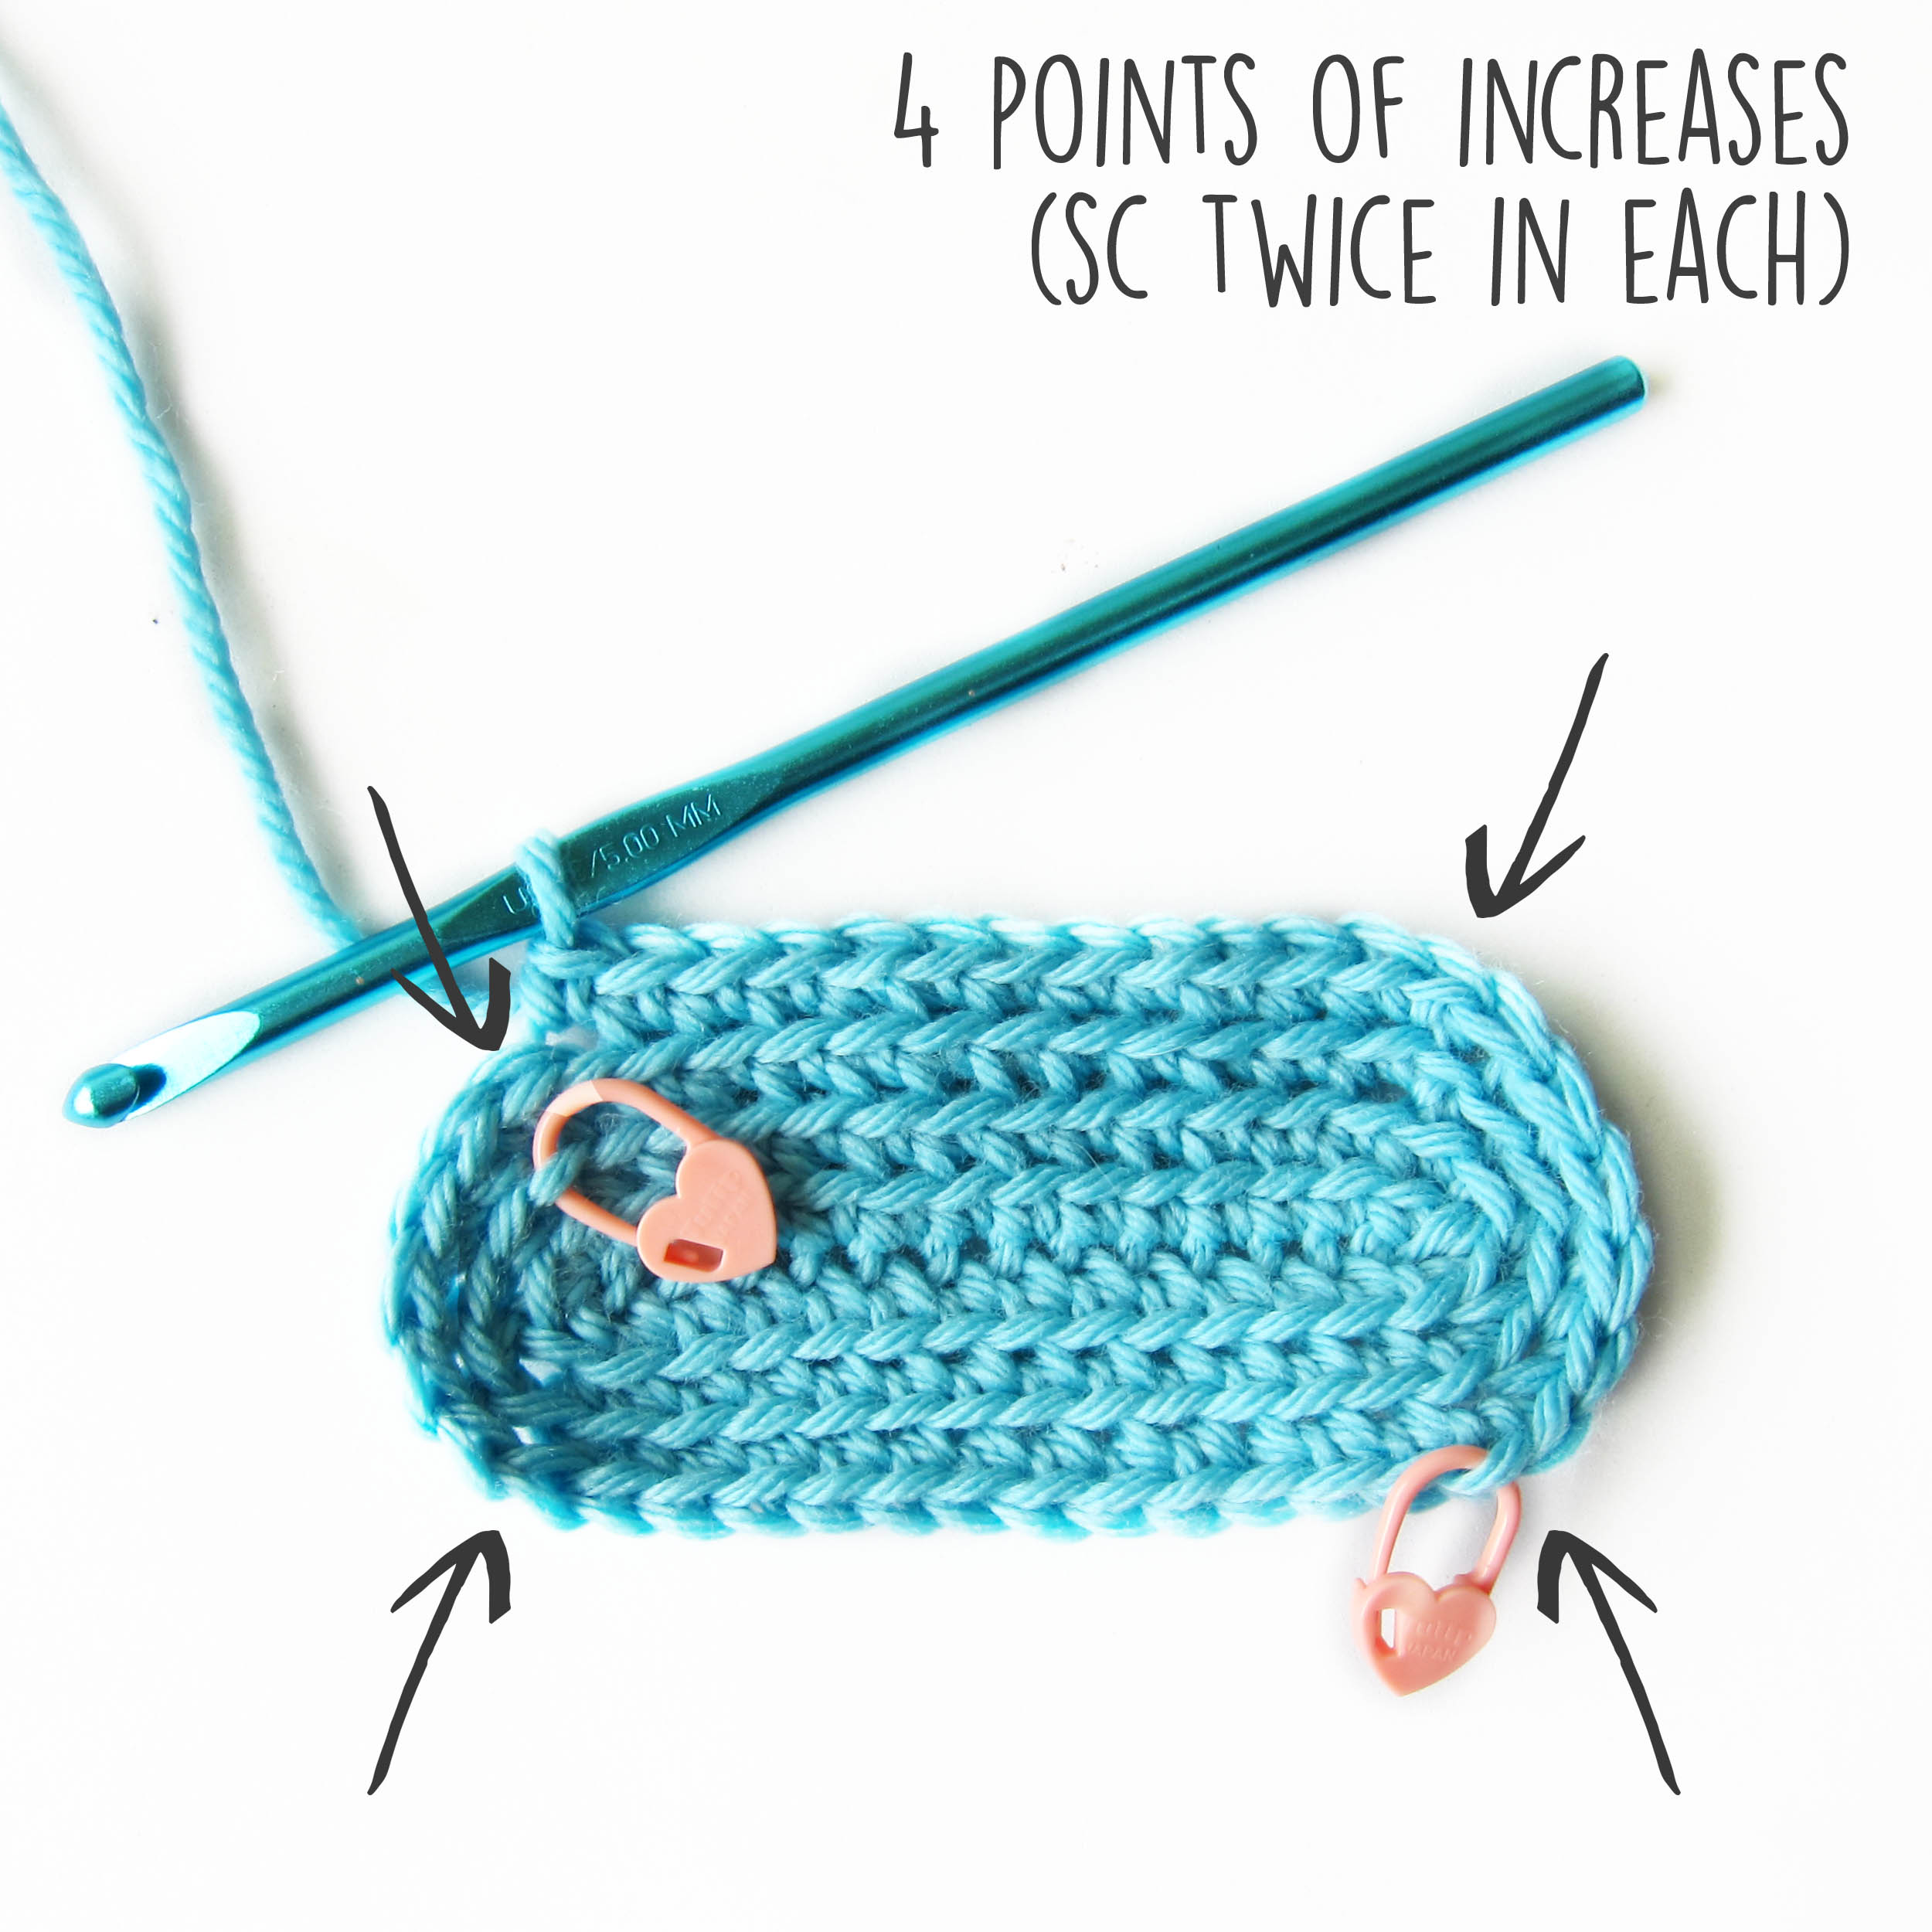
The result is a nicely rounded oval. Just like technique 1, you are increasing by 4 sts/round.
Continue increasing (sc twice in 1 stitch) at the stitches with the stitch marker. The stitch markers will move apart by 2 stitches each round (put differently, the ‘increased stitch’ goes towards the short side of the rectangle).
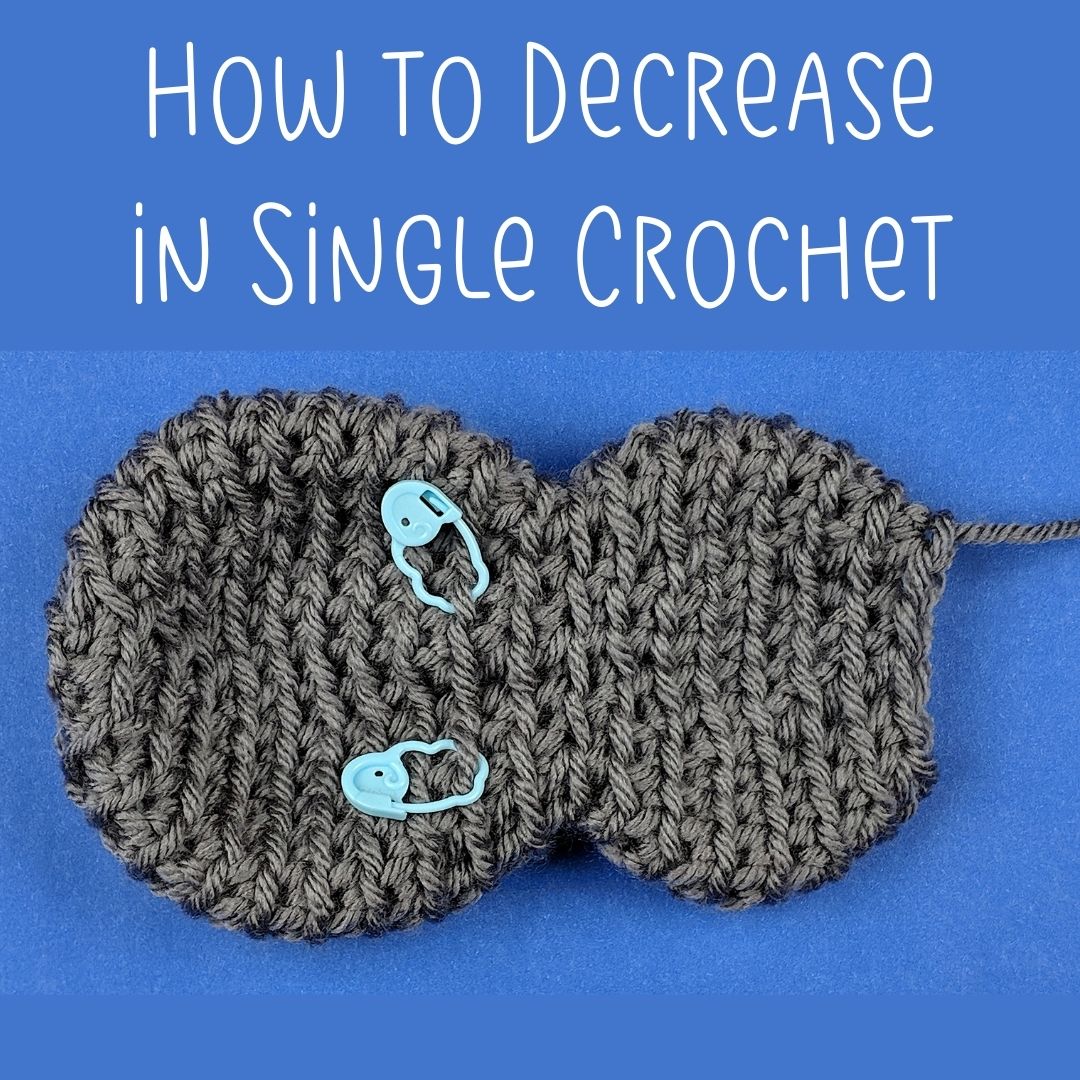
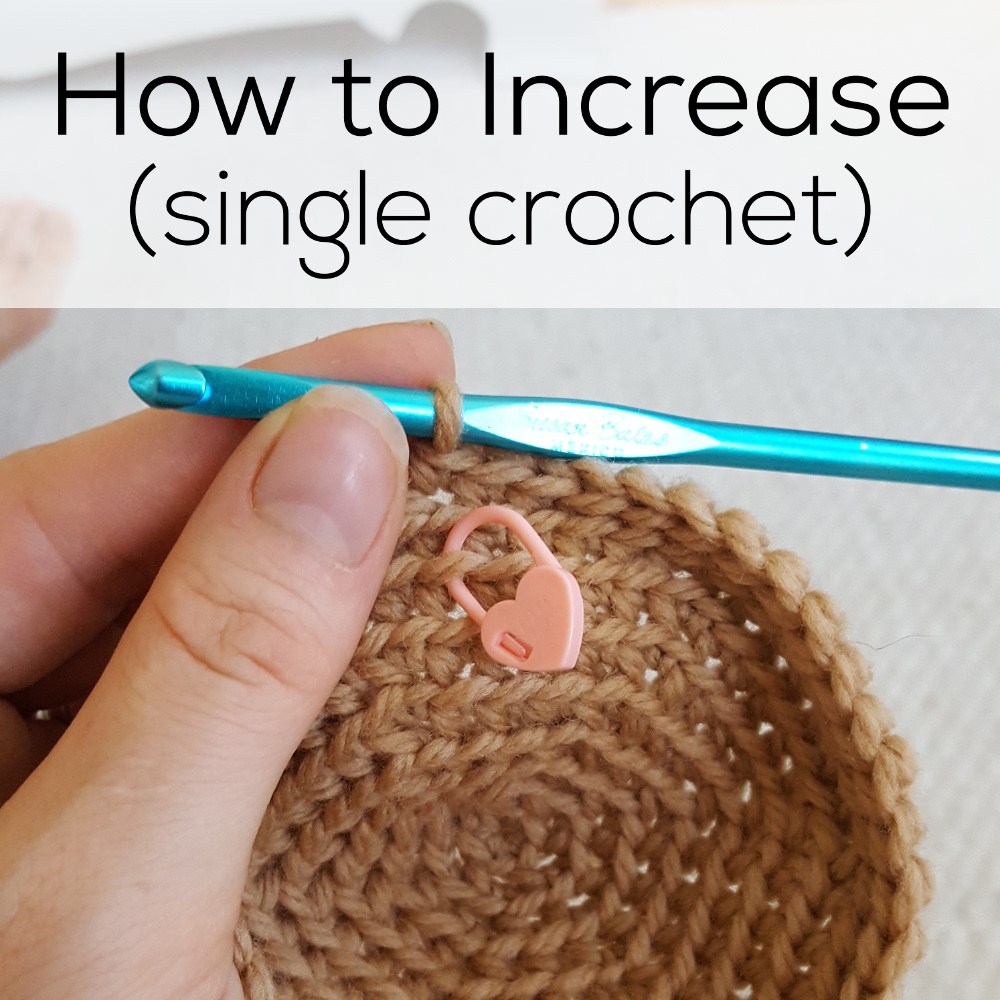
Any time you need to make your amigurumi bigger, you’ll use single crochet increase. It’s super easy! You just stitch twice in one stitch.
Here’s how.
Sometimes you’ll see this written in instructions as “inc” and you decide where to put the increases, but our patterns usually spell it out. If we want you to crochet increase, we’ll say “sc twice in next st.” We like to make things clear and easy. 🙂
Want to practice how to crochet increase (and decrease)? Pick up a super easy pattern.
Jay the Bird is one of the easiest – great for beginners.
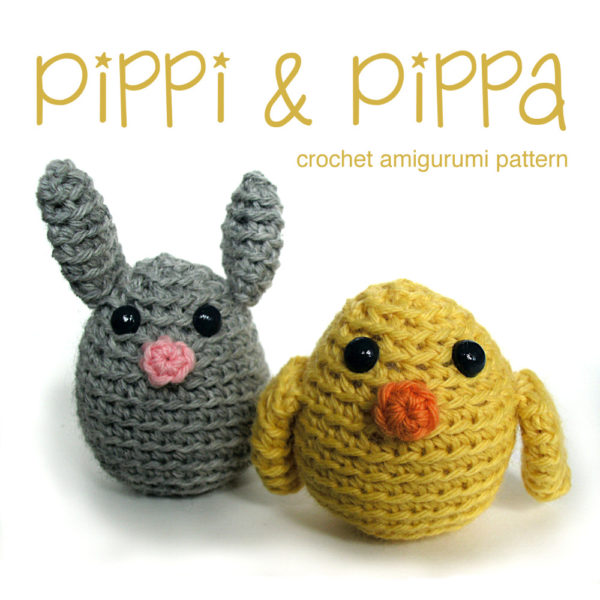
Want something just as simple, but a little smaller? This bird and bunny are adorable!
They’re a lot smaller (so you won’t get in as much practice on those crochet increases) but you’ll finish faster!