Learning Bead Crochet

Goals for Bead Crochet

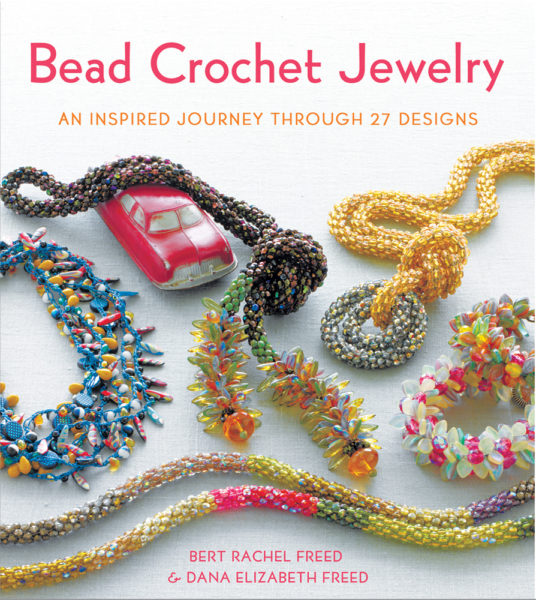
I got a copy of Bead Crochet Jewelry, and the jewelry looks amazing!


Bead crochet is a little different than regular crochet, and gives you a piece with a totally unique look. To bead crochet, you pre-string a lot of beads, and then (basically) slip stitch around a 4 stitch round (or more stitches, if you’d like). While slip stitching, there’s a certain technique for incorporating the bead appropriately into the stitch.

My long-term goal is to make myself a few fabulous necklaces! But, that’s a bit much for one Saturday! So, my goal this week was to:

  • select beads and thread appropriate for a starter project
  • string beads (you need to pre-string a LOT of beads!)… and see whether it would drive me bonkers
  • learn the basic technique for bead crochet
  • fasten off my work

My Resource

Now that I’ve completed my first (albeit, small) bead crochet project, I have to tell you: this book is fabulous! Bead Crochet Jewelry is written by a mother and daughter (who I had the good fortune of meeting at TNNA), and it’s completely obvious throughout the book that this duo has a passion for bead crochet and are skilled teachers!

The book is organized by difficulty level (really helpful for us newbies!), and choc-full of helpful tips and step-by-step photos. I’m not going to fib: bead crochet is pretty different from regular crochet, and I had some trouble manipulating such thin thread early on. But, I persevered because of the great instructions (and dreams of future projects), and I couldn’t be happier!

My Materials

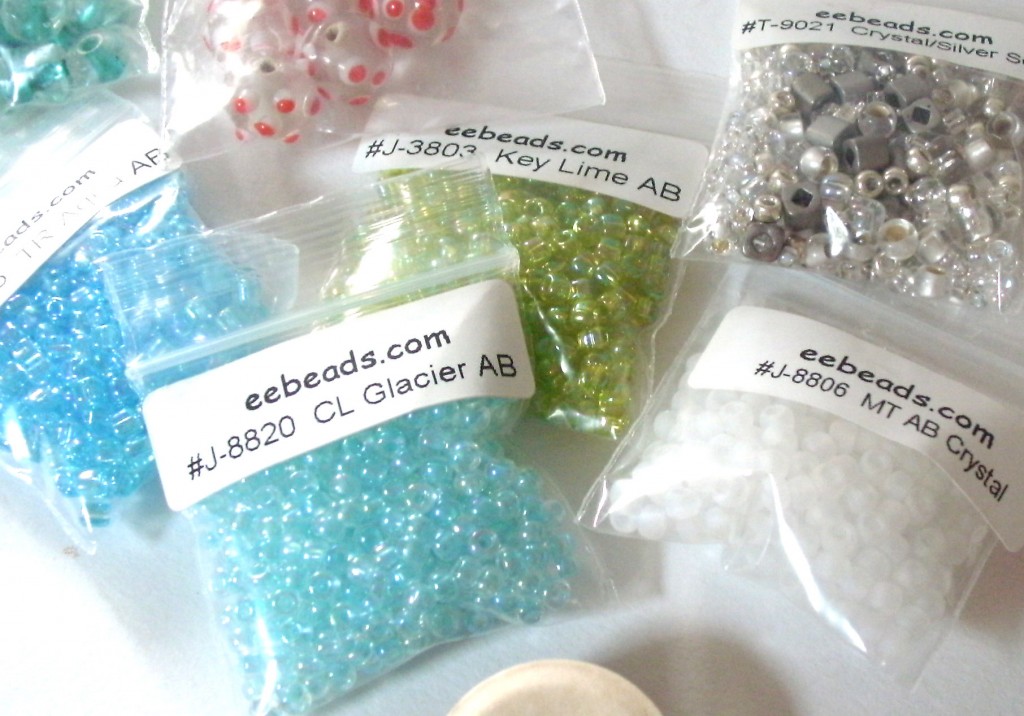
I checked out my local craft stores, and none of them carried the type beading thread that was recommended in the book. So, I ordered my thread (and some beads, while I was at it!) from eebeads.com.

What I Did

I’ll admit: since I’m a pretty proficient crocheter, I thought I could start straight away on one of the projects, and skip over the advised practice. I was wrong.

Bead crochet requires a new way of interacting with the beads and hook… and that’s really hard to do for the first time with bead thread.

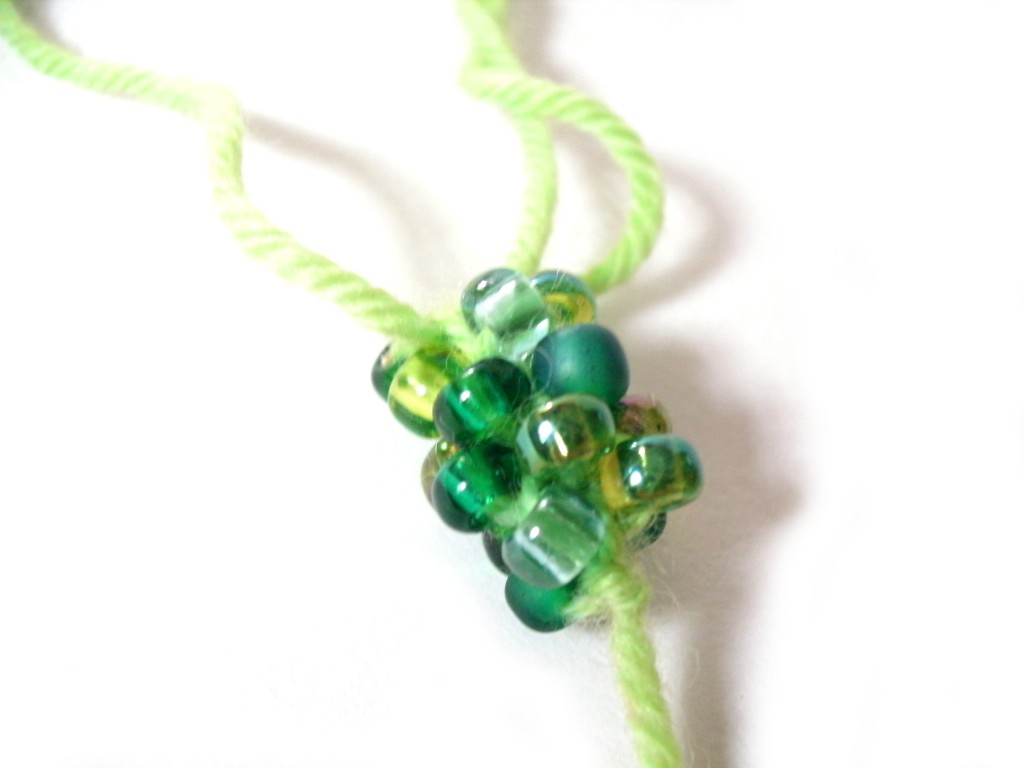
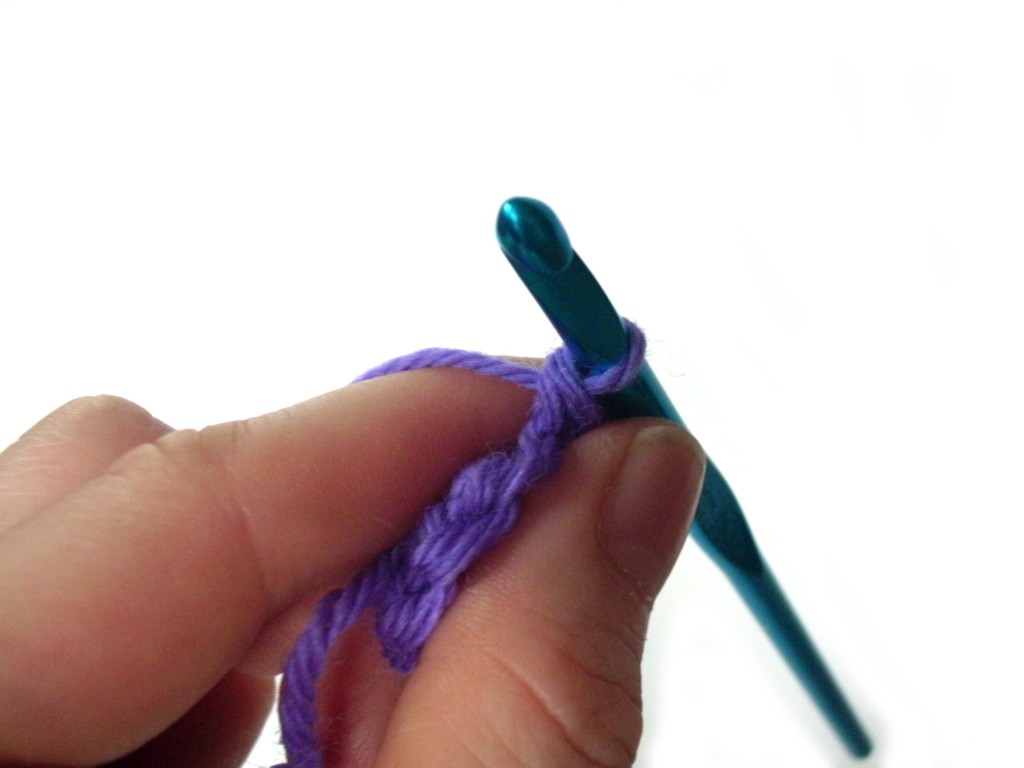
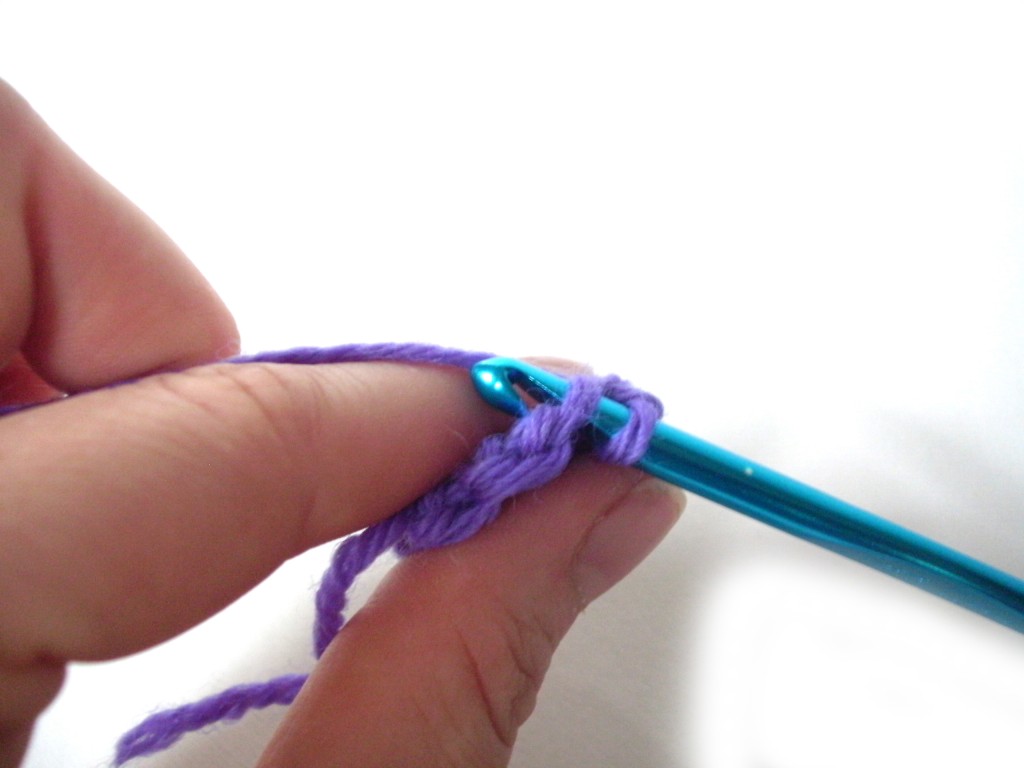
I began by stringing a pretty collection of beads. However, not only was the thread tiny (and I had no idea what I was doing!), the beads were slightly different sizes, making it a tough 1st project! So, after struggling a bit, I took the book’s advice and did a practice piece with yarn and jumbo beads:

I’m so happy that I did! Even though it doesn’t look fabulous, it allowed me to get the basic technique and get my fingers used to what they were supposed to do!

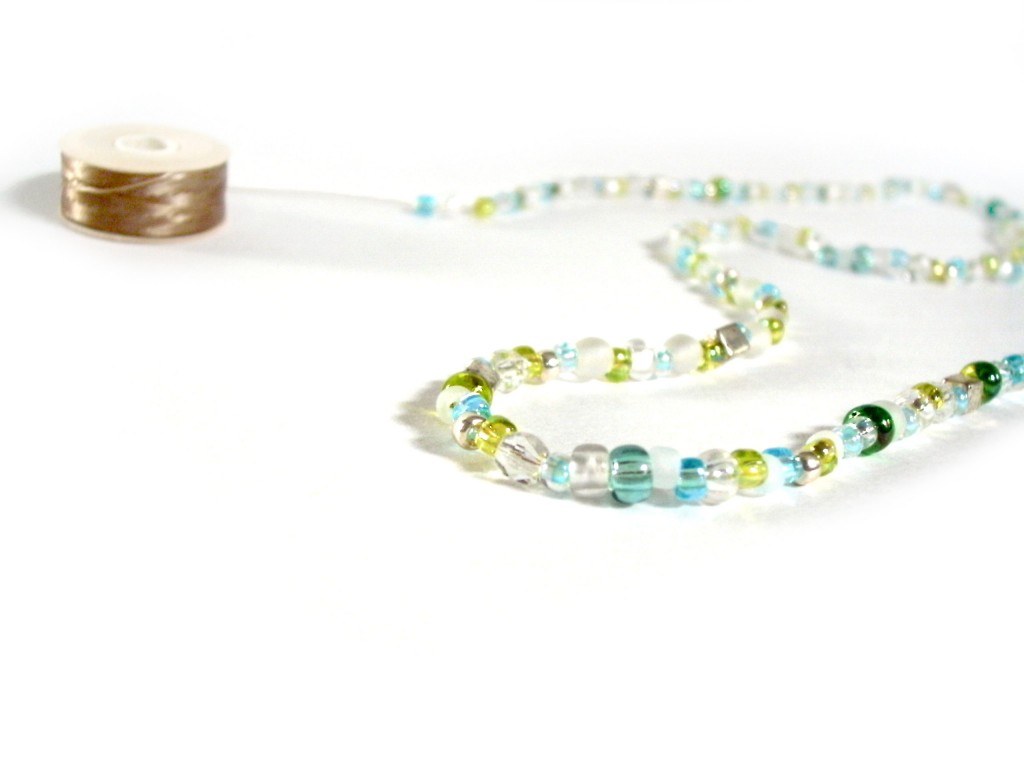
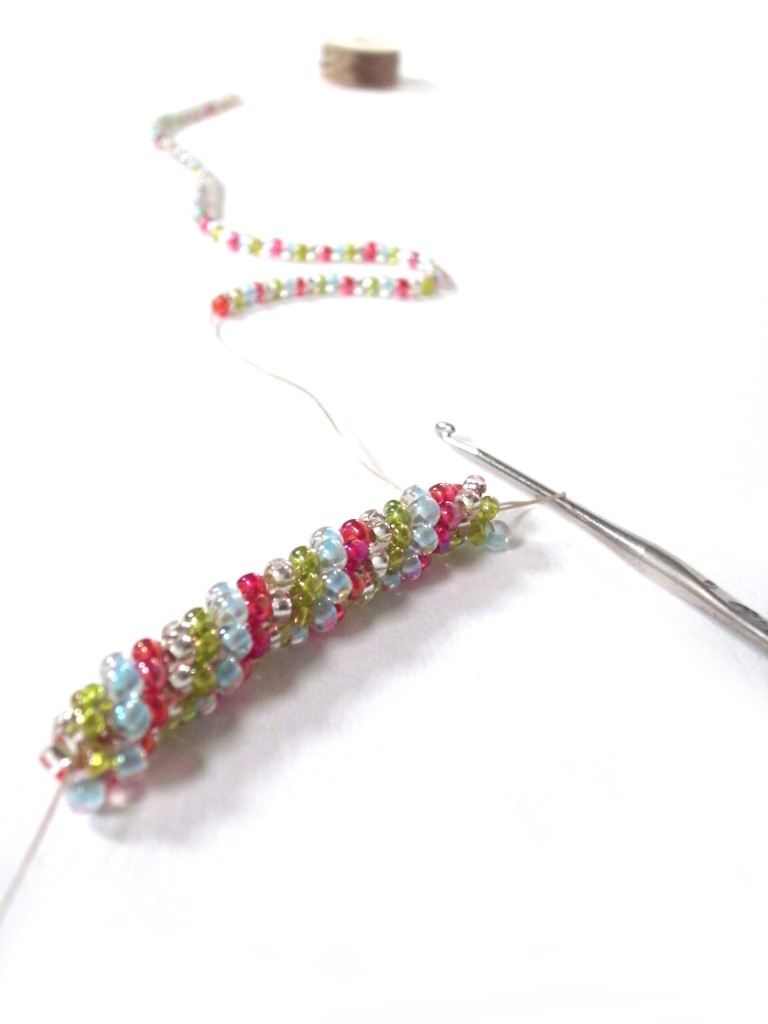
Next, I strung seed beads for my real project! I decided to use all identically-sized seed beads to make it easy on myself. I was delighted to discover that the crocheting was much easier now that I had some practice under my belt.

Isn’t it pretty? Look how nicely the colors are swirling! Yay!

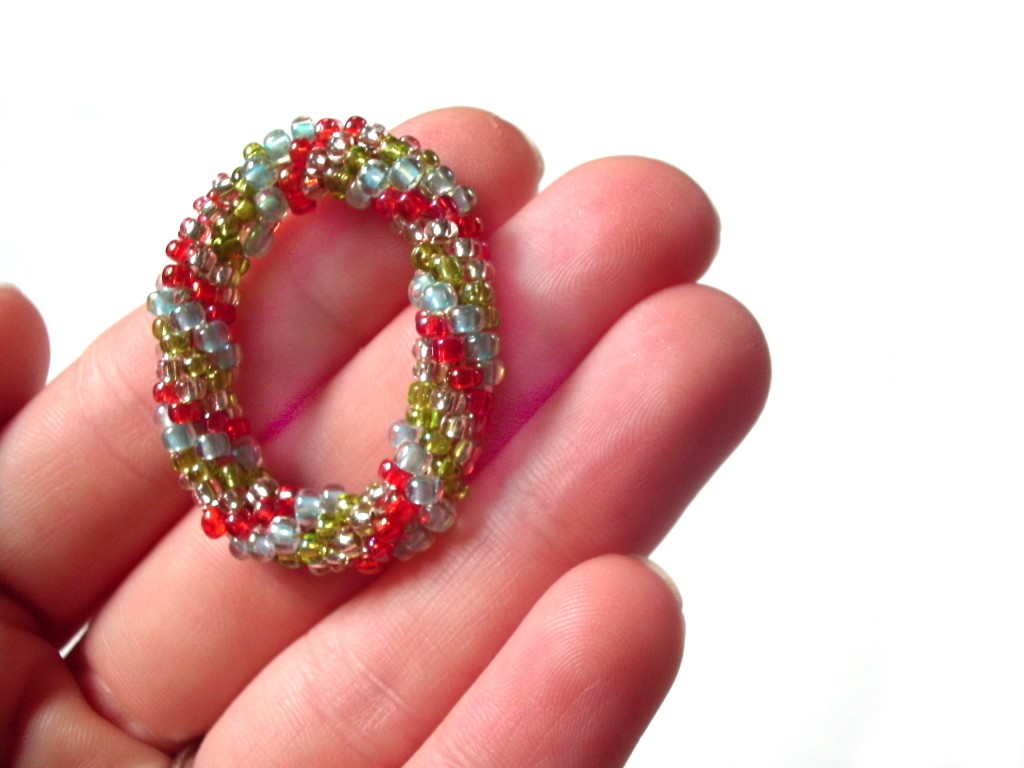
I even finished off my piece in a circle. I have no idea what I’ll use it for (turns out that I strung on too few beads for a bracelet), but I’m so proud!

What I Learned

Most importantly, I learned that I like bead crochet! I was very worried that I would find the pre-stringing and tiny thread size irritating… but I found the stringing relaxing and got used to the small gauge size. Hooray!

I also learned a few pieces of advice for starting. It’s incredibly important to practice with a larger hook/bead size to begin, and also use multi-colored beads. If you do that, you’ll get the hang of what you’re doing to move on!

Finally, I realized that I need reading glasses. I suspected this for a while, but this tiny project brought the need into focus! And trust me, it’s much easier to bead crochet when you can really see what you’re doing!

Future Goals

I love this! I’m going to keep going! Next up for me is a bracelet with some focal beads… so excited!

I totally recommend Bead Crochet Jewelry, it’ll really inspire you to learn!

Best,
Stacey

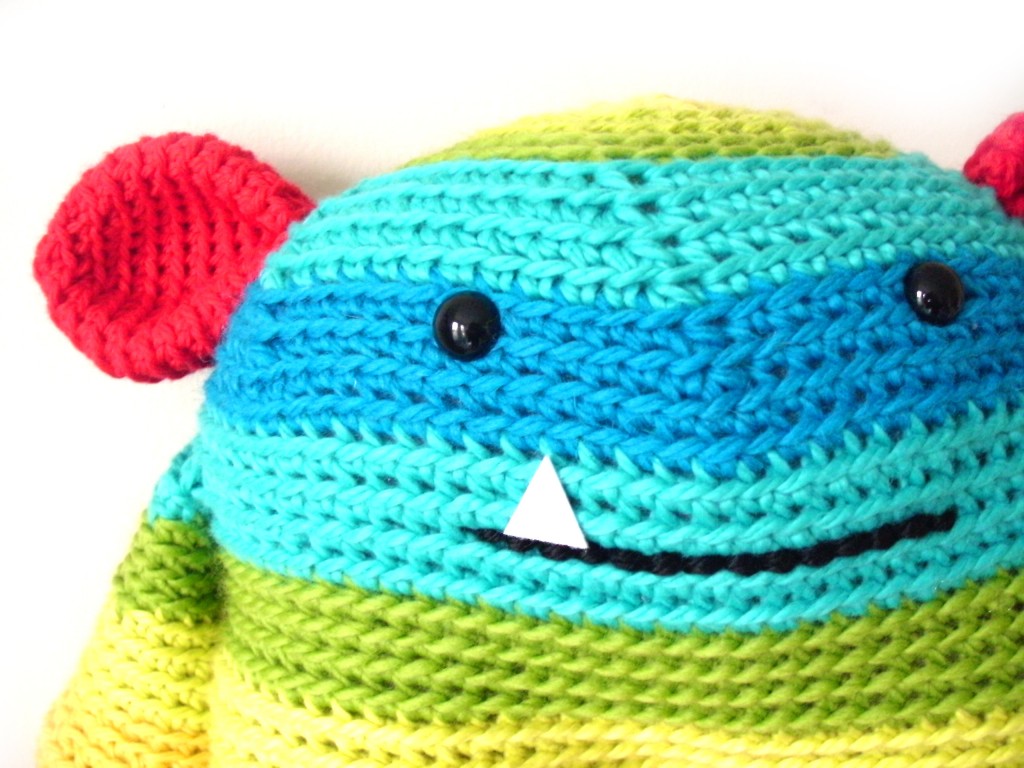
How to attach felt to your amigurumi

Adding a small piece of felt decoration can be a quick and easy way to add character to your amigurumi faces! In today’s blog post, I’ll show you how to do it!

The Glue

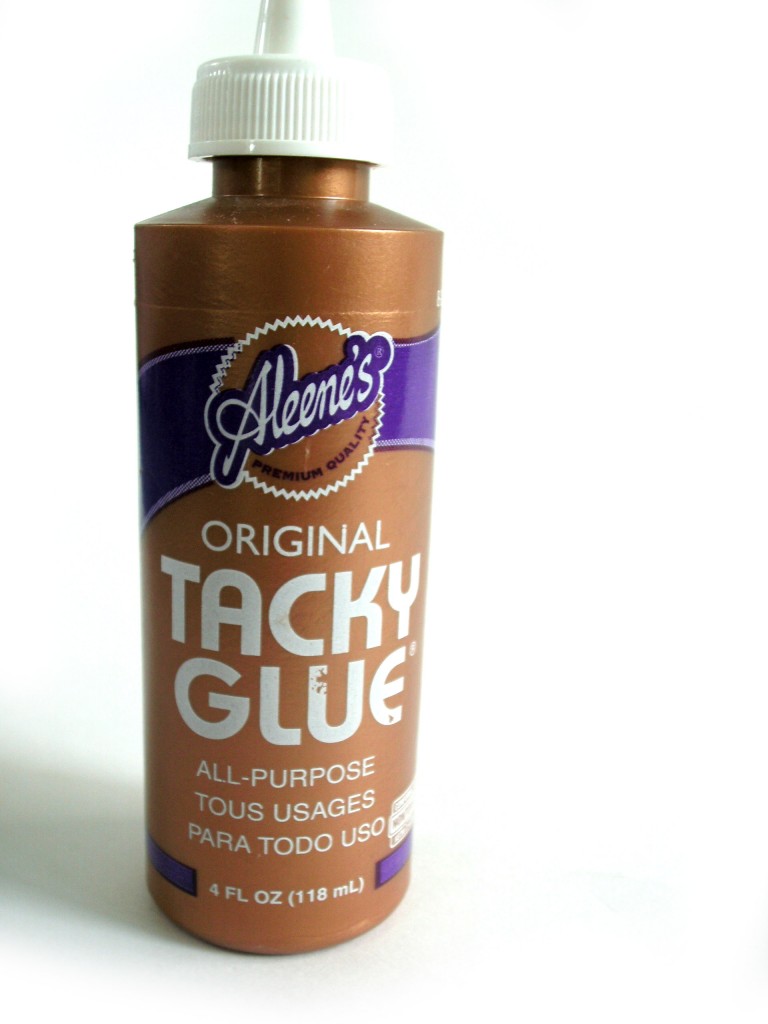
Basically, any glue that works on fabrics will work for yarn, as well. I use Aleene’s Original Tacky Glue.

The glue will hold up pretty well, but if you’re making the toy for a small baby, I would recommend sewing the felt on with a sewing needle and thread. Better safe than sorry!

The Process

The thing I love most about felt is how versatile it is! Simply cut the shape you desire, and glue it onto your piece. I sometimes add my felt piece at the very end… so I can see what personality the amigurumi wants!

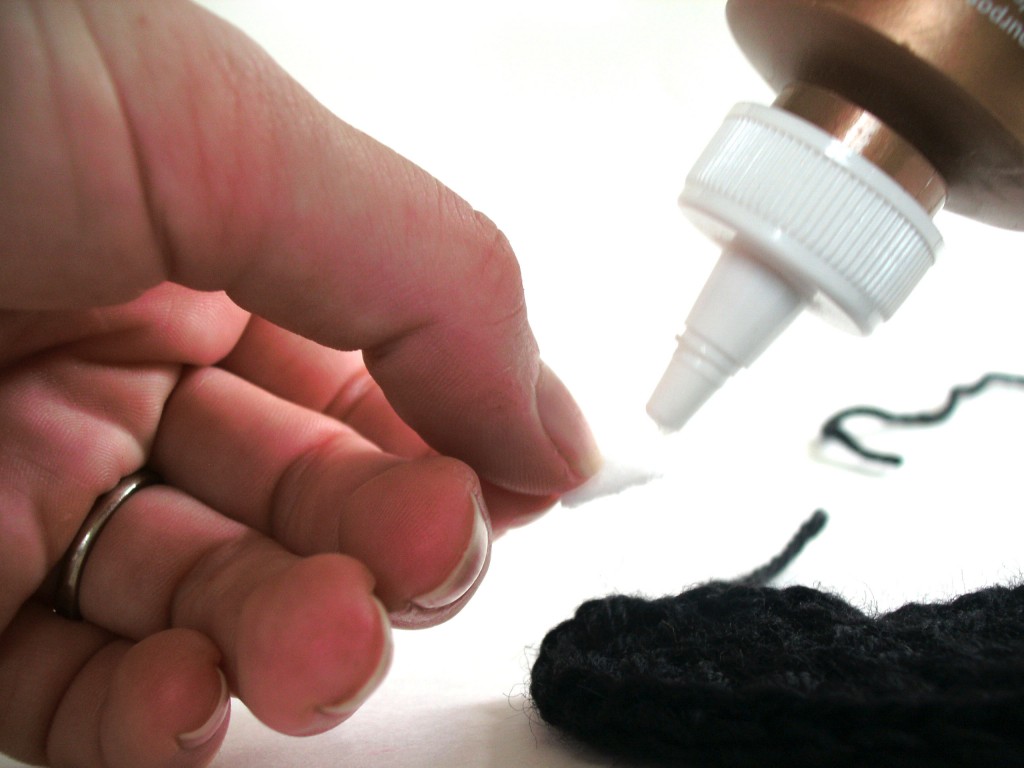
To glue a piece on, just add a dab of glue to the back of the felt:

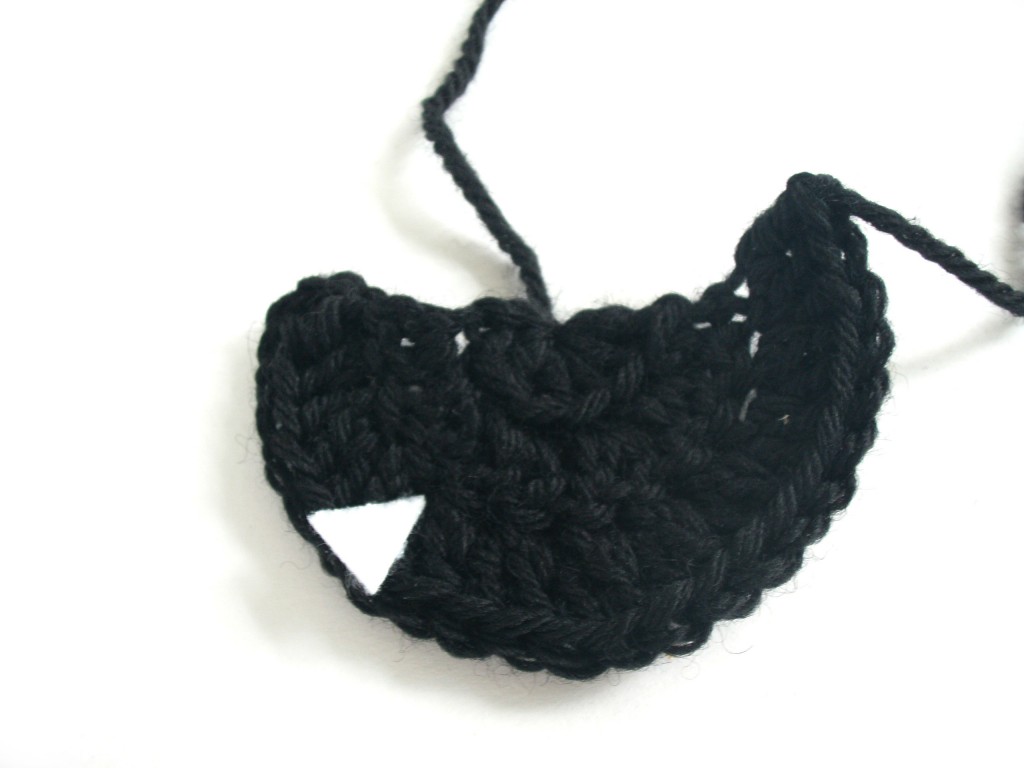
And press into place. Voila! Allow the glue to dry completely, and you’re ready to go!

Some tips

Here are a few helpful tips to keep in mind:

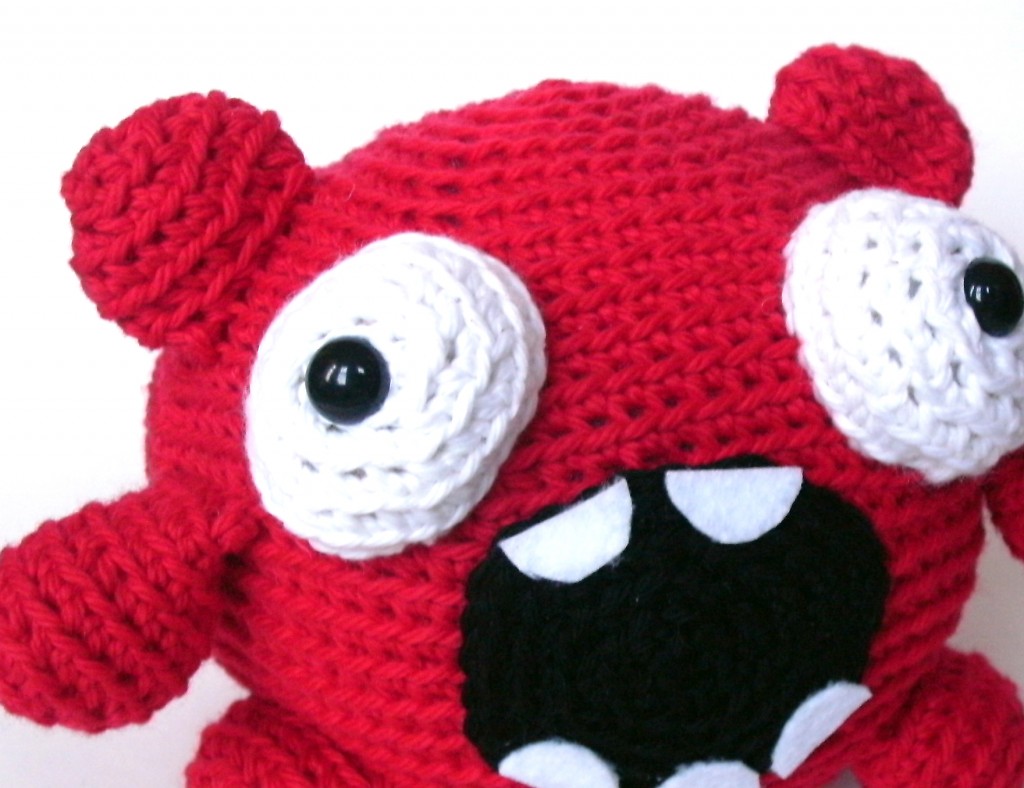
  • The shape of your felt piece adds expression, so feel free to experiment! For example, a rounded tooth gives a totally different expression than a pointed one!
  • Amigurumi are made from round balls… and in general, flat pieces don’t glue well to balls! To make sure your felt stays, attach to a relatively flat portion and keep your felt pieces small.
  • If you don’t like the look of your felt, just pull it off before the glue dries! You can gently wash the remaining glue off with a wet washcloth.

I hope you enjoy experimenting with adding some felt to your amigurumi!

And remember, you are the one crocheting! Even if a pattern doesn’t call for a felt facial feature… feel free to modify it and add one! It’s your piece!

Here are handy links to all the posts about faces and details. . .

Return to the main table of contents for Let’s Learn to Crochet Amigurumi.

Move on to the lessons about eyes.

Happy stitching!

Picking needles for knitting your sock…

A lot of folks get intimidated by sock knitting… and one of the things that’s so scary is picking what kind of needles to use! There are so many choices!

The truth is that the choice of which needles to use is completely personal preference, so you’ll probably have to try out a few. In this post, I’ll talk about the 4 main needle options for sock knitting, as well as the pros and cons of each one. Then, it’s up to you to pick your fave!

Double Point Needles

Options Available: material (metal, wood or plastic), length (ranging from 5-8″)

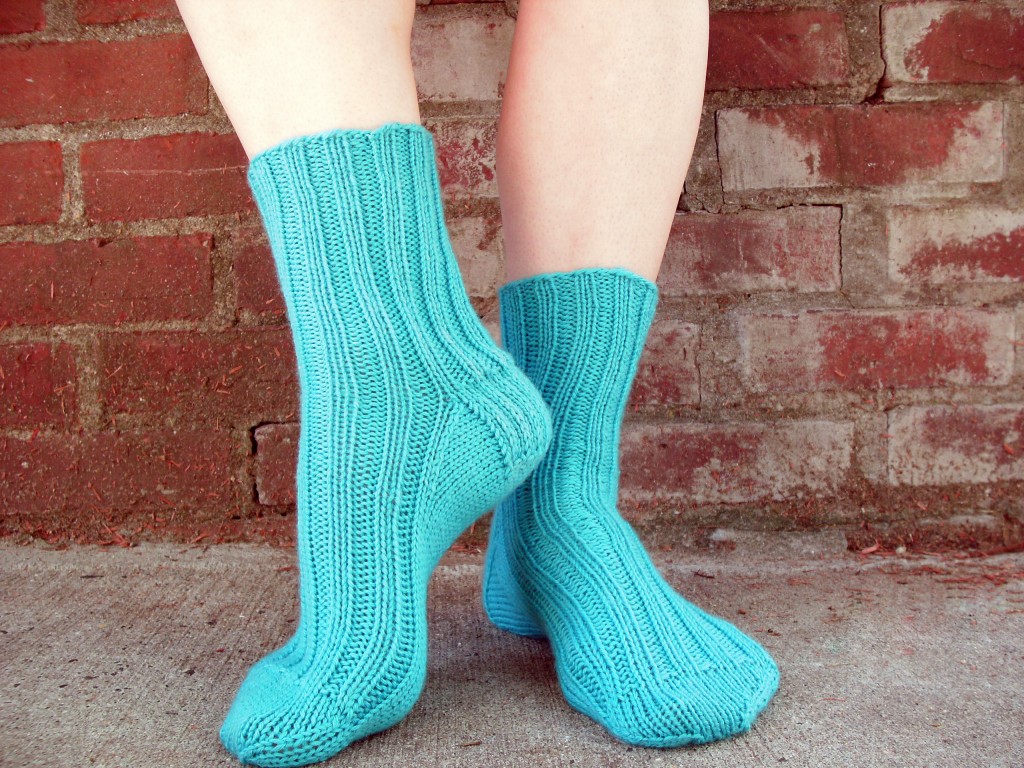
Double point needles (often abbreviated dpns) are a very common way to knit socks, and probably the most common way you’ll learn when you’re starting out. In fact, it’s the method I use in my Easy Peasy Sock pattern.

Pros:

  • Many sock patterns are written for dpns, so using them for these patterns is a lifesaver! (unless you’re already experienced with tweaking sock patterns)
  • They’re not very expensive.
  • Almost every needle company makes dpns (or a few!), so you have lots of options.

Cons:

  • There is a high probability of ‘laddering’, a funny gap that happens when moving from one dpn to another. You’ll have to knit carefully to avoid it.
  • The skinnier ones (which you use for socks) have a tendency to break. You might want to consider metal or needles with a replacement policy.
  • You’re using 4-5 needles to make once sock. Losing one (or dropping it under an airplane seat) is sad.

Are you going to be tossing your socks in a purse? Think carefully about how likely your stitches are to fall off, your needles are to break or get lost. If you love dpns, you might want to consider getting double pointed needle tubes so your in-progress socks don’t get into any mischief.

Two Circular Needles

Options Available: all of the options usually available for circular needles: material (metal, wood or plastic), length (ones ranging from 16″ to 32″ are usually used), pointiness of the tip

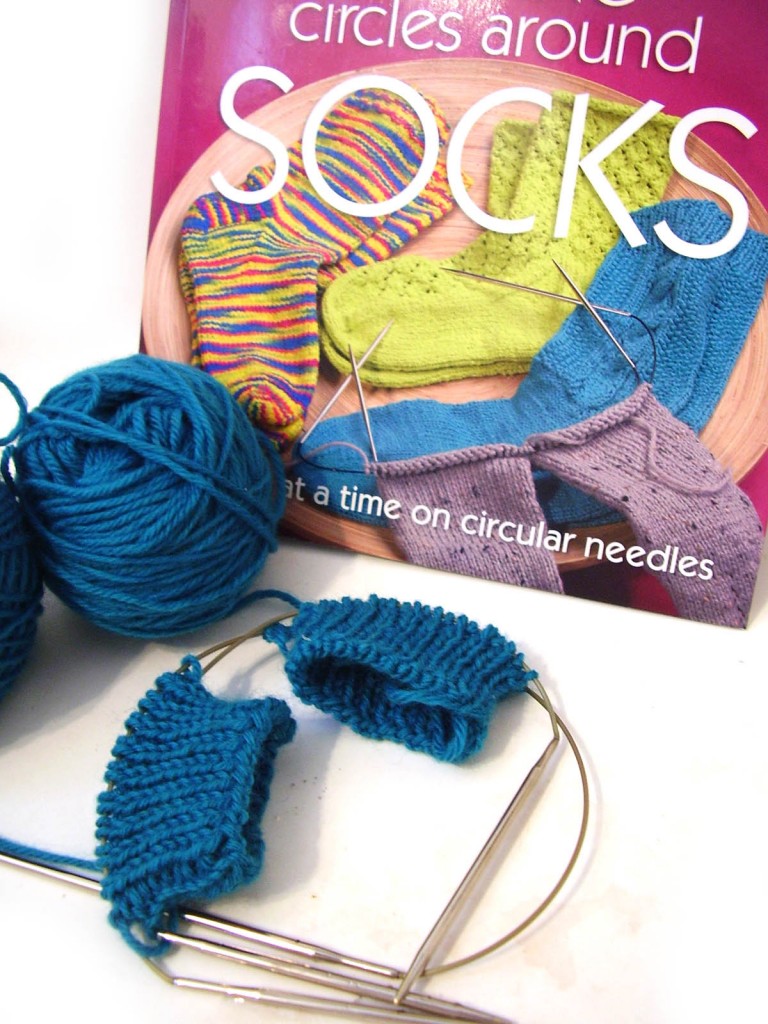
You can use two circular needles knit socks… they basically behave like 2 giant bendy double point needles. This is the way I knit my first pair of socks, and I love it! It’s a wise idea to use two circulars of different length (or different colored tips) so you can distinguish them while knitting. An added bonus is that this method makes available knitting 2 socks at one time (Knitting Circles around Socks, pictured).
Pros:

  • Because there are only 2 spots in between the needles (compared to 3 or 4 with dpns), laddering is less of a problem.
  • You may already have the circulars in your needle stash.
  • The ability to do two at a time? Rock on!
  • The project can easily be tossed in a bag without much risk of stitches falling off.

Cons:

  • If you don’t already have the needles, buying two circulars for one pair of socks can be costly.
  • Not many patterns are written for this technique, so you may have to do some adaptation.

It’s true, knitting on two circulars (especially two-at-a-time) has a little bit of a learning curve… but if you stick with it, you’re rewarded with less laddering and a more portable project. I also enjoy that you’re able to use your favorite circular needles (like my super-slick Addi Turbos), and don’t have to switch to another brand/style.

One circular needle (aka Magic Loop)

Options Available: material (metal, wood or plastic), pointiness of the tip

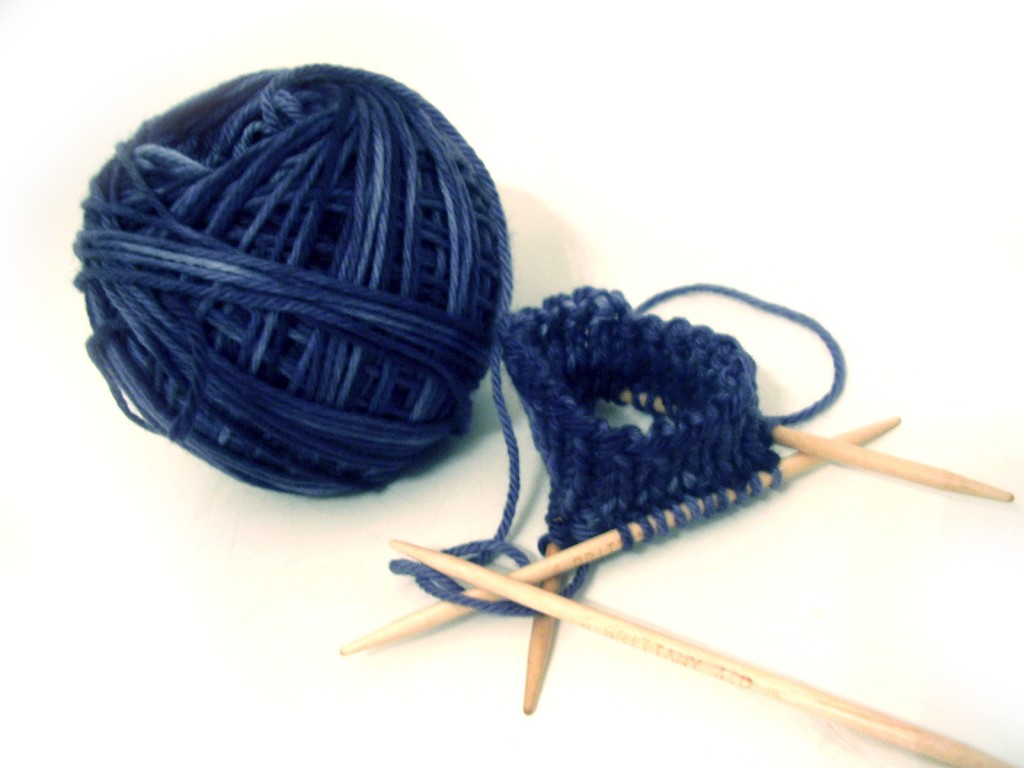
Magic Loop works very much like knitting with two circulars, except that you use one very long circular (usually a 40+ inch). The actual knitting technique is very similar, and has the same bonus is that this method makes available knitting 2 socks at one time (2-at-a-Time Socks uses one circular needle).

Pros:

  • Just like 2 circulars, less laddering (as compared to dpns) occurs.
  • The ability to do two at a time? Still rock on!
  • Also like 2 circulars, the project can easily be tossed in a bag without much risk of stitches falling off.

Cons:

  • Unless you knit shawls (or really like knitting your socks this way), you’re unlikely to use your 40″ needles on many projects.
  • Also like 2 circulars, not many patterns are written for this technique, so you may have to do some adaptation.

To me, knitting on 3 circulars and magic loop (1 long circular) have very similar pluses and minuses. More than anything, it’ll come down to your preference. For me personally, having extra cord drives me nuts. Therefore, magic loop drives me crazy! But for others, remembering which of the 2 circulars to use is endlessly confusing.

A 9″ circular

Options Available: material (metal or wood), pointiness of the tip

I’ll confess: this is my favorite way to knit socks. No laddering, no need to switch needles… just smooth knitting!

Pros:

  • No ladders!
  • Very easy to toss in a bag and travel with.

Cons:

  • You will need to switch to a different technique (either of the above 3 mentioned) to knit the toe, because there are too few stitches to fit around the circular.
  • Again, almost no patterns are written for this technique, so you’ll have to do some adaptation.
  • Many people say the smaller size gives them a hand cramp.
  • The needles aren’t yet widely available, and won’t be a part of any interchangeable kit.

I travel a lot, and I always bring a sock with me to work on. I absolutely adore the ease and portability (because I’ve had the traumatic experience of a dpn rolling under my airplane seat), and since my hands are small, I don’t mind the knitting. But, I also know a number of people who can’t stand them, so the only way to find out is to try them! The leading manufacturer in making 9″ needles is Hiya Hiya, who has 3 styles available: bamboo, metal and sharp.

Which are your faves?

What’s your preferred method of knitting socks?

If you’re a newbie… I hope I’ve given you a (not stressful) review of the options that are out there!

What’s a pinkie do while crocheting? Tension the yarn!

There’s no right way to hold your yarn while crocheting. Whatever works for you is the way you should do it!

But, I’m often asked how I hold my yarn… so I’ll tell you! You may like it, you may not. My feelings won’t be hurt if it’s not for you!

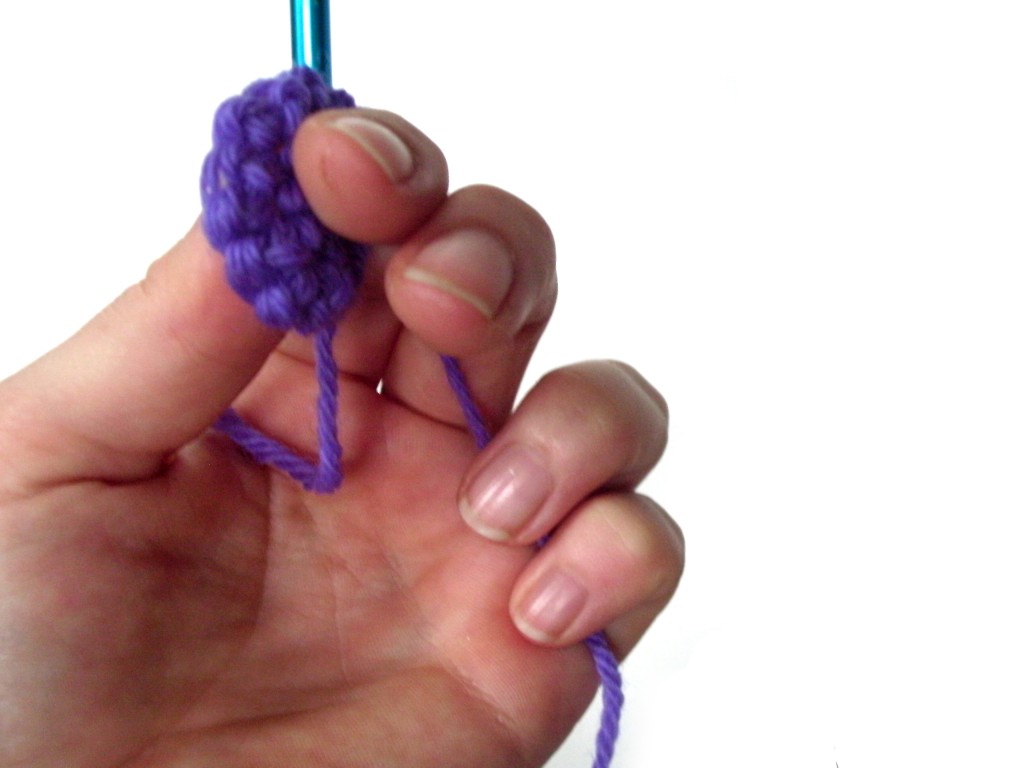
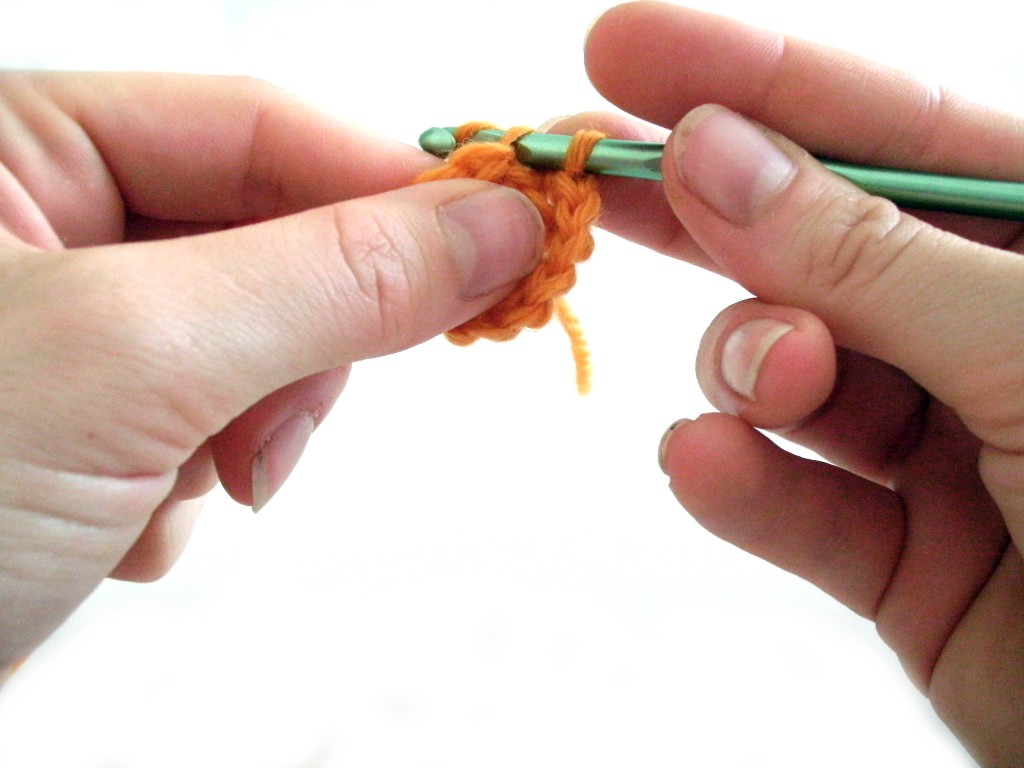
I’m right-handed, so I hold my working piece and the yarn in my left hand:

As you can see, I hold the piece I’m working on between my thumb and index finger. I hold the tension with the working yarn pressed between my pinkie and my palm.

This allows me to keep a constant tension on the yarn, without the pausing that happens if you wrap your yarn around a finger.

The yarn runs from my work, over my index finger, and then under my middle, ring and pinkie fingers to end up squished by my pinkie:

Keeping the yarn on top of my index finger is another handy trick… it allows me to dip my hook in a stitch and under the yarn with just a tiny movement of my index finger:

This hold allows me to crochet smoothly, without moving my fingers/wrists around too much. Which is good, because I get very achy wrists, and keeping movement down really helps!

How do you tension your yarn? How’s it working for you? Just in case you’re curious, I hold my yarn the exact same way while I’m knitting… but I know there are lots of other ways that work beautifully for people!

Here are handy links to all the crochet troubleshooting posts. . .

Return to the main table of contents for Let’s Learn to Crochet Amigurumi.

Happy stitching!

Using Embroidery Patterns for Something Besides Embroidery

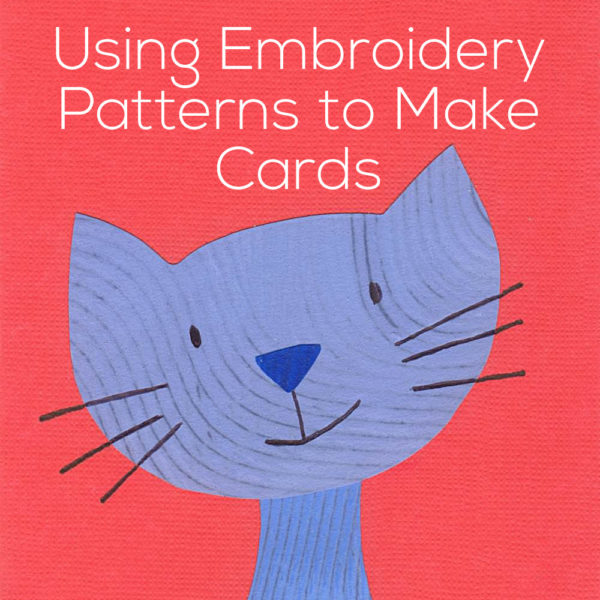
Jo’s been at summer camp for the last two weeks – hopefully loving every minute of it. 🙂 Last year I sent her cards made from my embroidery and applique patterns (see them here and here, and watch a video showing how to stitch on paper here) and this year she asked me to do the same thing. I thought I’d share them here with you so you could see a non-stitchy way to use embroidery patterns.

I use paper that I painted with simple patterns, but you could use magazines, the linings to security envelopes, giftwrap – any paper scraps really. You could also use the same patterns for applique – especially easy with fusible adhesive. Just enlarge them to whatever size you like!

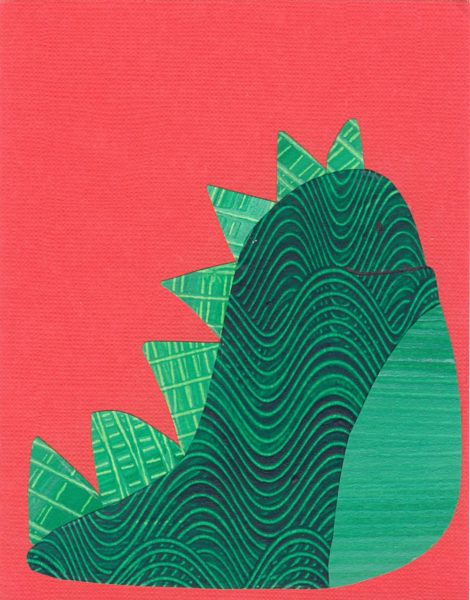
That blue cat up there at the beginning is one of the cats in this embroidery set.

Sluggo is the free pattern I gave away over at Wild Olive.

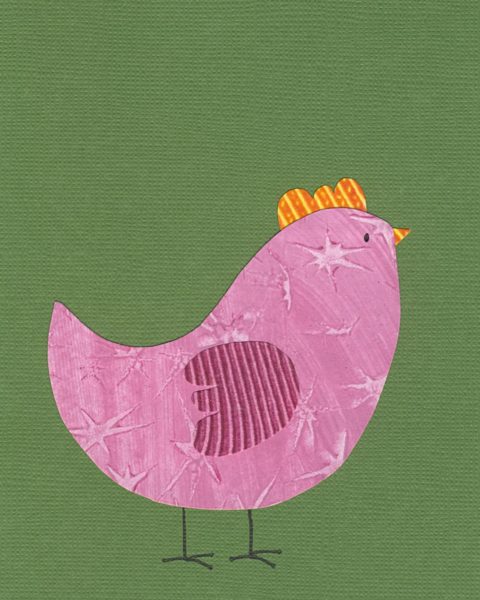
This hen is from the chickens collection.

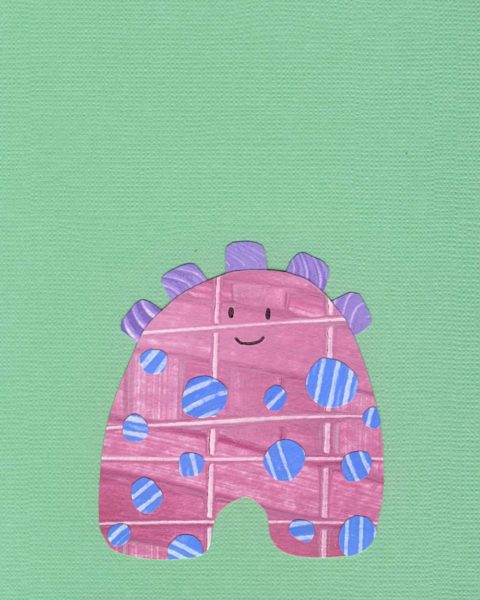
And this is one of the mini monsters.

Jo’s at camp for one more week – so a couple more will be coming soon!

Happy stitching!

Best,
Wendi

Insights on Expertise and Learning Knitting & Crochet

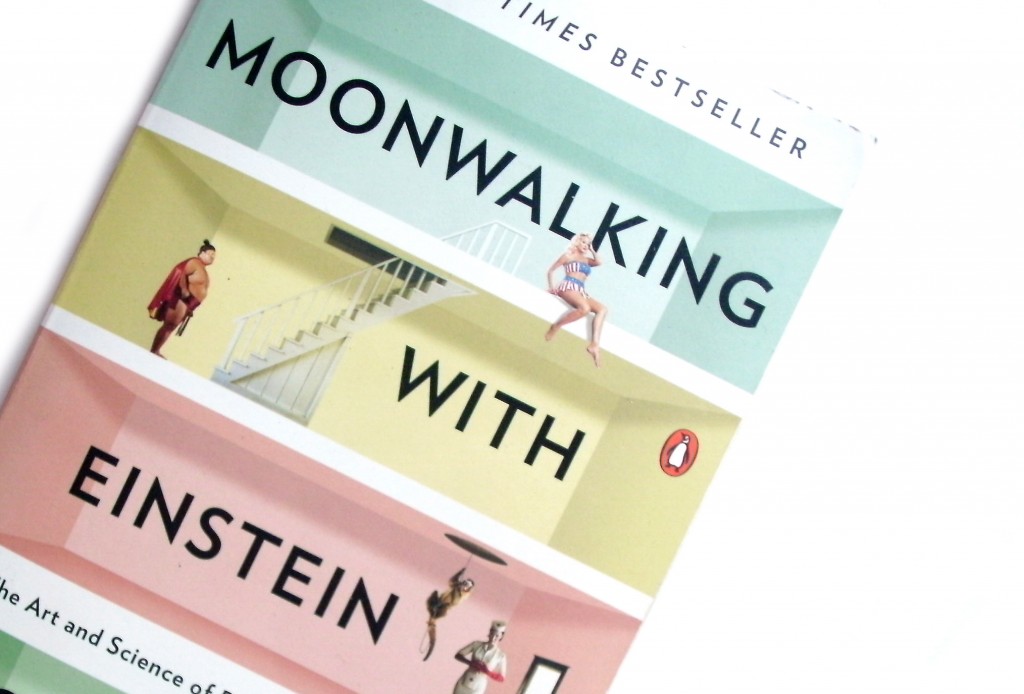
Right now, I’m reading Moonwalking with Einstein: The Art and Science of Remembering Everything. Want to know one thing I’ve learned? Experts can’t store more individual items in memory than beginners… but they can store more information overall because they divide content up into useful chunks.

What experts look like

Ever heard someone describe their project as, “Oh, I don’t need to look at the pattern. It’s just a basic top-down sweater with a raglan sleeve and waist decreases worked in stockinette with ribbing at the edges”? This causes most beginners to gasp… what? No pattern?!?

An expert is able to store the entire pattern for a sweater in memory because they’ve chunked big pieces of relevant information. Some examples of chunks:

  • Stockinette is knitting every row (when worked in the round) or knitting the RS row and purling the WS row (when worked in rows).
  • A Raglan sleeve is worked by increasing on each side of a stitch marker, every other row, until piece reaches desired size.
  • A top-down sweater is worked starting at the neck, down to the body.
  • Waist decreases are achieved by inserting a decrease on the sides of the sweater, and repeated every 4 rows.

And so on…

None of these items are secret knowledge. But they’re bits of information that has been acquired sweater after sweater, pattern after pattern.

What this means about beginners

If you’re a new knitter or crocheter, I don’t need to tell you how hard it can be to start! But, if you’ve been at it for a while, it’s easy to forget how tough it once was. But, when you’re teaching newbies, it’s incredibly important to remember how hard it is, in order to avoid a frustrating experience for everyone!

You have 7 (plus or minus 2) spots in your short term memory. That’s it. And that’s all people, even if you’re a genius. It’s how brains are built.

Now, let’s look at someone who’s beginning to crochet… starting with the basic stitch, the single crochet. The steps are:

  • Insert hook into the next stitch.
  • The next stitch is the one that hasn’t been used, and looks like a sideways V.
  • Wrap the yarn around the hook.
  • Pull the hook, catching the yarn, through the loop on the hook.
  • Don’t forget to rotate the hook down so you can catch the yarn!
  • Wrap the yarn around the hook again.
  • Pull the yarn through both loops on the hook.

That’s it! They’ve already used their 7 memory slots!

It’s pretty much useless to say to a (complete) newbie: “single crochet 3 stitches, then double crochet 3 stitches”… because there’s not enough spots in their memory to do it! They used all of their spots remembering the single crochet!

This sounds like a trivial point until you’ve run into a few less-than-gifted teachers. You know, the people who tell their (30-minute-old) knitters to ‘work a 2×2 rib’… when they don’t even have a grasp of the basics of successfully completing a knit stitch.

When teaching, channel the difficulty encountered by newbies, and keep their memory space in mind. Then, you can lead them to becoming experts!

Becoming an expert

All it takes to become an expert is one thing: practice.

Boring, right? No tricks, no secrets. Just doing the same thing over and over again until it becomes second nature.

After you’ve single crocheted for a while, you’ll no longer have to run through all 7 individual steps to complete the action. You’ll just ‘know’ the stitch, and it’ll only take up one slot in memory. Giving you space to start working on larger chunks!

For teachers, this means allowing students to work on a skill until they ‘get it’, and are ready to move on to the next concept. It may sound harsh, but I’ve been known to tell some students in my beginning knitting classes that they’re not ready to learn to purl. Their memories were still filled with the 7 steps of doing the knit stitch… and those were just going to be washed away by learning 7 new steps for purling. They thanked me, because it meant that, at the end of class, they had a skill they were solid on- instead of leaving confused.

What are you working on becoming expert at? Has it taken more or less practice than you expected?

How to Make Easy Curtains

How to Make Easy Curtains
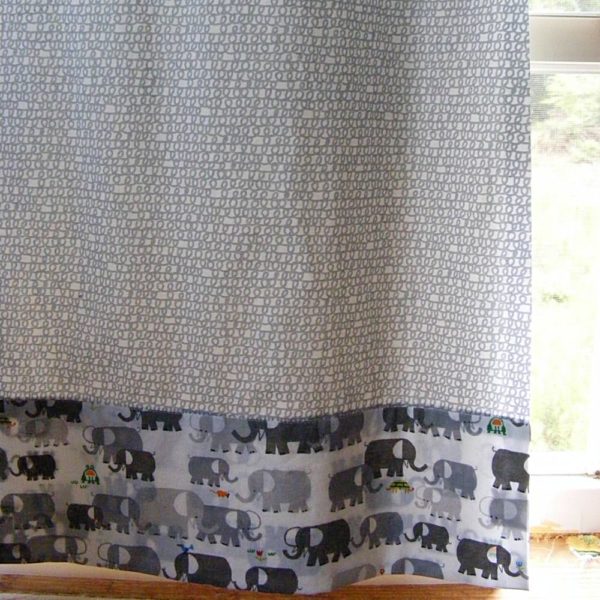
So these are the new curtains I made for my studio. I love them! And I thought I’d show you how to make them. They’re so easy.

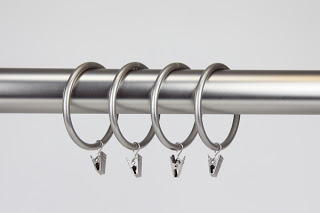
I’m pretty particular about curtains. I hate the ones that actually block light. 🙂 I’ve made lined curtains once – for Jo’s nursery when she was a baby. They were total blackout curtains and they were totally unnecessary. I love natural light and the only reason I have curtains is to block glare. So I like curtains that are light colored, not too heavy, and that open and close really easily. I do not like curtains that have the rod threaded through a pocket at the top. They are difficult to slide open and closed – and they never seem to open all the way. I love rings like this.

They slide really easily over the curtain rod. And because they clip on – really all you have to do is make a large rectangle. Easy peasy.

First – you need to measure the inside dimensions of your window and figure out how wide you want the contrasting band at the bottom. Mine is 5 inches, but you might need to adjust that to be proportional to your window.

Now calculate the size of your pieces.

For the main part of the curtain, make it roughly 1 1/2 times the width of the window. My window is 3 feet across and my fabric was 45 inches – close enough!

Calculate the length of the main piece. It should be the inside height of the window – 5 inches (for the lower band) + 1/2 inch for the seam allowance where the main part joins the bottom band + 1 inch for the top hem.

For the bottom band, it should be the same width as the main piece. The height should be twice the height of the finished band + 1 inch for the seam allowance where it joins the main piece.

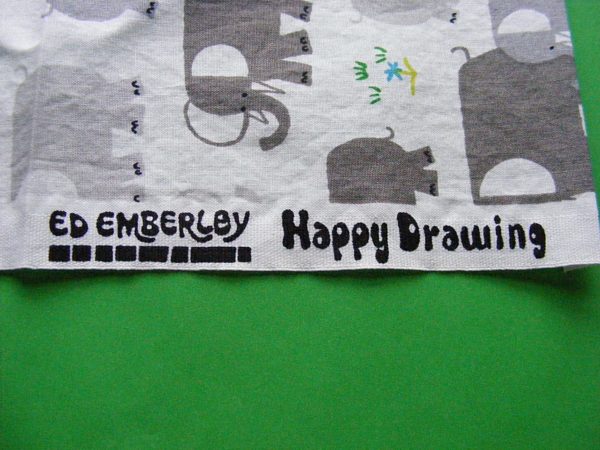
One more note. . . most people would want to cut off the selvedge edges and hem the sides. I happen to love selvedges – especially when they’re this cute. (I love this collection!)

Update – a couple of people have asked and you can still get the Happy Drawing fabric here. There are also lots of Etsy shops that still have it in stock too.

🙂 Plus I think it’s totally ok for the curtains in my sewing room to have visible selvedges. But if you want finished sides – do that now.

Ready? Time to put it all together.

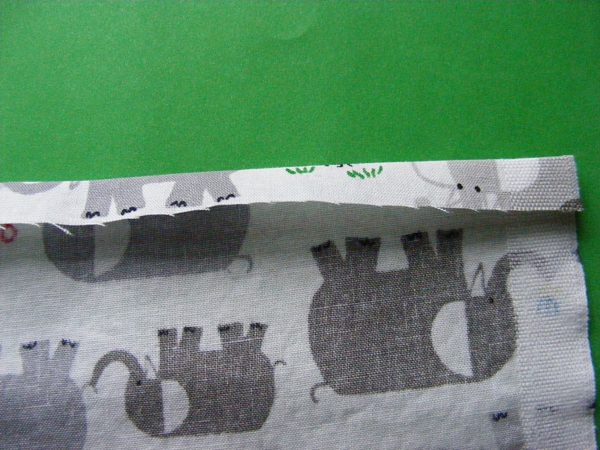
Turn the top edge down 1/2 inch and press. Now turn it down another 1/2 inch and press again. Stitch the top hem in place.

Fold the bottom band in half the long way and press a nice crease in it.

Sew the top edge of the band to the bottom edge of the curtain using 1/2 inch seam allowance. Press the seam allowance towards the contrasting band.

Easy Curtains - a free tutorial from Shiny Happy World

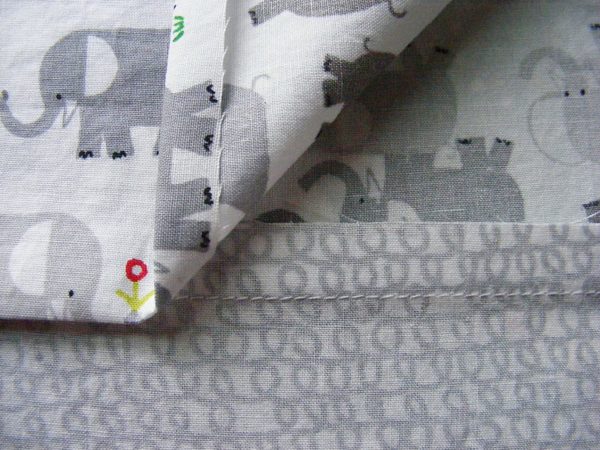
Now turn under 3/8 inch on the other end of the band and press.

That way, when you refold the band in half along that center crease line, the bottom fold comes just a smidge past the seam joining the main curtain to the contrasting band. Like this.

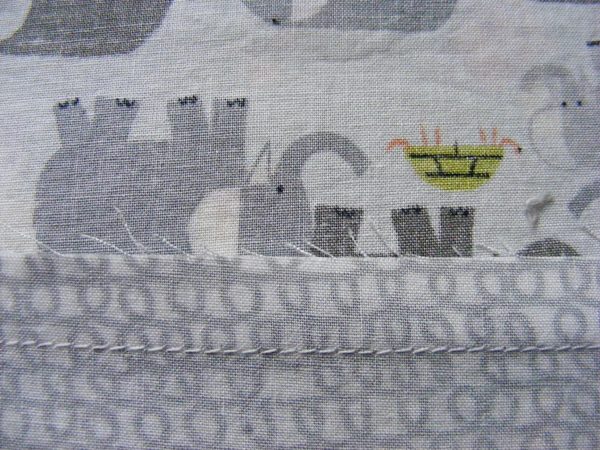
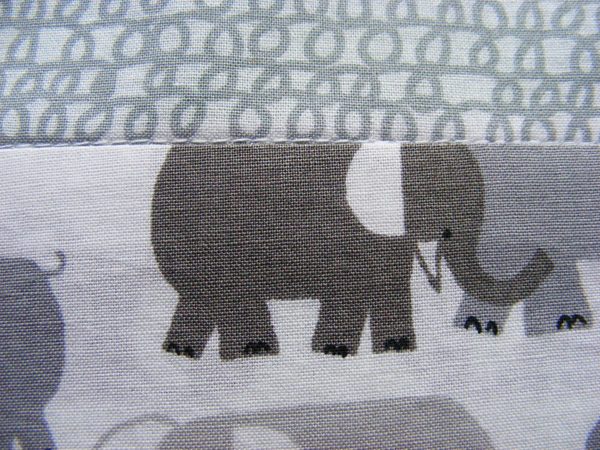
Now pin it in place. Flip the whole thing over and stitch right over the seam line joining the main curtain to the contrasting band. That’s called stitching in the ditch.

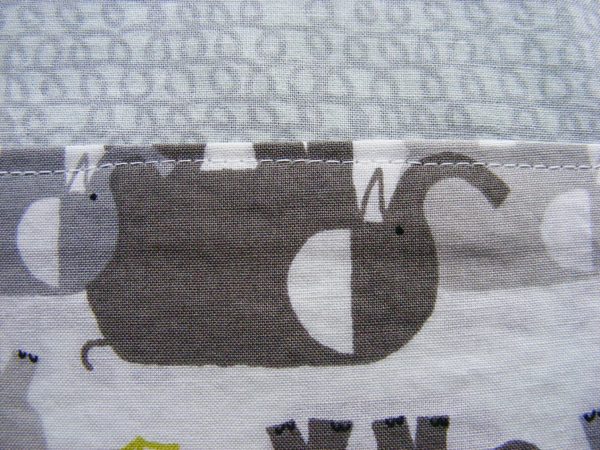
And here’s what it looks like from the back.

And see? All the seam allowance messiness is buried – hidden in the folded bottom band. Neat!

Give the whole thing one more good pressing and clip it to your curtain rings. Done!

Happy stitching!

Best,
Wendi

Tips for Stuffing Amigurumi

Tips for Stuffing Amigurumi - from Shiny Happy World and FreshStitches

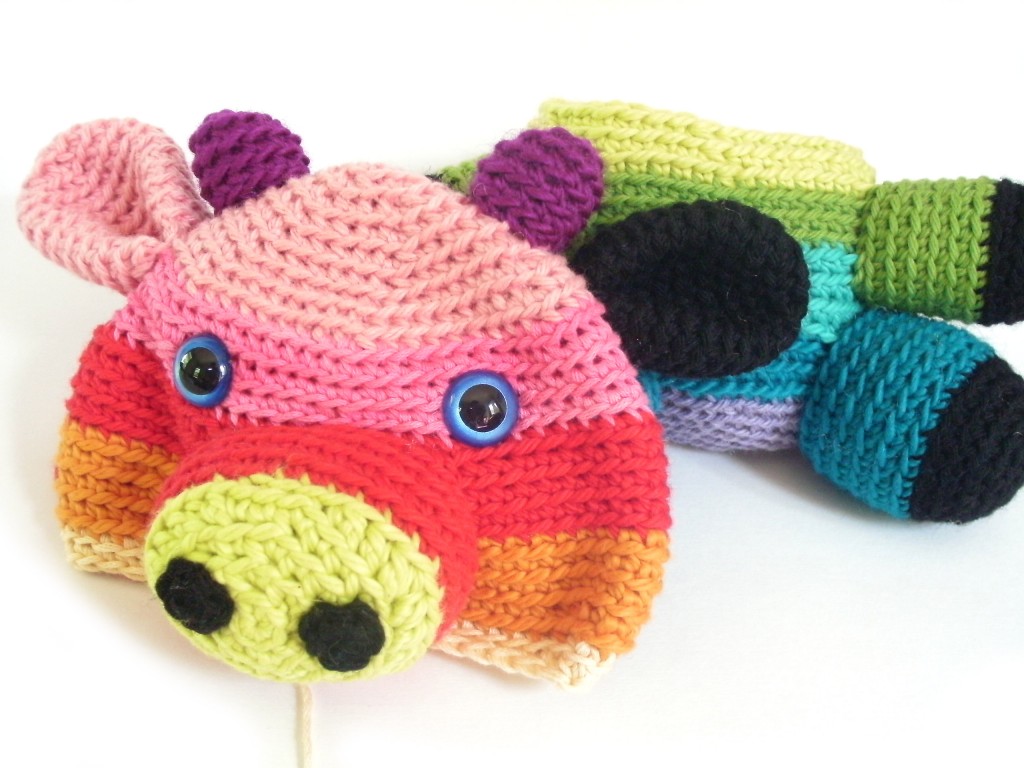
I’ve crocheted all of my cow pieces, and attached his features… the only thing left to do is stuff his head & body and attach them!

Stuffing the head and body can be a little tricky, since they’re large pieces. You want to be sure to add plenty of stuffing (to compensate for compression over time), but be careful to not overstuff (which will force the stuffing to show through your stitches).

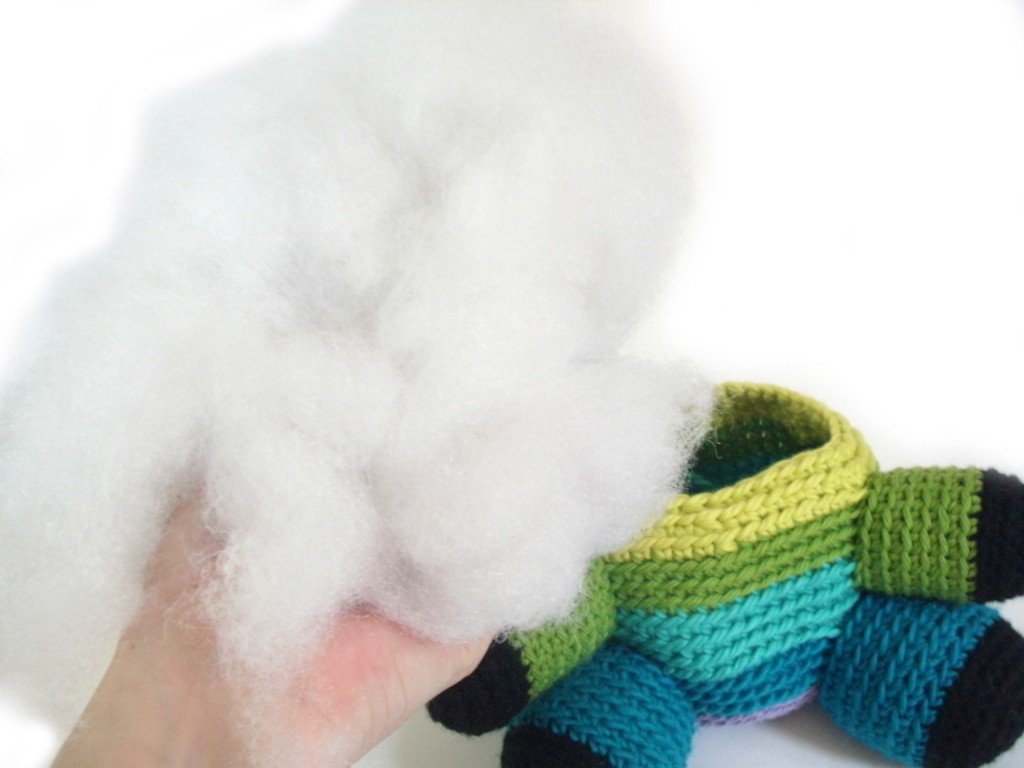
To stuff your cow’s head/body, take a big fluff of stuffing, and put it in.

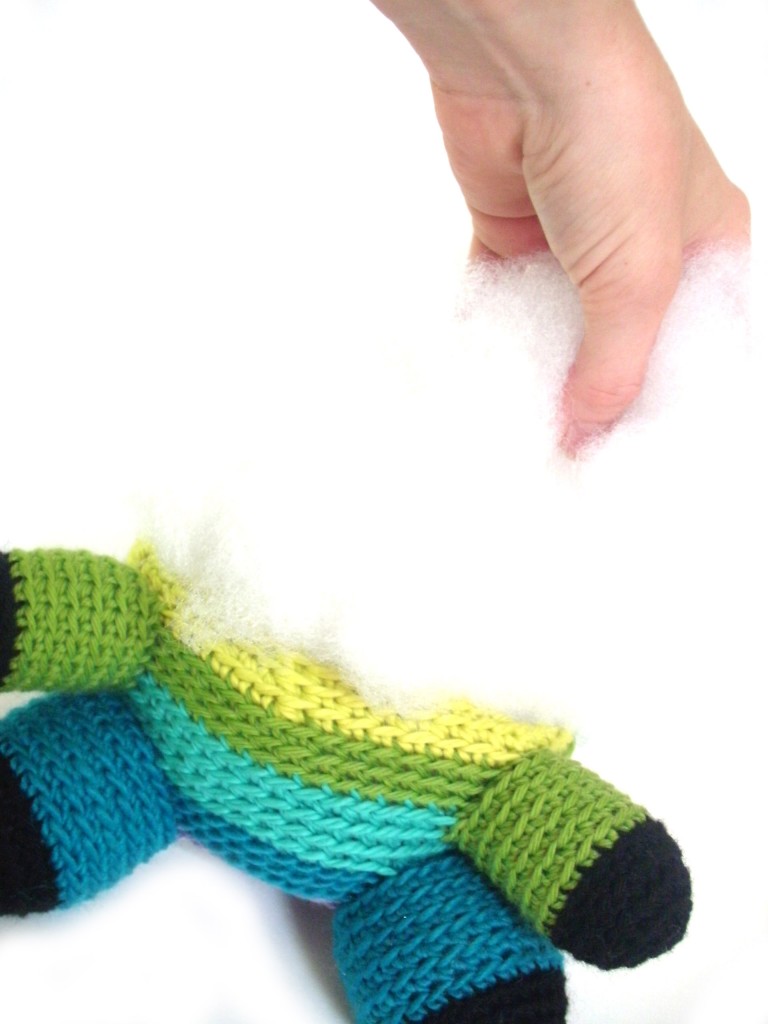
Putting in a big fluff of stuffing is better than poking in lots of little pieces of fluff… because little pieces will make your cow look lumpy. You don’t want that! If you add too much, you can just pull the extra out:

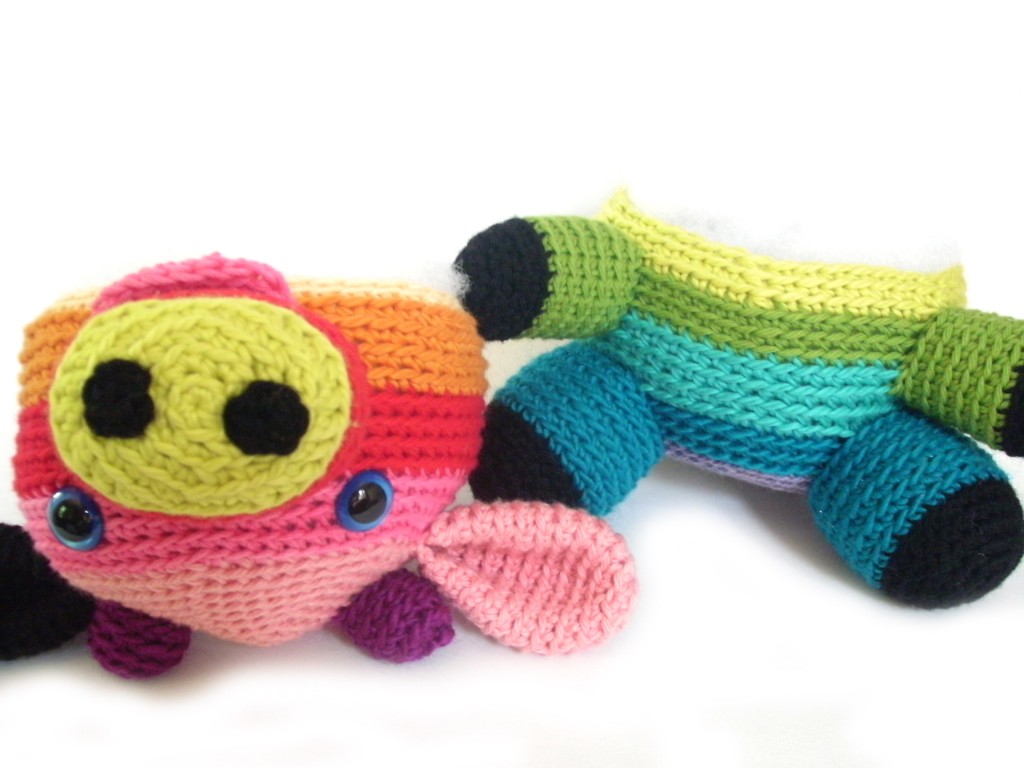
Do this for both the head and the body:

Now that they’re stuffed, it’s time to attach them! Read this post on getting a great-looking neck on your cutie!

And this post has some great tips for getting the arms and legs evenly stuffed.

Here are handy links to all the posts about stuffing amigurumi. . .

Return to the main table of contents for Let’s Learn to Crochet Amigurumi.

Move on to the lessons for closing up the opening.

Happy stitching!

Tips for attaching amigurumi features

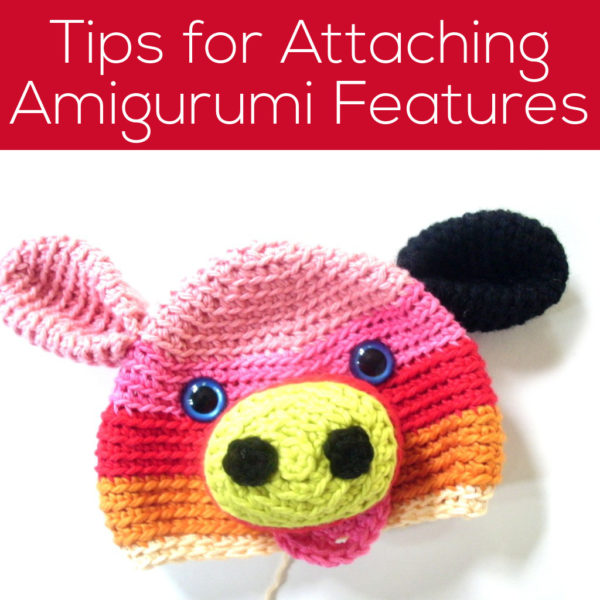
Attaching facial features can be one of the trickiest parts of making stuffed animals… but it’s also what brings your cutie to life! With just a few tricks, you’ll be positioning and attaching features with ease… and love your finished result!

Using Locking Stitch Markers for Positioning

I’ve already talked about how to use locking stitch markers to help you identify the rounds to attach your pieces to, and you’ll want to keep using this trick for placing your facial features.

At this point, I’m about to attach the snout. The pattern says to attach it to rounds 13-18 of the head, so I’ve marked these rounds with my locking stitch markers:

This makes it super-easy to see where my snout should go!

Once the snout is in place, it’s time to attach the mouth. Want to hear another great use for locking stitch markers? I use them to hold a piece in place… so I can see exactly what it will look like when attached! This saves me from attaching them, not liking how it looks, then re-doing it!

Keep using markers to position/attach the ears… and your cutie is on its way!

Other helpful tips

  • Use the running stitch for attaching the nostrils onto the snout… it’ll make them lie nice and flat!
  • Attaching a folded ear can be tricky… read this post to see it in action.
  • Looking for an even easier way to handle the folded ear? Whipstitch the flattened ear closed first… then you’re only dealing with 2 edges, not 4!
  • Stick your eyes in first… and check out how they look before you put the washers on. This lets you check out how the eyes will look before you affix them permanently!
  • When positioning spots, use those stitch markers! I like to put on a couple to hold my spot in place while attaching

How’s your cutie coming along?

We’re in the final week of the crochet-a-long! Here’s how mine looks:

So colorful!

Here are handy links to all the posts about attaching parts. . .

Return to the main table of contents for Let’s Learn to Crochet Amigurumi.

Move on to the lessons about faces and details.

Happy stitching!

Quick & Easy Shortcut for the Cow’s Tail!

A little update

Hey, everyone! Yesterday was moving day for me… and everything went smoothly! Yay!

It took a tad longer than usual to get our internet installed this morning (our new apartment seems to have some electrical trouble… eep!), so that’s why this post is a bit late! Thank you so much to everyone who wished me luck on our move… it worked!

Working on the cow’s tail

So, how about some helpful tips for crocheting the tail for Jackie the Cow (this month’s crochet-a-long)?

The instructions will tell you to cut 4 pieces of yarn a few inches long… but here’s a little secret: the actual length isn’t that important! You’re making the fluffy bit that will be at the end of the tail, so the length in the pattern is just a suggestion. Feel free to make yours as long as you’d like!

I like to use my hand as a guide… that way there’s no measuring required:

After I’ve wrapped a length of yarn around my hand a few times, I just cut straight next to my index finger, and I magically have equal yarn lengths!

Now, are you ready for my second trick? It’s actually more of an alternative way… but helpful to know!

The pattern includes instructions for how to crochet your tail directly onto the body of the cow. That’s a great way to do it… but if you’re like me, you like to crochet your pieces on the go (or maybe your cow body is still packed in a box somewhere). In that case, it’s easier to crochet your tail separately and attach it later. Here’s how!

Take a double strand of yarn, and make a slipknot, leaving about 3″ of tails:

Now, crochet the specified number of chains. When you’re done, insert your fluff into the loop:

Tie the ends (to secure your fluff), and you have a fabulous tail that can be attached at your leisure!