One of the easiest ways to make your quilt more dynamic is to use an alternate grid instead of a simple checkerboard.
And one of the easiest ways to make an alternate grid is to add half blocks!
It can be tricky to plan and assemble these quilts, but there are really only a few things to keep in mind – fabric requirements, block size, and how to sew those blocks together without any dang Y-seams.
The fabric yardage for my quilt patterns really doesn’t change – so that’s easy.
The size for half-blocks is also easy – once you remember to account for seam allowance. For my quilts (which are all based on a 10-inch grid) the half blocks will finish at 5 x 10 inches. That means you need to trim them (before sewing them together) to 5 1/2 x 10 1/2 inches. That means you need to cut your initial blocks 6 x 11 inches.
That leaves layout and assembly.
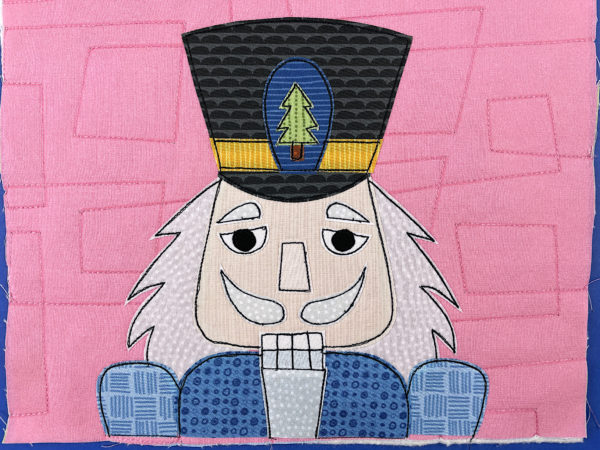
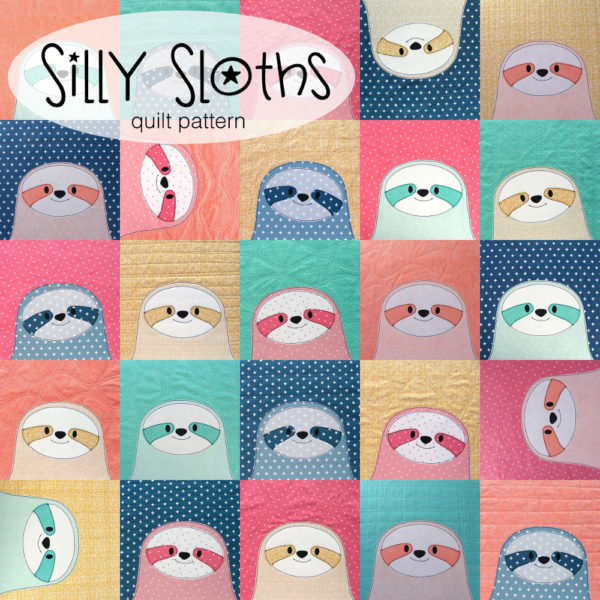
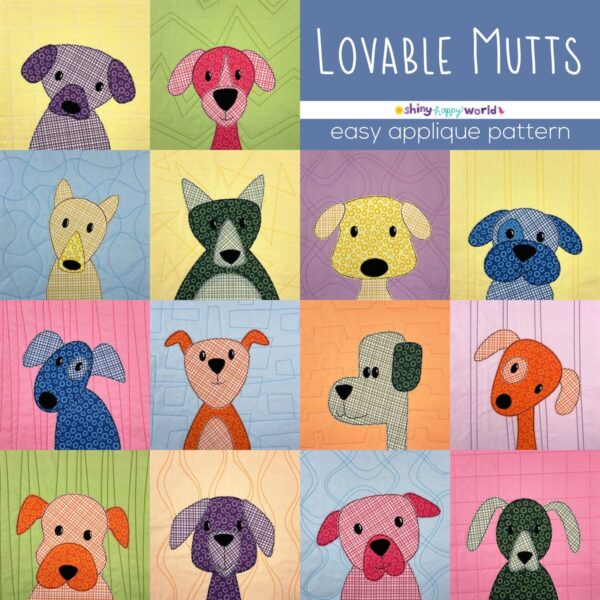
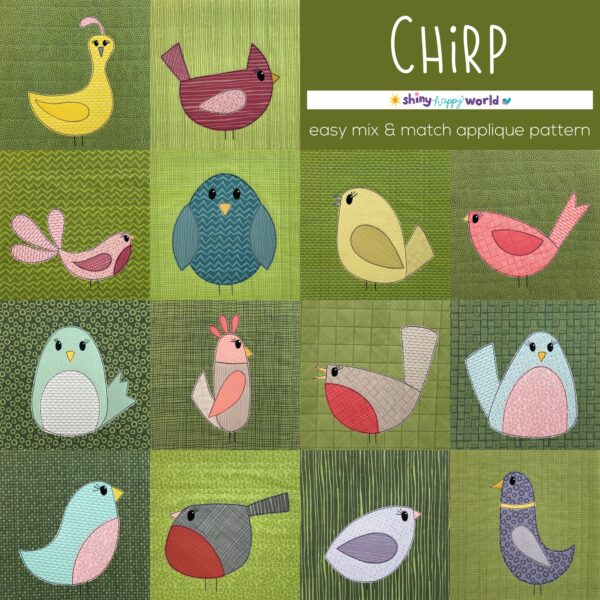
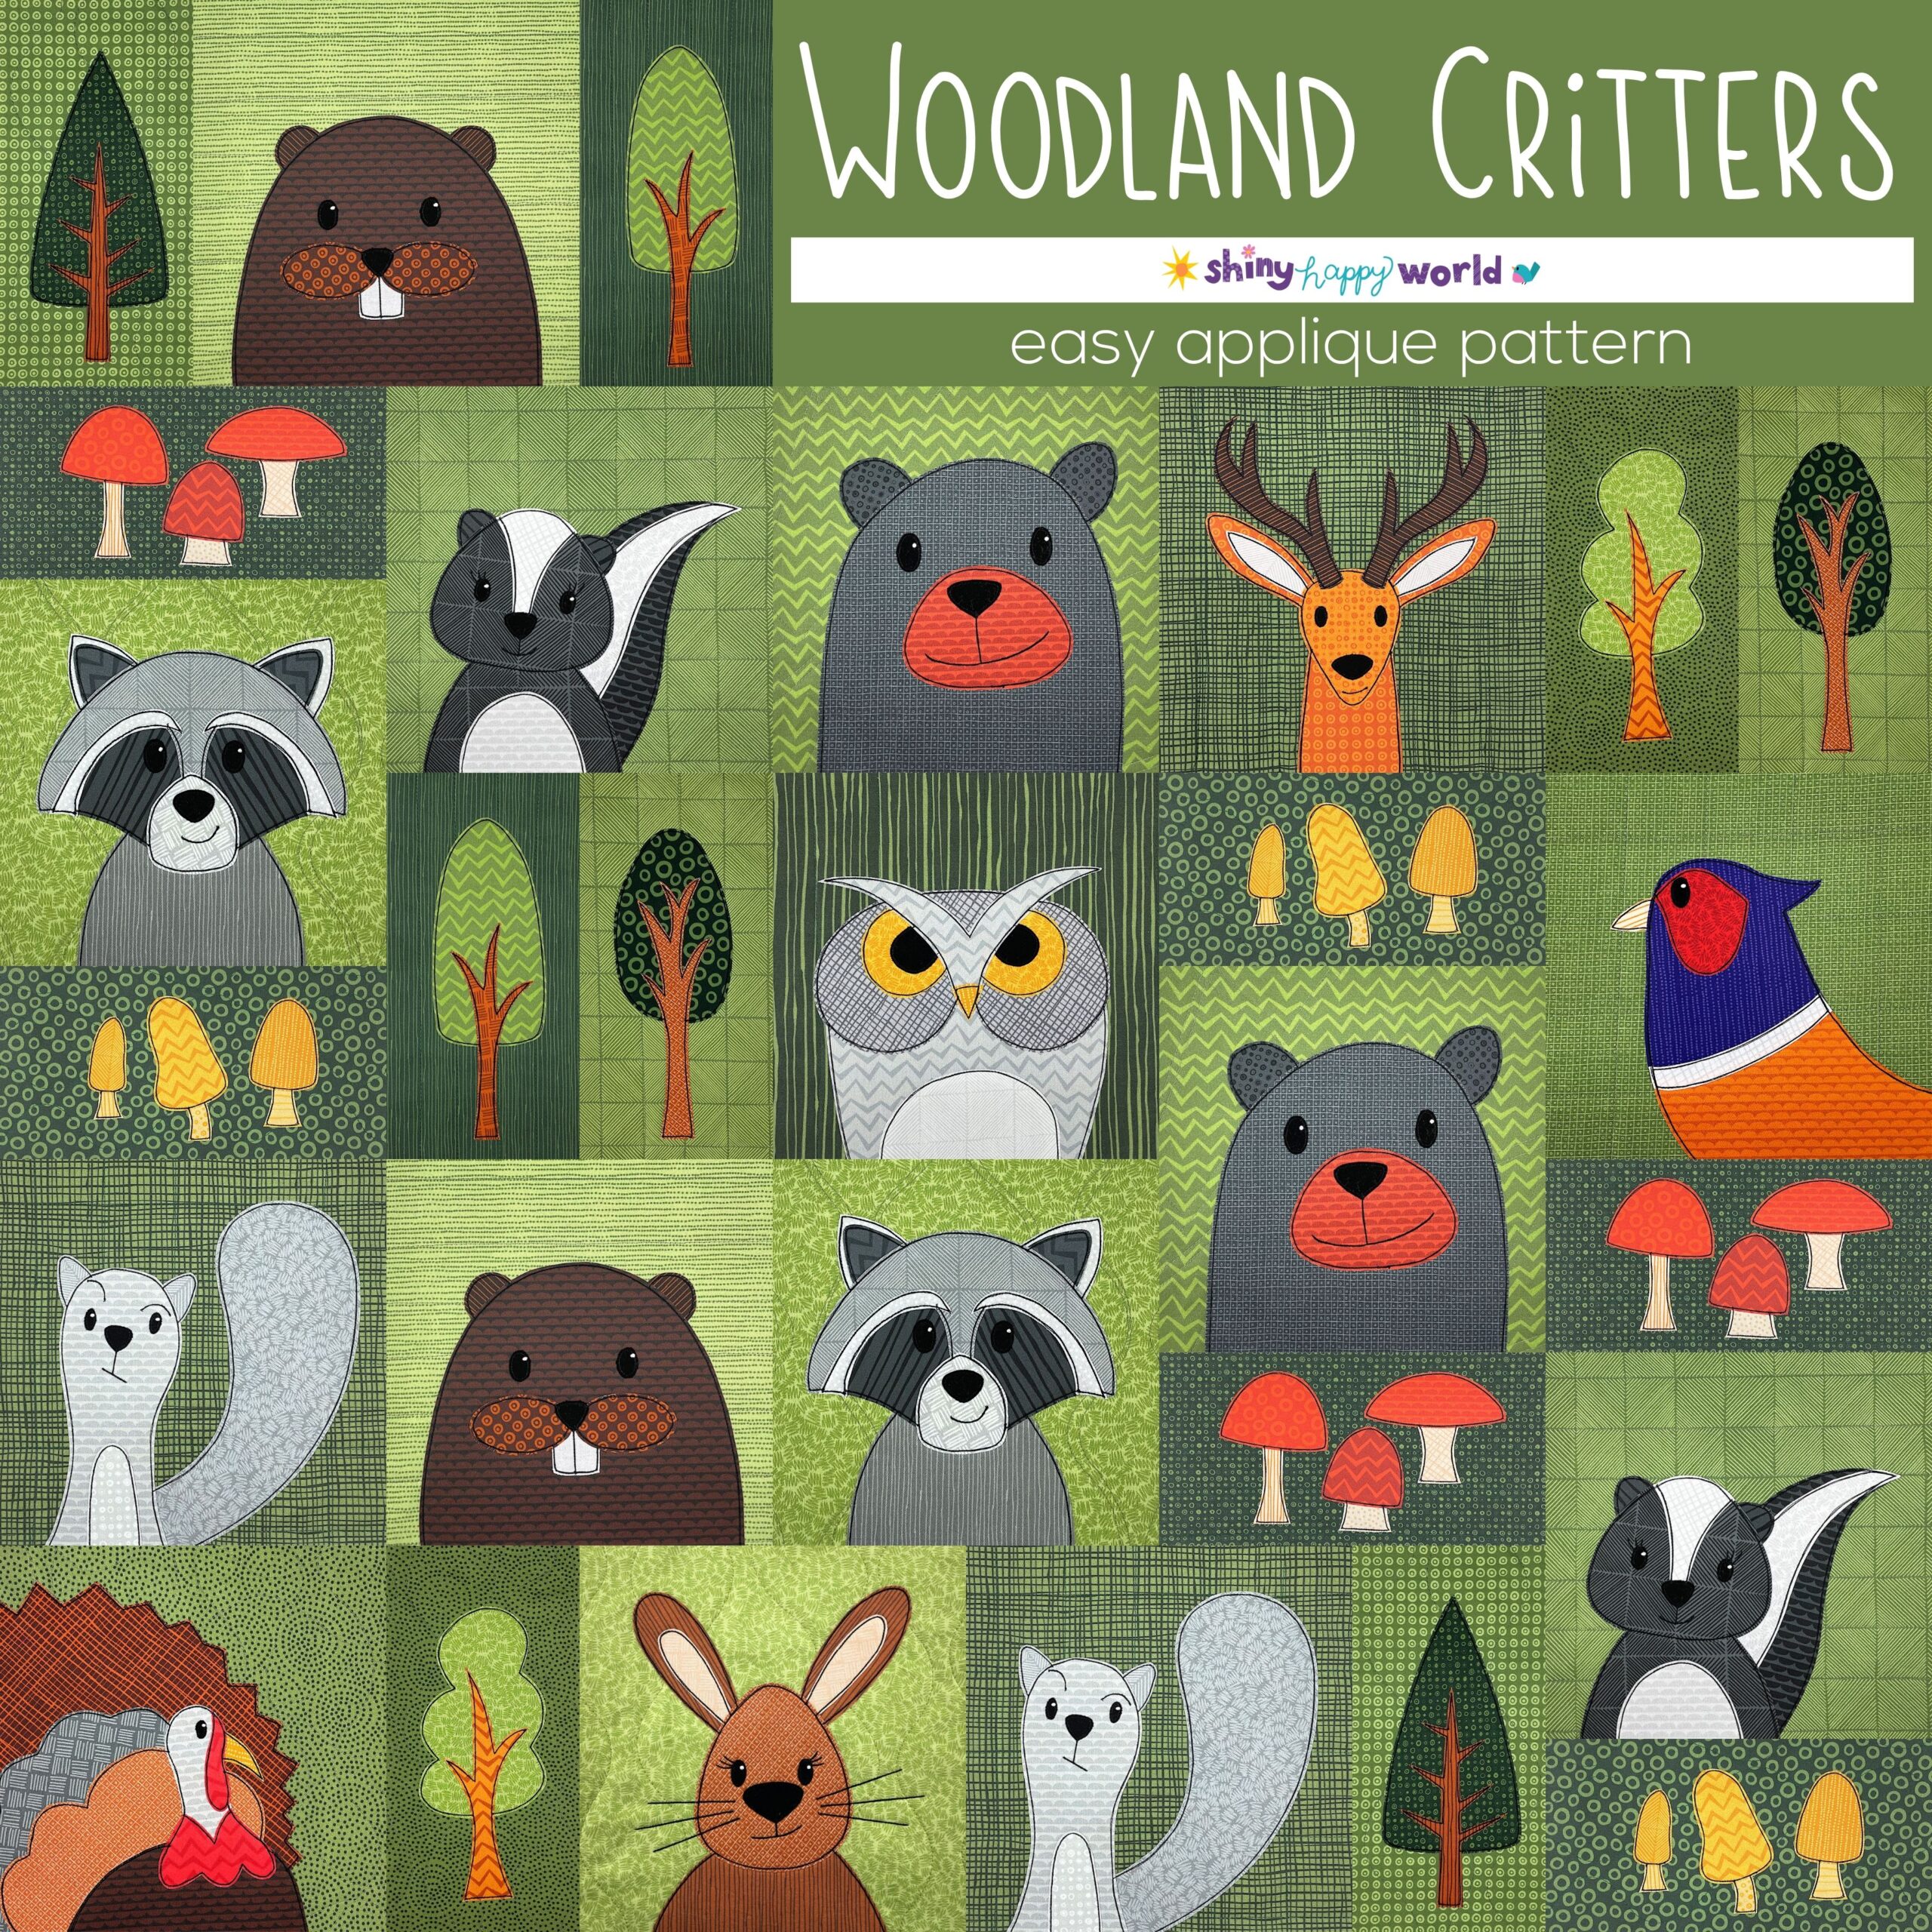
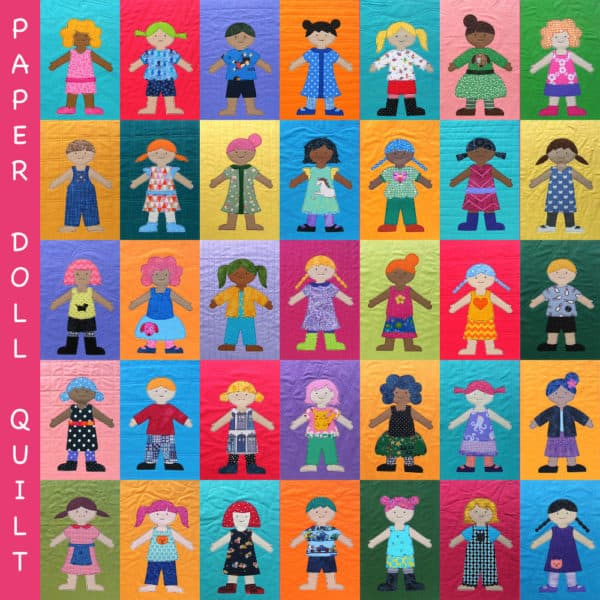
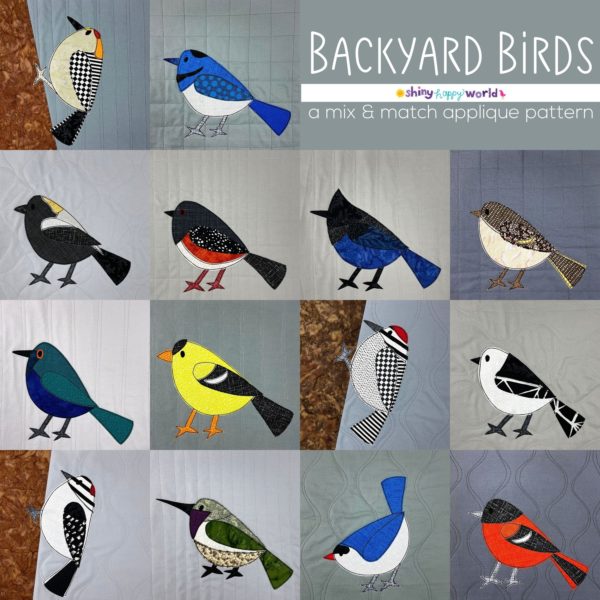
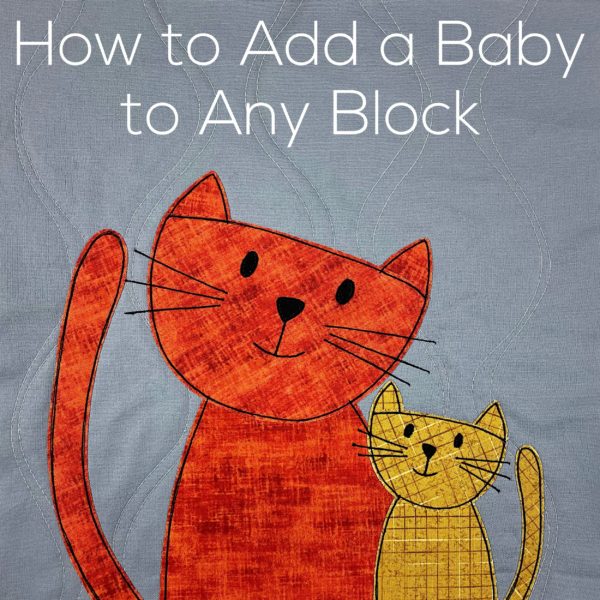
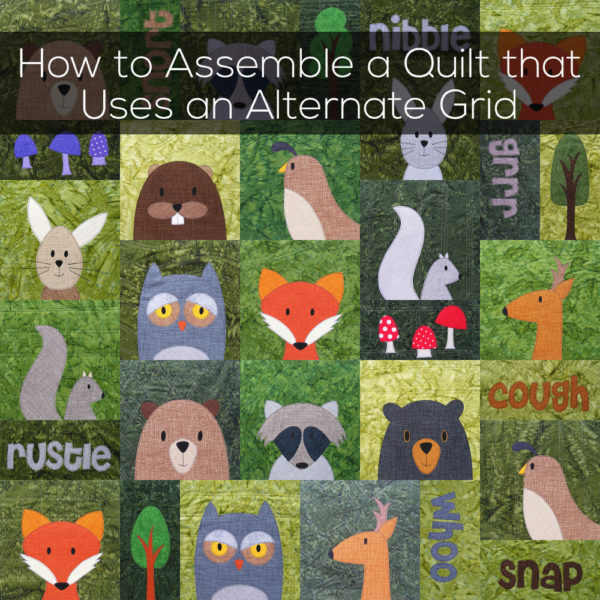
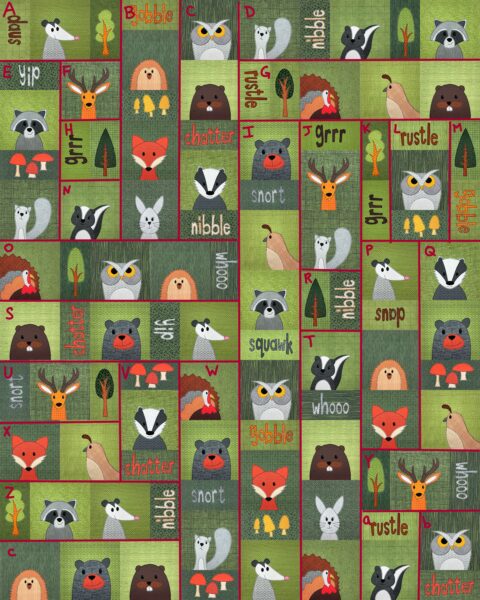
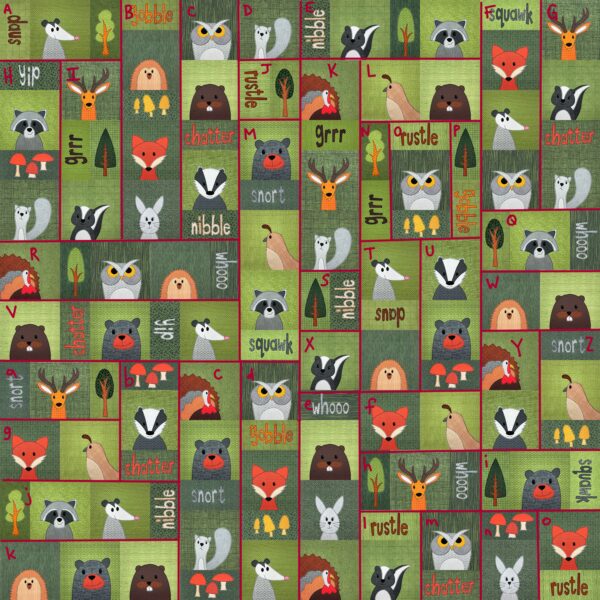
To make things extra easy for you, I’ve created basic templates you can use for six different quilt sizes. The samples all use the Woodland Critters quilt pattern, but you can use these layouts to add half-blocks to any of my patterns. Use the free alphabet pattern to add barks and yips and whines to the Lovable Mutts pattern, add snores to the Silly Sloths pattern, add a name and birth date to a baby quilt. You get the idea!
For each size below I tell you how many full blocks and how many half blocks to cut, give a template you can follow to assemble your blocks in a no-Y-seam layout, and explain in detail how to assemble the blocks. (It looks more complicated than it is – basically I’m just starting with the smallest units and adding to them with each step.)
Get more info about the different quilt sizes here, and get some tips for quilting an alternate block quilt here.
Itty Bitty Baby Size
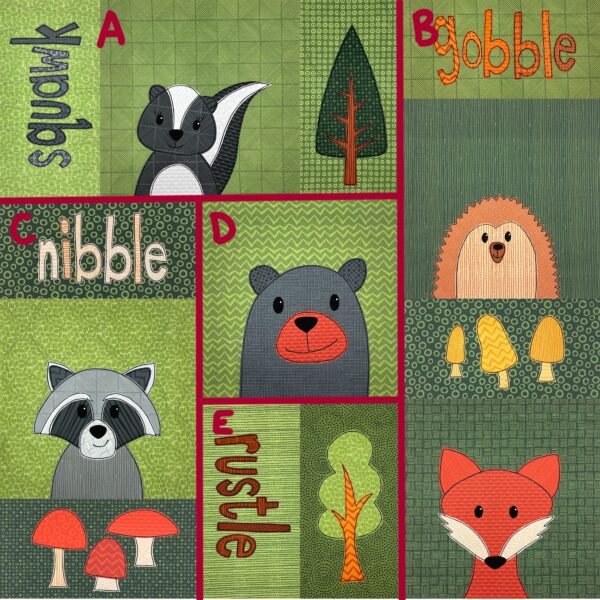
Instead of cutting nine square blocks, cut 5 square blocks (11 x 11) and 8 half blocks (6 x 11).
Sew each “chunk” you see in the diagram, then assemble them as follows:
- Sew D to E
- Sew C to DE
- Sew A to CDE
- Sew B to ACDE
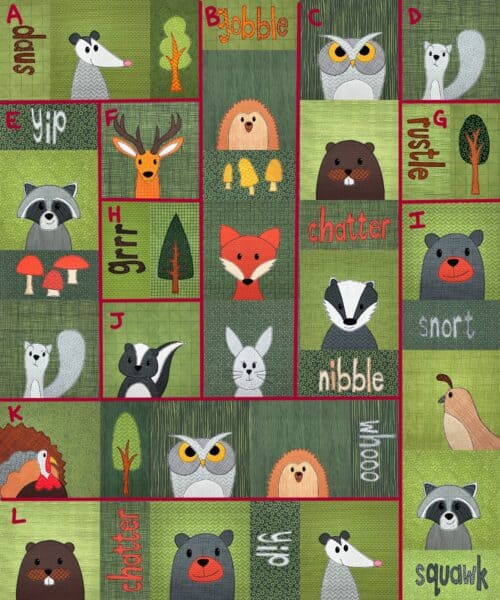
Crib Size
Instead of cutting 25 square blocks, cut 17 square blocks (11 x 11) and 16 half blocks (6 x 11).
Sew each “chunk” you see in the diagram, then assemble them as follows:
- Sew F to H to J
- Sew D to G to I
- Sew E to FHJ
- Sew A to EFHJ
- Sew B to AEFHJ
- Sew C to BAEFHJ
- Sew K to CBAEFHJ
- Sew DGI to KCBAEFHJ
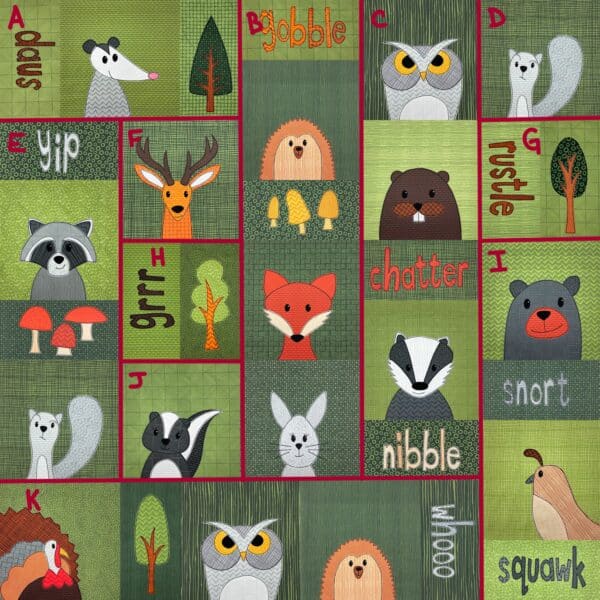
Nap Size
Instead of cutting 30 square blocks, cut 21 square blocks (11 x 11) and 18 half blocks (6 x 11).
Sew each “chunk” you see in the diagram, then assemble them as follows:
- Sew F to H to J
- Sew D to G to I
- Sew E to FHJ
- Sew A to EFHJ
- Sew B to AEFHJ
- Sew C to BAEFHJ
- Sew K to CBAEFHJ
- Sew L to KCBAEFHJ
- Sew DGI to LKCBAEFHJ
Twin Size
Instead of cutting 63 square blocks, cut 45 square blocks (11 x 11) and 36 half blocks (6 x 11).
Sew each “chunk” you see in the diagram, then assemble them as follows:
- Sew F to H to L
- Sew E to FHL
- Sew A to EFHL
- Sew B to AEFHL
- Sew C to BAEFHL
- Sew M to CBAEFHL
- Sew O to MCBAEFHL
- Sew S to V
- Sew T to SV
- Sew W to TSV
- Sew U to WTSV
- Sew UWTSV to OMCBAEFHL
- Sew J to K
- Sew N to JK
- Sew I to NJK
- Sew G to INJK
- Sew D to GINJK
- Sew P to Q
- Sew R to PQ
- Sew RPQ to DGINJK
- Sew UWTSVOMCBAEFHL to RPQDGINJK
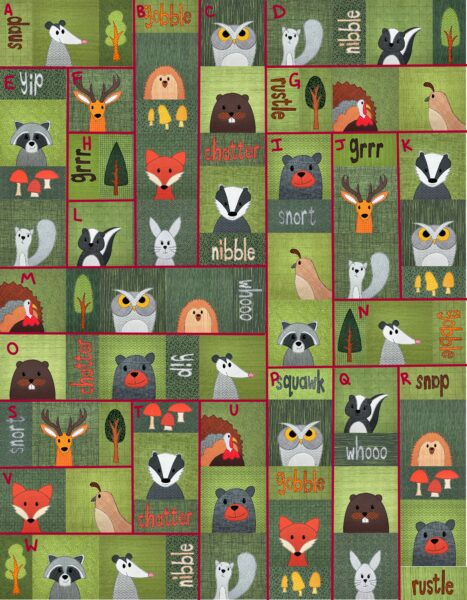
Queen Size
Instead of cutting 80 square blocks, cut 57 square blocks (11 x 11) and 46 half blocks (6 x 11).
Sew each “chunk” you see in the diagram, then assemble them as follows:
- Sew F to H to N
- Sew E to FHN
- Sew A to EFHN
- Sew B to AEFHN
- Sew C to BAEFHN
- Sew O to CBAEFHN
- Sew S to OCBAEFHN
- Sew U to X
- Sew V to UX
- Sew Z to VUX
- Sew c to ZVUX
- Sew W to cZVUX
- Sew WcZVUX to SOCBAEFHN
- Sew D to G
- Sew J to R
- Sew T to JR
- Sew I to TJR
- Sew K to L
- Sew M to KL
- Sew P to Q
- Sew a to b
- Sew Y to ab
- Sew Yab to PQ
- Sew MKL to YabPQ
- Sew MKLYabPQ to ITJR
- Sew DG to MKLYabPQITJR
- Sew DGMKLYabPQITJR to WcZVUXSOCBAEFHN
King Size
Instead of cutting 100 square blocks, cut 72 square blocks (11 x 11) and 56 half blocks (6 x 11).
Sew each “chunk” you see in the diagram, then assemble them as follows:
- Sew H to I
- Sew A to HI
- Sew B to AHI
- Sew C to BAHI
- Sew R to CBAHI
- Sew V to RCBAHI
- Sew a to g
- Sew b to ag
- Sew j to bag
- Sew k to jbag
- Sew c to kjbag
- Sew ckjbag to VRCBAHI
- Sew D to J
- Sew M to DJ
- Sew d to MDJ
- Sew dMDJ to ckjbagVRCBAHI
- Sew N to O
- Sew P to NO
- Sew L to PNO
- Sew T to U
- Sew TU to LPNO
- Sew f to TULPNO
- Sew h to fTULPNO
- Sew l to m
- Sew lm to hfTULPNO
- Sew K to S
- Sew X to KS
- Sew e to XKS
- Sew eXKS to lmhfTULPNO
- Sew E to eXKSlmhfTULPNO
- Sew EeXKSlmhfTULPNO to dMDJckjbagVRCBAHI
- Sew F to G
- Sew Q to FG
- Sew W to QFG
- Sew Y to Z
- Sew YZ to WQFG
- Sew n to o
- Sew i to no
- Sew ino to YZWQFG
- Sew inoYZWQFG to EeXKSlmhfTULPNOdMDJckjbagVRCBAHI
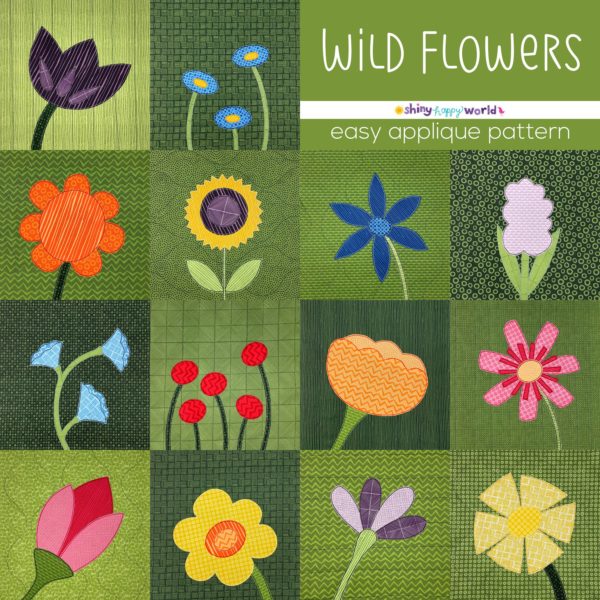
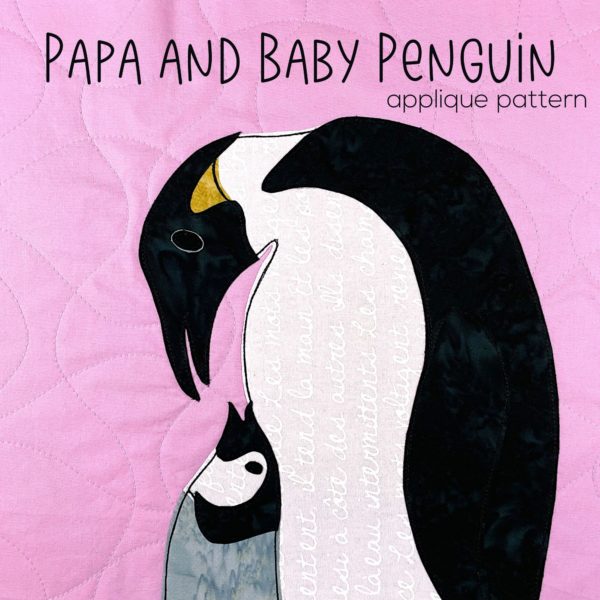
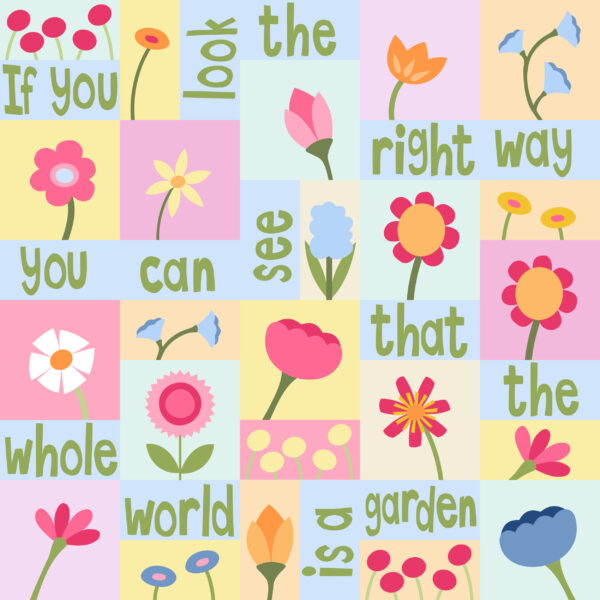
Whew! That King size looks a little crazy – but it’s the same principle as the smaller alternate grids. Just start with the smallest units and build up into larger chunks. There’s a video here walking you though the reasoning and process – especially helpful if you want to create your own alternate grid design and don’t want to end up with Y-seams. Maybe you want to incorporate a quote into a quilt, like I did in this version of the Wild Flowers pattern?
I can’t wait to see what you create with alternate grids!

Find links to all the posts about pattern size and layouts here.
Quilt Sizes and Supplies Needed
Play with Your Layouts – Multiple Possibilities for One Quilt Pattern
Sashing
- How to Add Sashing to a Quilt
- How to Add Sashing to a Quilt Pattern
- How to Add Sashing to a Quilt As You Go Quilt
- How to Pin Long Seams
- How to Make Wonky Faux Sashing with Quilt As You Go Blocks
How to Make Applique Bust Out of Its Frame
Alternate or Broken Grid layouts (adding half and double blocks)
- How to Make a Quilt with an Alternate Grid
- Quilt Block Sizes for Alternate Grid Layouts
- How to Assemble a Quilt that Uses an Alternate Grid
- How to Quilt a Broken Grid
How to Make an Applique Rag Quilt
How to Make a Wonky Churn Dash Frame for Any Block
Finished with this topic?
Return to the Let’s Make a Quilt main Table of Contents.
Move on to the lessons about choosing your fabric.
Happy stitching!