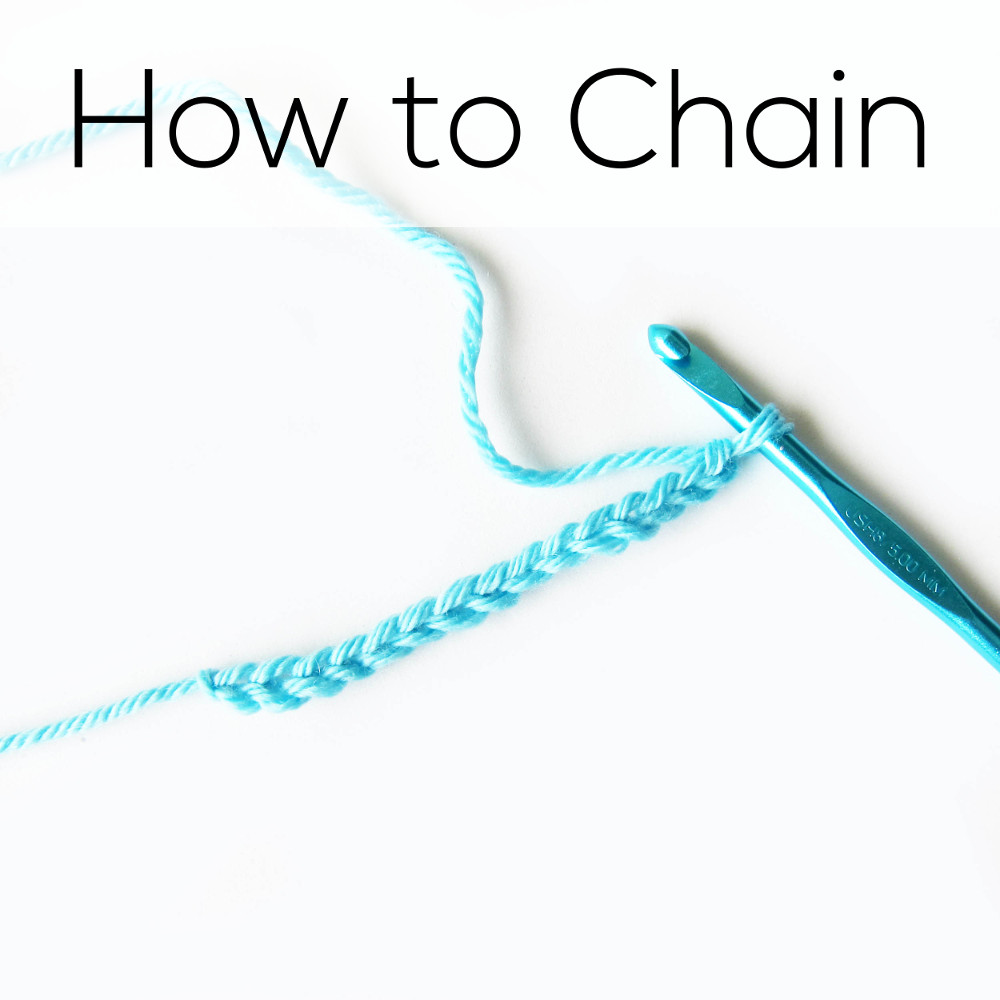
Chain stitches are the foundation for most crochet work – and they’re really easy to do.
Watch this video – Stacey will show you how to do it.
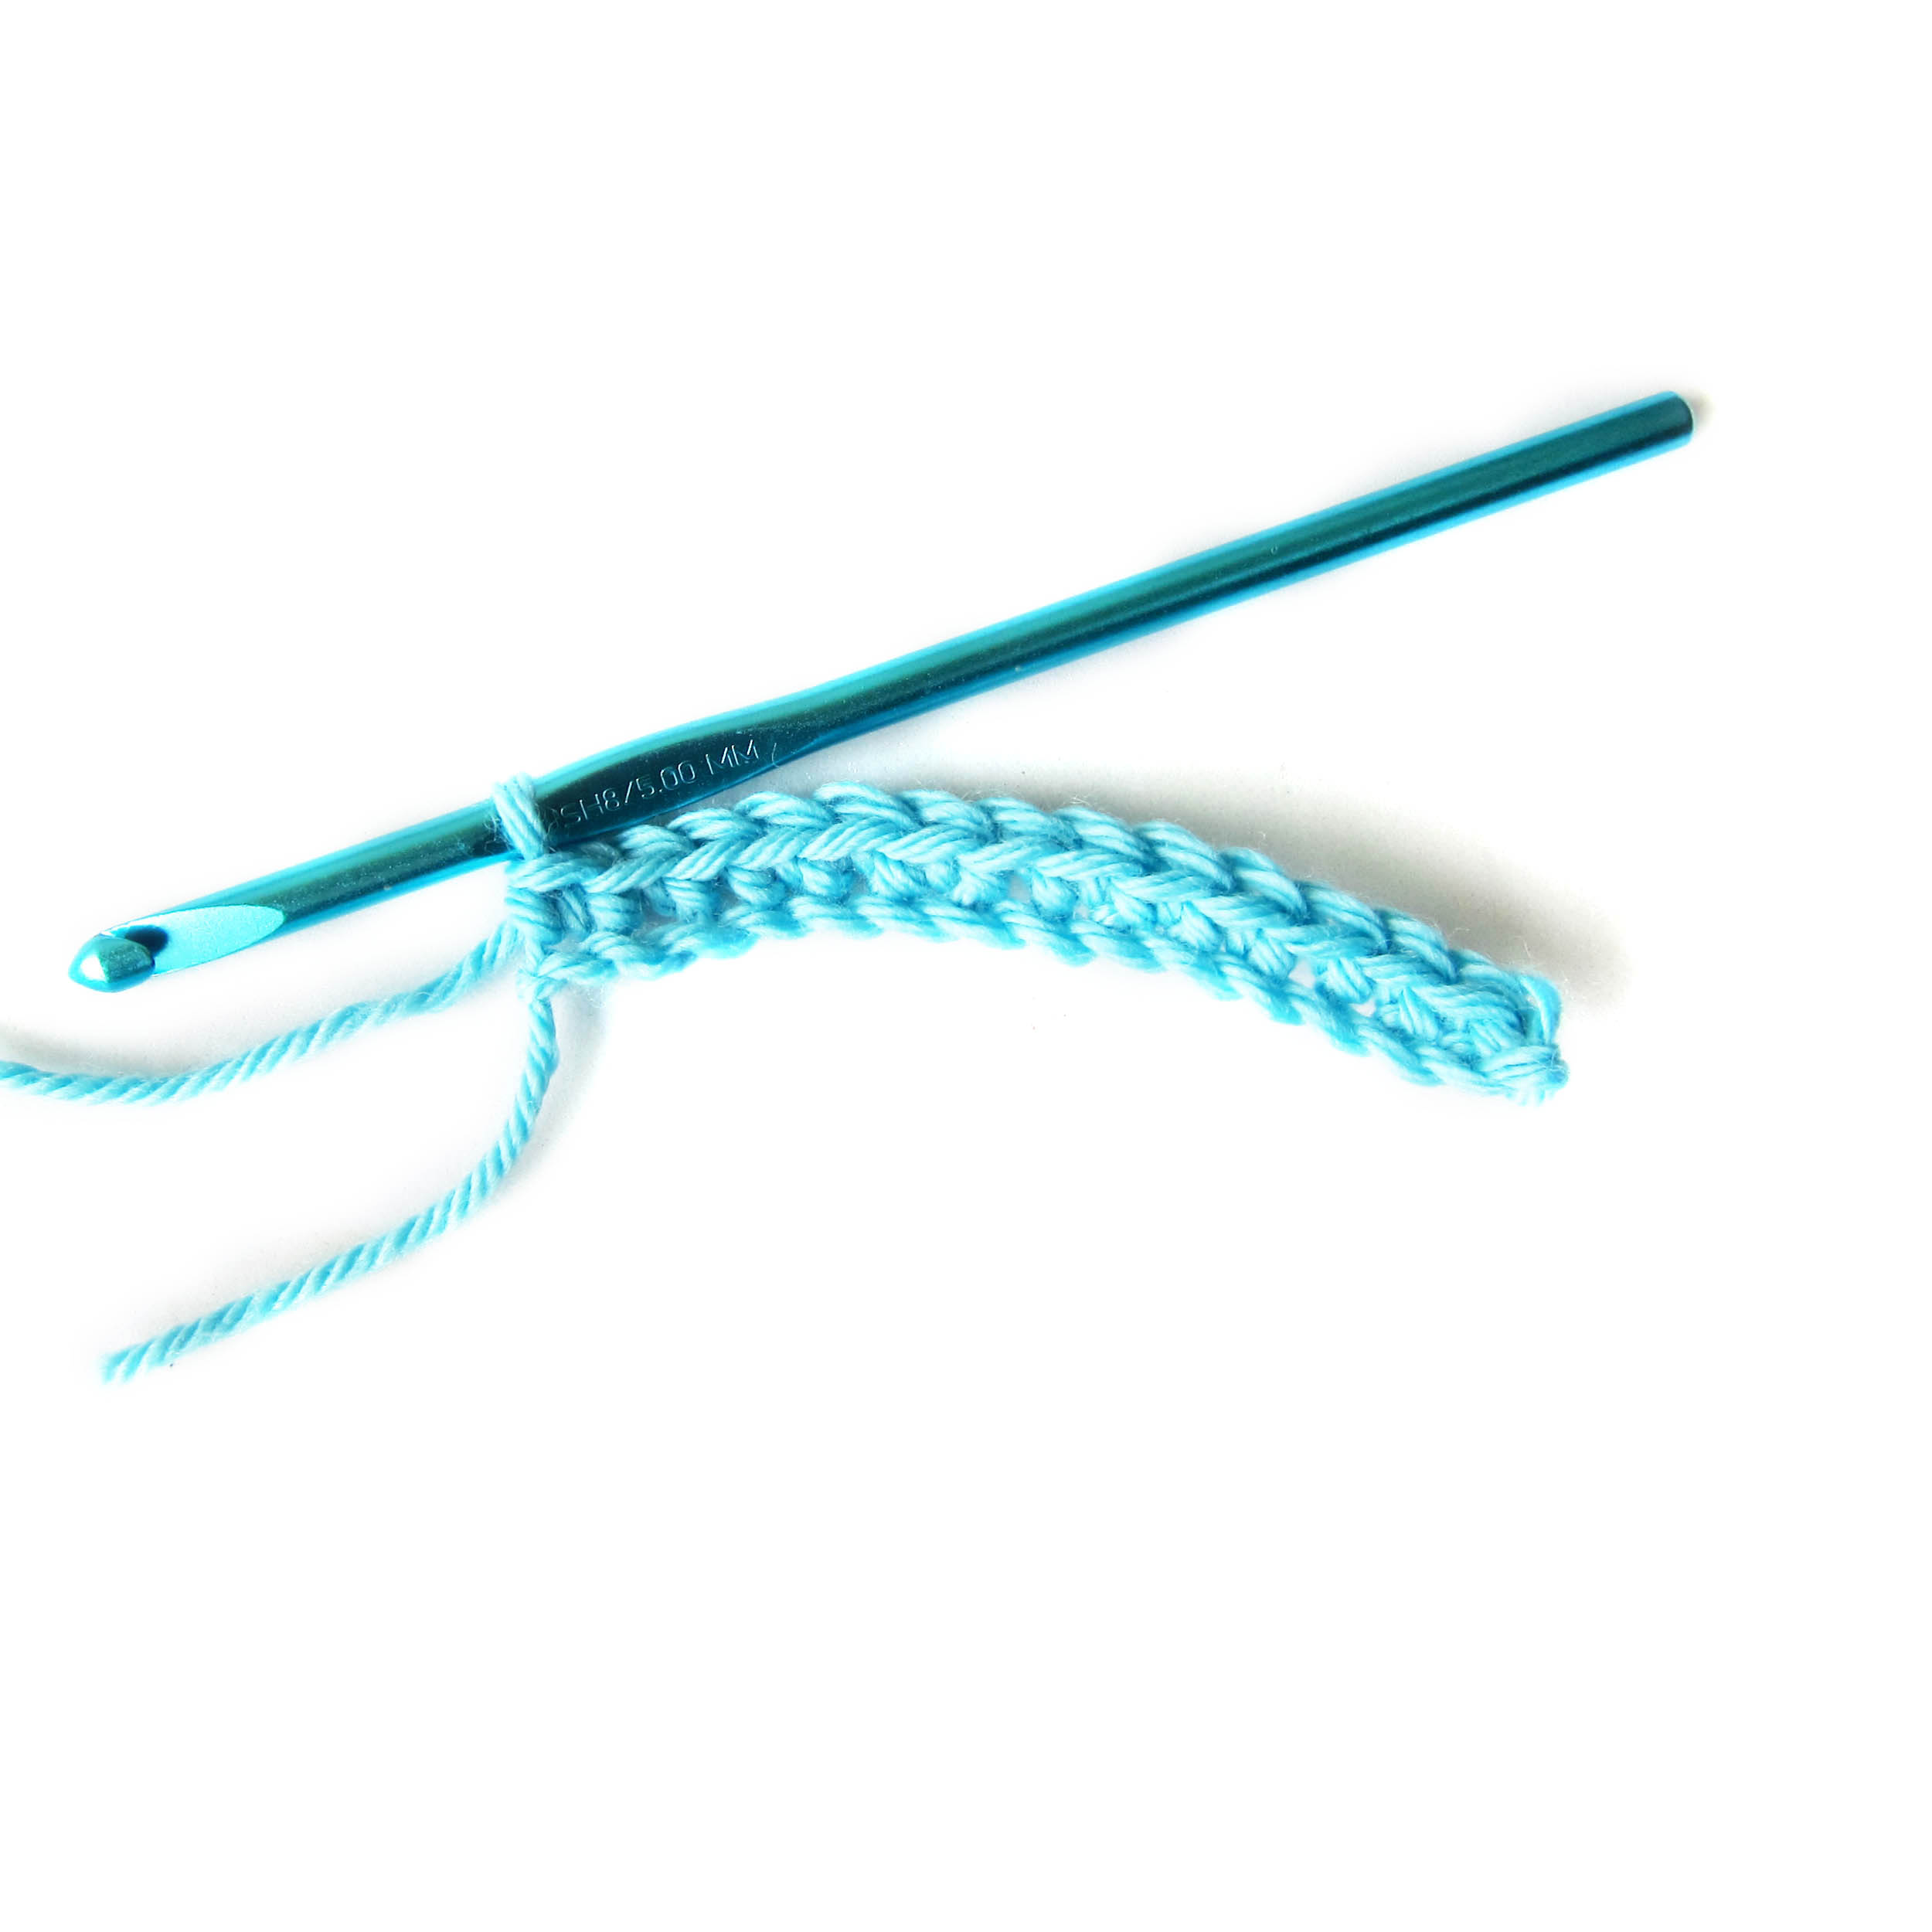
It’s kind of crazy that all crochet is just one long, continuous piece of yarn wrapped and looped around itself. 🙂
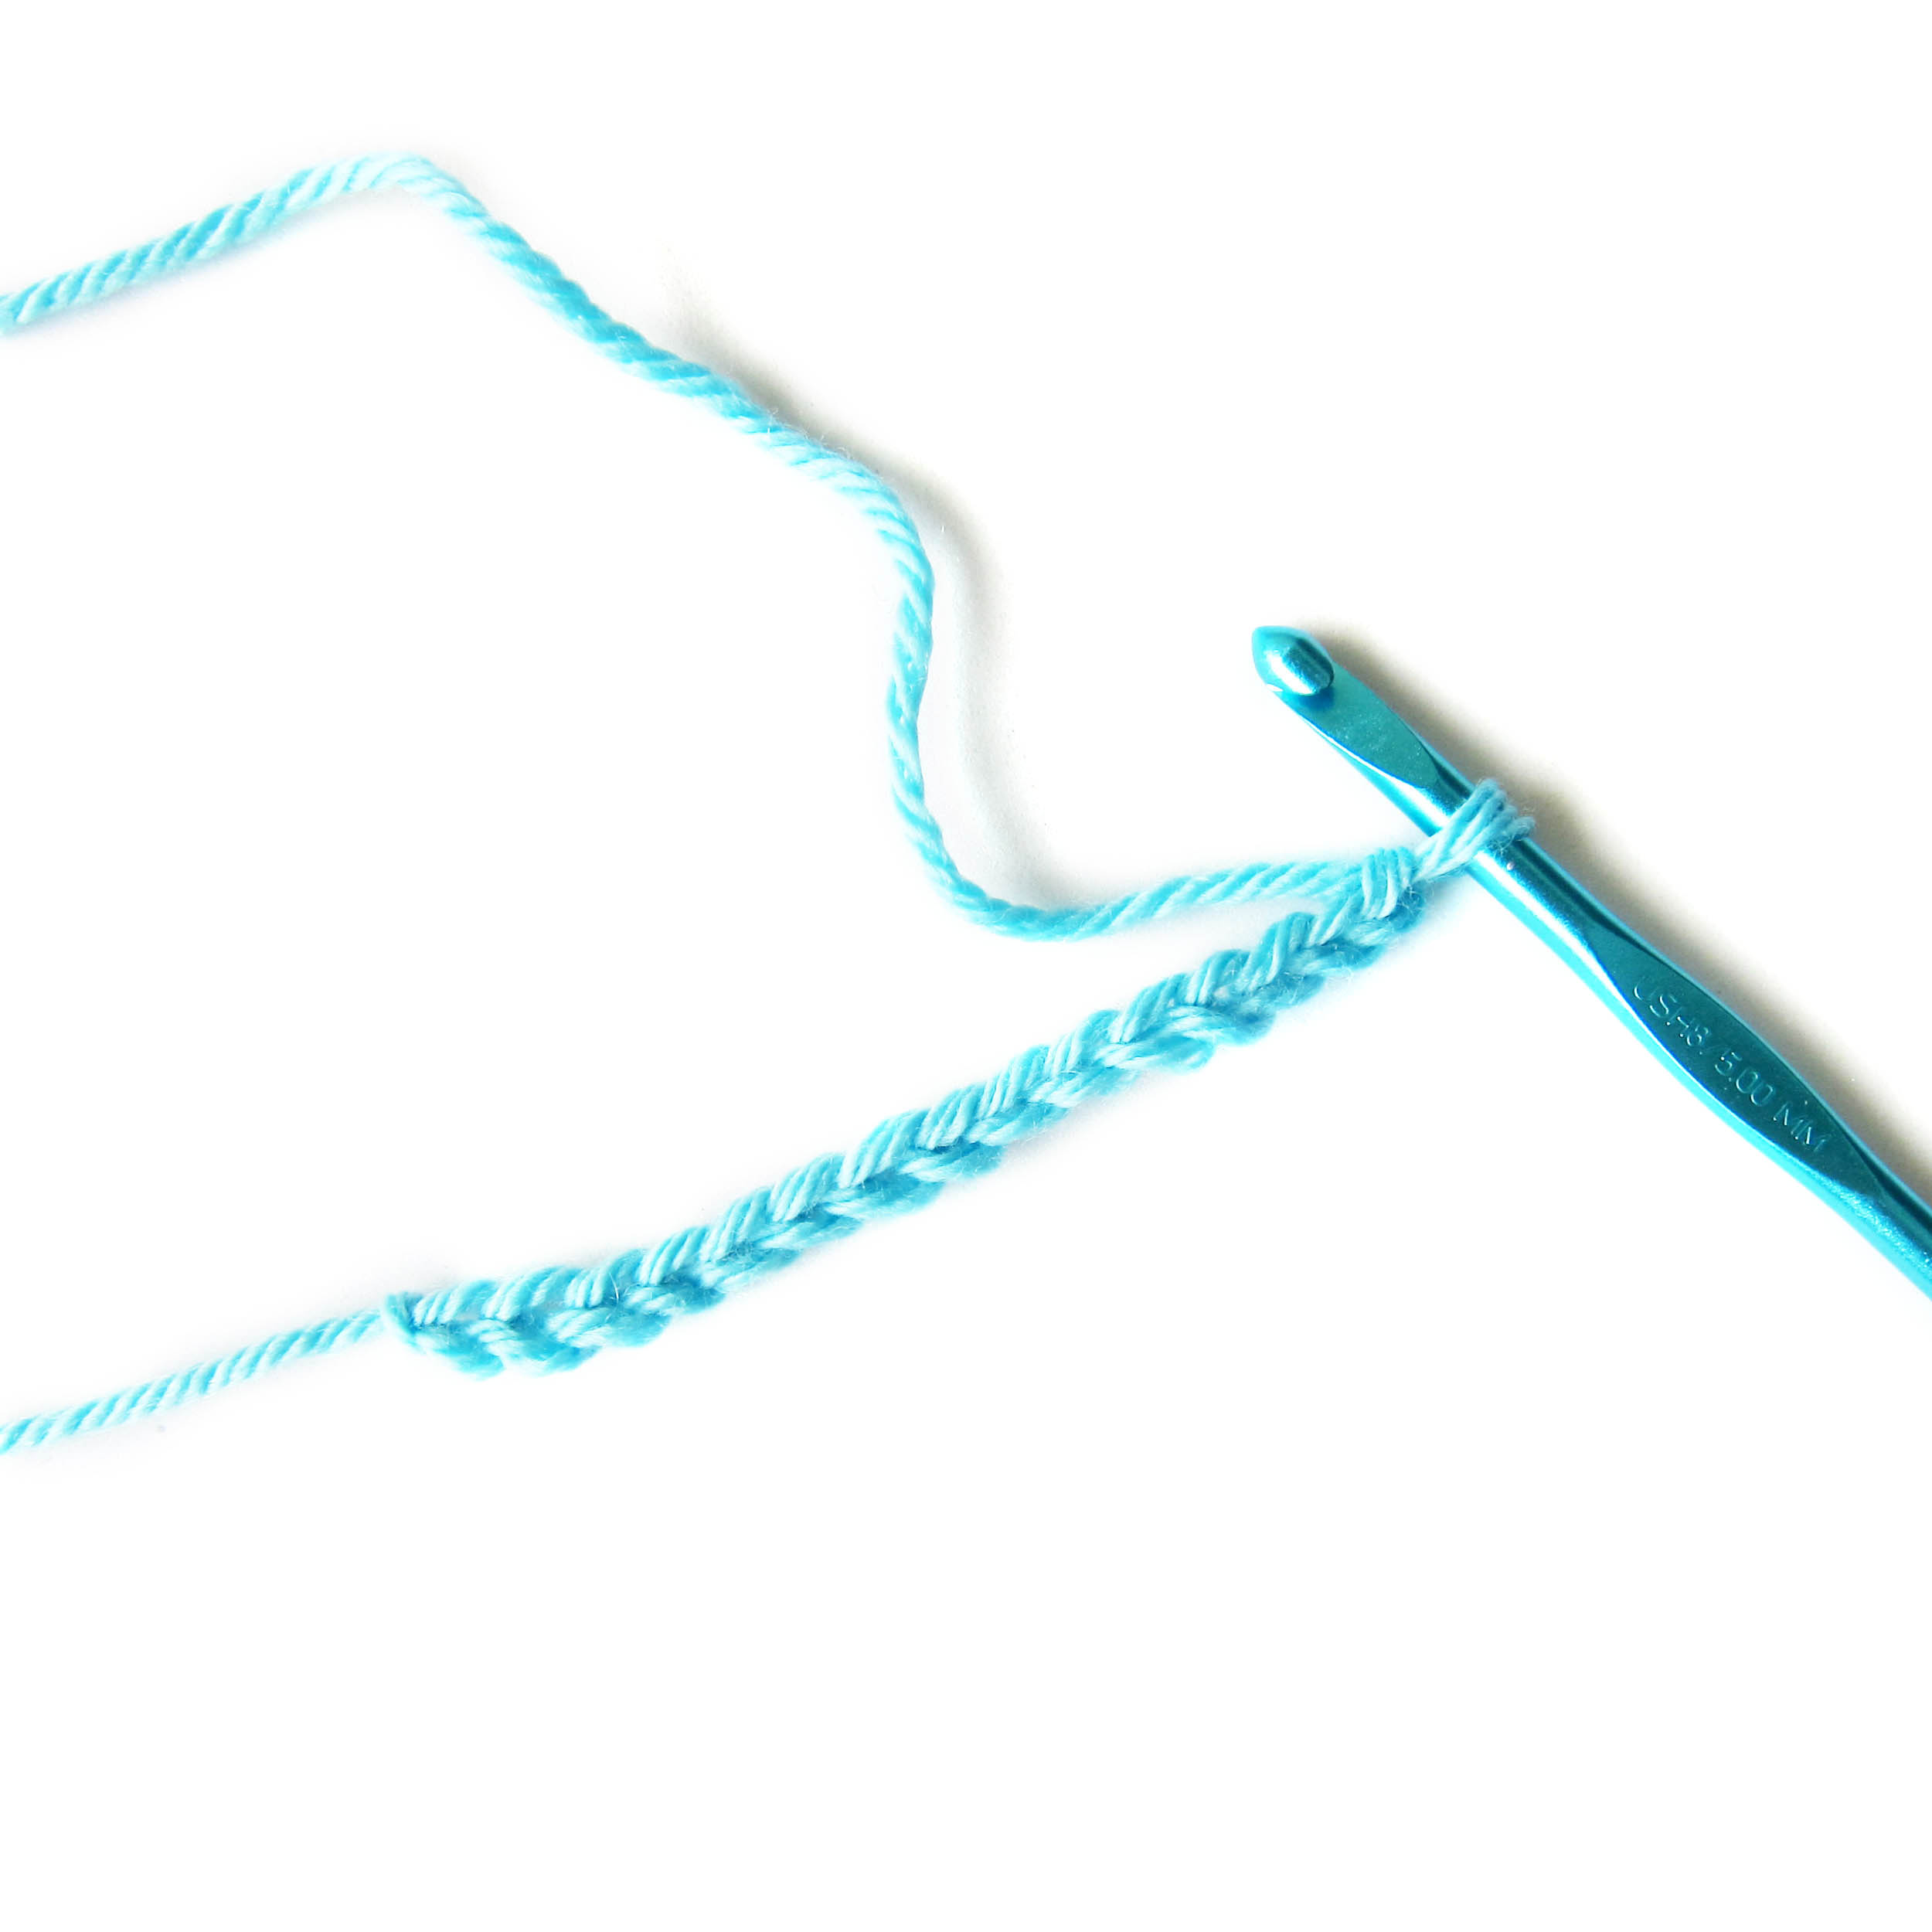
If you’re just getting started with crochet and want to really get a feel for how to hold your hook, just starting crocheting a chain. Keep chaining until the hook feels natural in your hand!
You can either unravel the finished chain or use it like bulky yarn to crochet something else. 🙂
Here are handy links to all the posts teaching the basic crochet stitches. . .
Why would you need to learn how to crochet an oval?
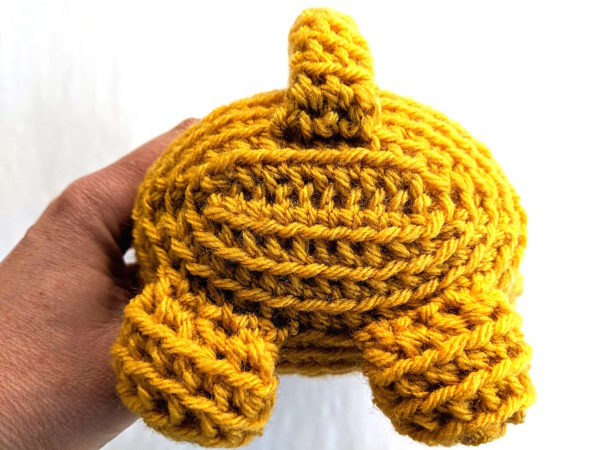
Well, I love making softies with oval bases. They require shaping that’s a little different than your usual amigurumi rounds – but they’re not hard to do.
There are two basic techniques for creating an oval. Each one gives you a slightly different look, so I’ll show you both.
Start with a Chain
Chain until the piece is as long as you want. You’re creating the center of the oval, so keep in mind that this piece will grow in all directions!
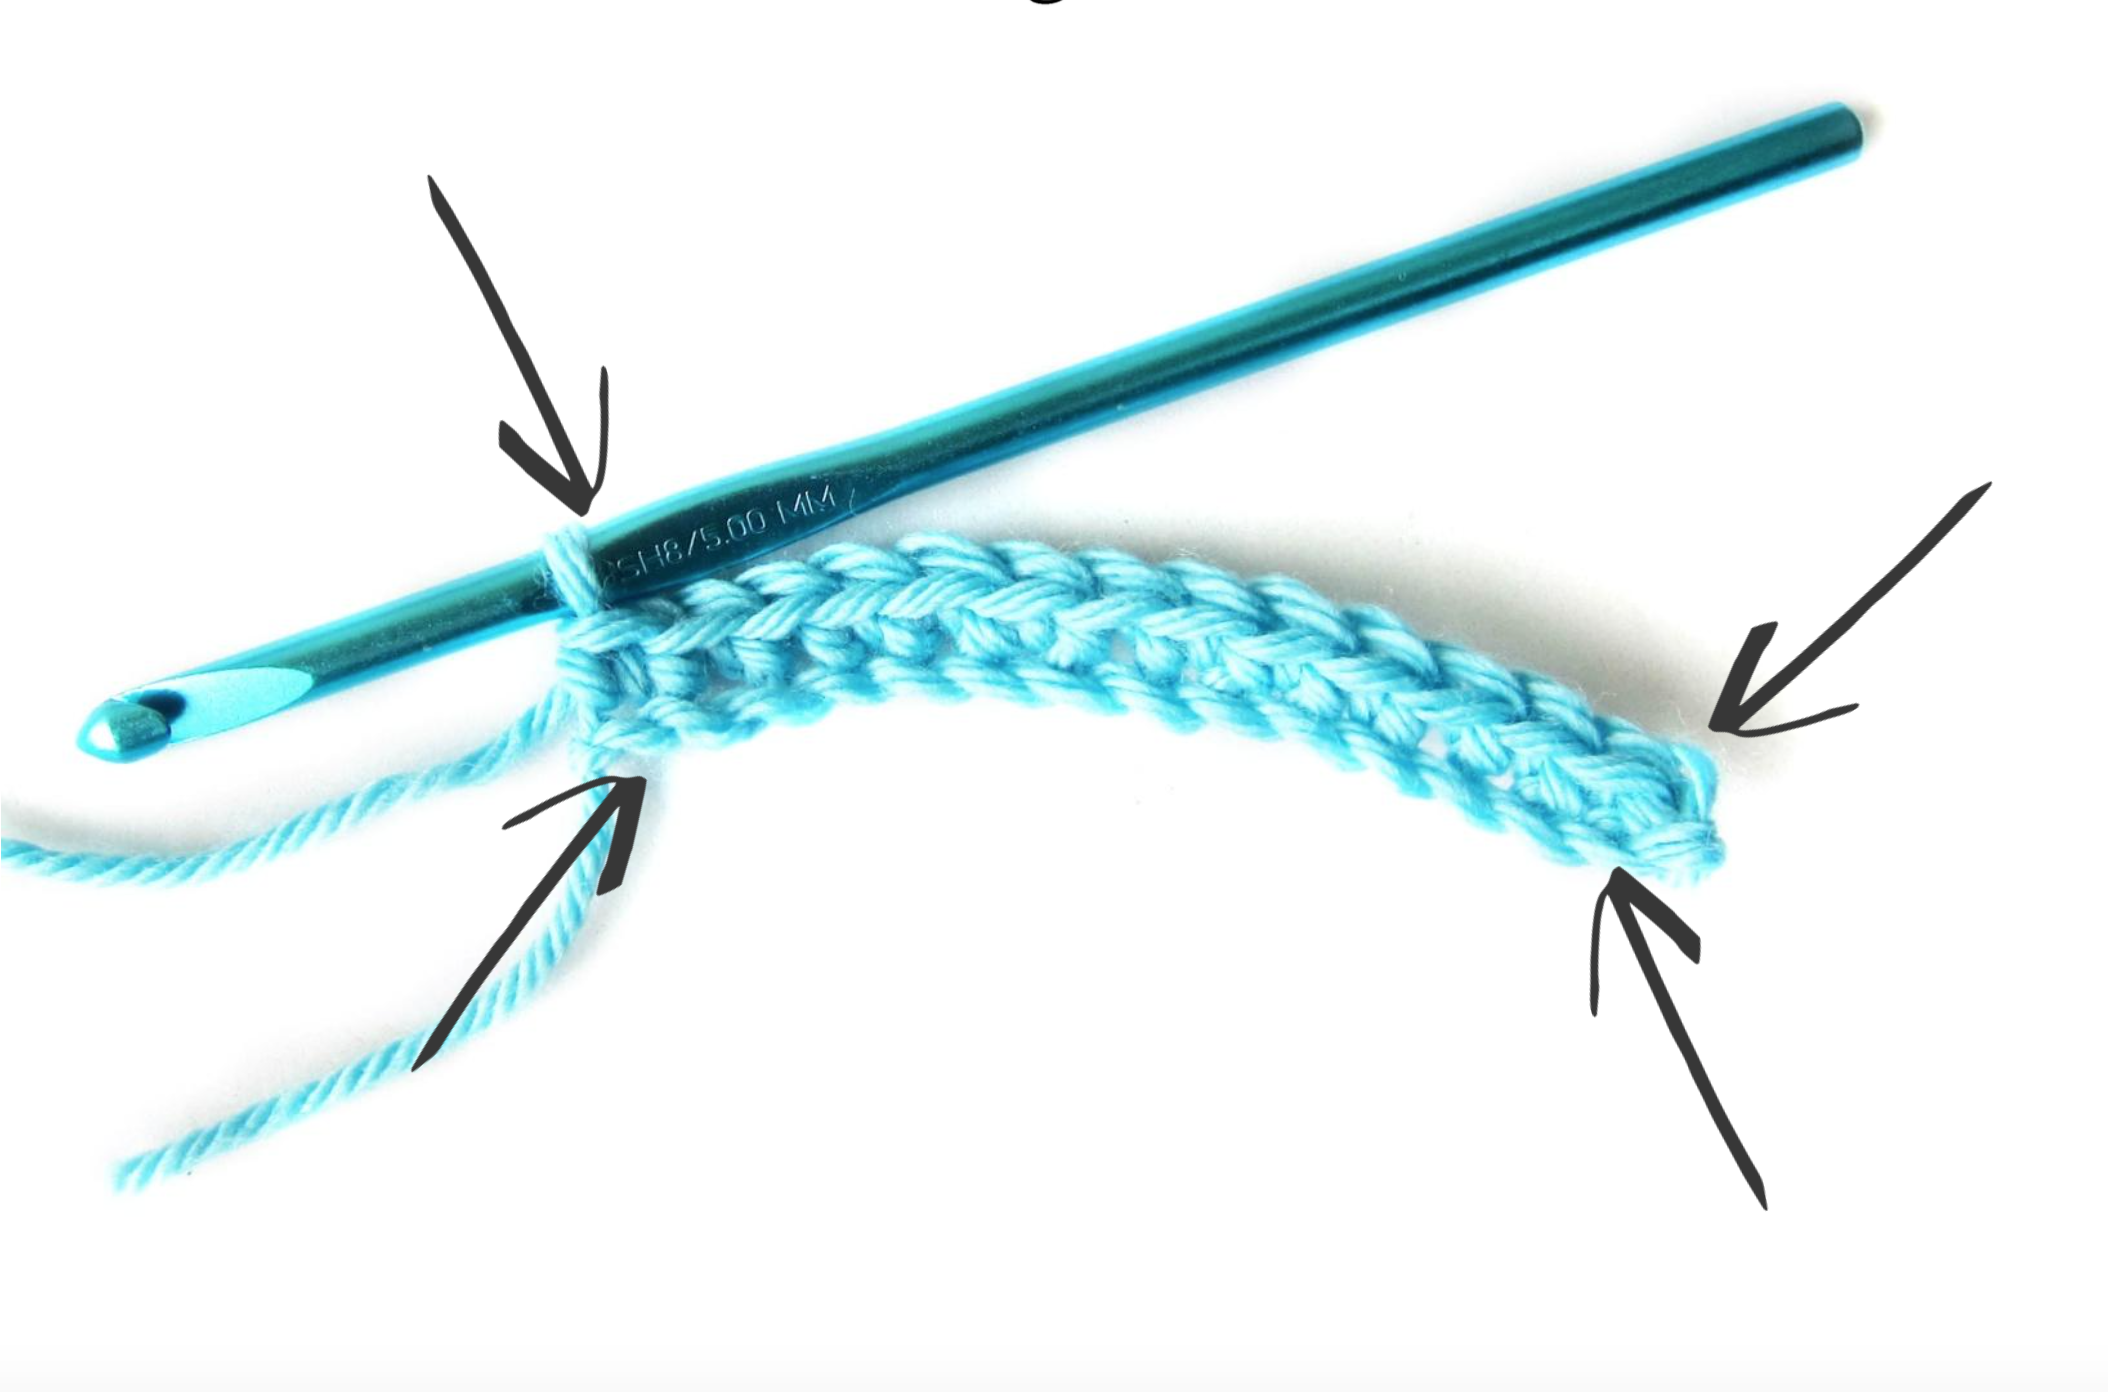
Crochet around the Chain to Grow Your Oval
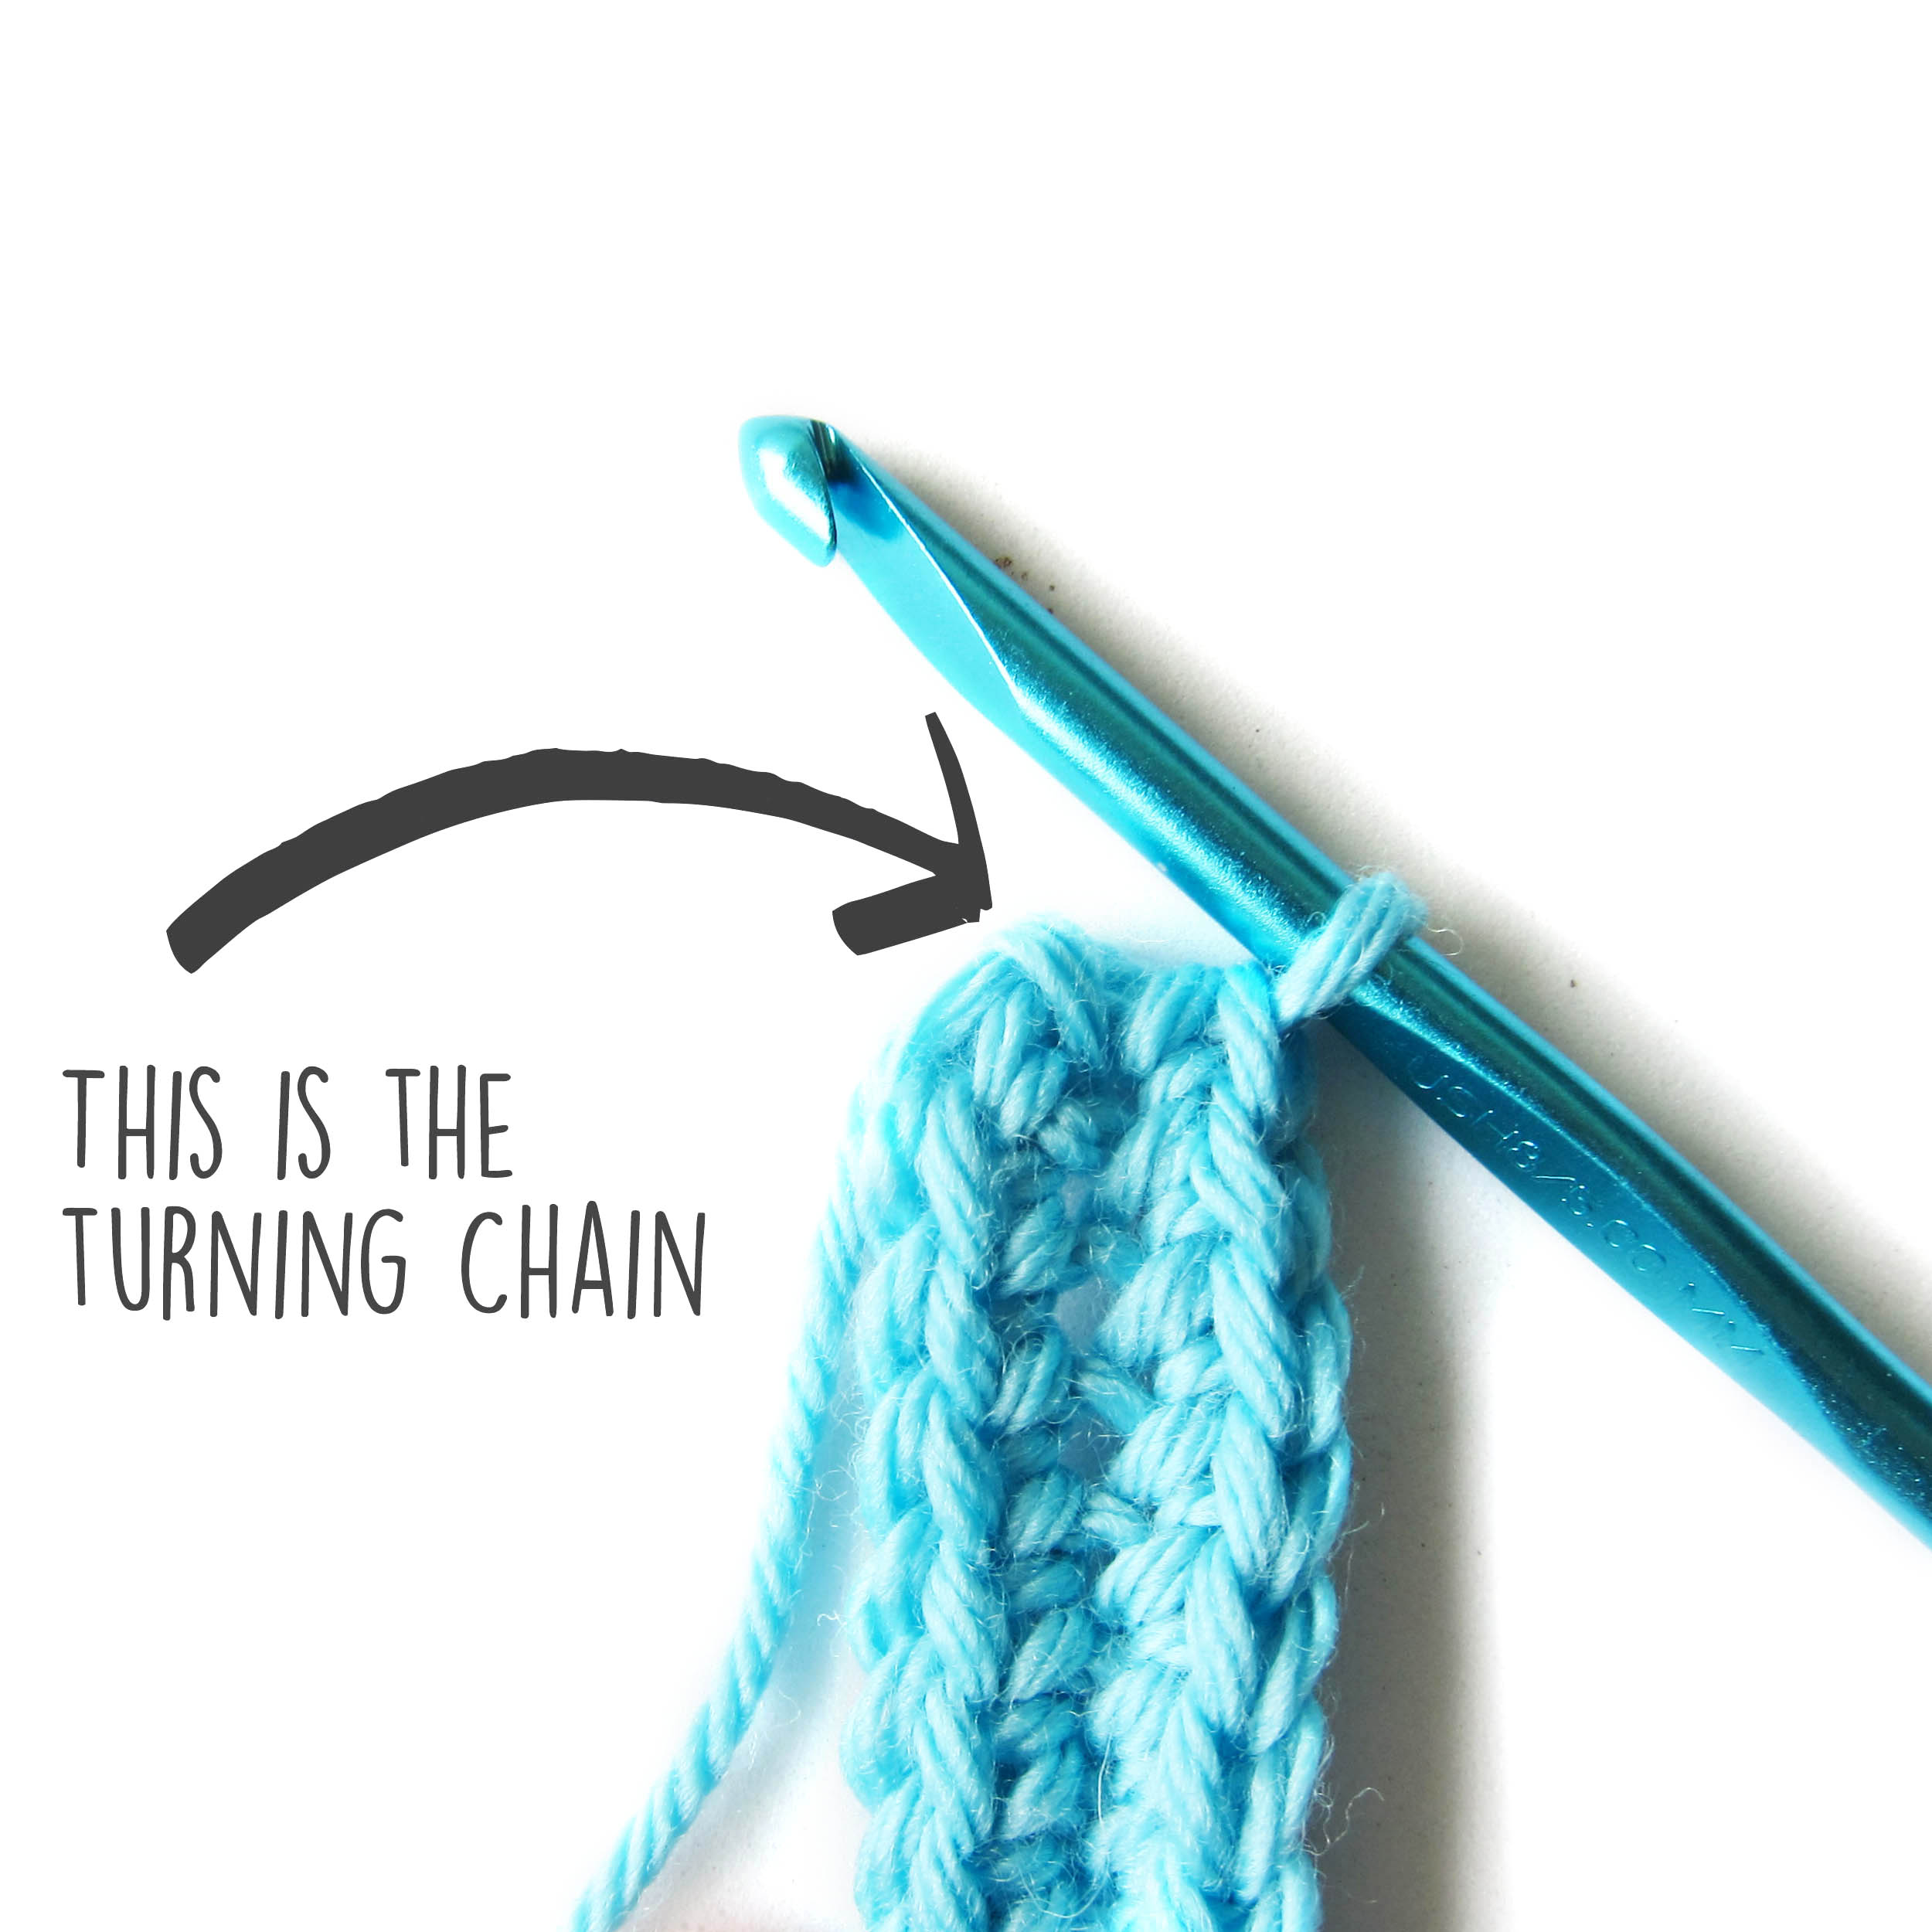
Turn and sc in 2nd stitch and each remaining stitch.
You will end up with one stitch fewer than the number of chains you started with. (That’s because one of those chain stitches became a turning chain.)
That grew one side of your oval. To grow the other side you’ll need to work the bottom side of the foundation chain
Now we’re going to start looking at the two different ways to crochet an oval. Each results in a slightly different shape.
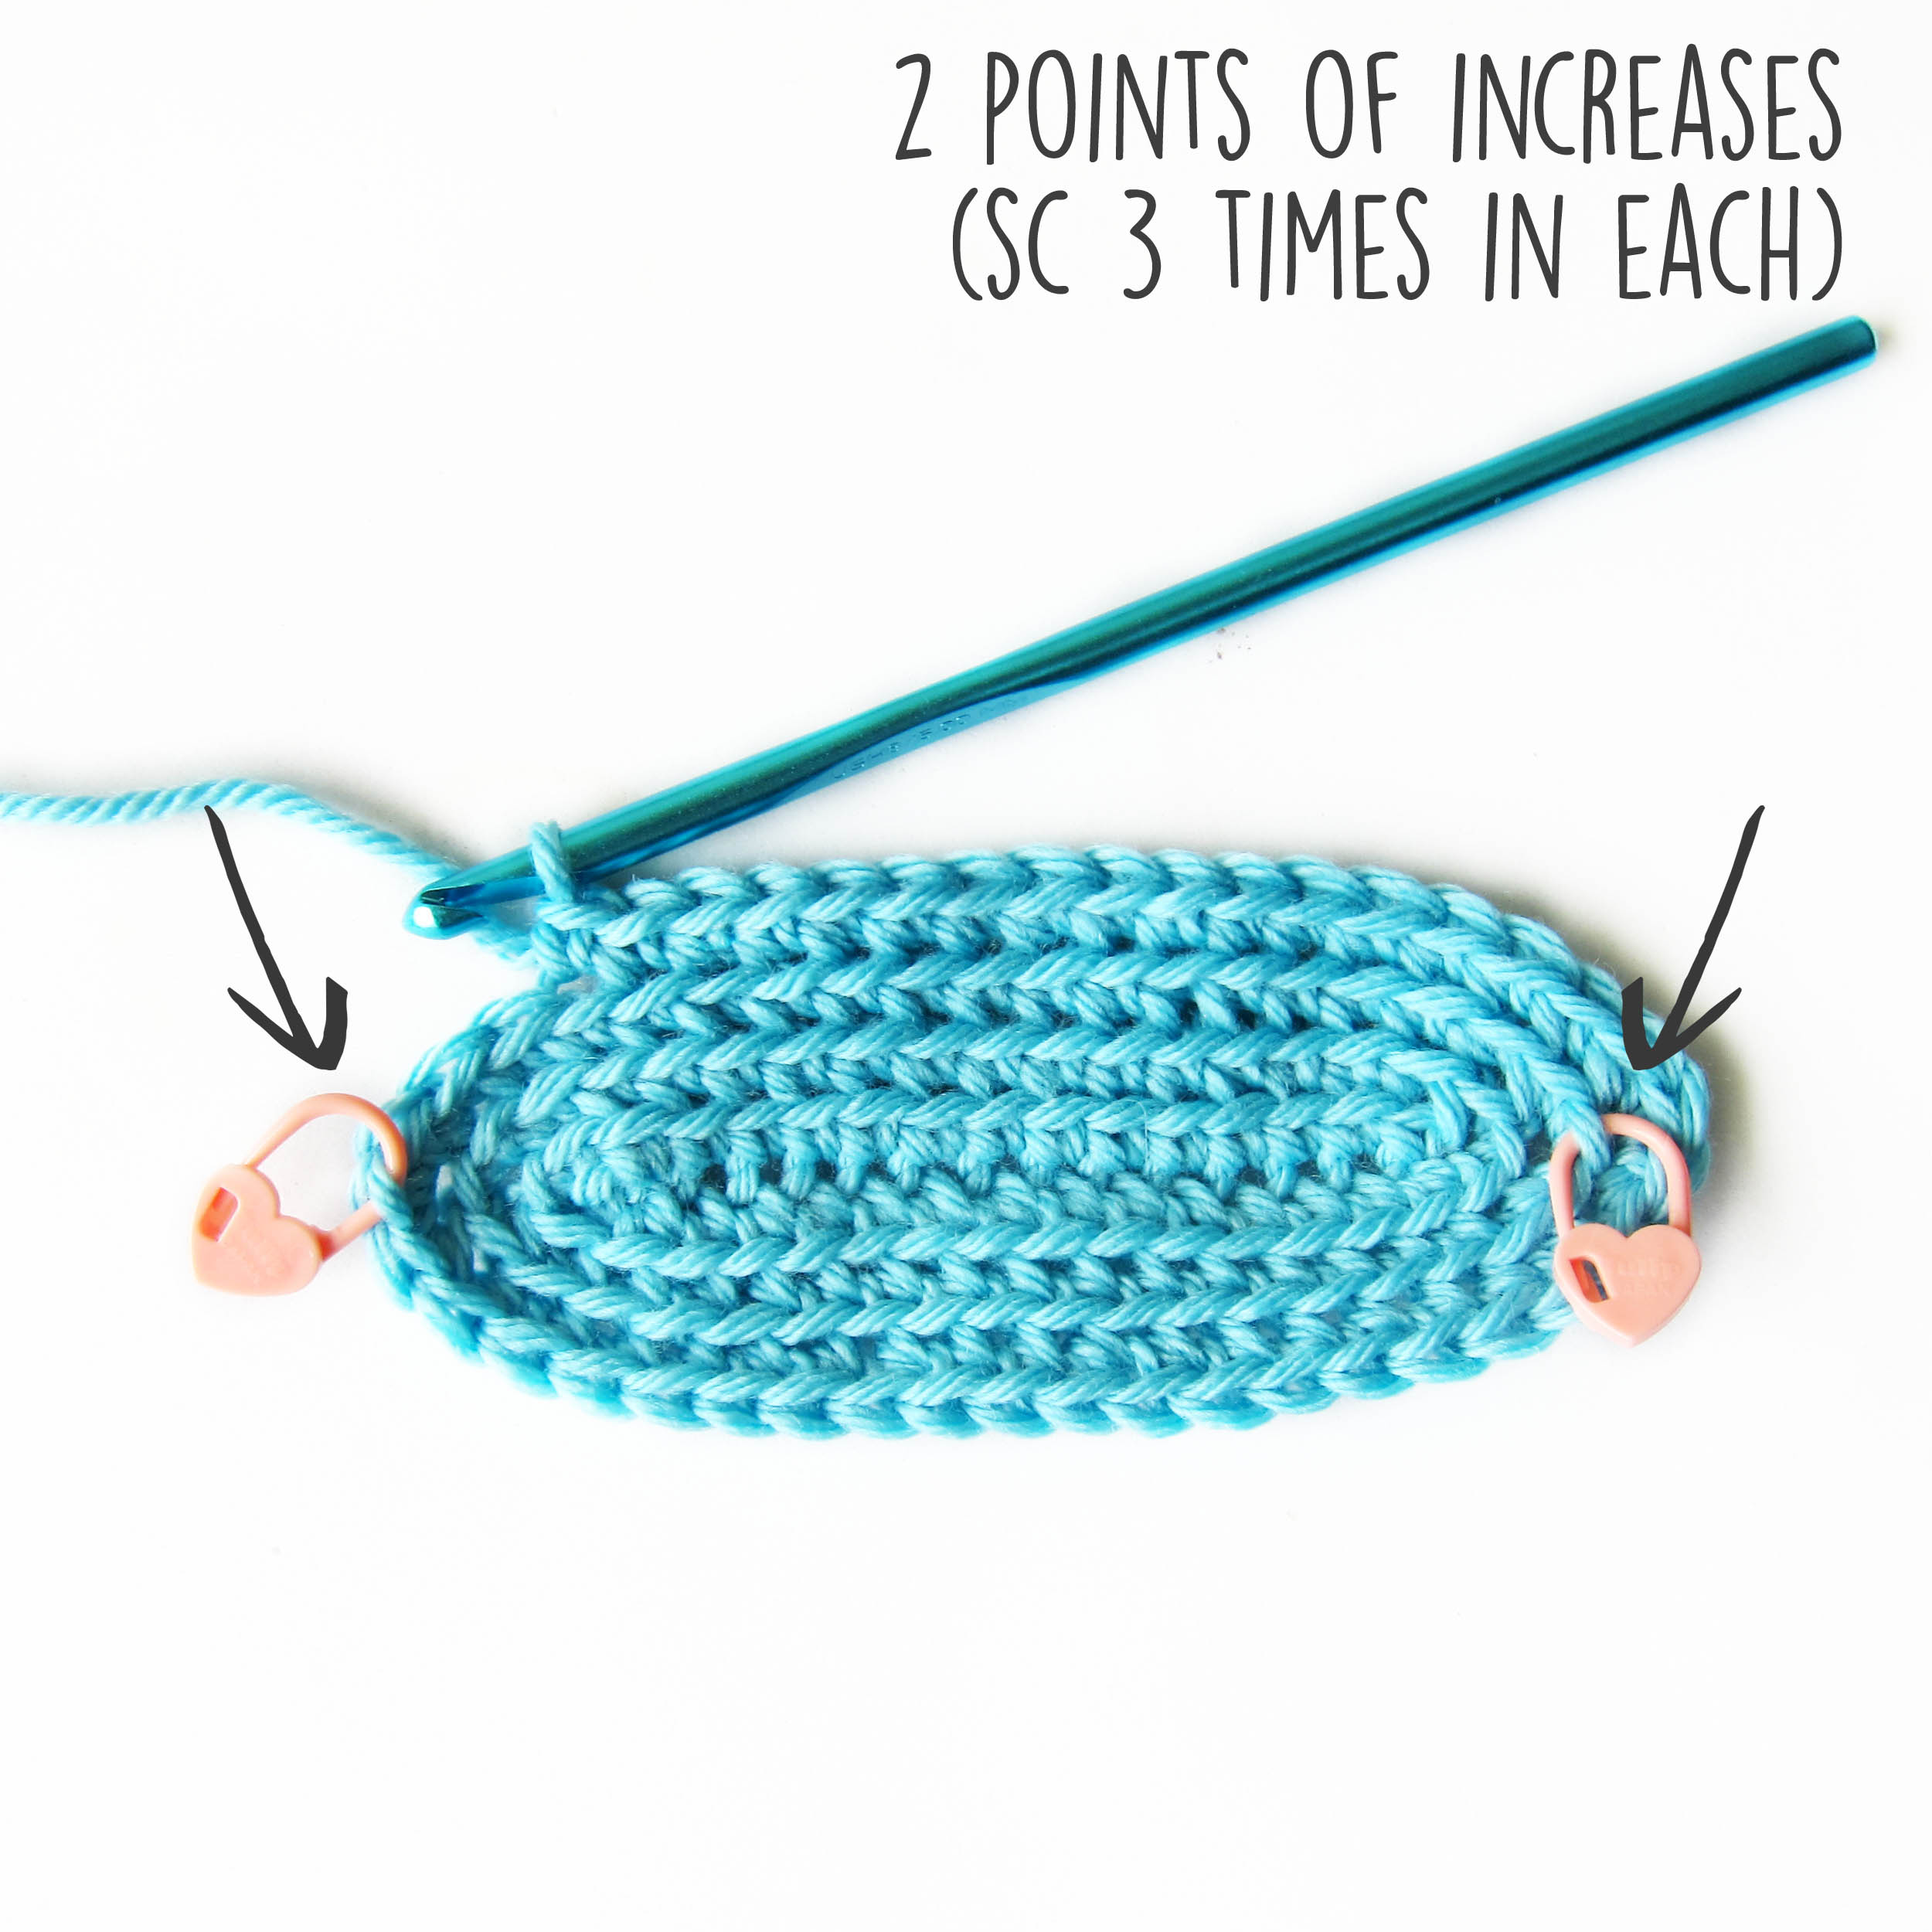
Technique 1: Increase at ends
One way to achieve an oval is to sc 3 times in each of the end stitches. You want to use stitches *directly* on the ends to get an even oval.
To do this, single crochet into the turning chain and the starting knot (unusual, I know!)
Put a locking stitch marker in the center of the 3 single crochet stitches, and increase (3 stitches in 1) on each side every round.
You increase 4 stitches each round. The result is a flatter oval with more pointy-looking ends.
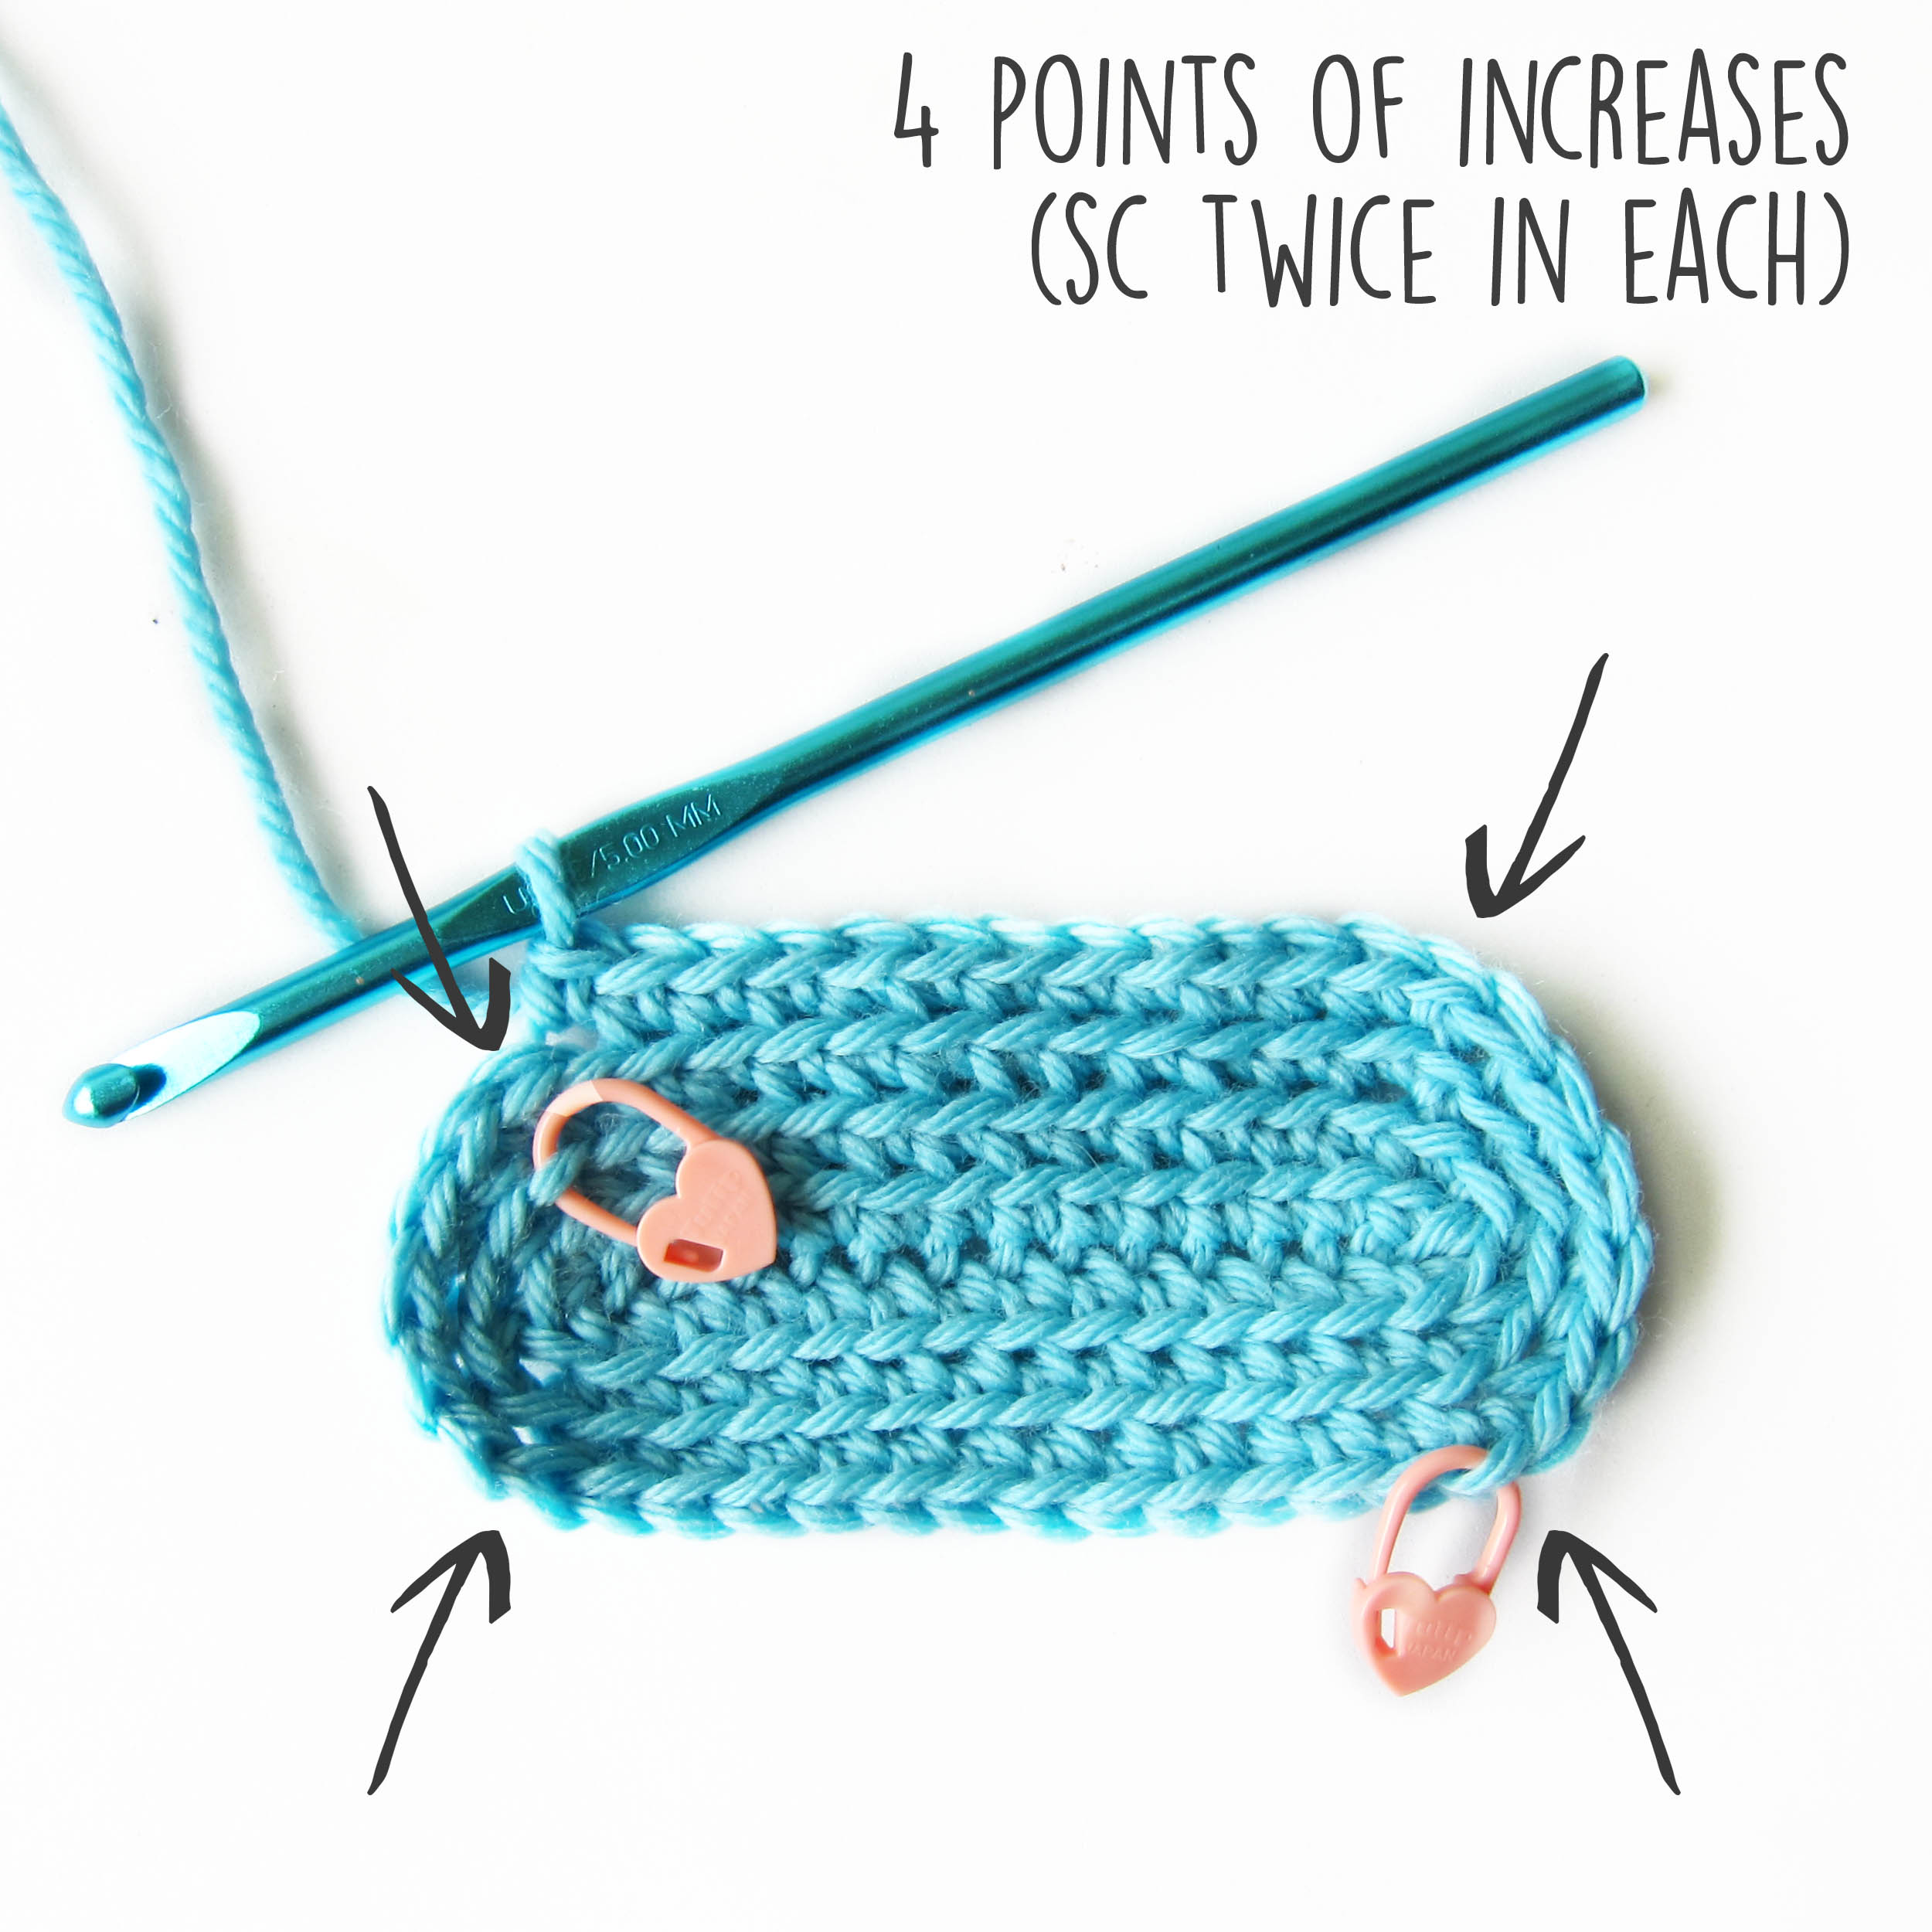
Technique 2: Increase at ‘corners’
To begin this technique, sc twice in each of the 4 ‘corners’ of your piece, that is the first and last stitch of each side.
Do not work the turning chain or knot.
Place a locking stitch marker in the increase stitch furthest away from the end points.
The result is a nicely rounded oval. Just like technique 1, you are increasing by 4 sts/round.
Continue increasing (sc twice in 1 stitch) at the stitches with the stitch marker. The stitch markers will move apart by 2 stitches each round (put differently, the ‘increased stitch’ goes towards the short side of the rectangle).
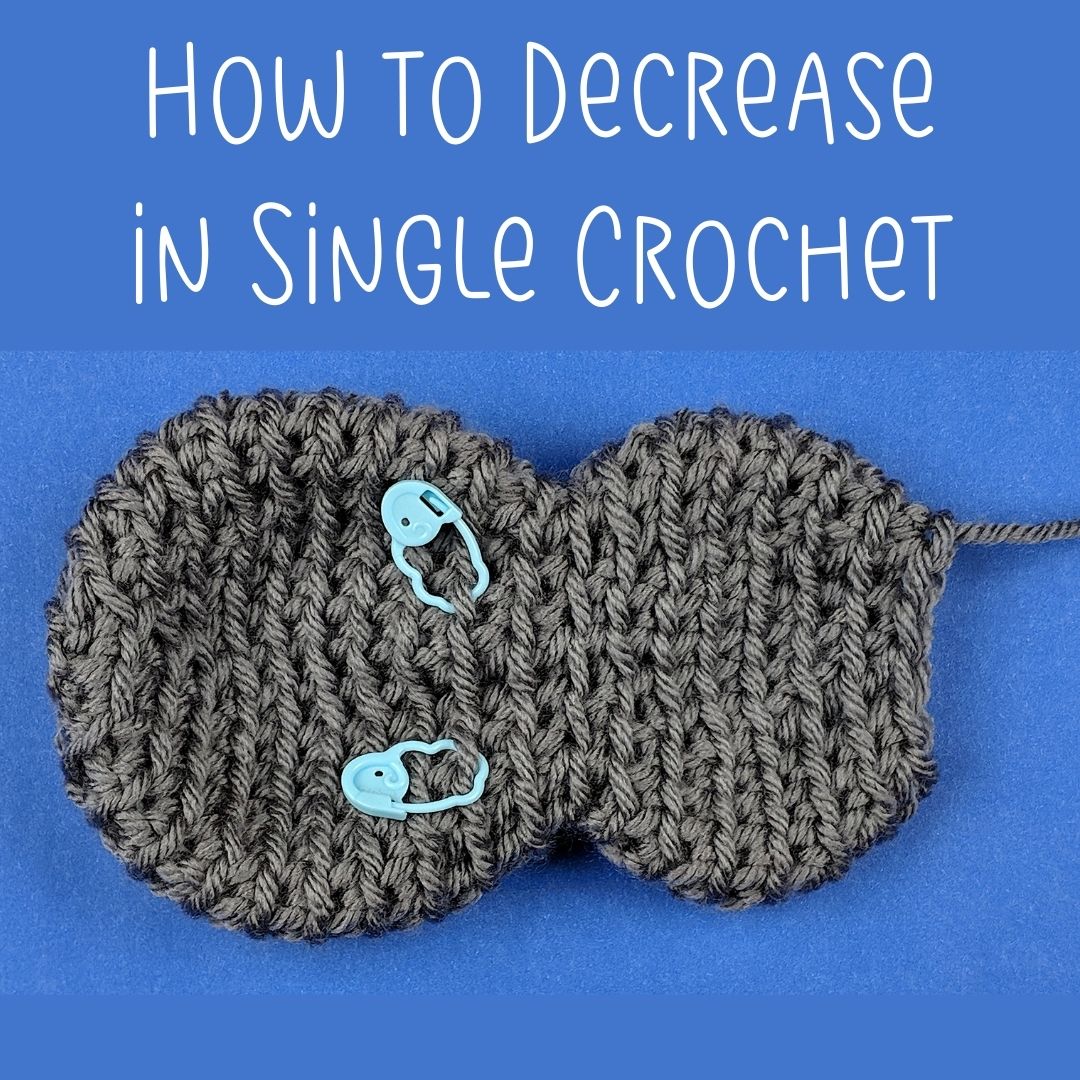
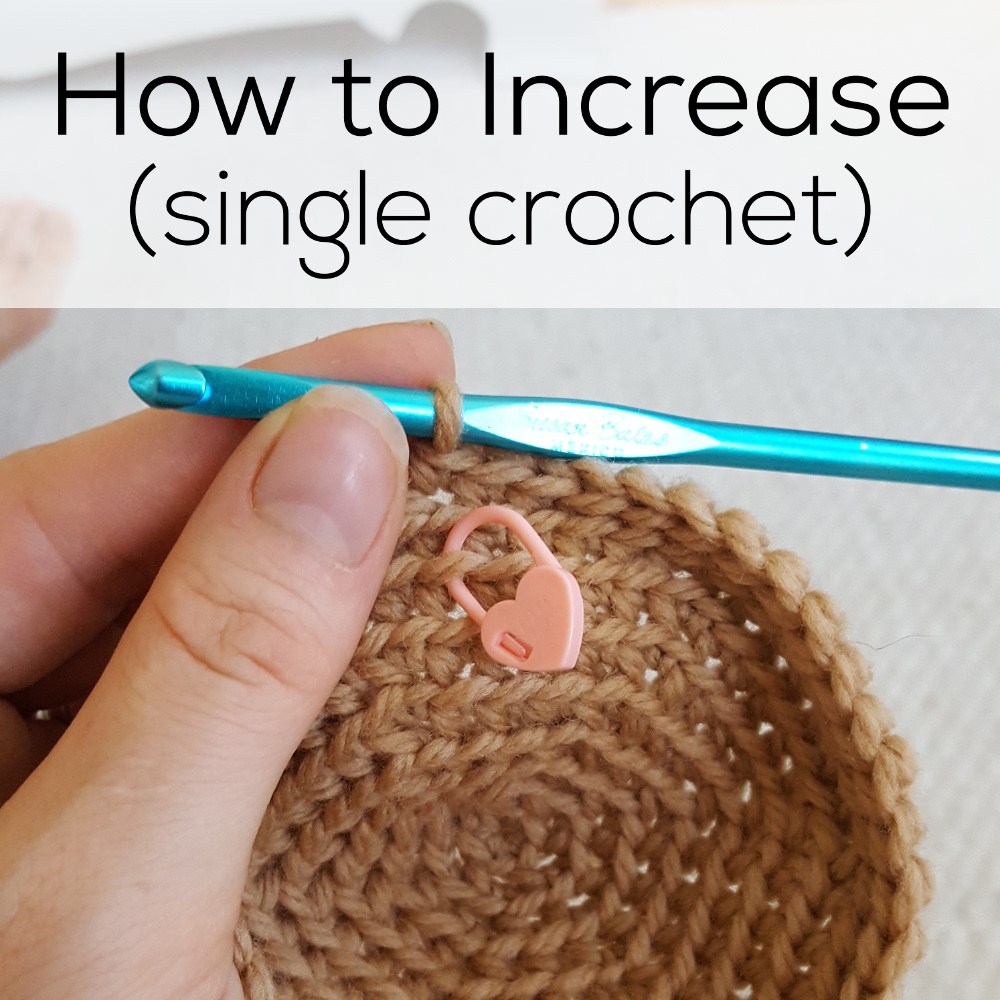
Any time you need to make your amigurumi bigger, you’ll use single crochet increase. It’s super easy! You just stitch twice in one stitch.
Here’s how.
Sometimes you’ll see this written in instructions as “inc” and you decide where to put the increases, but our patterns usually spell it out. If we want you to crochet increase, we’ll say “sc twice in next st.” We like to make things clear and easy. 🙂
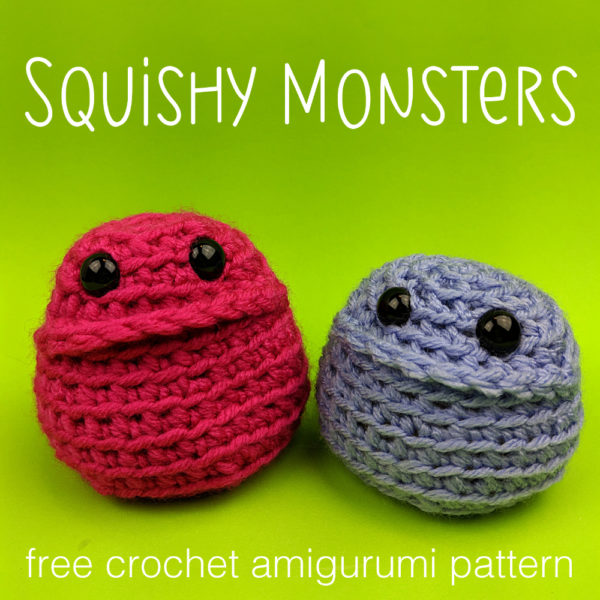
Want to practice how to crochet increase (and decrease)? Pick up a super easy pattern.
Jay the Bird is one of the easiest – great for beginners.
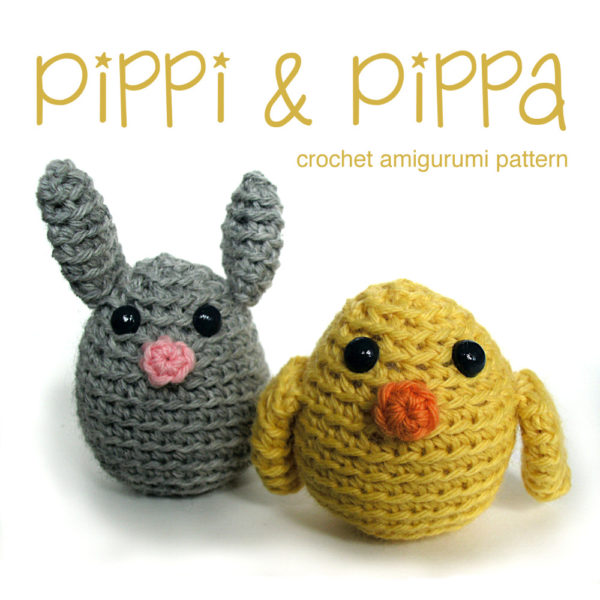
Want something just as simple, but a little smaller? This bird and bunny are adorable!
They’re a lot smaller (so you won’t get in as much practice on those crochet increases) but you’ll finish faster!
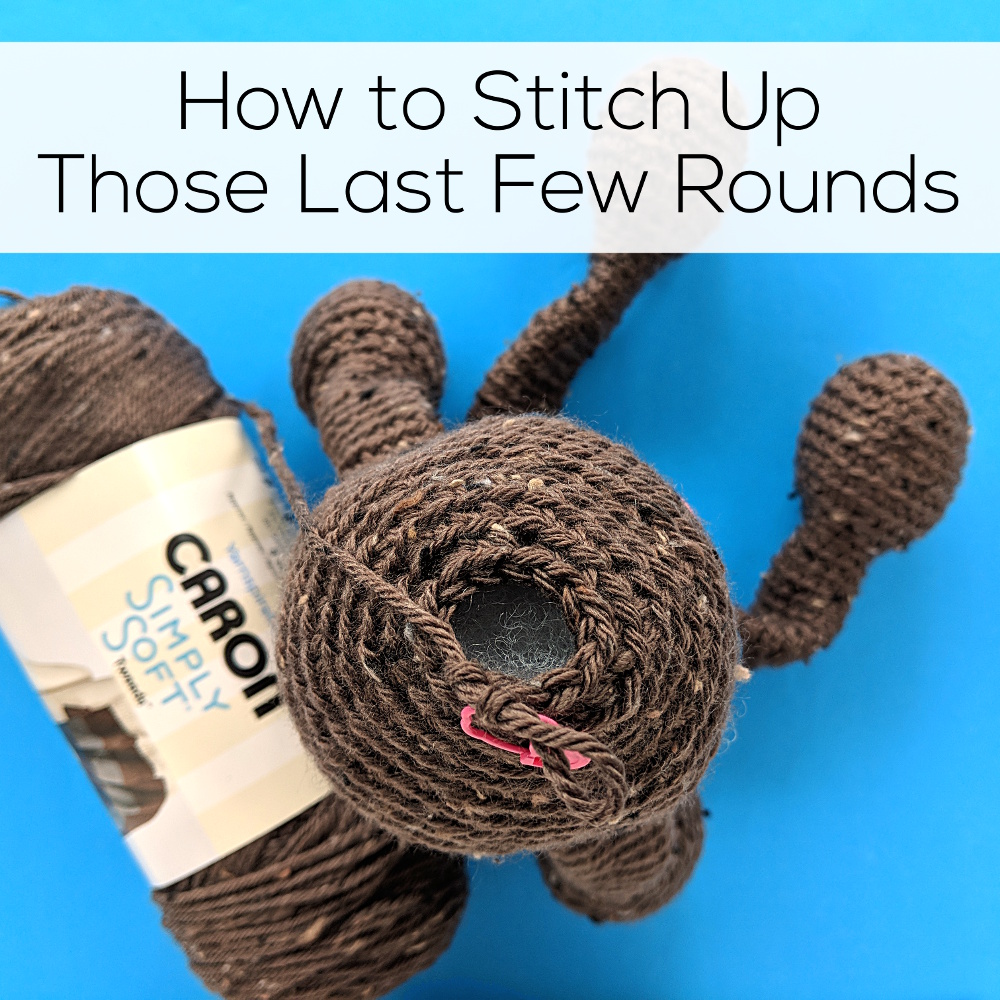
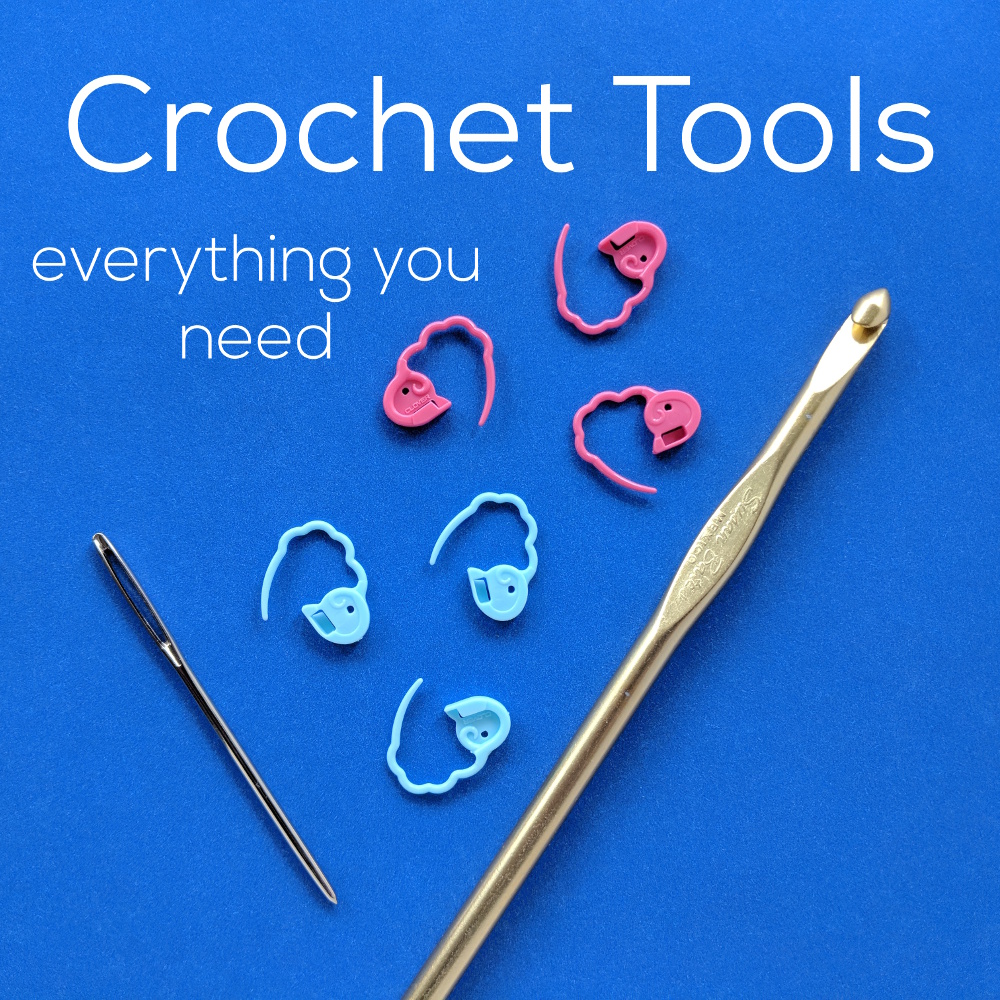
You only need a few things to crochet amigurumi – a hook (to crochet), some stitch markers (to mark your place), and a tapestry needle (to weave in the ends and attach arms and legs).
Besides yarn – that’s really it! It’s a lovely craft – and easy to carry your projects everywhere.
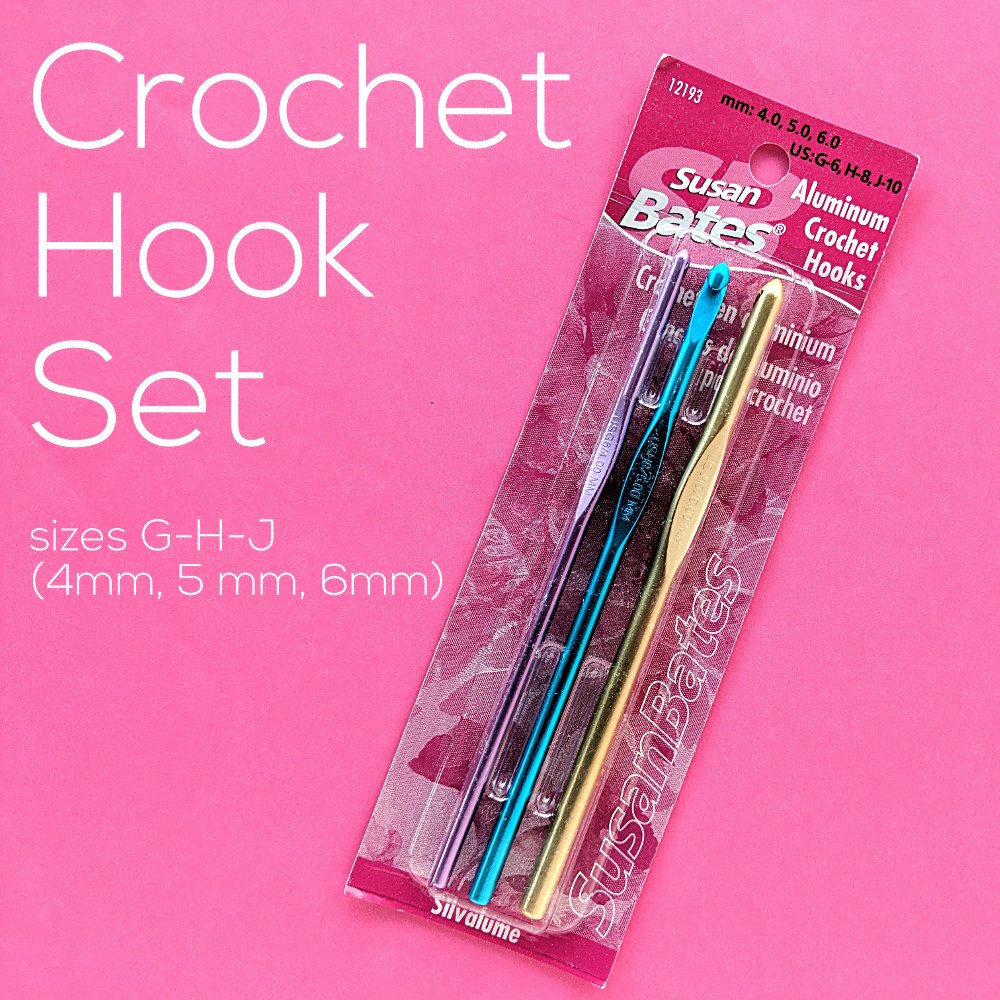
This set of hooks includes the three most common sizes for working with medium weight yarn. I think this kind with the fat “neck” makes it extra easy to control the tension of your stitches.
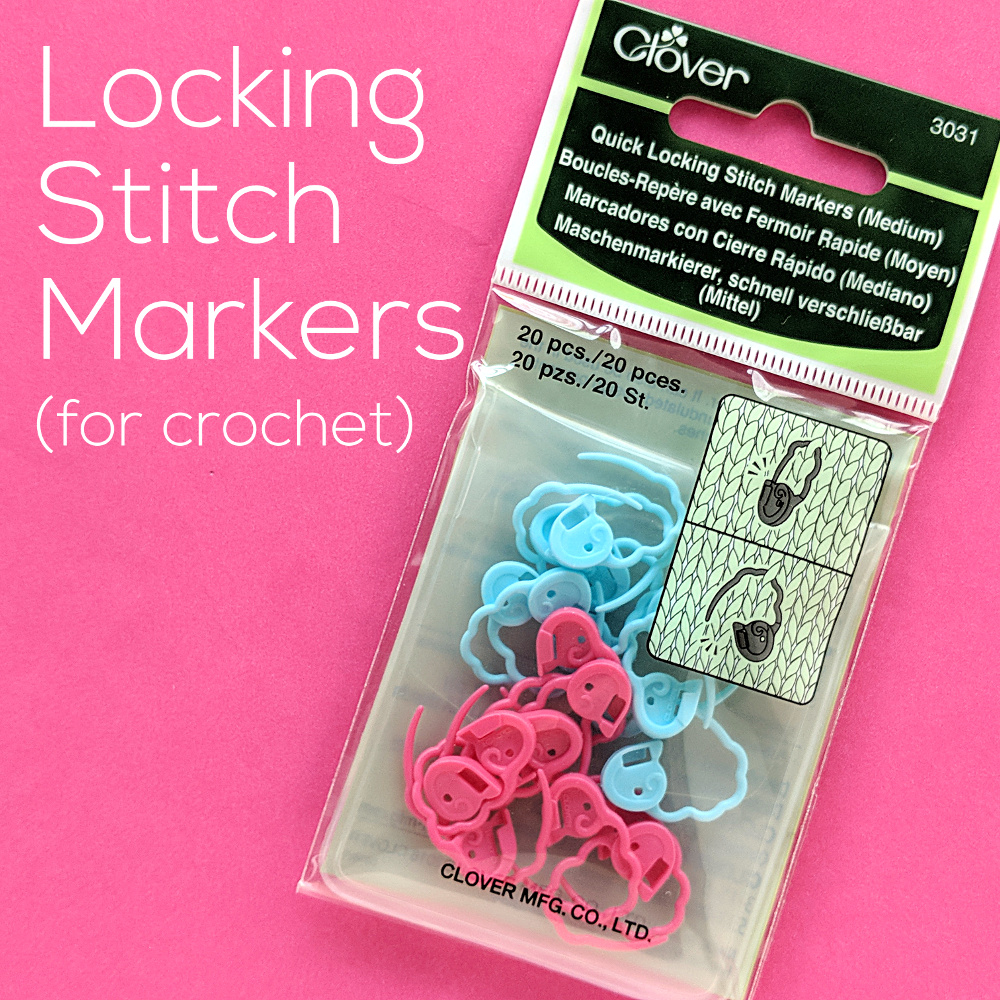
You’ll need a handful of stitch markers. I use these to mark the end of a row, to mark where eyes and noses go, to hold pieces in place while I whipstitch them together, and more. They’re super useful!
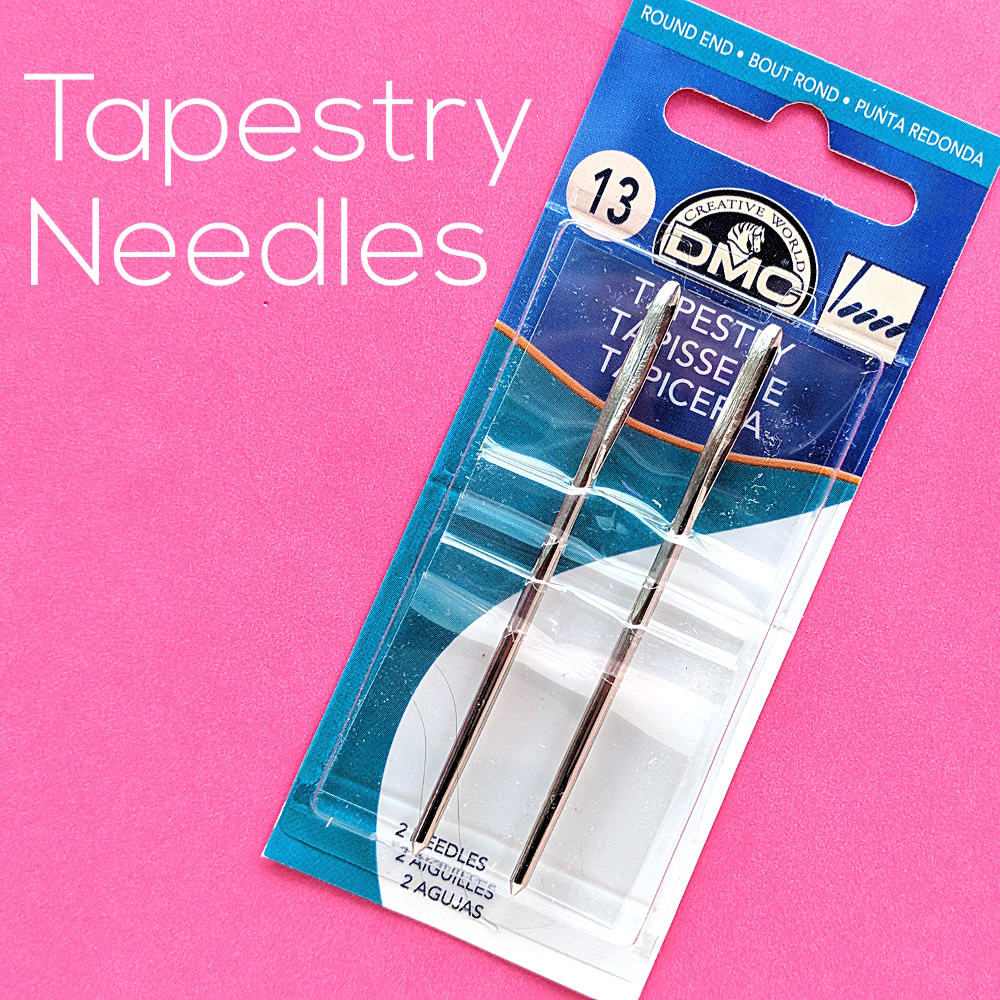
Grab the biggest tapestry needles you can find. Yes – you may have a large embroidery needle that you could maybe, with a lot of effort and swearing, work a piece of yarn into. Do yourself a favor and just get the enormous needles. They’re super cheap and you’ll be glad you spent the money every time you need to thread some yarn.
Total for all these tools?
Should be less than $20.
Add in a pattern and a skein of yarn and maybe a packet of eyes, you could be making your first amigurumi for less than $30.
Give it a try! And happy stitching! 🙂
Here are handy links to all the posts about crochet tools and supplies.
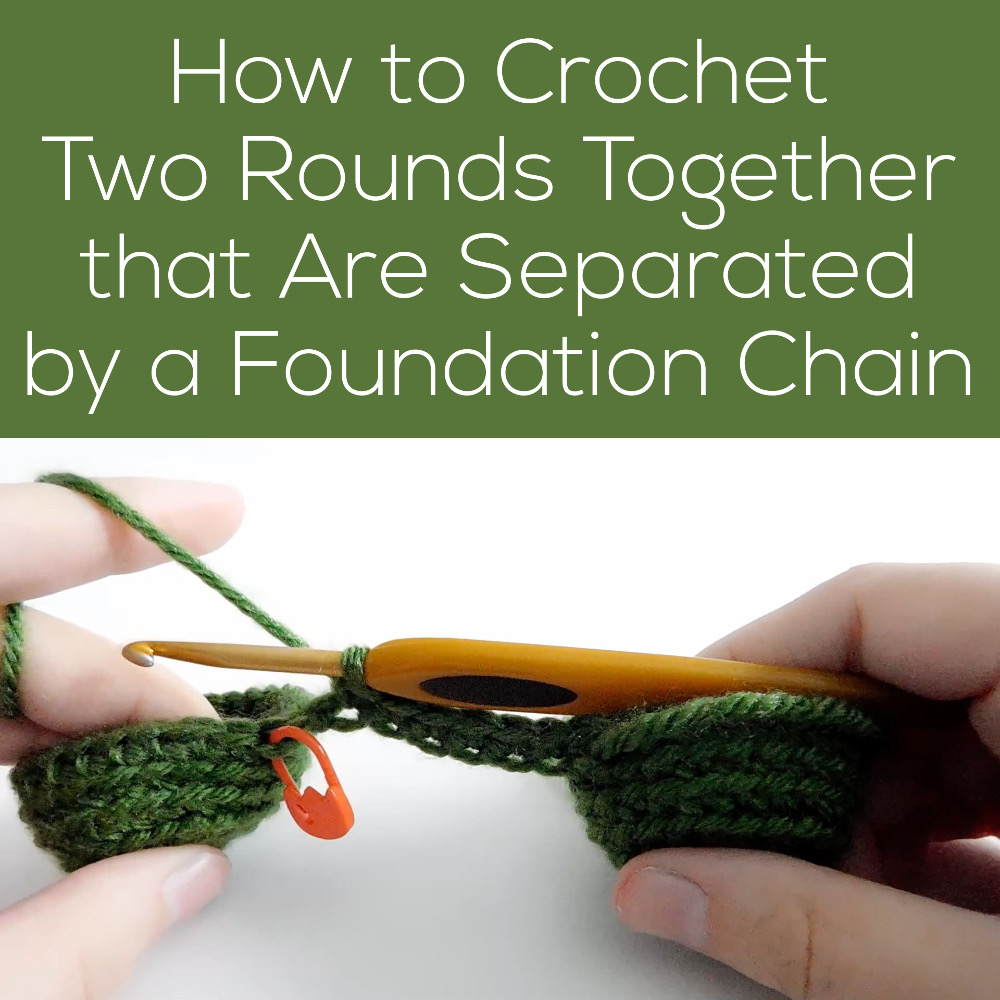
Whew! That’s quite a mouthful! But it’s actually a really easy technique that lets you get two bumps with some space between them, like the awesome googly eyes on this frog.
This is necessary if the attachment runs across several rows of stitching, but if the attachment is running WITH a row of stitching, you can attach limbs while you crochet the body – all in one nifty step! You’ll see this described in patterns as sc-attach, or single crochet attach.
You can attach arms and legs with crochet if:
The body is crocheted bottom-up (that is, starting at the bottom and ending at the top)
The arm or leg will be attached flat
For folks who don’t like sewing, the main advantage to crocheting on the limbs is, well, you’re attaching the piece by crocheting. No need to pull out your tapestry needle!
The attachment is also quite secure, since it’s built into the fabric of the softie. And it looks really nice!
There are disadvantages, though.
The main disadvantage is that it takes a little planning, since any parts need to be finished in order to attach them. Another potential drawback is that if you don’t like your positioning, you’ll have to rip out rows of crochet to fix it.
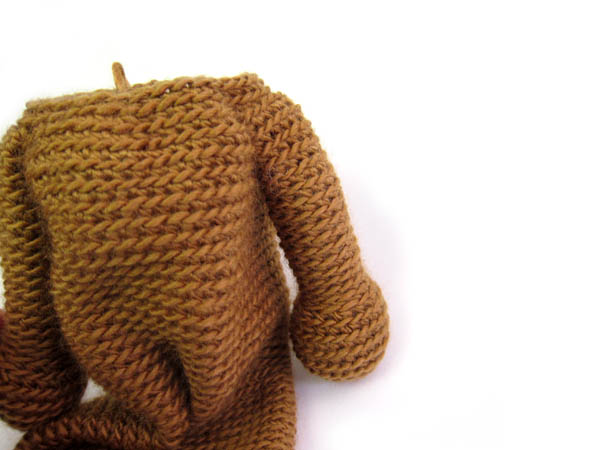
How to Attach Arms and Legs with Single Crochet
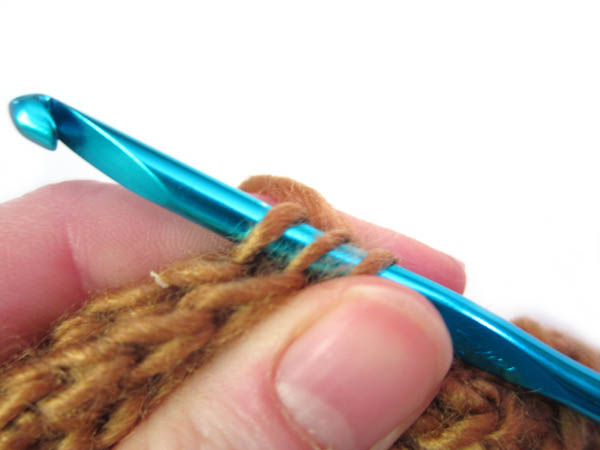
To start, work to where the arm needs to be attached (as indicated by your pattern). Now, flatten the arm, and stick your crochet hook through both layers of the arm.
Notice that you have 3 loops on the hook: the starting loop, then the two from the arm (one from each layer). Now, insert your hook into the next stitch on the body:
I know… it’s a lot of loops!
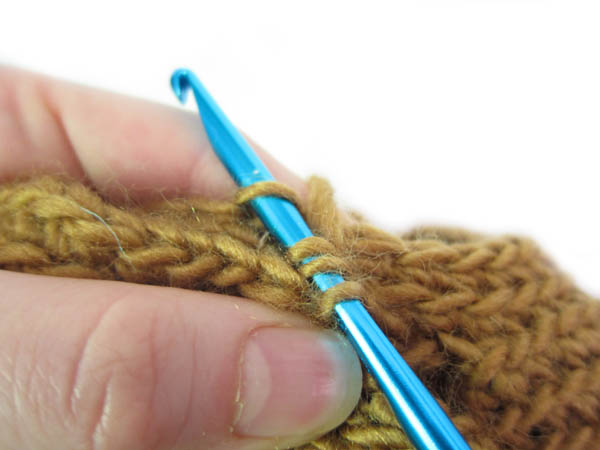
Now, to do your single crochet, treat the three newest loops as if they’re one. So, wrap your yarn around the hook, and pull through 3 loops. Now, wrap the yarn around the hook again, and pull through the remaining two!
That’s one stitch! Continue (as instructed in the pattern) until the entire arm is attached.
See? Look how neat that looks!
Here’s a video to give you an additional view of the process if you like.
See how easy that is? Go forth and attach all your arms and legs with single crochet!
Here are handy links to all the posts about attaching parts. . .