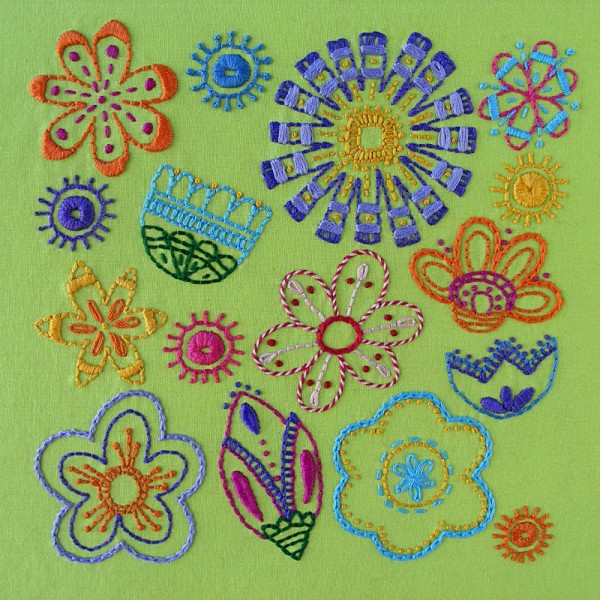
This is a handy little stitch with lots of different names. One of the names is Pistil Stitch – and it is perfect for stitching little pistils inside detailed flowers. It’s also good for teeny little flowers and grasses – and also antennae on bugs and aliens. Such a versatile stitch!
Sometimes it’s called an elongated French knot – and that makes sense. If you can make a French knot – you can stitch this French knot with a stem. It’s almost exactly the same thing!
I wish it was called Lollipop Stitch. Wouldn’t that be adorable?
I don’t use pistil stitch very often – but sometimes it’s absolutely perfect. Especially for flowers!
I’m not kidding! The first time I worked with velvet I sewed a pair of pants for my young daughter. I treated it like normal fabric and by the time I got to the end of my first side seam, I still had INCHES left of one of the layers. It slid that much!
Way back at the beginning of the year I made a video all about choosing fabrics. I warned you to stay away from velvet and other napped fabrics because they can be tricky to sew. Well – no more! If you want to make a velvet bunny for Easter – here’s a video showing what you need to know.
First of all – what is napped fabric?
It’s any fabric that has a direction to it. I don’t mean the print on the surface of the fabric – I mean the actual weave of the fabric. Velvet, corduroy, fur – all of those are napped. If you’re not sure, try running your hand along the surface of the fabric. Does it feel “right” in one direction and “wrong” in every other way? That’s the nap. And when you layer two pieces of it together, the naps work against each other to make the layers walk apart as you sew. It’s maddening!
A walking foot helps, but what you really need are hundreds of pins. I show you all the details in this video.
Want to see that velvet bunny I mentioned earlier?
Here he is! His name is Bartholomew Bunny and he also has shiny tissue lamé ears. 🙂
Hello all! It’s time for another fill stitch! This one is related to satin stitch – so it will look familiar.
You can use it to fill in large areas where satin stitch wouldn’t work.
You can use it to make the coat on furry critters like bunnies and dogs.
But one of the best things about it is that you can use it to shade from one color to another. In the video I show shading from dark to light, but you could also go from one color to another – or even fill with a whole rainbow of shading. This is one to have fun with!
Happy stitching!
Here are all my lessons for fill stitches (besides satin stitch).
Did you know that you can get an especially squishy softie by sewing it up out of an old T-shirt or other stretch fabric?
Did you know that you don’t need a serger to sew stretch fabrics?
In this video I give you some basic information about sewing stretch fabrics on a regular sewing machine. I show you what kind of needle you need to use and a couple of different options for the kinds of stitches to use – all the info you really need to get started.
If you want to learn about how to choose fabrics for your projects, start with this video where I cover the basics! 🙂
Want to practice?
This is Bartholomew. He’s made using one of my very easiest patterns and an old T-shirt – worn to buttery softness. He’s soooooo soft and huggable! Click here to get the pattern.
Seed stitch is one of my favorite fill stitches. It’s really easy to do and it makes a great texture – perfect for grassy fields and shaggy critters.
But there’s a trick to getting all the texture – and that trick is in choosing the right colors – and choosing enough of them.
Everyone who’s ever read a fairy tale – or listened to Schoolhouse Rock – already knows the secret. . .
Three is a magic number.
It’s that simple!
Here I’m going to show you some seed stitch-in-progress so you can see what adding the additional colors does.
I always start with the darkest shade and lay down a nice, dense bunch of stitching. The background fabric isn’t completely covered – but it’s pretty close.
It’s not bad. Kind of shaggy and pebbly looking – fun.
But look what happens when I layer a lighter shade over the dark one.
Oooh! Depth!
Note that the stitching with the second layer of color isn’t nearly as dense. Lots of the dark is showing through, and the background fabric is now almost completely covered.
I’m always kind of tempted to stop with the second color – because at this point I’m always really happy with how it’s looking. But I know from experience that THREE is the magic number. Not two.
Wow! Look at those highlights!
I shot this photo after HURRIER had gotten its third color, but before BEHINDER got it so you could really see the difference in them.
If you look closely you can see that there are actually very few of the lightest stitches, but they make the whole thing look so much fuller and more textured.
So, this is the “old-fashioned” way to applique. It’s definitely a lot more work than appliqueing with fusible adhesive, but you don’t get that annoying stiffness, and you don’t have any visible stitching. This is the technique used for all those traditional Baltimore Album quilts. It’s also the technique I used for my very first quilt.
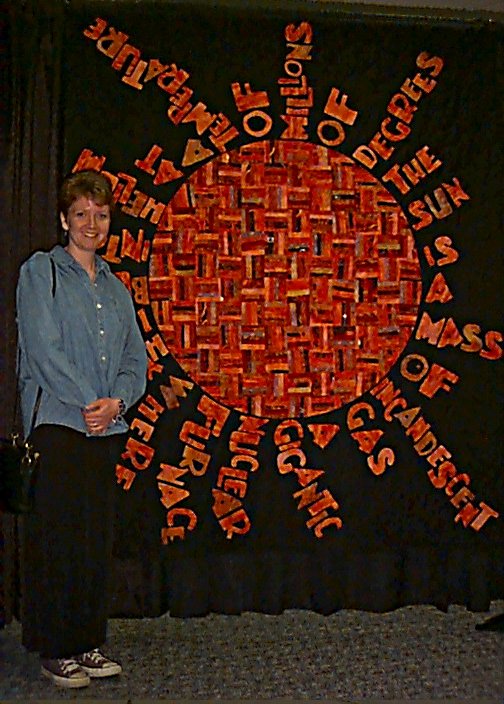
See all those letters? I hand-appliqued every one of them to the quilt top using this stitch.
Crazy, right? That was over ten years ago and now I find myself wondering where the heck I found the time for that.
But it’s also a reminder that it doesn’t take as long as you think it will. If you watch an hour of TV a night and do some handwork while you watch, it’s amazing how fast it will add up.
By the way – this quilt is over 8 feet tall. Hand appliqued and hand quilted. I don’t recommend doing a quilt this big for your first project. I just didn’t know any better. 🙂
Anyway – in the video I mention a couple of things I wanted to provide links to. This is essentially the same stitch I use to stitch up softies, so you can take a look at the ladder stitch video to get another view of the technique.
One of the weird things about this applique technique is that you draw your shapes on the top of your fabric, so you need to use a marking pen that you can remove from the fabric when you’re done. Take a look at the video on how to transfer embroidery markings to see a couple of options. I like the water soluble pens that dissolve when you spritz them with water – but you must test them on every fabric you will use.
I’m not kidding here. Test them to make sure the ink disappears when wet – and then let them dry to make sure it doesn’t come back when they dry. I’ve only had that problem with synthetics, but I test every fabric every time.
Here are links to all the posts showing how to applique with fusible adhesive – my favorite method. It’s fast and easy and (with the right materials) it holds up beautifully to rough use and repeated washing.
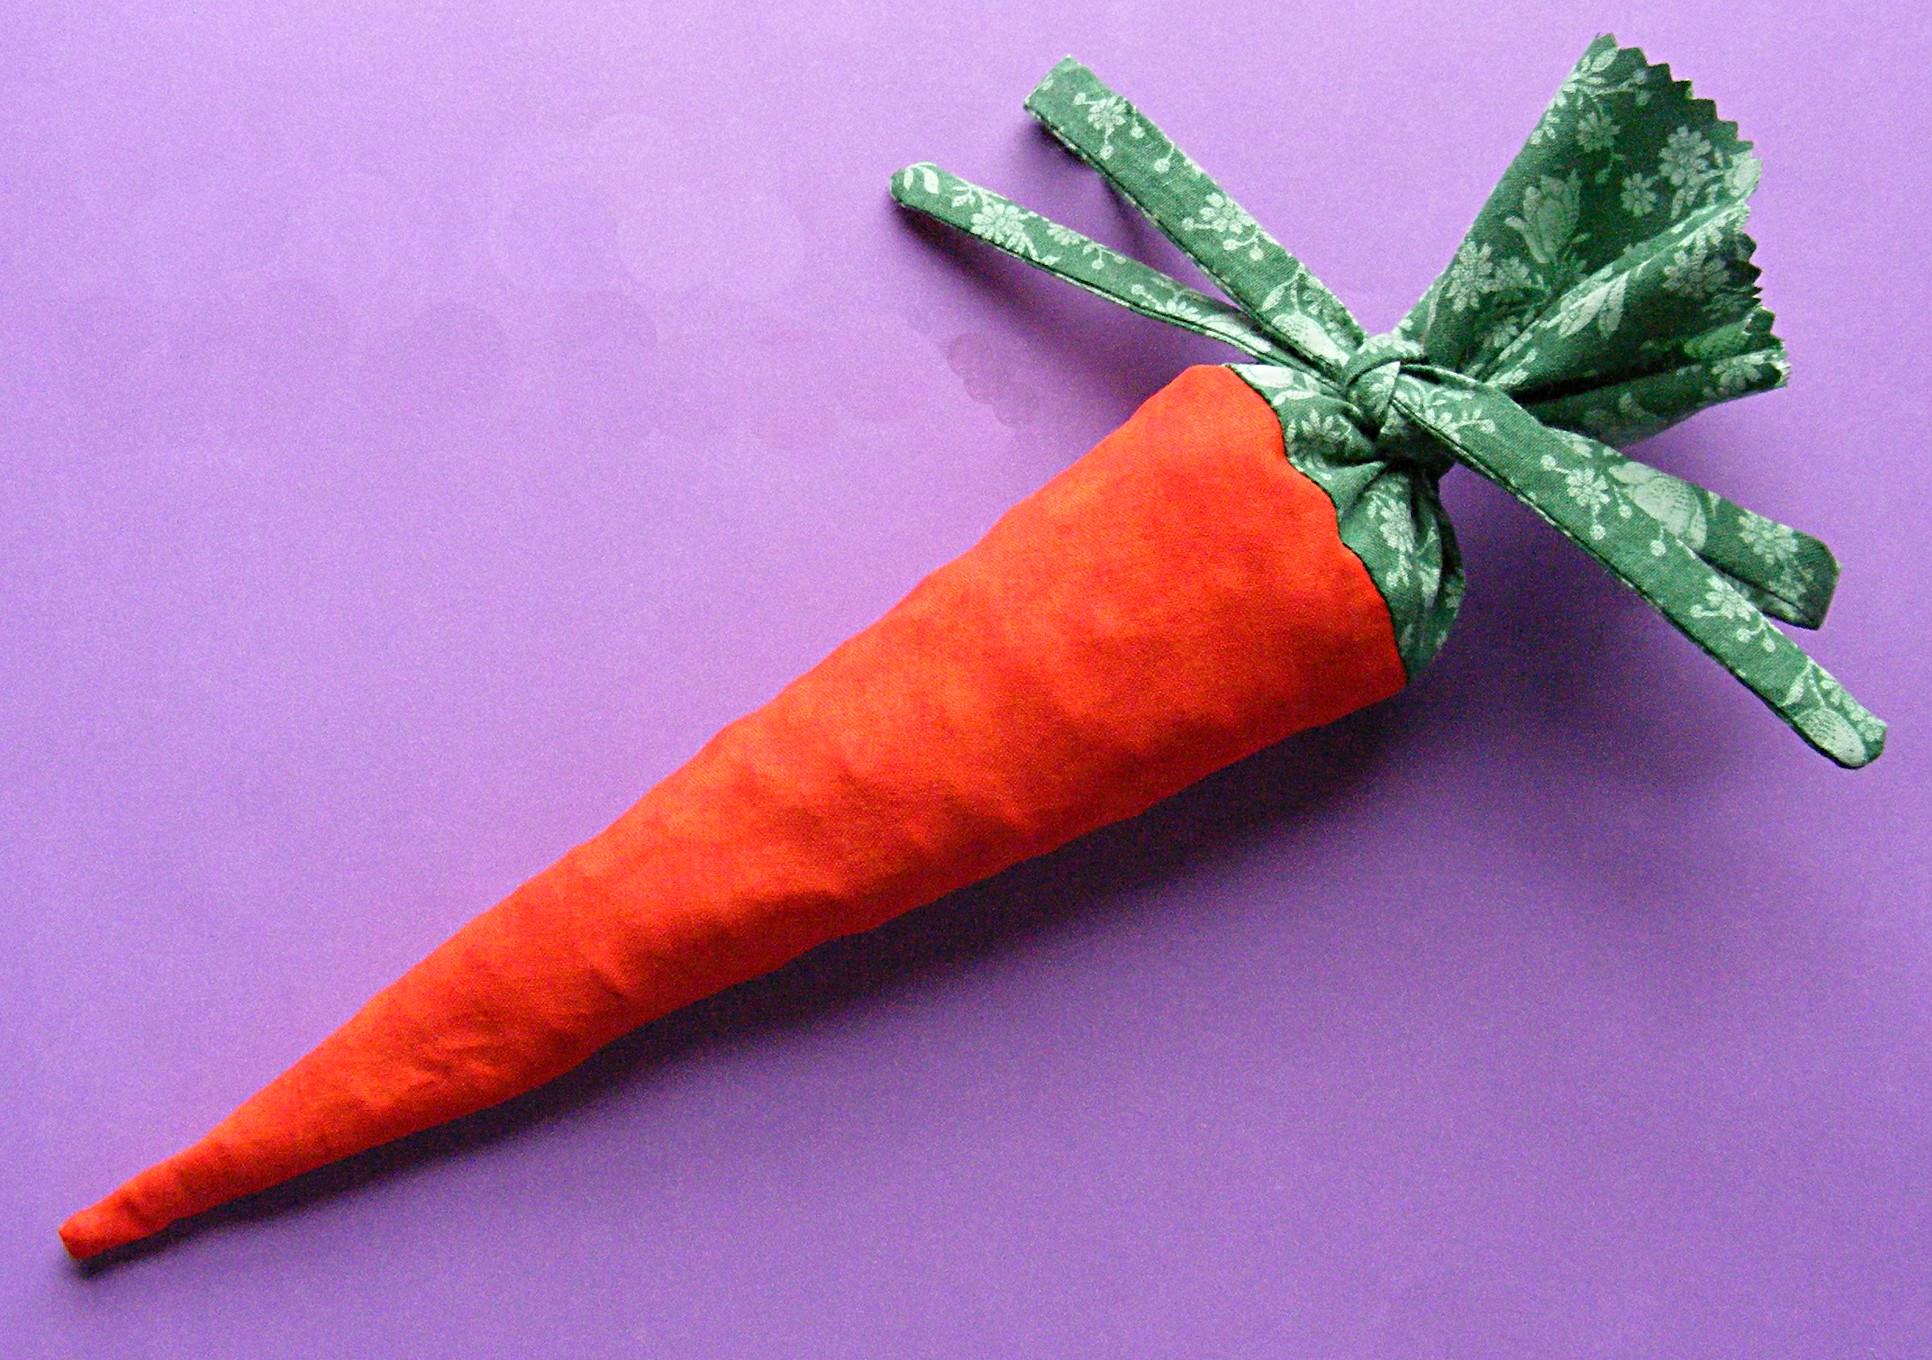
I was inspired by Chez Beeper Bebe’sremake of the classic paratrooper dimestore toy (You haven’t seen it? Well go check it out, for goodness’s sake! It’s fabulous!) and I decided to remake those carrot-shaped cellophane bags you find filled with candy at Easter.
My version is made from fabric – thus hiding what kind of candy is inside. Is it M&Ms? Is it jellybeans? Oooh – the suspense! Plus it’s reusable and feels so much nicer than the plastic bags. And – it’s oh so easy.
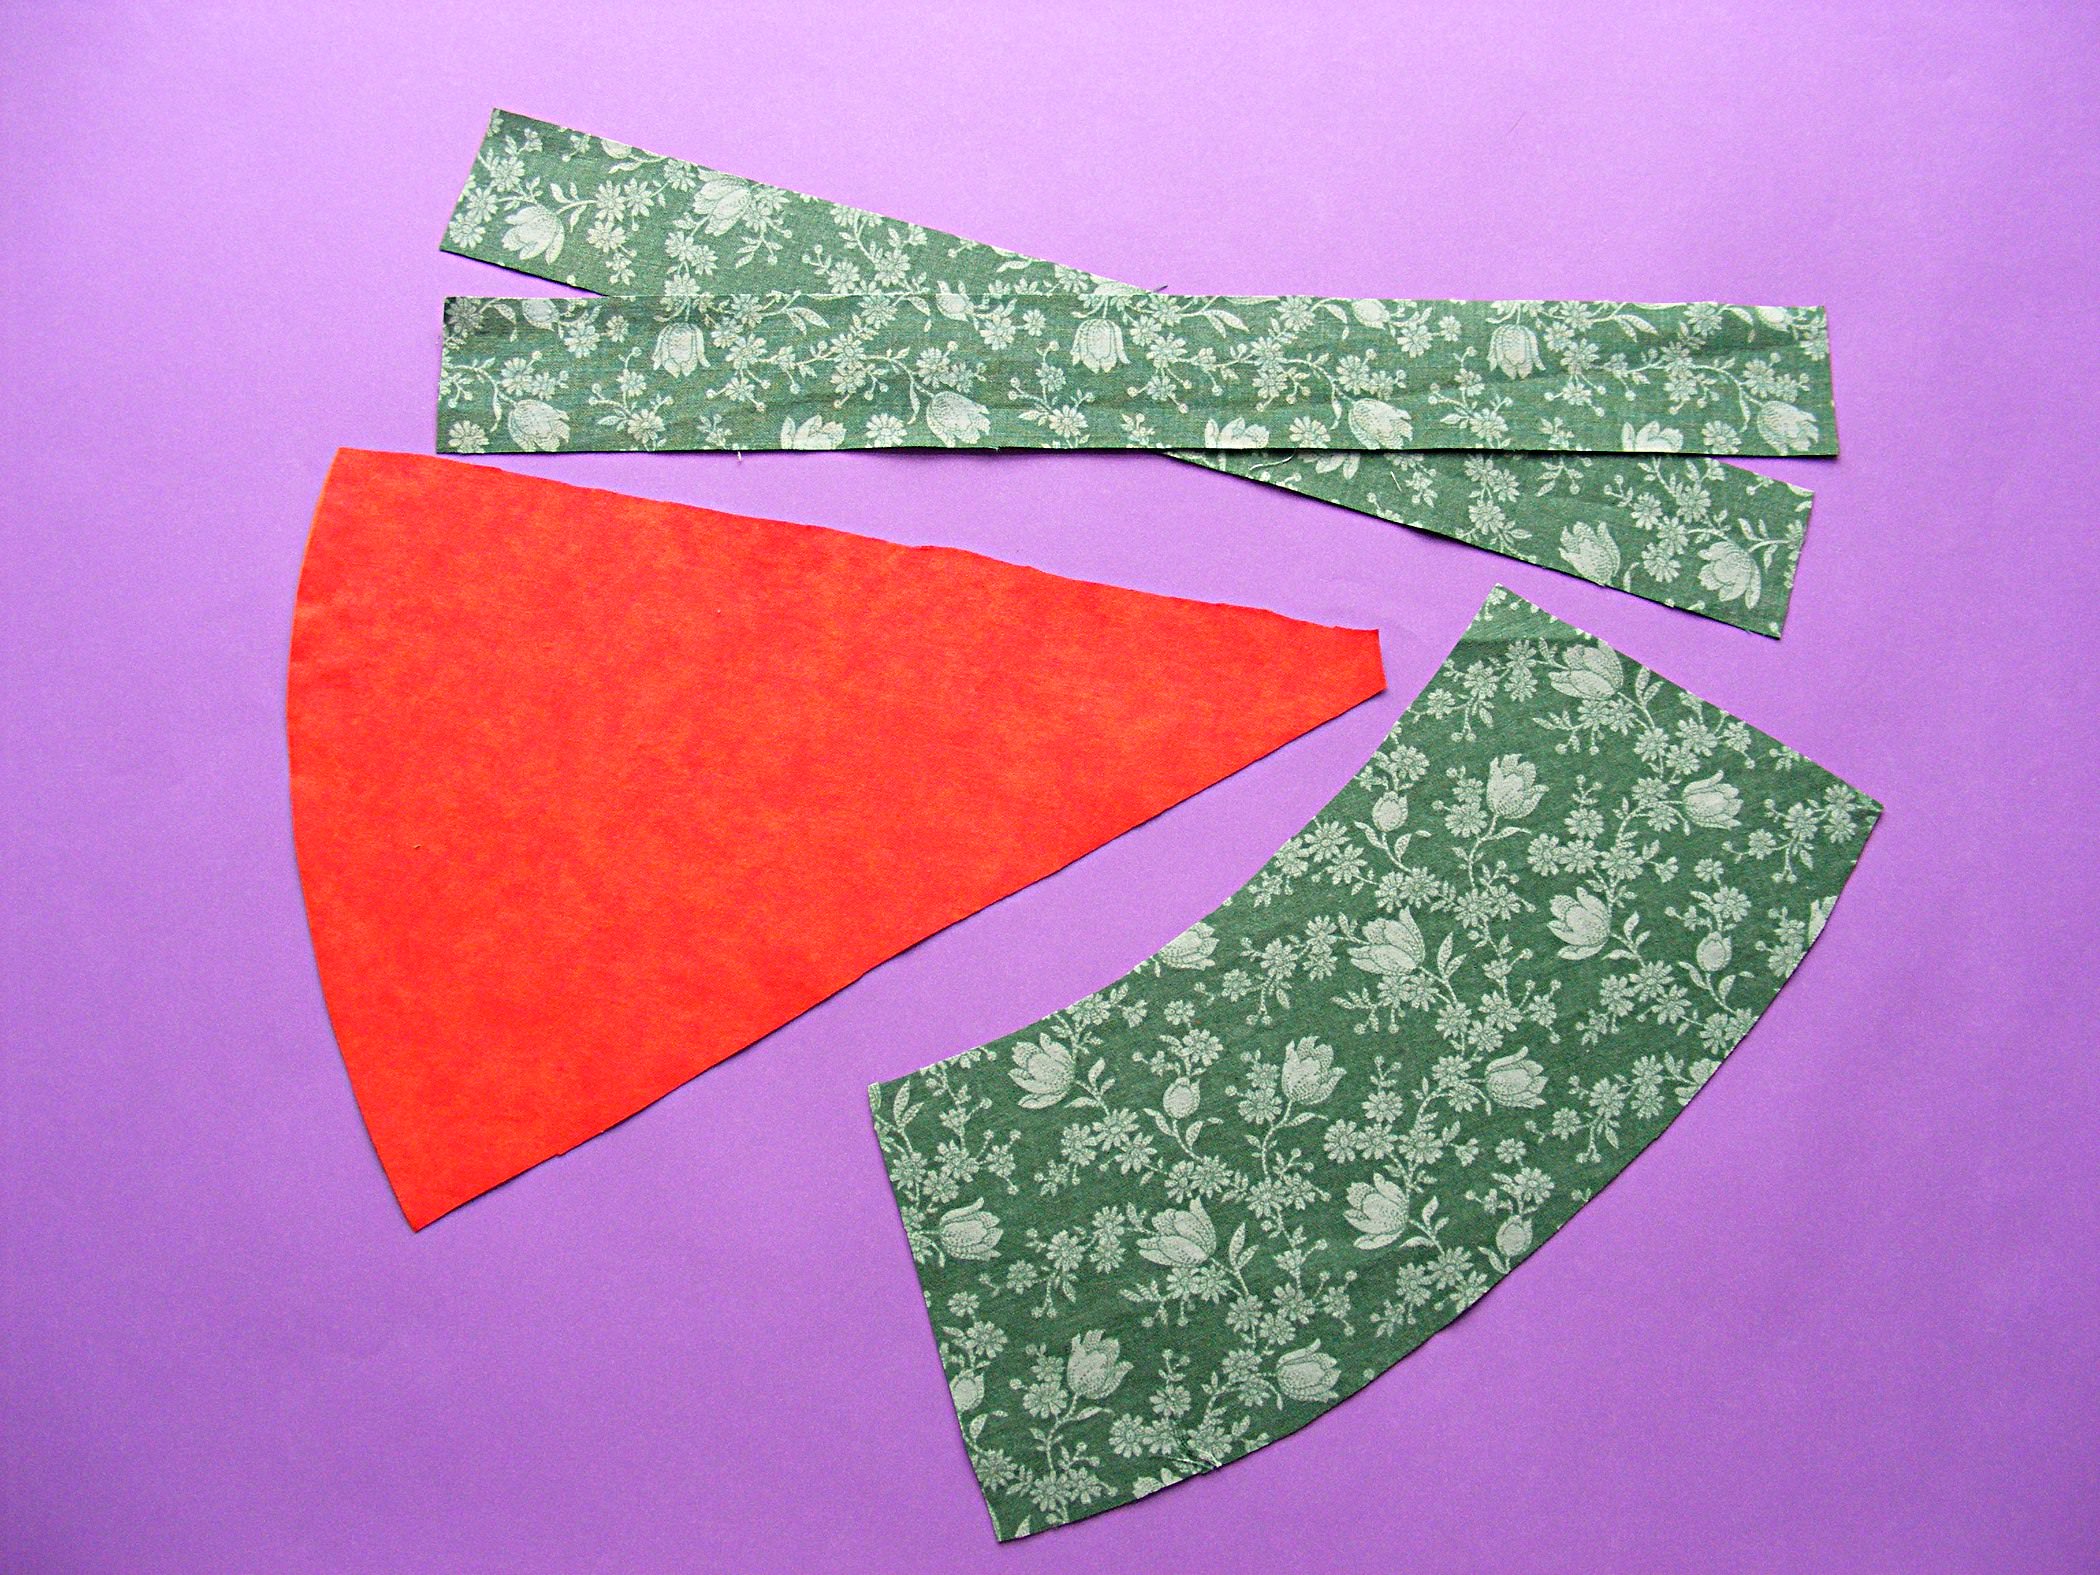
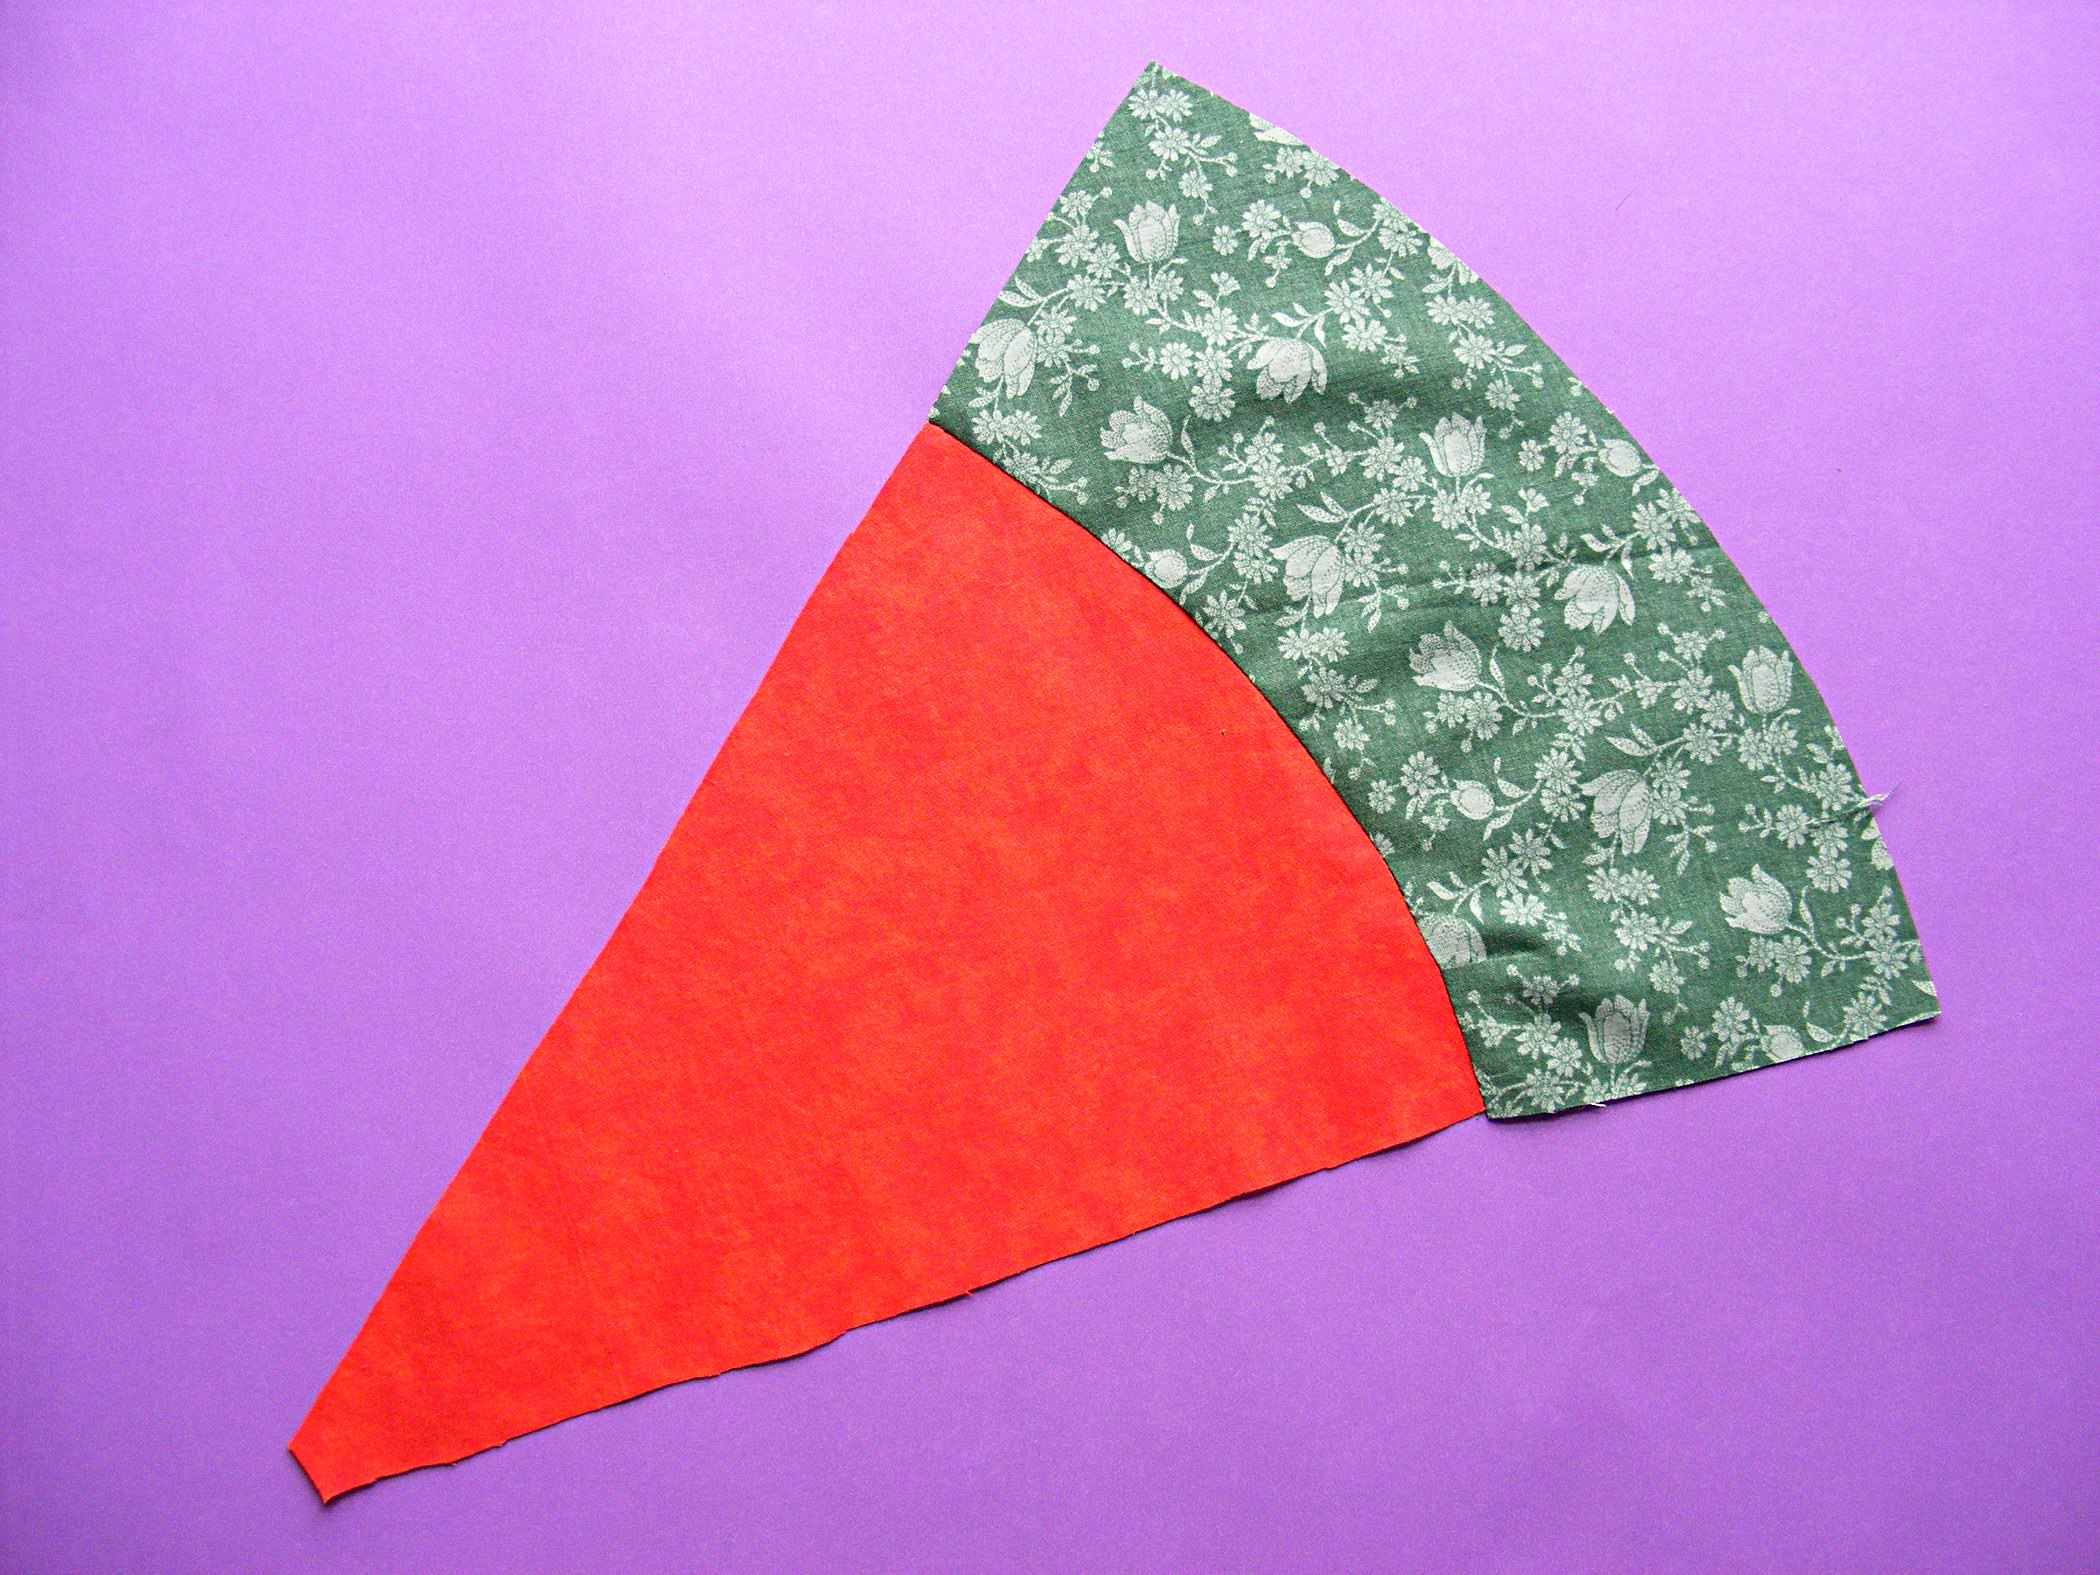
Press your fabric and cut out all your pieces as shown on the pattern page. You should have one orange wedge, one green piece, and two strips for ties.
Step 2
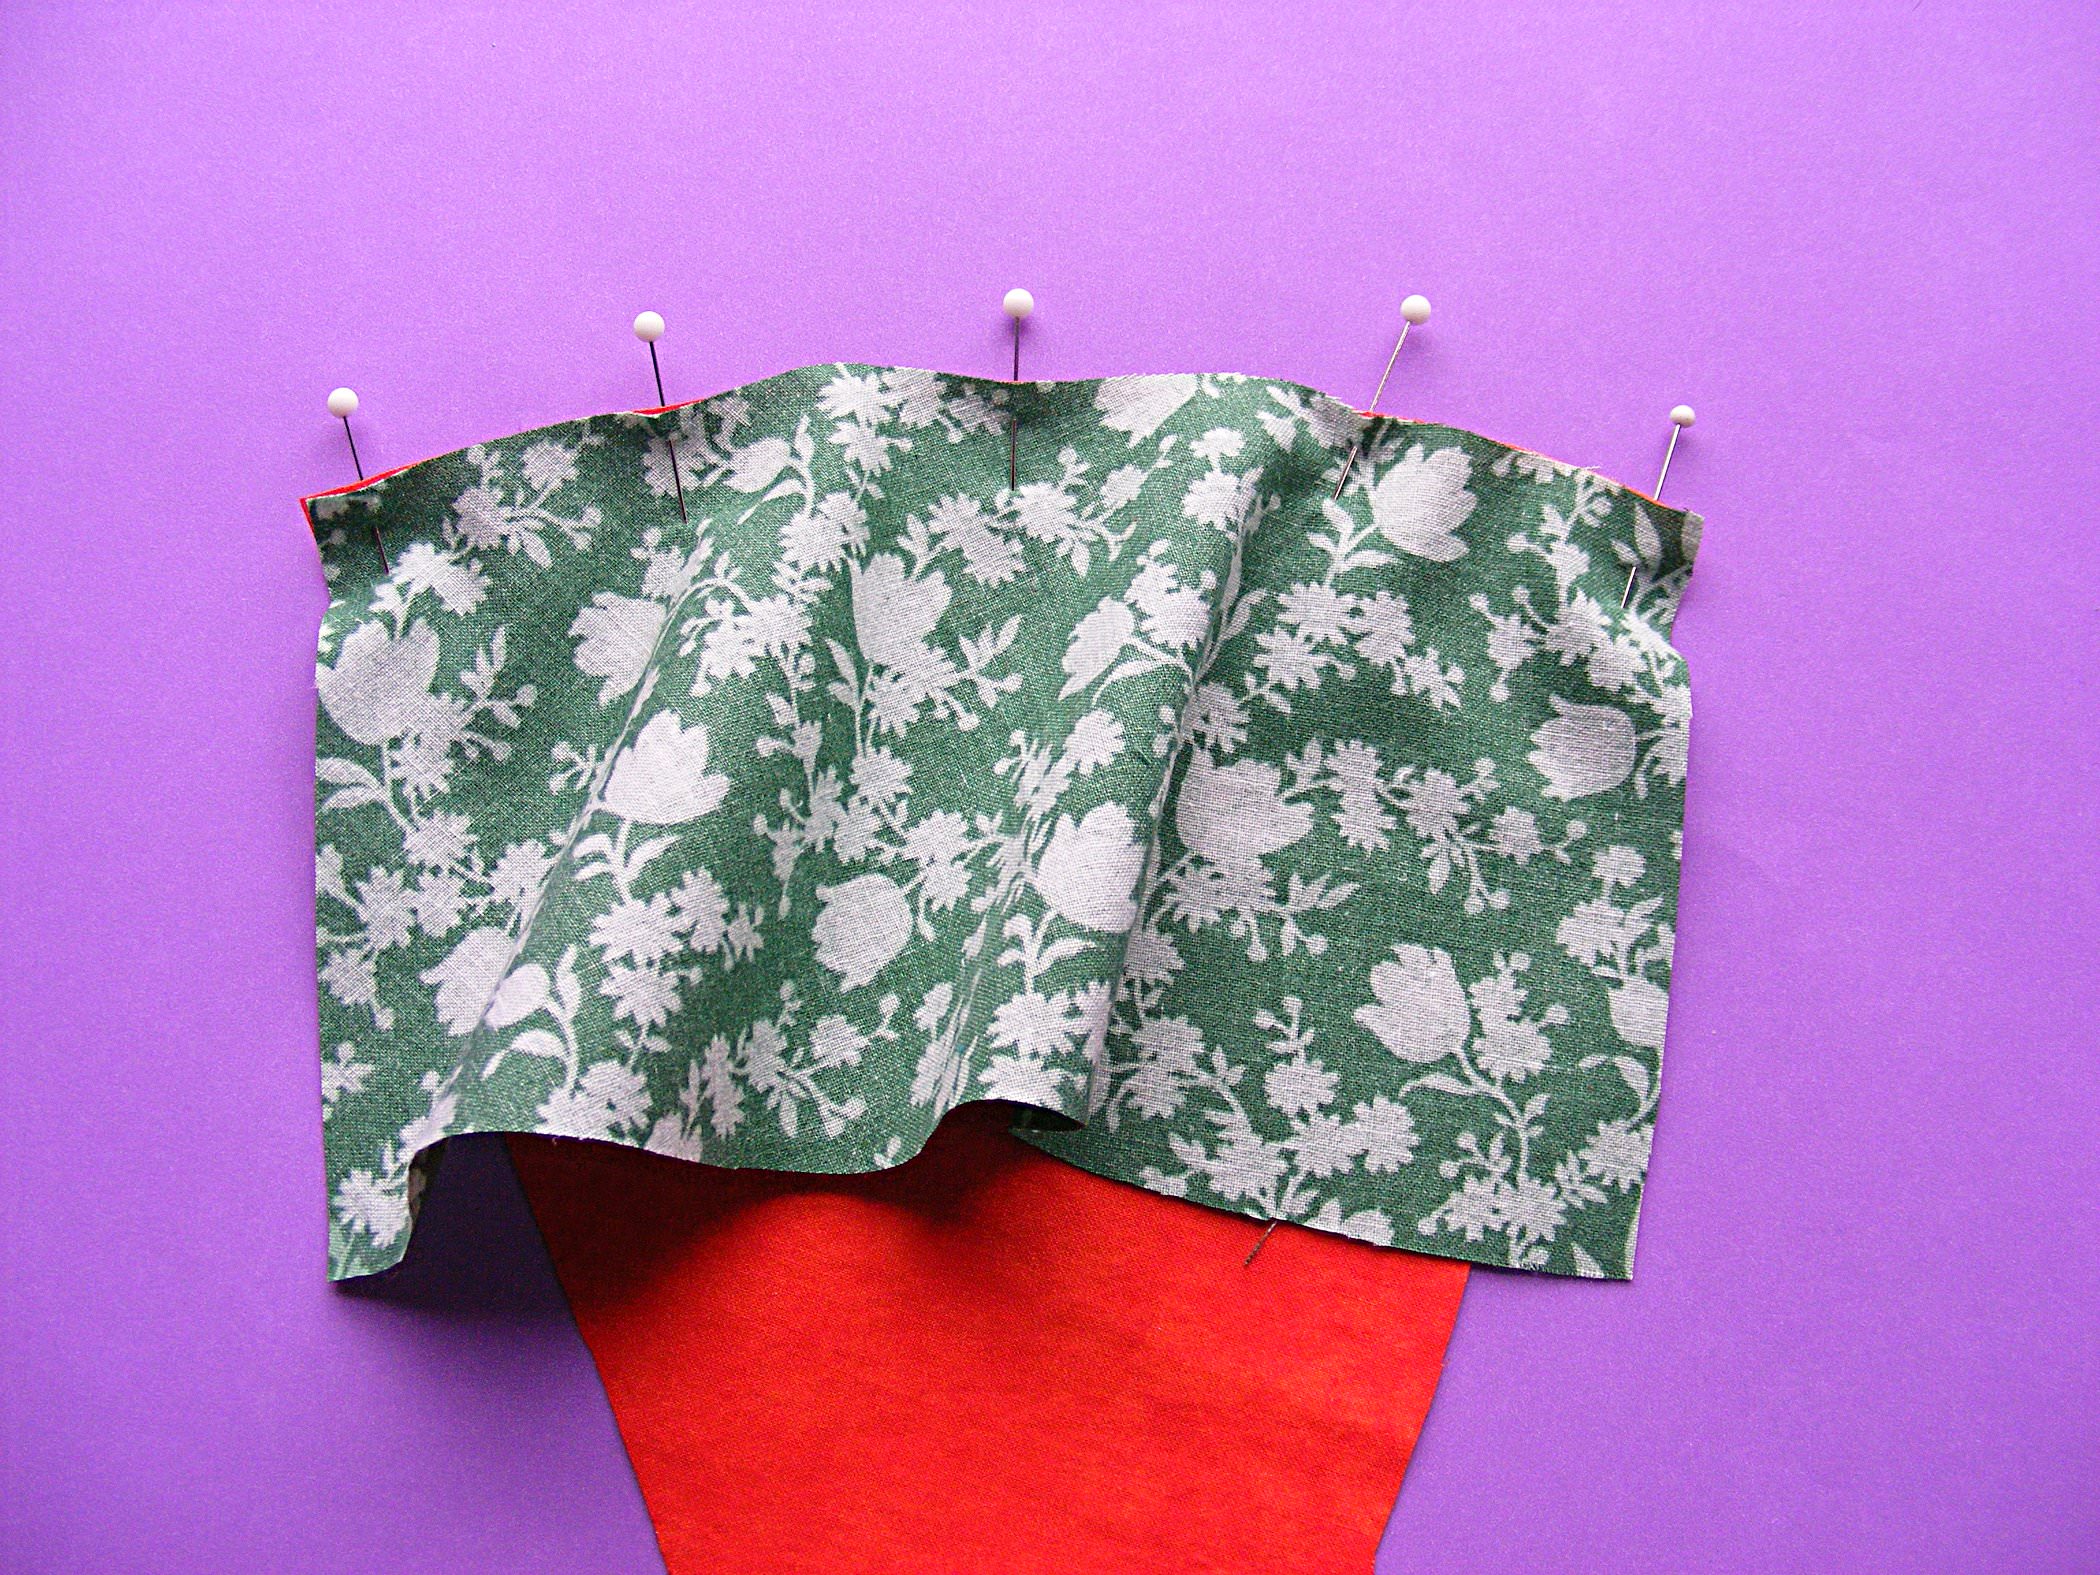
Pin the carrot to the green, right sides together. You’ll be pinning a convex curve to a concave curve, so the green part will be floppy at the bottom. Sew using 1/4 inch seam allowance.
Step 3
Open the carrot up and press the seam allowance toward the green.
Step 4
Fold one strip in half the long way and stitch along the long edge and one short edge. Turn the tube right side out and press flat. Repeat with the second strip.
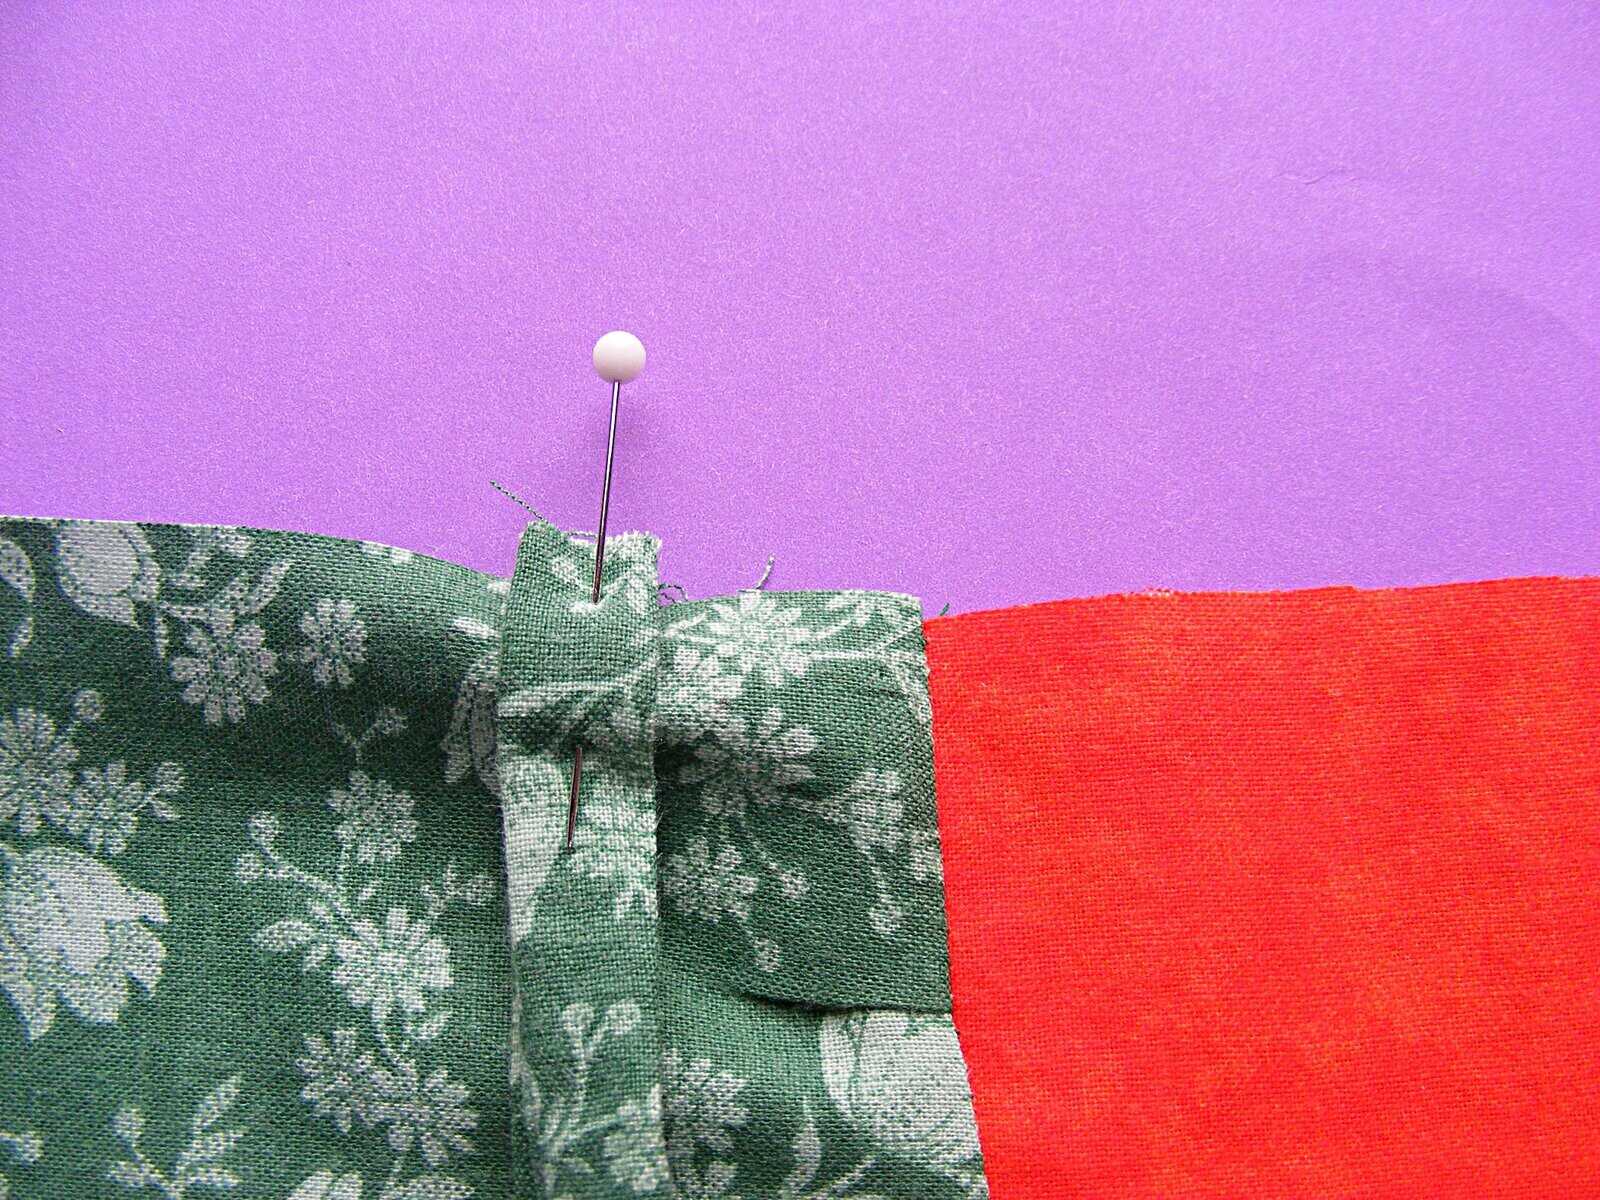
Step 5
Pin both strips to the green, 1 inch from the seam between orange and green, with the raw edges of the strips lined up with the raw edges of the green.
Fold the carrot wedge in half the long way, right sides together, with the strips sandwiched between the layers.
Stitch up the long seam using 1/4 inch seam allowance.
Step 6
Trim away any excess seam allowance from the tip of the carrot and turn it right side out. Press the seam flat. Trim the raw edge of the green with pinking shears, fill the carrot with candy, and tie it closed.
Want to learn the basics of hand embroidery with an easy online workshop – totally free?
Sign up for Embroidery 101 here. You’ll learn how to get started, the tools and supplies you’ll need, the four most basic stitches, how to transfer your pattern and how to display your work.
If you already know the basics – sign up for Embroidery 201. It’s also free! You’ll learn how to stitch on specialty fabrics like felt and stretchy T-shirts. Plus you’ll learn lots and lots and LOTS more stitches – all my favorites!
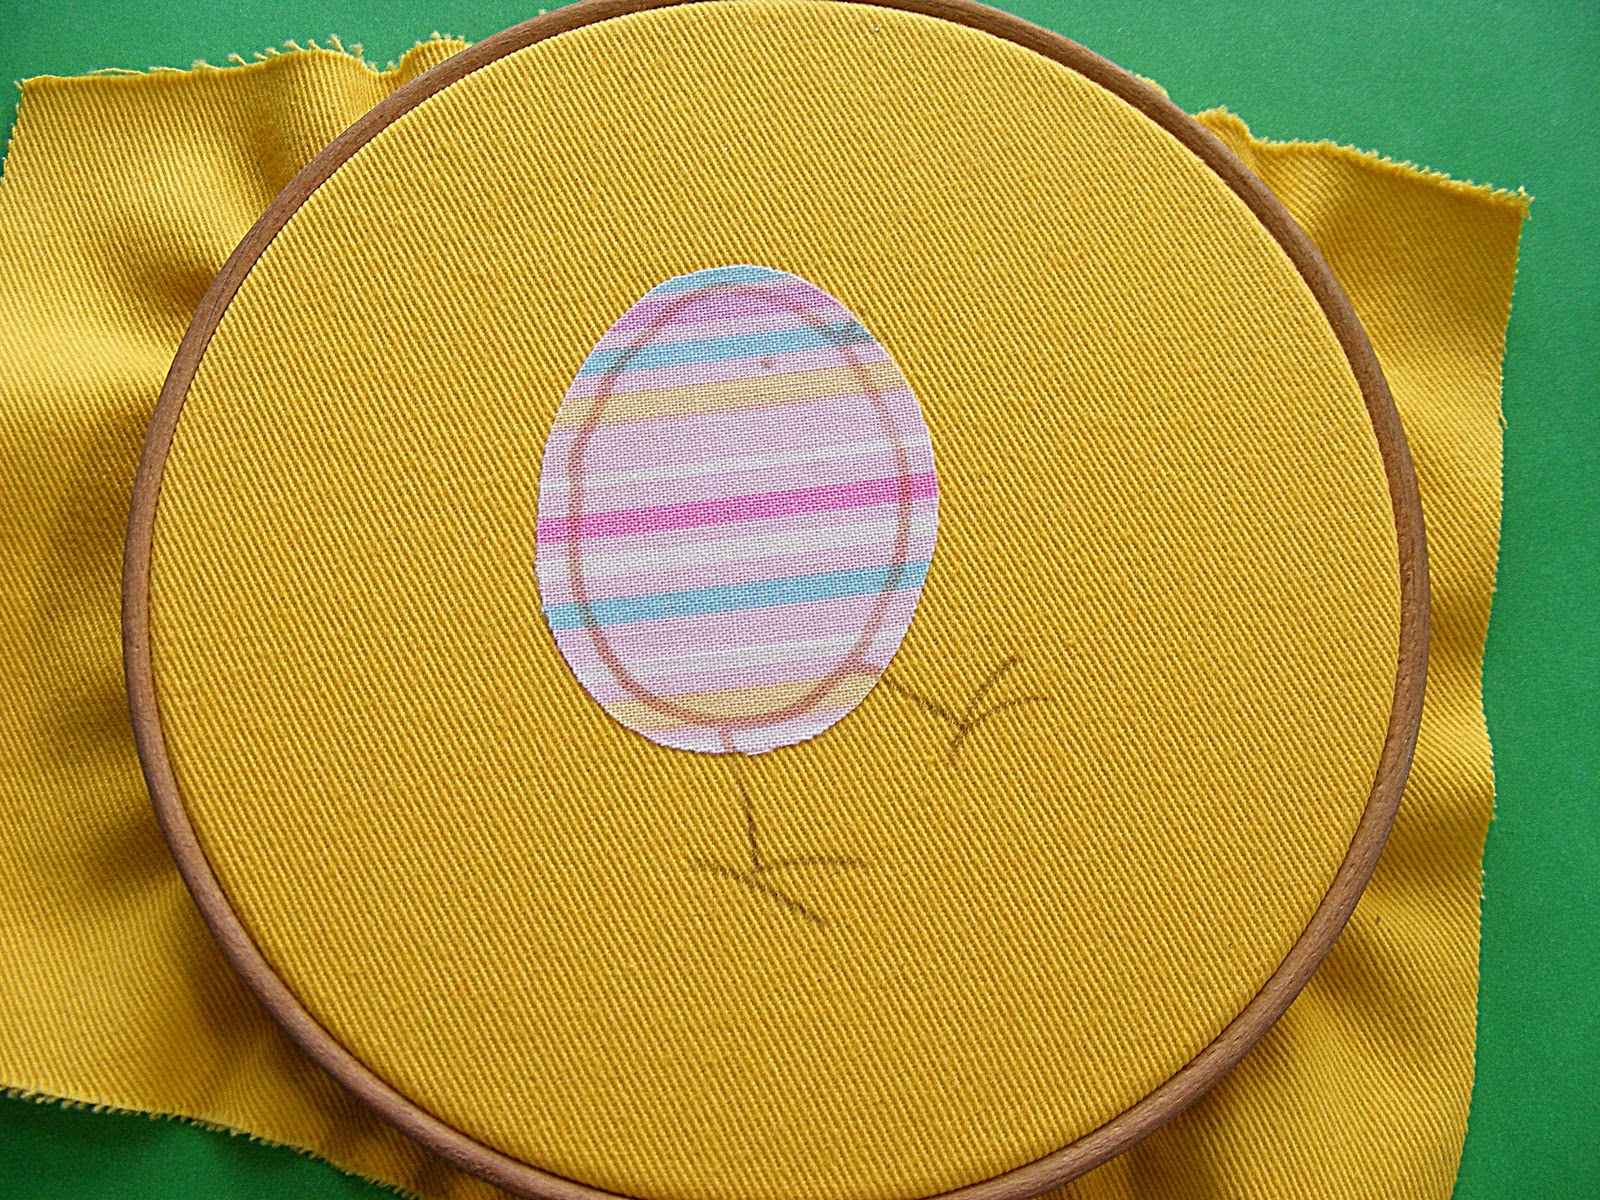
Last week I showed you how you could quickly add some color to your embroidery using colored pencils or crayons instead of fill stitches. Today I want to show you how you can do the same thing by combining applique and embroidery.
I have two different approaches to this technique. I think of the first one as my “color outside the lines” technique and the other as my “color inside the lines” technique. We’ll do outside the lines first.
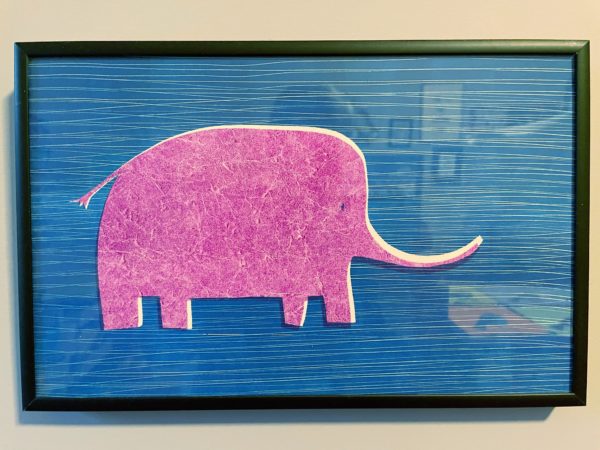
I really like screen prints when the colors don’t exactly register. It’s usually considered a mistake, but I love it. Here’s a little elephant print I made several years ago. . .
See how the magenta elephant doesn’t exactly match up with the space I left for him in the blue background? That’s the look I’m trying to achieve with this technique. Here’s how you do it. . .
Step 2 Cut out the applique shape, leaving a little space around the edge of your stitching line. It’s ok if you cut off the legs and beak – we’re going to fix that. Fuse it to your background fabric.
Re-transfer the lines you cut off. For this step I usually trace in front of a window – it makes it easy to get everything lined up.
Step 4 Hoop it up and stitch. When I do this technique I usually stitch everything in very dark brown (DMC #3371). I think it contributes to the overall playful and cartoony effect.
Step 5 Done! See how well the applique and embroidery work together?
I think it’s especially fun to use this technique with patterned fabric. You get stripes or dots or flowers without having to stitch them!
But maybe you’re not a color outside the lines kind of person? Maybe that extra fabric around the edge really bugs you. Then you’ll want to use the “color inside the lines” technique. Follow all the steps outlined above except. . .
Use the instructions in the fusible applique video to transfer your applique shape to the paper backing of your fusible adhesive.
Cut your shape out exactly on the lines.
Stitch inside the edges of the shape with matching thread. I usually use a running stitch. You do not want to use contrasting thread with this technique – it will make the eye read the line instead of the shapes and you want the line to disappear.
You can see an example where I used a combination of both techniques here.
I wanted the hat and the skin to be shapes without strong outlining, so I cut them out exactly the size I wanted and I did the stitching in a matching color. I wanted the hair to look looser, so I cut its shape out a little bit outside the lines and I stitched the curls in a darker color.
I started using this technique of combining applique and embroidery to get skin color without having my ladies look hairy from the texture of the fill stitching. Now I use it for lots of different things! You can use it on any embroidery pattern.
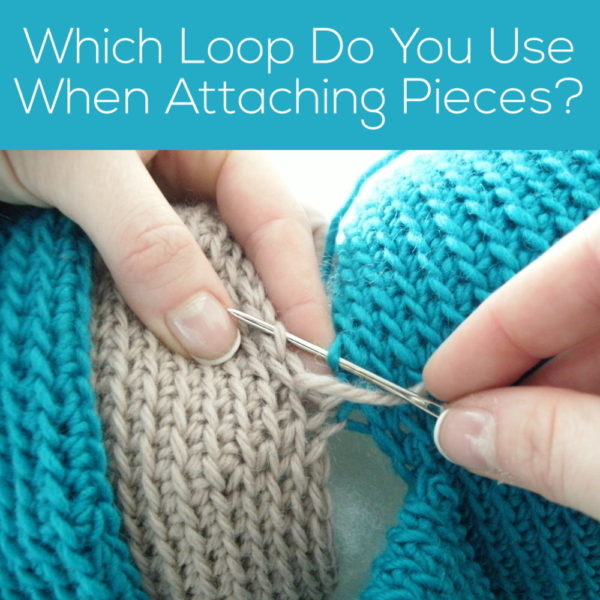
Yay, it’s Tuesday… which means it’s time to share another amigurumi-making tip! This week, I’m answering a question sent in to me by Mary:
When attaching parts do you sew into both loops on the piece to be added? Which do you recommend?
Excellent question! And I have two answers.
The first answer is that it really doesn’t matter whether you attach your animal’s pieces using both loops or just one. Neither way results in a significantly different look. For the best results, you should be consistent throughout the piece about which one you use.
Okay, now the second answer is about what I do. I actually only use the back loops when attaching pieces.
There’s no real method to my madness- I think that, since I crochet through the back loop, it’s easier for me to attach through the back loop!
So, there you go… either way you want to do it will result in a happy amigurumi! Hope you have a great Tuesday!
Here are handy links to all the posts about attaching parts. . .
Using a fusible adhesive is the easiest way to applique. You’re essentially gluing the fabrics together, and then you have the option to stitch around the edge of the applique to add extra strength. I usually straight stitch around the edge, or do a running stitch by hand with embroidery thread, but in the video I show you how to zigzag stitch around the edges of the patch.
Update!
For a long time I hardly ever used fusible adhesive for quilts. The products were all just too stiff, and the ones that were more flexible just didn’t hold well.
No more!
There are have been a lot of improvements in this category and now this is my very favorite applique technique – which means I have a lot more videos for it.
Heat & Bond Lite is the brand of fusible adhesive I settled on. You can buy it in a roll or by the yard, but I especially love the printable sheets because I’m lazy and I hate tracing.
One more note. If you use fusible adhesive, you really need to prewash your fabric. The manufacturer applies sizing to the fabric to keep it looking fresh and crisp in the shop – but that sizing can also keep the adhesive from sticking properly. It doesn’t happen all the time – but when it does it’s maddening. Liquid fabric softener can do the same thing, so don’t use any when you pre-wash. (Dryer sheets are fine.)
Here are links to all the posts showing how to applique with fusible adhesive – my favorite method. It’s fast and easy and (with the right materials) it holds up beautifully to rough use and repeated washing.