New to crocheting? Try an animal!

New to Crochet? Try a Stuffed Animal! It's a surprisingly easy way to start. Tips from FreshStitches and Shiny Happy World

Want to learn how to make adorable crocheted stuffed animals with an easy online workshop – totally free?

Sign up for Let’s Make Amigurumi here. You’ll learn how to get started, the tools and supplies you’ll need, and how to make an easy amigurumi from start to finish using simple crochet stitches.

It’s a fun, inexpensive, and totally portable craft. You can do it!

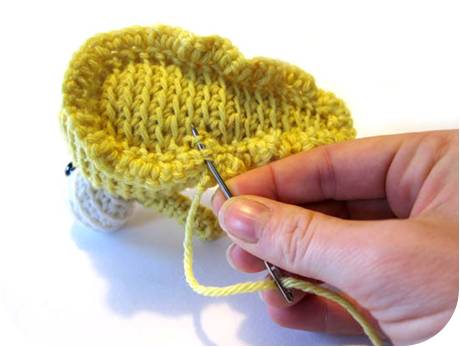
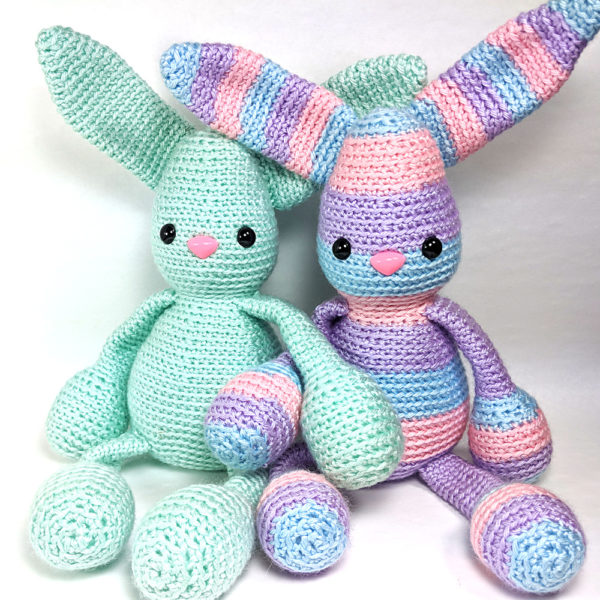
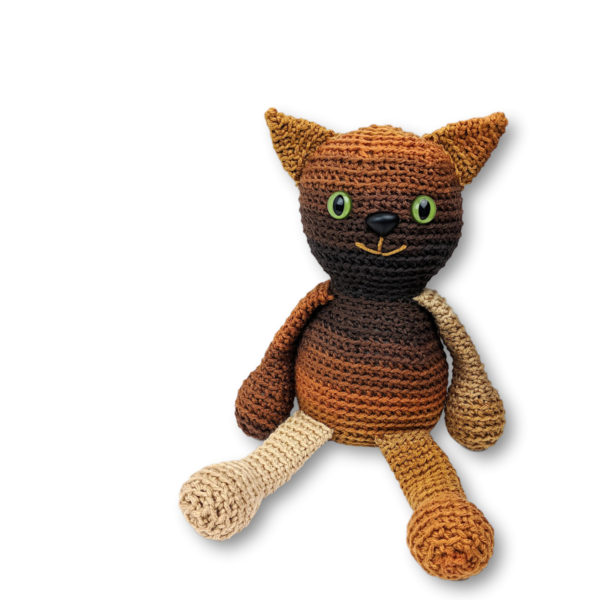
I honest-to-goodness think the easiest way to learn to crochet is to make an animal. But of course, I design crochet animal patterns, so maybe you don’t want to take my word for it!

I reached out to my readers and asked for folks whose first crochet project was a stuffed animal! Responses came pouring in!

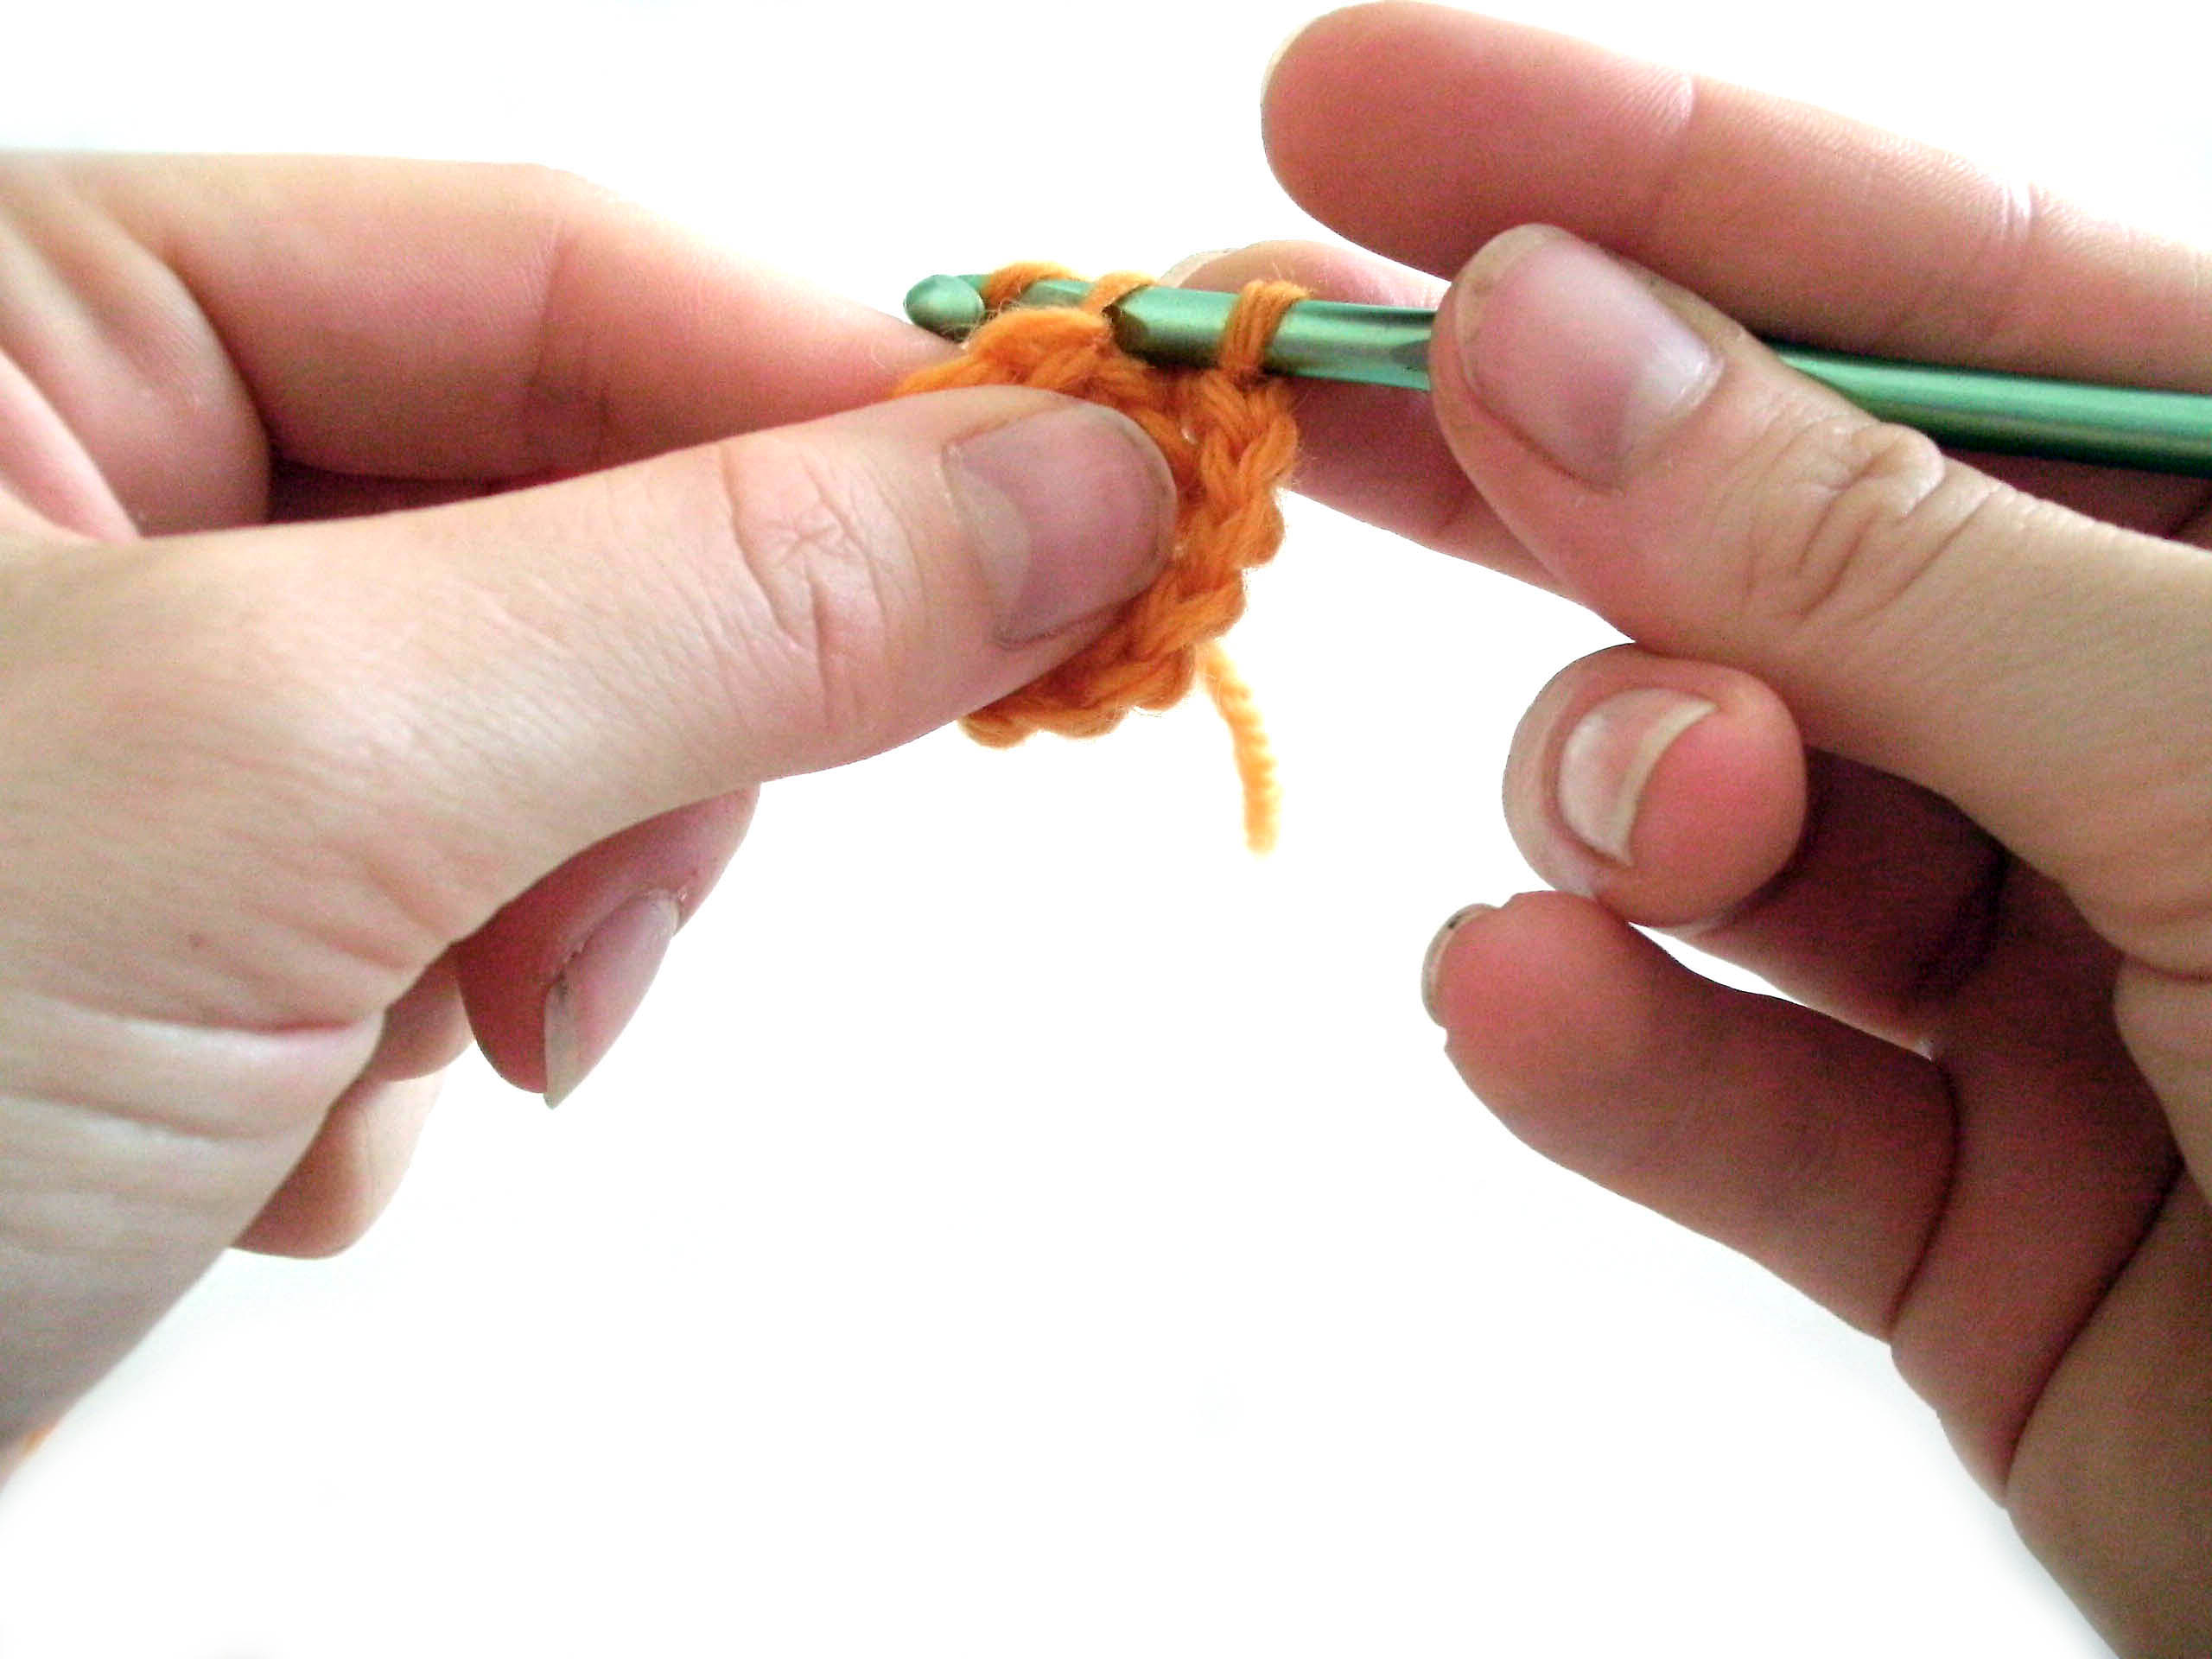
Why are animals easy?

There are a few reasons:

  • They’re small (compared to an afghan), so changes in tension as you learn to crochet aren’t a big deal
  • They’re mostly single crochet… easy!
  • They’re crocheted in the round, so they avoid those oh-so-tricky turning stitches
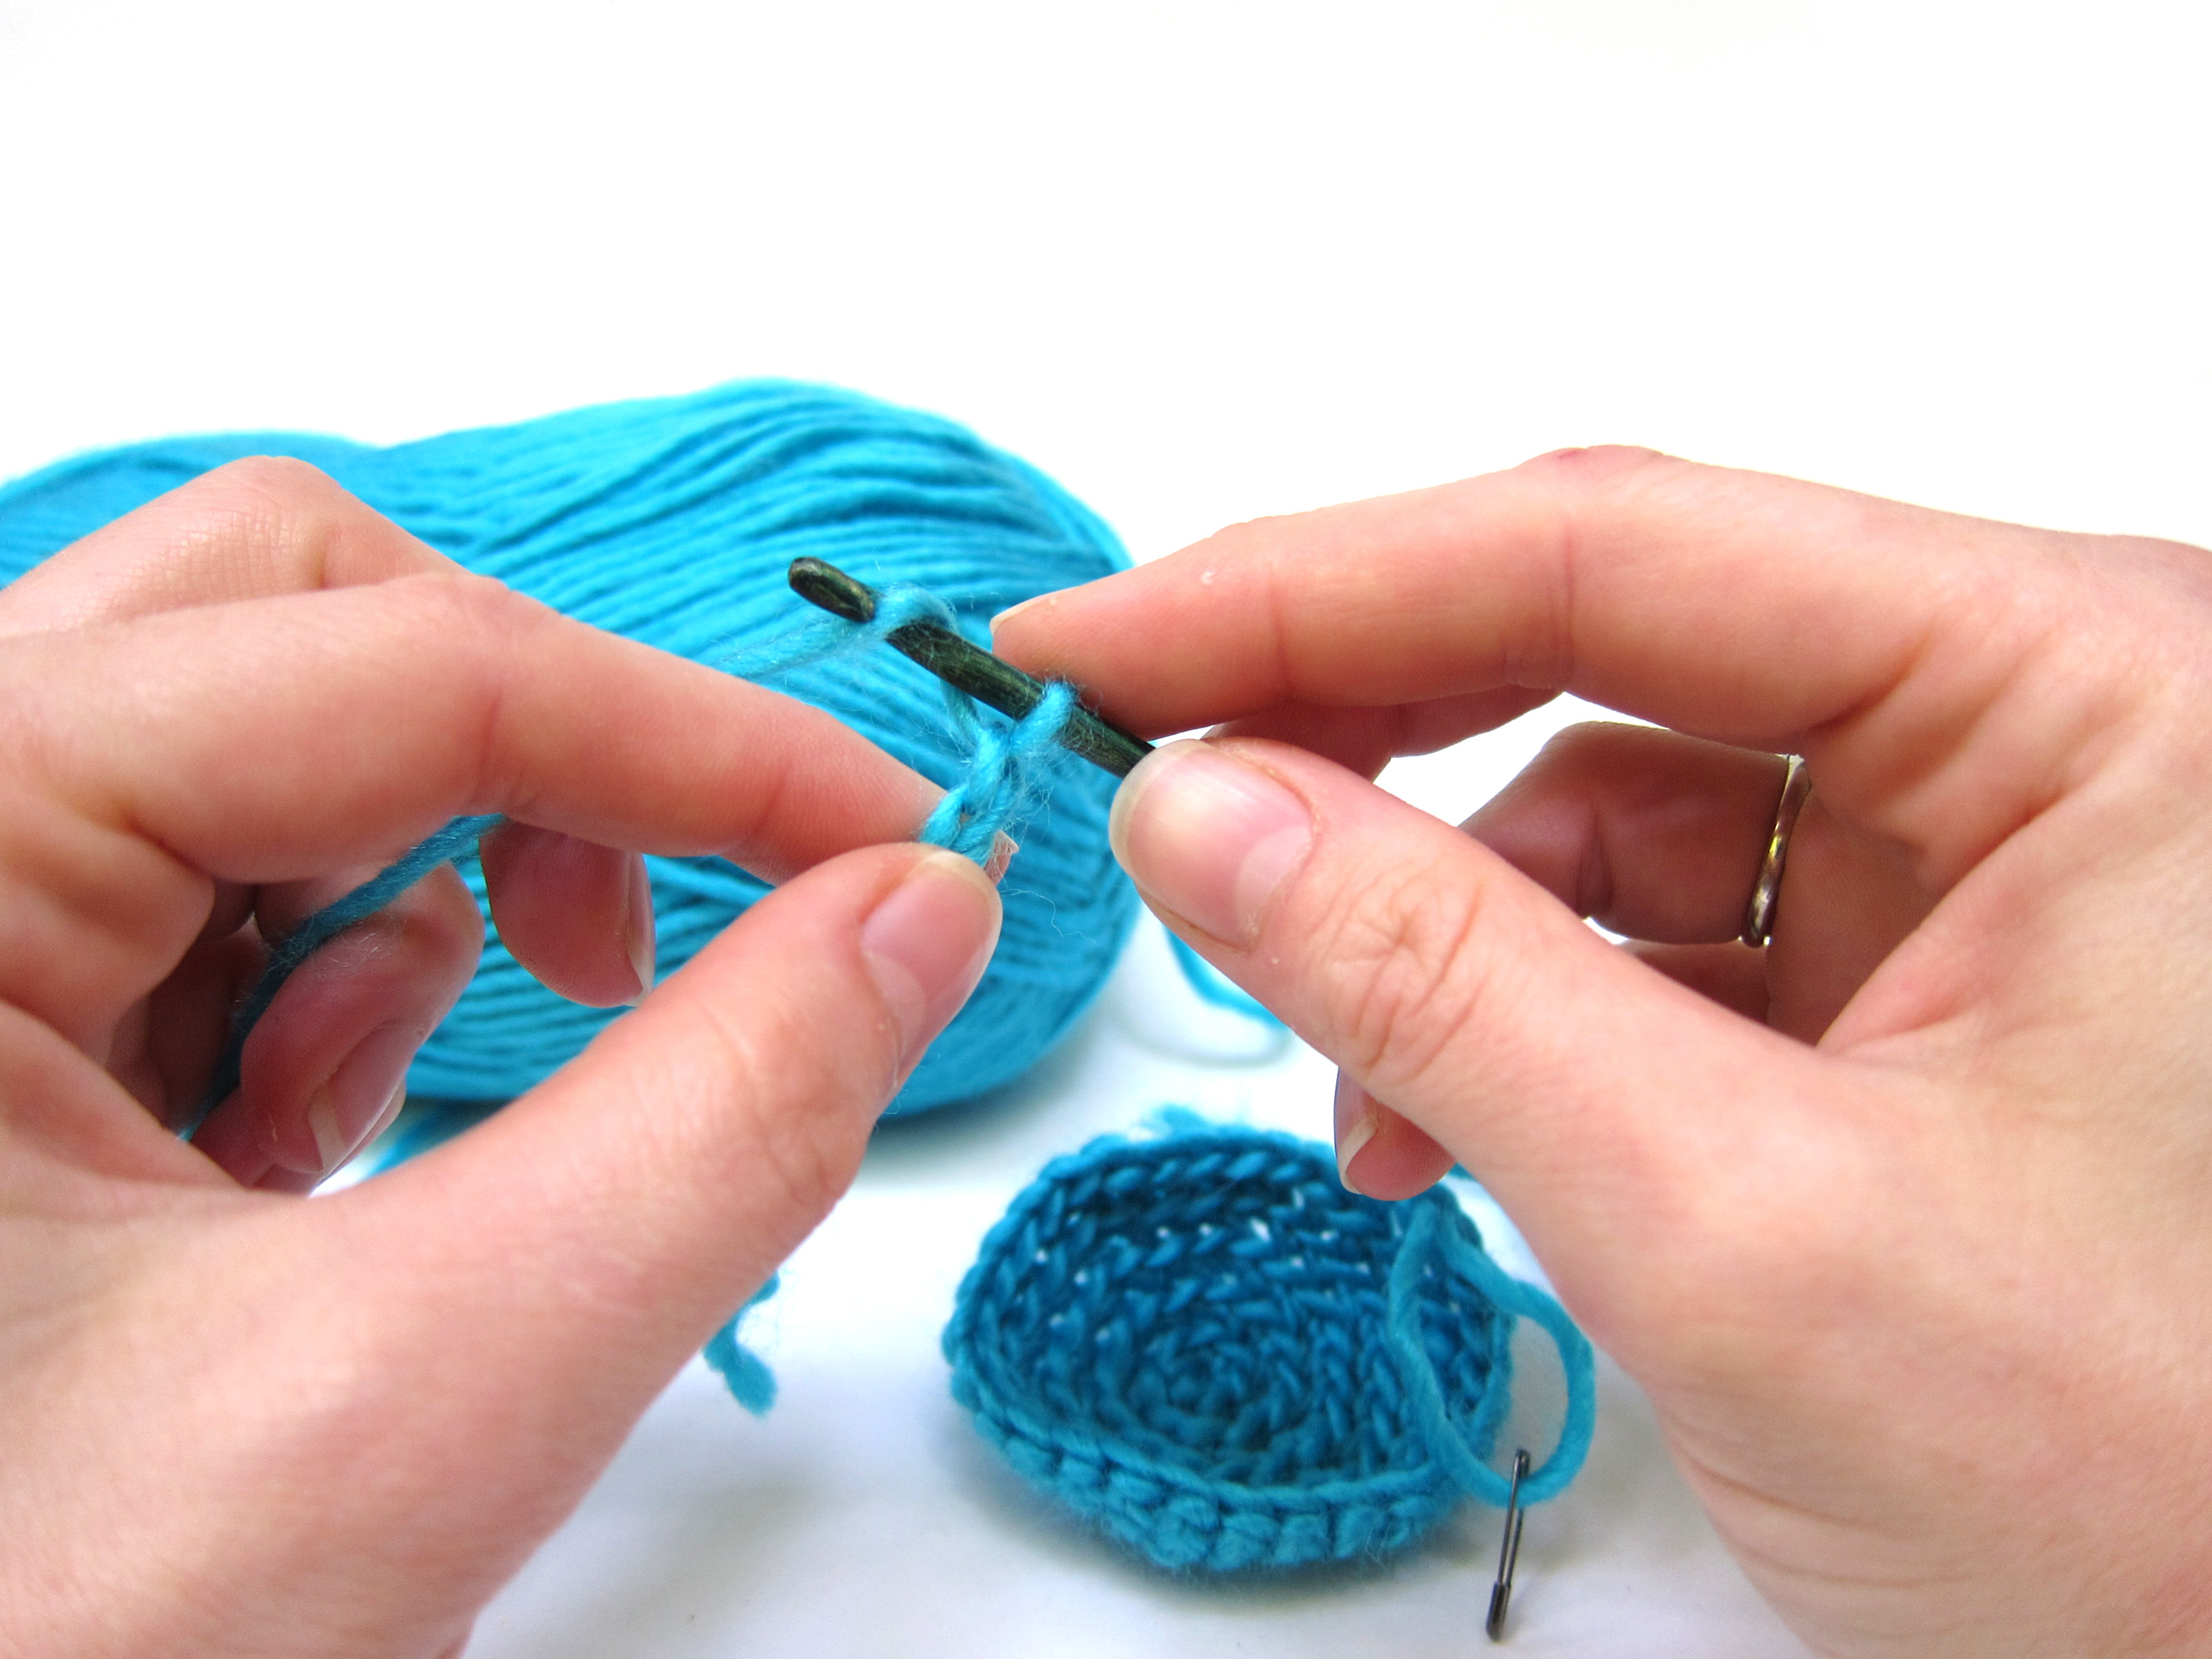
How to get started

If you’re interested in crocheting an animal, I recommend beginners take my Let’s Make Amigurumi free video class or Stacey’s Amigurumi Woodland Animals class on Craftsy. They’re both geared to complete newbies.

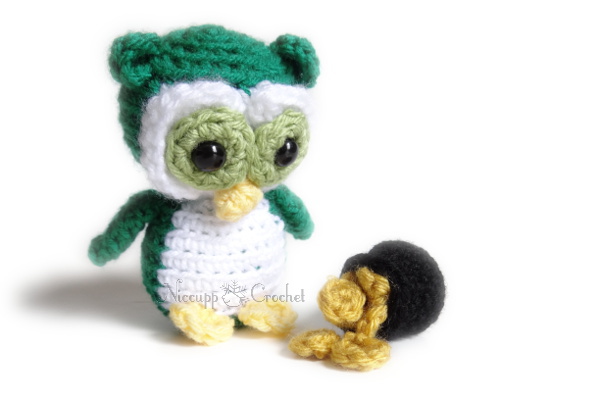
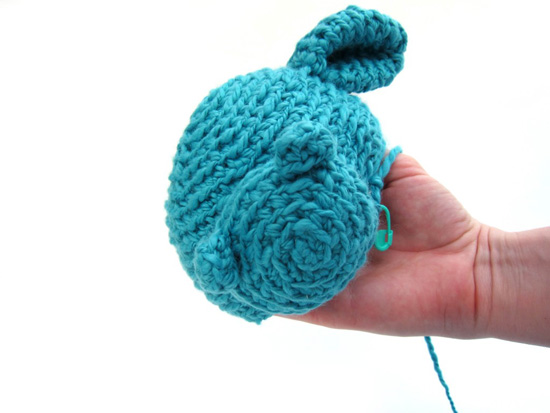
But, not everyone takes my advice! Melanie L. dove straight into Nelson the owl!

She says: “I had no idea how to crochet and just grabbed a hook from my mum – I didn’t even know there were different sized hooks! So, using your pattern, the kit materials, and your videos, I got started on Nelson (of course I chose a more difficult one – with a colour change!). I watched some of the videos about 10 times each, I swear! But eventually I got through it, and Nelson the First was born. He’s affectionately known as a ‘special needs’ Owl due to the resulting product, but he has pride of place on my shelf. “

When there’s a will, there’s a way!

caterpillar2

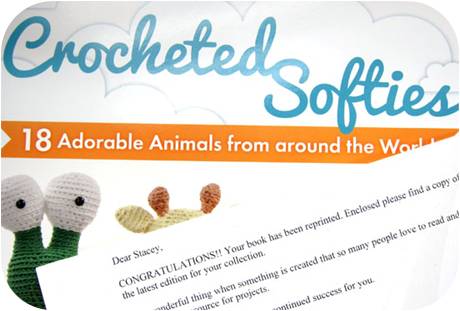
Chloe confirms that the first project isn’t always the cutest: “In just a few words, last April, I wanted to do something crafty and I came across the Crocheted Softies on the Book Depository. It was love at first sight with those cuties on the front page! I knew I wanted to make them myself, it just happened to be crochet! My very very first project was the owl from that book. It was really chaotic at first. I didn’t know how to begin, I had to look up every stitch (and more than once), I wasn’t sure which were the back loops, I didn’t use stitch markers and kept losing count, I did a very clumsy work in attaching parts etc. It took me several days, but after that I was really hooked! I haven’t stopped crocheting since then!

So, don’t get discouraged if your first one seems a bit crooked… it’s your first one! We’ve all been there, and your skills will improve as you practice. Both Melanie and Chloe started crocheting about a year ago, and they’re putting out fabulous pieces, now!

Don’t give up!

It’s unanimous. The first project is the hardest!

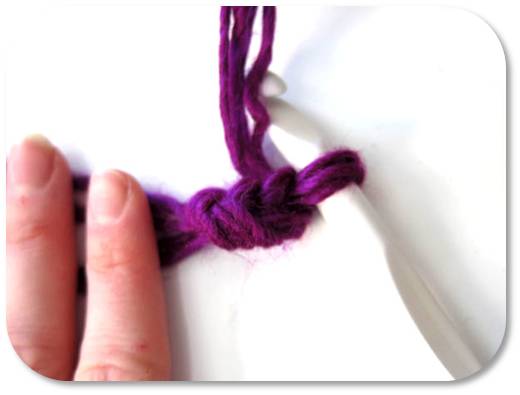
And not only that – the first two rounds are the hardest. Once you finish round two you’re cruising. So don’t give up!

What’s important is to not be too hard on yourself, and find what works for you.

Melanie M. says that “By far the most difficult part for me was learning how to hold the yarn in order to achieve the right tension. I watched a lot of videos of people crocheting and tried out each of their methods for wrapping the yarn around their fingers until I found one that was comfortable for me.”

crocheting holding hook like a pencil

Nikki agrees, Don’t give up! Like any craft, learning something knew takes time. You’re not going to pick up the hook and yarn and know exactly what to do… start small and work your way up. I highly recommend Howie. (Click here for the free Howie the Penguin pattern.) It gives you all the necessary tools to begin crocheting. The best part about crocheting is there is always room to learn more; you will never be done learning.”

Are you ready to start?

Okay, I’ll warn you… it might be addicting!

crocheting

Melanie L. says, “I am definitely a convert! Crocheting plays a few roles in my life now – it’s a form of relaxation, enjoyment, and productivity. I love being able to hand-make a unique gift for my nieces or my friends’ kids, or even my adult friends and family! I can’t pass a yarn store now without buying a few balls of wool and I’m always trawling the internet for pattern ideas. I’ve even started to design a few things of my own. It’s a great hobby!”

Are you going to join us in loving crochet? If you do, be sure to stop by the Shiny Happy People group and say ‘hi’! We love newbies!

Best,
Stacey

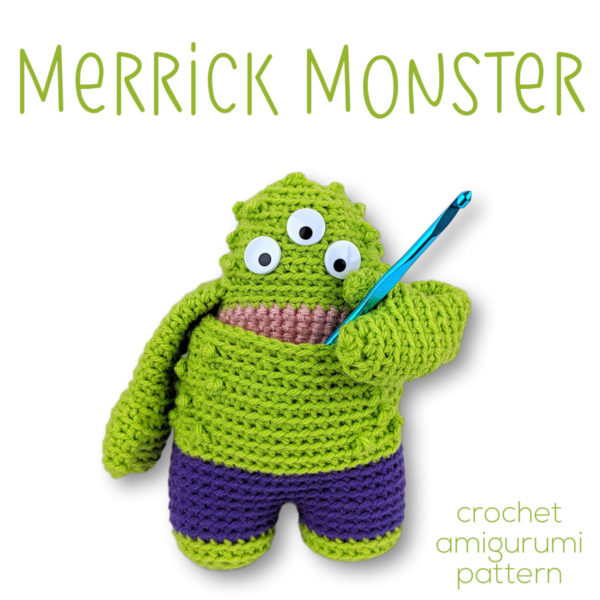
Try our newest crochet pattern! Get the Merrick Monster pattern here.

How to Crochet an Amigurumi Wizard!

How to Crochet a Wizard - starting with a gnome pattern - tutorial from FreshStitches and Shiny Happy World

You’re in for a treat, today!

Chloe has become quite a celebrity because of her beautiful crocheting! She never ceases to post amazing project photos and animals in creative poses!

Today, Chloe is sharing with us how to transform a Forrest the gnome into a wizard! How cool is that?

And, you’ll definitely want to check out Chloe’s Ravelry page and blog to check out all of her great creations!

Amigurumi crochet Wizard, how to

Hereby is the ingredient list and instructions for the Transgnome Potion aka How-to-turn-your-gnome-into-a-wizard Serum! So, grab your quills and note the materials you’ll be needing:

formula for crocheting a wizard

Now, take you wands..oops..hooks and off we go!

Step 1. Crochet tiny stars and crescent moons. I made 12 stars and 2 moons with a 2.75mm hook and yellow yarn. You might want to crochet more or fewer according to your item’s final size.

crochet tiny stars and crescent moons

Step 2. Crochet all FreshStitches gnome parts, except for the hat. Attach tiny stars and moon onto the legs and body (mine took 7 stars and a moon). Assemble all crocheted parts together.

wizard body crocheted with stars

Step 3. Crochet the hat, according to the following instructions.

crochet wizard hat with stars (2)

Wizard hat

Crochet hook: 4.00mm
Yarn: Mouzakis Butterfly Super 10, 100% cotton, in purple

You’ll need approximately as much yarn as it’s calculated for the gnome’s hat. Crochet through back loops, except for round 24. The final hat is conical and 11 cm in height.

Ch 2
Rnd 1. sc 6 in 2nd chain from hook (6 st)
Rnd 2-3. sc each st (6 st)
Rnd 4. sc twice in each st (12 st)
Rnd 5-6. sc each st (12 st)
Rnd 7. [sc twice, sc next st] * 6 times (18 st)
Rnd 8-9. sc each st (18 st)
Rnd 10. [sc twice, sc next 2 st] * 6 times (24 st)
Rnd 11-12. sc each st (24 st)
Rnd 13. [sc twice, sc next 3 st] * 6 times (30 st)
Rnd 14-15. sc each st (30 st)
Rnd 16. [sc twice, sc next 4 st] * 6 times (36 st)
Rnd 17-18. sc each st (36 st)
Rnd 19. [sc twice, sc next 5 st] * 6 times (42 st)
Rnd 20-21. sc each st (42 st)
Rnd 22. [sc twice, sc next 6 st] * 6 times (48 st)
Rnd 23. sc each st (48 st)

progress crocheting a wizard hat

To make the brim, crochet the next round through the front loops
*Front loops* Rnd 24. sc each st (48 st)
Rnd 25. [sc twice, sc next 7 st] * 6 times (54 st)
Rnd 26. [sc twice, sc next 8 st] * 6 times (60 st)
Rnd 27. [sc twice, sc next 9 st] * 6 times (66 st)
Rnd 28. sc each st (66 st)
Fasten off with tail.

instructions for a crochet wizard hat

Now, you’ll use some stars and moons to decorate the hat!

crochet wizard hat with stars

I used 5 stars and one tiny moon!

crochet wizard hat close up

Step 4. Stuff slightly and attach the hat on the wizard’s head through round 24 of the hat.

Amigurumi crochet Wizard, how to

And you’re done! Not that difficult, right?

Suggestions

  • It’s more wizard-y using the same colour for the cloak and hat! I chose purple, which is a rather conventional choice for a wizard! Pick up your favourite colour, since magic comes in every possible colour!
  • Likewise, the stars and moons are expected to be yellow or white, but expectations are exceeded in the magical world!
  • I wanted the hat overall to look a little frail and worn-off (my wizard is doesn’t care for brand new clothes!). If, however, you want a more sturdy-looking hat, you can (a) make the brim double thick and (b) use a conical carton inside. Both these techniques are shown in the Freshstitches Leprechaun pattern that was released recently (see Hat).

Enjoy!

Tip for Attaching Craft Eyes through Thick Layers

Inserting Craft Eyes through Tick Layers - tips from FreshStitches and Shiny Happy World
niccup crochet logo

Today’s guest post is written by Nichole of Niccup Crochet.

I’m really excited about this post, because Nichole has come up with a solution (little did I know until she mentioned it!) that has been plaguing many crocheters. When attaching craft eyes (or ‘safety eyes’) to an amigurumi, it can be really tough to get the post through multiple layers.

Nichole is sharing her clever solution with us, today!

She’s demonstrating the technique on Nel the Tiny Owl, who she’s crocheted in a St. Patrick’s Day colorway. You can find instructions for the adorable pot of gold on Nichole’s blog!

Crocheting Nel, the Tiny Owl, was a smooth-sailing until it came time to attach his eyes. Eeek! I could not get the safety eye attached securely (enough). The washer locked over the outer-most ridge of the safety eye and no amount of force could get it to lock any further.

The anatomy of the problem

problems attaching a safety eye through multiple layers

The post of the safety eye is only so long. It has locking points on the post and the washer slides over the ridges to secure the safety eye in place. The problem with Nel is that the safety eye has to be forced through three layers of fabric. Most of the post is surrounded by the fabric layers and very little is left sticking out the bottom where the washer needs to be secure.

Work Smarter, Not Harder

I attempted to secure his second eye with needle-nose pliers. That was a bad idea! The pliers slipped and I damaged poor Nel’s eye. No amount of force was going to work…the fabric was just too thick.

I took a step back and looked at all of the pieces involved. There just had to be another way.

Then, it dawned on me: the safety eye can be attached to the eye circle before sewing the eye circle onto Nel’s head. Sometimes the best solution is the simplest one.

Attach the safety eyes through the middle of the eye circle.

Then, you will sew the eye circles onto Nel’s head. As you are doing this, make sure you force the post down through the other layers of fabric. This will keep the eye from bulging out.

InsertingEye

I hope this helps you as you crochet your next Nel, Nelson or a few other FreshStitches patterns.

Nel the Tiny Owl with a Pot of Gold

Here are handy links to all the posts about amigurumi eyes. . .

Return to the main table of contents for Let’s Learn to Crochet Amigurumi.

Move on to the lessons for standing legs.

Happy stitching!

How to add adorable felt eyes to your amigurumi

How to Add Felt Eyes to Your Softies - a tutorial from FreshStitches and Shiny Happy World

Today’s guest post is written by Alyssa, who has a gift for making fabulous felt eyes.

Today, she’s going to let us in on her secret… so we can make fabulous felt eyes, too!

(Alyssa wrote this specifically about amigurumi – but the technique works for any softies.)

Why use felt?

I like to use felt eyes as an alternative to other eye-making methods. Felt is safer to use than plastic eyes for toys that will be given to small children, but much more expressive than eyes that are made using yarn.

How to attach felt eyes to amigurumi

While Stacey has created a baby-safe crocheted eye that looks great, I could never quite get them to look right, and so I use this method instead. Attaching the felt is more time-intensive than any of these methods, but I think that it is worth it in the end.

Step 1: Gather Supplies

Your supplies for making felt eyes

You’ll need:

  • Finished Amigurumi (Mal the Tiny Duck, in this case)
  • Black craft felt, about 2″ square
  • Black embroidery floss or sewing thread
  • White Size 3 cotton crochet thread (or another thin white yarn)
  • 2 different sized sewing needles (one for the floss and one for the crochet thread)

I find it easiest to attach the felt once the animal has otherwise been completed. That way, all of the features are positioned and the felt will not stretch out of shape when the piece is stuffed.

Step 2: Cut the Felt

I usually cut the felt into squares slightly larger than what I want to eye to be, then into rough circle shape, and then carefully trim the edges of these circles until they are completely smooth. The trick to good-looking eyes to take your time to get nice rounded edges. Using small, sharp scissors really makes a difference.

Cutting the felt, start to finish:

How to cut a beautiful felt circle

Step 3: Sew on the Eyes

Before you start sewing, you will want to position the eyes on the toy—play around with them until you are satisfied with the way they look and then pin them into place. I find it helpful to use a pin with a white head as it mimics the position and look of the eye highlight.

Use the smaller needle and a single strand of embroidery floss or sewing thread to attach the eyes. The felt will be sewn on using an applique stitch, which are small whipstitches made around the circumference of the eye. (Wendi has a video here showing how to whipstitch applique felt – it’s the same method.)

How to sew a felt eye using whipstitch

In the photo, the blue lines mark where I placed my stitches for Mal. The size of the animal and the eye will determine how many stitches you will need to securely attach it. For a small toy like Mal, I only use 6 stitches.

For a medium-sized toy (Most of the FreshStitches amigurumi), I would use 8. And for a large toy or one with large eyes (I like to give Nelson the Owl huge eyes), I might use upwards of 12.

Step 4: Create the Highlight

Play around with the position of the white pins to figure out where you want the highlight to be. The highlights themselves are simply French knots, with the yarn wrapped once around needle.

Wendi has a video here showing how to stitch a French knot.

adding highlight to a felt eye

Pull the ends of the white thread to snug up the knot. If you don’t like the way it looks, simply pull the knot out and try again with a new thread.

Step 5: Finish your Amigurumi

Once your eyes have been sewn on and the highlights look satisfactory, tie the ends together to secure them and use a needle to pull them through the stuffing to hide the ends. Snip off any remaining ends and congratulate yourself for finishing your new amigurumi!

How to attach felt eyes to amigurumi

Good news to share!

Want to squee along with me about some great news?!?

Crocheted Softies reprint!

Crocheted Softies, my second book, has been reprinted! That means that so many have sold… that the publisher ran out and needed to print more! Hooray!

It’s also been translated into German… looks like folks are loving these cuties!

Thanks so much to everyone who’s made the book such a success!

Here are handy links to all the posts about amigurumi eyes. . .

Return to the main table of contents for Let’s Learn to Crochet Amigurumi.

Move on to the lessons for standing legs.

Happy stitching!

How to attach a folded ear to two rounds

How to Attach a Folded Ear to Two Rounds - tutorial from Shiny Happy World and FreshStitches

Happy Tip Tuesday!

Today, I’m going to talk to you about an instruction that pops up in Flavia the Unicorn:

Flatten ear and then fold ear in half, and attach to the head (at rounds 6-7) so that the opening of the fold faces forward.

adorable crochet unicorn with rainbow mane

The potentially tricky bit in this instruction is that you’re attaching the folded ear to two rounds. Let’s chat about it!

One round vs. two rounds

Why does Flavia’s pattern tell you to attach the ear to two rounds, whereas other patterns instruct you to attach a folded ear to one round? (Have a peek at this tutorial for the step-by-step on one-round attaching.)

attaching a folded ear

This is the ear from the Choose Your Own Adventure Dragon pattern, one where you attach to one round. See how the ear is floppy? There’s nothing wrong with that… it makes the dragon cute!

But, notice how Flavia’s ear sticks out? That extra structure is the result of attaching the ear more firmly at the base: to two rounds.

How to attach a folded ear to two rounds

All right. How do you get this perky ear? I’ll show you how it’s done.

First, flatten the ear and whipstitch it closed (check out this post if you’re rusty on that step).

ear1

Count how many stitches you have. If your final round had 24 stitches, your flattened piece will be 12 stitches wide. With your long tail, whipstitch half of the ear stitches to one round:

head1

Now, you want to whipstitch the other half of the ear stitches to the second round. This means that you’re stitching in the opposite direction (follow the arrow!). . .

head2

Yay! The ear is fully attached! To make the front of the ear look nice and tidy, I run my tapestry needle through the starting stitch, then tie a knot on the wrong side. This draws the fronts together.

head3

Ta da!

How to Attach a Folded Ear to Two Rounds - finished Horse from Shiny Happy World and FreshStitches

You can use this trick on any folded ear… and it’ll stand up just a bit more!

Here are handy links to all the posts about attaching parts. . .

Return to the main table of contents for Let’s Learn to Crochet Amigurumi.

Move on to the lessons about faces and details.

Happy stitching!

How to crochet standing legs for your amigurumi (video)

How to Crochet Standing Legs in an Amigurumi - video tutorial from Shiny Happy World

One of the first steps you’ll take as you move beyond the easiest of the easy patterns is to learn how to crochet standing legs. That one skill opens up all kinds of new pattern possibilities – and it’s one of my favorite body shapes.

You can see it in Byron the Bear.

Byron Bear - a cute teddy bear wearing a crocheted sweater

Roy the Rainbow Monster.

Roy the Rainbow Monster - a fun crochet amigurumi pattern from FreshStitches and Shiny Happy World

Duke the Dog

Duke the Dog - an adorable crochet amigurumi pattern from Shiny Happy World

And many more!

When you crochet standing legs, you start by making each leg separately, then joining them together and continuing on up the body.

Joining the legs together, when you’re reading it from a pattern, can be difficult to picture.

So… help is on the way!

Let’s watch it in action, shall we?

Video: How to crochet the joining round for standing legs

In this video, I’ve recorded every step of that sometimes-tricky joining round. Have a look!

To watch this video in full-screen mode, click ‘play’, then click the rectangle in the lower right-hand corner.

I know. It’s a bit weird – but totally easy once you see it, right?

This method can leave a pesky hole between the legs. It’s super easy to stitch up using a scrap of yarn, but if you want to pull out that tapestry needle as little as possible, here’s a nifty variation on this method that will let you crochet standing legs with no hole. The downside is that you’ll need to tweak your stitch count a bit (adding in a couple of increases not in the pattern) but it’s a very minor adjustment.

I hope this video will give you the confidence to crochet standing legs and start making this fabulous amigurumi shape!

For a slightly more advanced shape (two shapes joined together with a bit more space between them) take a look at this tutorial – How to Crochet Two Rounds Together that Are Separated by a Foundation Chain.

Here are all the handy links to posts about crocheting standing legs. . .

Return to the main table of contents for Let’s Learn to Crochet Amigurumi.

Move on to the lessons showing how to change colors.

Happy stitching!

How to crochet a ruffle on a completed amigurumi

Today, I’m going to show you how to crochet a ruffle onto a (nearly) finished amigurumi.

For those of you who are participating in the slug-a-long, you’ll find that this is exactly how you attach the slug’s foot!

(Get the slug pattern here.)

Step 1: Attach a new length of yarn

For attaching a ruffle to an almost-finished piece, you’re going to start with an amigurumi that has been crocheted through the back loop only.

To form the new ruffle, we need to attach a new piece of yarn to begin crocheting with.

attaching a new piece of yarn to a crocheted piece

To begin, make a slip knot on your hook with the new length of yarn.

how to crochet a ruffle on a piece

Next, single crochet into a stitch on your amigurumi. Specifically, insert your hook through the front loop of a stitch (the ridge that is visible on the piece), wrap the yarn around the hook and pull through one loop, wrap again and pull through both loops.

Ta da!

This post has more info about starting a new yarn color this way.

Step 2: Crochet the foundation round

Now that you’ve attached the first stitch, you’ll crochet around, forming the base of your ruffle.

adding a ruffle to an amigurumi

Which stitches you select is up to you. To form an evenly-shaped ruffle, you may want to use locking stitch markers to plan the shape before crocheting.

Once you have finished the foundation round, look at your piece. Does the round look even when your amigurumi is sitting?

Attaching a ruffle

If so, you’re ready to keep going! If not, this is a good time to unravel and repeat this step, as the ruffle is built on the stitches you form in this round.

Step 3: Ruffle!

Once your foundation is set, start ruffling! To make a ruffle, you’ll increase around the first round you make (typically increasing in every stitch). For more ‘ruffle’, increase more stitches and for a less pronounced ruffle, increase with less frequency.

foot4

Fasten off, either when the instructions tell you to or when you’re ruffle is how you like it! Weave in ends.

And you’re done!

Don’t you feel like everything needs a ruffle, now?

Want a little tip? This is a great way to add extras to your amigurumi. You use the same technique to add a dress or skirt! Just crochet that foundation row right under the arms (for a dress) or around the waist (for a skirt). Easy peasy!

Here are handy links to all the posts about crocheting more advanced shapes. . .

Return to the main table of contents for Let’s Learn to Crochet Amigurumi.

Move on to the posts about troubleshooting common problems.

Happy stitching!

How to count stitches in your first round of amigurumi

Crochet a long Slug amigurumi freshstitches

We’re right in the middle of the slug-a-long, so you can guess what I’m crocheting… a slug!

Actually, I’m making two. I’m making a yellow one, like the slug pictured in the pattern and I’m also making a giant slug:

Crocheting a giant slug

Yarn: Vickie Howell Sheep(ish) in Magenta, 4 strands held together
Hook: size N
So much fun!

How to count the stitches in the first round

For those of you who are crocheting-a-long (or slugging-a-long?) with me, I’ve made a video to show you how to count the stitches in your first round.

In my opinion, counting the stitches in the first round is the trickiest, because there’s a weird little extra bit hanging around from your initial chain two. If you accidentally crochet into that weird bit, you’re count for the second round will be off, too!

So, have a peek at the video!

To view the video in full-screen, click play, then click on the rectangle in the bottom right-hand corner!

Of course, this tip will help you out with any amigurumi you’re crocheting… hope you’ll find it useful!

Are you working on a fun slug?

I can’t tell you how excited I am about my giant slug… it’s going to be so big!

That’s what I’ve been up to this week… how about you? I hope you have an awesome Wednesday, and get some great knitting/crocheting done this week!

If you want to check out more Work-In-Progress posts, please check out Tami’s Ami’s Blog, who’s been organizing a great WIP Wednesday blog theme! And, don’t forget to come back for FO (Finished Object) Friday!

How to add hair to your amigurumi

I’ll be frank. I was scared of adding hair to my amigurumi designs. It seemed complicated.

But not adding hair was limiting me… I mean, what’s a horse without a flowing mane? So, I decided to break out of my shell… and do you know what? Adding hair isn’t that hard.

Let me show you how.

How to attach hair to amigurumi, unicorn

The model in this post is my friendly unicorn. You can get the pattern here.

Step 1: Make your amigurumi

This process is done after all of the crocheting & stuffing & assembly has been completed.

Step 2: Cut your yarn into pieces

The pattern will specify the length of your hair pieces. If you’re making it up as you go along, just remember that each ‘hair’ will be folded in half. So, if you want your piece to have 3″ long hair, you’ll need to cut 6″ long pieces of yarn.

The easiest way to cut multiple pieces of yarn (and you’ll need a lot!) is to find a book/box that has a circumference the length of your pieces. Wrap your yarn around oodles of times, and then cut through them all at once. Presto!

Step 3: Add your first piece of hair

Fold your yarn in half, so that there’s a U-shaped bend on one side and two ‘tails’ on the other side.

Now, look at your amigurumi. If you crocheted through the back loop, there’s lots of ‘front loops’ left behind, which are perfect for attaching hair to. They’ll also guide you to keep your hair in nice rows.

Insert your hook into a front loop, and catch the bend in your hair piece:

tutorial how to attach hair to amigurumi

Pull the bend through the front loop, until about an inch is pulled through:

step2

If you accidentally pull the hair all the way through… don’t worry. Just start again!

Now, your aim is to pull the two ‘tails’ of the hair through the bend.

step3

I’m doing this by using my hook, but you might find it just as easy to use your fingers.

Pull the tails and… ta da!

step4

Step 4: Repeat until your cutie has lots of hair!

back_unicorn_blog

I’m not going to fib… it’s a little slow-going (especially to obtain a lush head of hair!), but it’s the perfect easy-thing to do while watching TV!

Lots of options!

For the unicorn, I made a rainbow-mane… but this technique looks just as adorable in a solid color:

horse_blog

Once the hair’s in place, you can feel free to style it, add a bow, or even trim the hair into a certain ‘do. I can picture this technique being used on amigurumi dolls, long-haired dogs, horses… you name it!

Ready to try your hand at adding hair? Get the Flavia the Unicorn pattern here.

Here are handy links to all the posts about faces and details. . .

Return to the main table of contents for Let’s Learn to Crochet Amigurumi.

Move on to the lessons about eyes.

Happy stitching!

5 ways to modify an amigurumi pattern

It’s really fun to modify an amigurumi pattern!

You can make the same pattern a hundred times and have a hundred different critters that all look different from each other.

Of course, you can follow the pattern exactly. There’s no shame in doing this! Use the recommended yarn, recommended hook size and follow the instructions to the letter. That way you’ll get exactly what you see on the pattern cover.

But try these fun ideas to modify an amigurumi pattern. . .

1. Change the color.

Pick any color you like! And remember – it doesn’t have to be realistic. It’s especially fun to pick seasonal colors to make a holiday version of a pattern you already have.

Take a look at this fun Valentine’s Day owl made with the Nelson the Owl pattern.

modify an amigurumi pattern by changing the color - pink and red owl for Valentine's Day - crocheted with the Nelson the Owl amigurumi pattern

Or how about this adorable red, white and blue version of Roosevelt the Monster?

modify an amigurumi pattern by changing the color - cute red, white and blue monster crocheted with the Roosevelt the Monster pattern

The easiest way to modify an amigurumi pattern is to change the color.

2. Make a giant amigurumi

To make a super-big amigurumi, pick a thick yarn and use a larger size hook. Then, follow the pattern!

I adore this giant slug that Stacey made!

modify an amigurumi pattern by changing the size - giant slug crocheted with the Hannah the Slug pattern

If you can’t find a thick yarn, hold two strands of yarn together. It’ll be double the thickness of the original!

Don’t know what size hook to use? Don’t fret. Check the yarn label for hook recommendations, or (if you don’t have a label) guess and try a swatch. As long as your fabric doesn’t have holes, it’s a fine hook!

Stacey has more tips for crocheting a giant amigurumi here.

3. Make a teeny-tiny amigurumi

Instead of going big… go small!

modify an amigurumi pattern by changing the size - small green crab ornament made with the Tipper the Tiny Crab pattern

Alyssa made Tipper the Tiny Crab extra tiny by using super thing yarn.

I like using a fingering weight yarn (i.e. sock yarn) and a size C hook… but I’ve seen others go even smaller! Try crochet thread and a steel crochet hook for a super-tiny guy!

Update: If you want more info about modifying an amigurumi pattern by changing the size, Planet June has a great post here. She actually created a conversion table showing what kind of increase or decrease to expect with which yarn sizes!

4. Add stripes or a gradient

It’s easy to add stripes to your amigurumi… just change yarn colors every few rounds. This is a fabulous way to use up all those little odds-and-ends of yarn!

Modify an amigurumi pattern by adding stripes - solid and striped bunnies crocheted with the Ringo Rabbit pattern

I used several different colors to make a striped Easter bunny version of the Ringo Rabbit pattern.

This post shows how to get a clean color change, and this one shows a way to change colors that minimizes the jog you get with that change.

Even easier… use a self-striping or gradient yarn, like the one I used for this Cooper Cat.

striped brown cat made with the Cooper Cat crochet pattern

5. Add some glitz

Maybe your amigurumi just wants a little pizazz!

modify an amigurumi pattern by adding beads - beaded orange crab made with the Tipper the Tiny Crab pattern

You can add some beads (there’s a tutorial here showing how to crochet with beads), or pick a yarn that already has beads or sequins added in. Fun!

Whatever method you choose to modify an amigurumi pattern – change is good! It’s like getting a whole new pattern!

Happy stitching!